07 September 2026


Here comes the braai – not the most beautiful, but your partner for LIFE!
This particular braai began life as a sheet of 3mm stainless steel, but with some careful design, meticulous cutting, bending and welding instructions… this was the result… a bespoke stainless steel braai that will last for decades and designed to accept a 340x300mm rectangular stainless steel grid!
The first step with this sort of project, where you are making something to fit a specific shop-bought is to get your hands on the latter and measure its essential dimensions – in this case, the depth of the grid is immaterial when it comes to the braai, but is length and width are.
There are bigger braai grids available, but I didn’t have enough metal for that, and anything smaller would leave me with leftover metal with no particular use.
So, the grid size was selected and the designing began…
Hence, as the precise dimensions of the grid are exactly 342x308mm, the side-to-side INNER dimensions of the braai need to be 352mm, but no more than that (and no less either)… otherwise extracting and inserting the grid to change its height above the coals, for instance, could be problematic), and at least 308mm front to back. This would allow the grid to sit in the braai with about 5mm clearance on each side
In passing, the steel used here is far thicker than would be used in the stainless steel braai you buy, but it was what I had. Usually stainless steel (or mild steel for that matter) using in braais is much thinner, which allows for sharper breaking, but as this is 3mm thick, the bend at the break has a radius of about 6-8mm or so, and this has to be taken into account when deciding on the dimensions.
Of course, if you decide against welding, you can have the various pieces cut, and then use stainless steel angle and stainless steel pop rivets to assemble the box section.
If such is case the ideal is then to clamp the two sides together, measure and mark off and then drill the various holes you need for the grid supports; in this case each side had to be drilled individually as the box was already built, ensuring that the holes lined up and the grid would rest squarely on all of the four supports at each level.
Materials:
- Stainless steel grid – in this case 340x300mm (precisely 342x308mm)
- Stainless steel sheet – 3mm thick – 550x800mm, cut and bent to form the box of the braai…
- Sides & base – 800x320mm section cut and bent to form the base and sides – 222/350/222mm
- Front – 120x350mm
- Back – 180x350mm
- Damper – 55x410mm, bent to flat “U”, with a 55mm lip on each end for an outer width of 350mm, to allow it to fit snugly between the sides
Handles:
- Aluminium tube – two lengths of 20mmØ cut to 245mm each
Fasteners & washers (all stainless steel)
- Set screws:
- Ten 6x16mm
- Four 6x75mm
- Washers:
- Sixteen to twenty, depending on how many you use – 6x16mm flat
- Eight – 6×32 – damper handle
- Eight 8mm flat washers for the legs
- Nuts:
- Extra 20 or so 6mm hexagonal nuts, for use as lock nuts and damper handle washer spacers and as lock nuts on the handle
- Four extra 8mm nuts for the legs
Legs:
- Four bolts – 8x100mm
- Eight fender washers – 8x30mm
- Four 16mm rubber ferrules
Damper arm:
- 150mm length of 6mmØ threaded rod
Method:
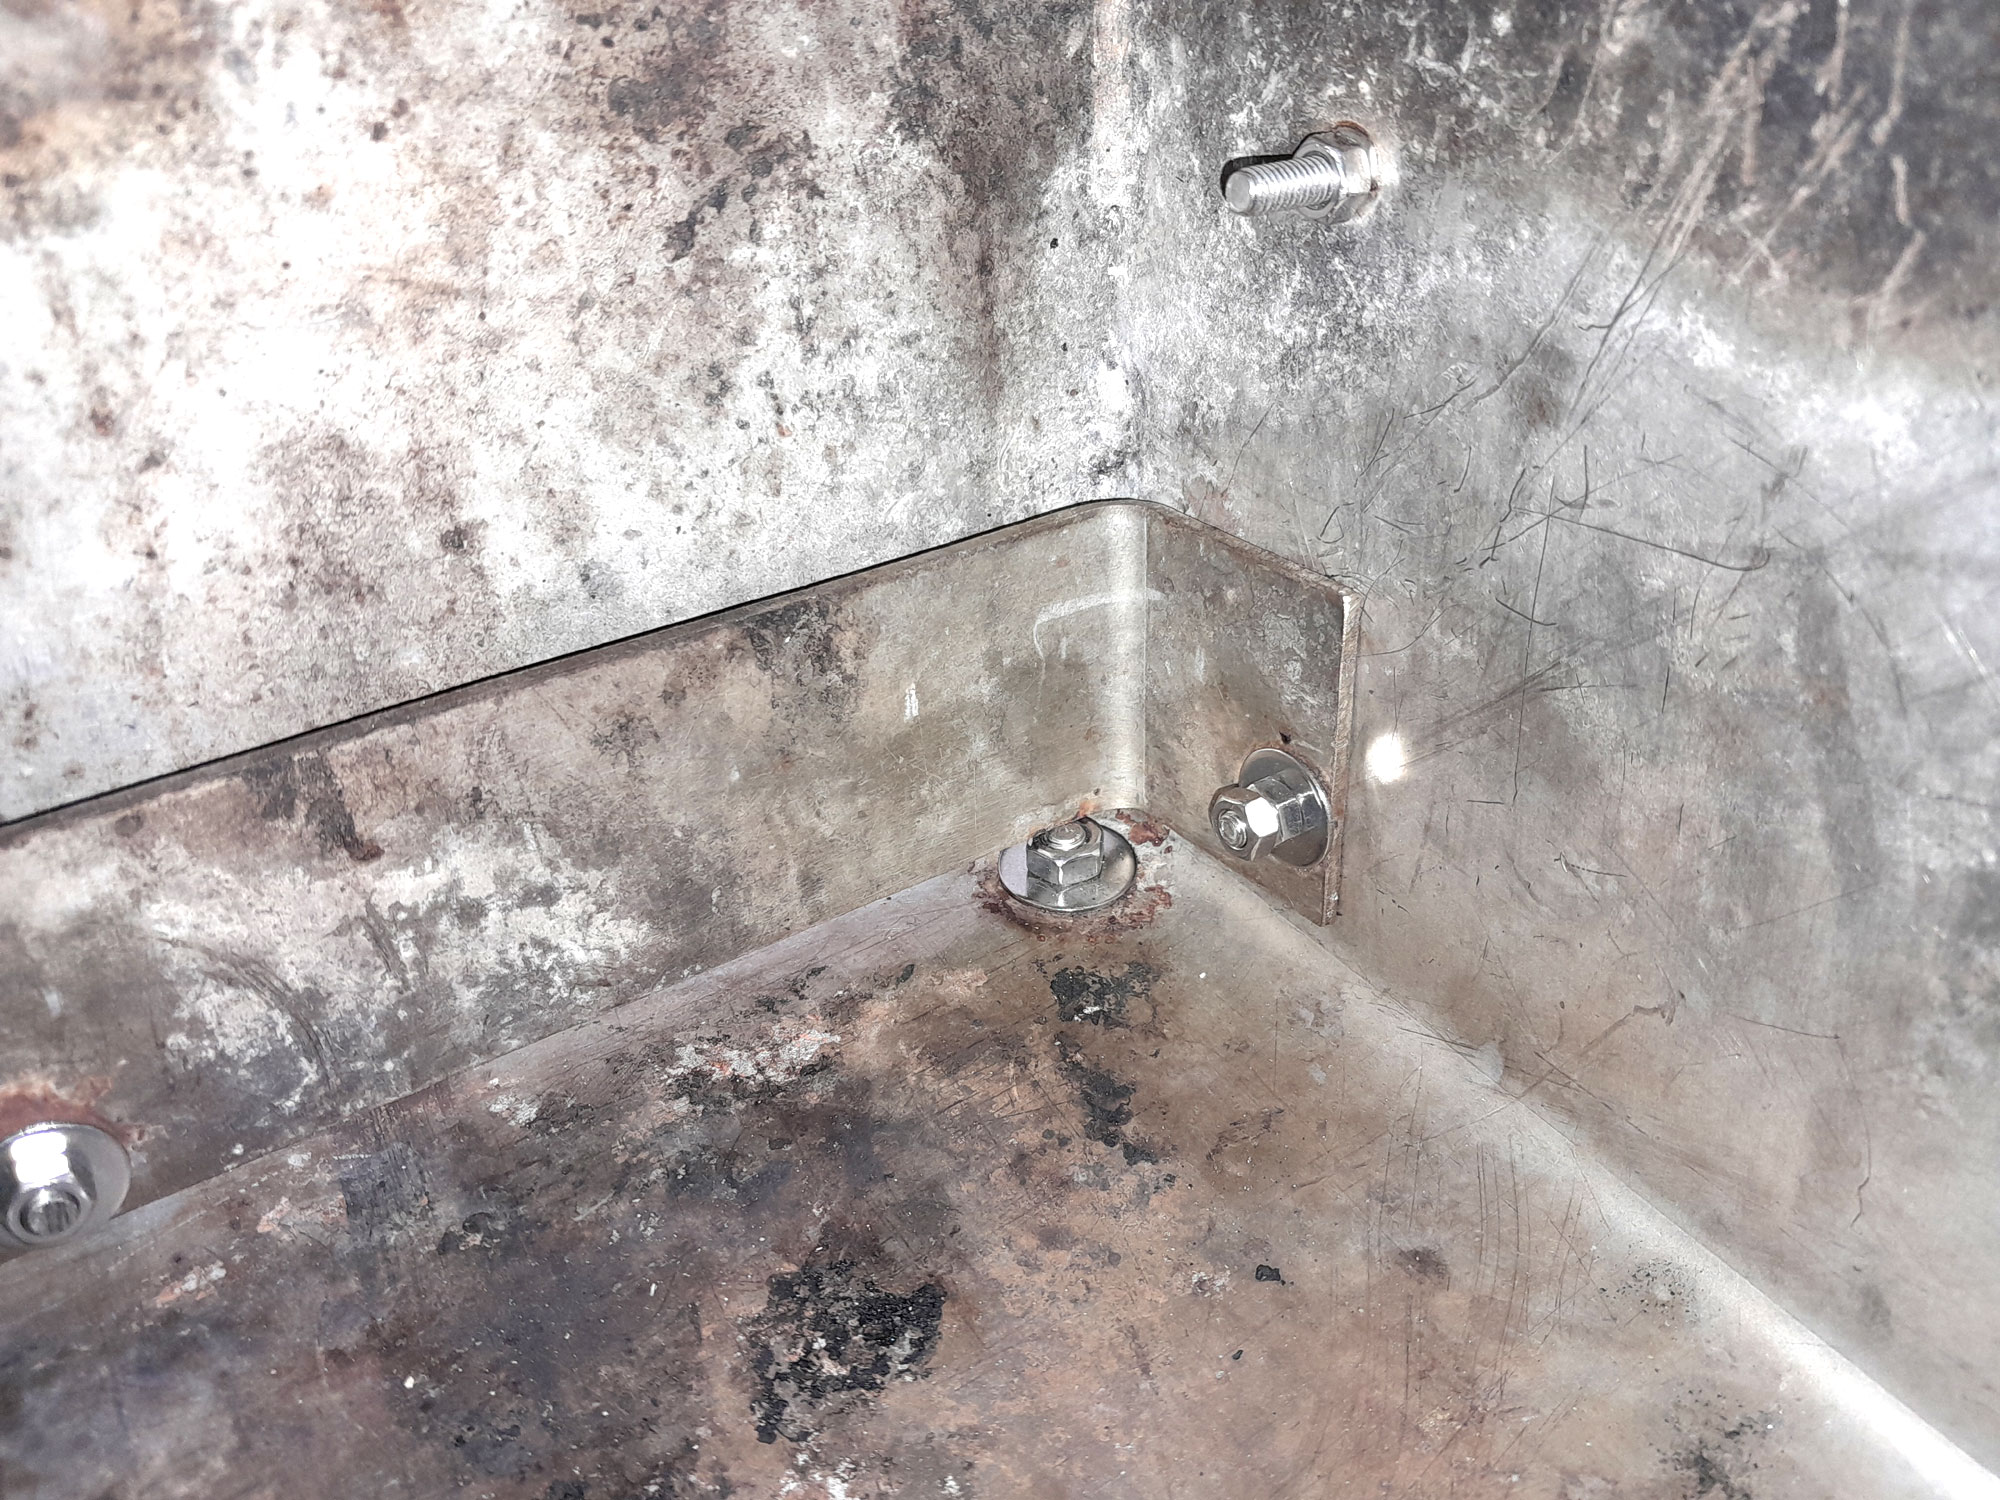
- The starting point was the fabrication of the braai box itself, and I had that done at a local steel works, at a cost of about R600 (it would have been a lot more if the business had to supply the steel). Then the first task was to drill the holes for the grid support set screws. These were positioned about 40mm back from the front and rear of the sides, with the top ones being about 20mm from the top rim, and then the lower two at each point spaced at about 40mm. This gave the braai three levels for the grid, so there are some choices in braaiing height. Centre to centre, the supports were 215mm apart.
- I drilled a 6mmØ hole in the middle of the damper and 20mm up from what would be its lower edge. Then I positioned it at the rear of the braai box and after checking to ensure there would be sufficient movement, I drilled the holes for the 6x16mm swivel set screws on each wing of the damper, then I attached the damper in position, using a second locking nut on each to secure the damper. The damper should be free to move, but with a little effort as the idea is that it remains in whatever position you decide, from fully closed to fully open, and any point between the two.
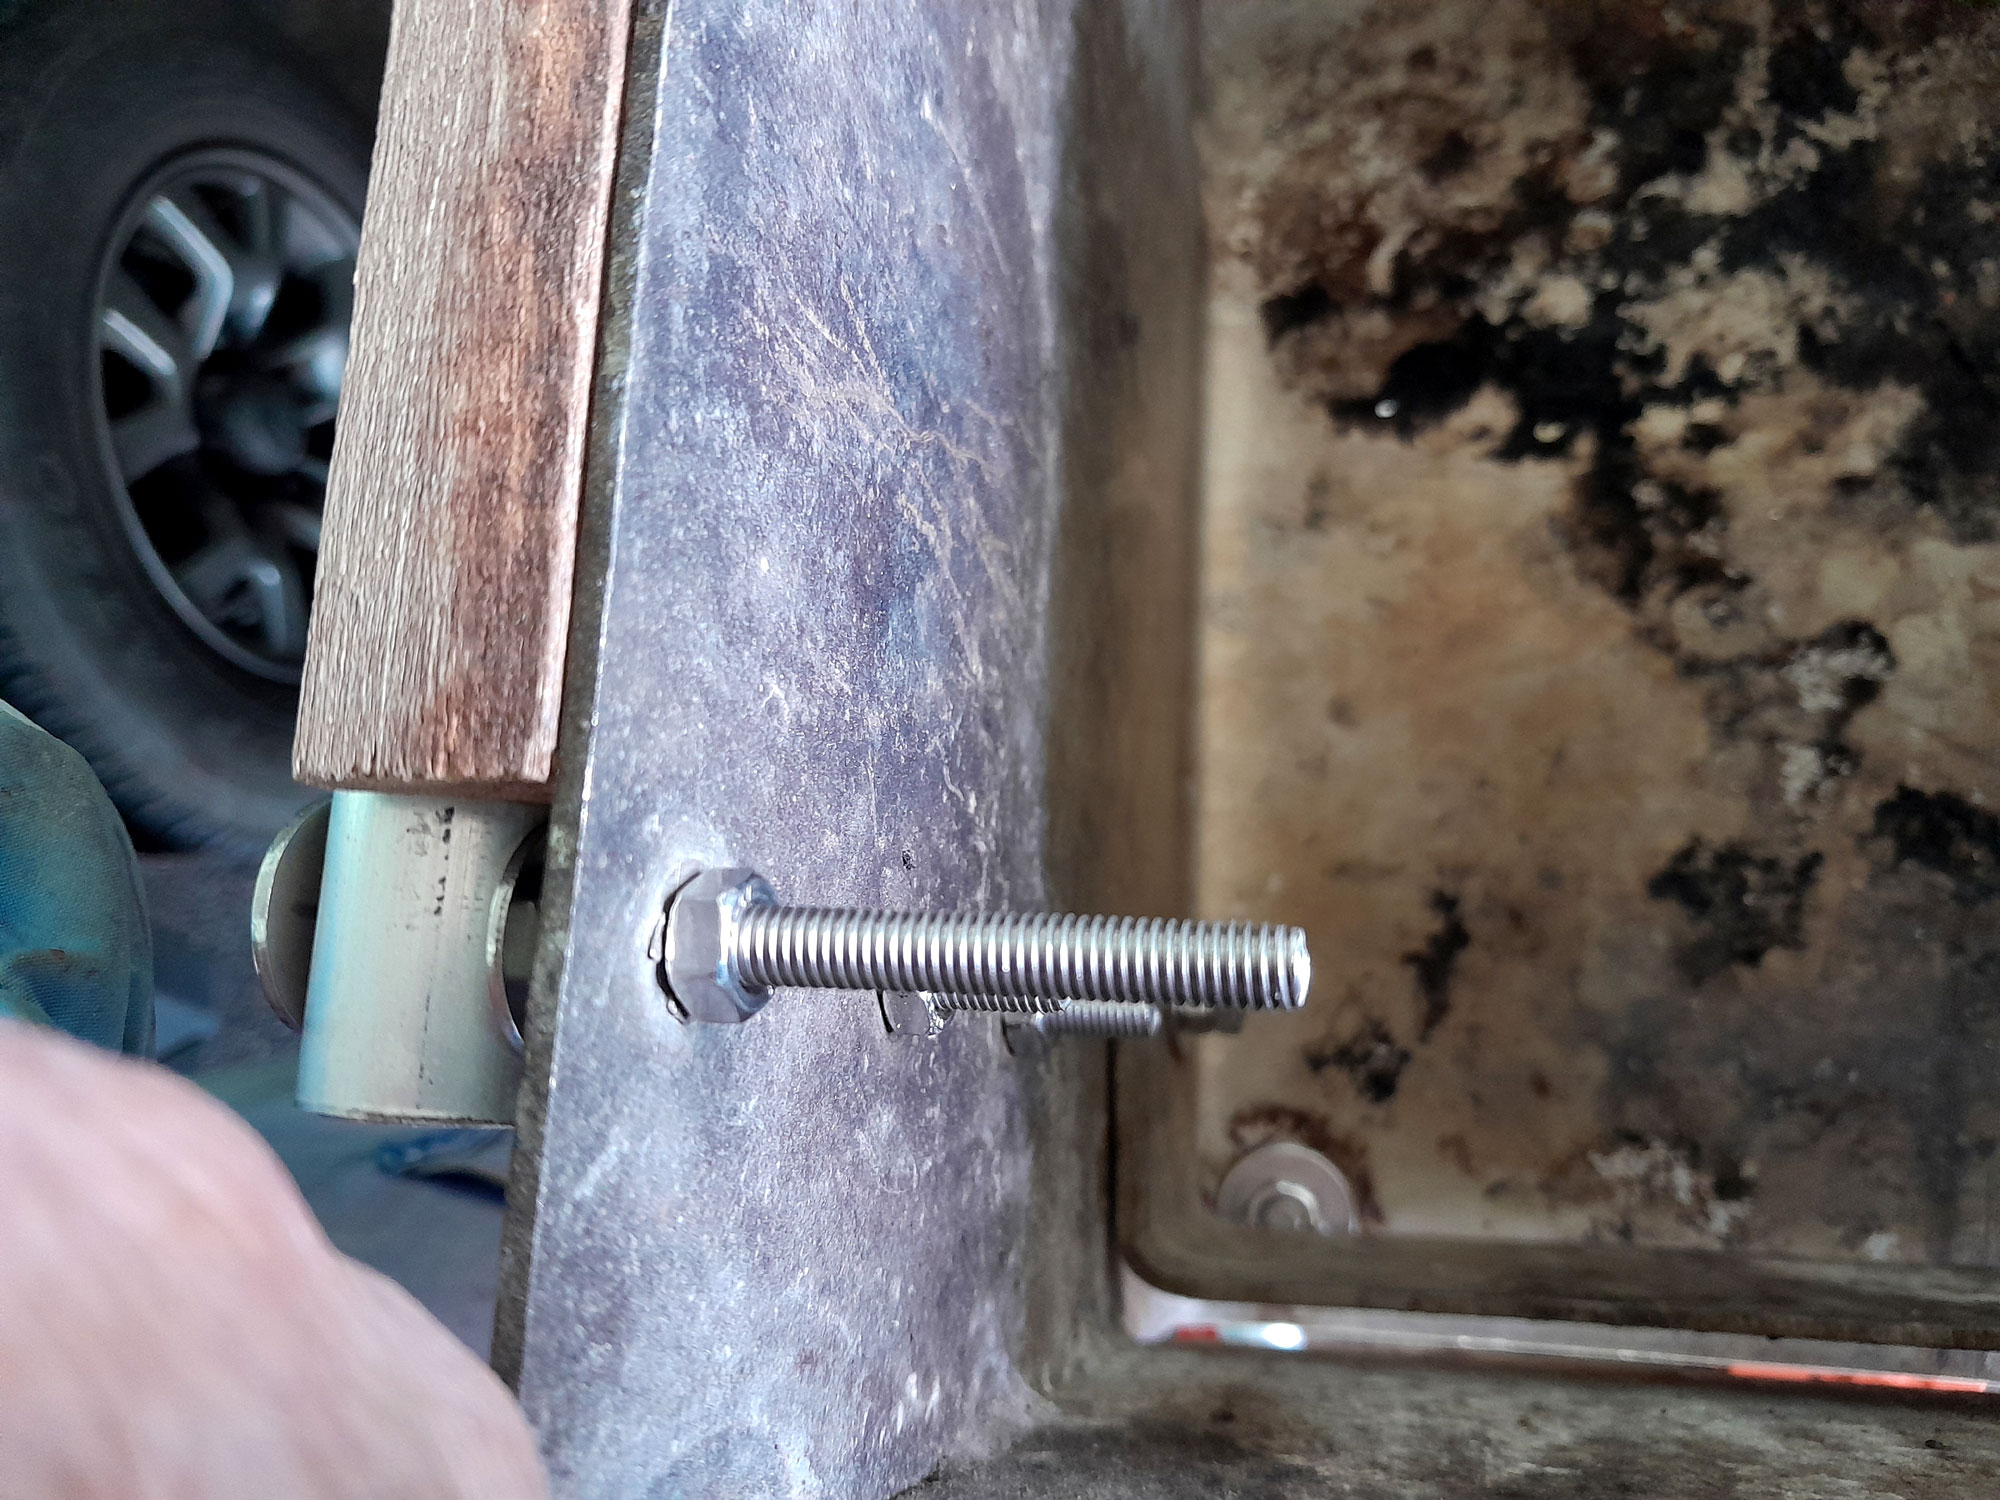
- Here’s a view of the damper arm. Here it is fully down. When fully down its bottom edge rests on the two rear leg bolt heads. This ensures a little gap to allow air into the fire from behind.
- And here it is fully open. In this position it makes emptying the fire ash very easy after use.
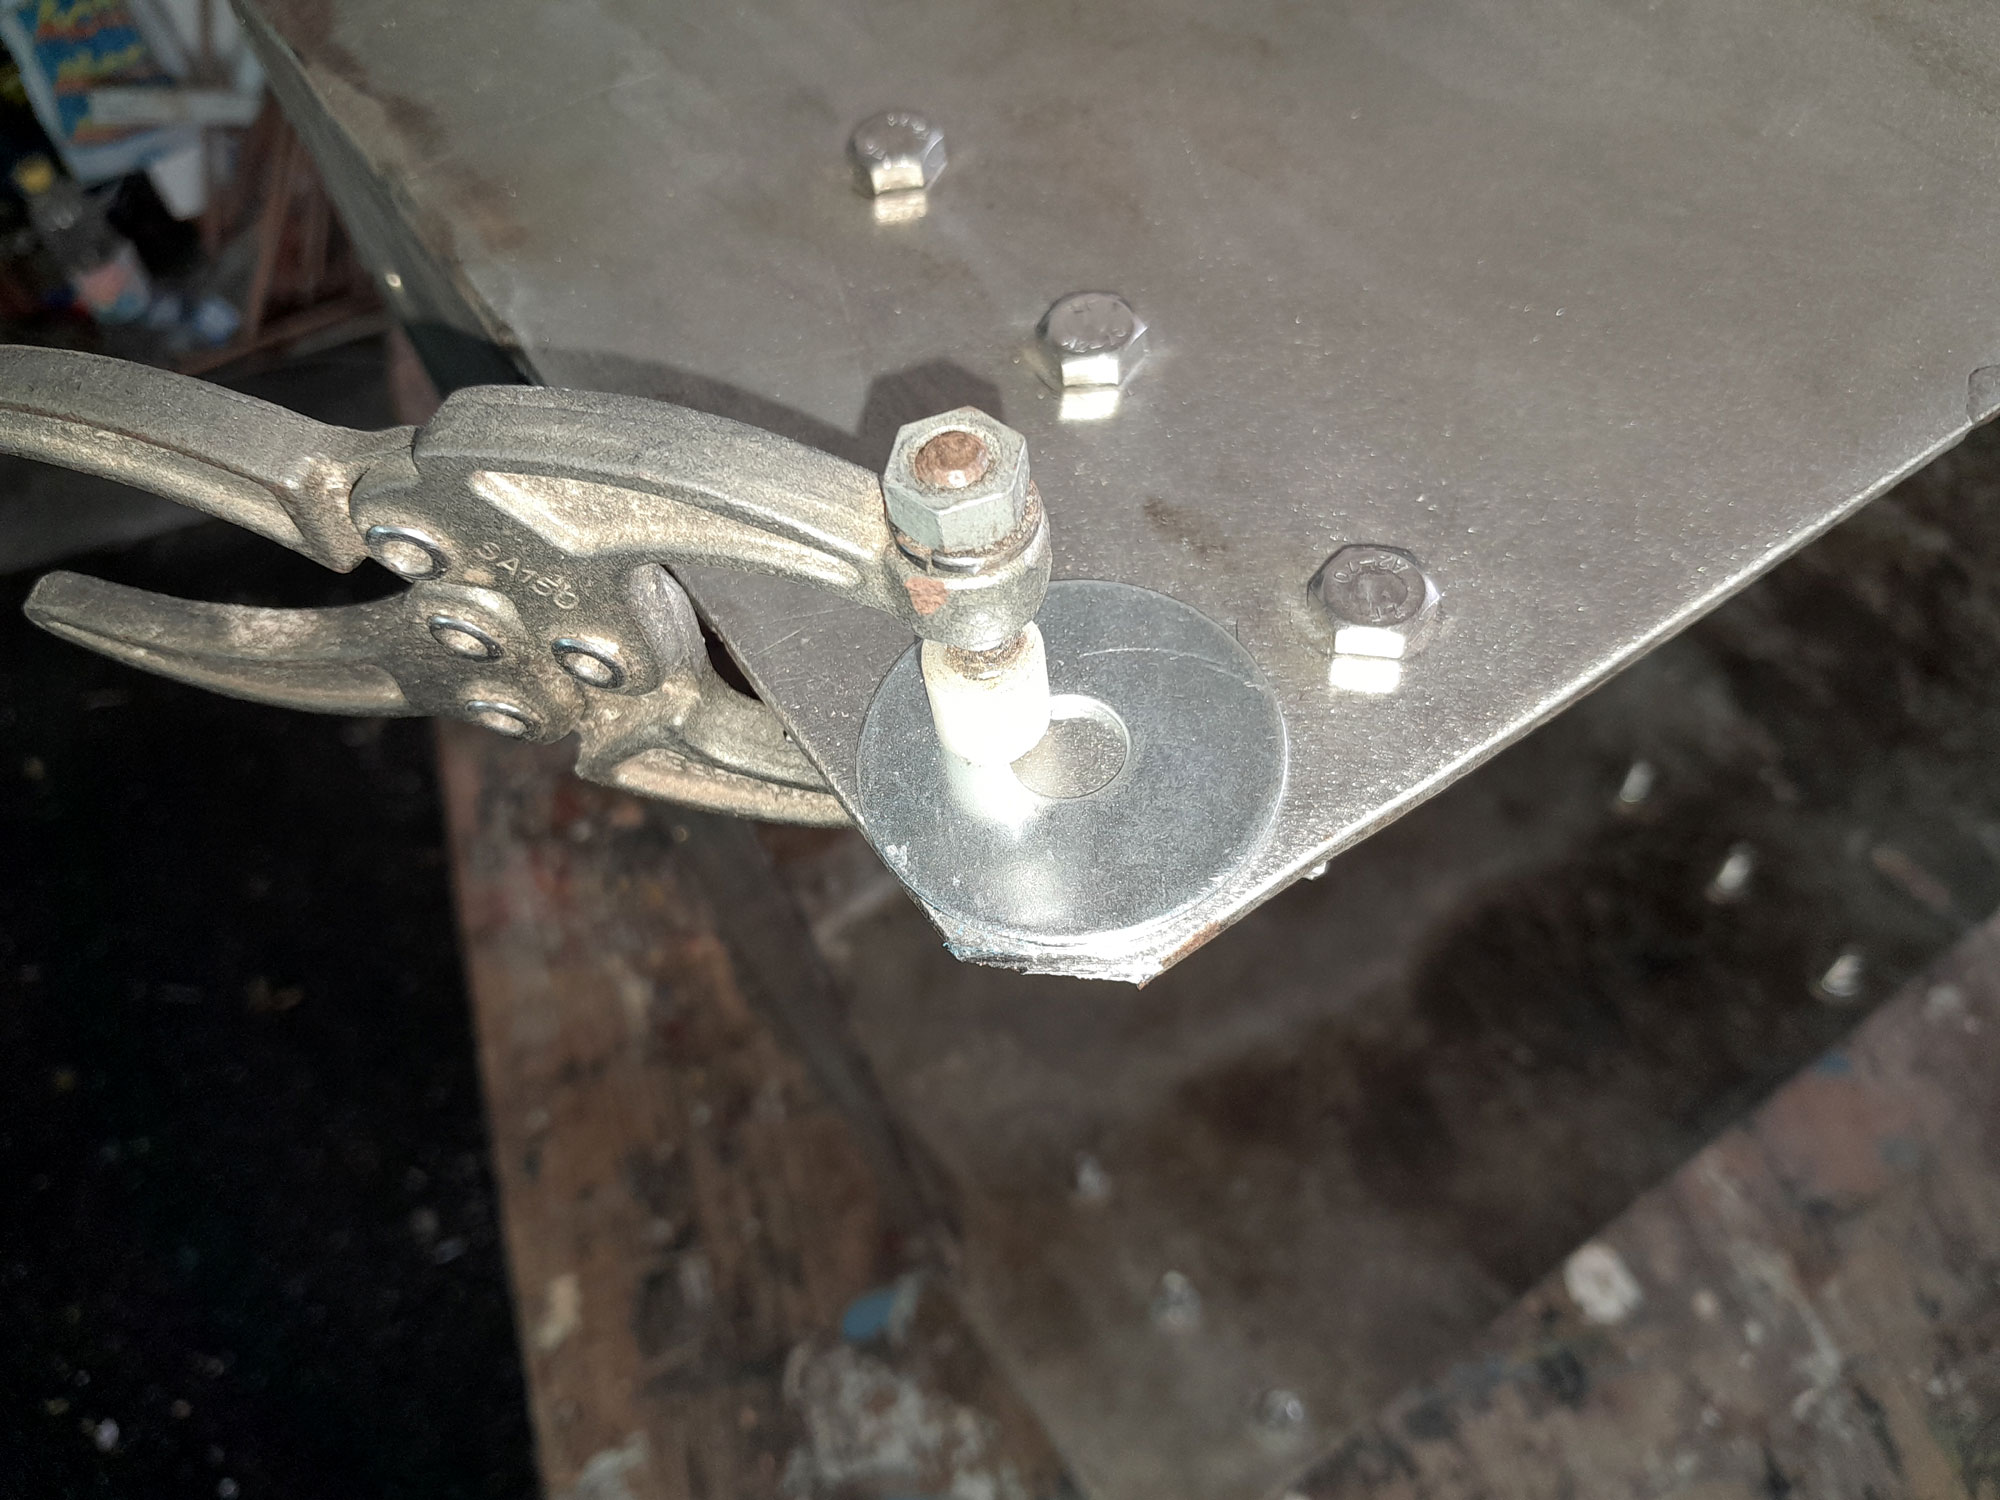
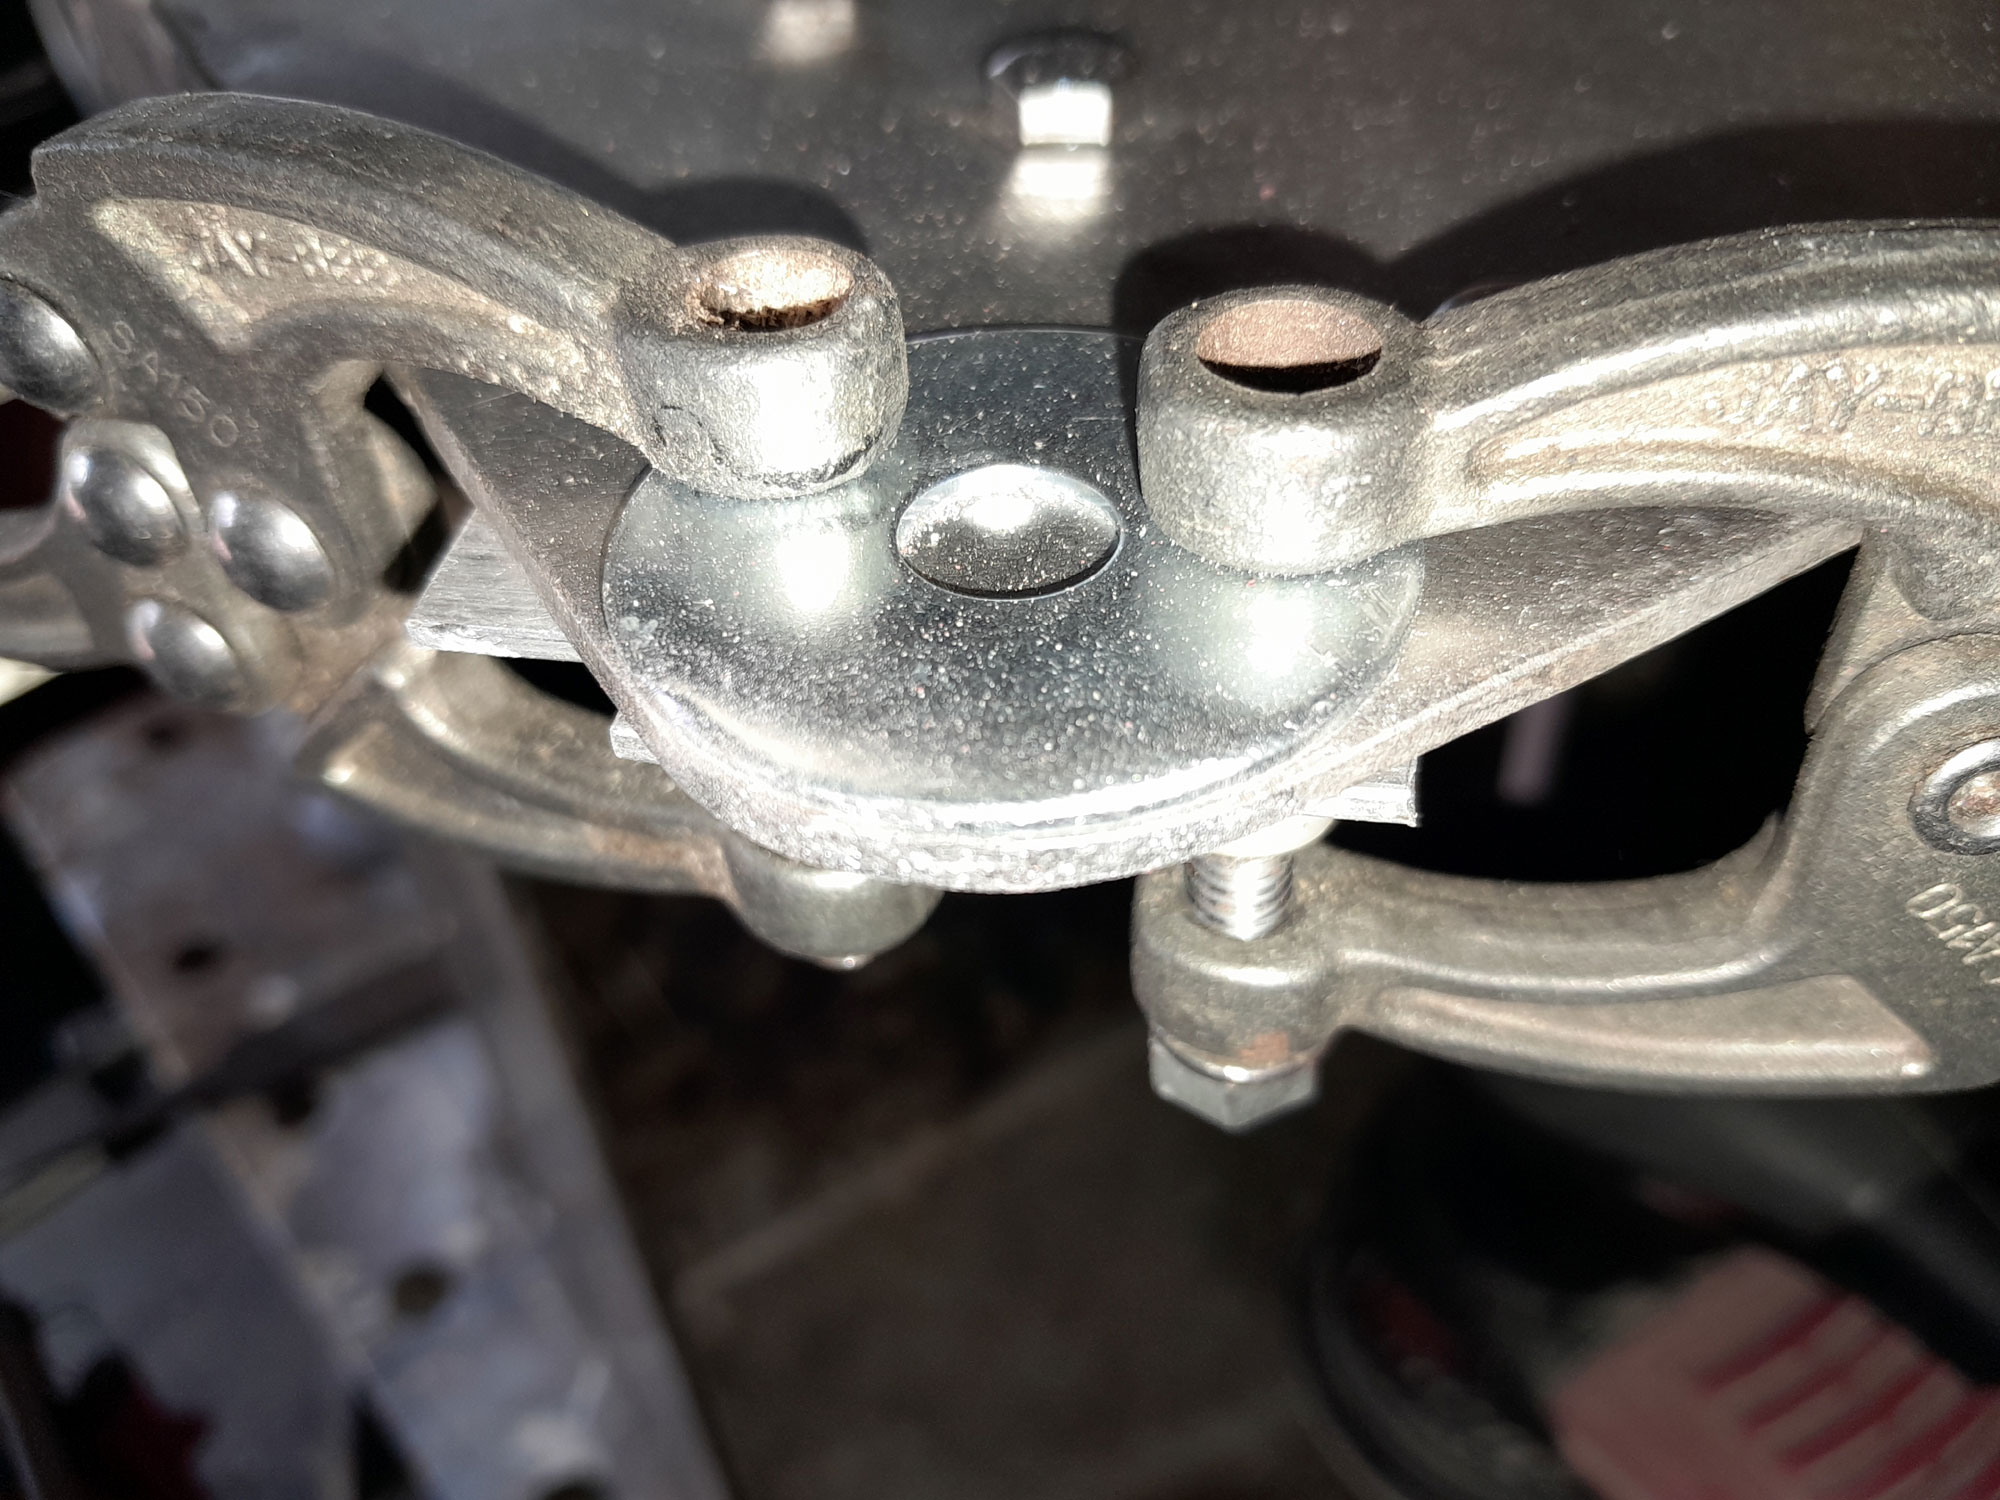
- The steel works I used do not cut curves on corners, and that sharp corner could be a risk, so I rounded it off. A couple of large fender washers would act as my guide. I sandwiched the corner between two and clamped them very firmly in position.

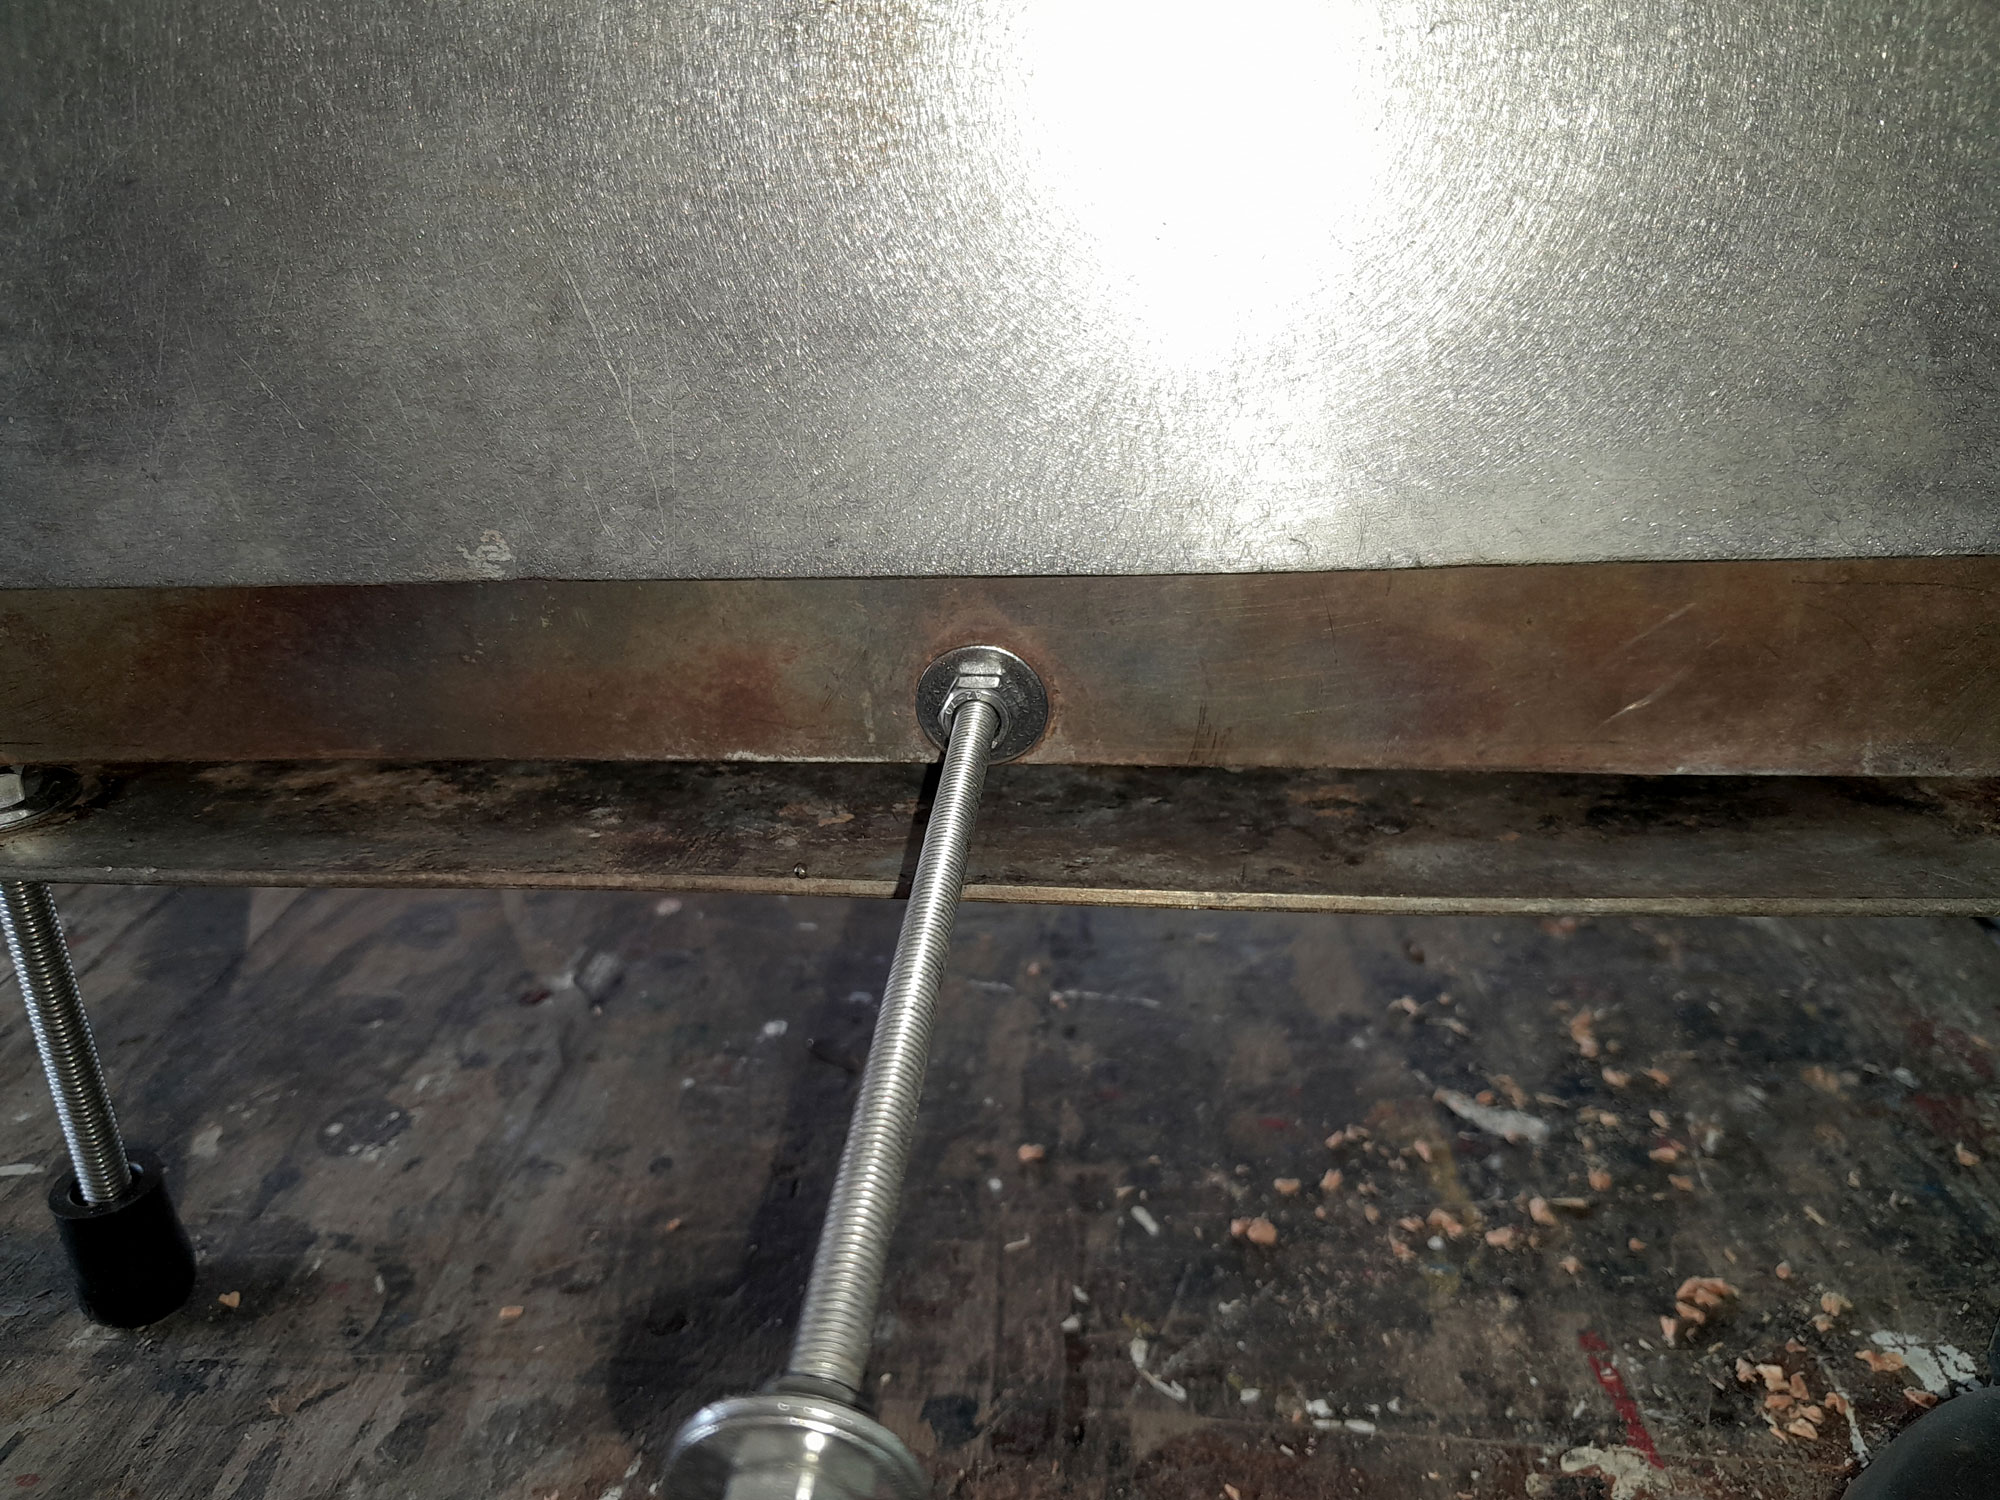
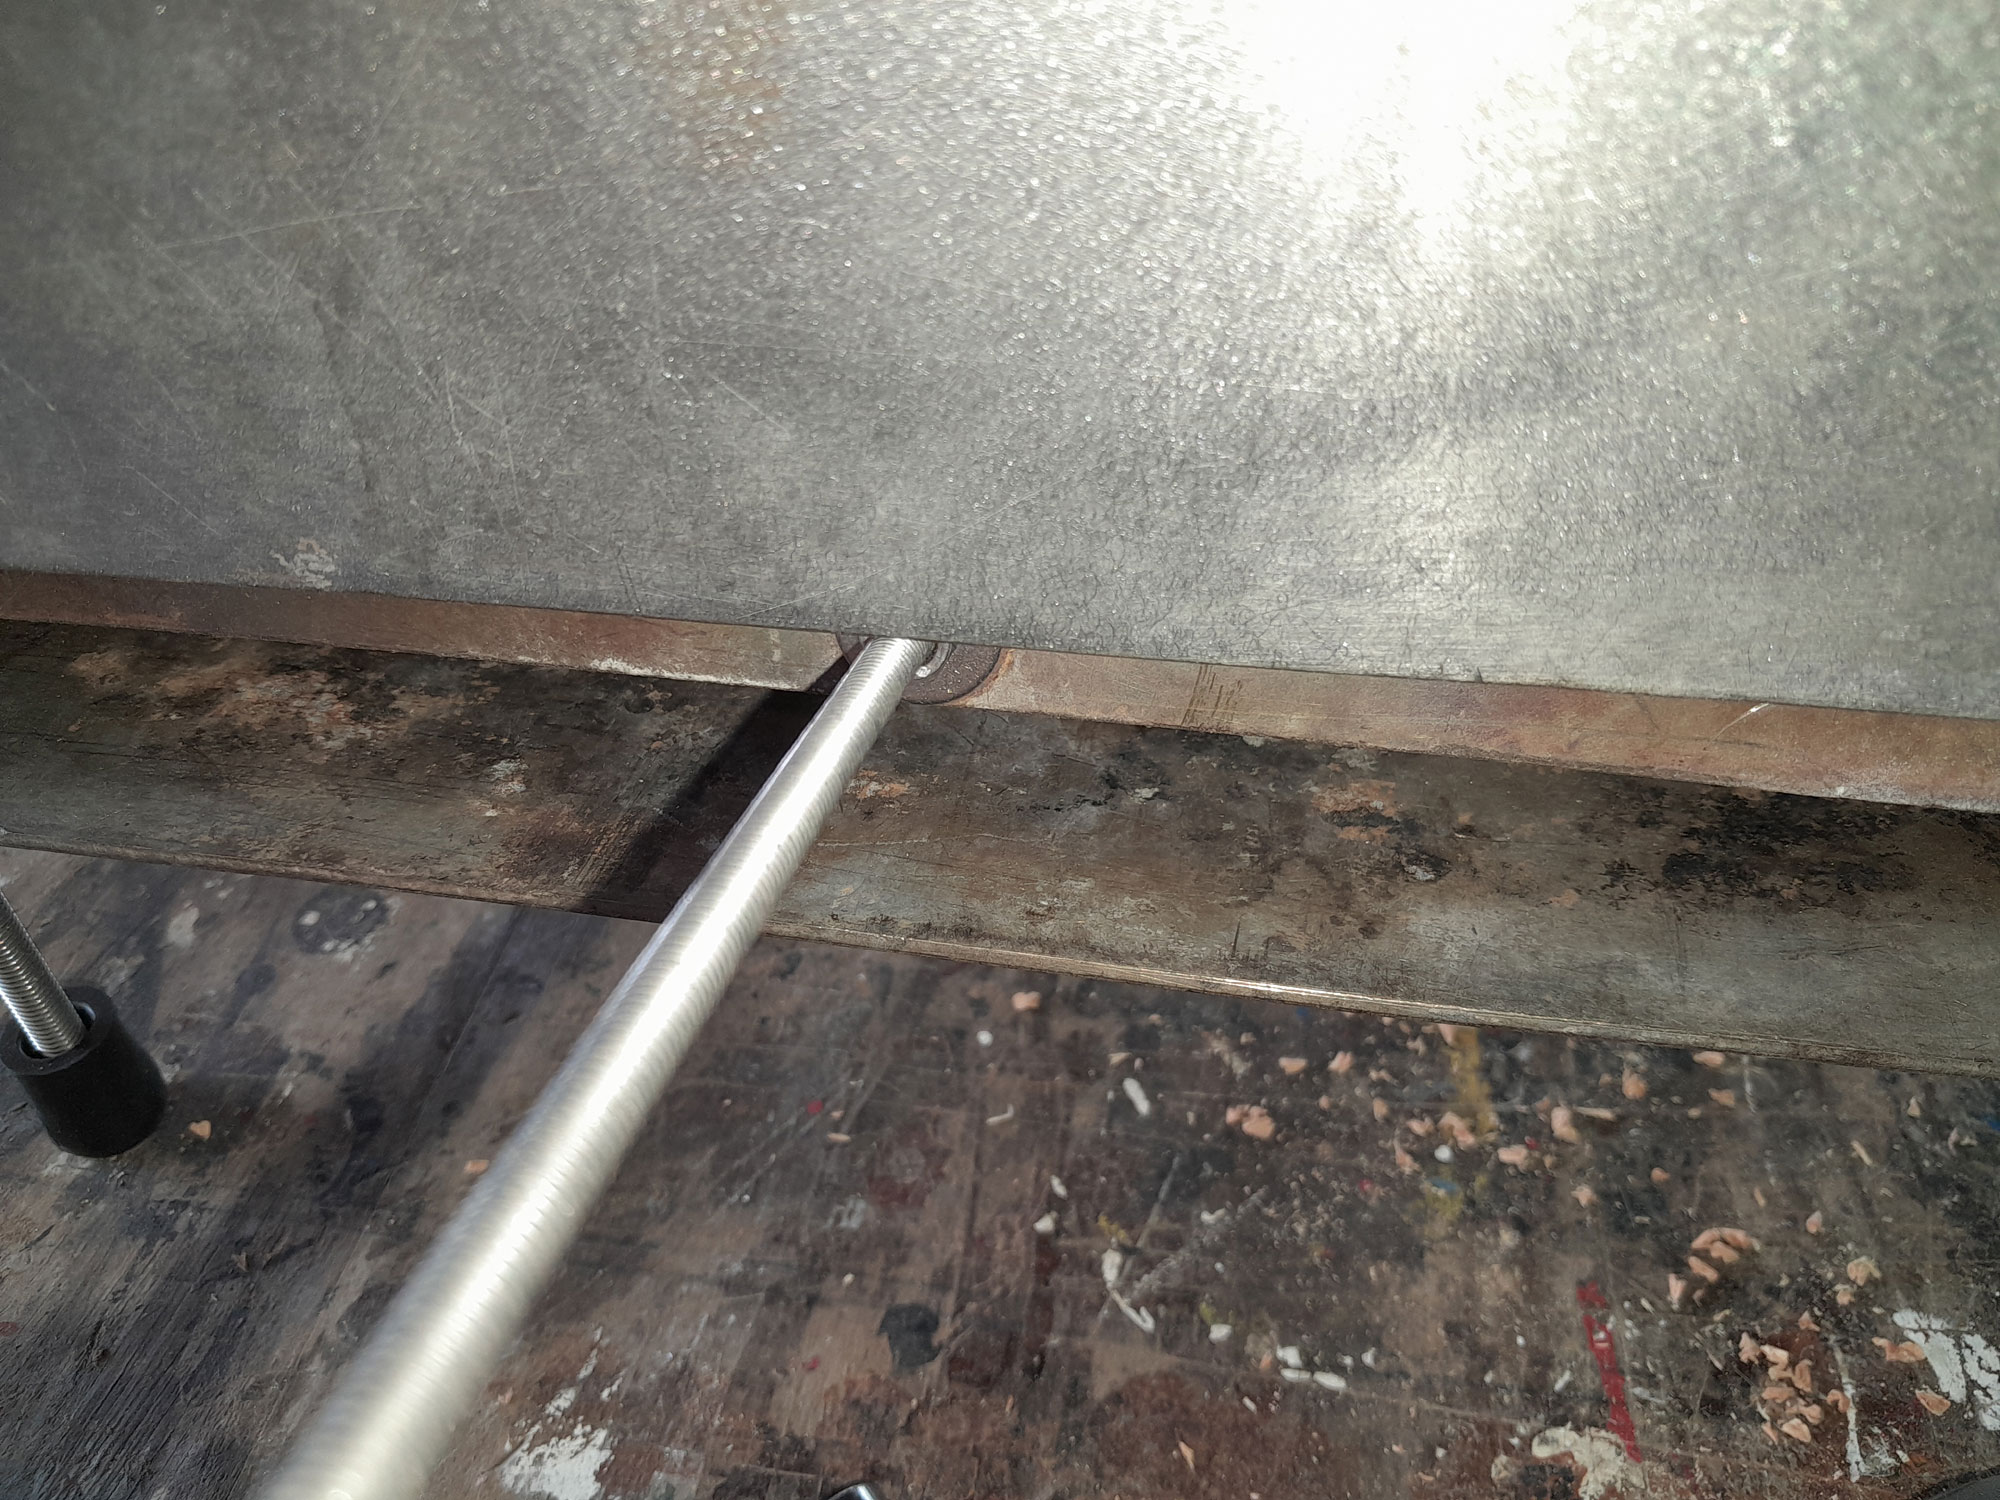
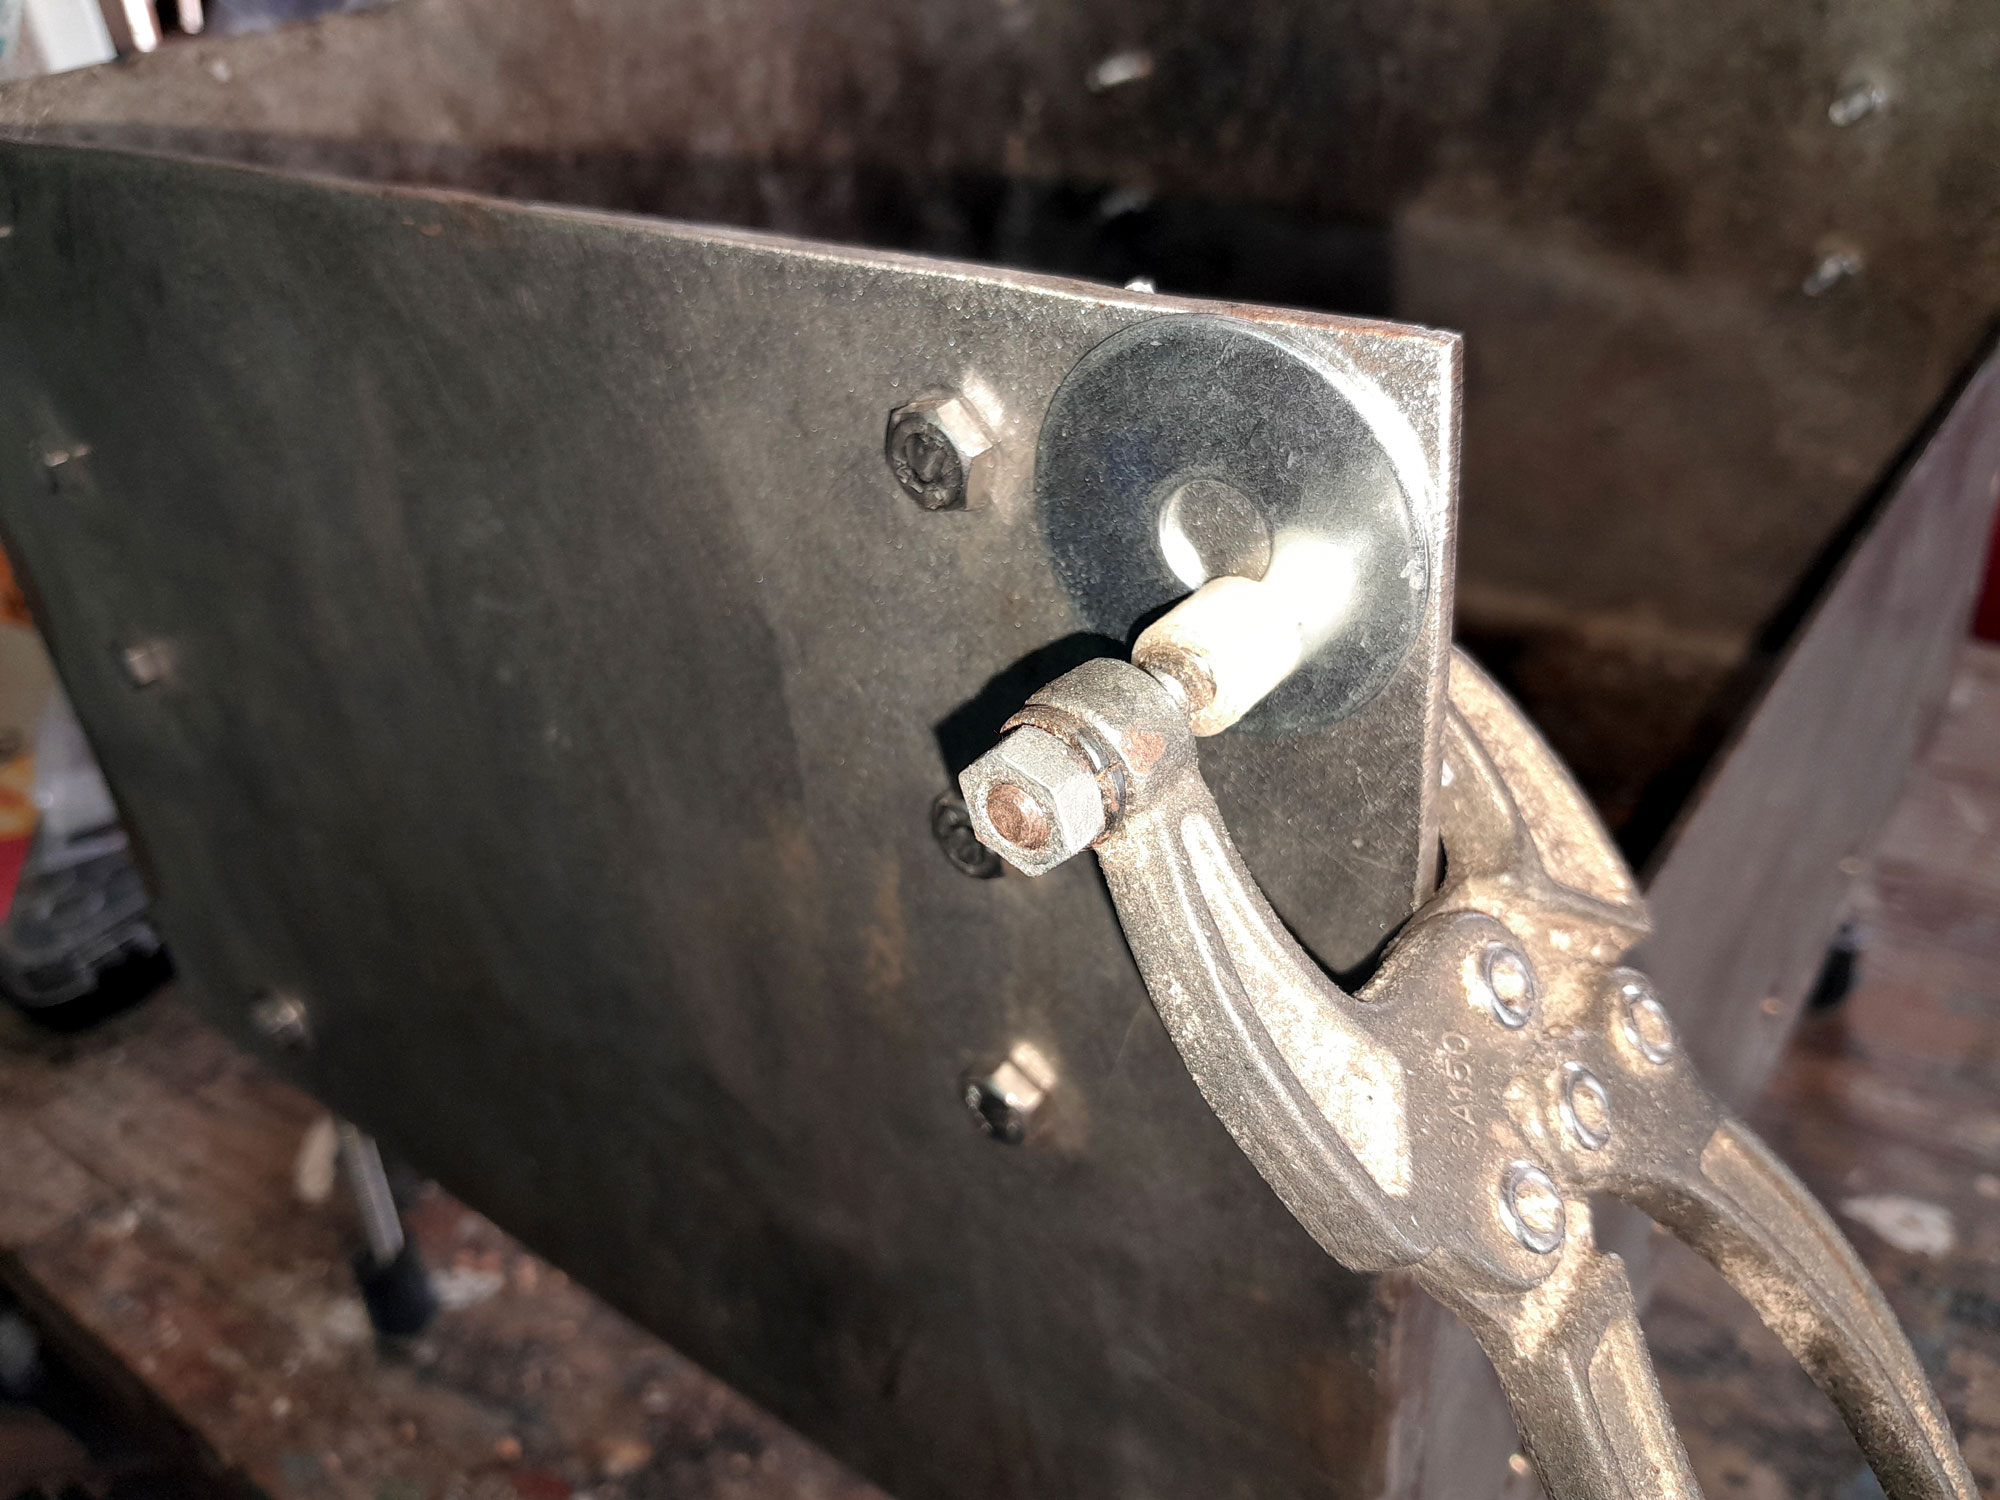
- Then I used a hacksaw to cut the corner away at an angle of about 45º.
- Then used a metal file to round off the corner, and because I used the washers as my guide, they ensured the corner were a perfect arc. I also drilled five 10mmØ ventilation holes at slightly staggered heights across the front of the braai to allow air to feed the coals. These holes, plus the gap at the back even when the damper is closed, ensure that the braai fire would not be starved of air.
- The handles were a late addition, when I found that the completed braai weighs in at a hefty 9.6kg, and with no firm grip on it, dropping on my toes would be at best very painful, and at worst, depending on which part of it hit first, possibly very injurious. So I checked the front-to-rear spacing of the top grid supports to ensure that really are 215mm. They are… Thrillsville!
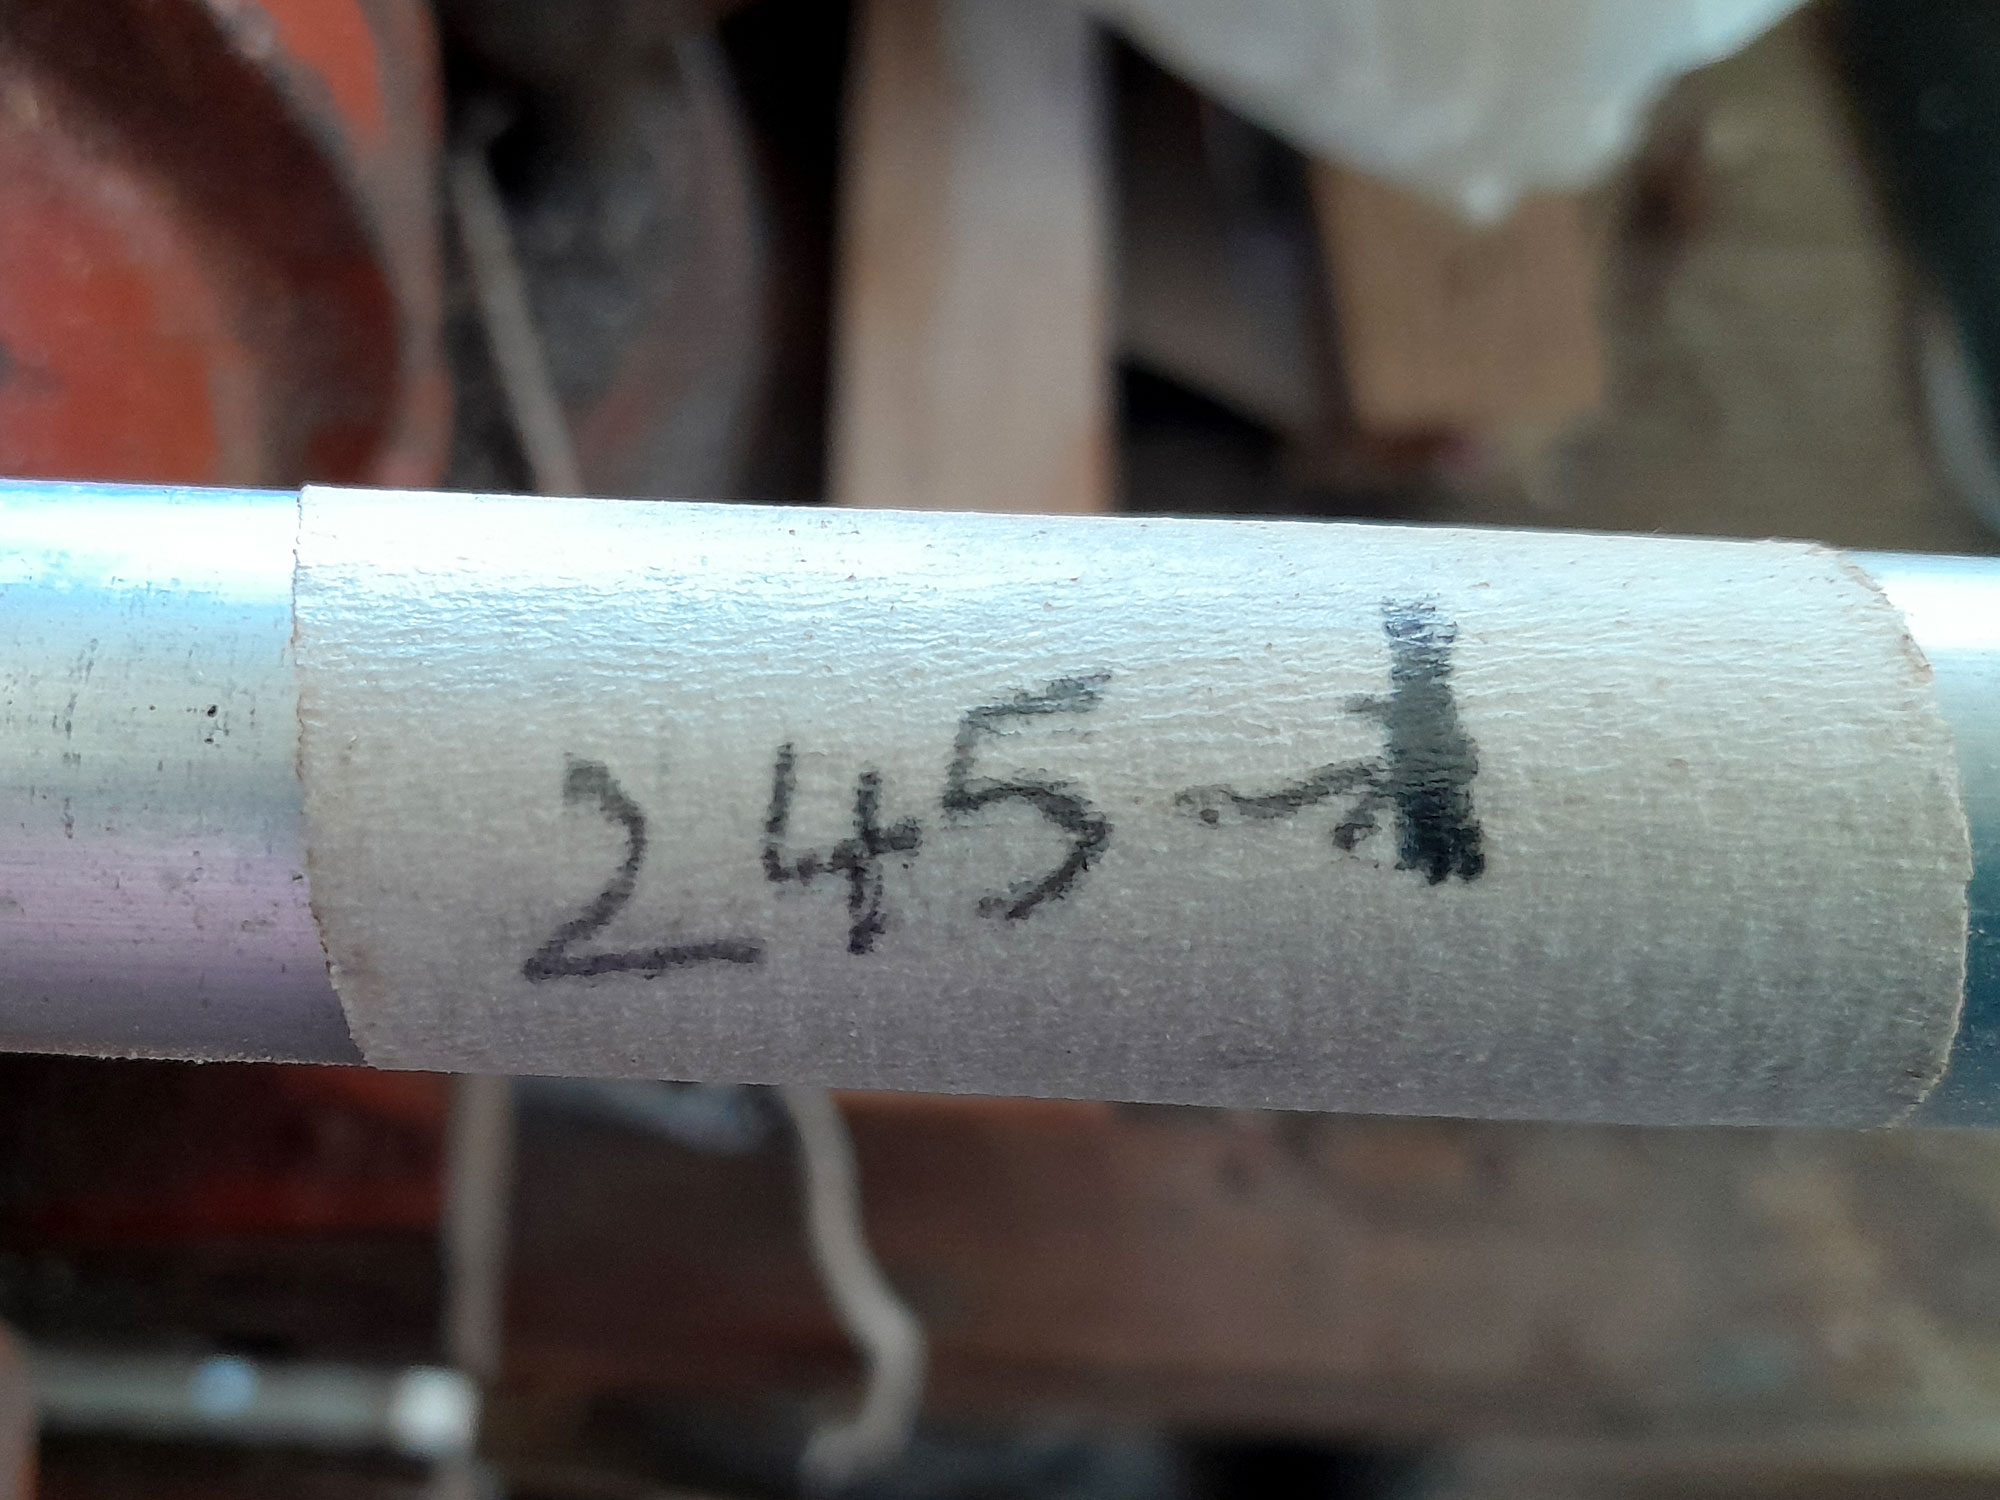
- I cut the two handles from a length of 20mmØ aluminium tube, each handle being 245mm long – allowing for a 15mm overhang at each end of the tube.
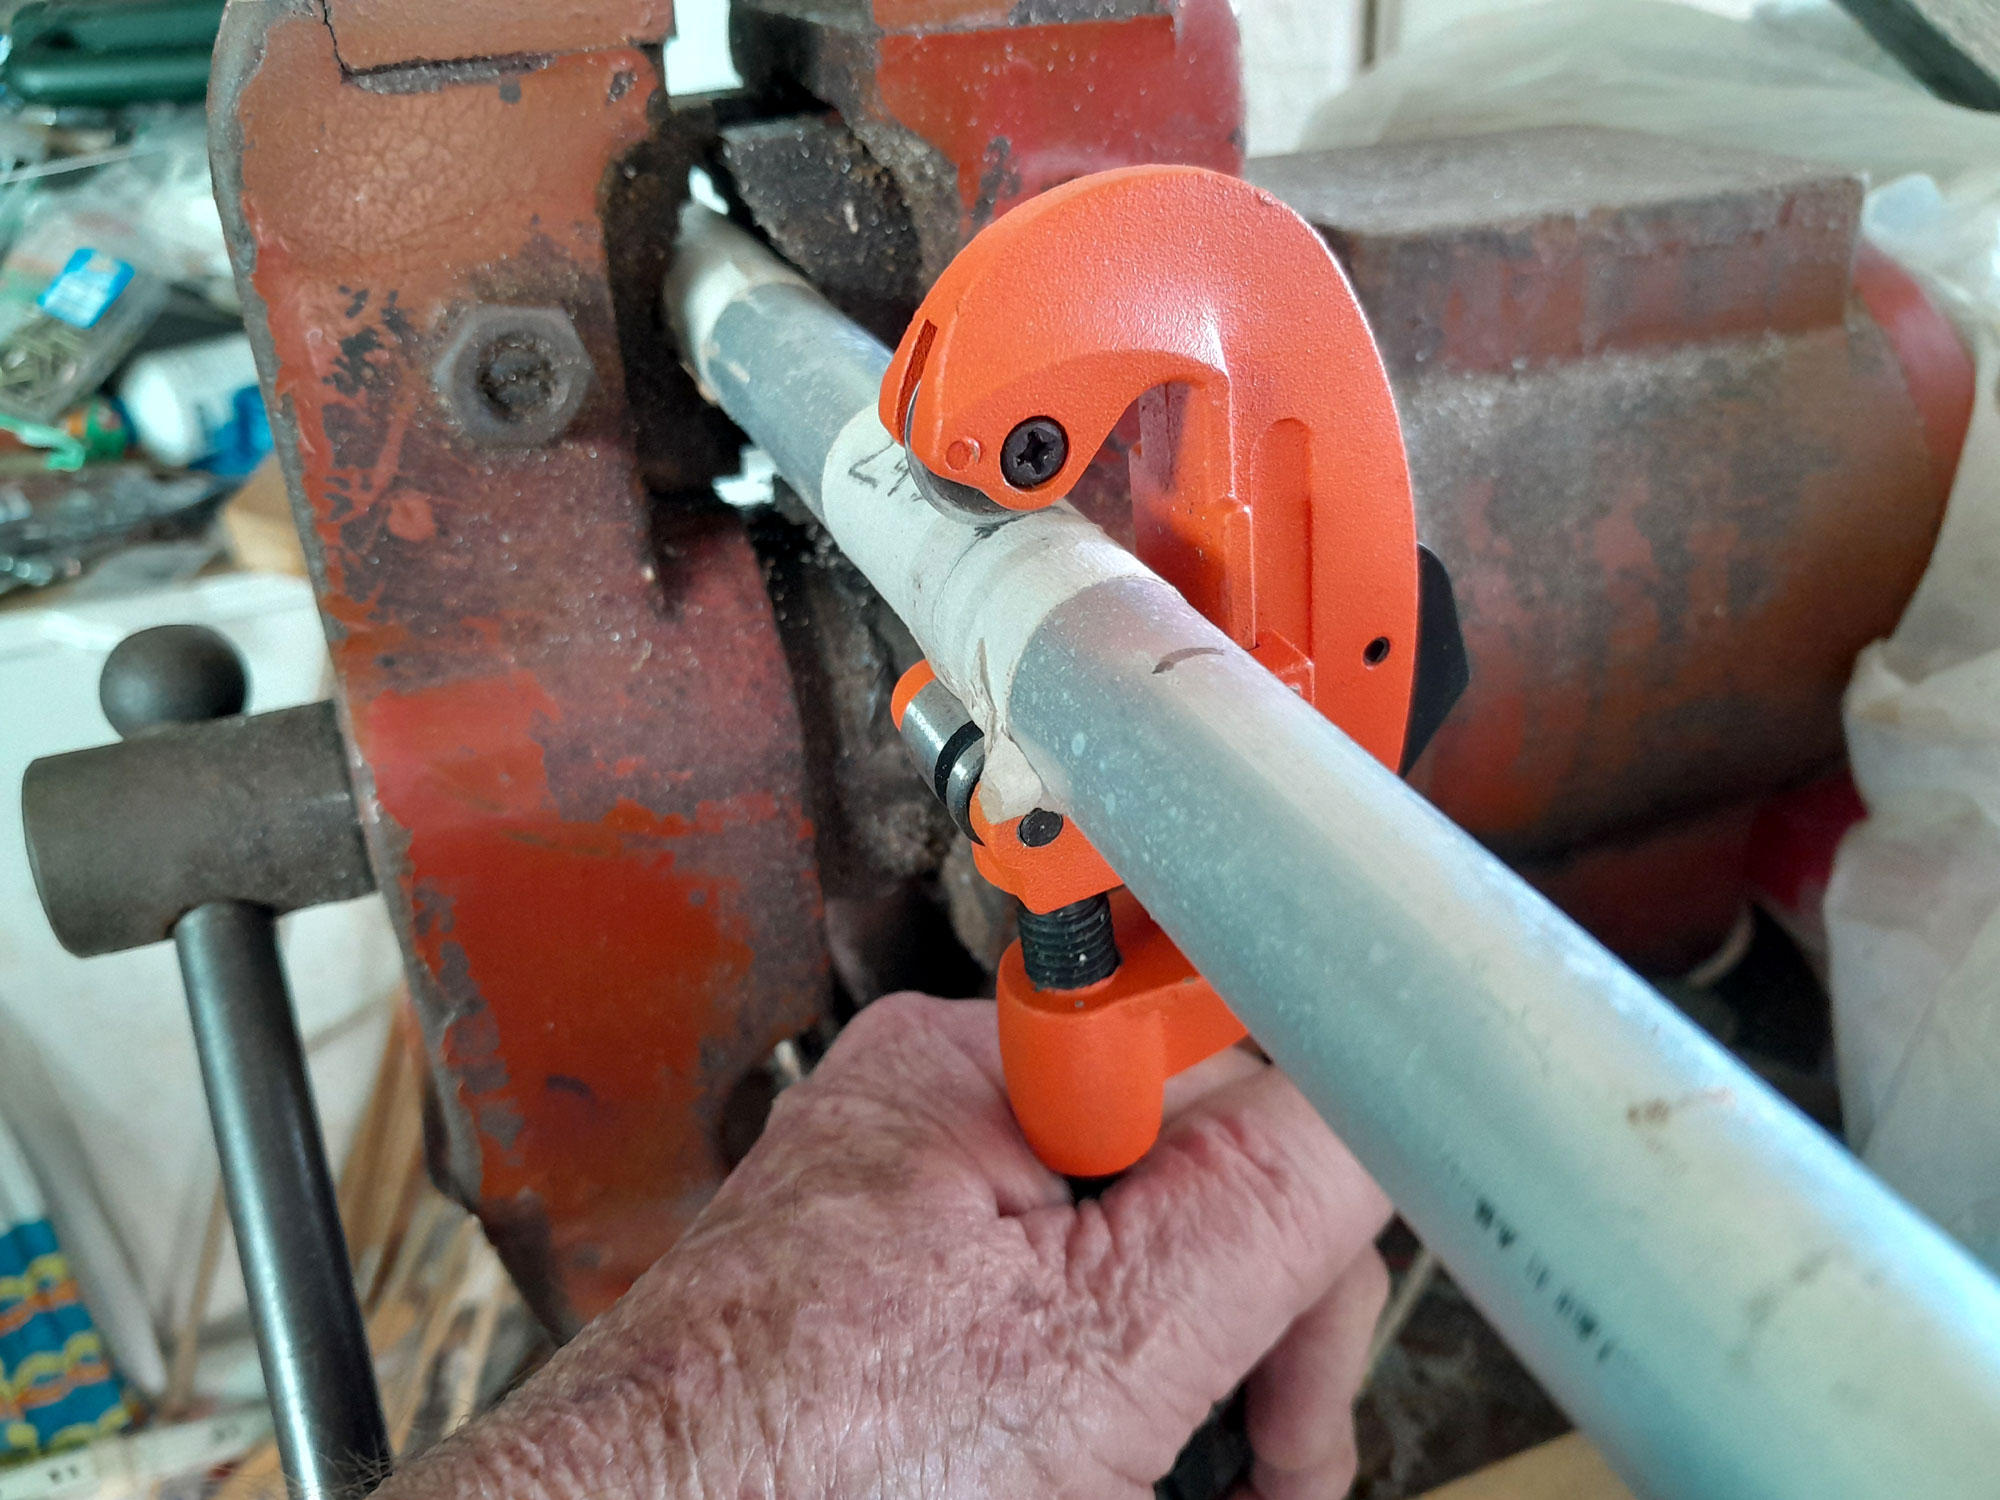
- The easiest and neatest method to cut a tube or pipe is with a pipe cutter, as shown here. With the tube lightly clamped in a vice (mine rotates 360º and has the normal jaws you’d expect, but also pipe jaws.

- I drilled a 6mmØ hole at one end of the handle, 15mm in from the end, and having removed the original 6x16mm set screw, replaced it with the final 6x75mm set screw and snugly bolted one end of the handle in position. Then I used a short length of concave (cove) meranti moulding as my guide and clamped it into position. With the tube pulled up fully against the moulding, and the latter being perfectly on the top rim of the braai box, I could then, by drilling from the inside of the box, and through the previously drilled 6mmØ hole for the grid support, drill the second hole in through the tube.
- Like so, and I now had the two handle set screws in position.
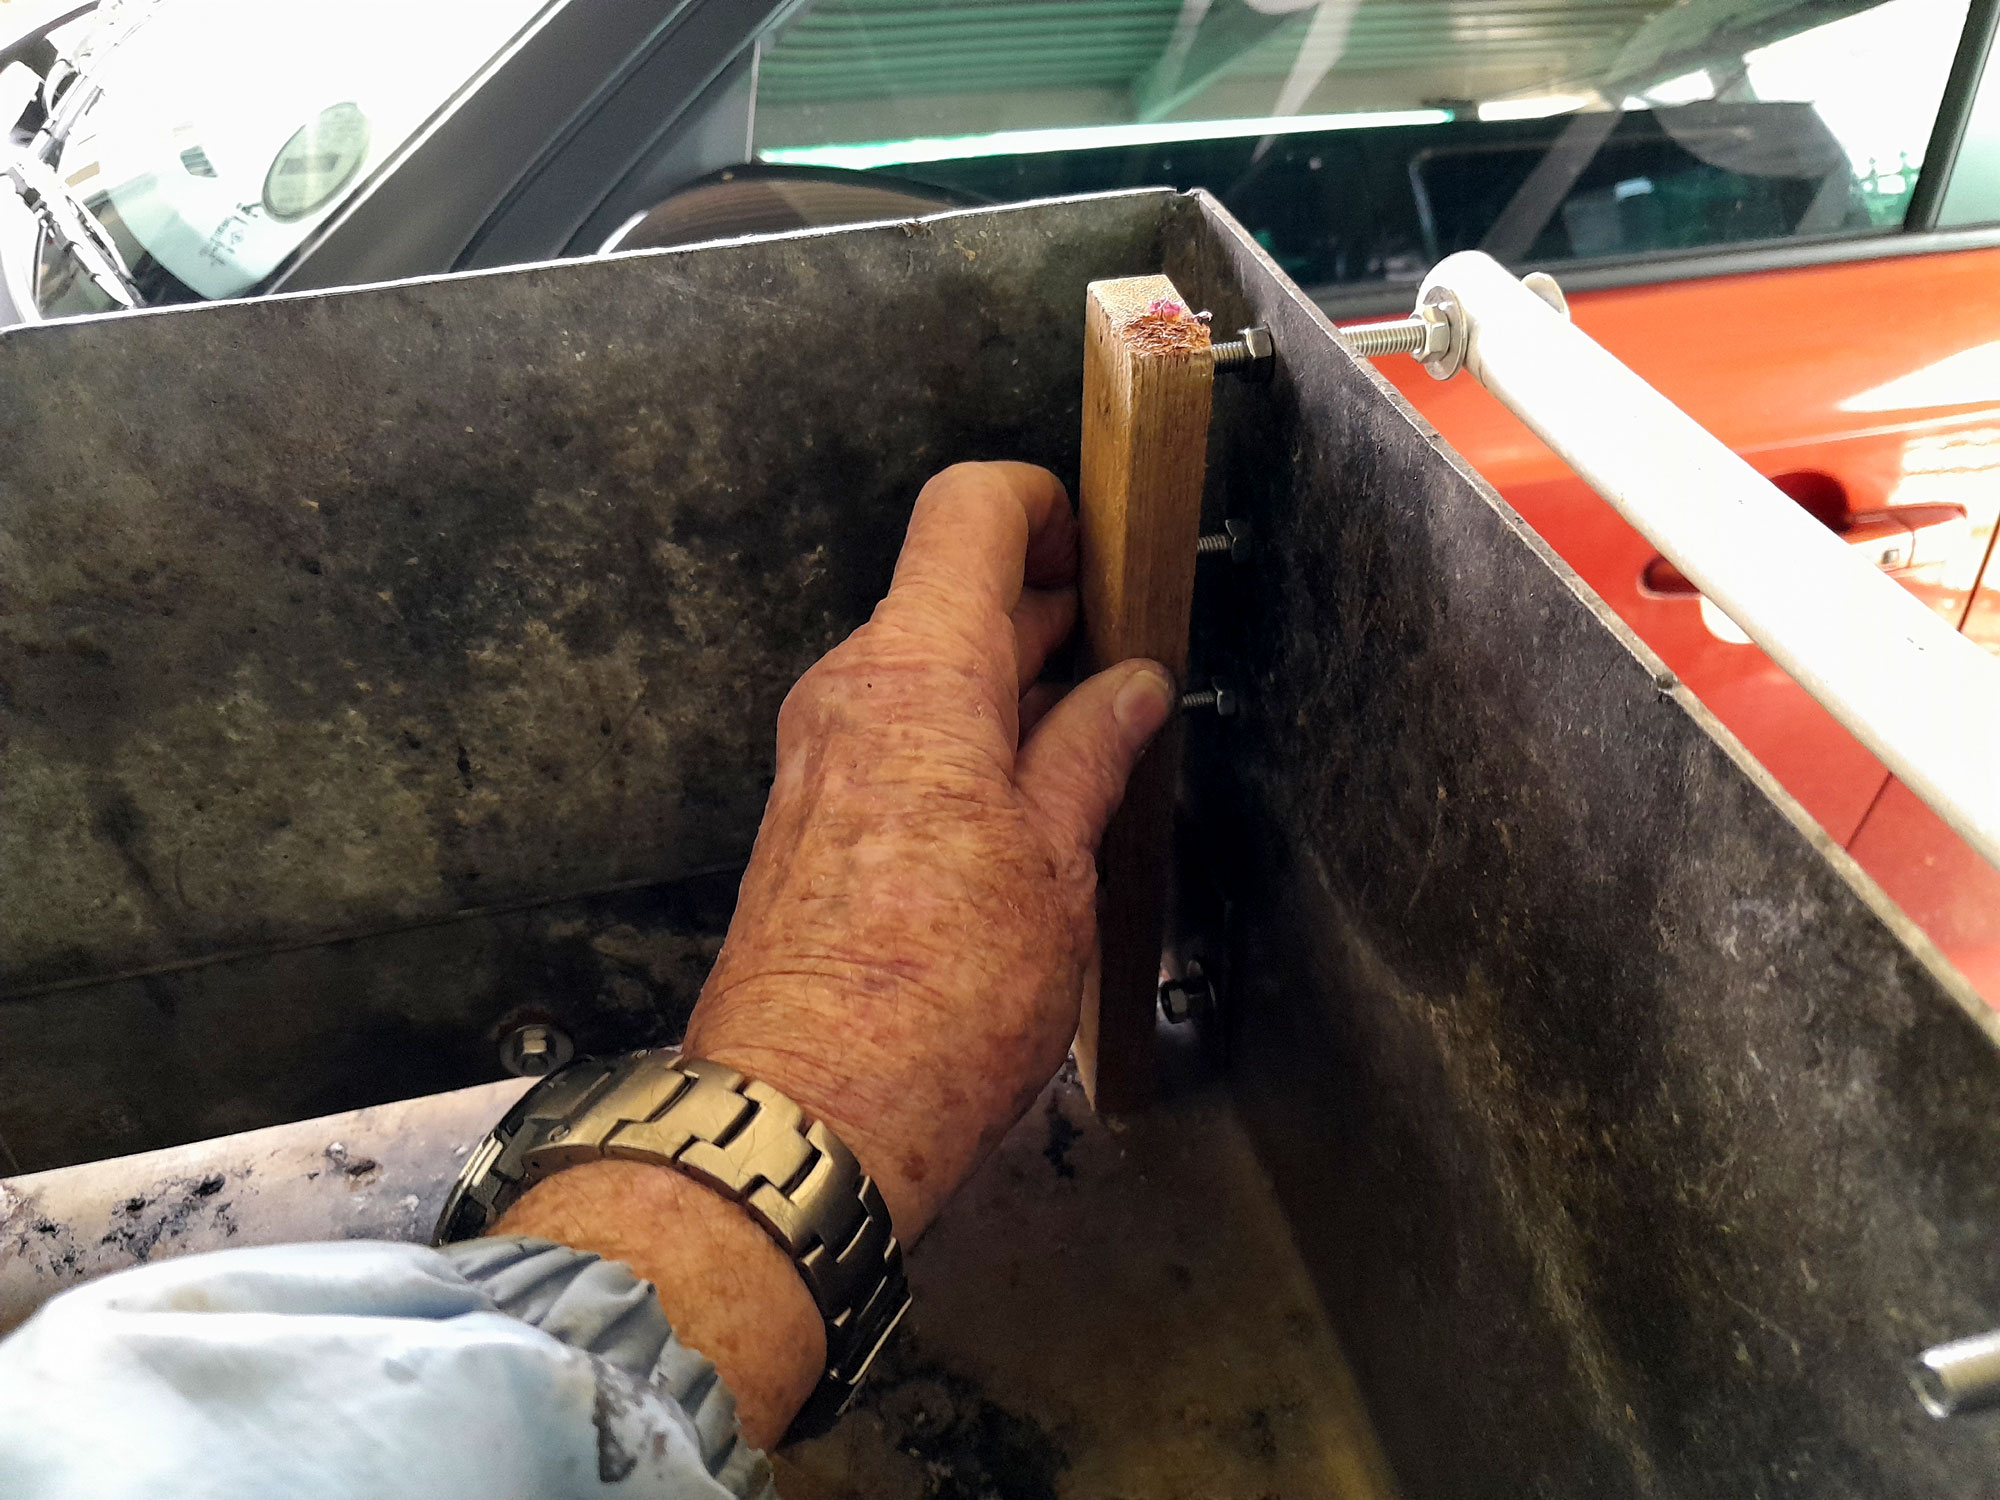
- I removed them both and using two 16mm flat washers per end, bolted the attachment set screws to the handle, then I added a second nut to each attachment set screw and a 6x16mm flat washer, and slipped them into position on the braai box sides, and added a third washer and nut to the inner end of the attachment arm set screw and, using a short length of scrap wood, set the inner support length to match the two below the handle. I then tightened the nut on the outside of the side, thus locking the attachment set screw in position and setting the distance of the handle from the side of the braai box.
- And here is one of the completed handle assemblies… quite a neat finish… well, I think so anyway! And the handles are exactly level with the rim of the braai. At the same time, I drilled an 8mmØ holes at each corner of the base, 20mm in from the front and rear edges, and 20mm in from the sides, and fitted the 100x8mmØ legs, each fitted with 8mm flat washers top and bottom where the are bolted to the base, and slipped their 16mm rubber ferrules on to each head… the bolts are fitted with the threaded end uppermost, and the head at the foot – if that makes sense. Doing it this way allows you to use the two nuts on each leg fixing the leg to the base to be adjusted if there has been any slight error in the making of the box. The ferrules simply make the feet friendlier to any surface on which you put the braai.
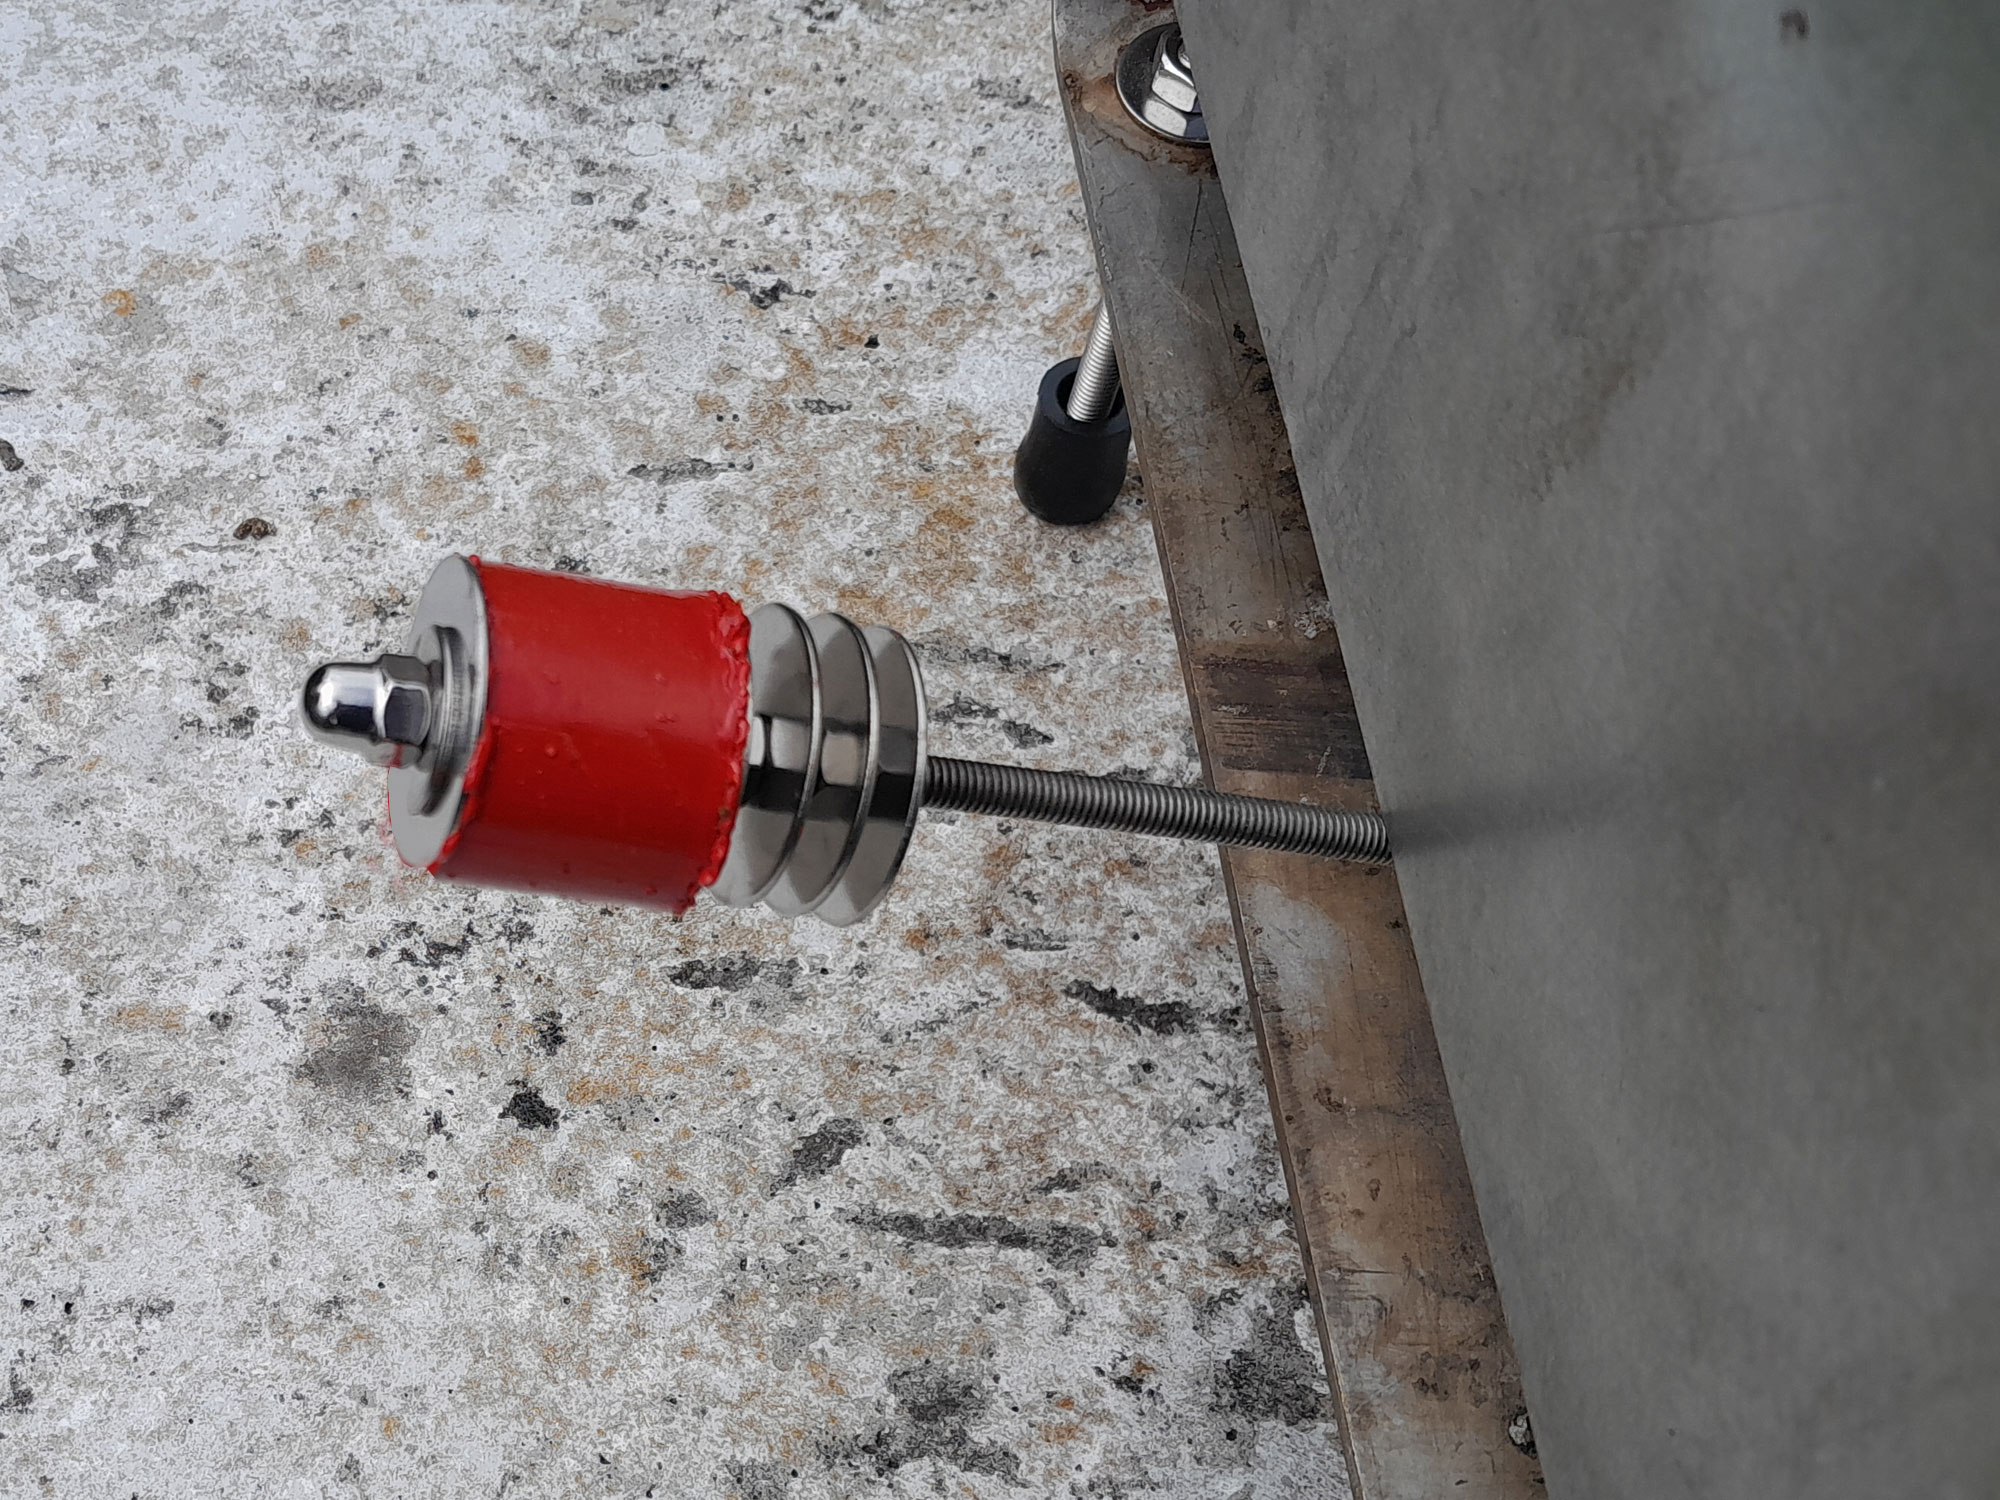
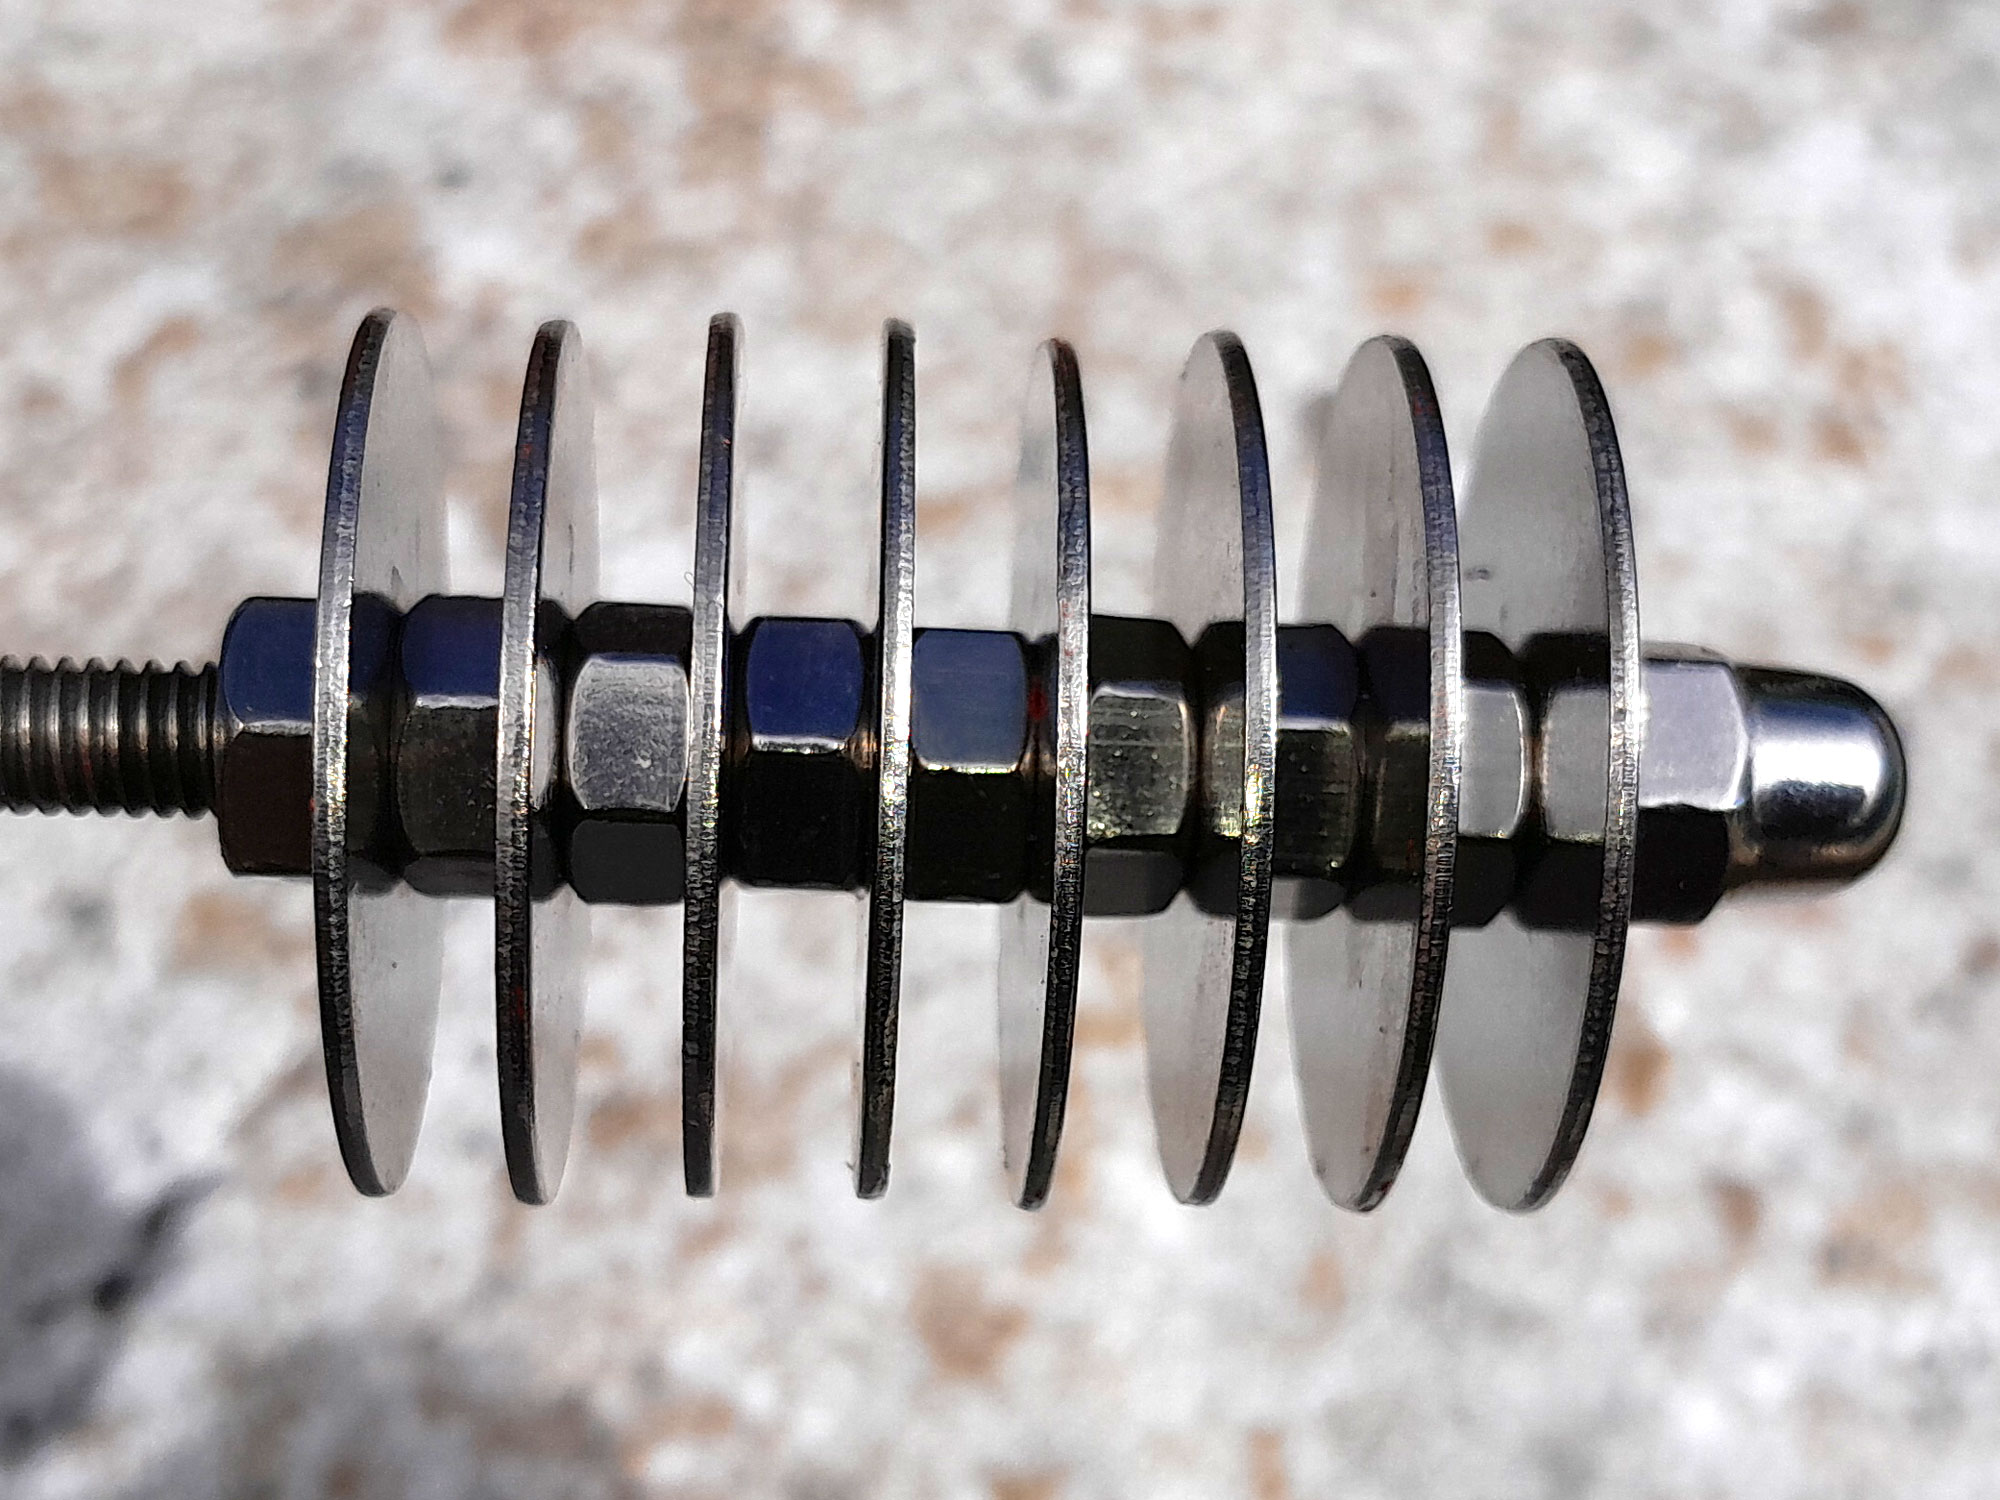
- My first version of the damper handle was a short length – 35mm or so of 32mmØ wood dowel, painted red as a warning, with a three 6x32mm fender washers cooling vanes. Here the damper is in its closed position.


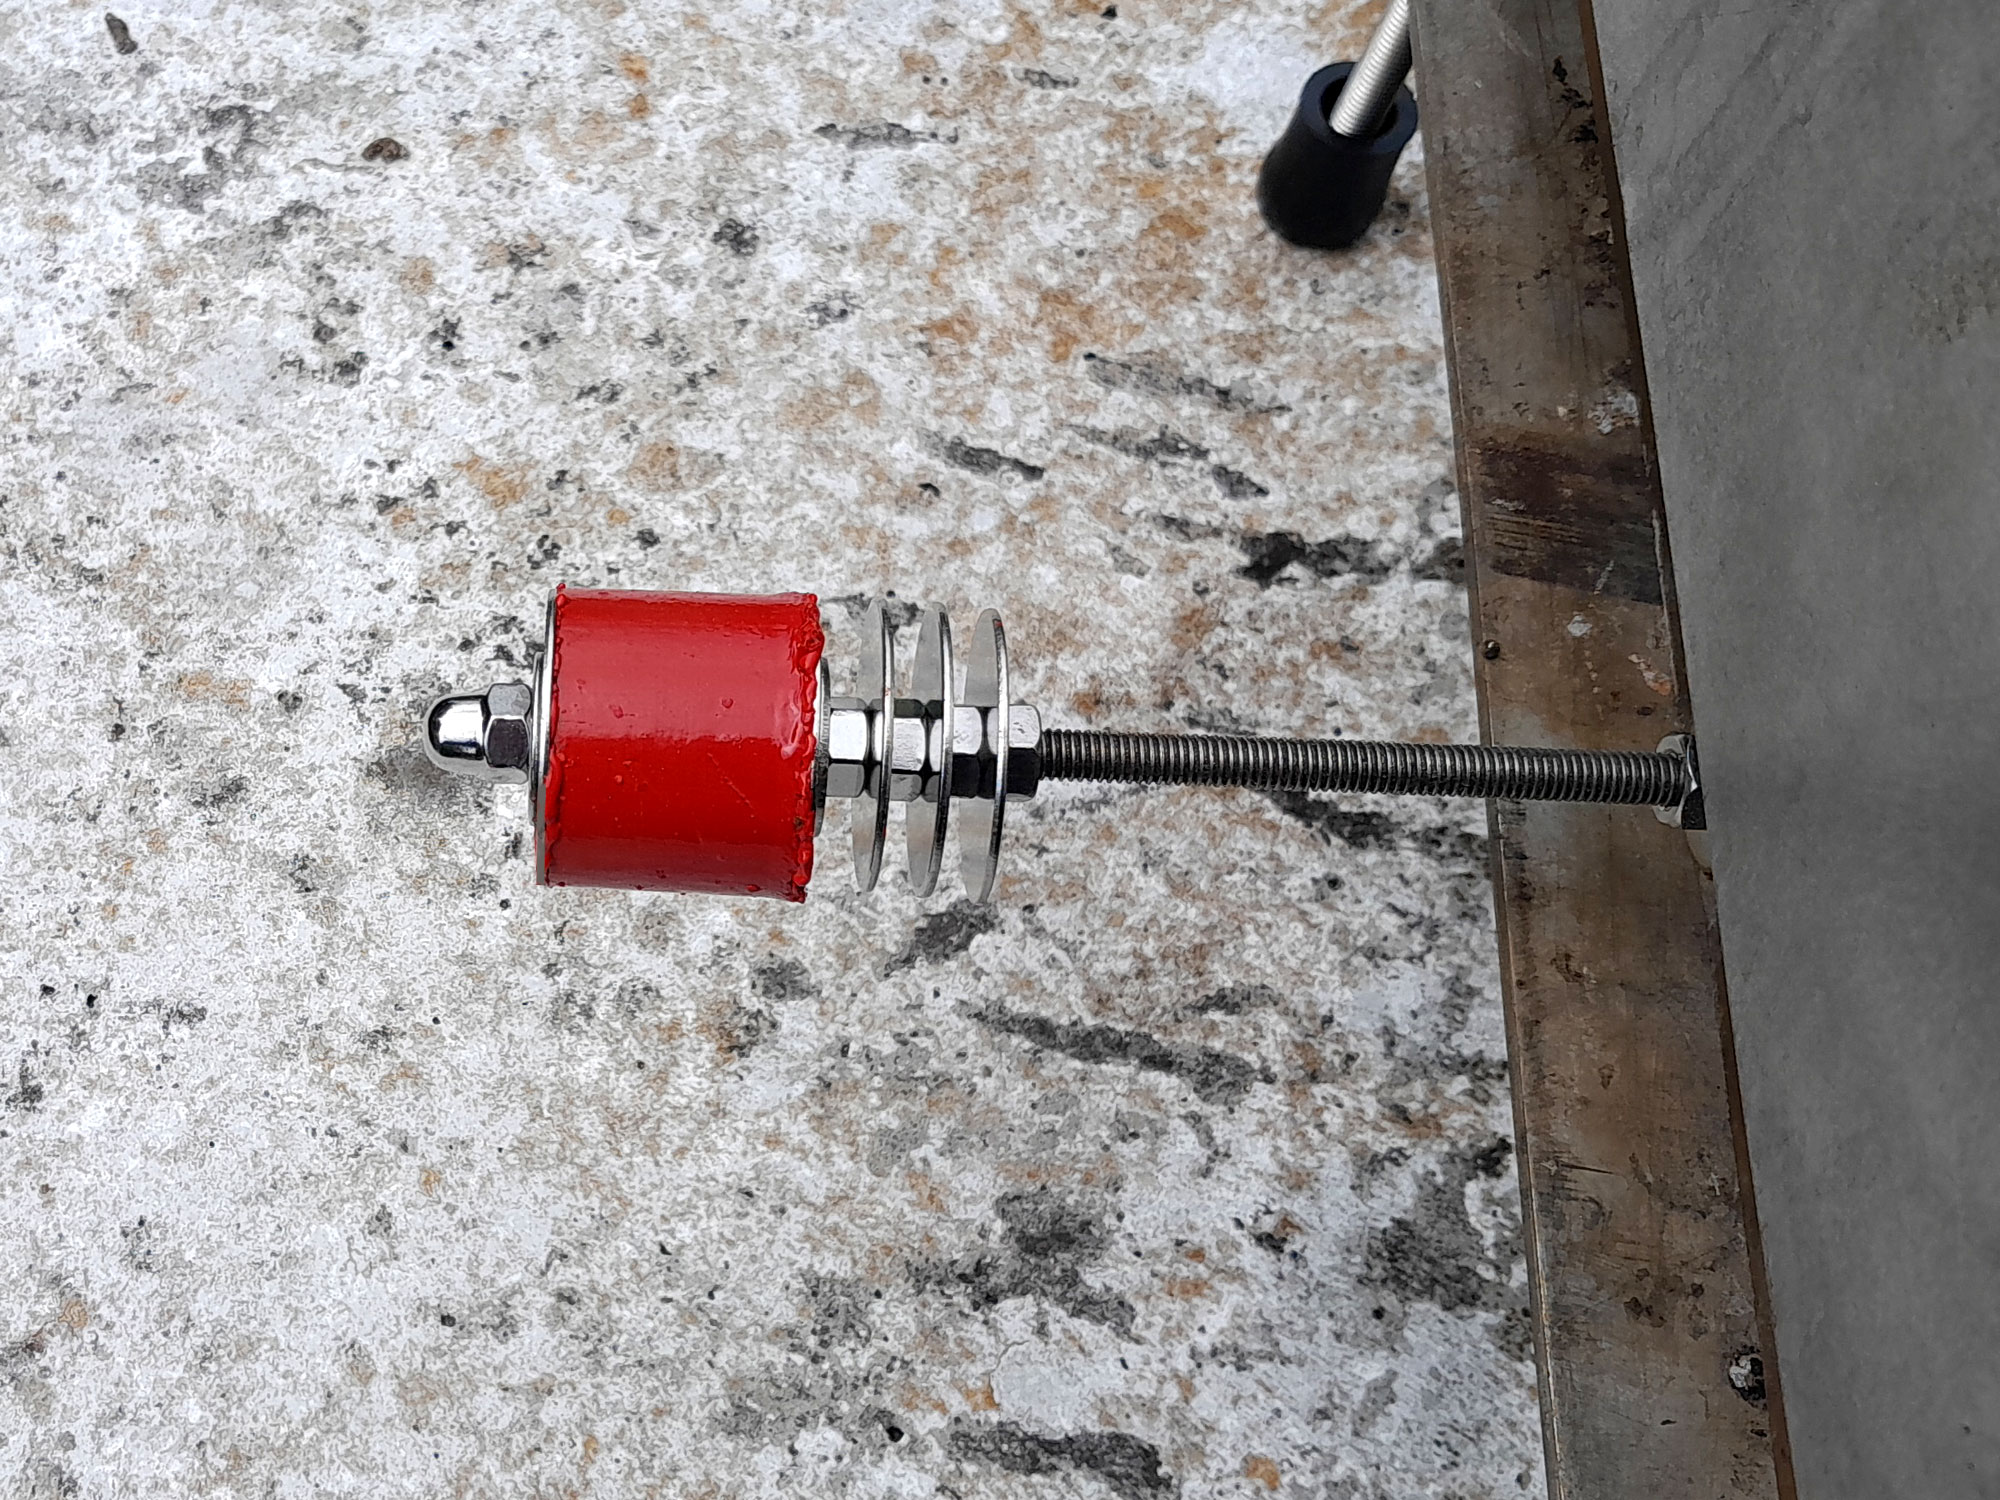
- And here it is open.
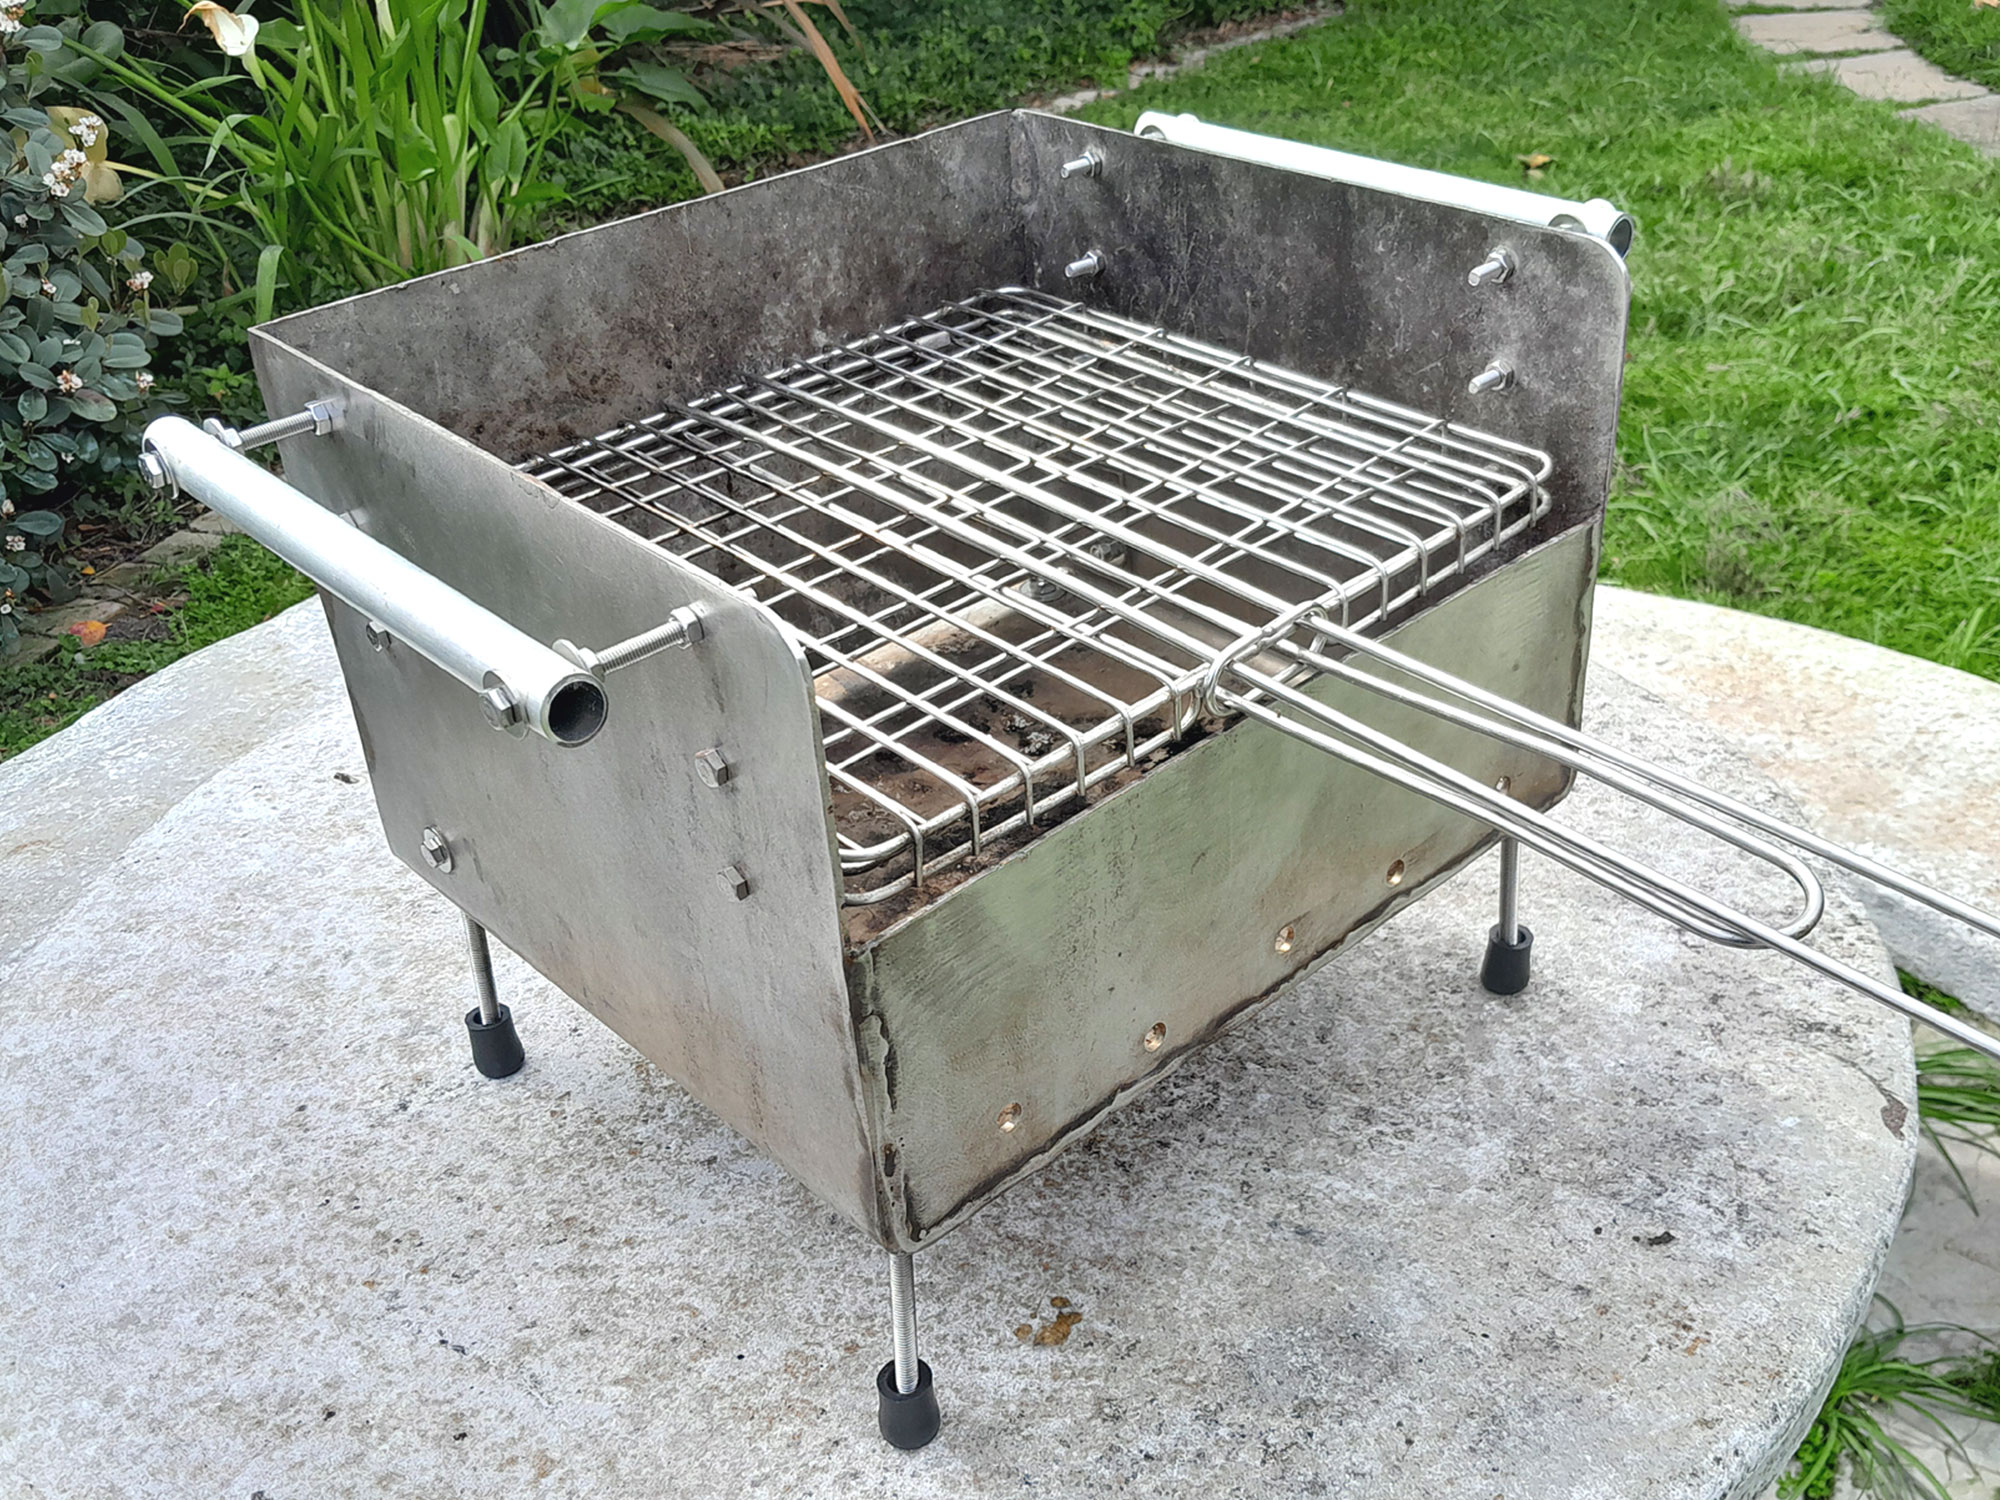
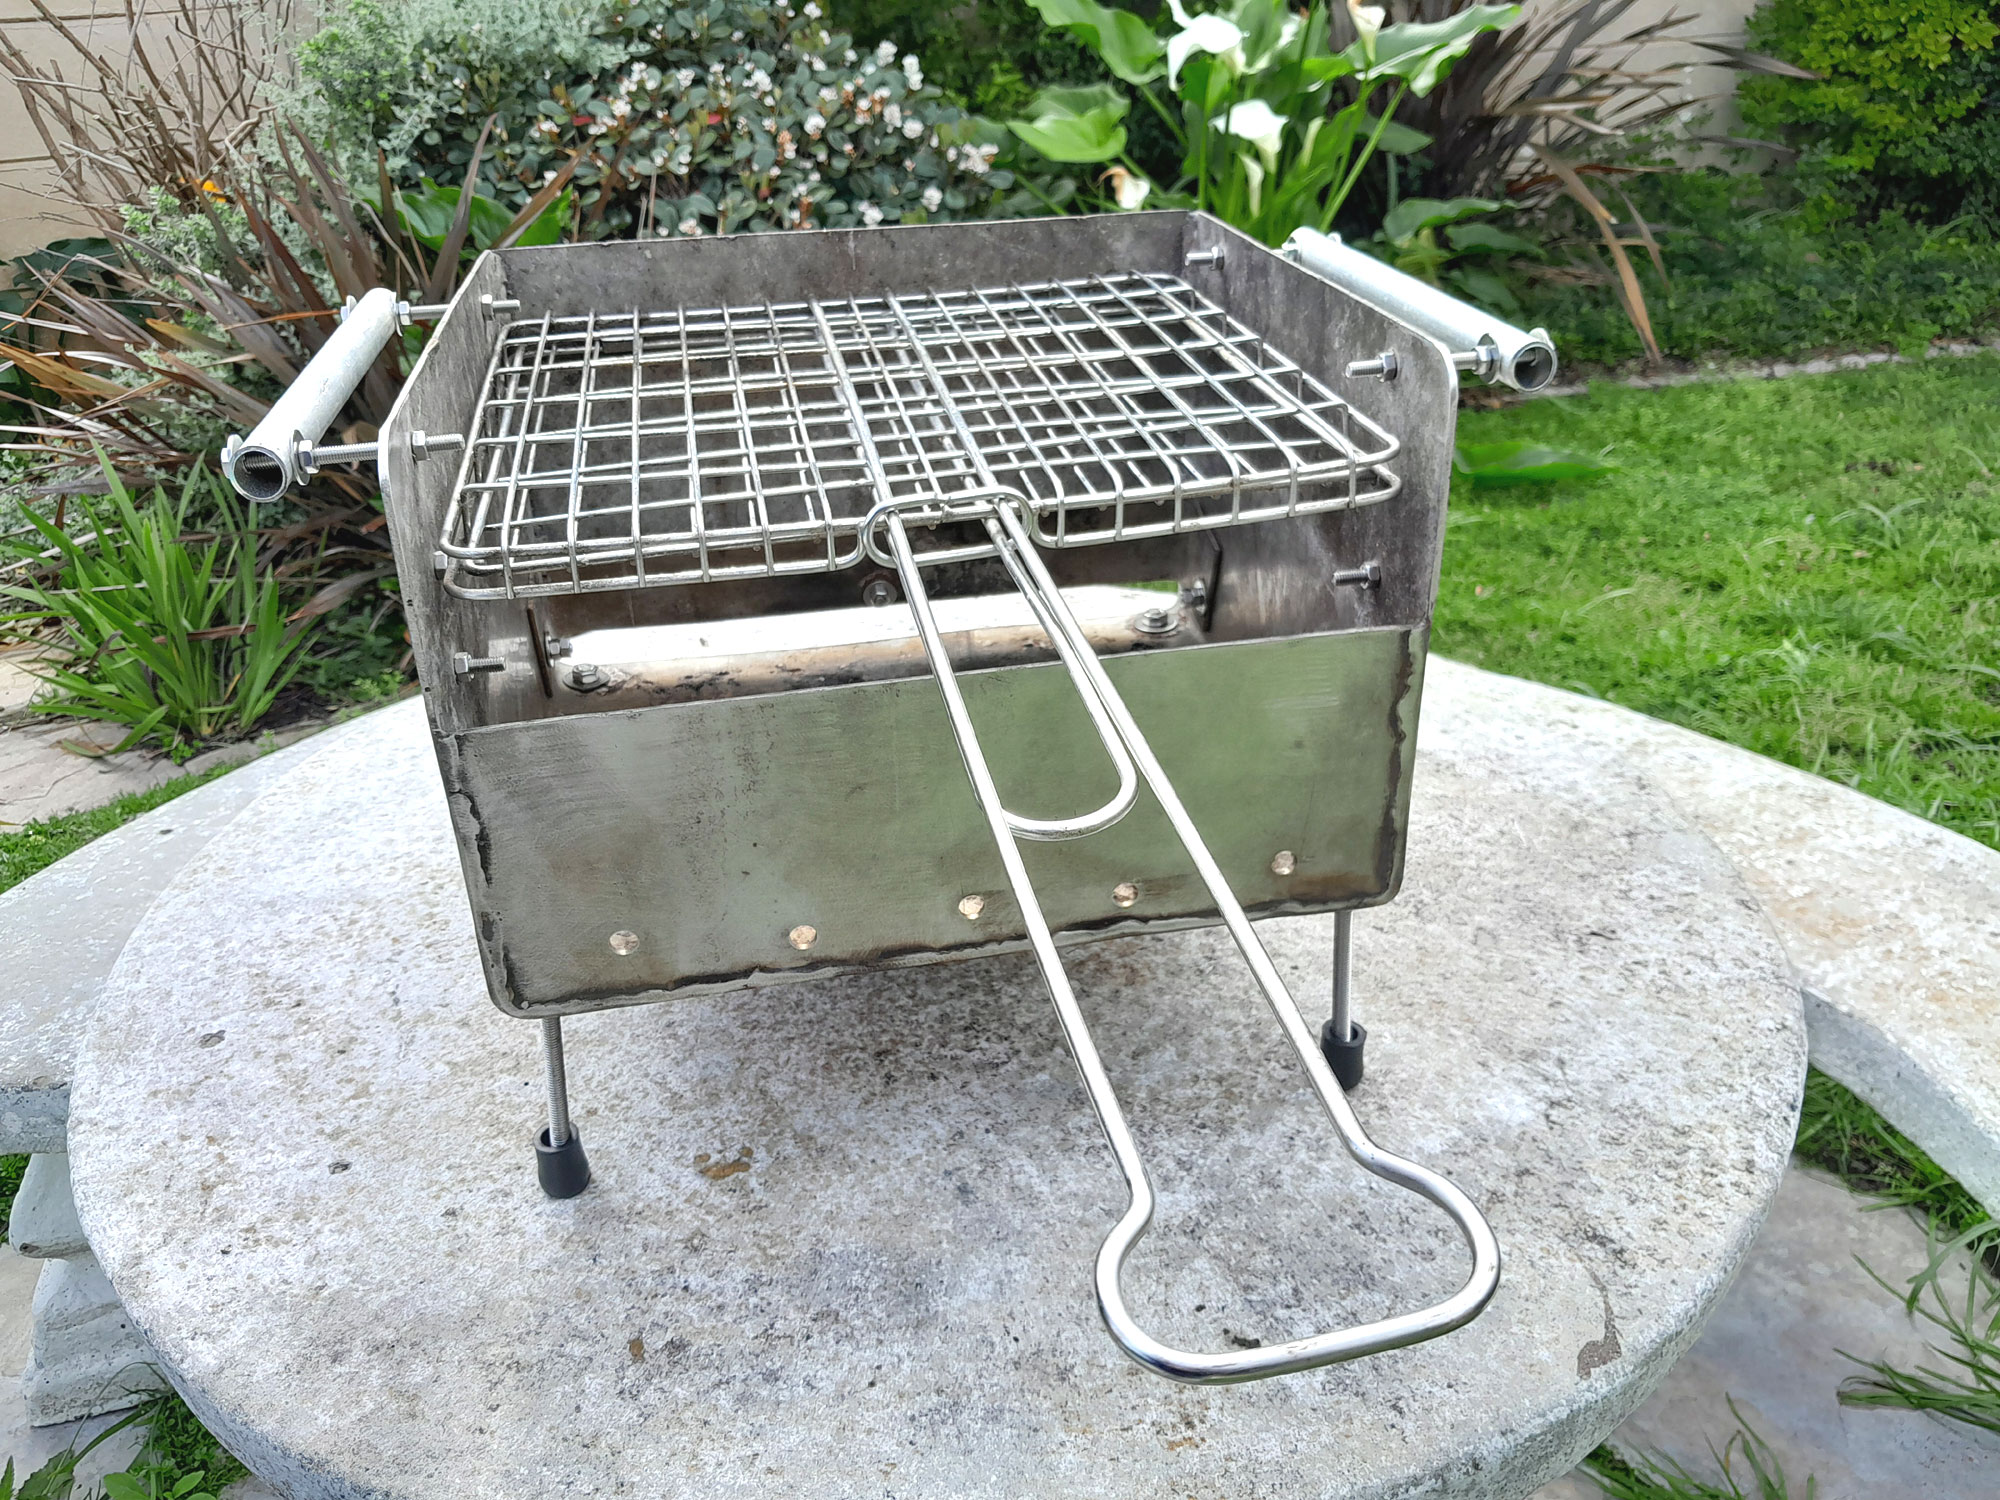
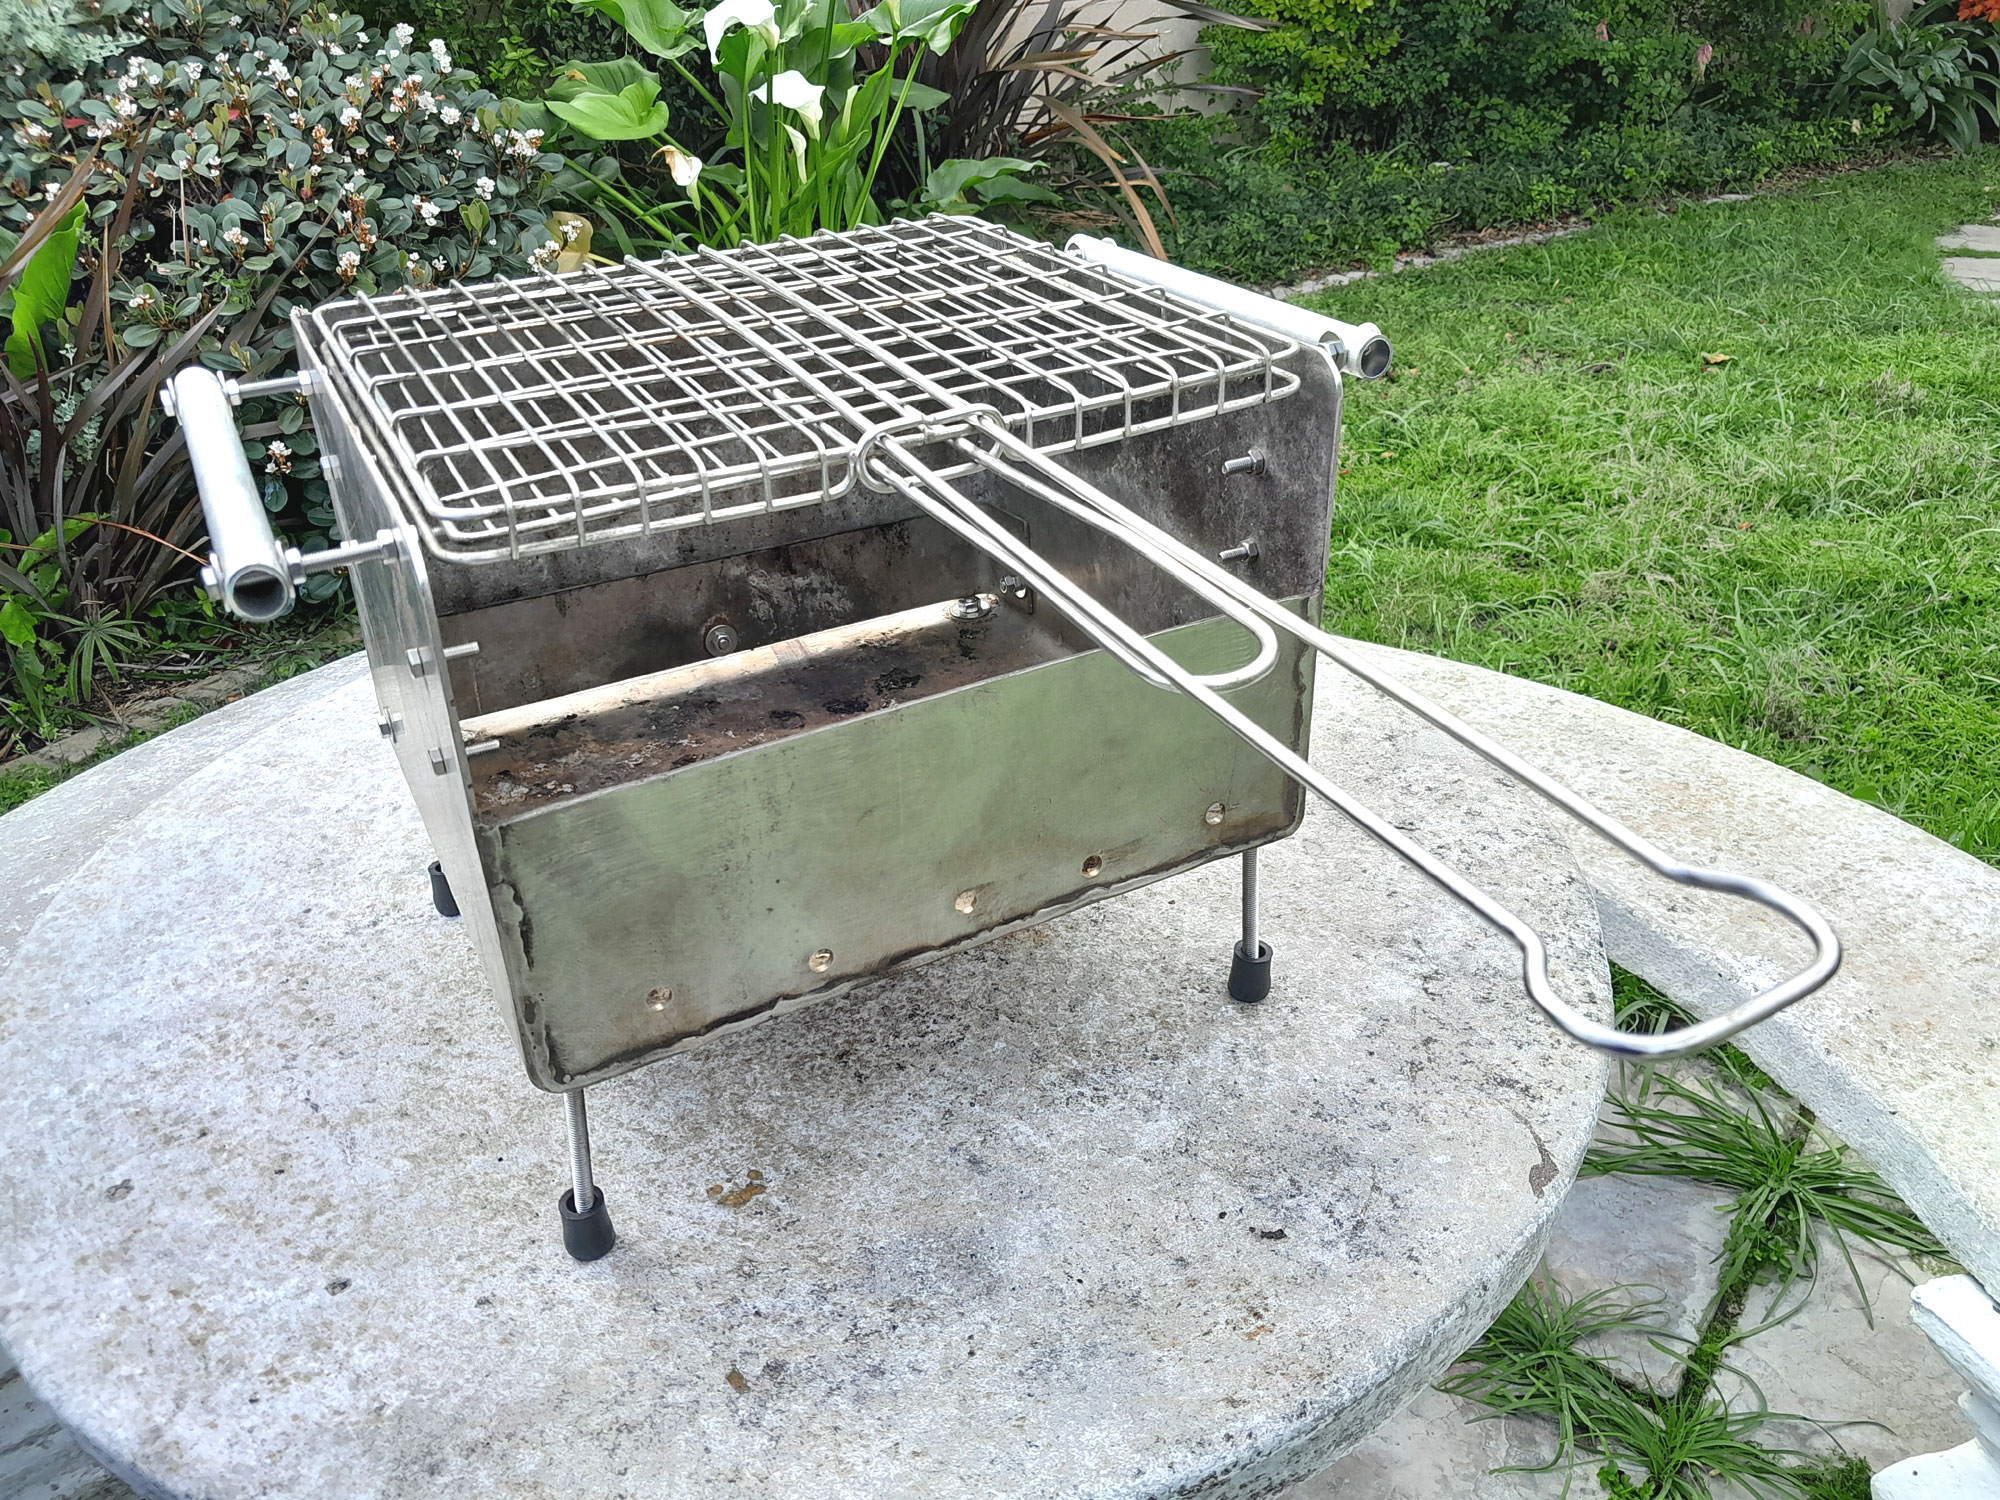
- A general view of the completed braai with the grid in its slowest position.
- Now in its middle position.
- And now it its top position… giving the bloke or blokess responsible for braaiing some heating options.
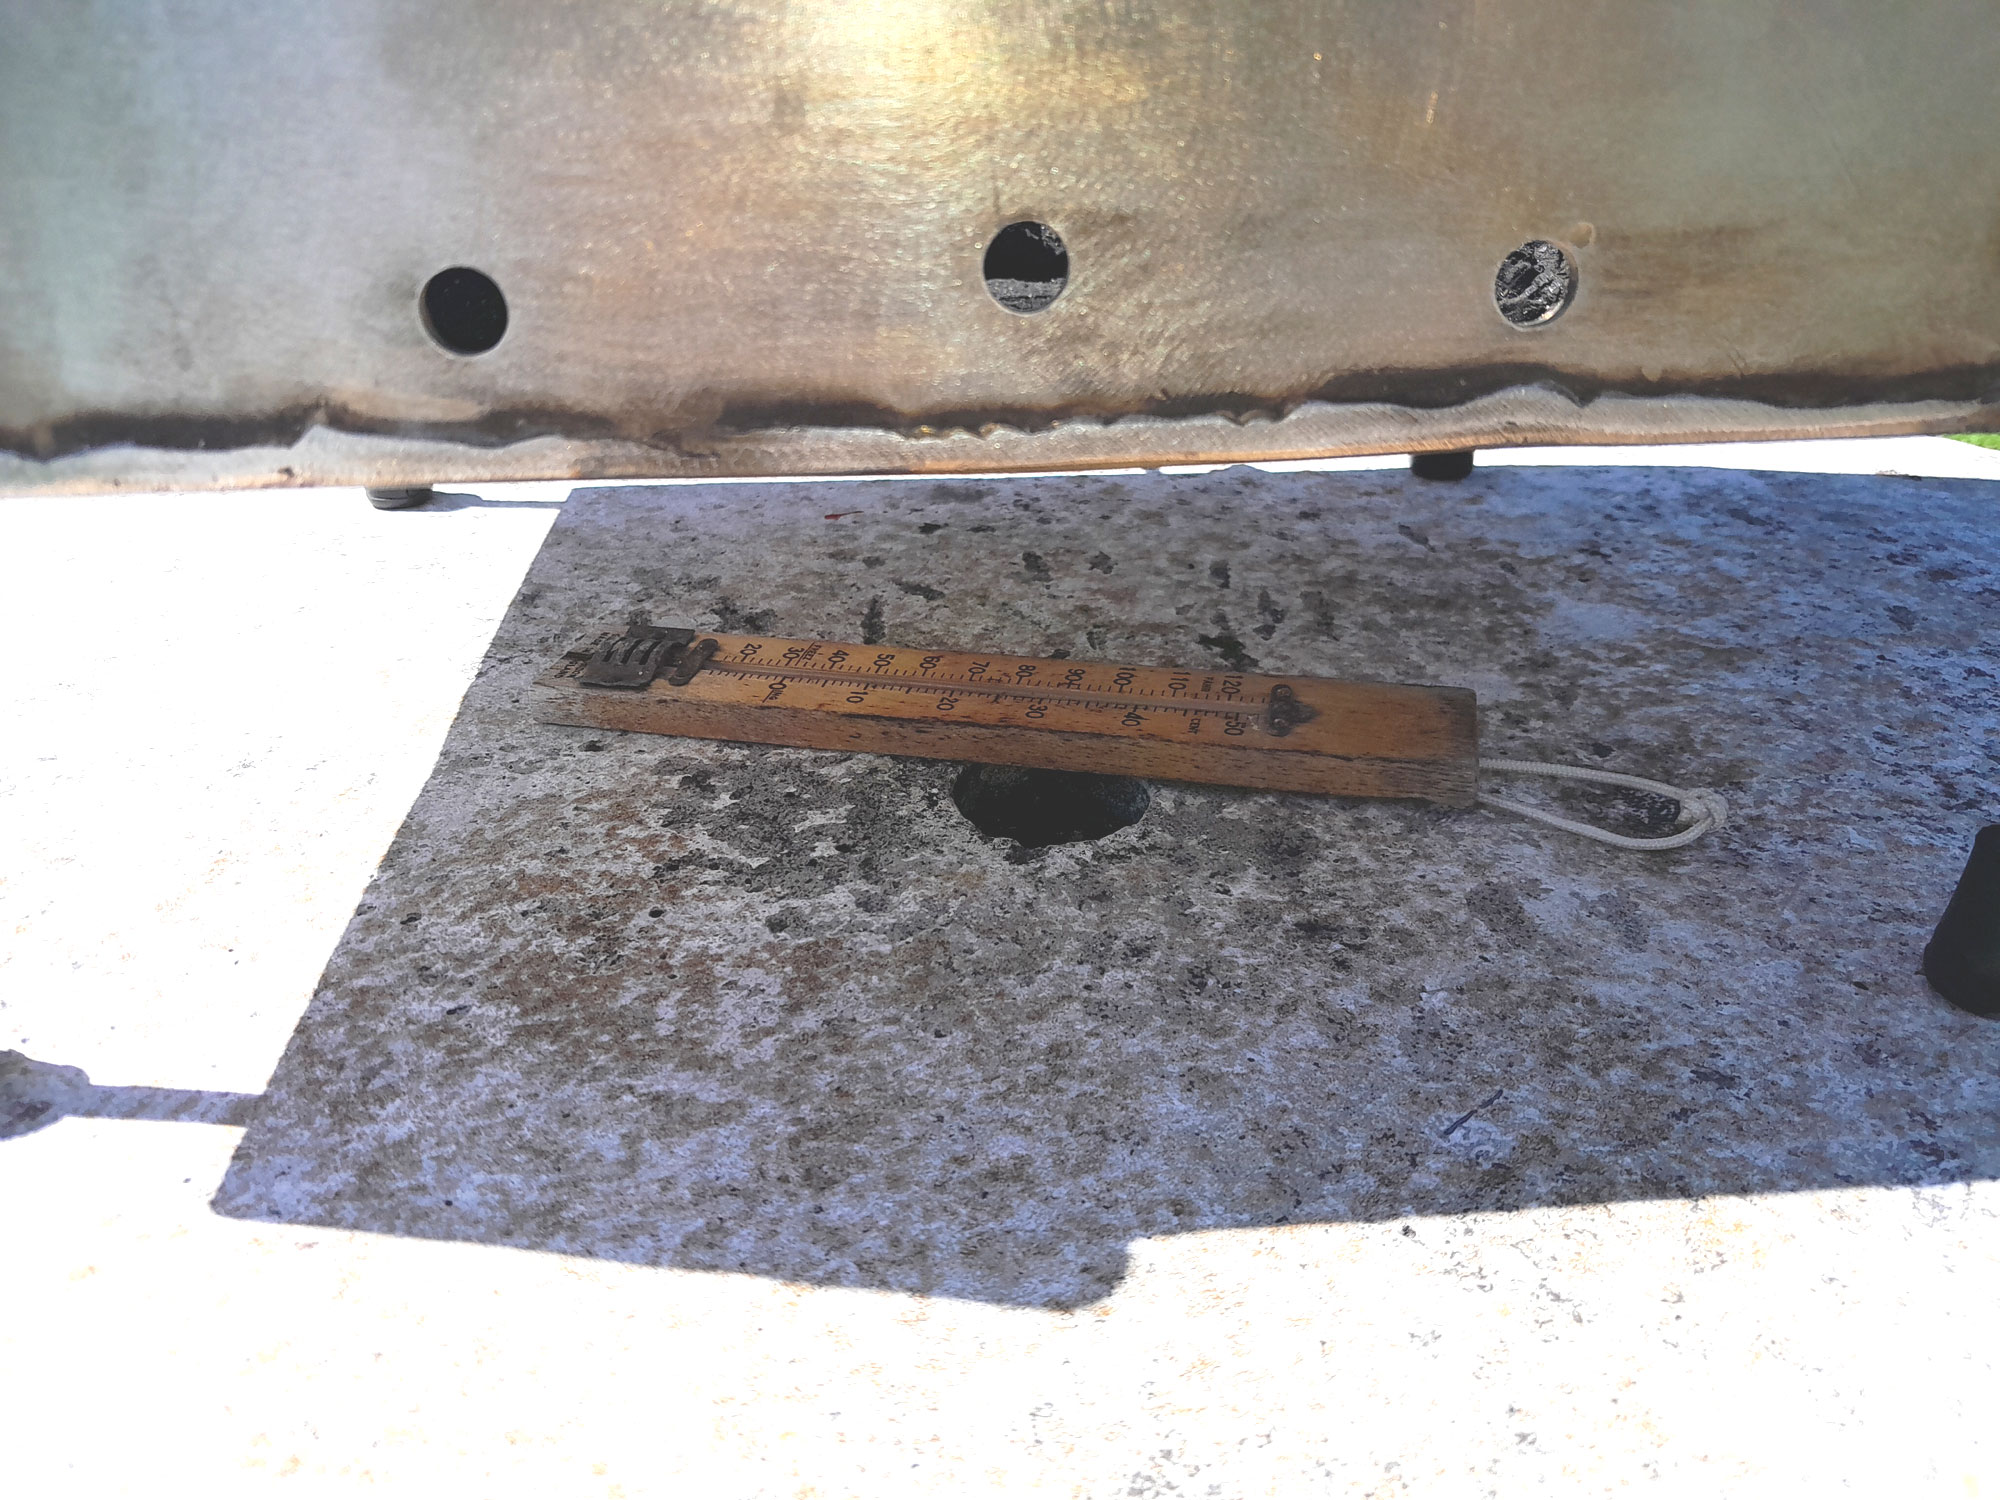
- Then I wondered… would I need to put some sort of wood shield below the braai to prevent any damage to the concrete table. First move was to – gingerly – check if the table was getting warm. Nope!
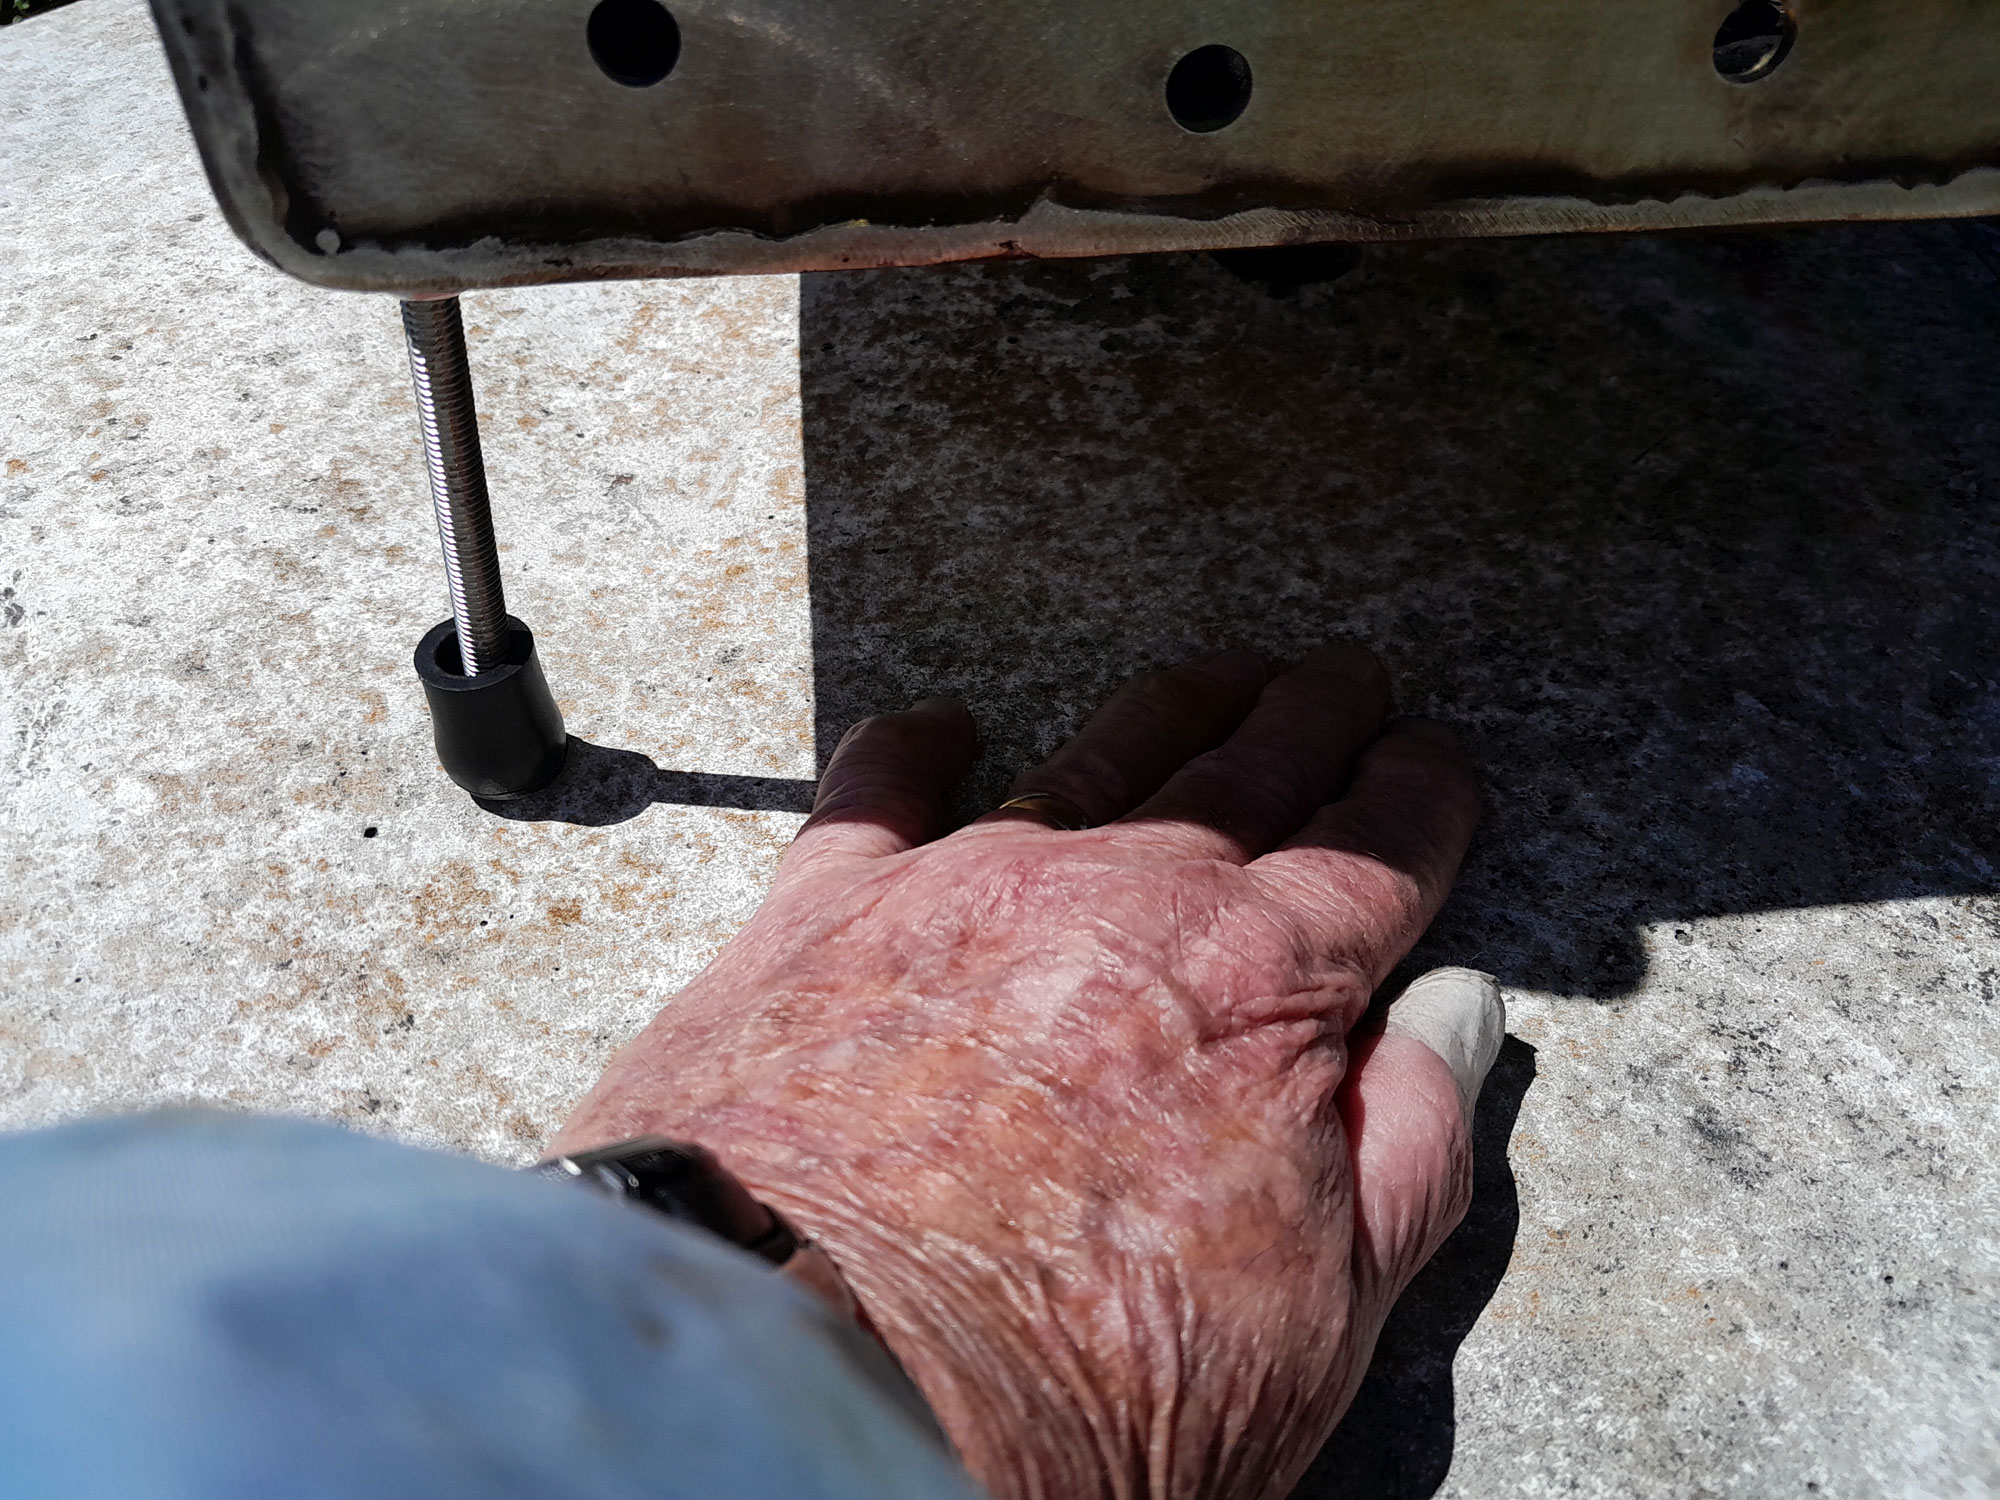
- Then I popped a thermometer under the braai and left it there for a few minutes…
- Cool as a cucumber, or nearly so… serendipitously, it seems, the space I built in between the braai and the surface was quite sufficient to allow cooling air to keep the tabletop cool.
- This illustration shows the dimensions of this braai. Naturally, if you decide to make one and decide on a different size of grid, your design will differ, and will its dimensions.
- Just a serendipitously, I discovered that the spacing I had left between the handle and braai sides was allowed the handles to remain cool. So though I had set aside a pair of leather braai gloves if I wanted to move the thing, I didn’t need them.
- Based on that new knowledge, I decided that I would upgrade the damper handle by dumping the wood dowel and inserting more 32mmØ fender washers as a heat dumper. And this is the result – eight spaced 32mm fender washers.


- Chops away, Bertie! Or, okay, this time, make it some wors. And as a bonus, here’s a link to a very informative feature On Everything You Need to Know about Using and Caring for Your Braai.

Panel:
The screws, bolts, nuts and washers are available at Selected Mica Stores. To find your closest Mica and whether or not they stock the items required, please go to www.mica.co.za, find your store and call them. If your local Mica does not stock exactly what you need they will be able to order it for you or suggest an alternative product or a reputable source.
Project guide
TIME: 4-5 days, excluding the time to design the braai, cut, break and weld the metal and then drill the requisite holes for bolts etc and fashion the damper handle. Including the time for all of that, and you’re looking at a week or so, perhaps more
COST: R1000- R2000 or so – depending on whether you have a steel company doing the box fabrication for you, or if you have to buy the stainless steel required. This is expensive, sure – but you have a braai that will last a lifetime.
SKILL: 4
ASSISTANT: No
Tools required:
Mains or cordless drill/driver; angle grinder, arc or mic welder (if welding the braai box yourself), hacksaw, spanners and/or socket set, metal file