13 July 2026


A low light to foil the low life
Having security lights placed strategically around your home is a great idea, and we often position them quite high up an outer wall. But then changing the bulb usually means going up a ladder – so why not make it more accessible, but still able to do the job?
One of the most dangerous places to be in the home or a business is up a ladder. Falls can occur for a variety of reasons, such as if the ladder is incorrectly positioned, you try to over-reach instead of getting off it and repositioning it, not securing the ladder properly, going up it when the rungs are wet and/or you are not wearing the correct non-slip footwear, and more.
At best a fall might result in simply a few grazes and bruises and the neighbours hurrying their little children indoors and out of earshot. But a fall can also result in severe injuries, such as broken limbs, and in the worst cases, death.
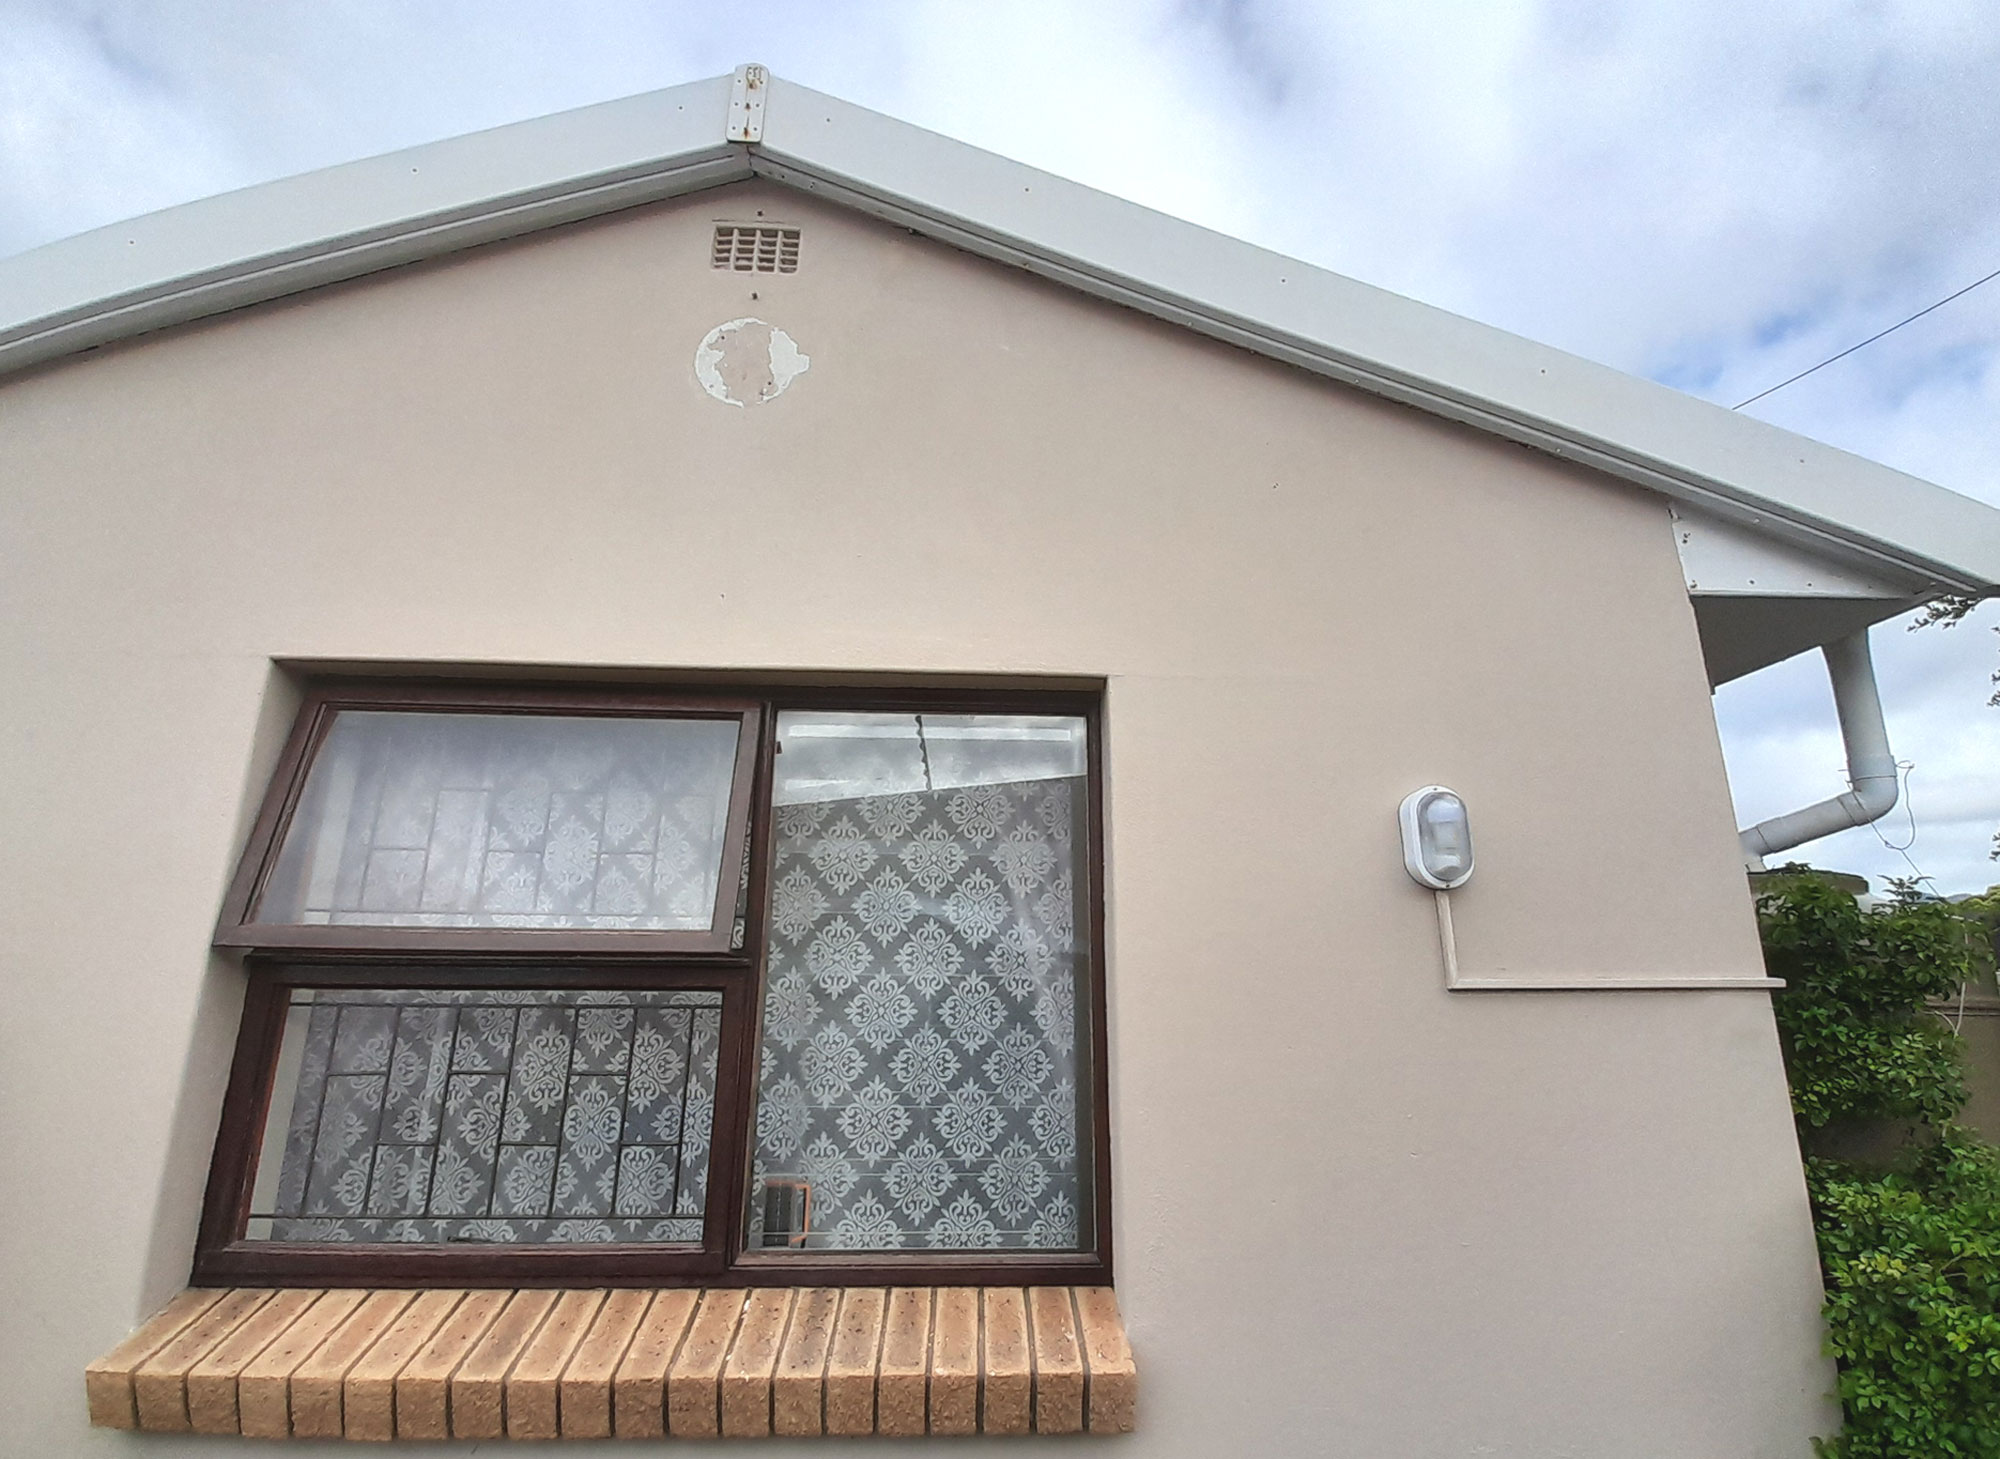
So I decided to move a light that was way up the wall over a bedroom, to far lower down where the bulb could be changed while still standing at ground level.
But before we begin…
The law states that only a qualified, registered electrician may work on the fixed wiring in a home, so bear this in mind when contemplating doing any work on the fixed wiring
Golden rule: if you are AT ALL unsure of what has to be done, live with the cost and call in an electrician
Basic tools needed for electrical work:
- Side cutters
- Wire stripper
- Multipurpose stripper/crimping tool
- Multimeter (more complicated and more versatile, but optional)
- Voltage tester
- Insulation tape
Safety first:
- Concentrate and never assume anything… double check switches are off, and so on.
- Tell everyone what you’re doing
- Turn off all electrical systems, or at least, as in this case, the lights circuit/s
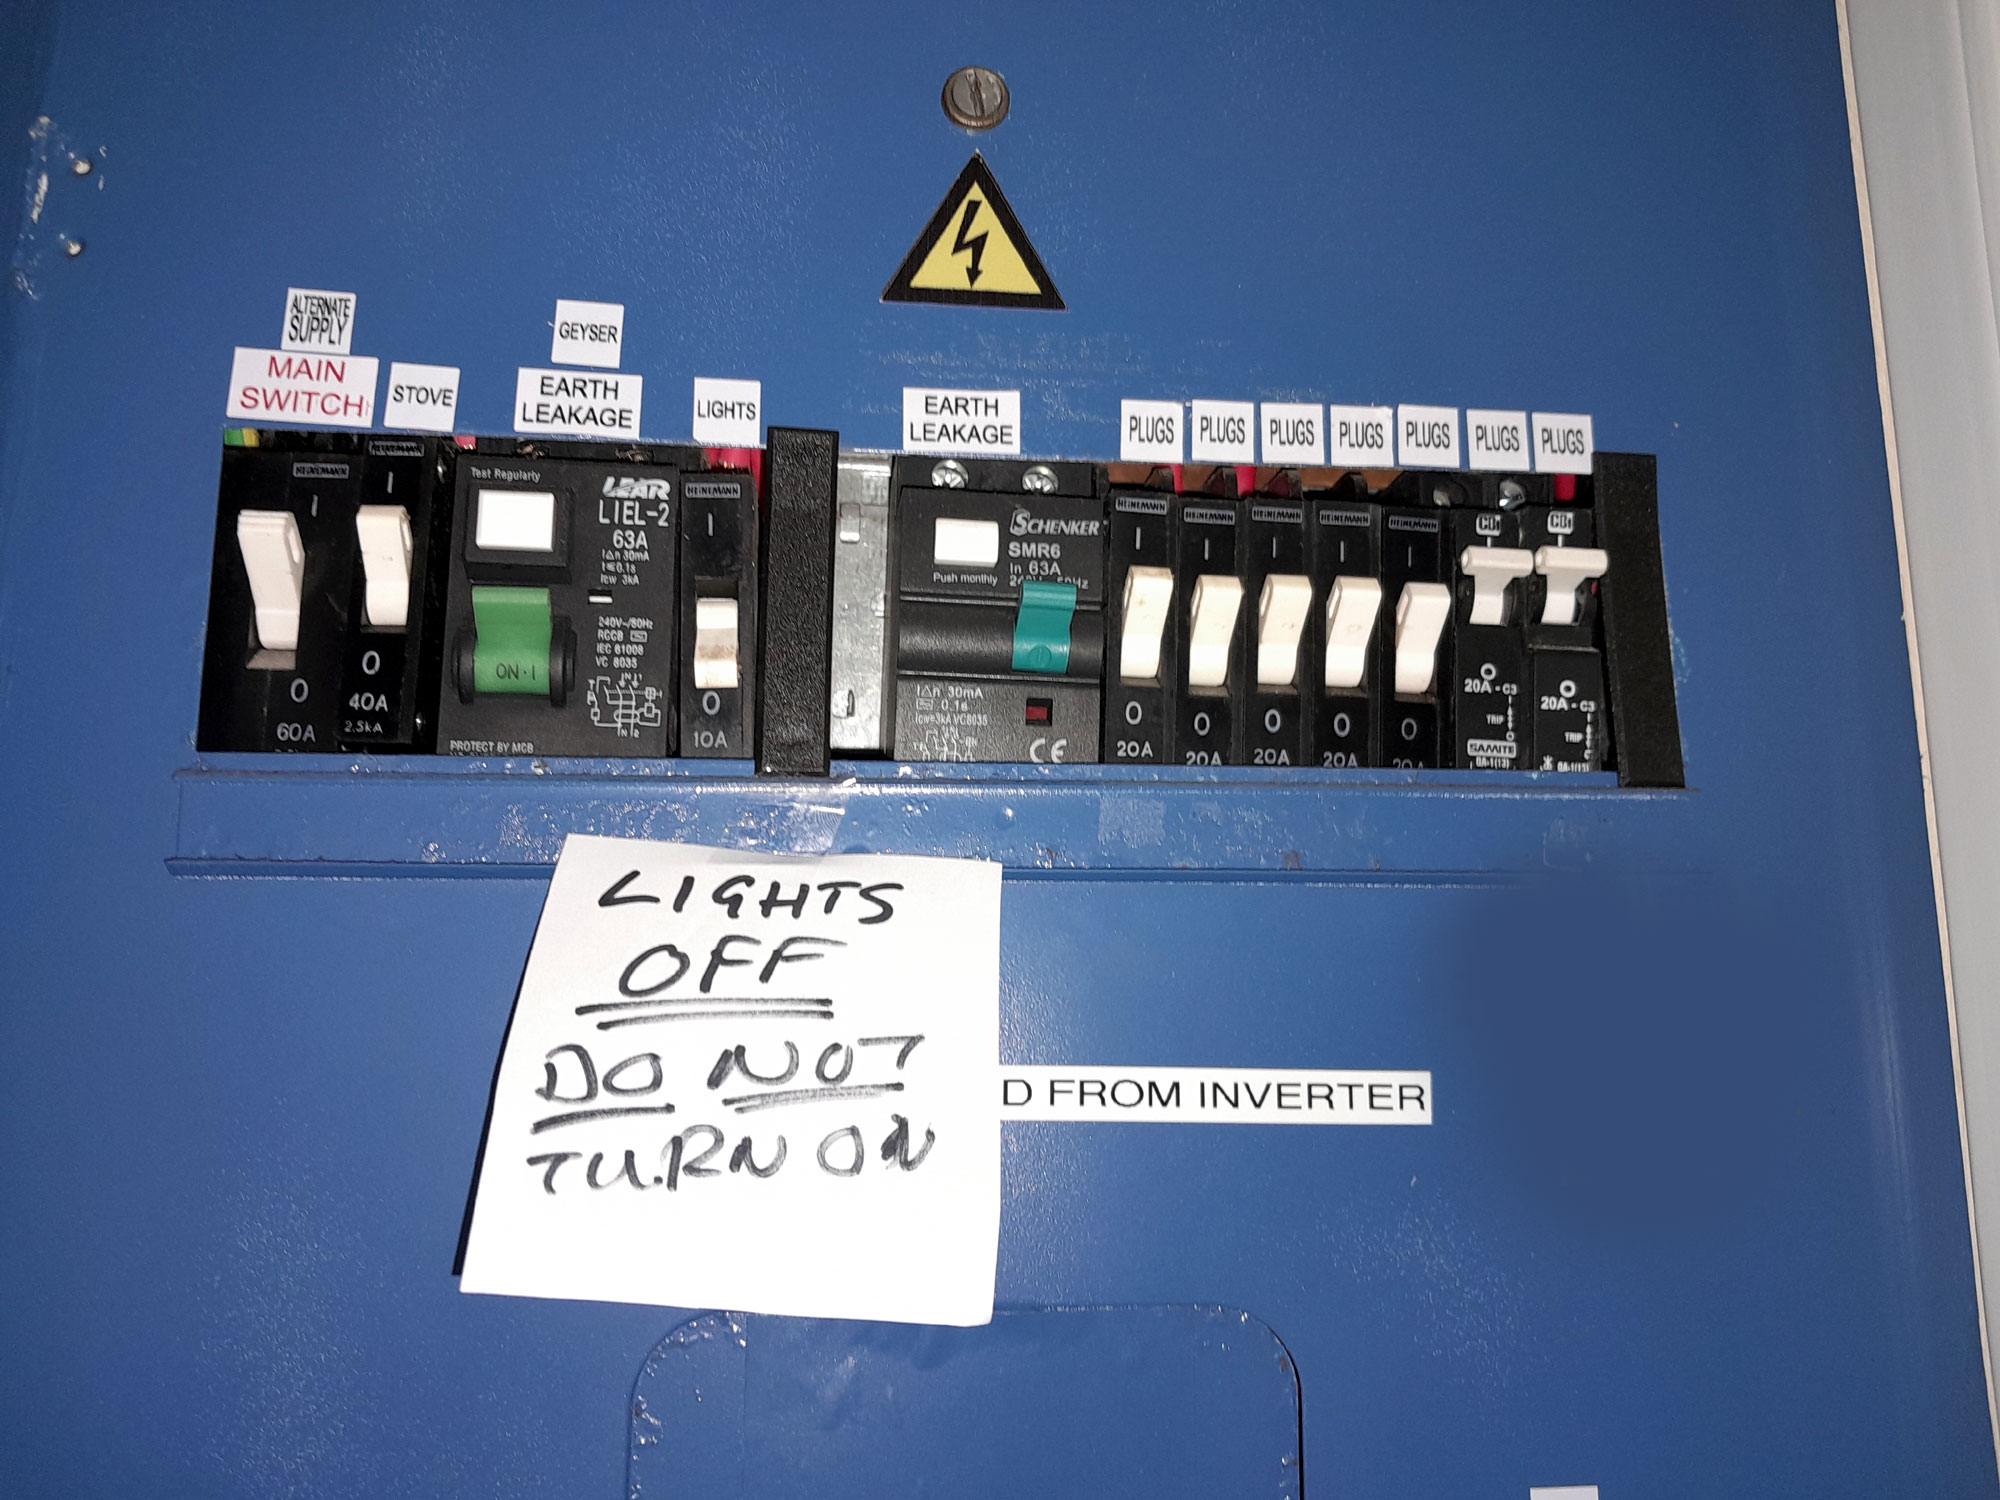
- Put a bold notice on the main distribution board ‘DON’T TOUCH!’
- Connect and switch on a light/radio and put it next to you as you work; if the power is turned on, you will be warned
- Wear rubber-soled footwear
- Work on a dry surface
- Before touching any electrical component, test with a voltage tester or multimeter. If it registers a current, BEWARE
- When first touching anything electrical, do so first with the back of your hand
- Never replace a blown fuse with one of a higher rating
First of all, let’s look at the colour coding for wiring in South Africa…
Fixed wiring
Fixed insulated cables, which comprise two or more electrical conductors, are usually encased in an outer insulating sheath, often black or white, but might also be supplied as individual conductors and are power cables that are installed as permanent wiring for buildings – as the name suggests these wires are fixed in place. They may be channelled through conduits embedded in walls, or conduits affixed to the wall’s surface, laid in channels chased into walls, or passed through ceiling spaces, buried underground, exposed or run overhead from poles and/or wall attachment points. They are also often stiff… they can be bent to fit around bends and so on, but they are not designed for repeated flexing and will very likely eventually fail if subjected to that. That is why they are fitted and fixed in position around a bend, on a wall, through a ceiling space or whatever once only.
Standard wire colours for FIXED INSULATED cables (an assembly of two or more electrical conductors, usually held together with an overall sheath, e.g. power cables that are installed as permanent wiring within buildings, buried in the ground, run overhead, or exposed. In South Africa these wires are identified as follows:
COLOUR CODES FOR FIXED INSULATED CABLES
| Red, White Or Yellow, Blue | Live (Phases) |
| Black | Neutral |
| Green/Yellow Or Bare Copper | Earth |
Standard wire colours for FLEXIBLE cables, e.g. Extension cords, cords connecting appliances such as lamps, refrigerators, TV sets, electric lawnmowers, hedge clippers, trimmers and so on to the power source. These cords, as the name suggests, are flexible, their core, conducting wires comprise multiple strands of thin wires that can essentially slide over each other as the cord is flexed, time and again, for example when wound on to a reel or moving as a mower makes passes over a lawn. In South Africa these wires are identified as follows:
COLOUR CODES FOR FLEXIBLE INSULATED wiring
| Brown | Live (Phase) |
| Blue | Neutral |
| Green/Yellow | Earth |
Disclaimer/Advisory:
- Please note: any work associated with electricity or electrically-powered devices can be inherently hazardous and you should ensure that you exercise all due care when operating any such device, such as testing equipment such as a multimeter (also known as a volt-ohm meter).
- Ensure that you read and understand the manufacturer’s operator’s instructions and guidelines completely. In the event that you are in any doubt whatsoever as to the meaning of any aspect of the instructions/guidelines, or the safe use of the device, obtain expert assistance from the manufacturer and/or a qualified and licensed electrician.
- All electrical testing devices are operated at the owner/operator’s own risk.
- Note that in terms of regulations, only a qualified and licensed electrician may work on the fixed wiring/electrical circuit of a home or business.
And off we go…
As it happens, no wiring or rewiring was required, and it was simply a case of moving an existing fitting to a lower, very accessible position.
Materials:
- UV-resistant conduit – in this case, square section, with removable capping strip
- All-weather adhesive… or…
- Stainless steel 6 gauge pan-head screws – 30mm
- Matching wall plugs
- Paint to match existing wall paint and colour
Captions:
- The first absolutely essential step was to switch off the light circuit via the breaker on the distribution board. In this case, just one breaker serves all the light circuits, but if you decide to shift any lights, as in this feature, and your home has more than one lights circuit breaker, ensure that you switch ALL of them off, to ensure you cover all your bases. Then stick a prominent notice on the board to let everyone know what you have done and keep their hands off the breakers. Also ensure the relevant wall switch is off and stay off until you have completed the job.
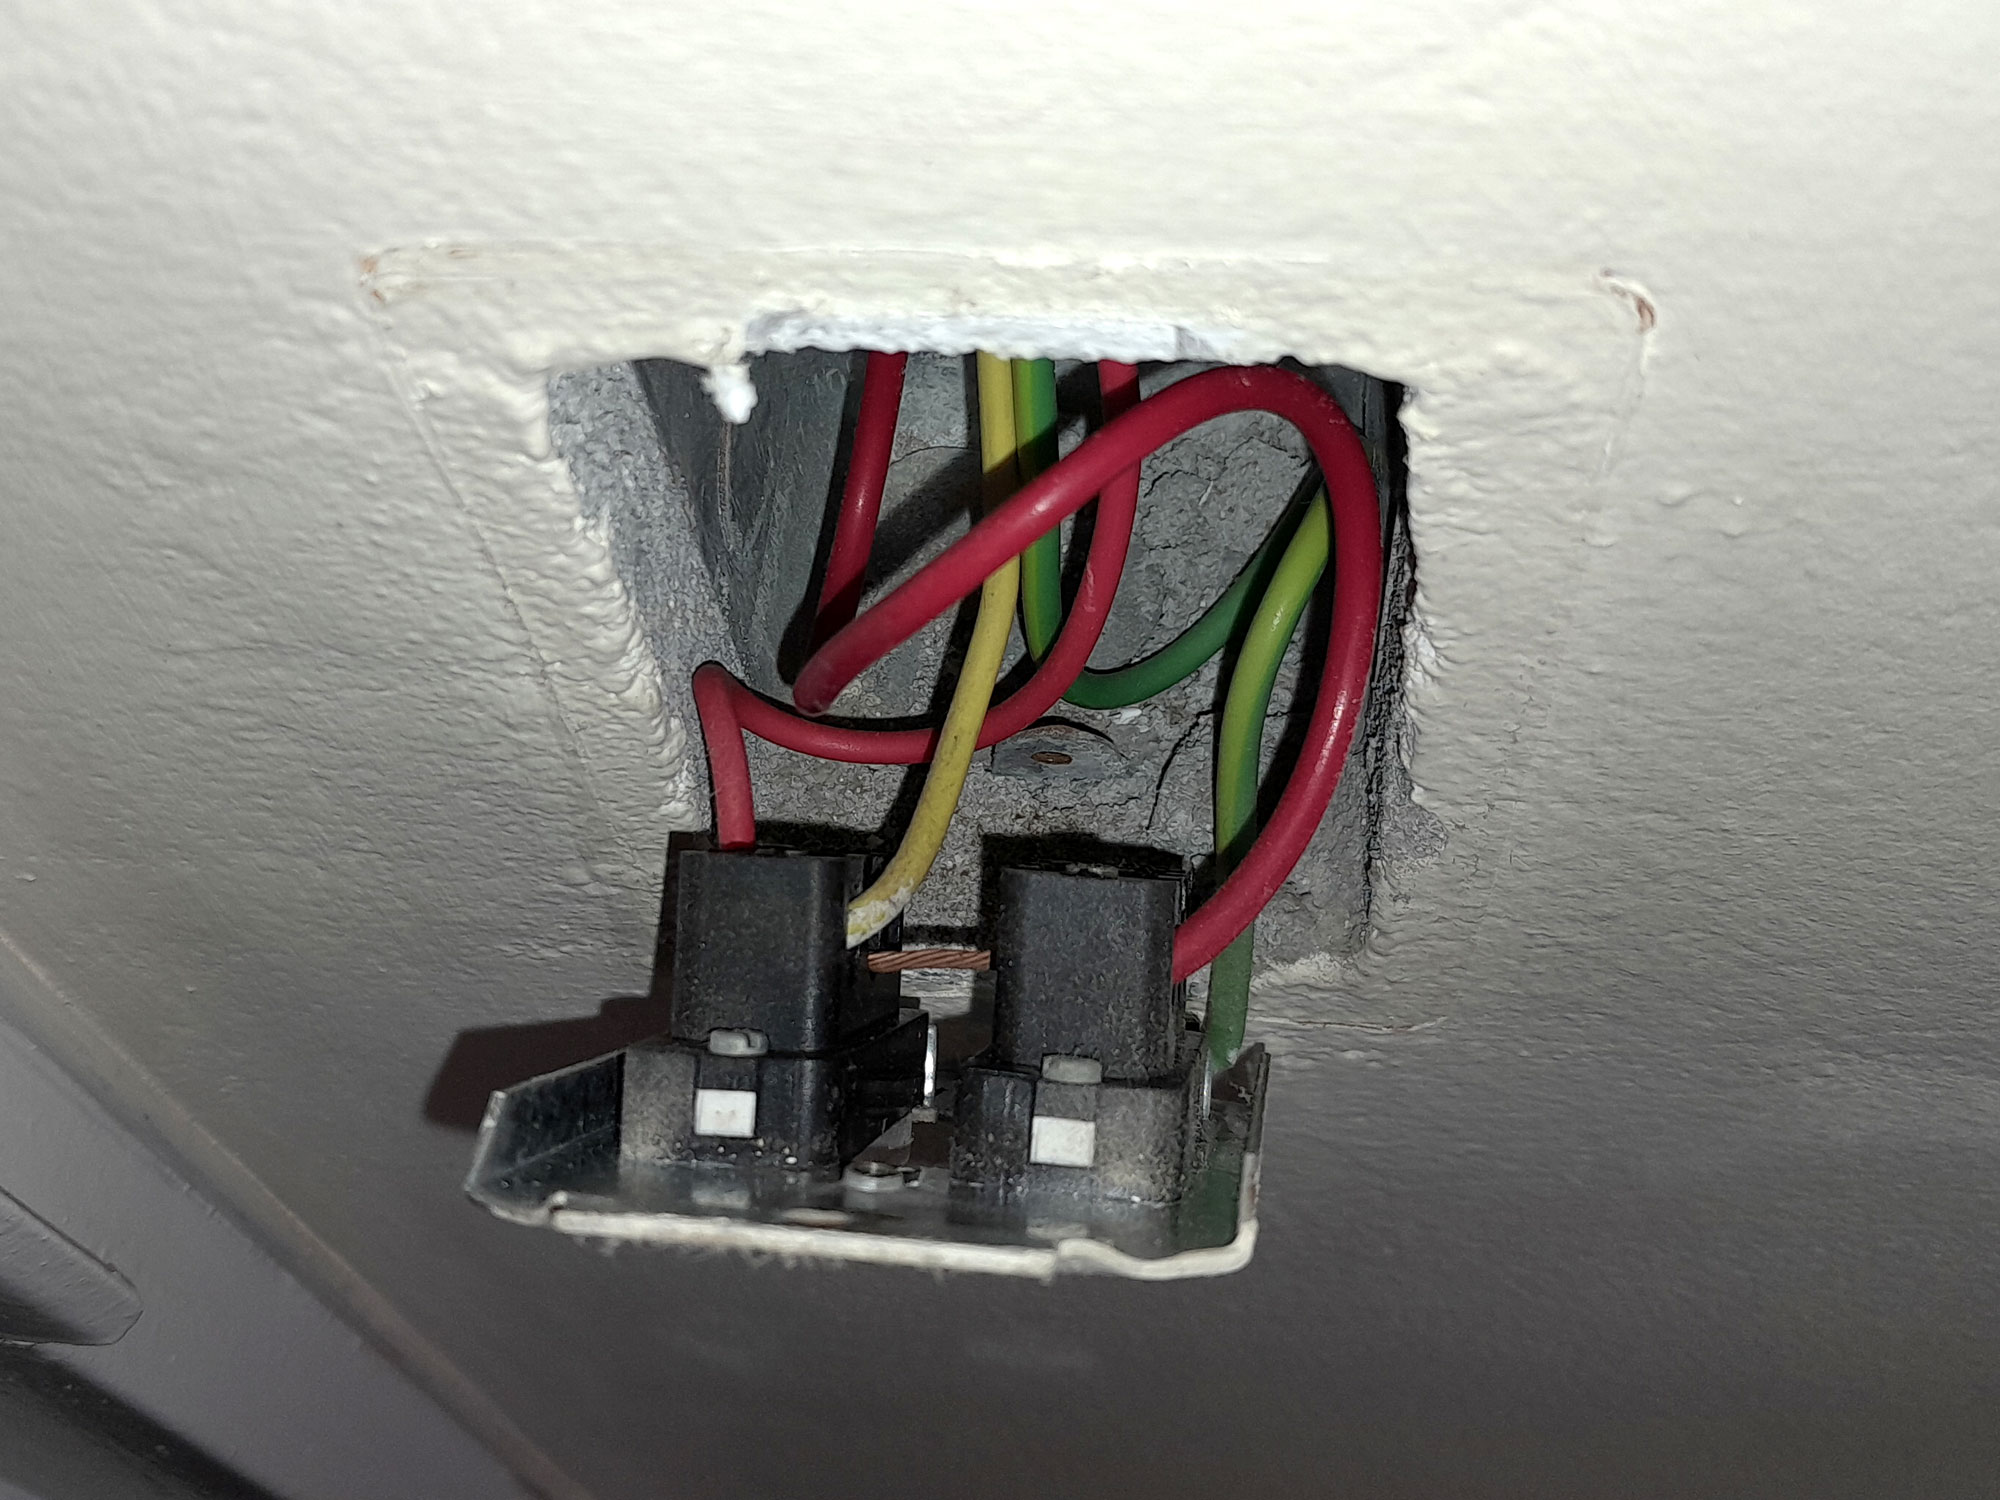
- This is the double switch light fitting that controls the outside light and bedroom ceiling lights, opened so that you can see the fixed wiring and its colours. Note that when you have completed the repositioning of the outside light (naturally, this fitting would have long since been secured back in position) and switched the lights circuit breaker back on, the switch for the outside light (which has been fitted with a day/night bulb) remains on, whereas the switch for the bedroom ceiling light is operated as is every other light switch – on when you need it on, and off when you do not.
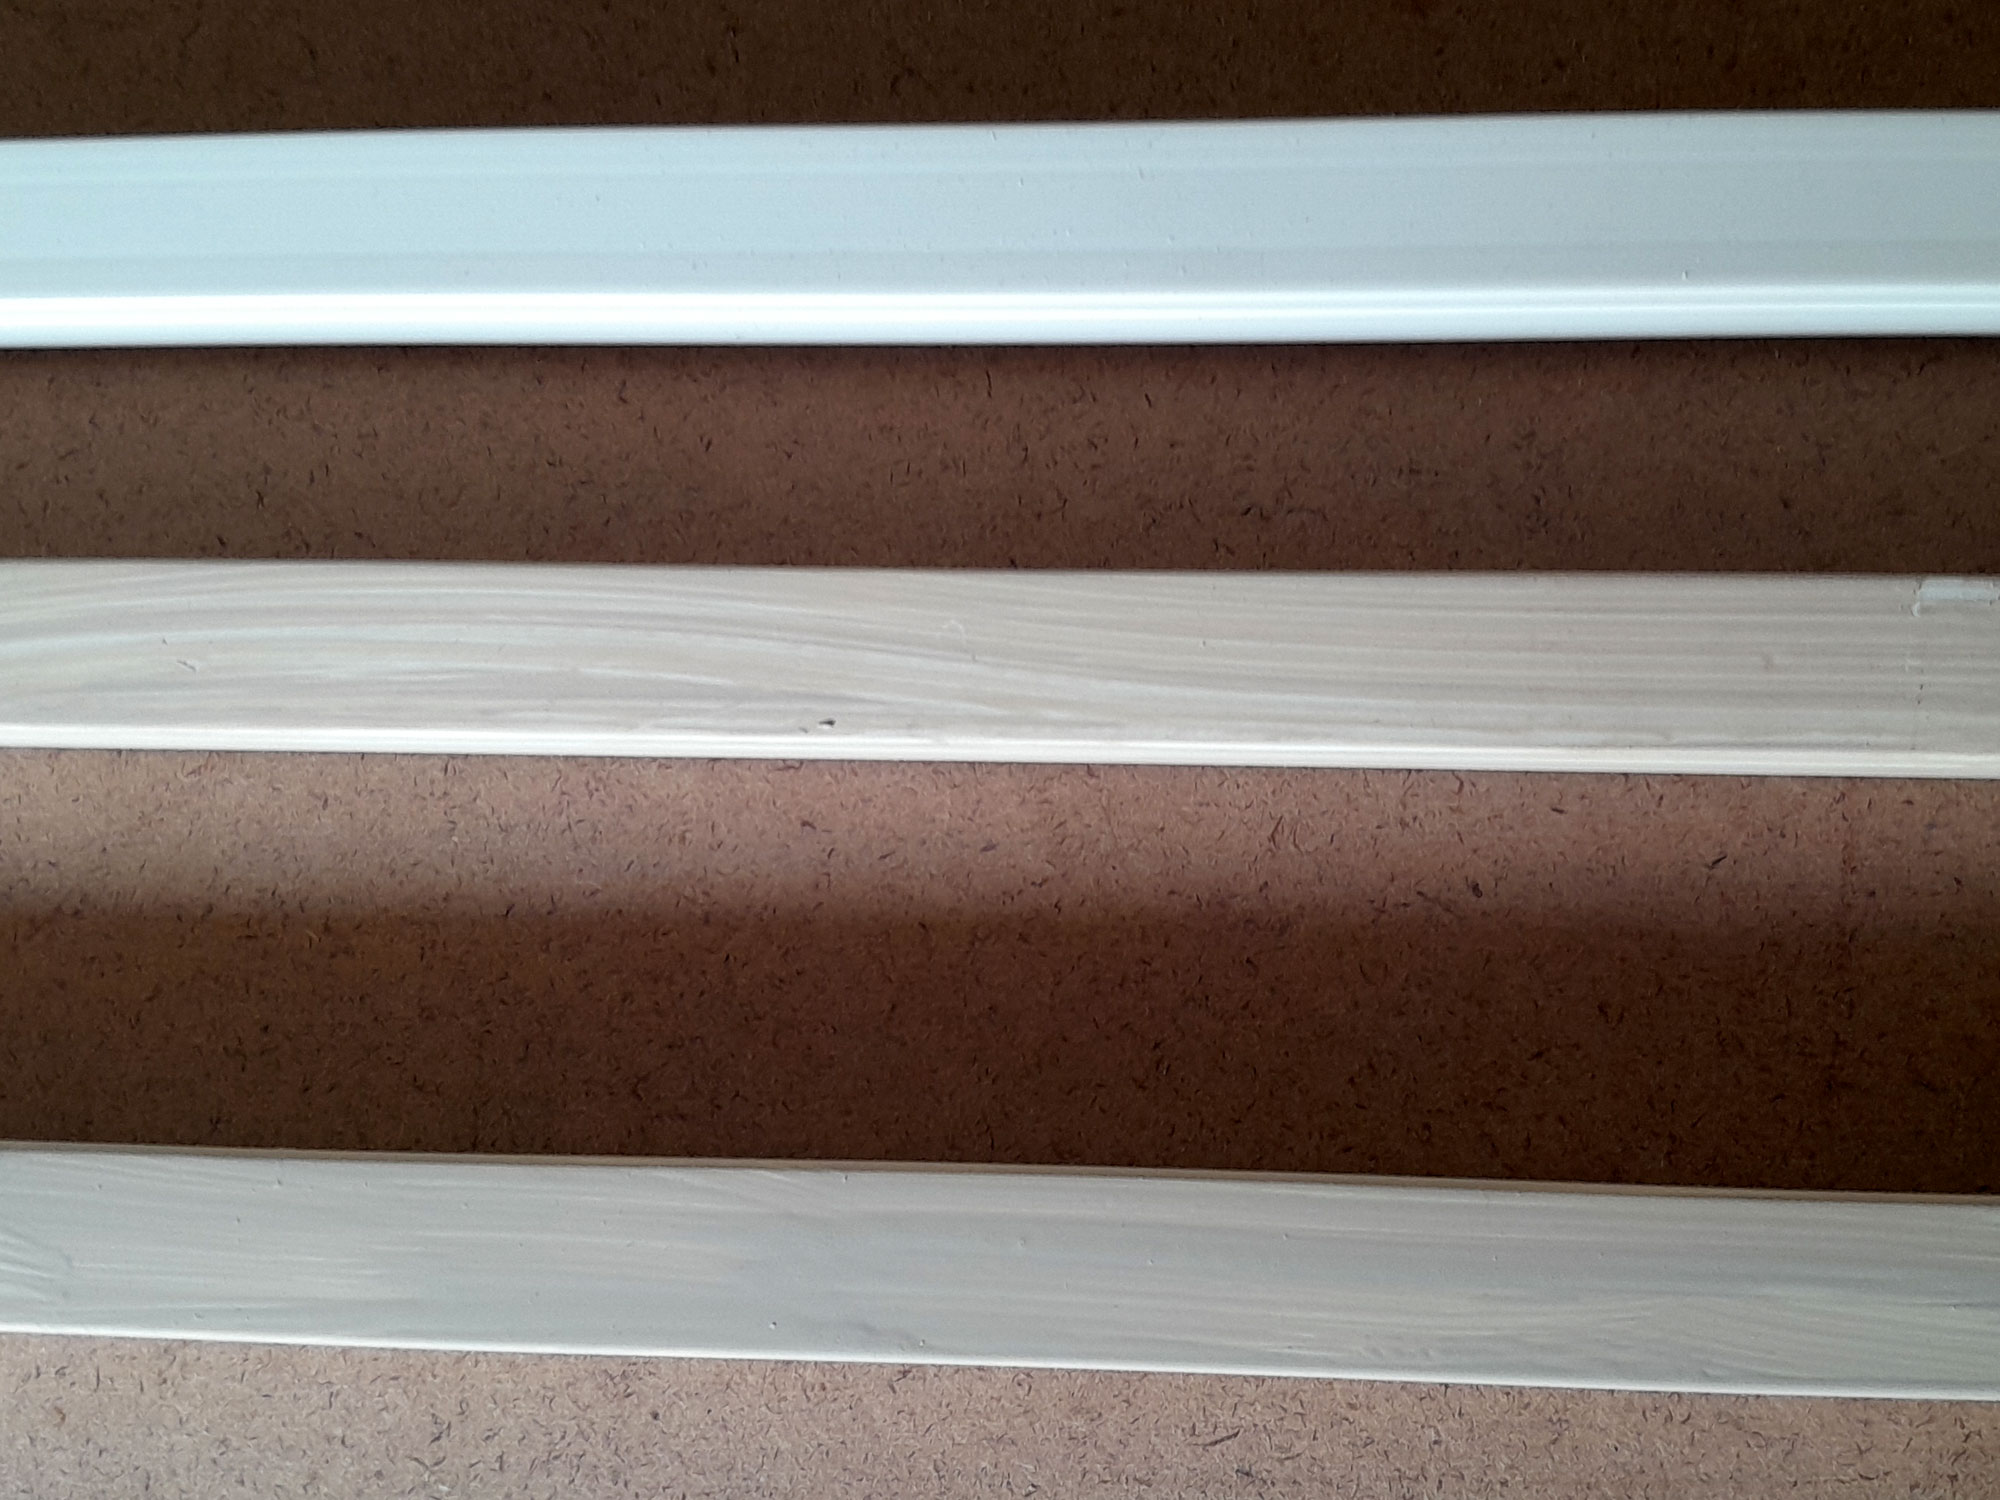
- I could have chased the cable into the wall (chasing means cutting a channel in the plaster, inserting the cable and then plastering over the channel. This way is messier (masonry dust), and you need to match the surrounding surface texture when replastering otherwise your channel will still stand out. It also means that if you ever decide to change the light’s position again, you will have quite the job extracting the cable, or fitting a completely new one. So, I used square conduit with a removable capping strip in which to lay the cable. I also prepainted the conduit before installation – this shows the unpainted (top) and two prepainted lengths.
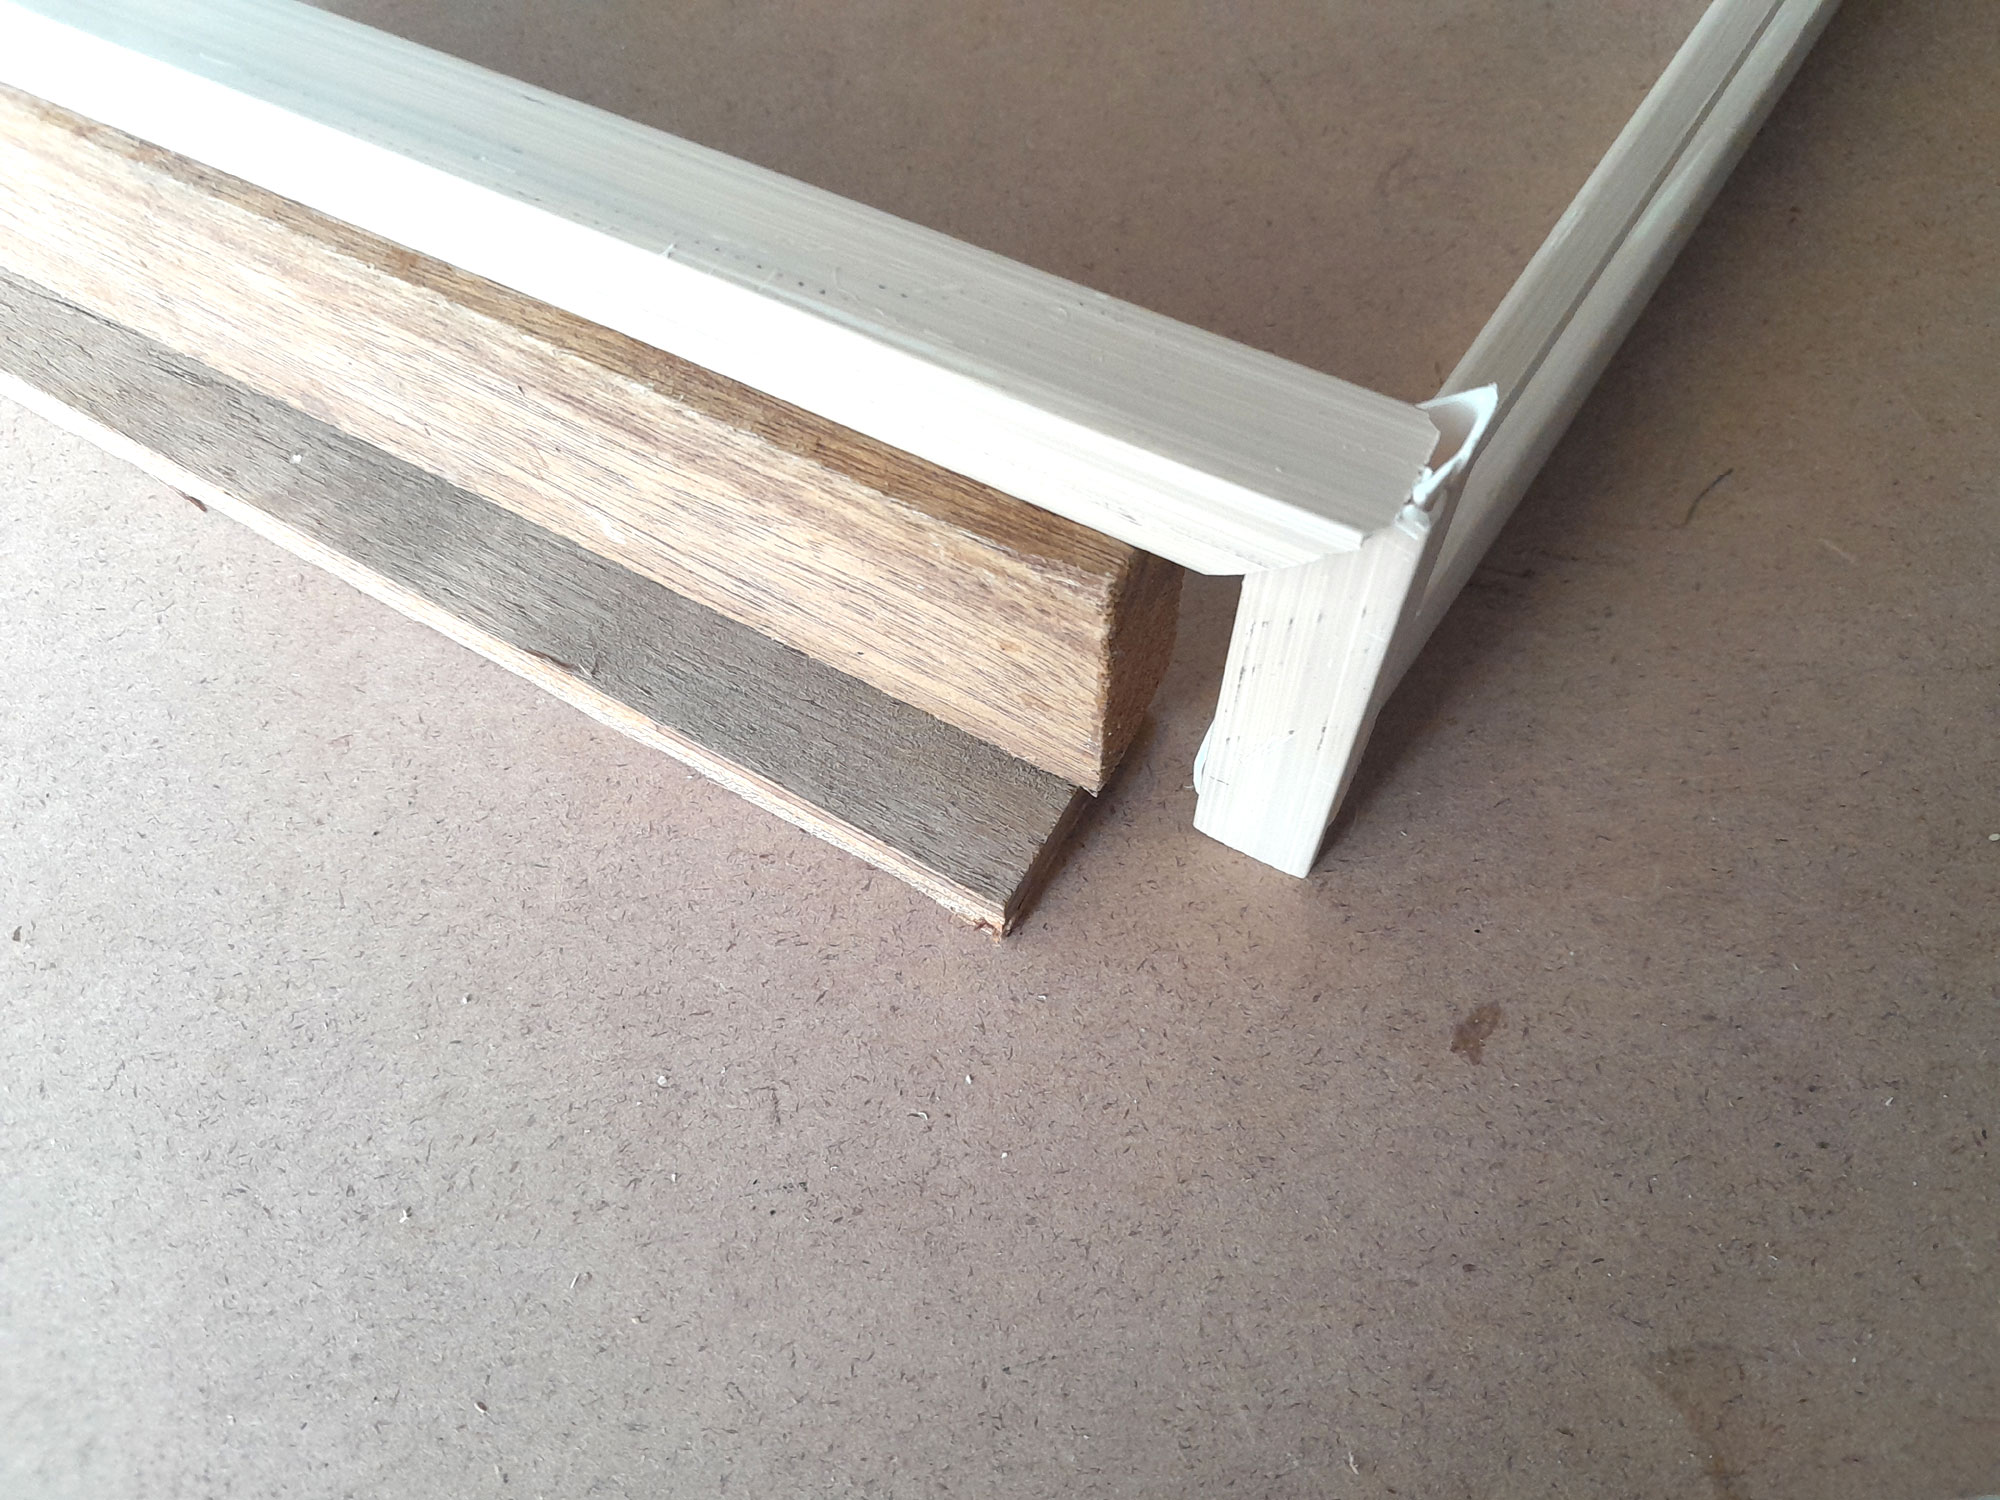
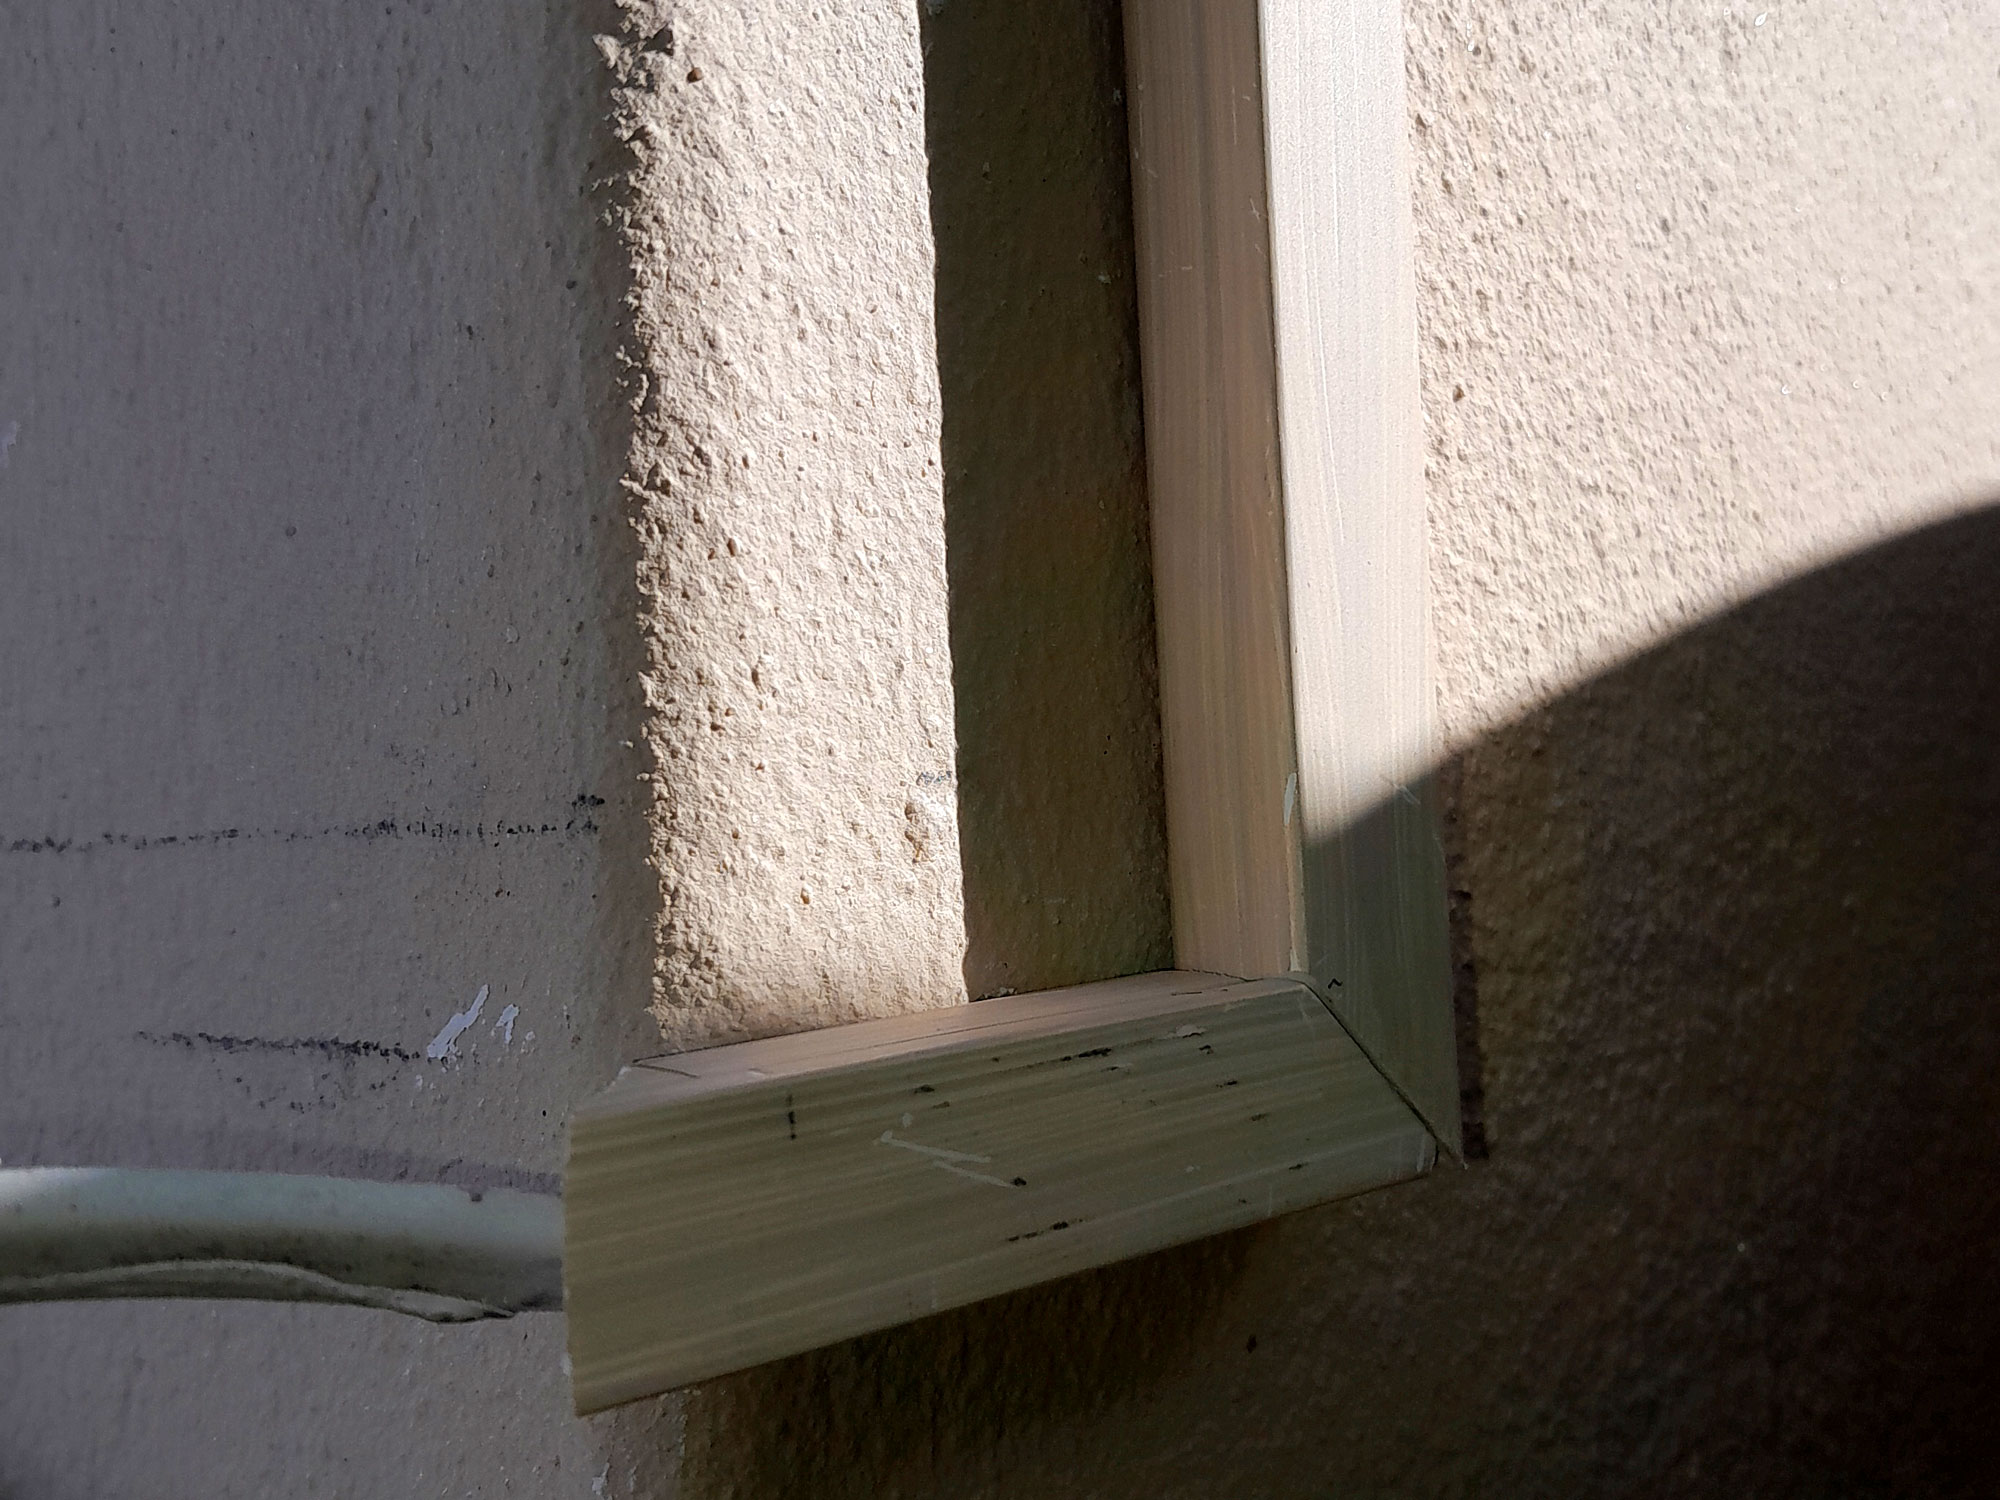
- The conduit would have to go through a double 90º bend, as shown here, as I wanted the length passing down the wall from under the eave to be around the corner and less visible. I measured off and cut the various pieces, mitring the ends as shown.
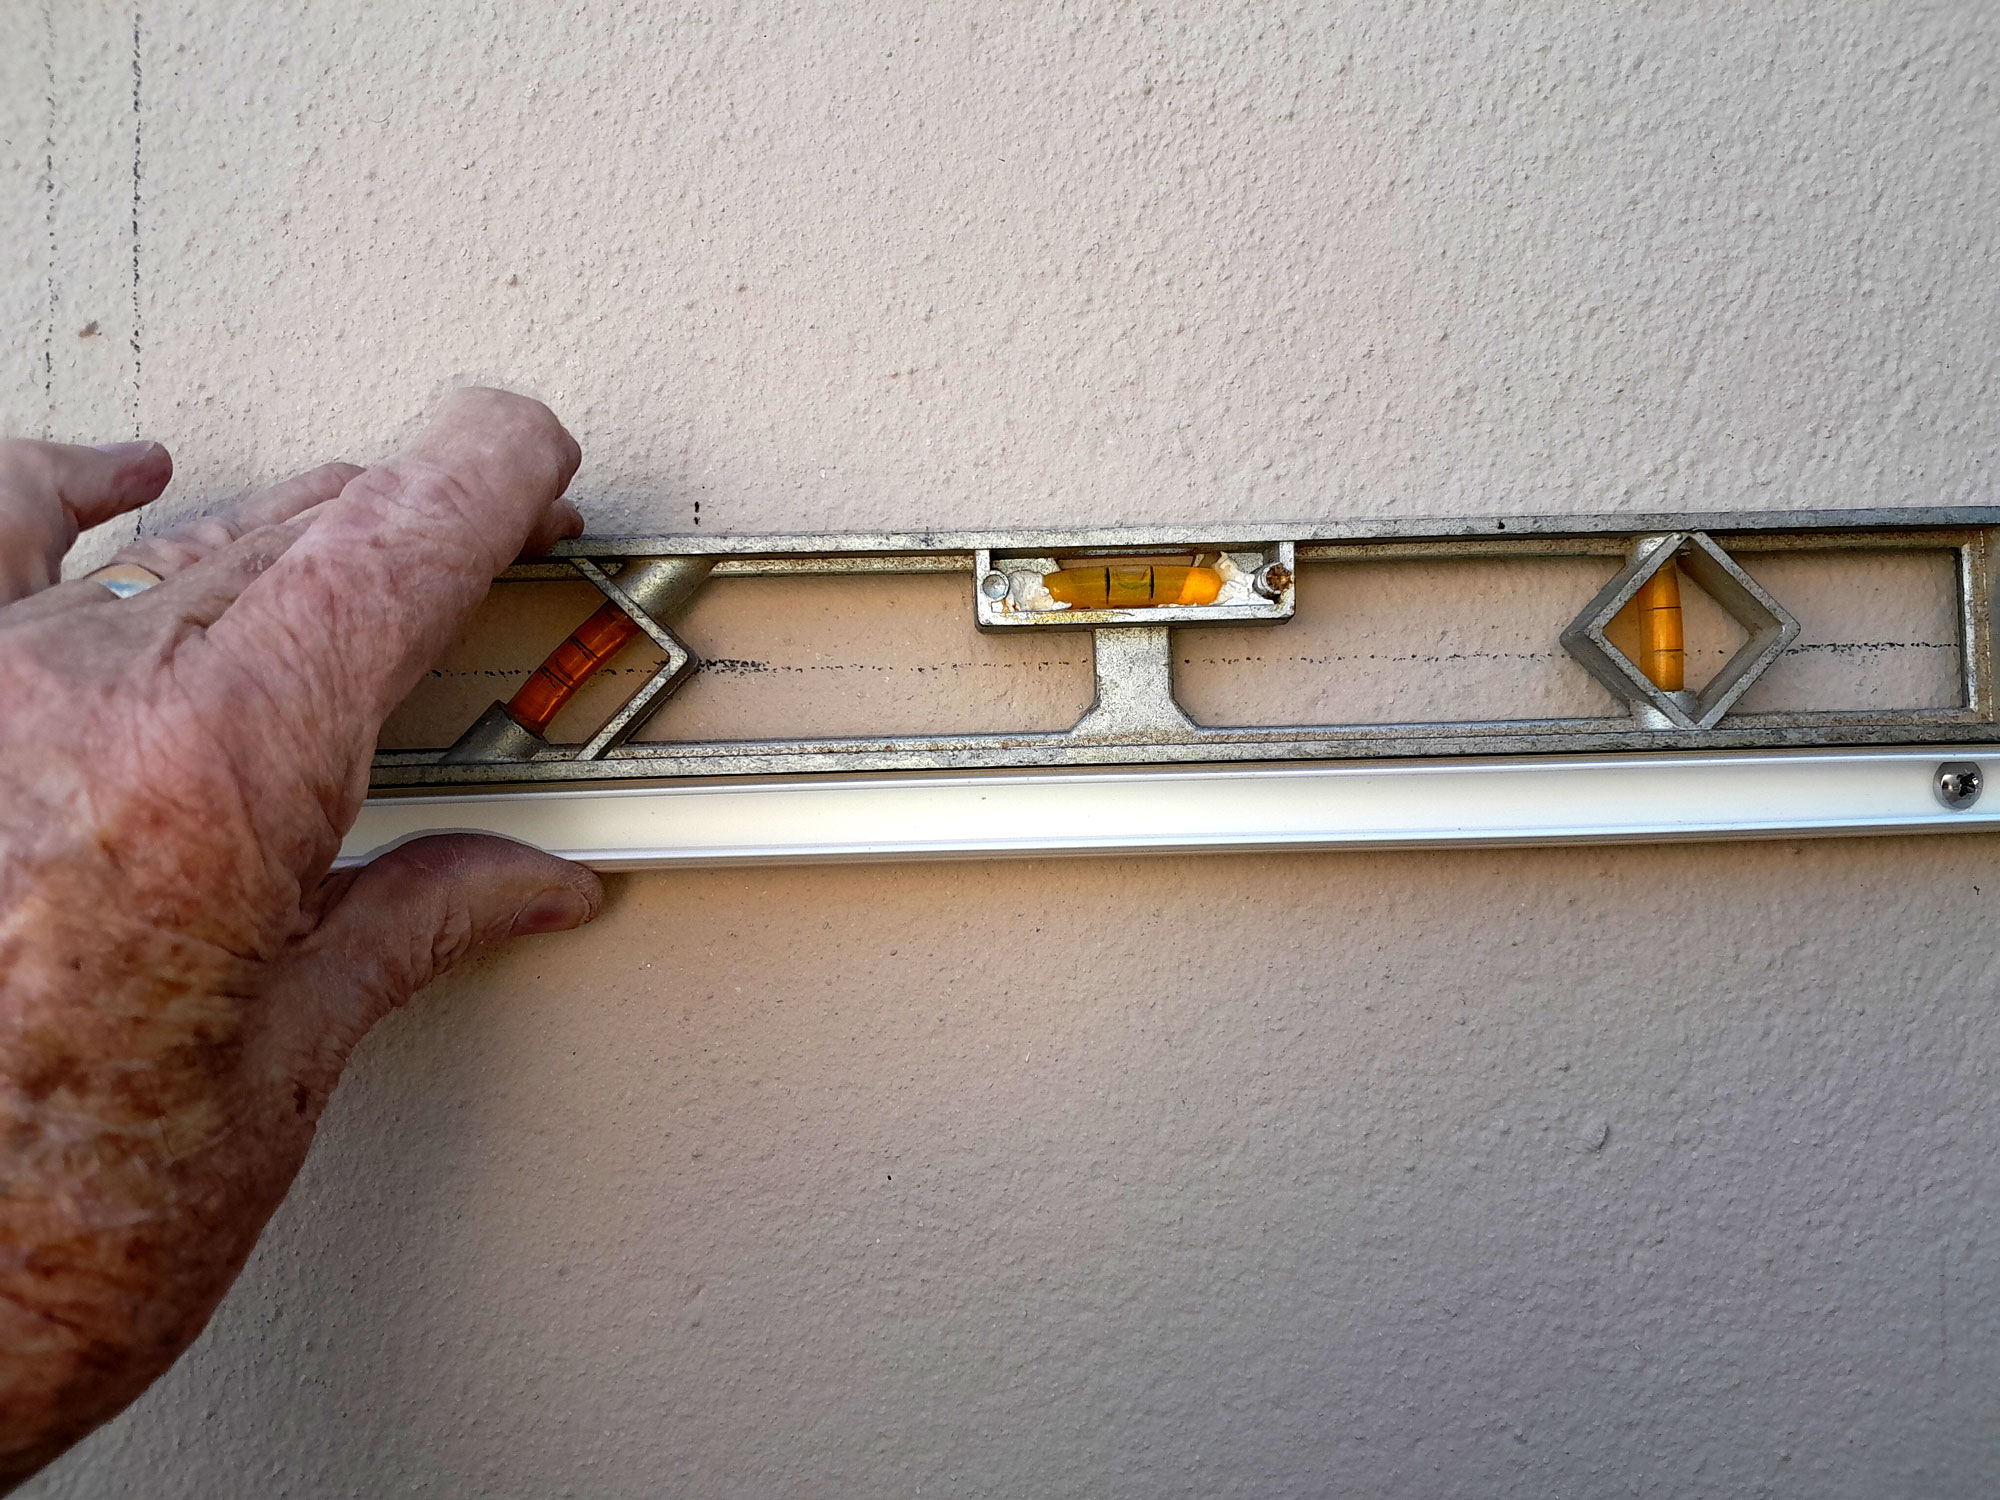
- I used a 2D level (very useful) to mark off the path the conduit would take.

- I told you it’s a very useful little level.
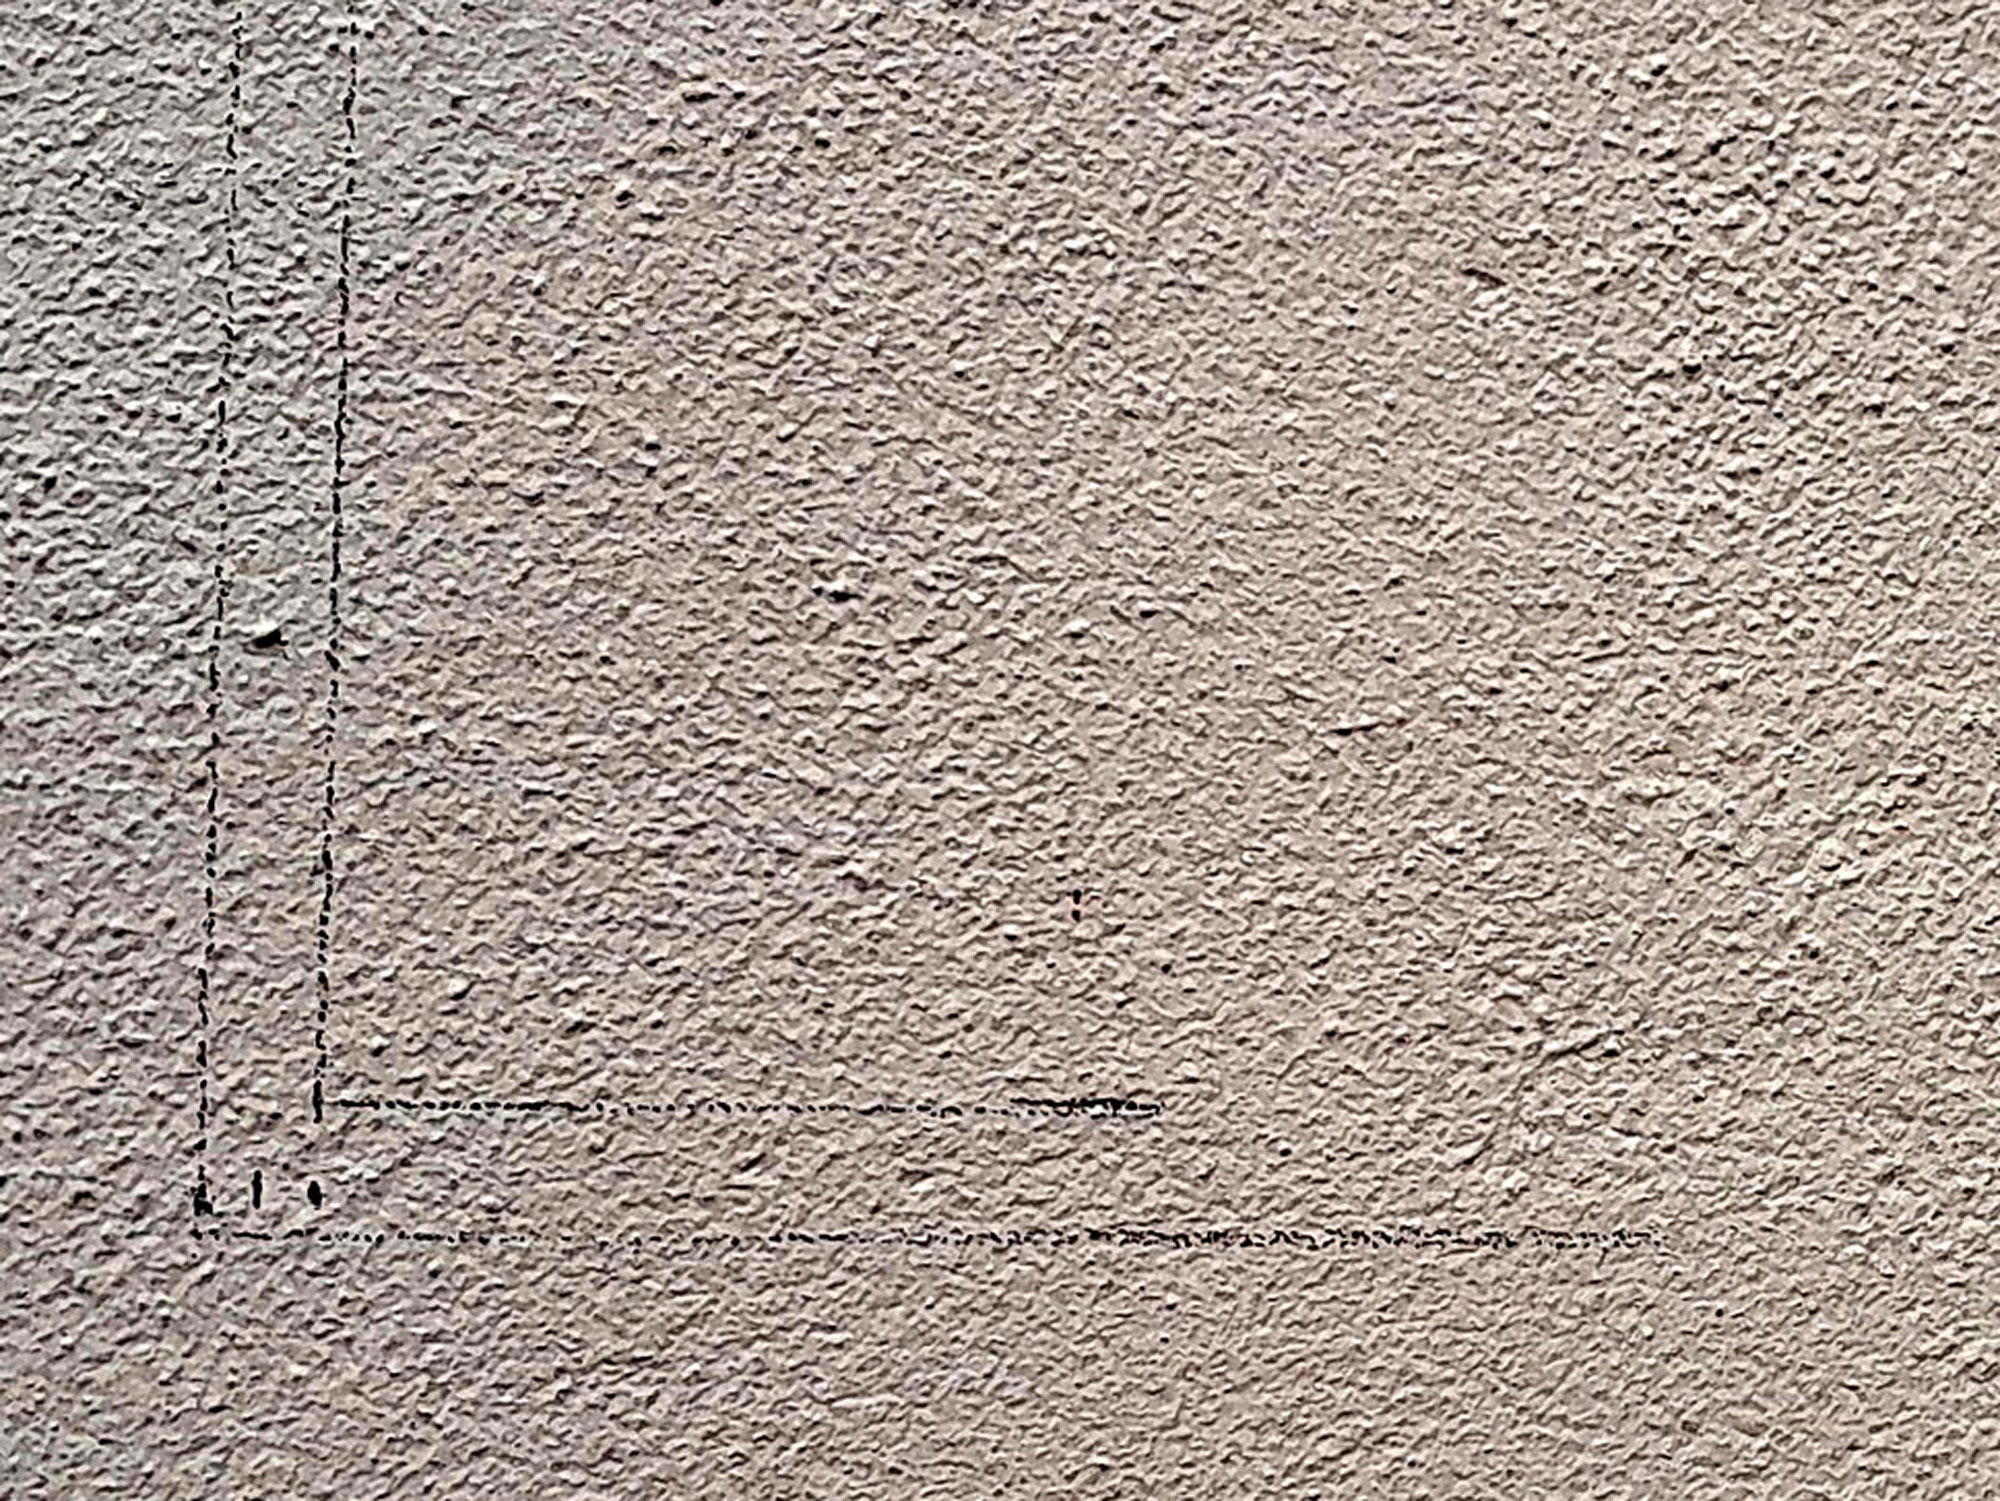
- The lines are very faint, but will serve as a guide when fitting the conduit.
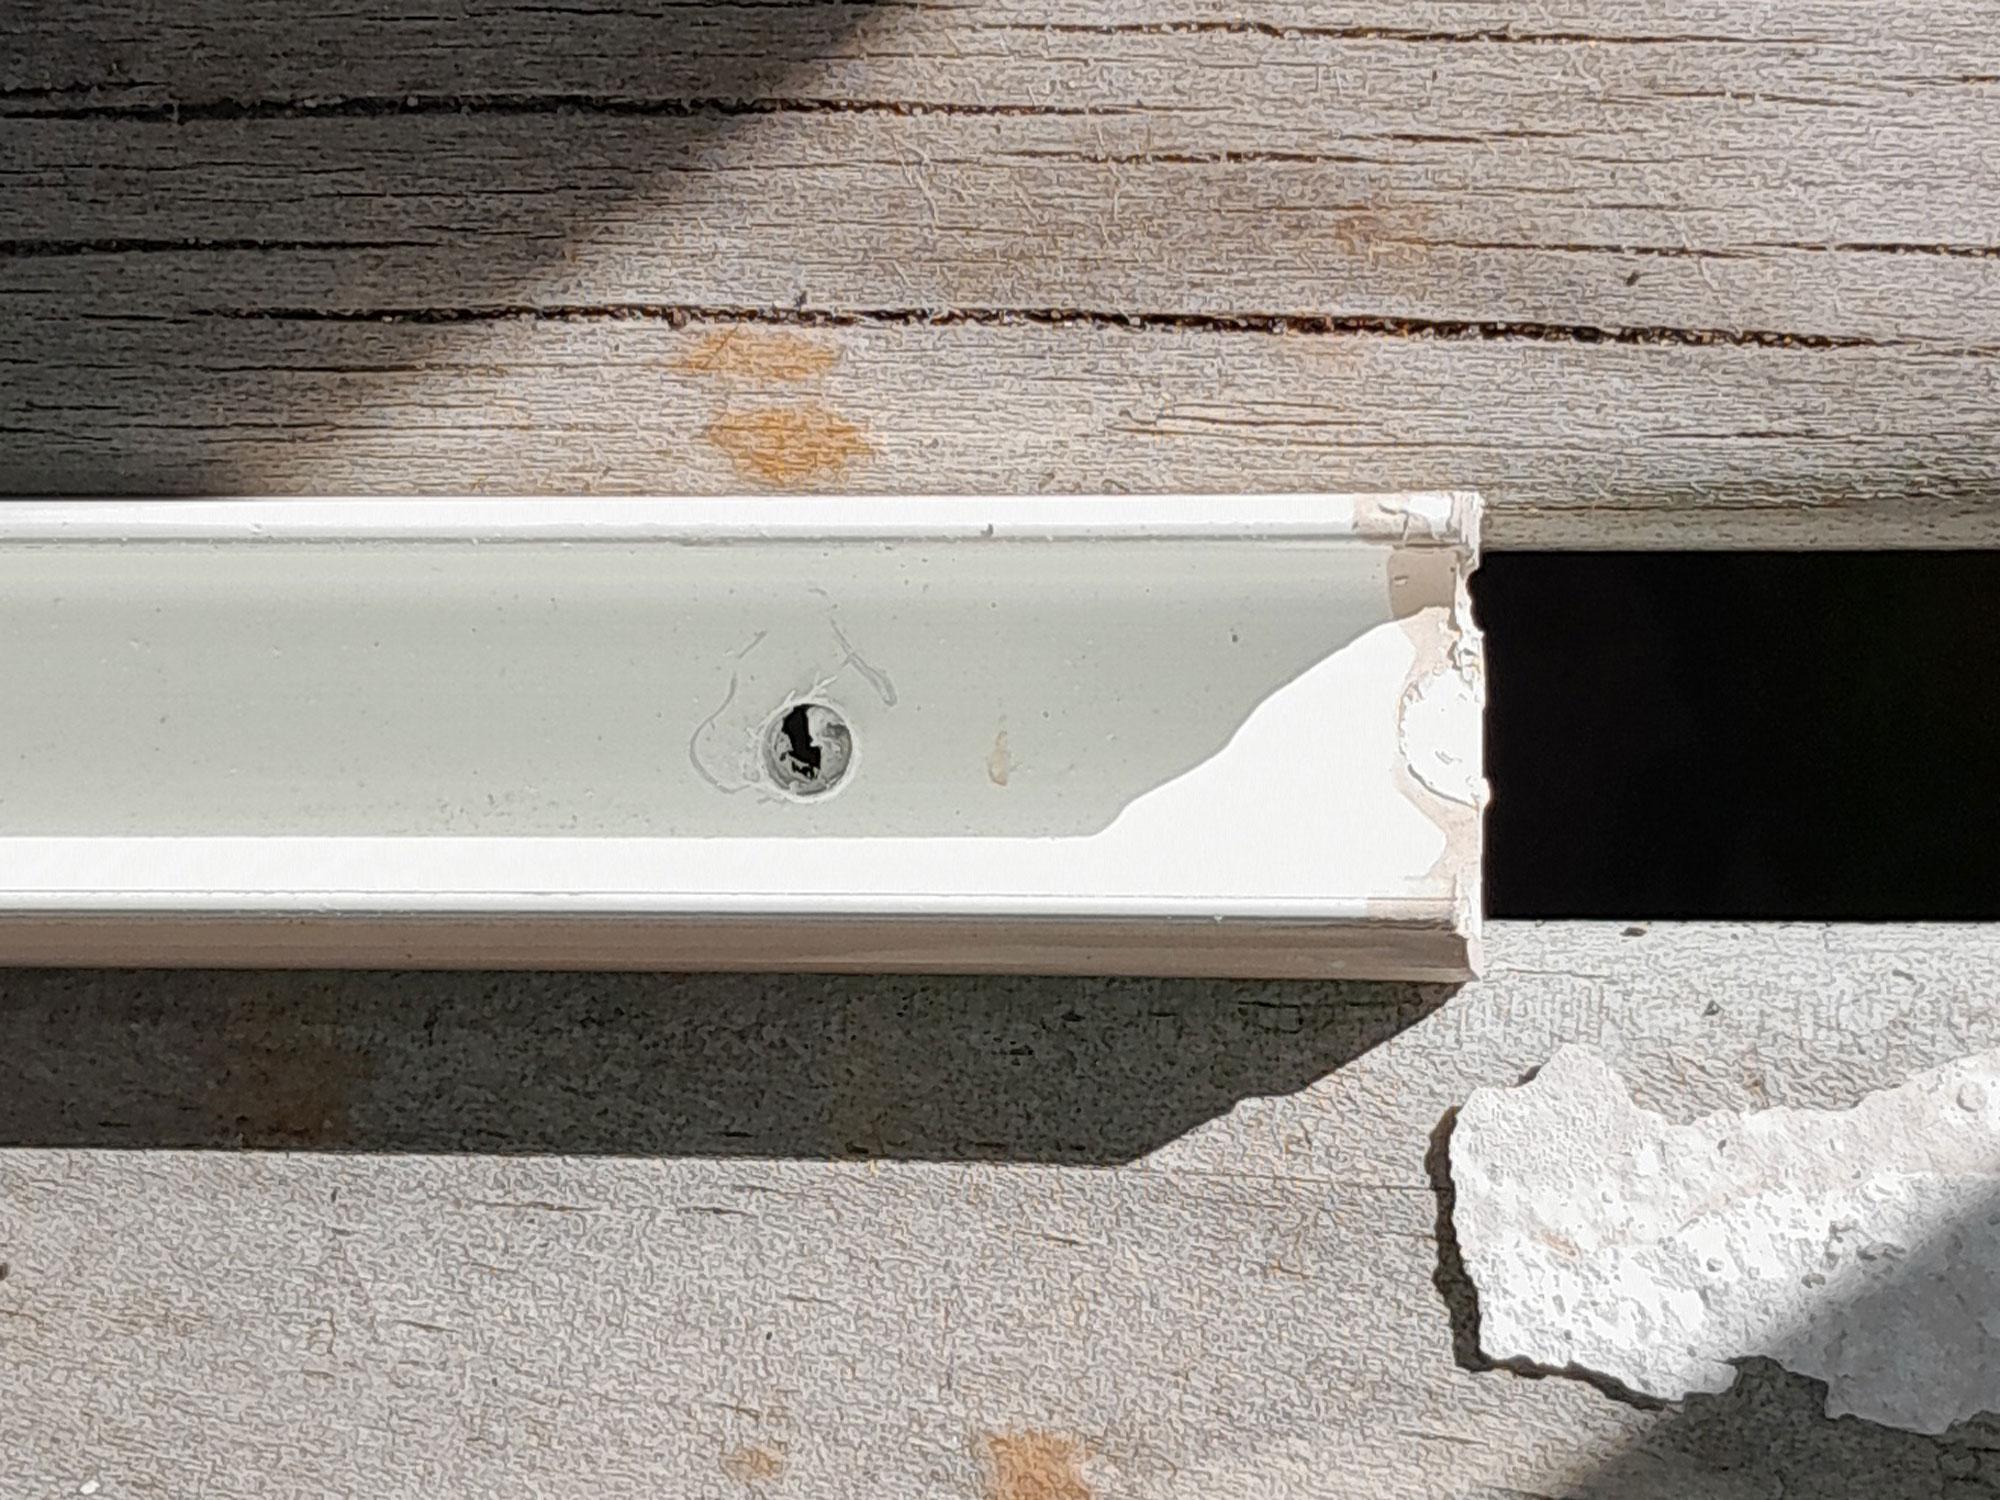
- I could have glued the conduit to the wall, but glue is only as strong as its base and over time even the best paints can flake, so I used stainless screws to fix it in position. I drilled 3mmØ holes in the conduit base about 30mm in from each end and spaced at around 250mm intervals between each. I used the same small 3mm masonry bit to drill the holes in the conduit and to start the holes in the wall… I positioned the conduit, drilled into the masonry a couple of millimetres at each position.
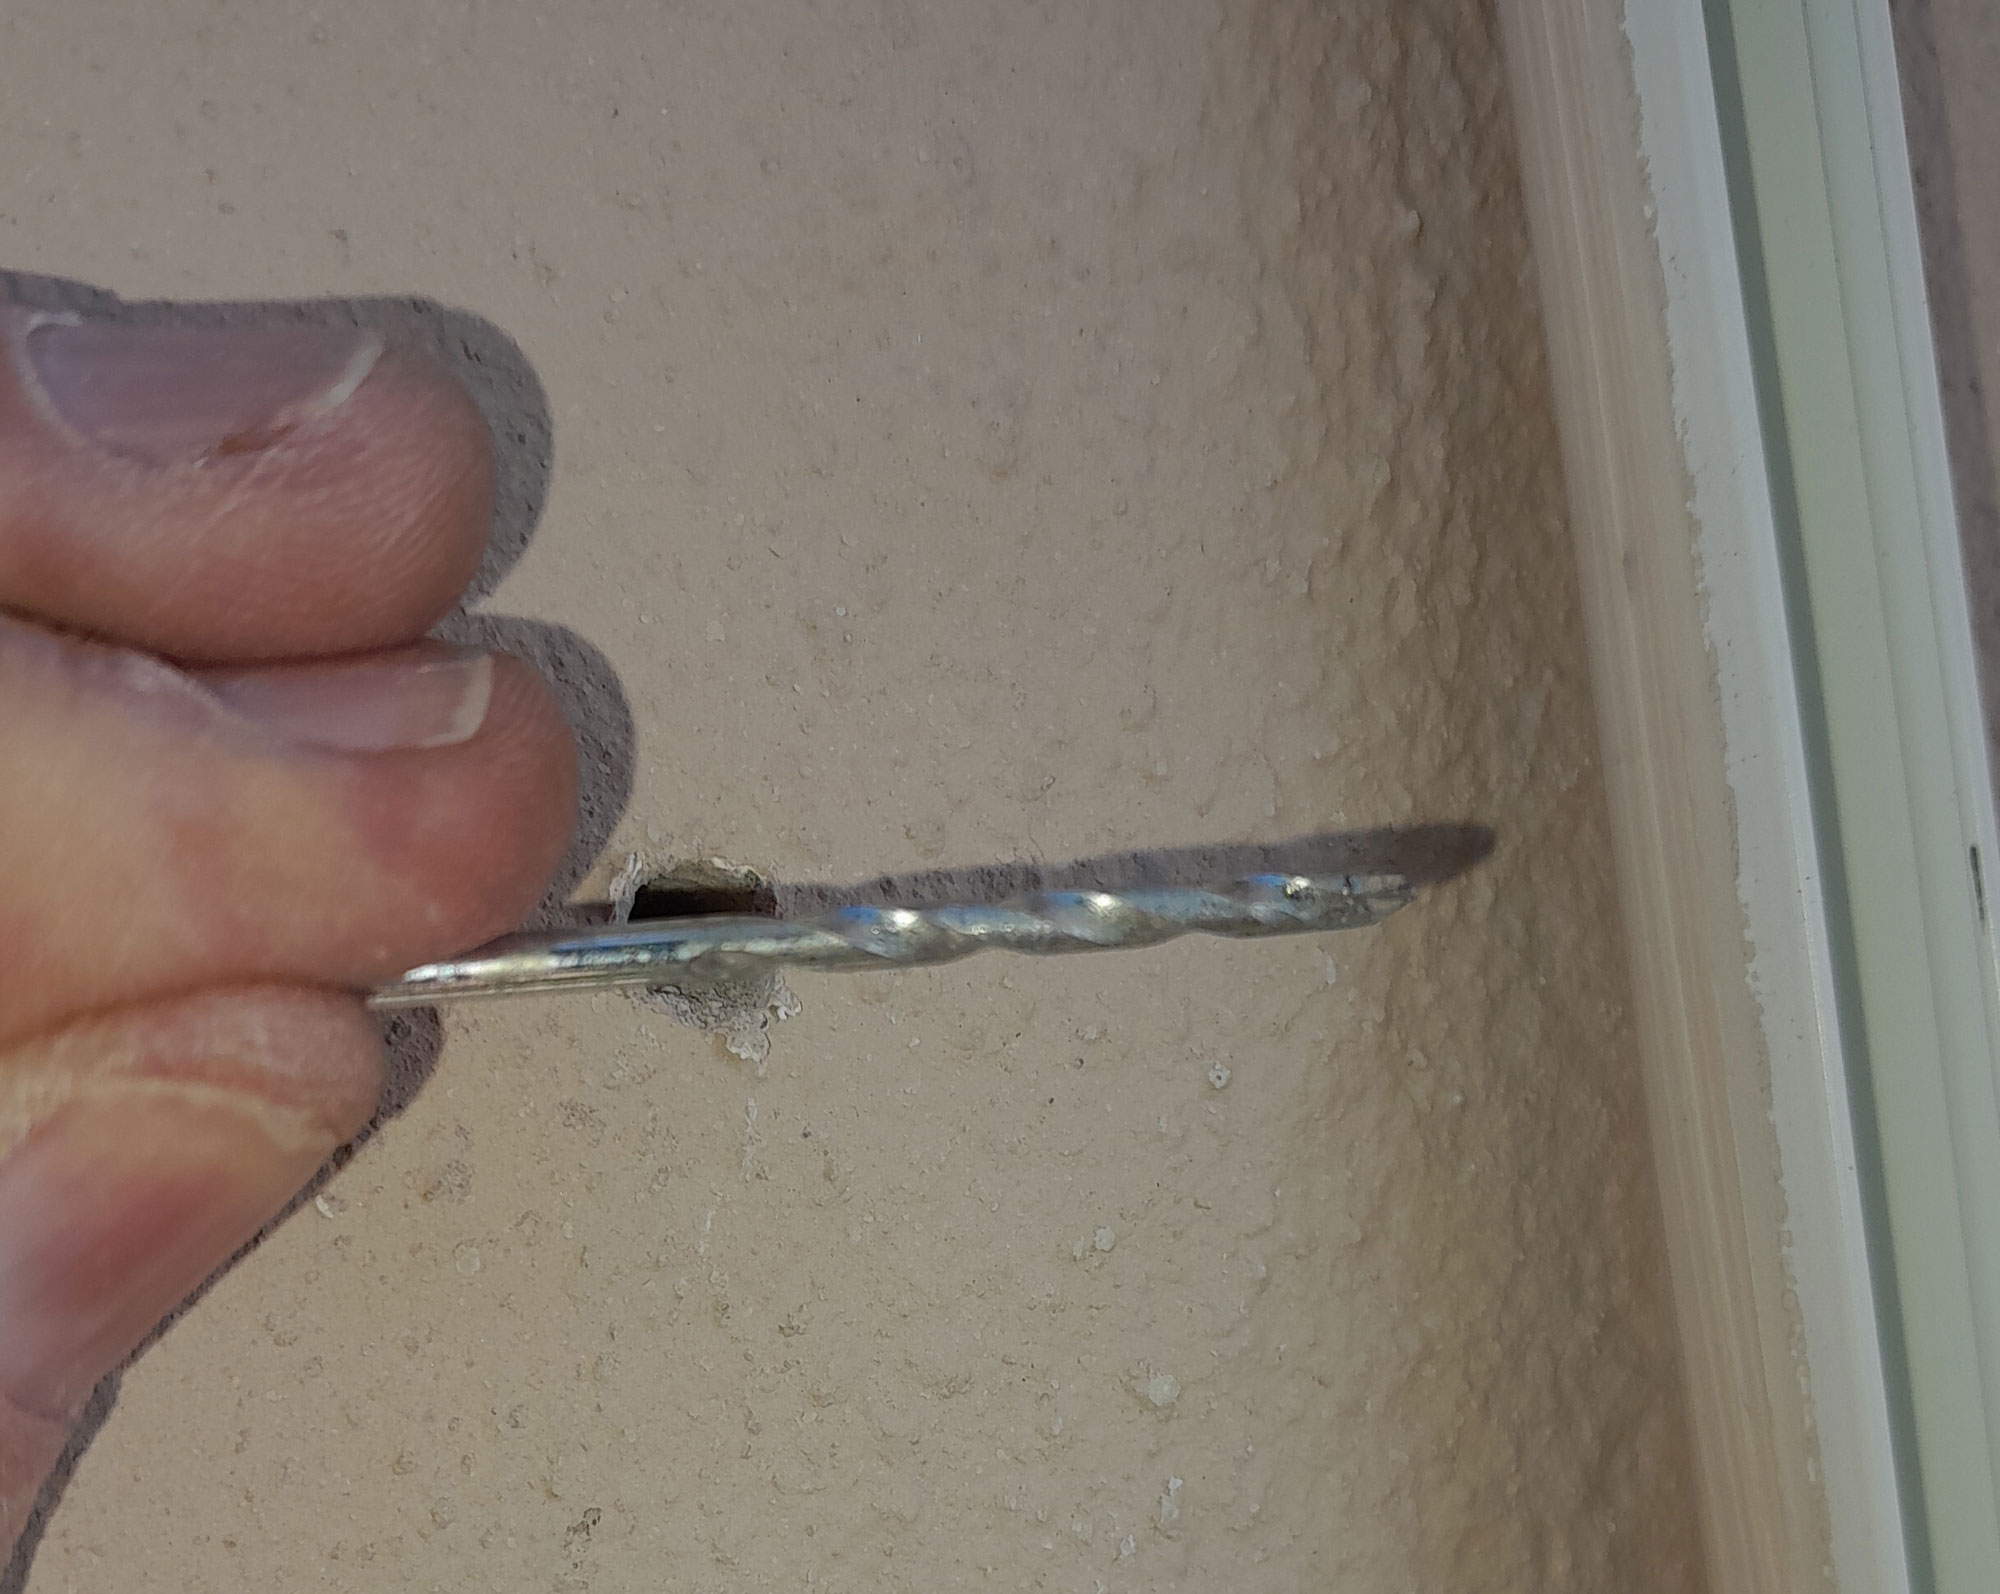
- Then I drilled a bit deeper at each position, and finally to the full depth using the correct full-size bit for the plugs.
- I popped in the plugs, fitted the conduit, passed the cable into it and tapped the cap back on. Note that the conduit is no closer than about 50mm from the corner… if you drill too close to the wall’s corner, the pressure exerted by the plug on the plaster could crack it.

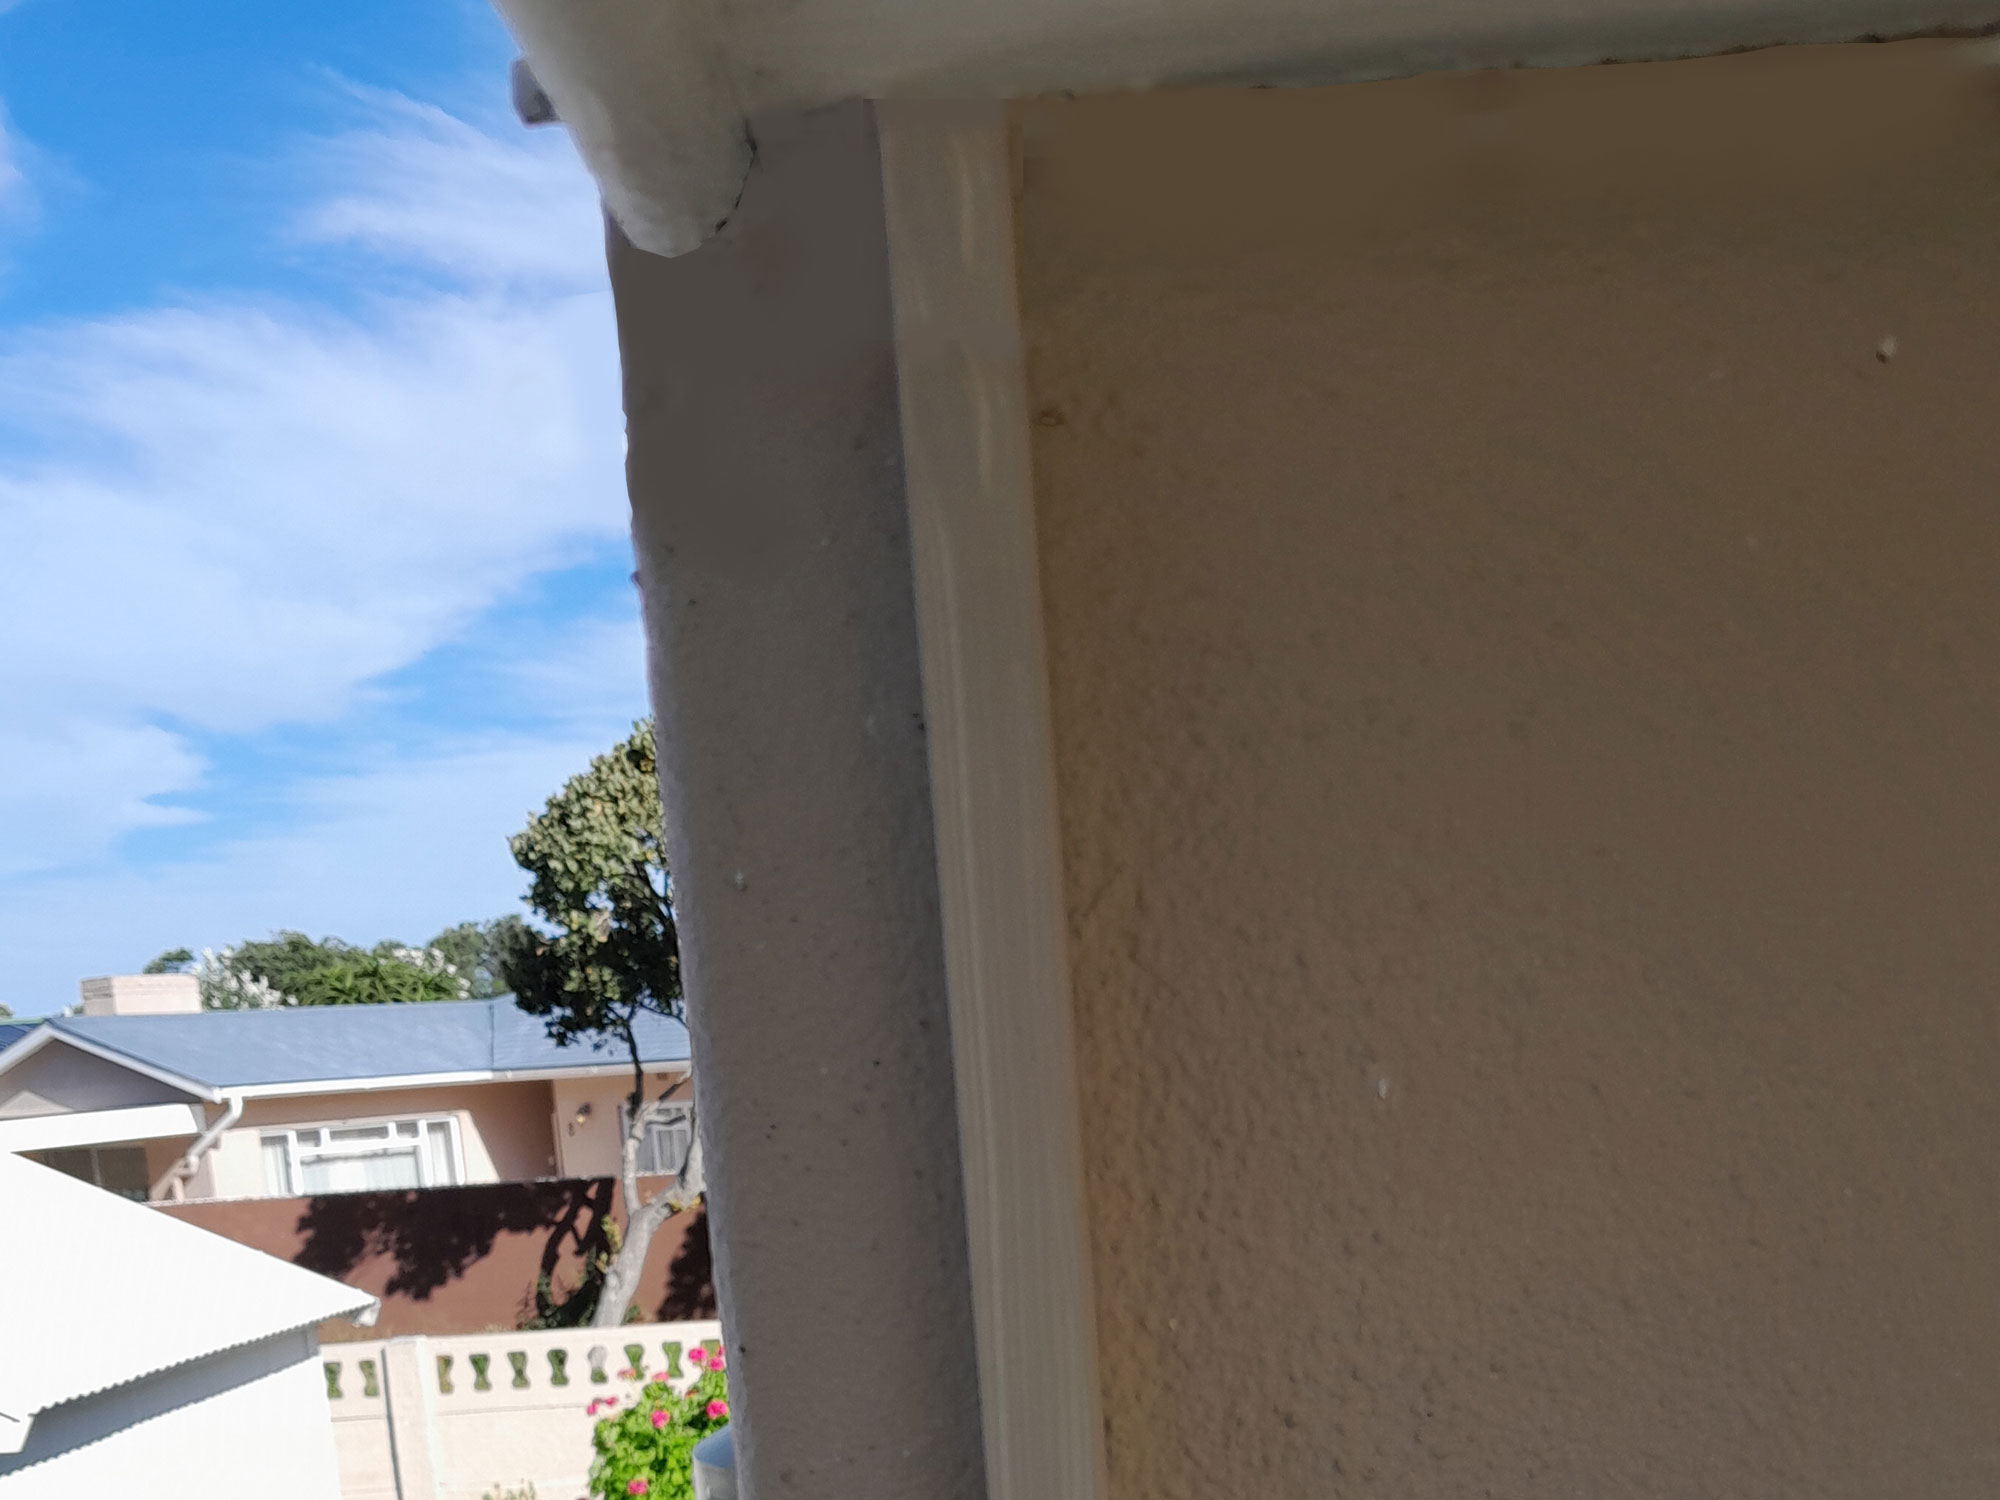
- Here’s the bottom of the conduit passing out of the bottom mitred end.
- And here’s the short corner conduit fitted into position – I used just one securing screw to do this. This junction, as you can see, comprises two 90º mitred joins at 90º to each other.
- I used a longer level when marking off the position of the horizontal section of the conduit. Then I fitted attached it to the wall, but without inserting the cable yet, and completed the conduit fitting with the short vertical section leading up to the light’s position. I temporarily laid the cable in the completed (but open) conduit to be able to cut the cable at the correct point. Hint: Cut the cable over-long… you can always trim some off, but adding extra will be a pain.
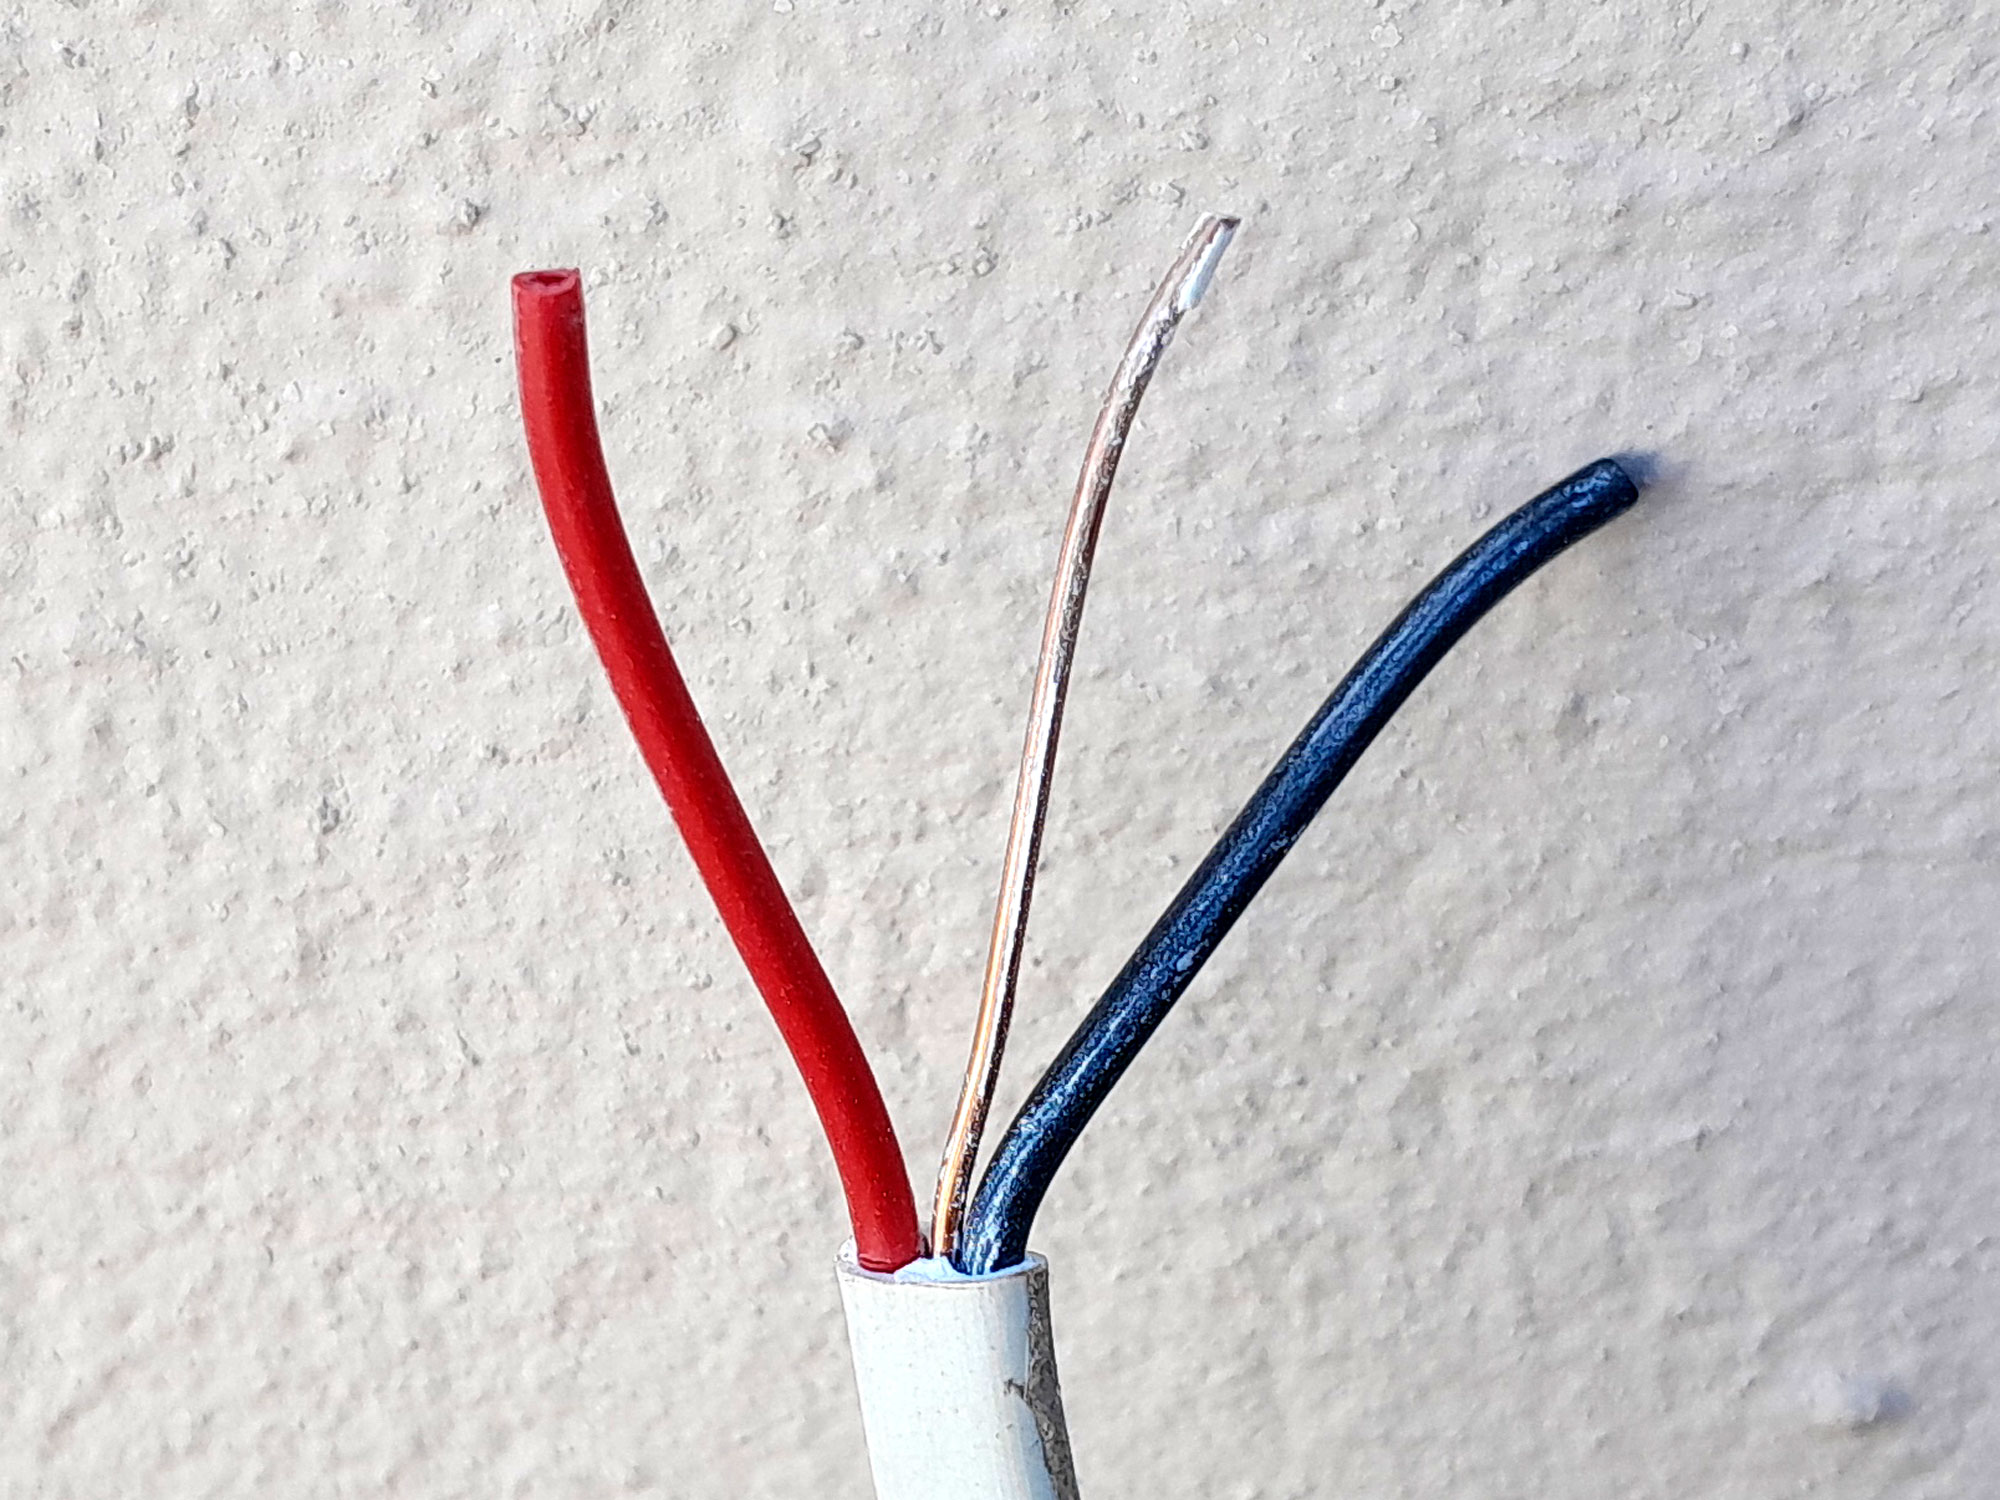
- So, I cut the cable over-long and didn’t need to trim any off. Then I cut back the outer insulation about 50mm to expose the actual Live (red), Copper (earth) and black (neutral) wires.
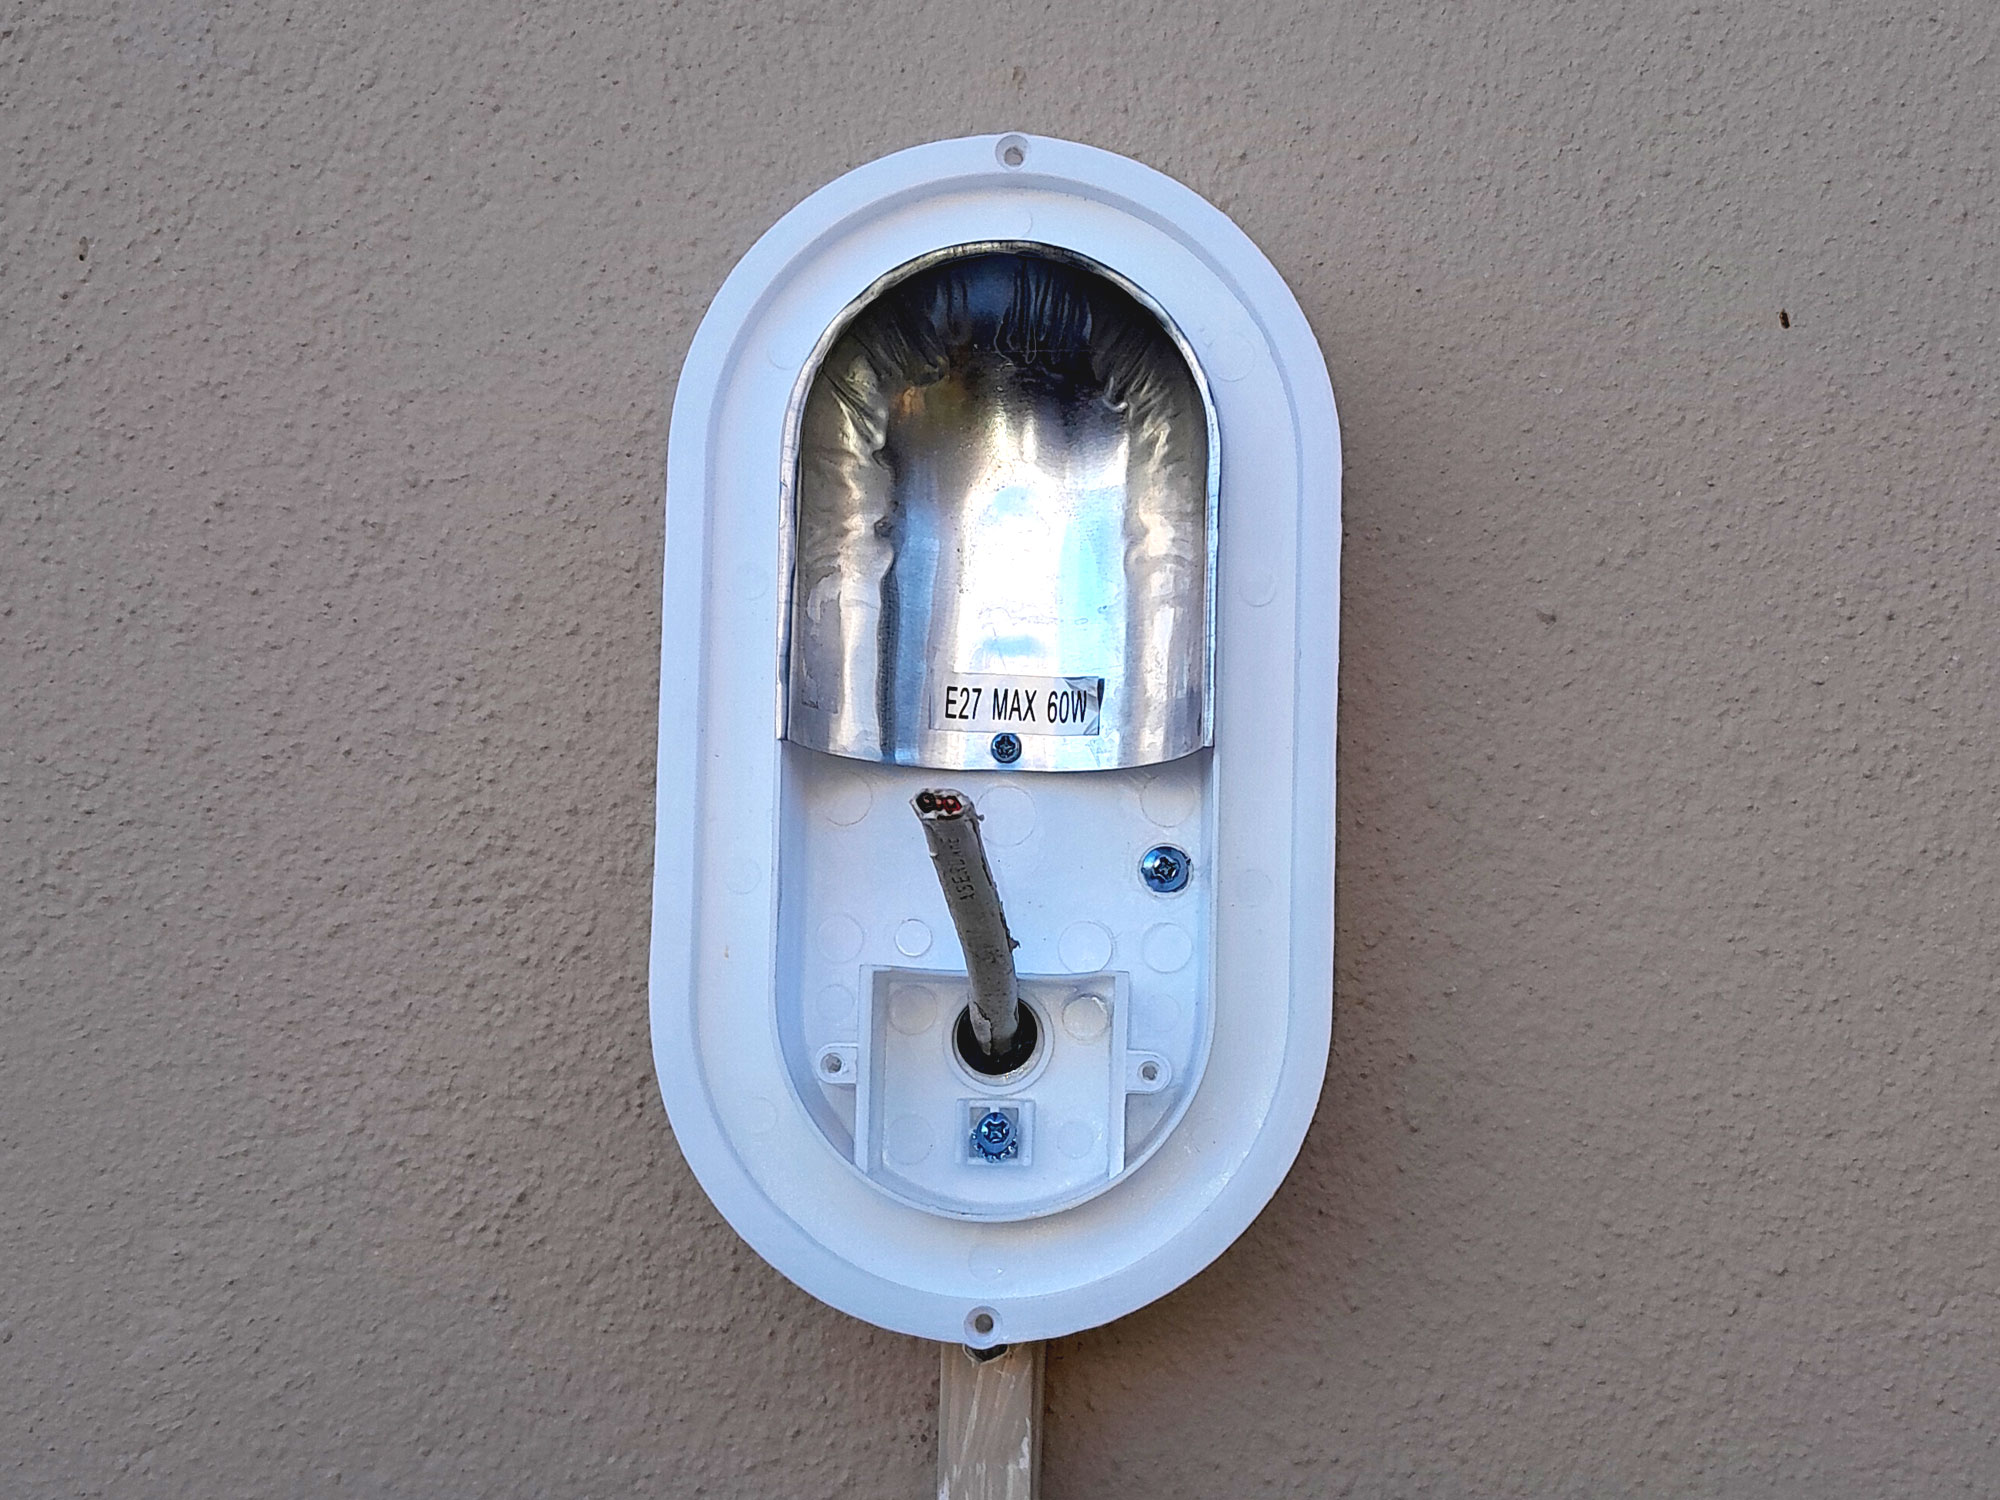
- Here’s the replacement light fitting. Note that the reflector has been temporarily removed as it covers one of the fitting’s attachment screw positions.

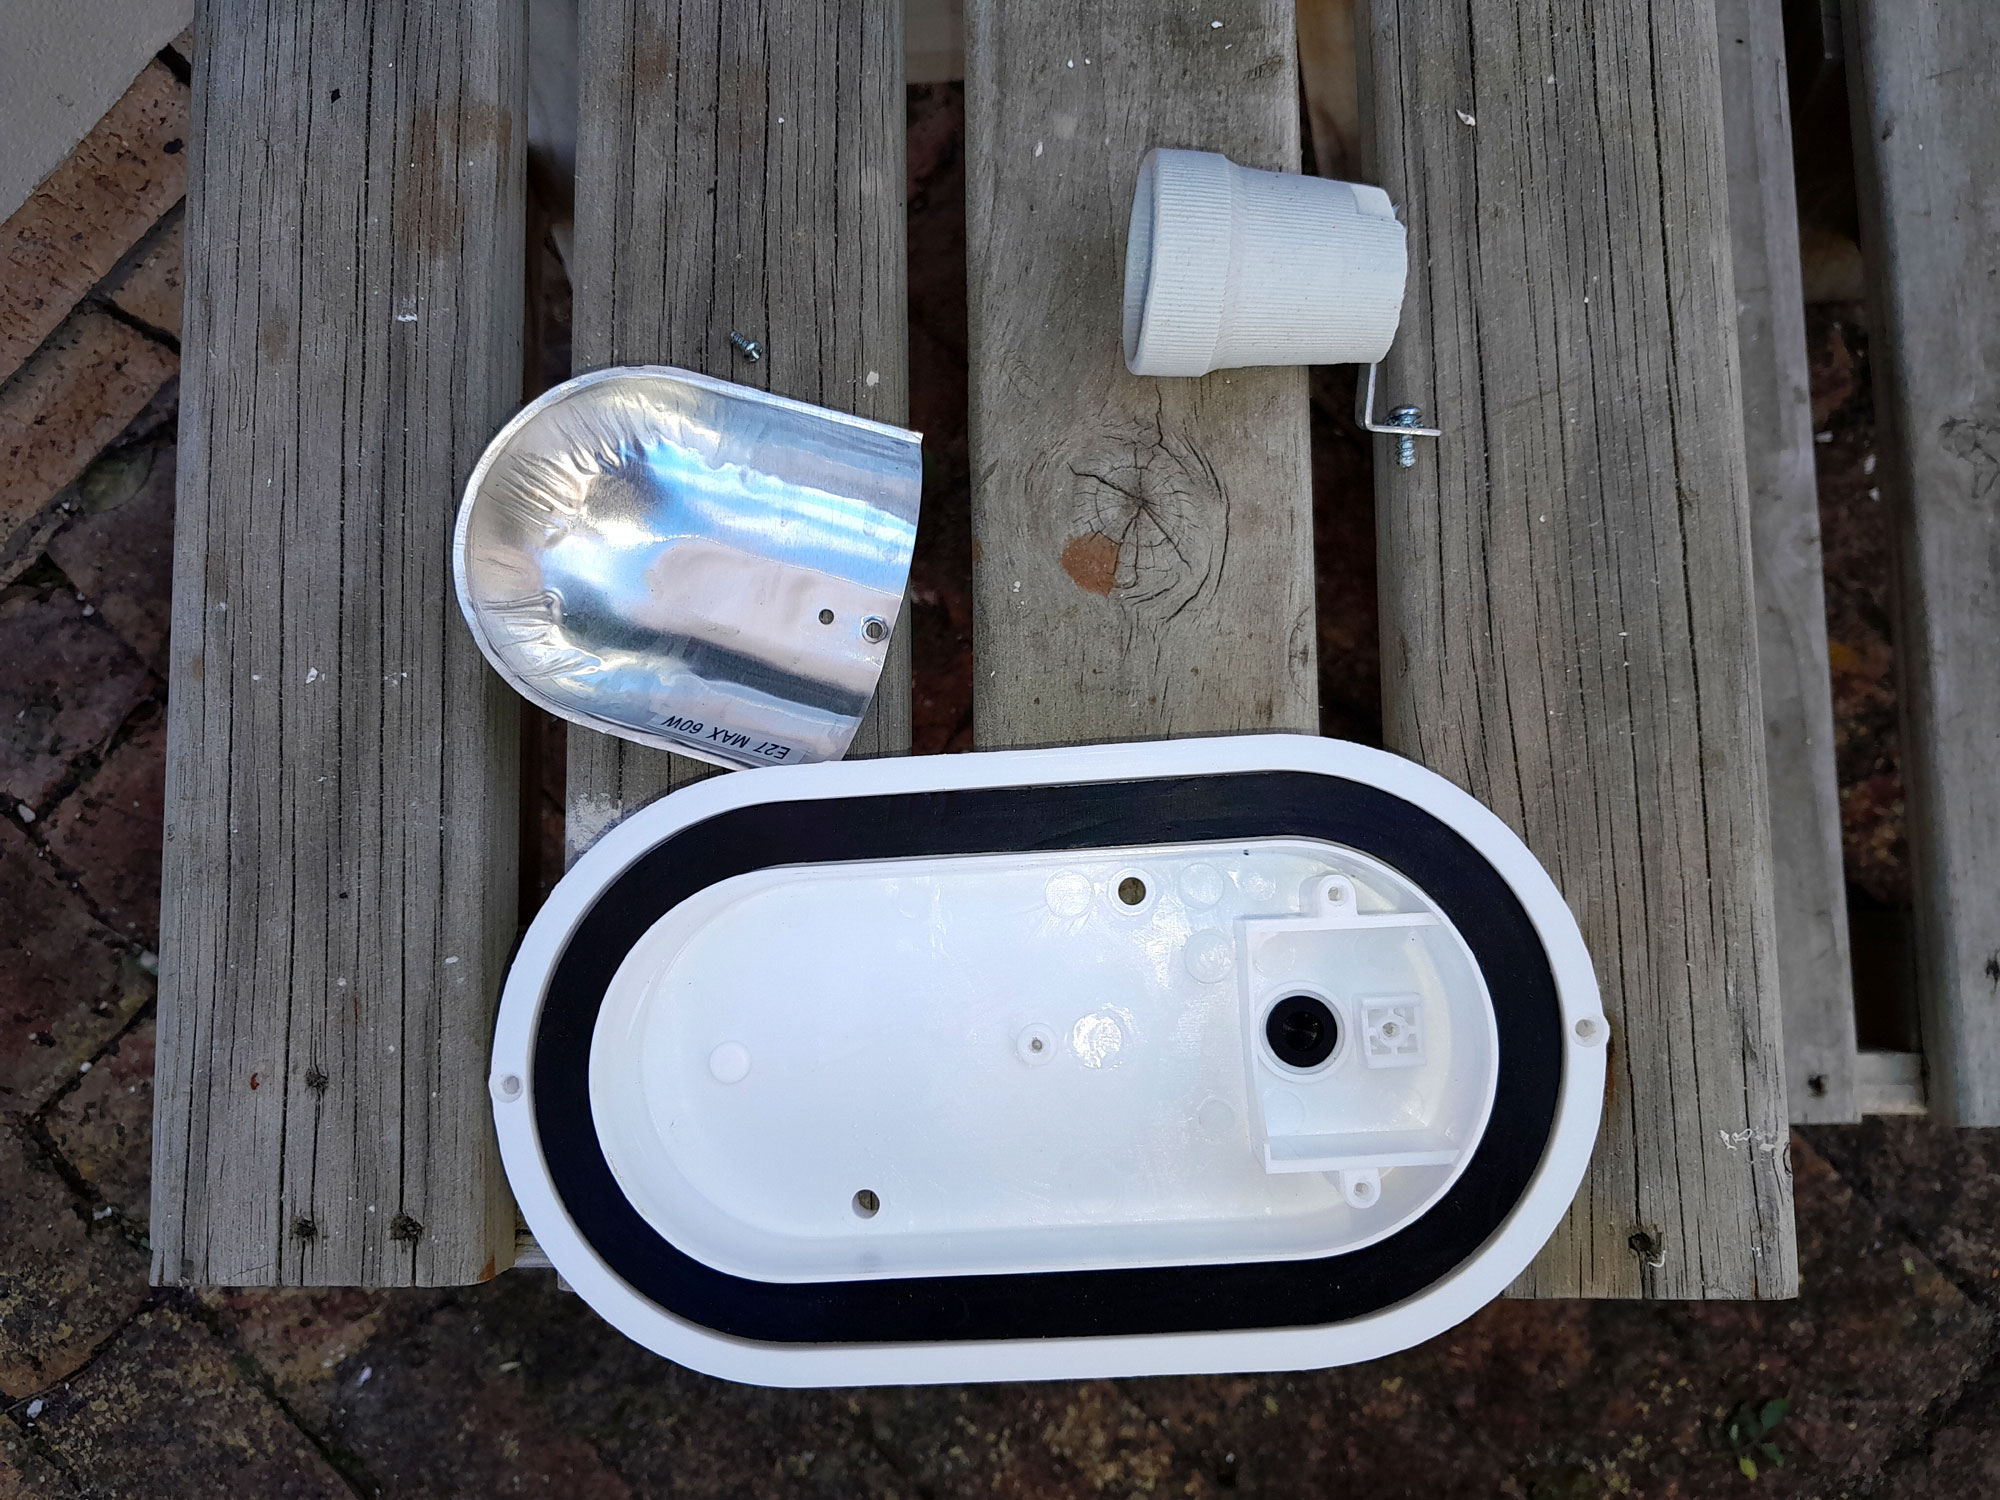
- I passed the cable through the grommet in the fitting’s base and then I used the plugs and screws supplied with the light to attach it to the wall, and refitted the reflector.
- Then I cut the cable back to about 60mm so that about 5mm was still protruding out of the grommet, and stripped off the outer insulation, and stripped off the last 6-8mm of insulation from the red and the black wires – as shown here.
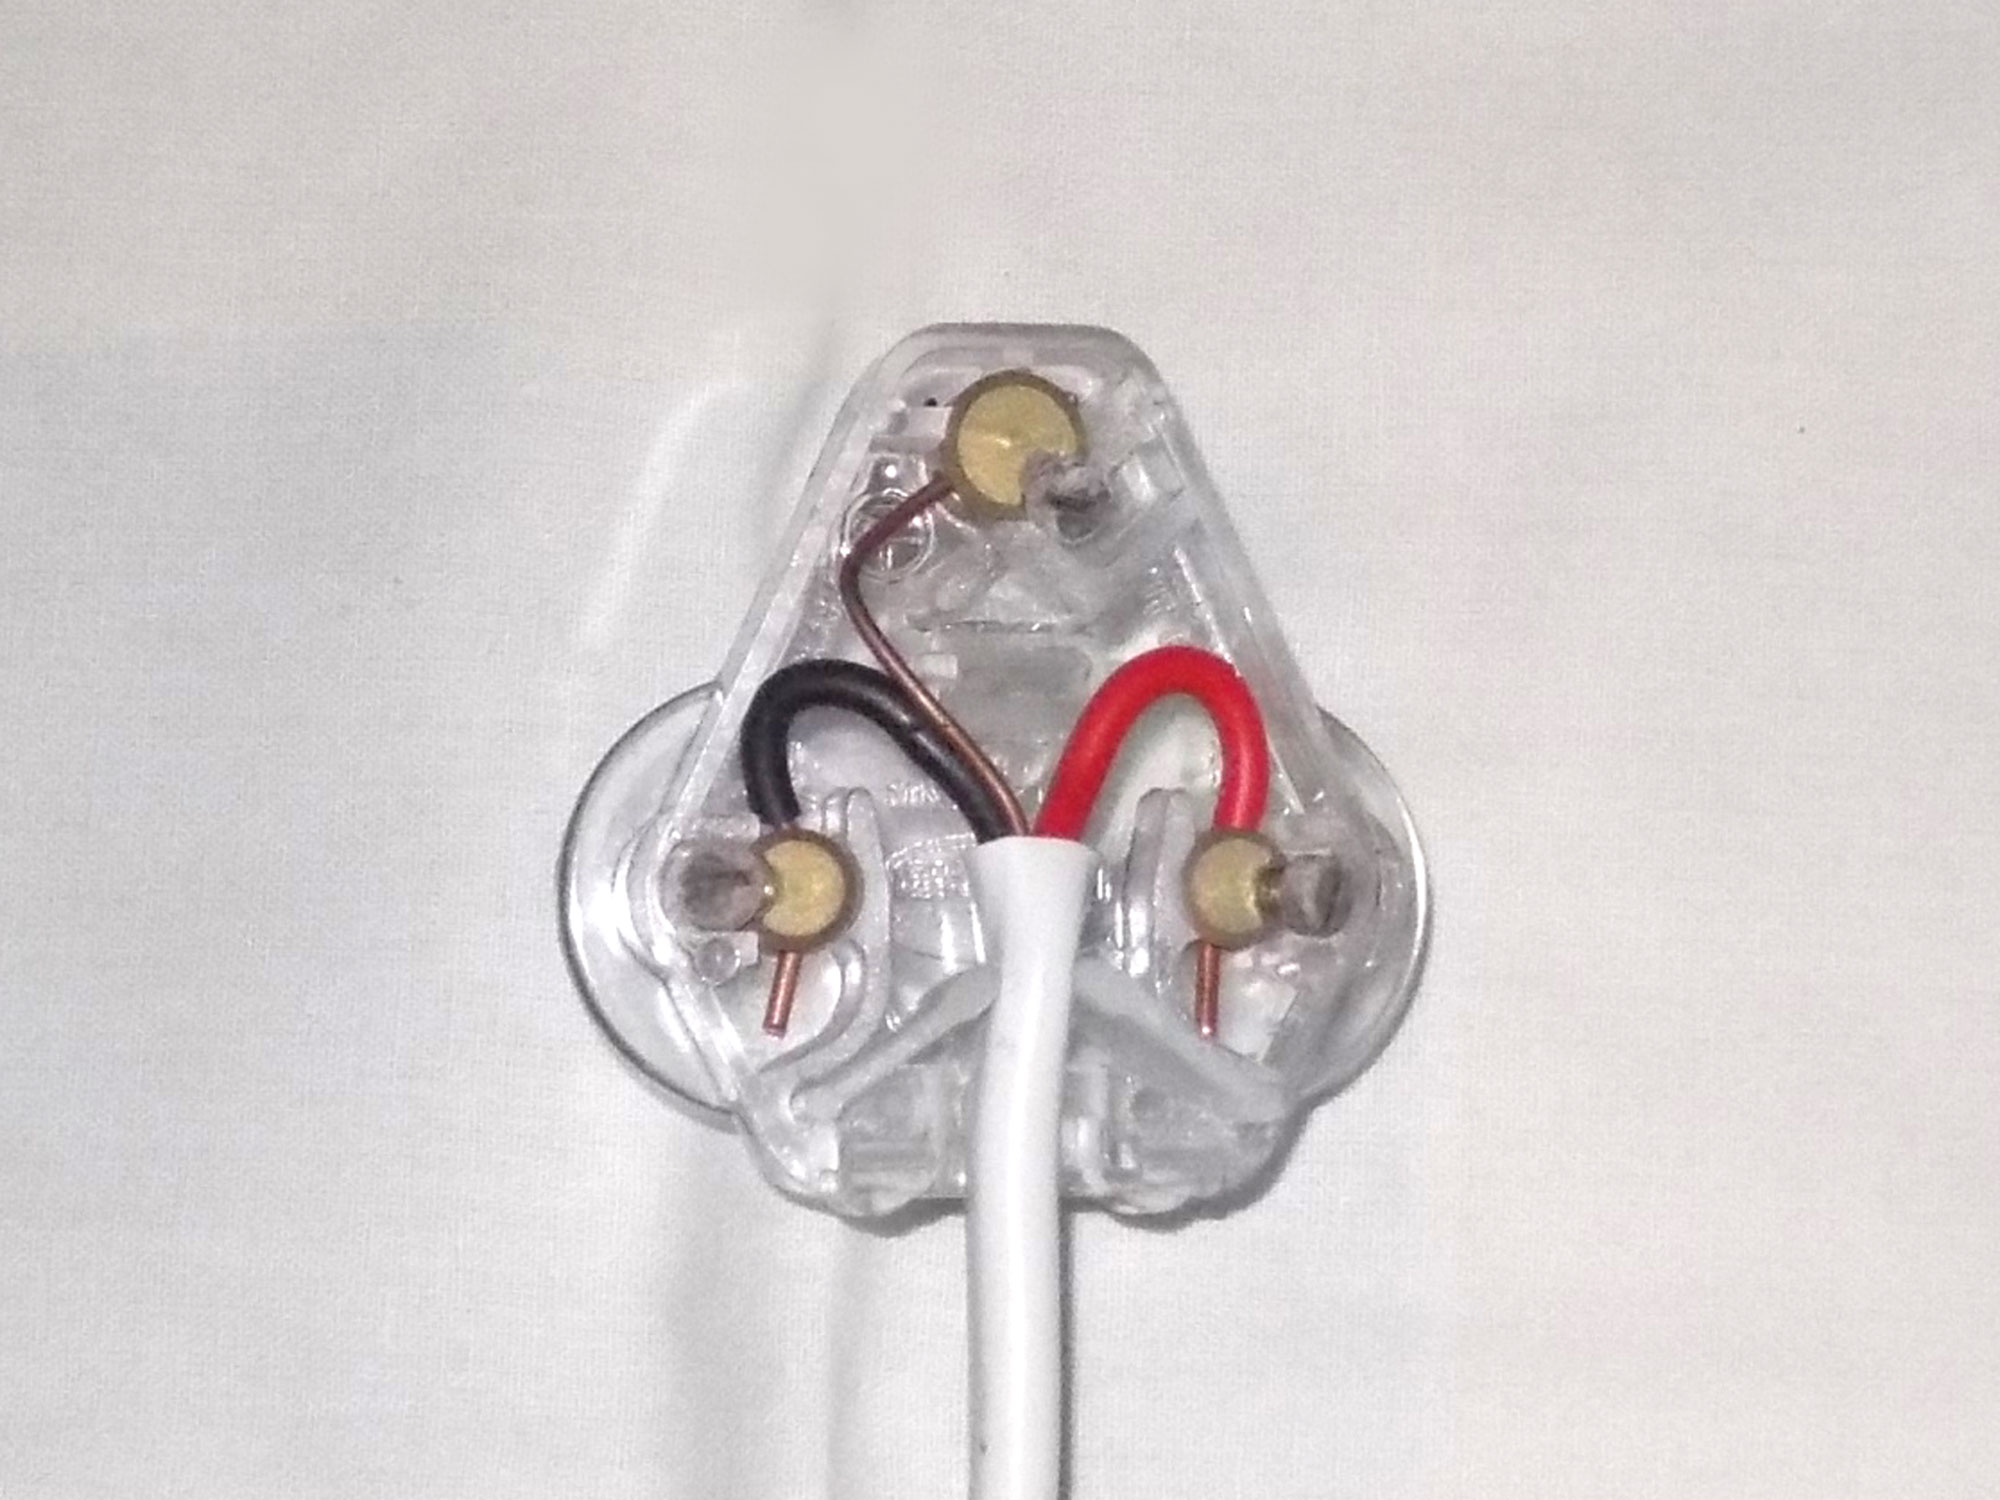
- In passing, if connecting a fixed cable to a 3-point plug, this is the configuration.
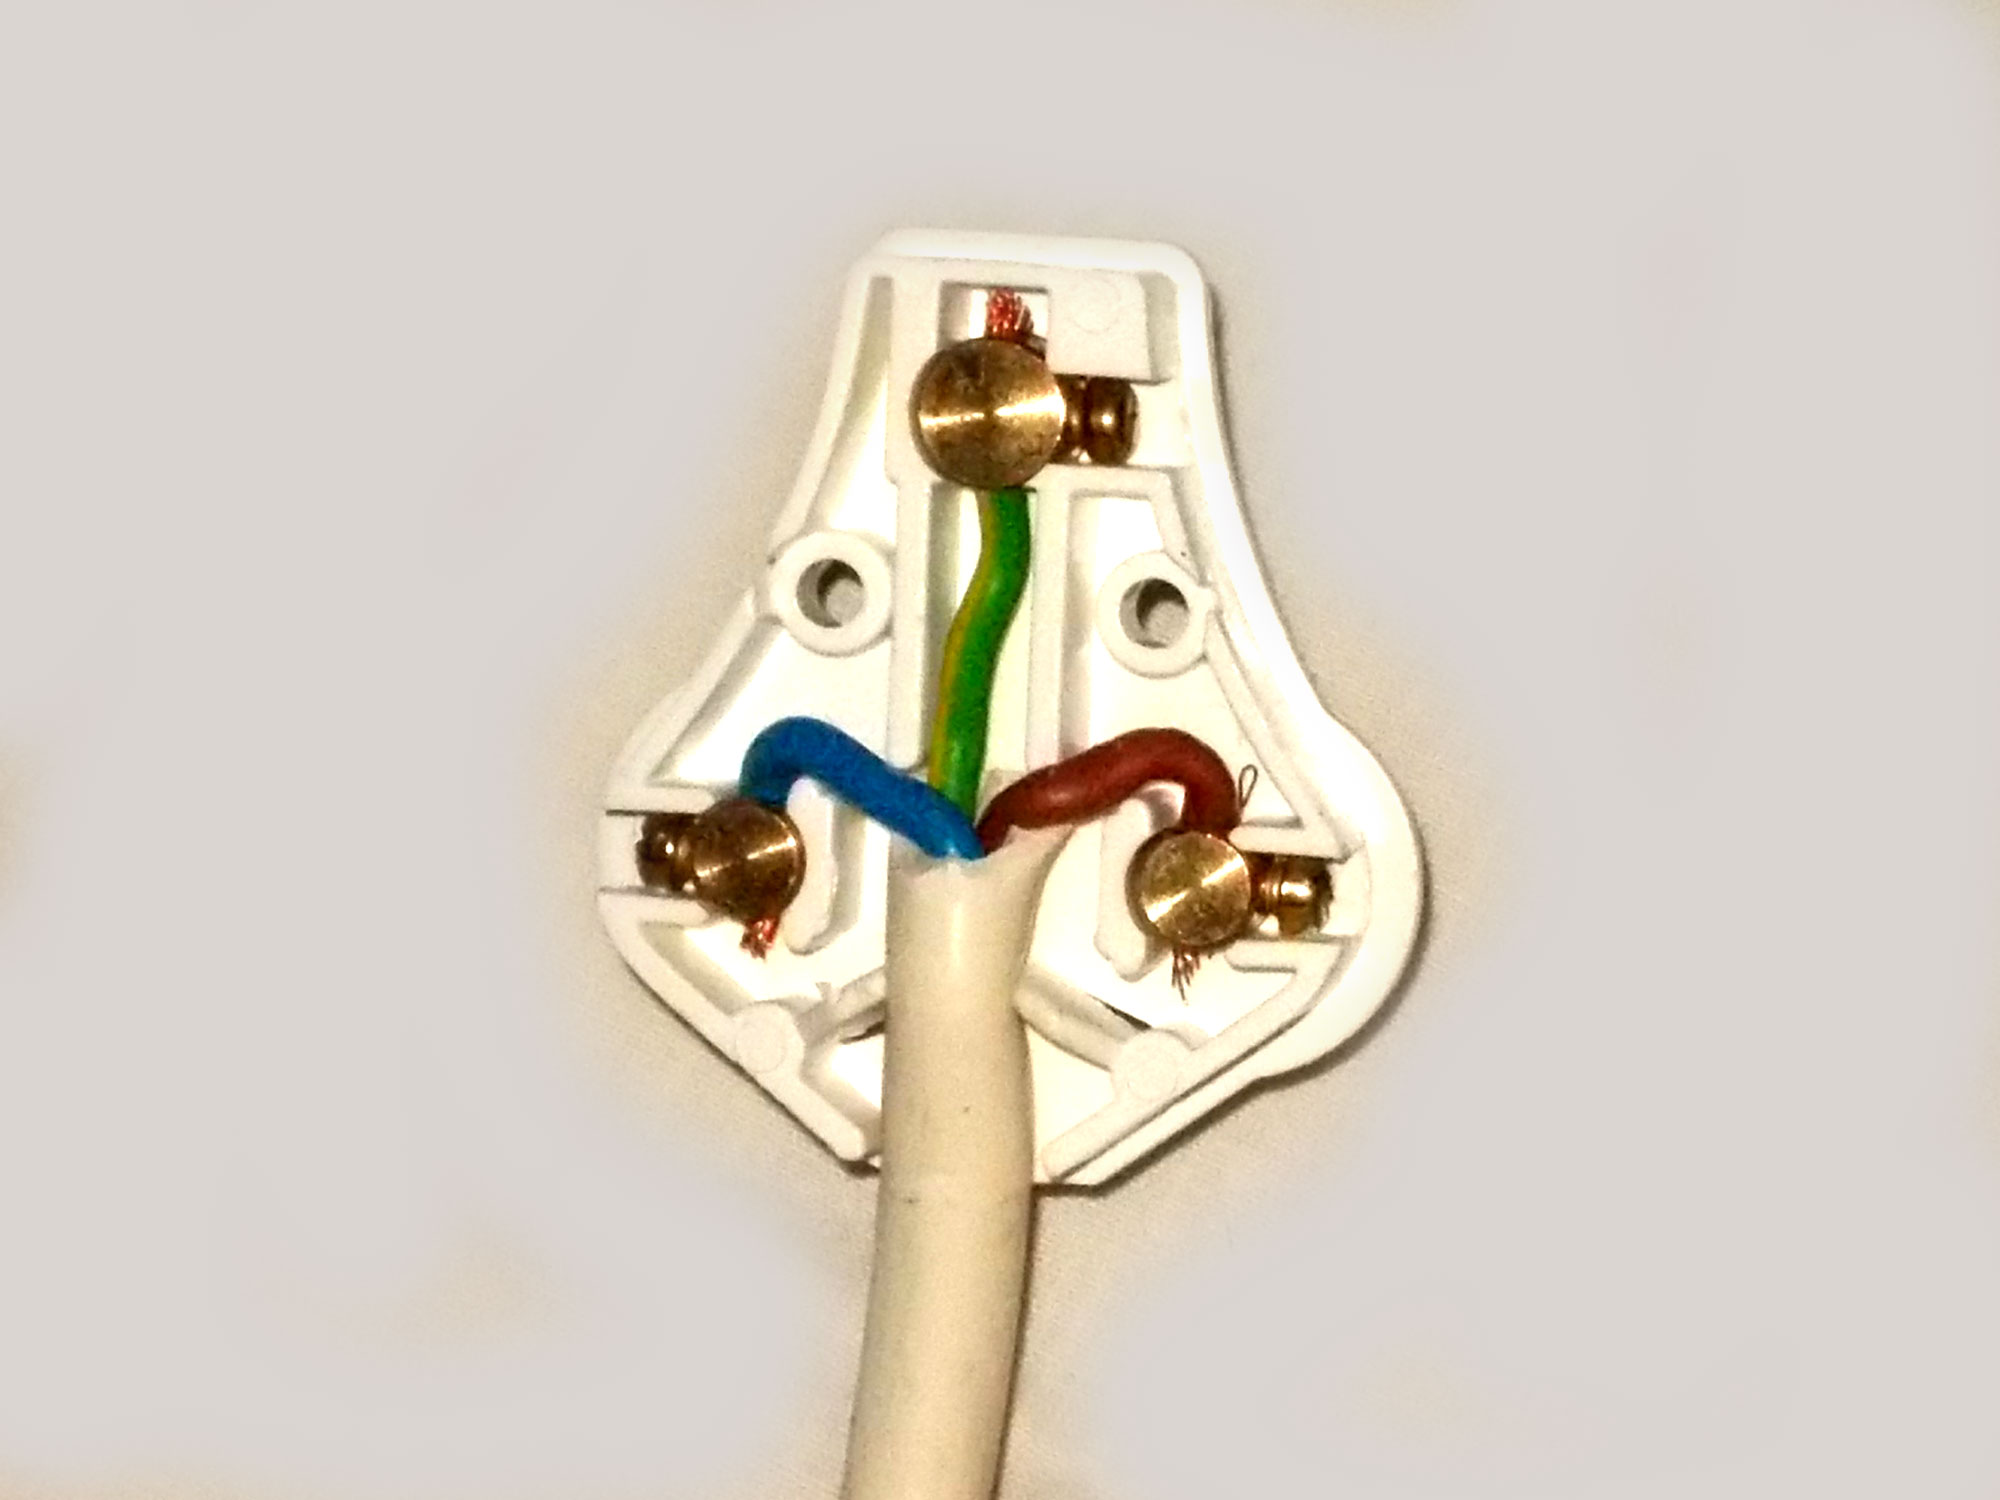
- And the corresponding configuration when connecting flexible 3-core cord to a plug.
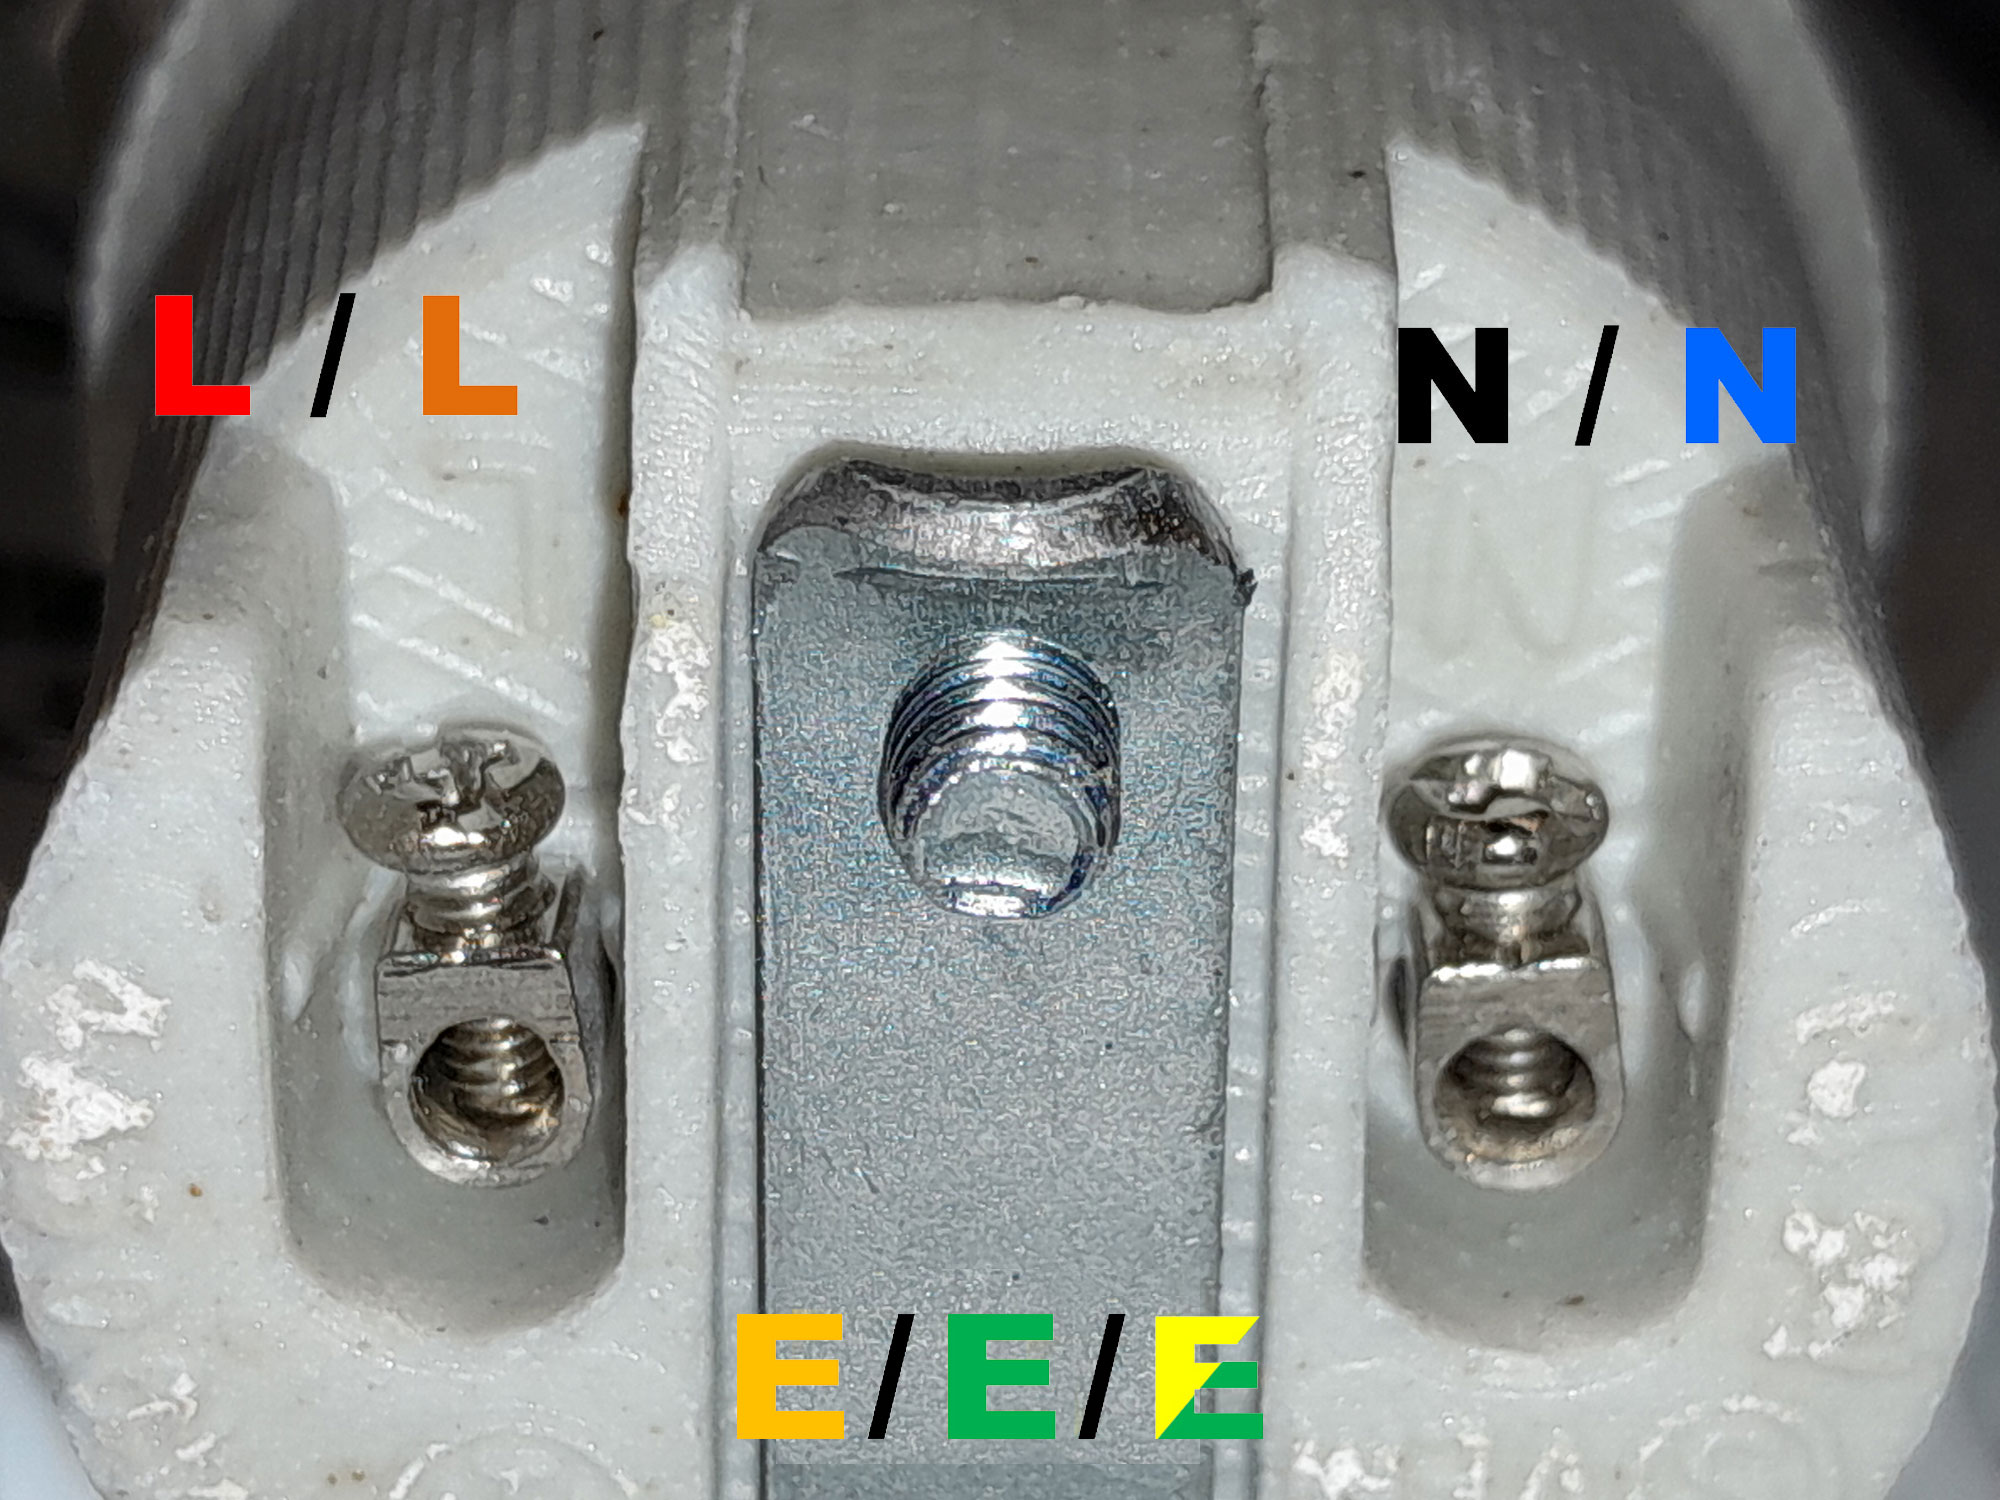
- Back to the outdoor light… I have highlighted in their colours the Live (L), Neutral (N) and Earth connections in both fixed and flexible wiring colour codes.

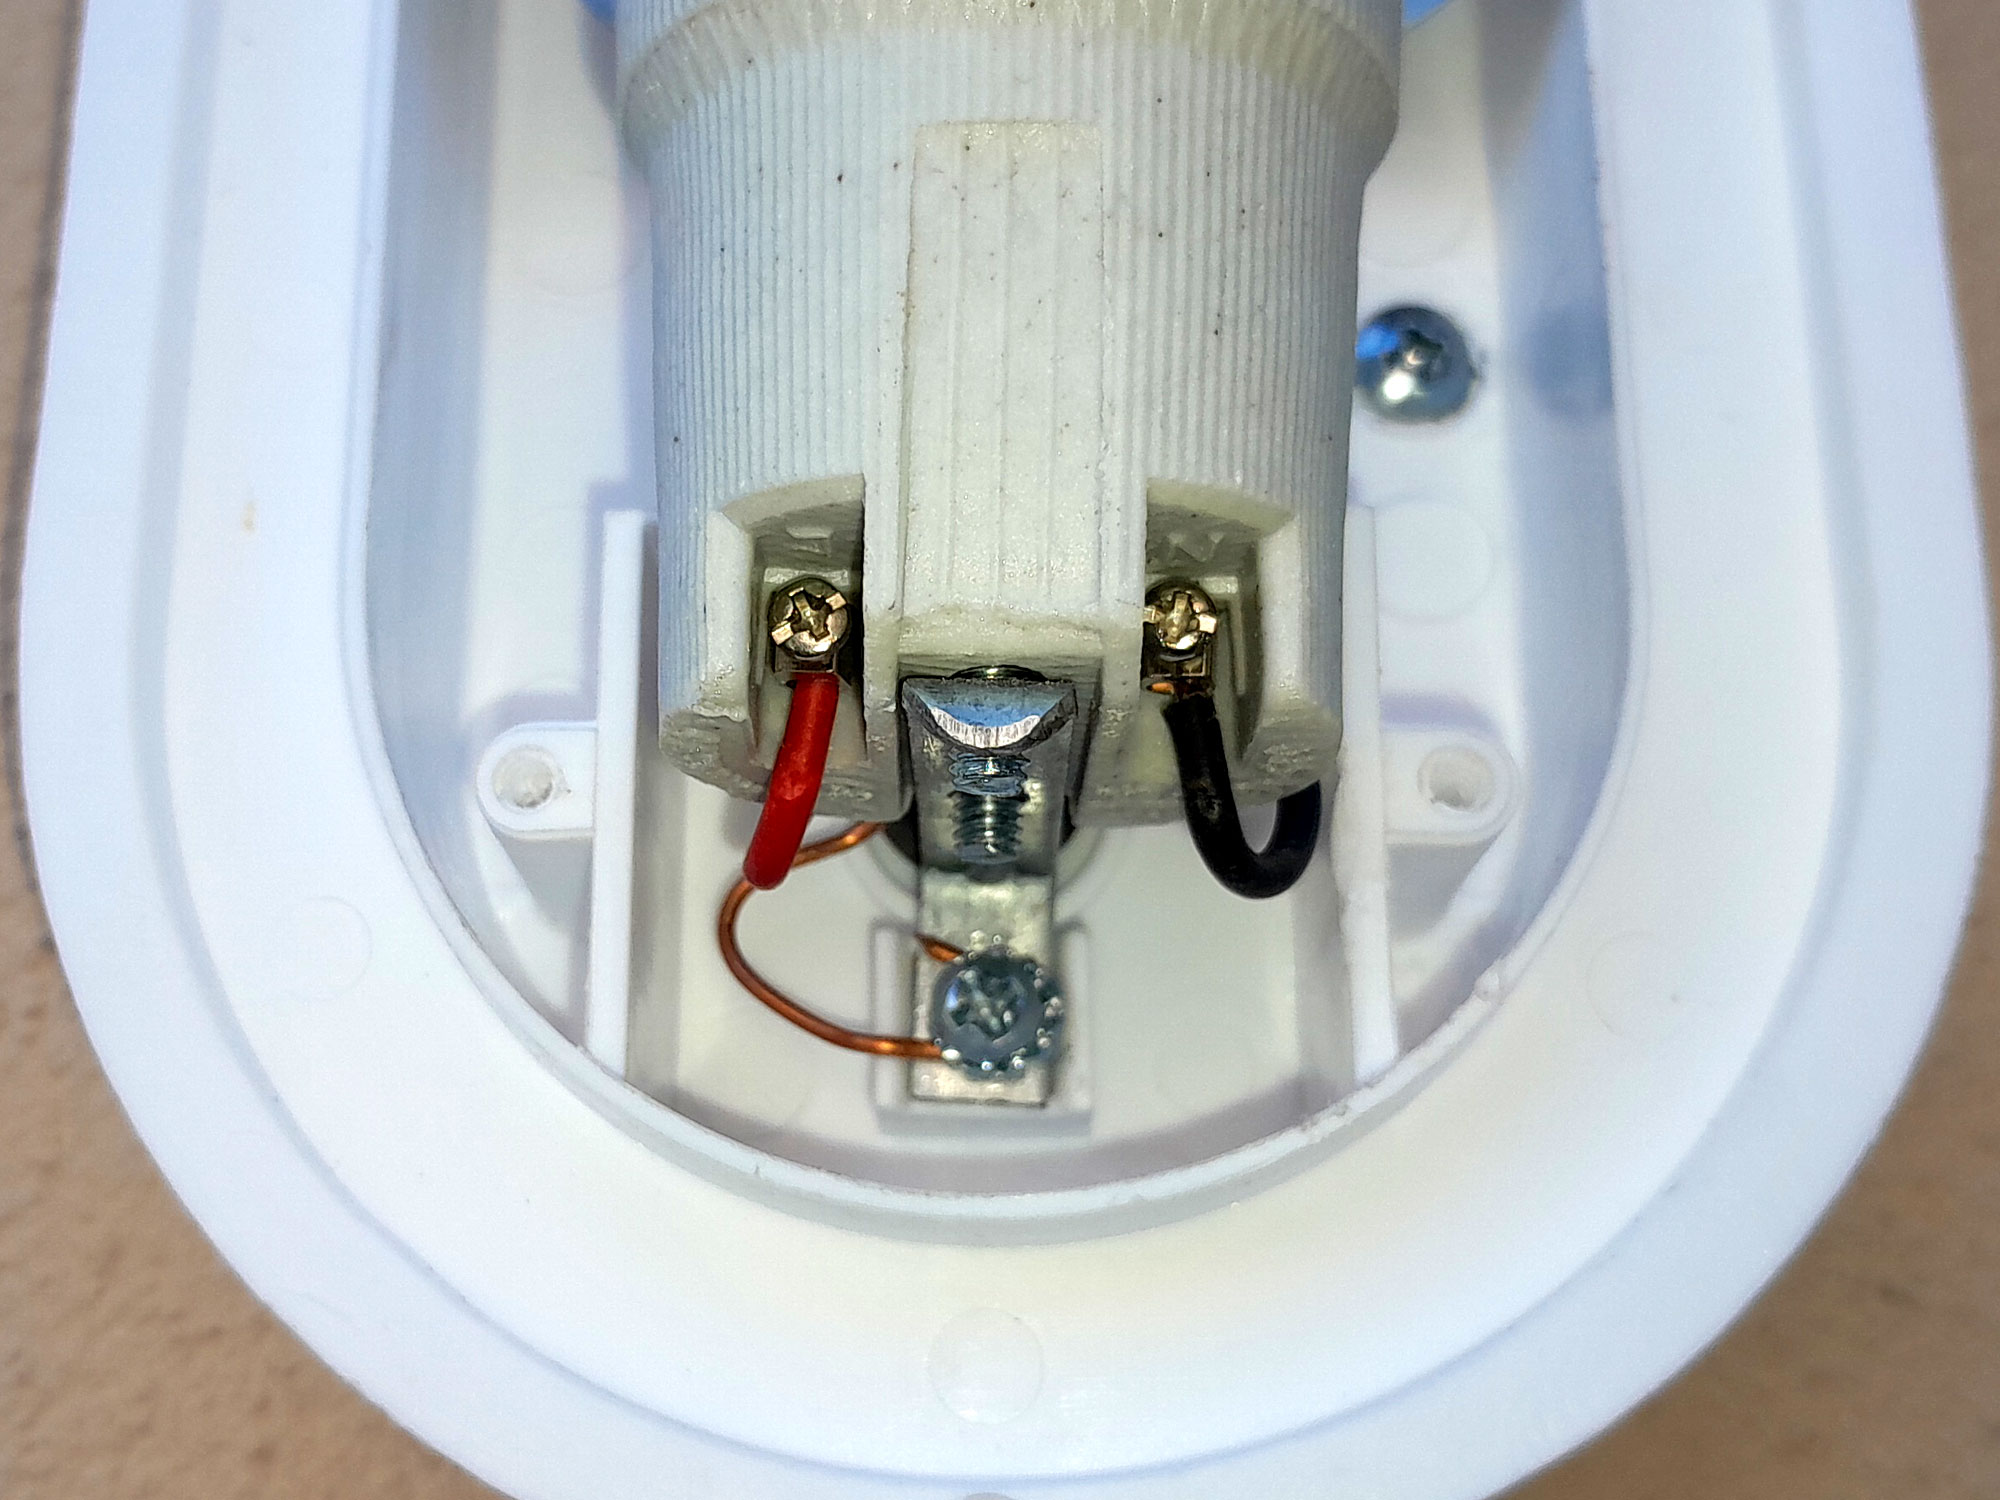
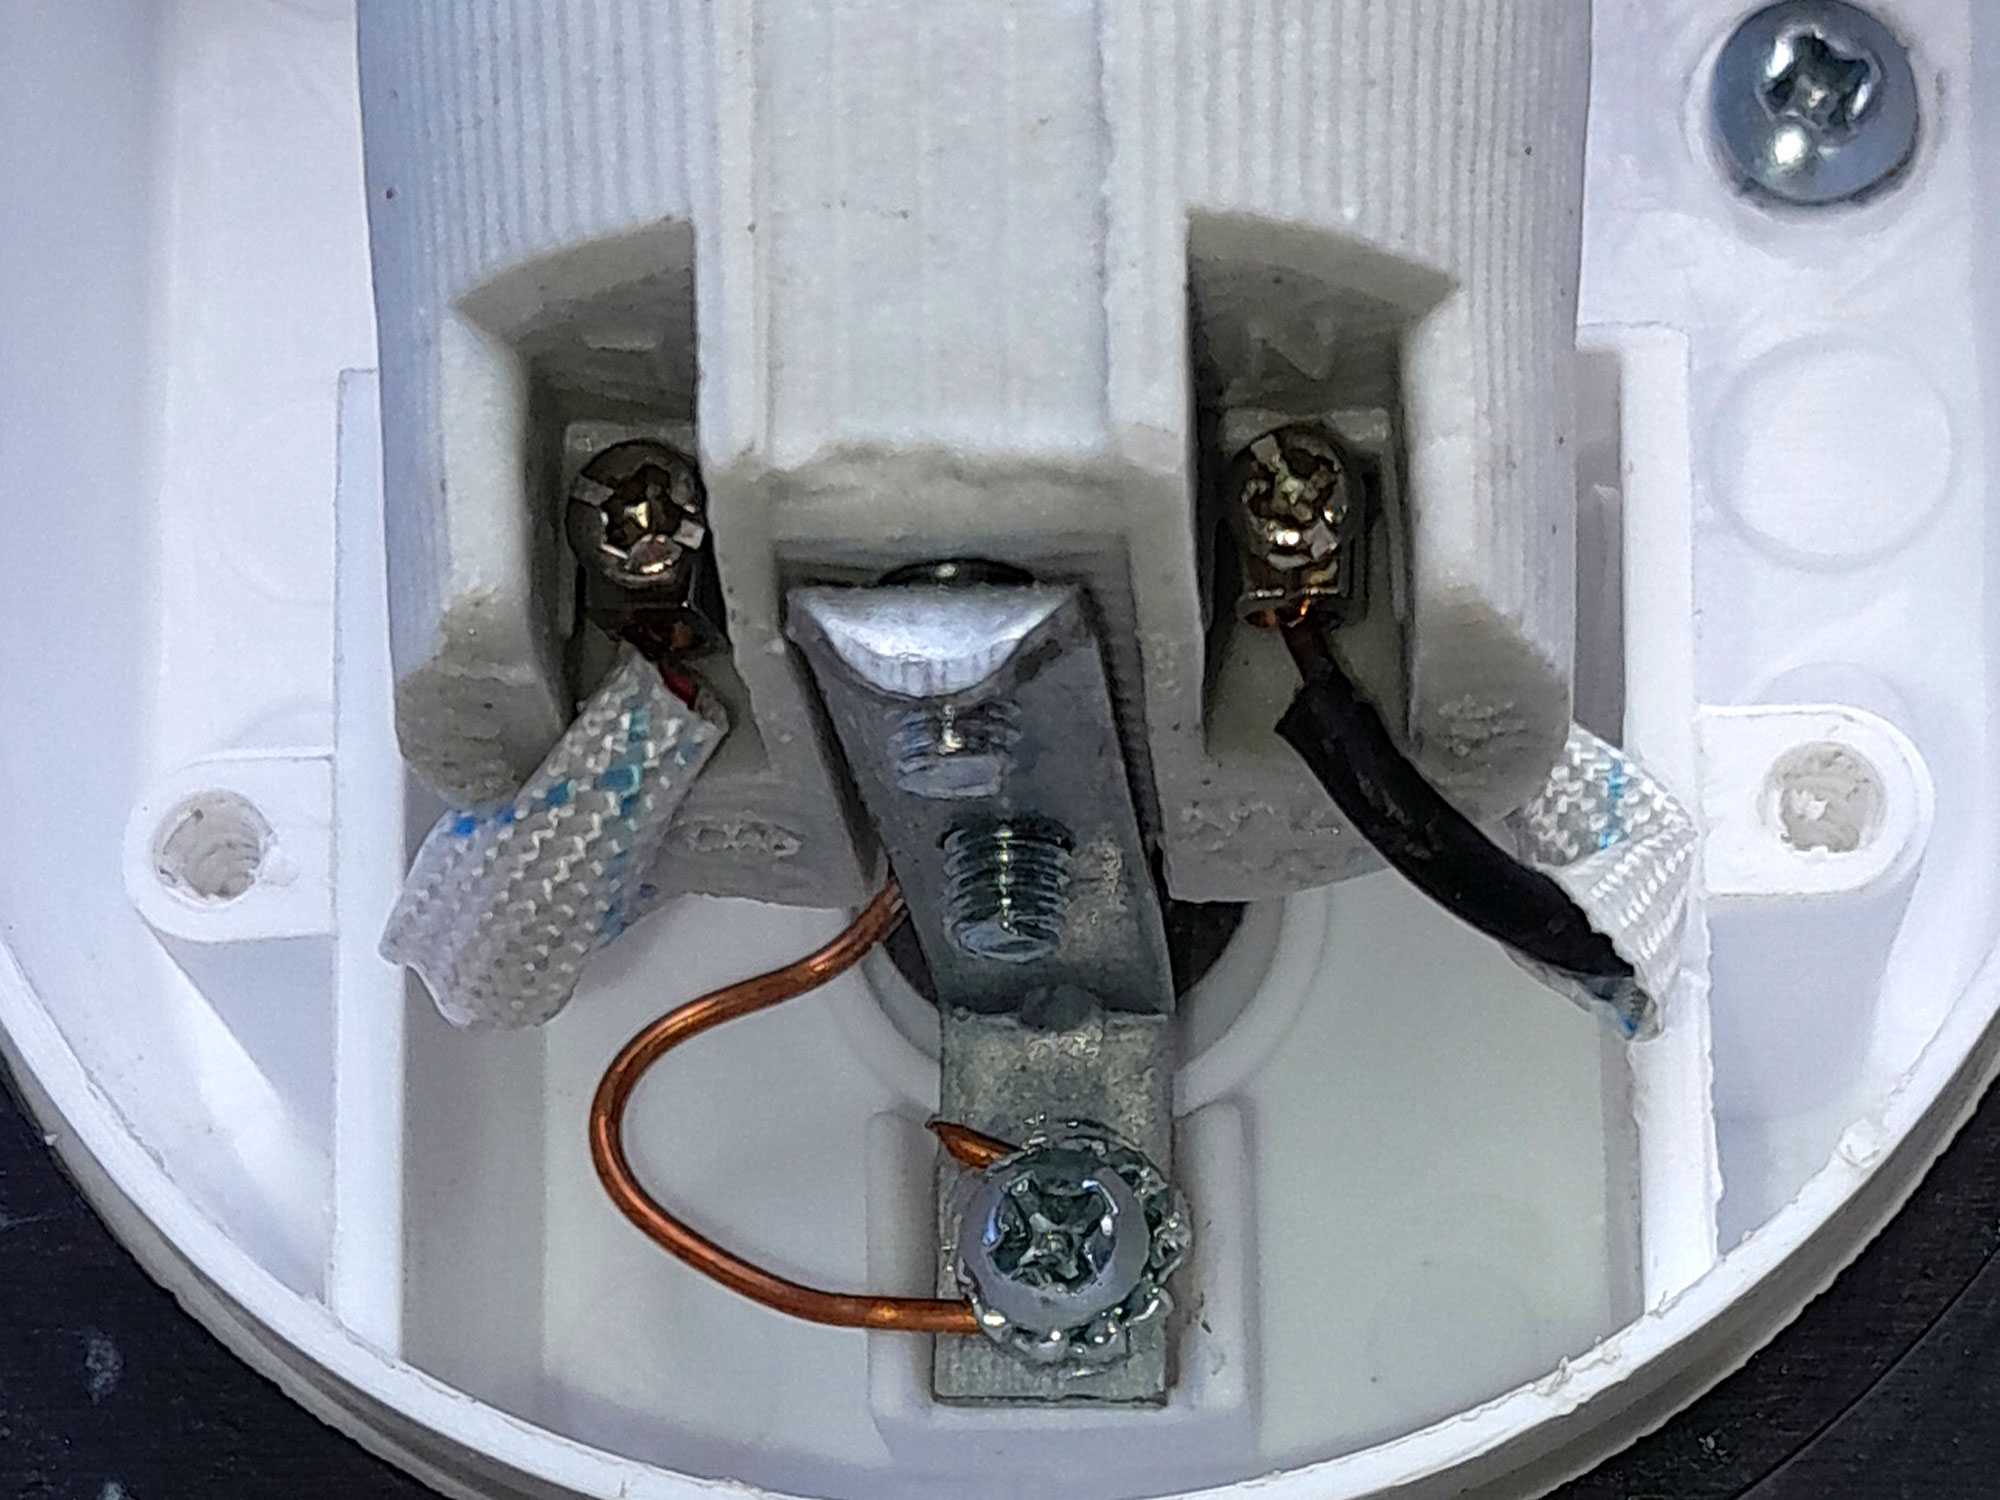
- Here are the completed connections
- A further close-up showing the L and N embossed on the ceramic fitting but with the heat-resistant sheaths slipped over the Live and Neutral wires. In any event, I ensured the wires were bent well out of the way of the earthed mounting bracket. With the fitting all wired up and ready to go, I fitted the day/night bulb, rubber seal, glass and screwed down the light’s cover. Then I waited for the sun to go to the Americas.
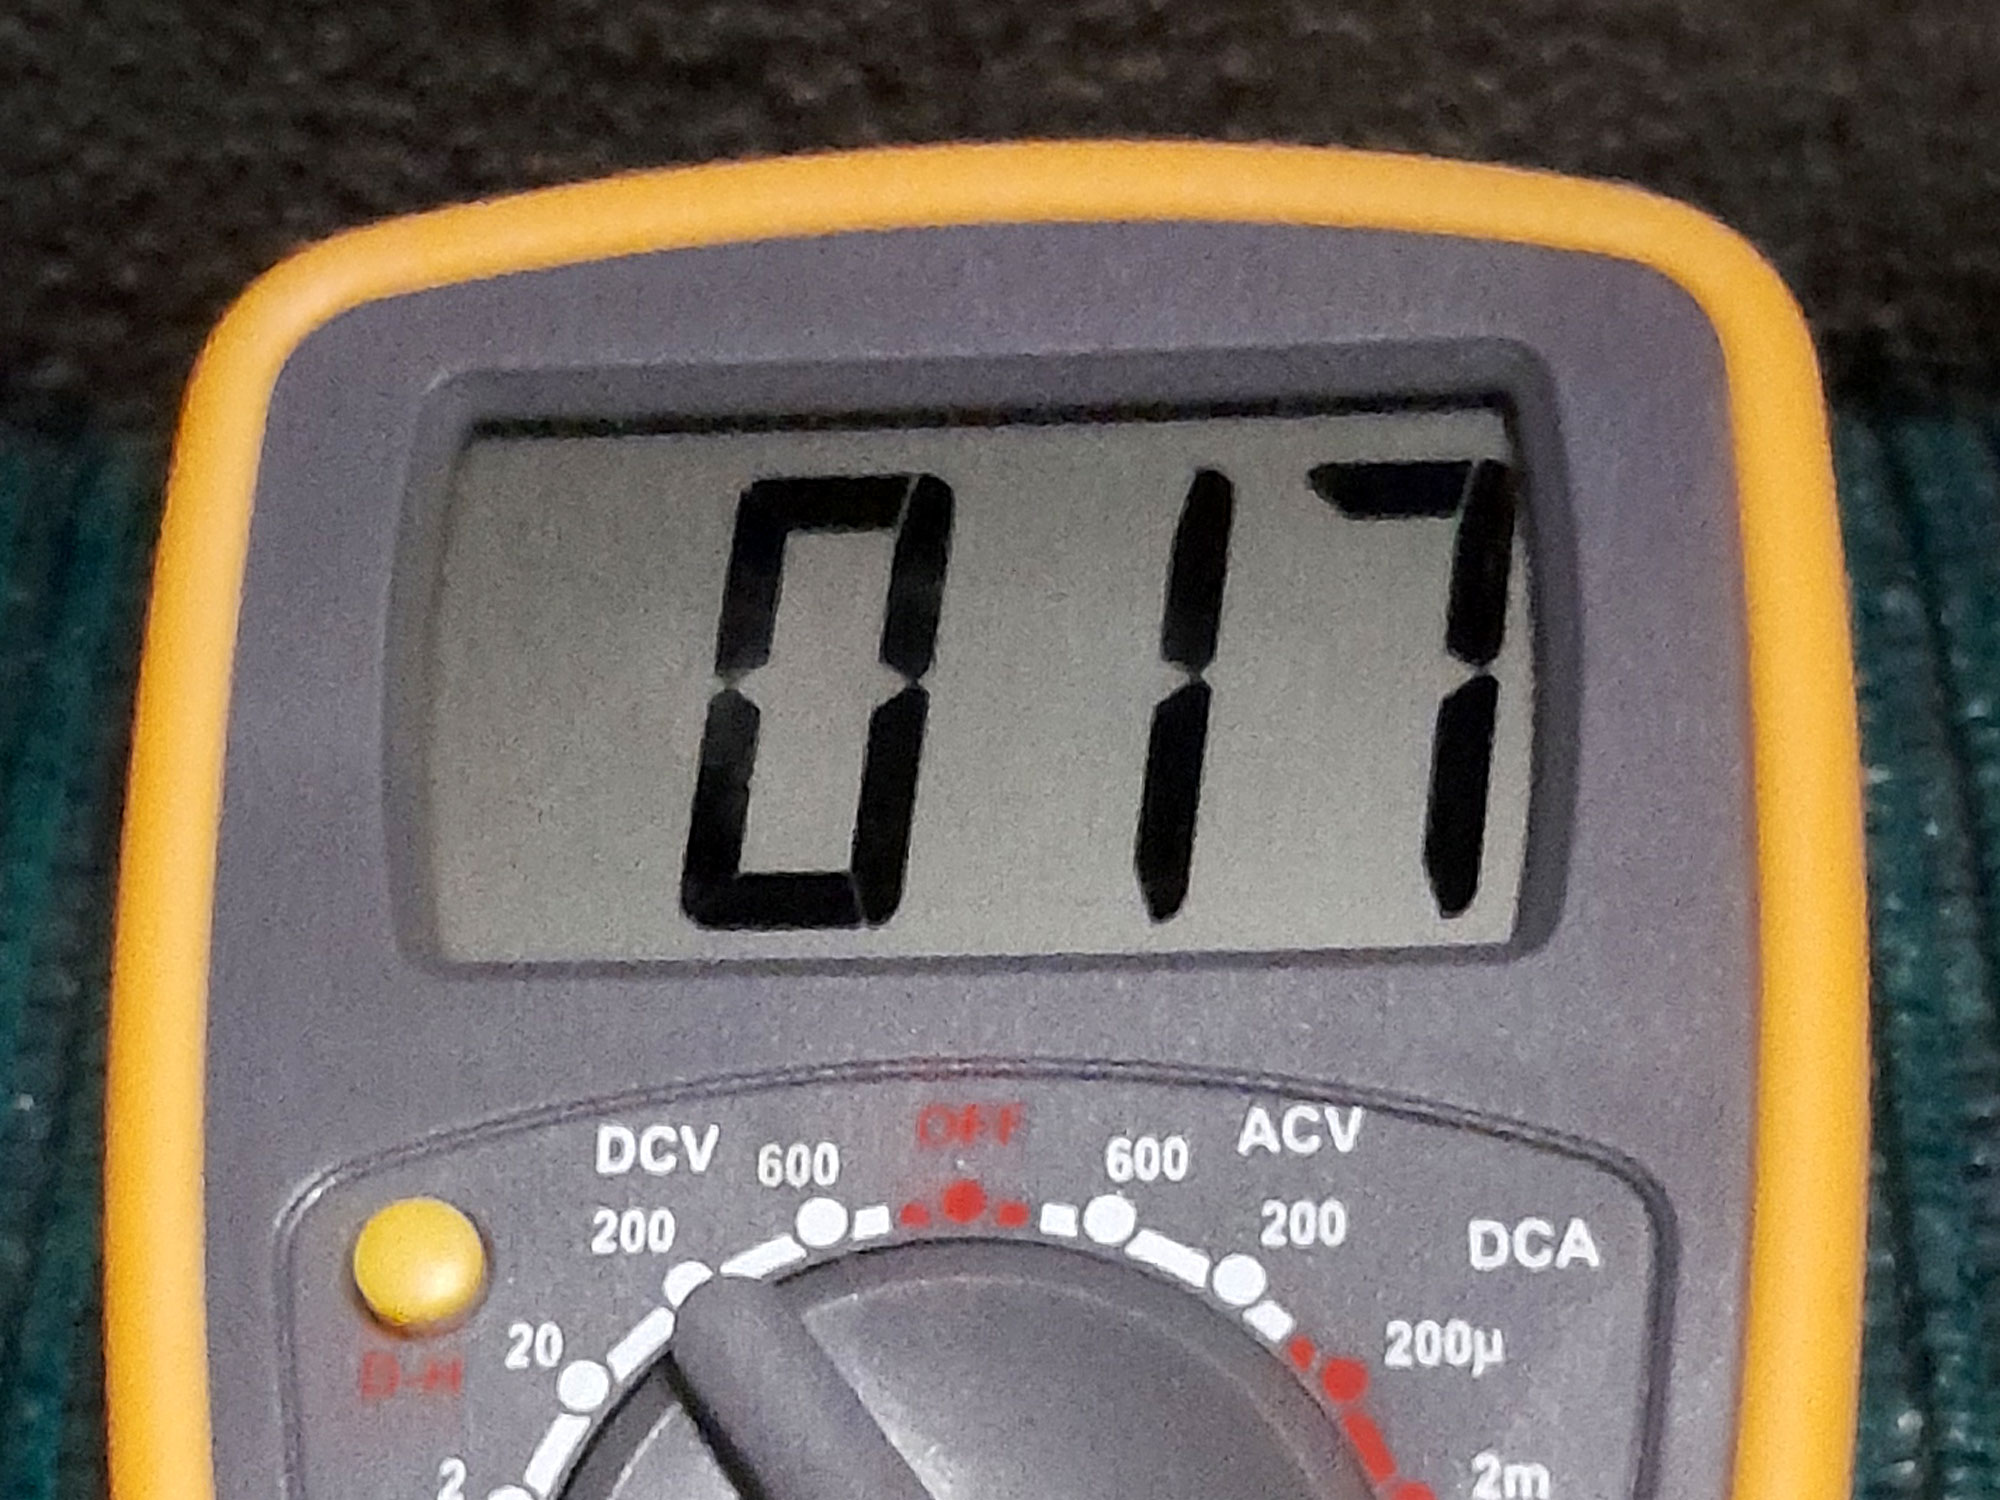
- After a couple of hours of darkness, so the lights had plenty of time to warm up, I used a bi-metal digital thermometer to check the ambient temperature – 14ºC.
- I taped the sensor to the top of the glass, right above the glowing bulb, and checked again – 17ºC, so no danger of the bulb overheating the light. The bulb is in fact a cool white 6W LED bulb producing 540 lumens.
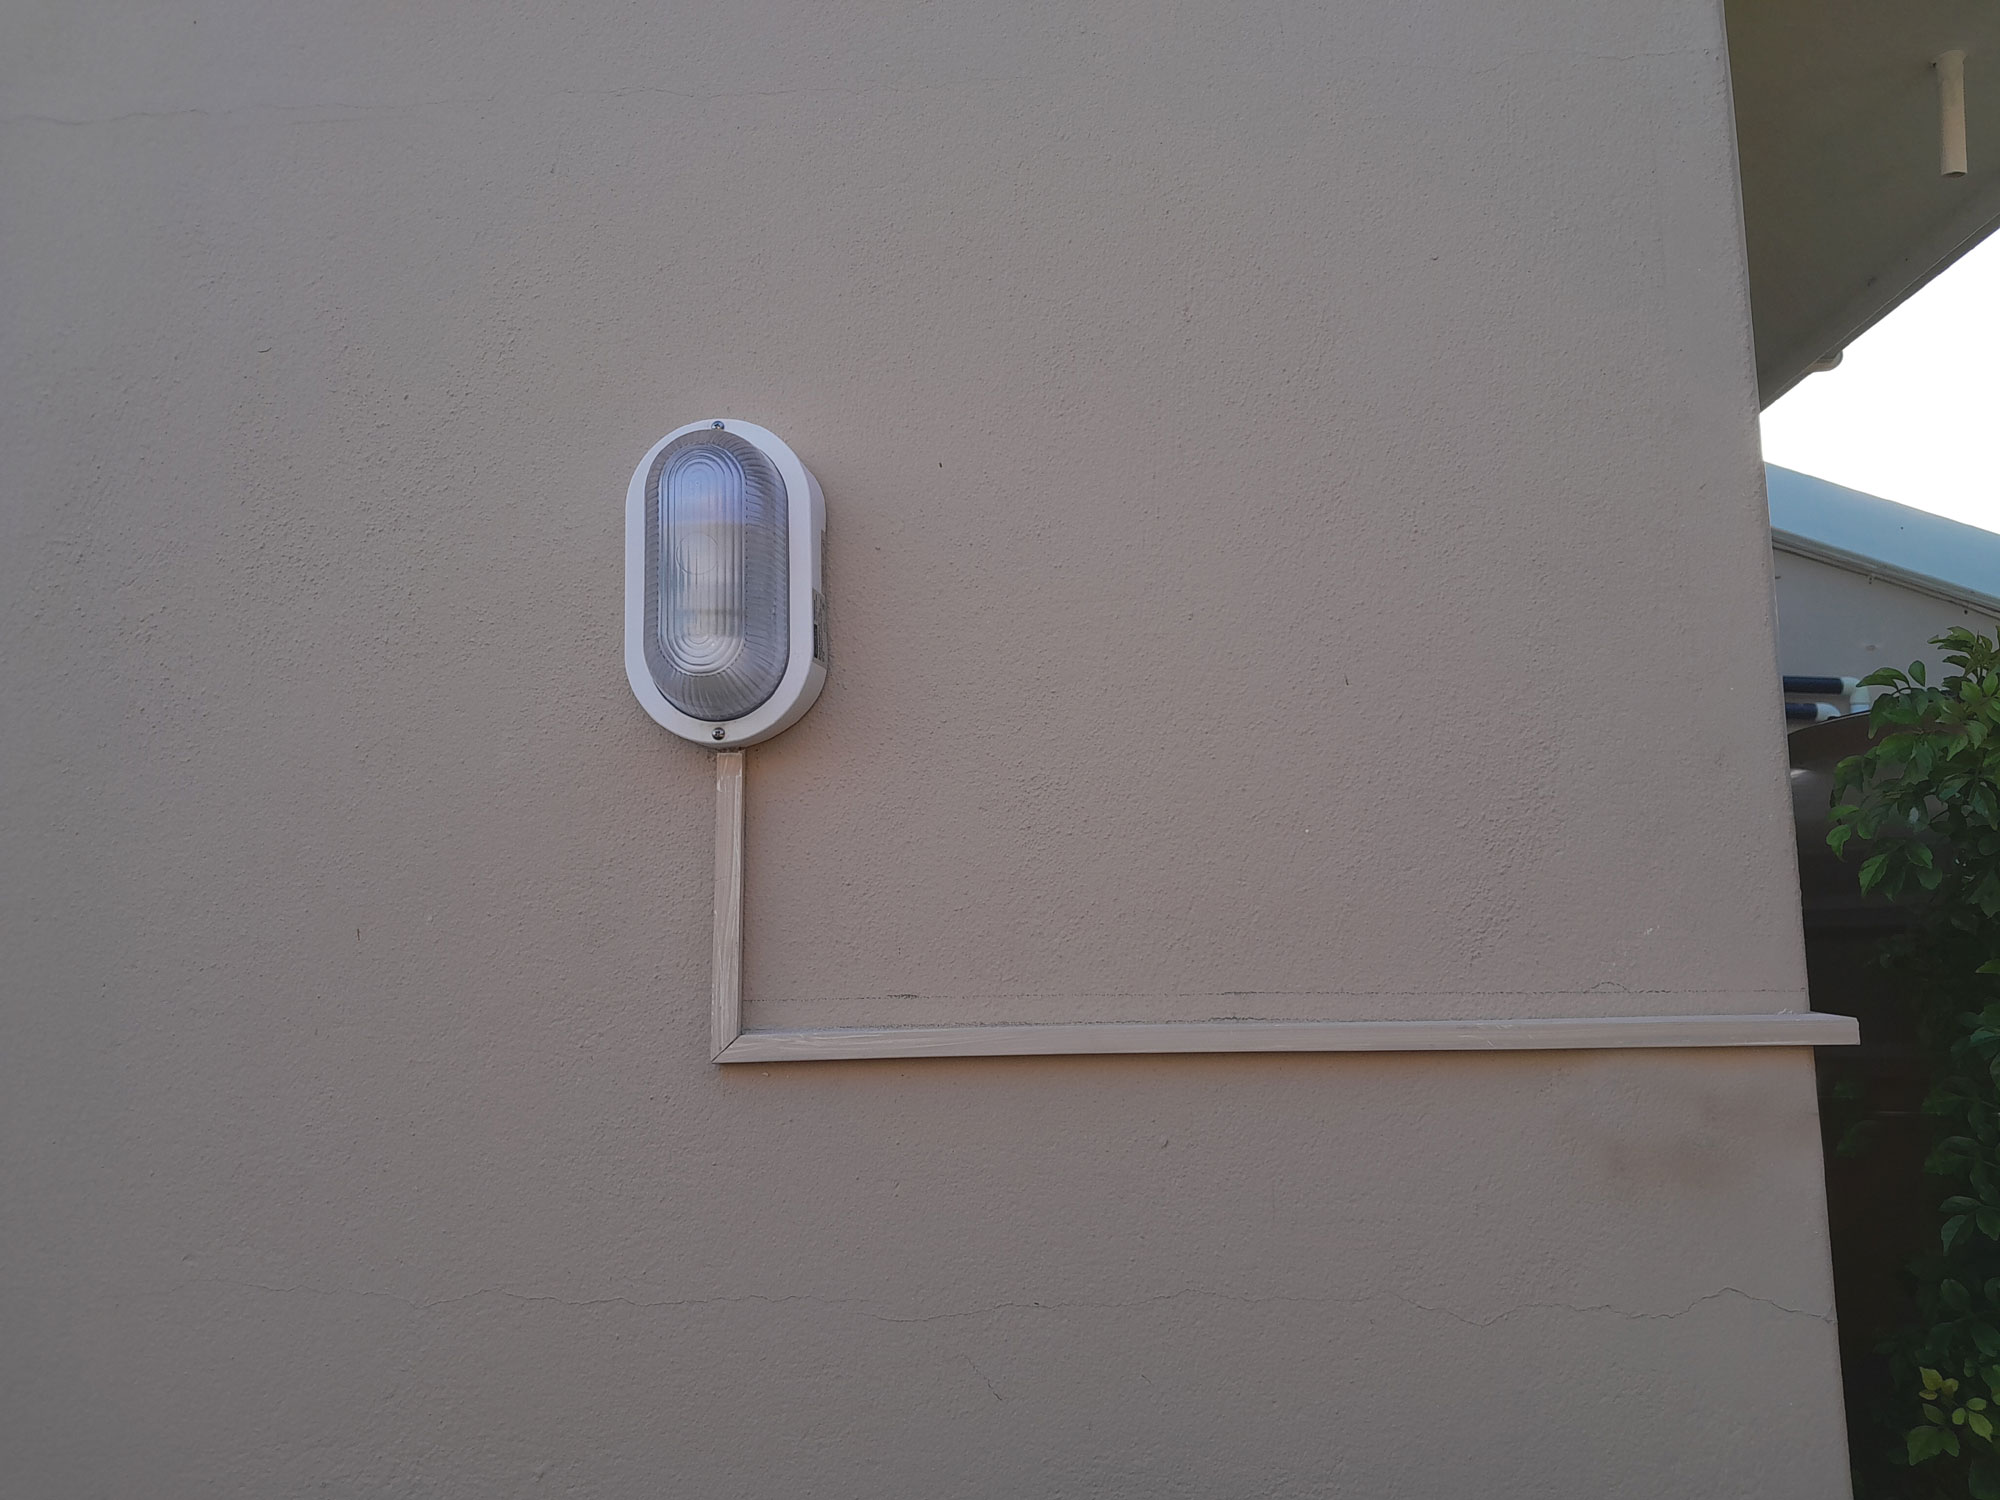
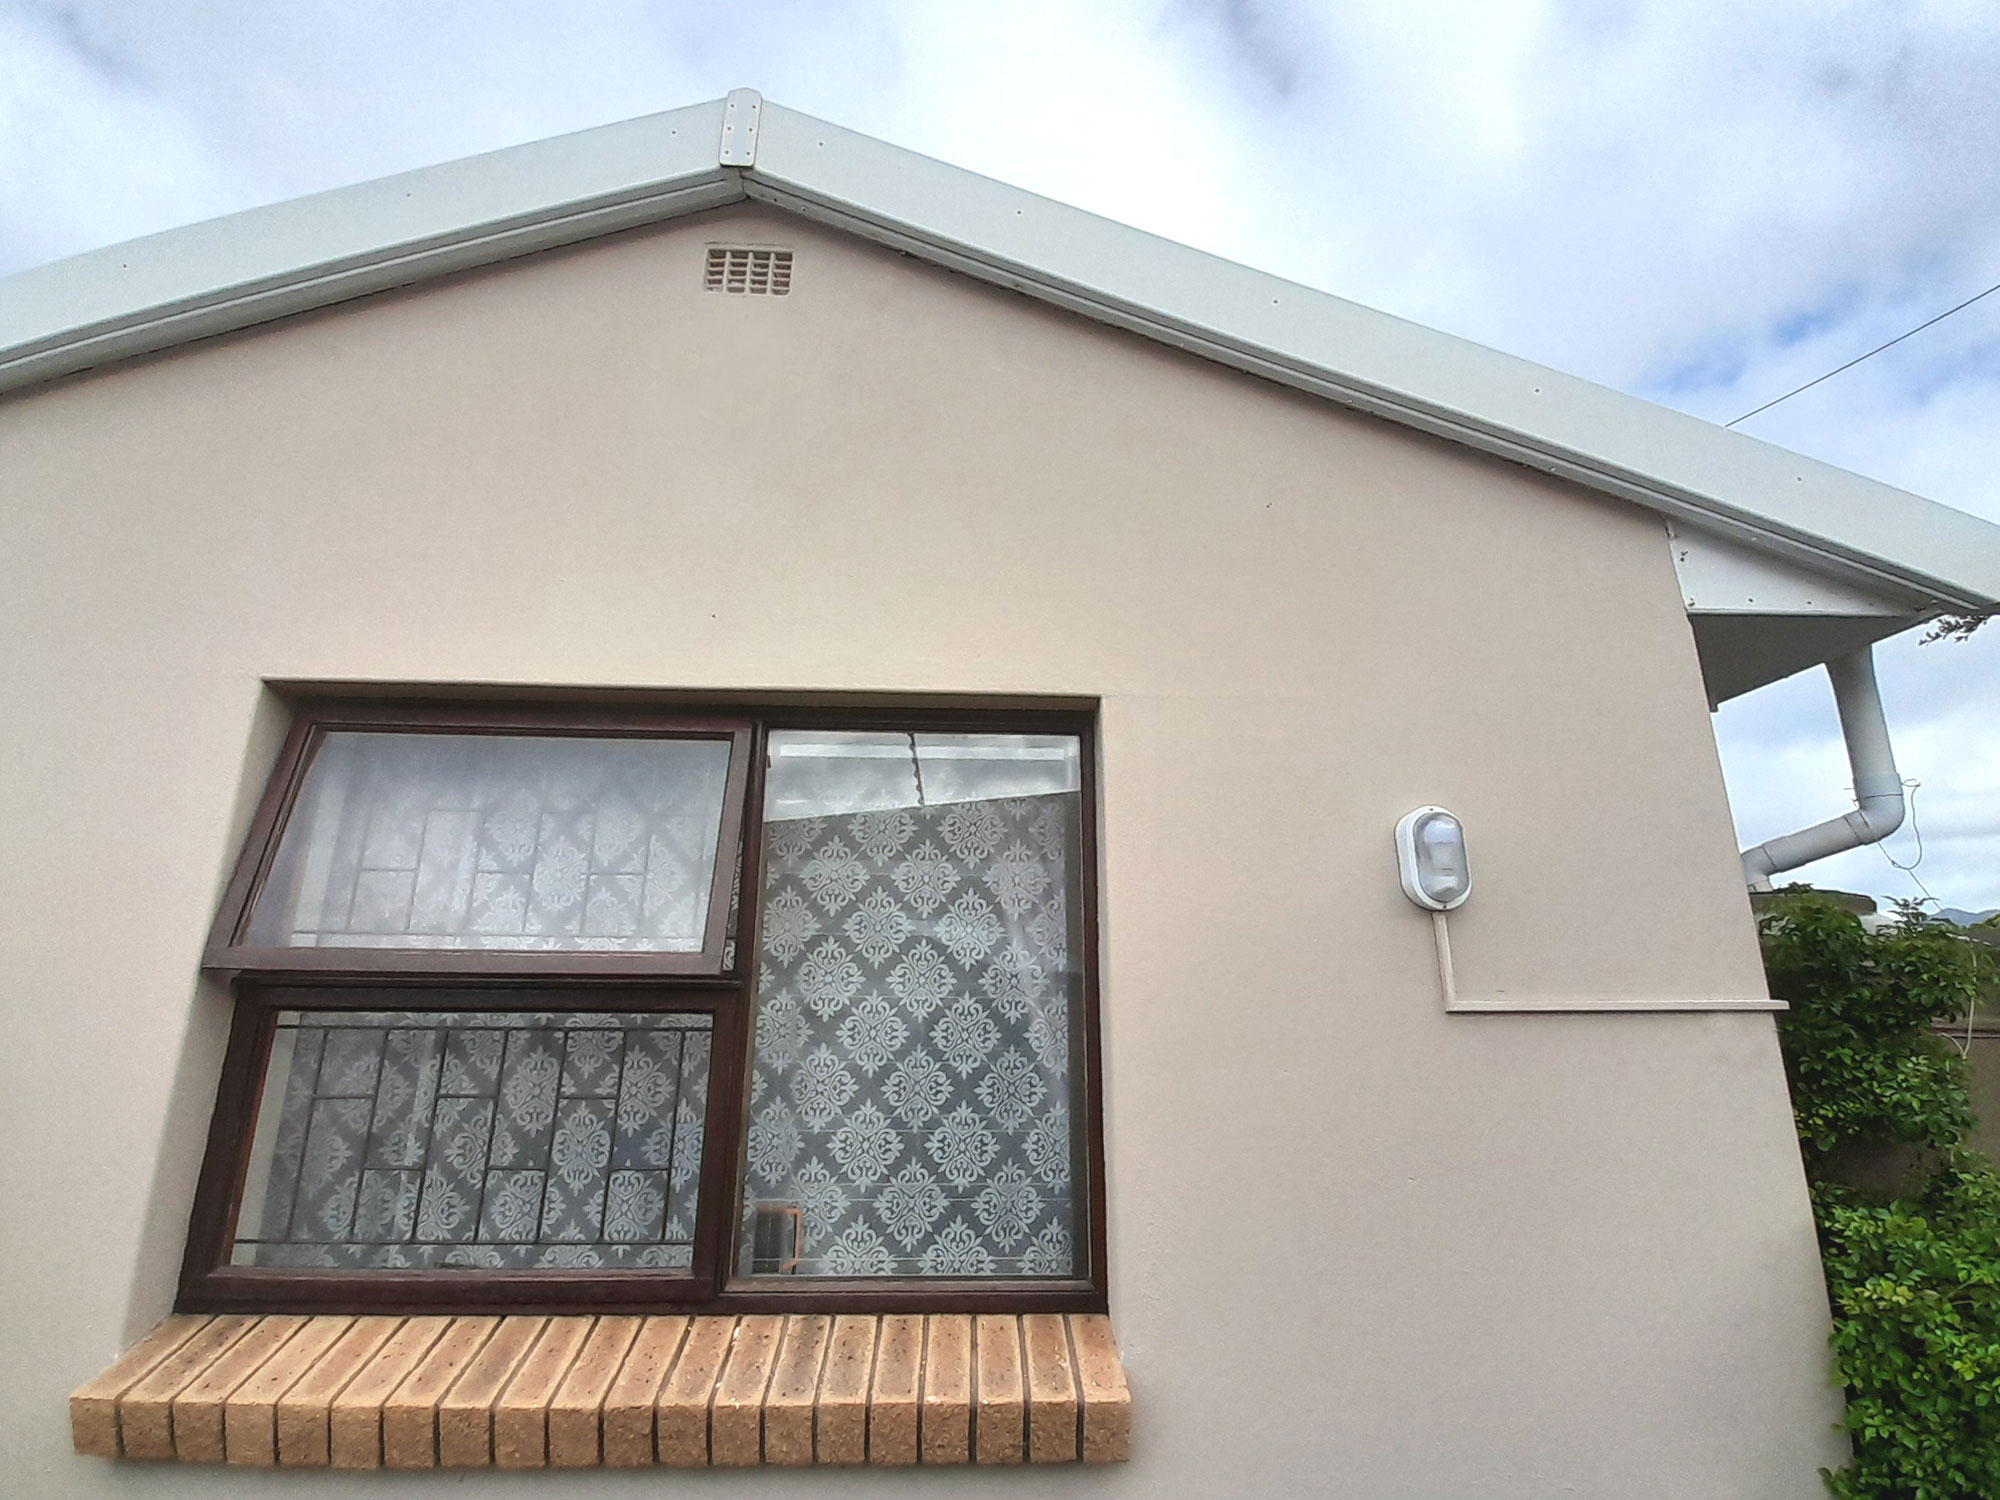
- Here’s the completed fitting.


- The long view.
- And this shows where the old light was – just below the roof’s peak… where the paint is missing.
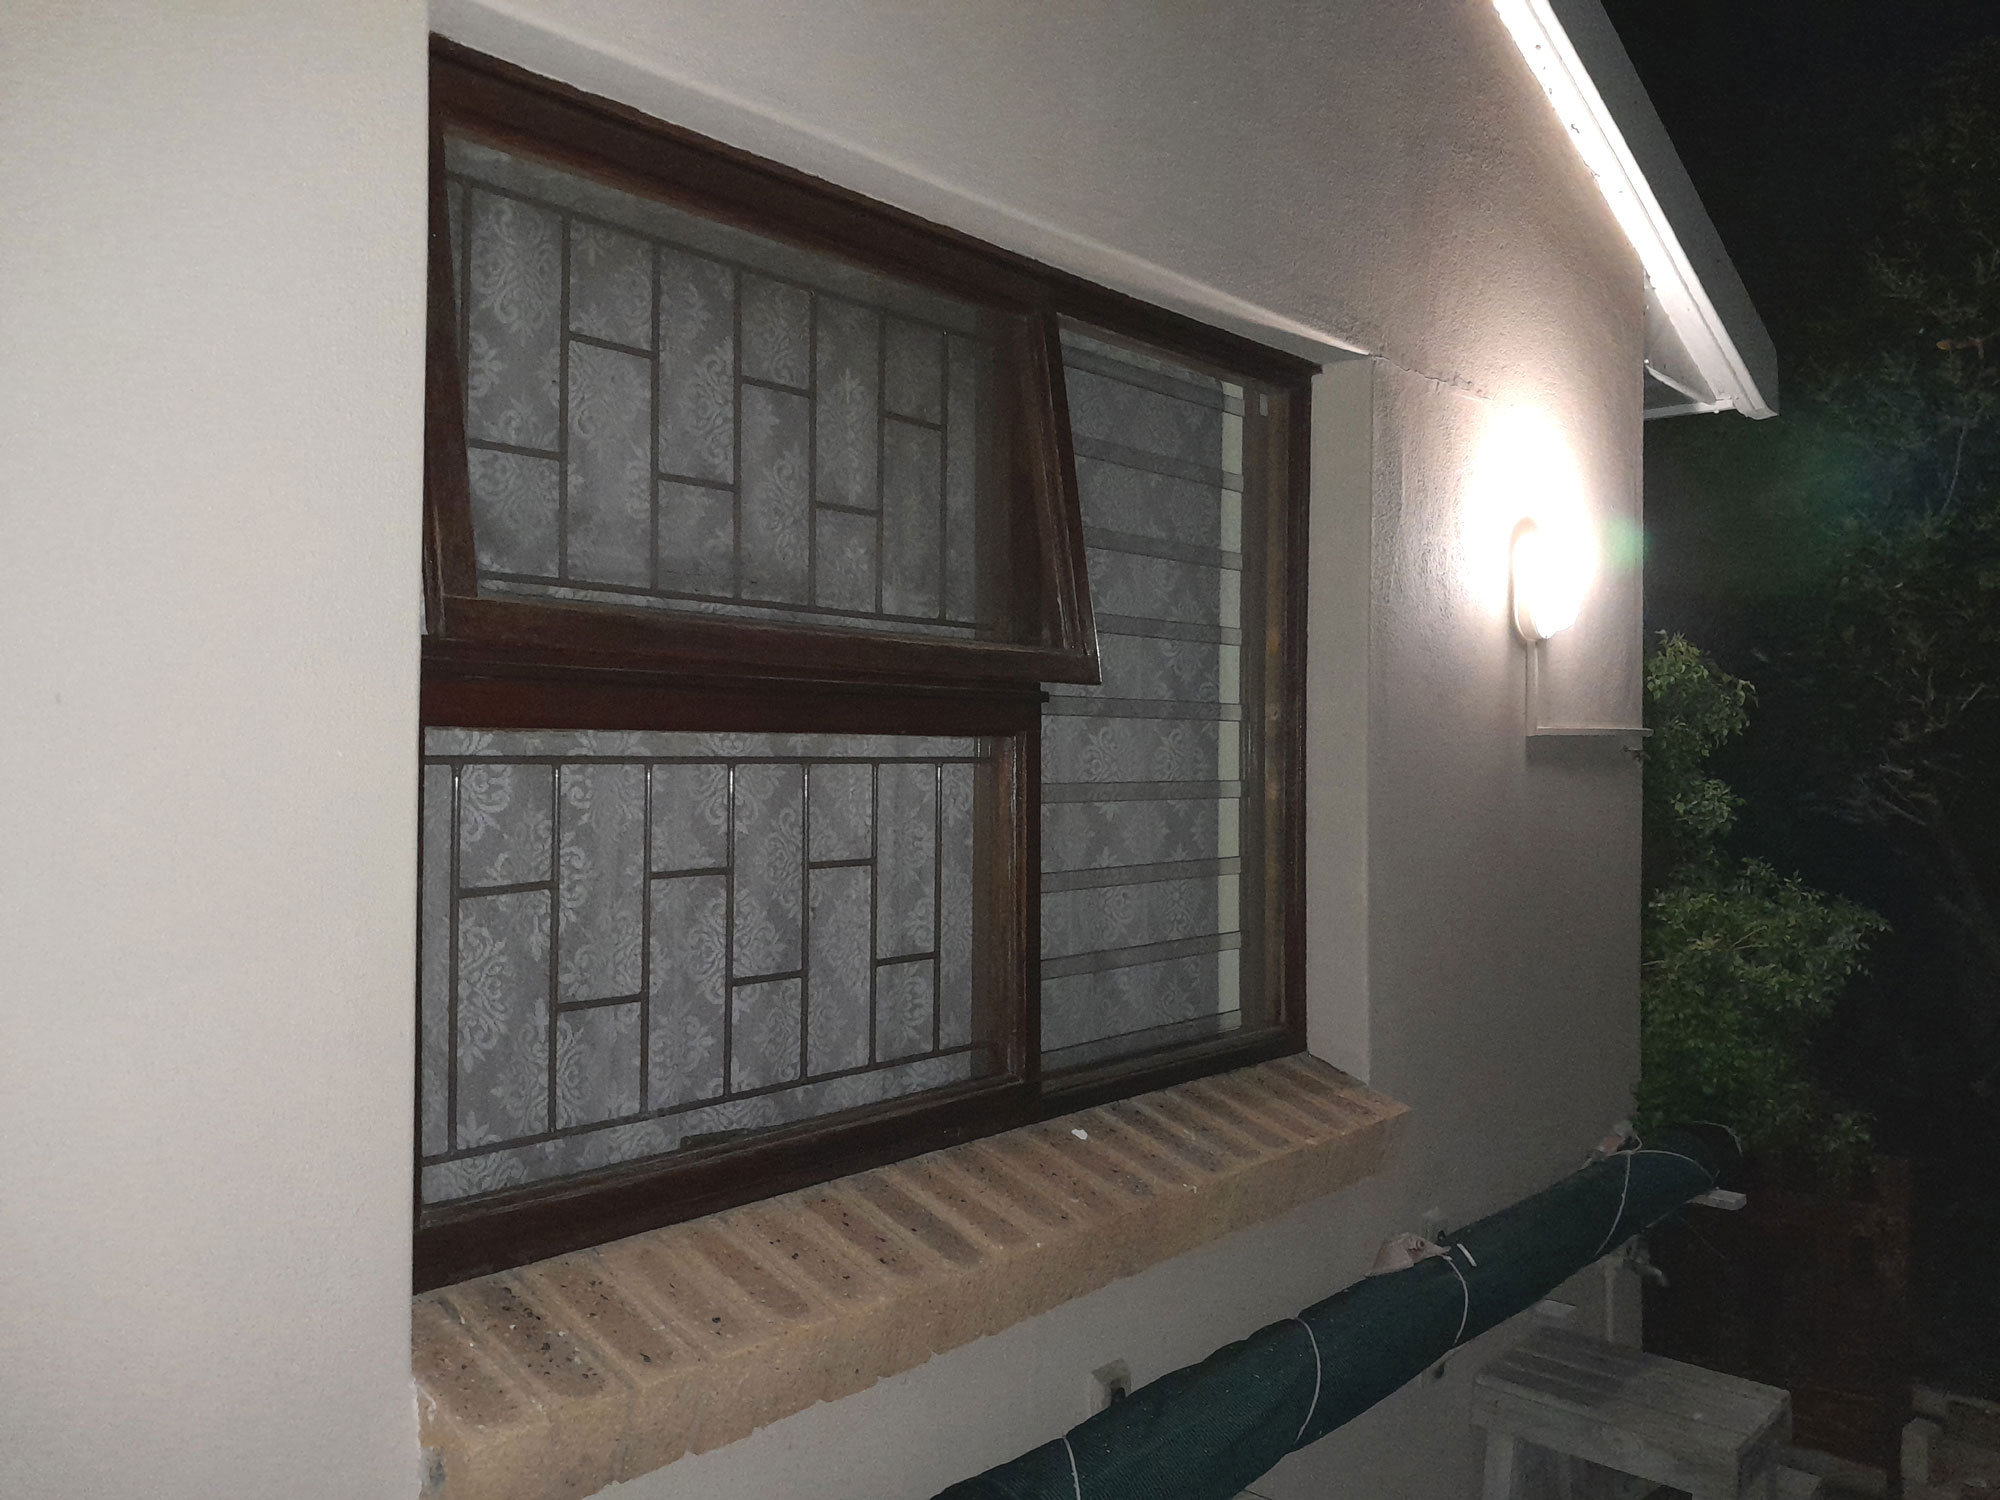
- And as you can see, a 6W 540 lumen bulb produces more than enough light to make unobserved approaches impossible. However, it is not so bright as to keep the bedroom in a sort of twilight zone.
- I used a roller on a long pole to touch up where the old fitting had been, and applied a final coat to the conduit to help it blend in. And so from now on – No More Ladders!
Tools:
Drill/driver (mains or cordless), masonry bits as required, hacksaw, mitre box – for cutting 45º mitres accurately.
Project guide
Difficulty: Experienced
Estimated time: About a day
Cost: R250 or so, unless you decide to buy a new fitting, to which you can then add about R160 or so (plastic fitting), but far more if you go for an aluminium fitting; again final cost will also depend on the type and design of fitting, whether imported or not, and so on
Mica Stores stock the timber, dowels and so on that you need. To find your closest Mica and whether or not they stock the items required, please go to www.mica.co.za, find your store and call them. If your local Mica does not stock exactly what you need they will be able to order it for you or suggest an alternative product or a reputable source.