05 August 2026


Get a handle on those sticky handled non-stick pots and pans
Depending on the plastic used on the handle to protect your hands from heat when you need to remove a pot or pan from the hotplate, the material sometimes deteriorates with age and becomes sticky or tacky and unpleasant to the touch.
But instead of tossing the pot or pan out, there is a solution…replace the handle.
You can use wood, but if you are going to put the utensils in the dishwasher, unless the wood is extremely well sealed, over time it will very likely also deteriorate.
But there can be a solution – that old cutting board you were about to discard.
Cutting boards are able to handle the dishwasher and don’t get sticky with age – other than when your breakfast toast marmalade has dropped on it.
So, why not just recycle part of it?
Caution:
If you use a jigsaw to cut the scales for your handle (scales are the two sides of the handle that sandwich the metal arm of the handle that is attached directly to the side of the pot or pan), ensure the following:
- That you fit the saw with a fine-tooth blade
- That you turn off the pendulum action – if it has one – of your jigsaw. This action is designed to move the blade back on the downswing, and forward on the upward cutting swing – having it engaged when cutting plastic or nylon can cause the material to chip or crack
- Run the saw slowly as excessive speed will cause frictional heat and either jam the blade while melting the plastic and/or ruin your cut
Okay, and with that, here we go…
Materials:
- Kitchen cutting mat/s ready for recycling
- Pot/s with plastic handles that have become sticky or tacky with age
- Pop rivets of a suitable size – the ones used here were aluminium 4x10mm
- Stainless steel flat washers – 4mm
- Two 4x10mm set crews as TEMPORARY fasteners.
Method:
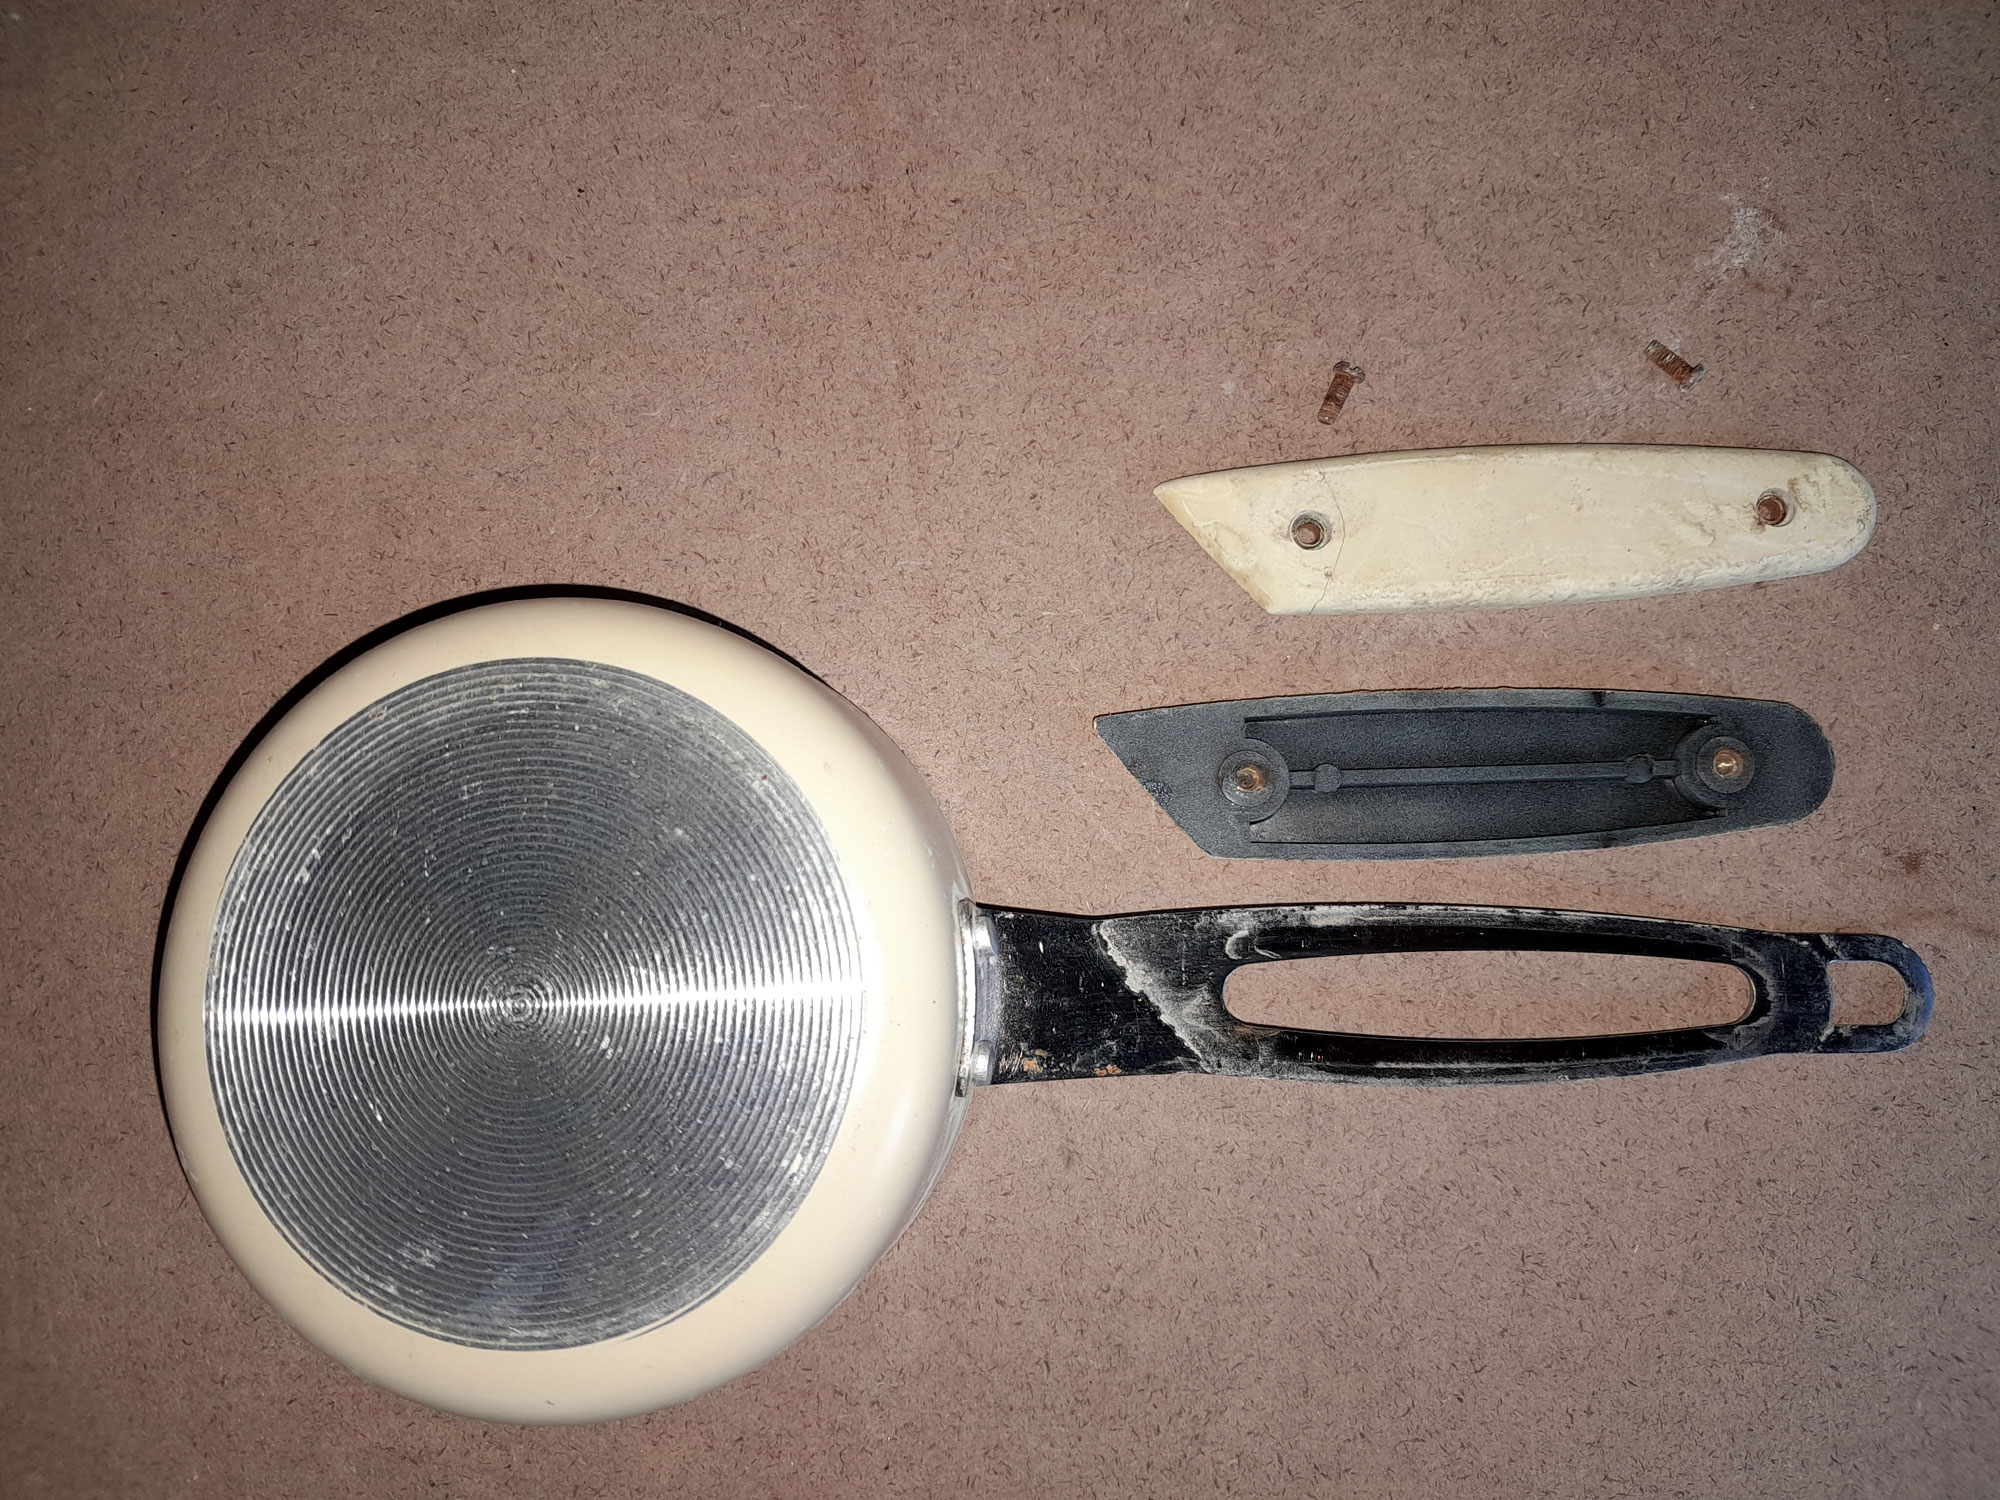
- Here’s the offending handle. It was great in its day but is now sticky to the touch and a pain. That can also be a hazard, because if you are, for example removing your hand from the handle, your fingers could stick just enough to drag the utensil along with it – enough to tip the contents on to the floor. At best, a ruined dinner. At worst, scalds!
- The handle’s scales were secured with two screws, which I removed.
- Some handles might have dedicated holes through which the securing screws or rivets pass. This, however, simply has a long oval opening down the centre of the handle.
- Trace out the shape of the handle on the nylon cutting board you were about to recycle.
- I simply cut straight strips of the board somewhat wider than the scales and then traced the latter’s shape on to the strips.



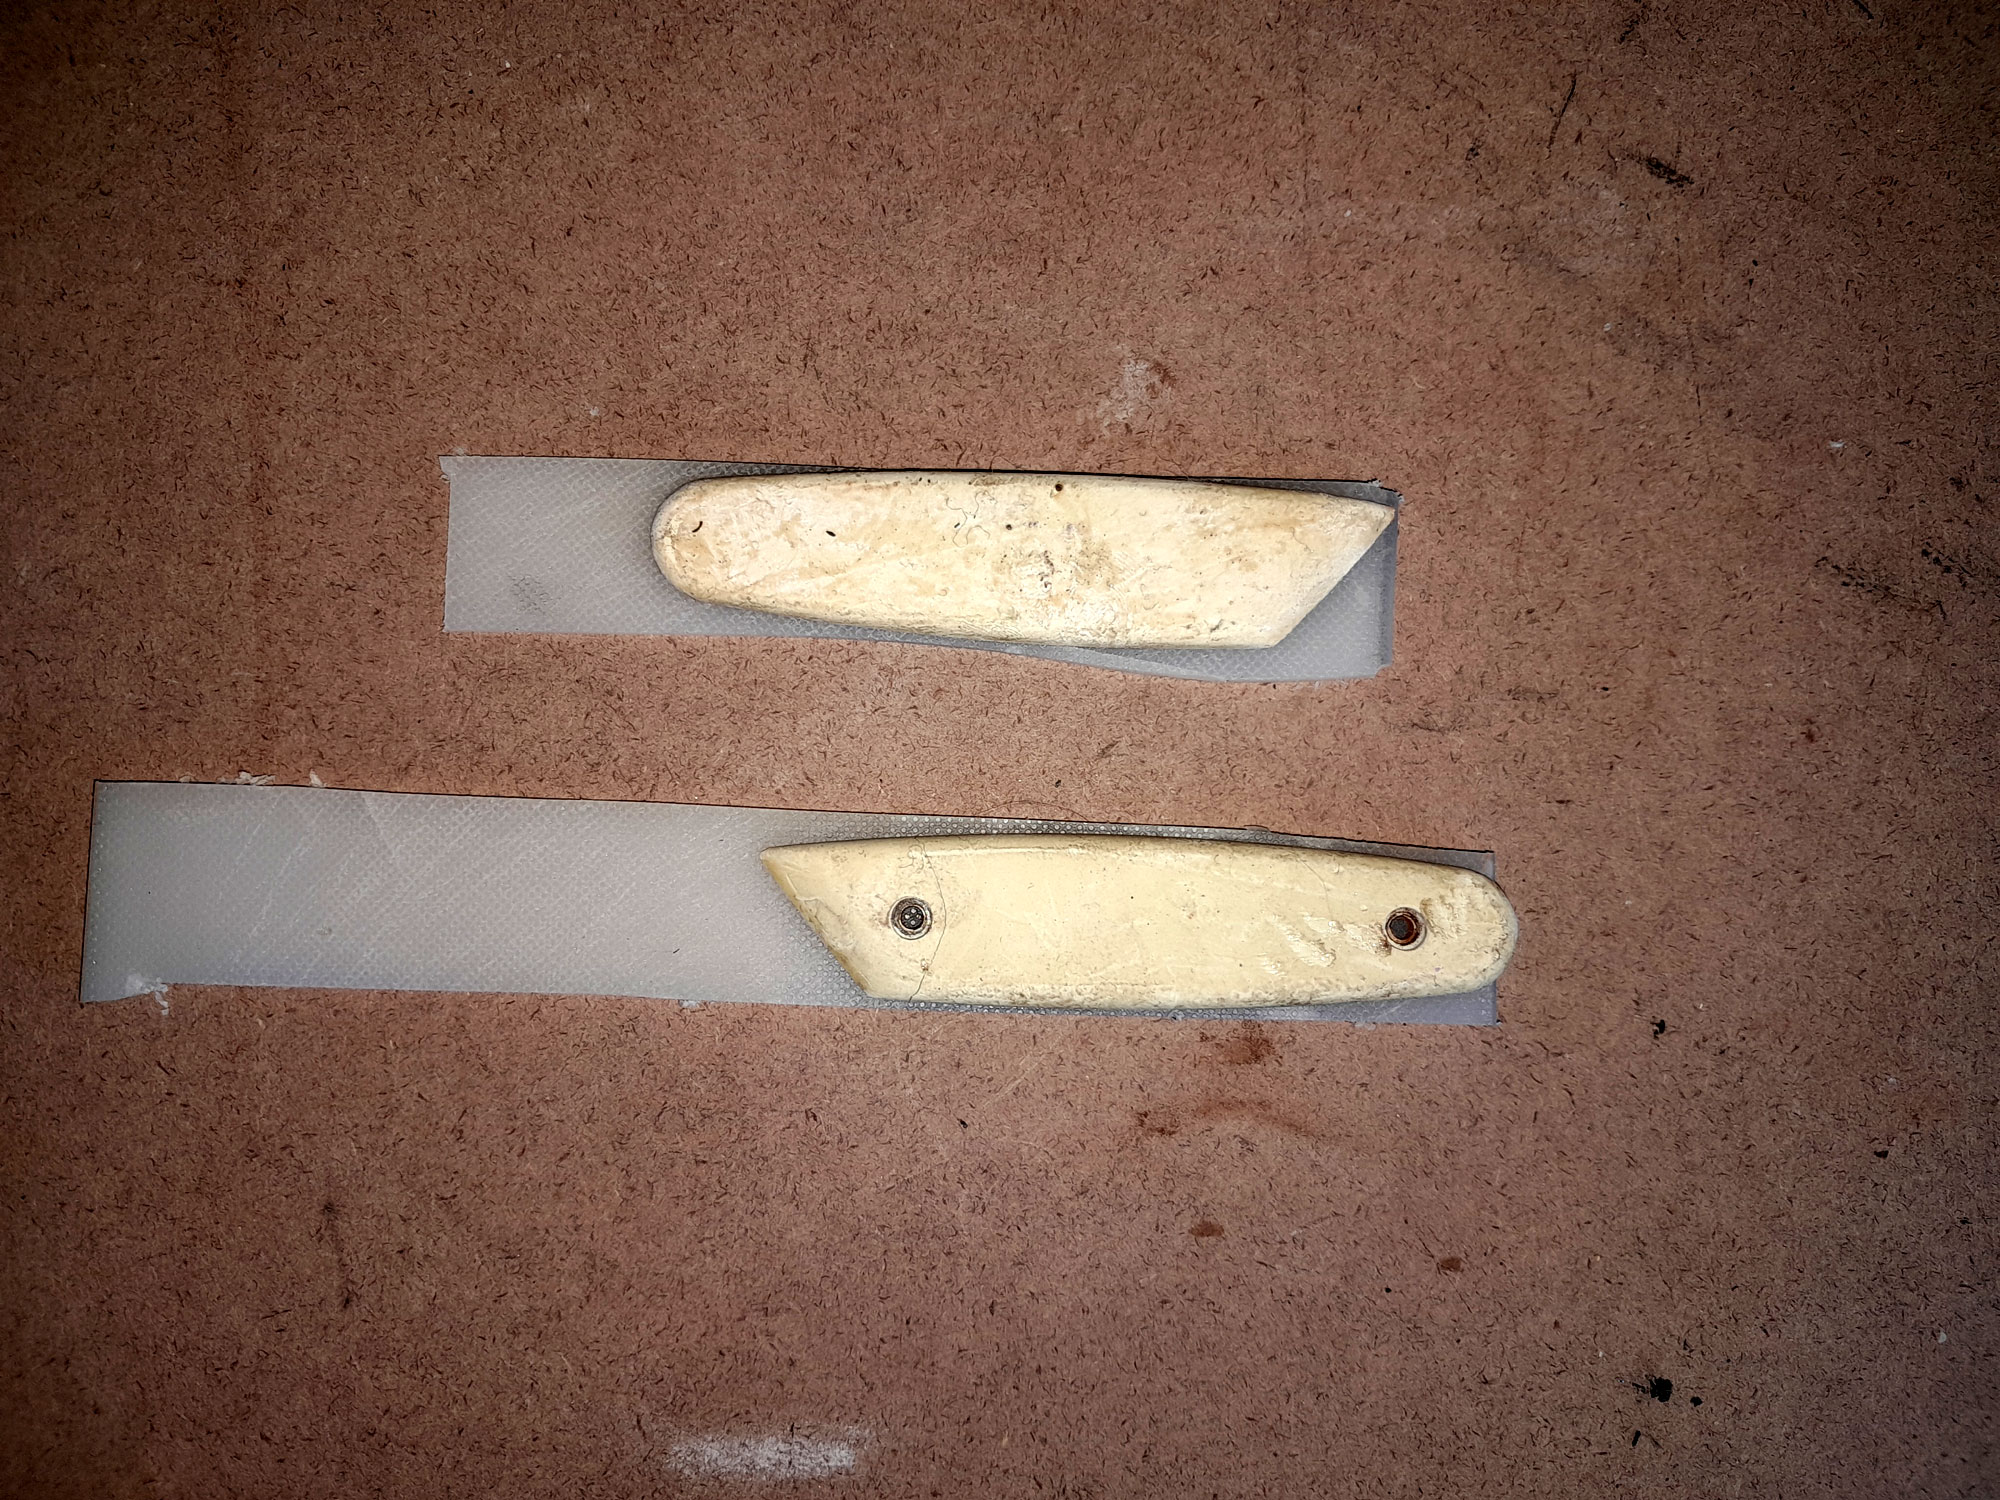
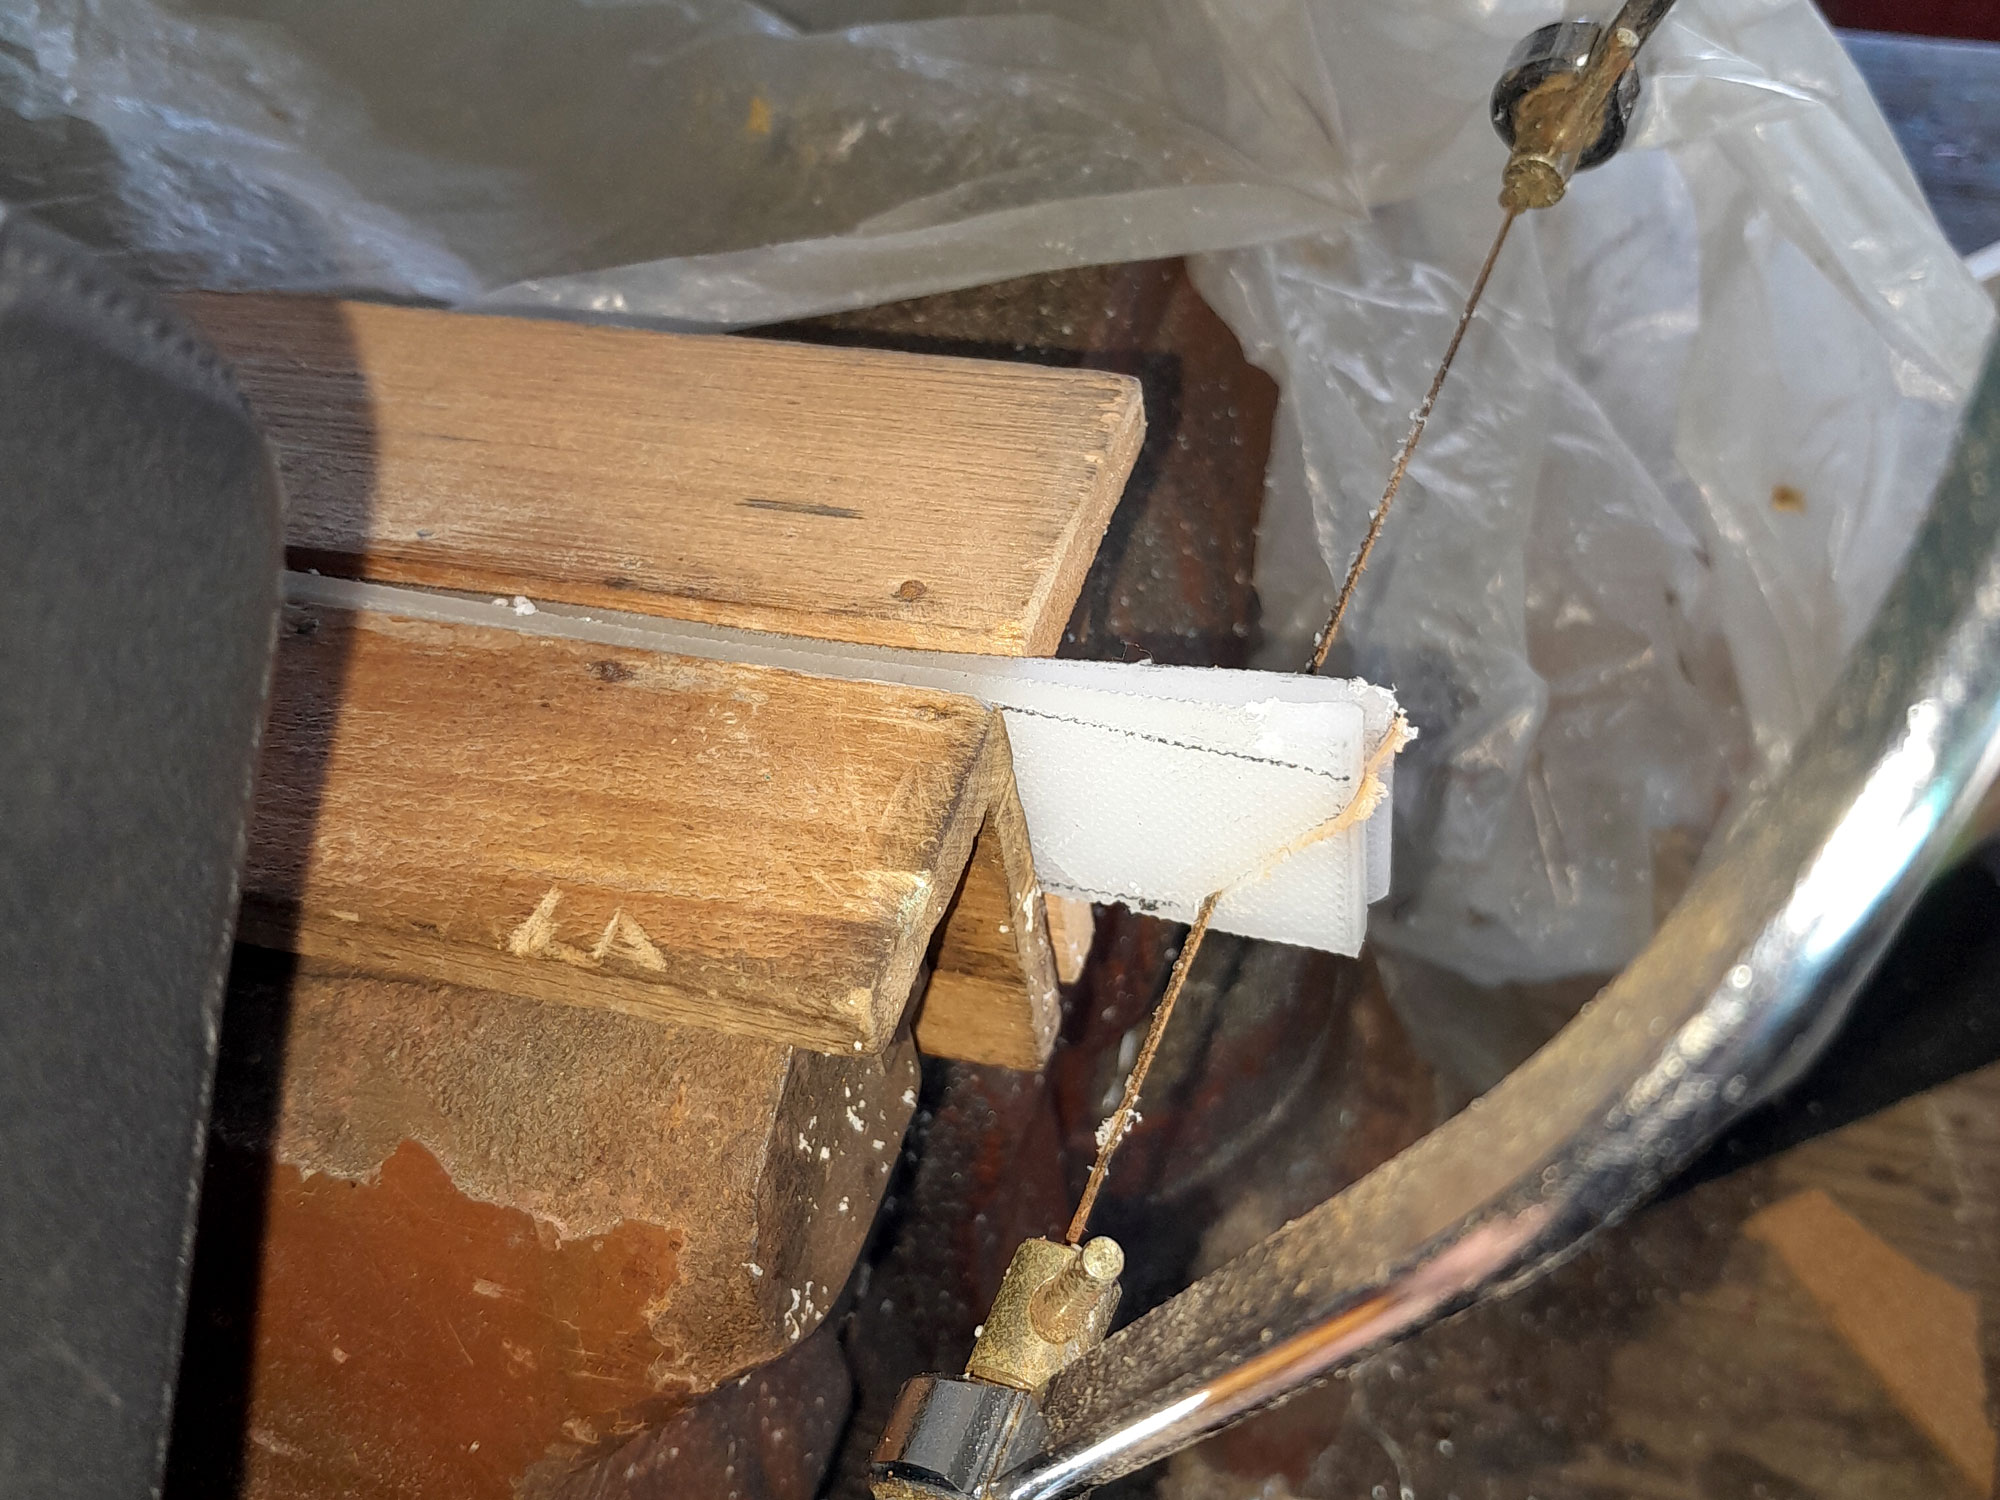
- I used a coping saw to cut the shape quite roughly, leaving some material to be filed off and sanded down. Remember, you can always sand off or file down… you cannot add material.
- It’s looking a bit rough right now, but your patience will be rewarded – at least I hope it will.
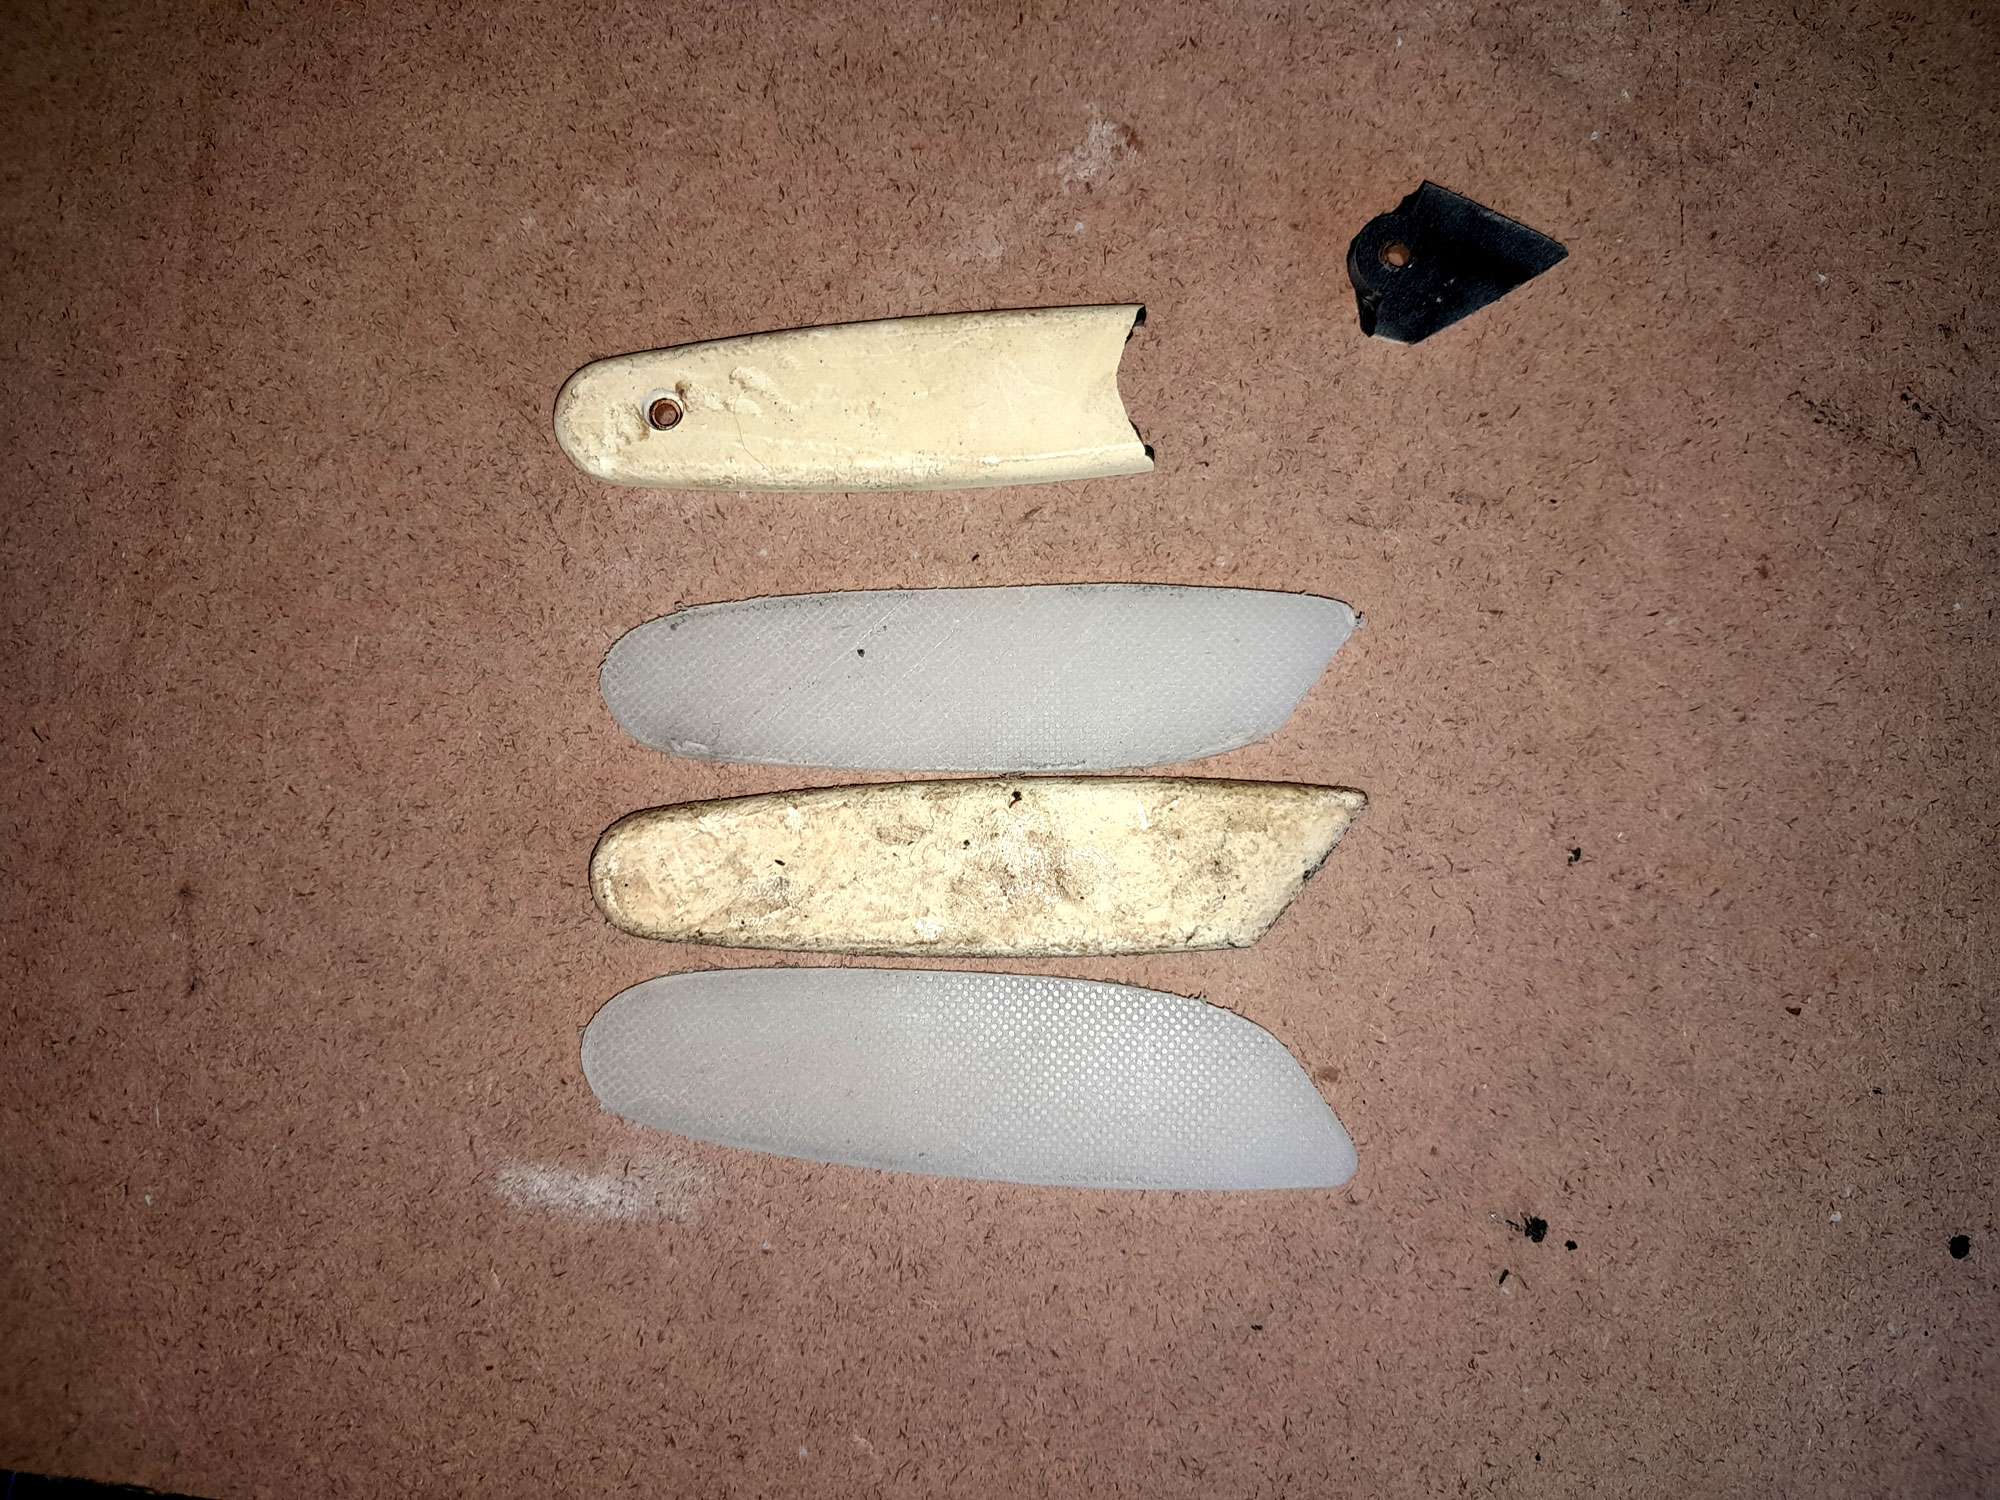
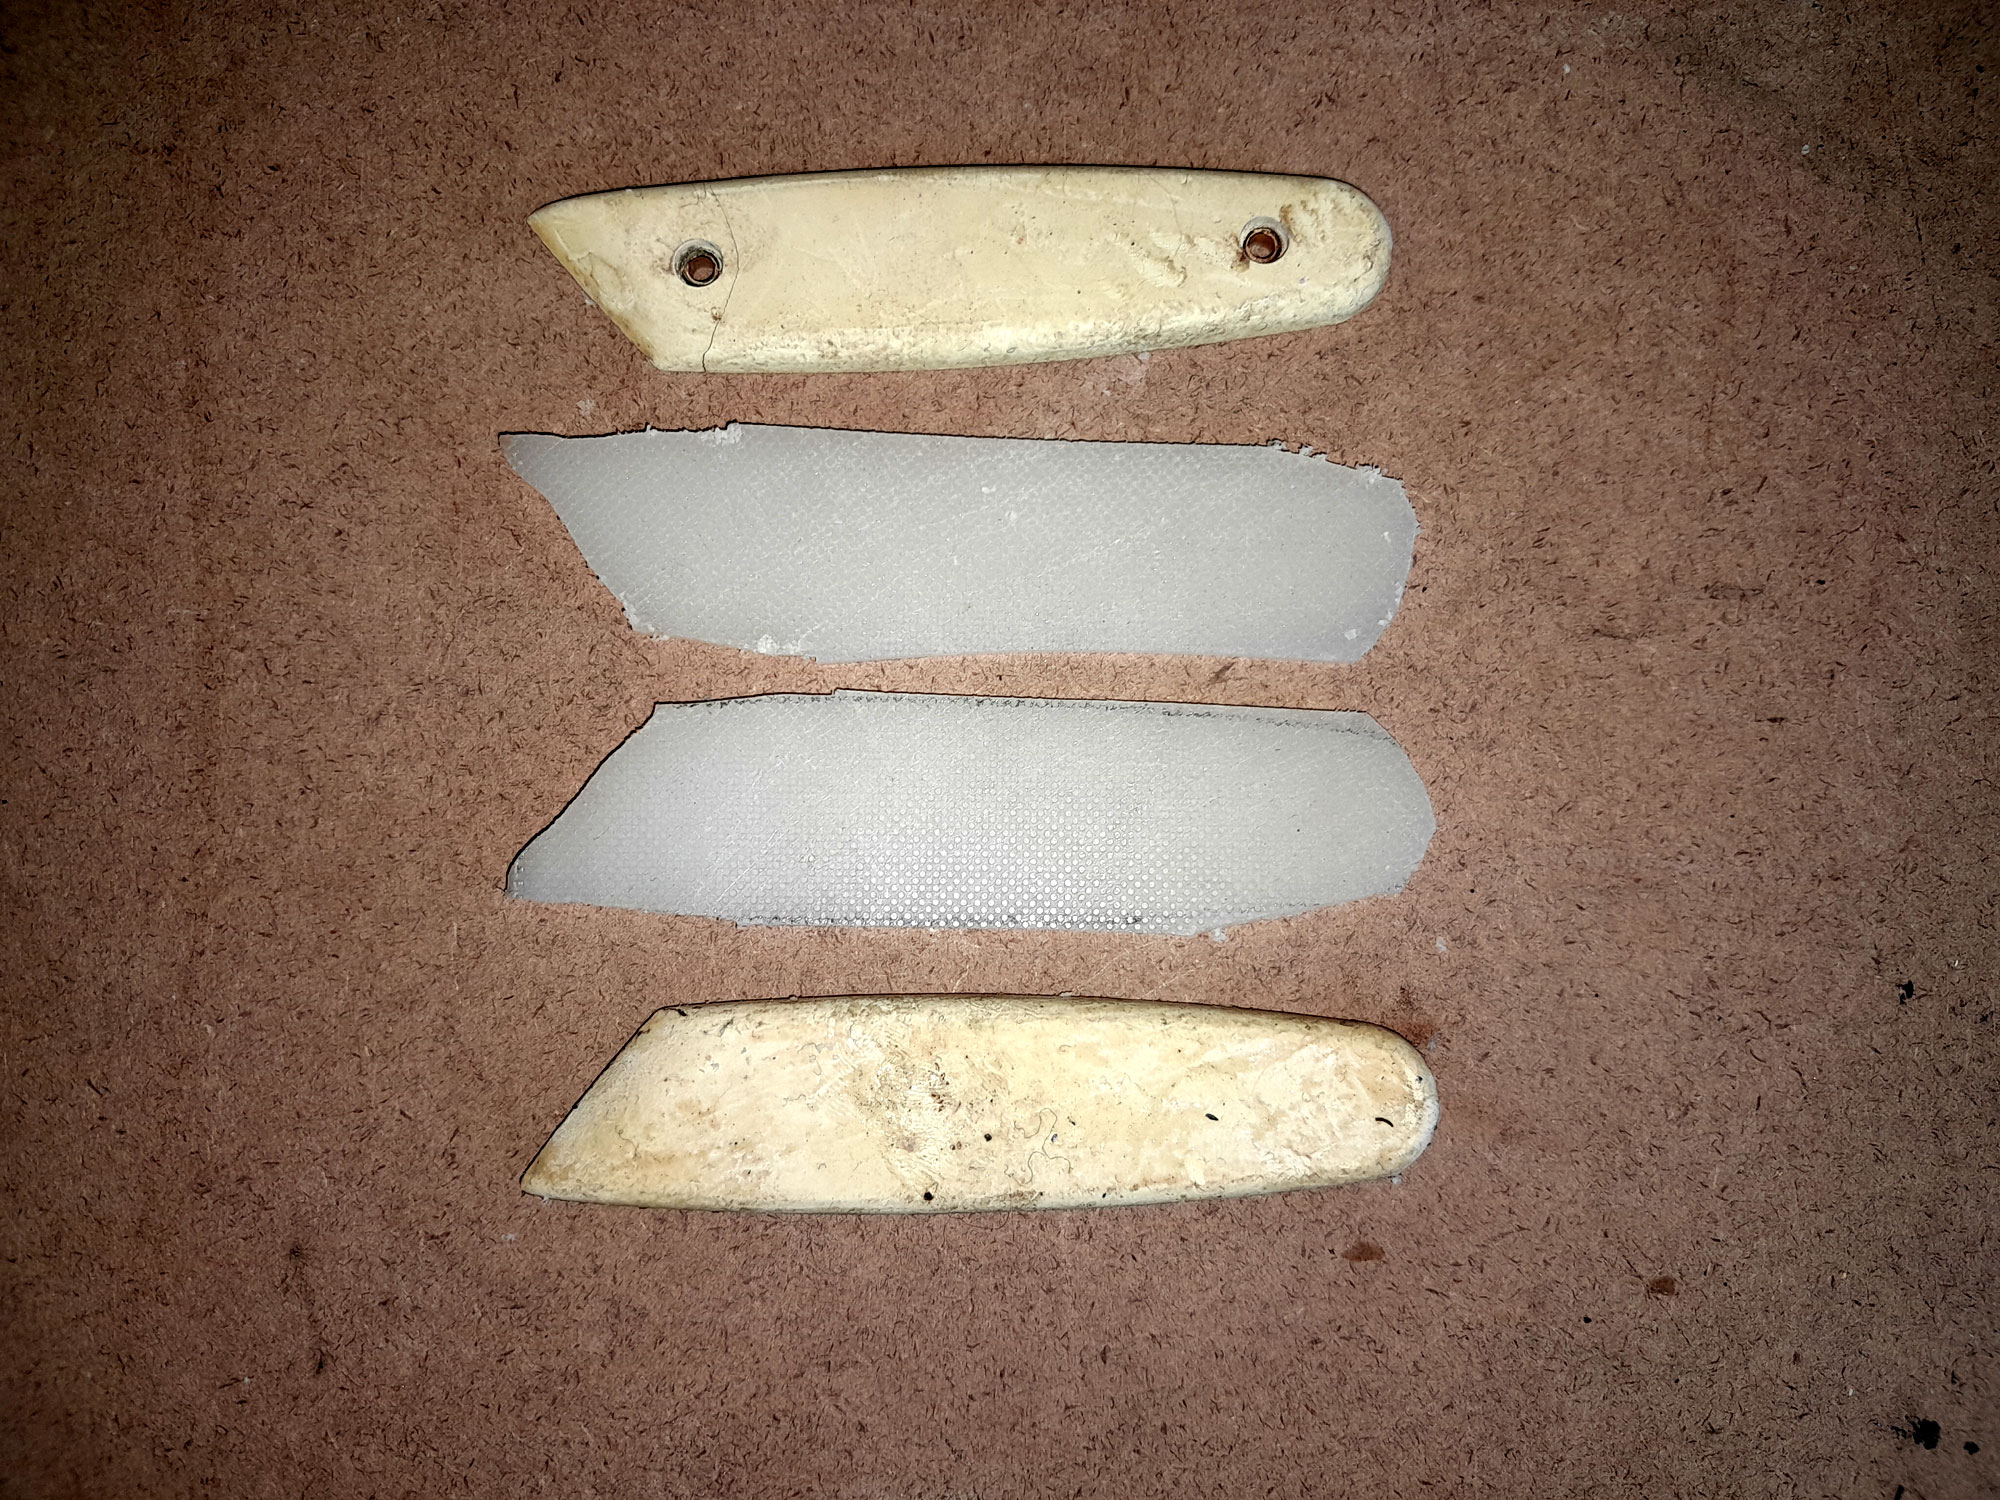
- Here they are slightly better filed and sanded down to closer to their final shape. As you will notice, one of the original scales had already cracked in two, so they needed to be replaced anyway.
- When shaping the new scales, check repeatedly against the originals. It’s a case of sand a little…check. File a little…check. Sand a little… you get the idea.
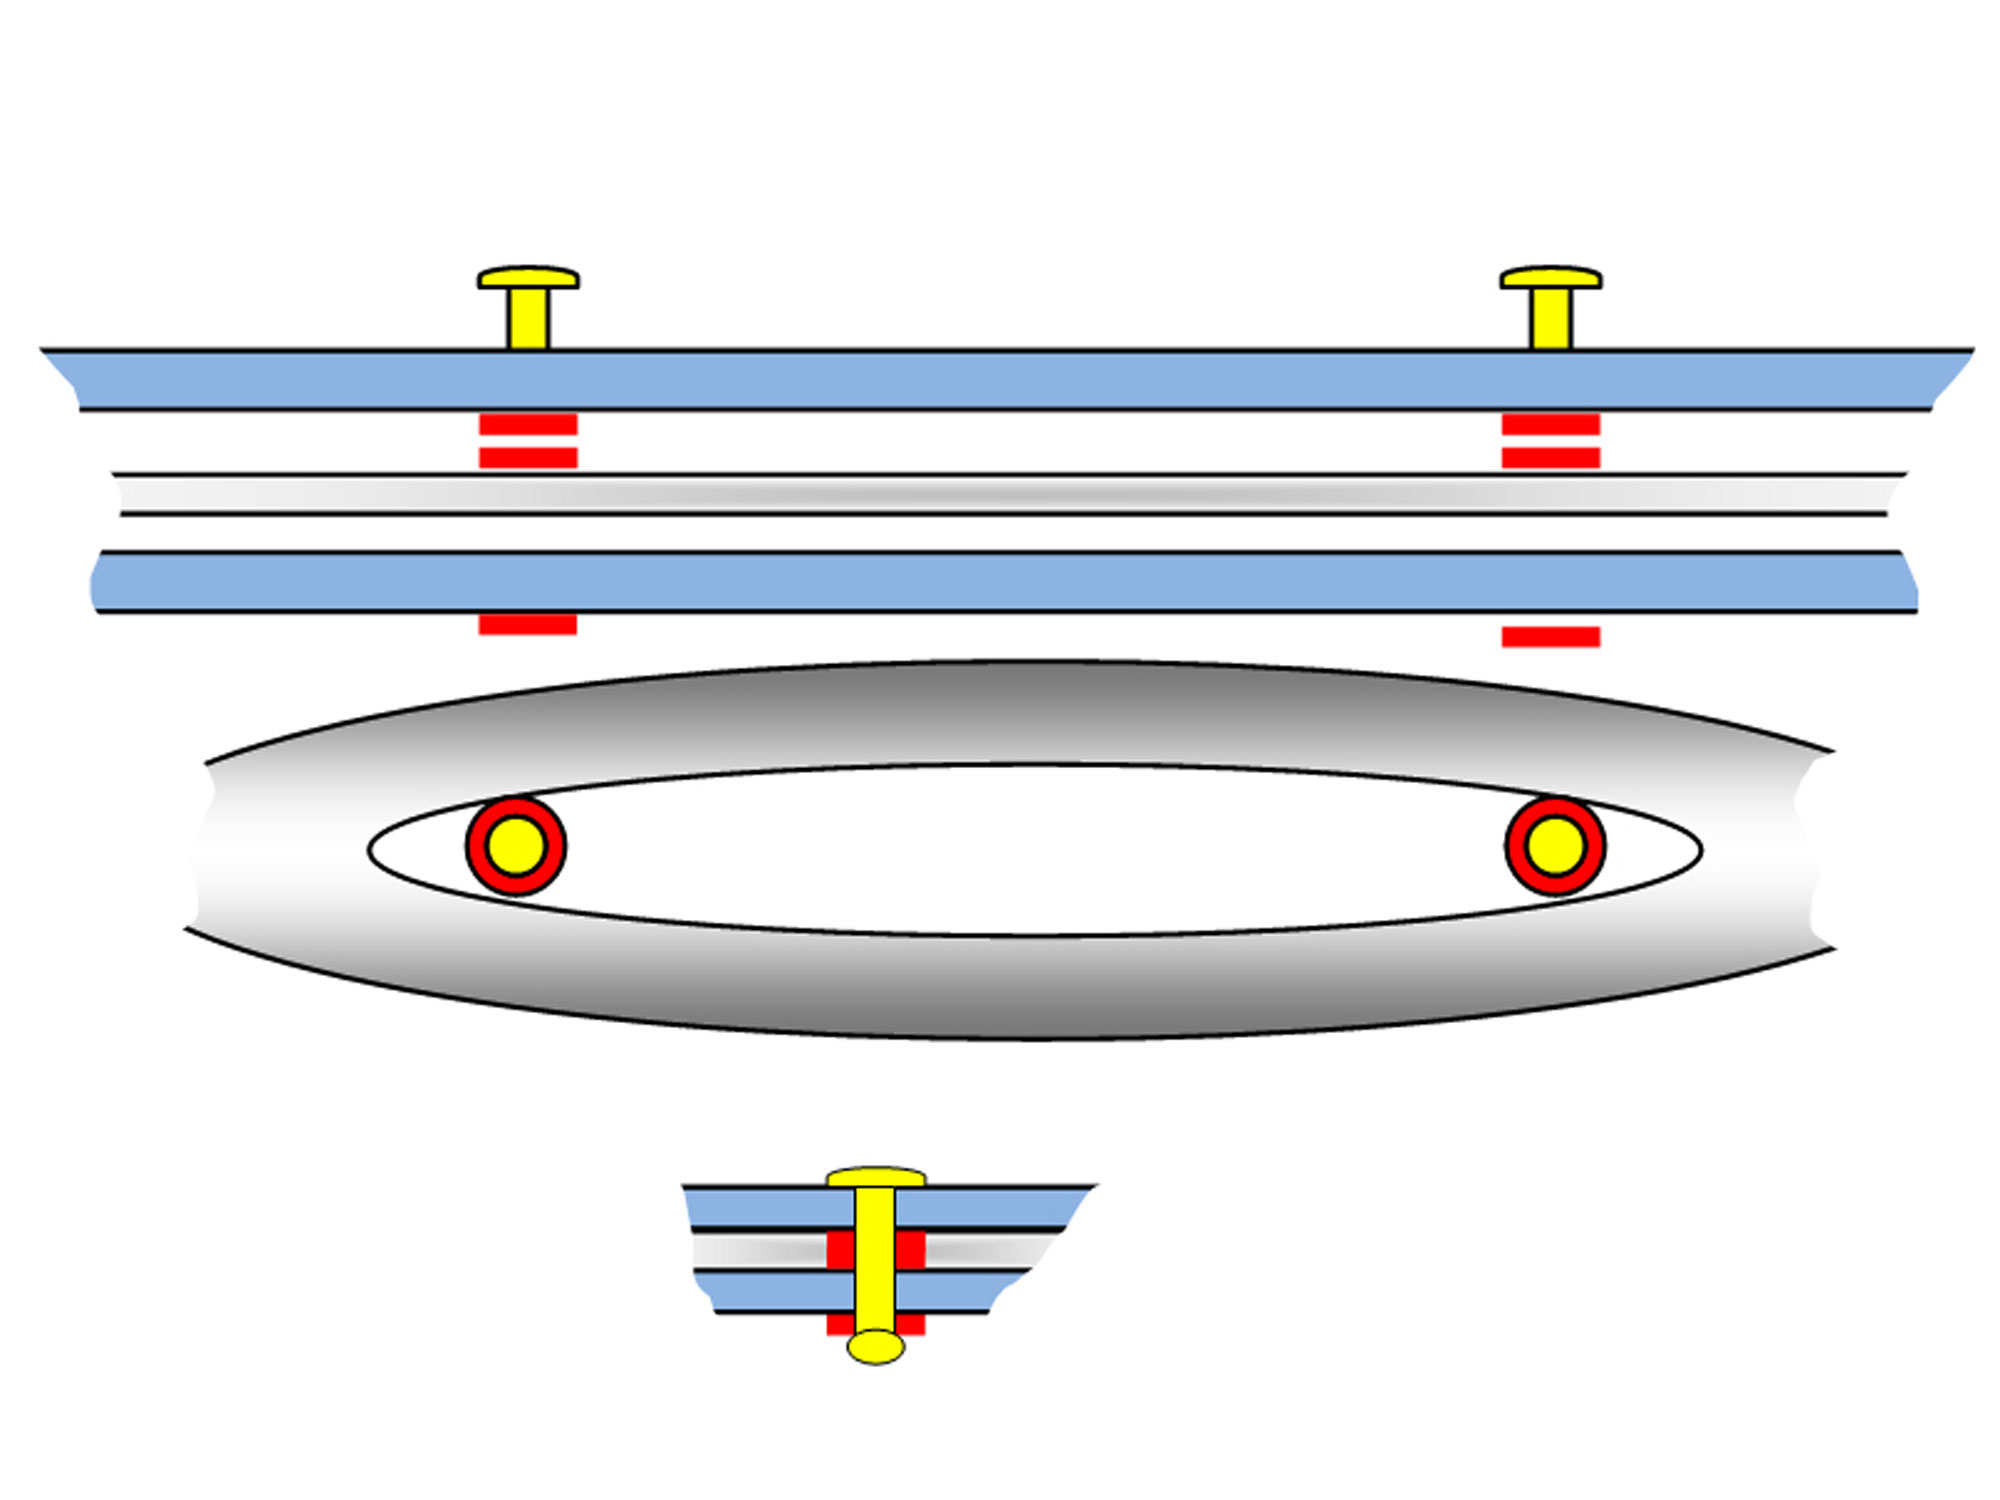
- A dry fit against the metal core of the handle. Now what you do is pop a flat washer of the correct size on to your drill bit, position the one handle scale and move the bit up to where the washer rests against the one end of the oval in the handle. Double check the new replacement scale is correctly positioned, and drill through the scale. Pop a set screw and washer into the hole you have just drilled, and push it up against the end of the oval, repeat the process with the drill bit and washer on the opposite end of the oval. Leaving the first set screw in the hole just drilled ensures that both holes you drill will be perfectly matched. Positioning the attachment screws like this will also ensure the replacement handle scales will be locked in place on the metal core of the handle.


- This illustration shows what I mean. Also note the use of two or even three washers, depending on the thickness of the metal of the handle core. These lock the scales in place but also ensure that when your make your final attachment with pop rivets, they do not pull the handle scales in and break or flex them. Again, the washer on the bottom of the rivet will prevent the expanding rivet from cracking the handle scale. Check out the close-up detail under the main illustration.
- I temporarily secured the scales in place with a couple of 4x10mm set screws, and finished off the sanding and filing, and rounding off the edges for a more comfortable grip. Once satisfied, I removed the screws, inserted pop rivets, remembering to ensure the spacer and bottom flat washers were in place, and finally secured the scales, completing the handle.
- I repeated the same process with two other pots from the same set, with the same handle material, but in this case I used a blue cutting board. If the securing screws have rusted, simply drill them out, as I had to do in this case.
- This time I cut the scales as straight rectangles, but rounded off each end for comfort. Also please note that I marked with arrows the inner front of each scale. And yes, before you wonder… they are both identical in dimensions.
- Here’s the rivet head on the top…


- And here’s the end of the rivet on the underside of the handle. Note how the washer will prevent the expanding end from cracking the material.
- And here are the three utensils, complete with new (non-sticky), dishwasher-safe handles. In passing, the lower ends of the rivets do protrude a little, but are not uncomfortable – the trick is to select rivets that are just the correct length. Too short and they won’t do their job; too long and you will have to (very carefully) cut off their excess lengths and file and sand them to remove any sharp edges to make them comfortable to the touch.
- The Boss then decided that she wanted the handles to all match, and as I know my place, I obeyed. So here are the three utensils with matching handles – JUST the way she likes it! But at least I was able to show you a little about how to shape the handle scales if you want to do so. Before using any of them, however, I would suggest you run them through a full cycle in the dishwasher, to ensure anything picked up off your workbench is removed, and any sanding or filing debris or drill scarf is washed off.


Panel:
The rivets and washers are available at Selected Mica Stores. To find your closest Mica and whether or not they stock the items required, please go to www.mica.co.za, find your store and call them. If your local Mica does not stock exactly what you need they will be able to order it for you or suggest an alternative product or a reputable source.
Project guide
TIME: 1 day
COST: R30 or so – if that… not bad for a new lease on life for your favourite pot or pan
Skill: 1
Assistant: No
Tools required:
Jigsaw fitted with fine-toothed blade, or better still a scroll saw or coping saw, fine-toothed file, pop-rivet tool, 60 grit sandpaper and 120 grit sandpaper.