05 October 2026
 bucket case)
A real (ice) bucket case
Getting a handle on a bucket when there are no handles in place means you need to do a little of what you reckoned you’d NEVER use after you had left school – Euclidean geometry…
Previously on this site we featured an article on how to attach a handle to an ice bucket (Some extra uses for that bubbly bucket), but in that case, the buckets already had sort of rudimentary toggles which lent themselves to having a handle attached.
This bucket is different – no handle, just a smooth, uninterrupted rim. But with a 3L capacity, this is now an ideal smallish bucket for the home. And it can still able to be used as an ice bucket for that bottle of wine or bubbly. In fact, adding a handle makes it much safer if you carry it anywhere.
This feature also differs from the earlier, afore-mentioned one in that the handle is not wood, but rather a 100mm aluminium tube with an outer diameter of 16mmØ and an inner diameter (ID) of approximately 12mmØ. Into that, I inserted and glued three successively smaller PVC tubing – 12mmØ, approximately 8mmØ, and finally approximately 6mmØ – the latter though which I passed the 3mmØ stainless steel cable. I fitted the tubing in reverse order… first slipping a 130mm length of the smallest tubing on to the cable I had cut. Over that tube I slipped the next size, and finally, the largest on to that. Each length of tubing is about 20mm longer than the length of the aluminium tube, so that I could trim off the excess flush with the end s of the aluminium tube for a neat finish. Along with the stainless steel cable clamp U-bolts and fasteners, this means I have a completely corrosion-proof bucket assembly.
The bucket in this feature is somewhat smaller, with a height of 230mm, an inner diameter at the top of 162mmØ and a base inner diameter of 123mmØ.
The easy way to arrive at the volume is to simply fill the bucket to what you reckon will be its normal “full” when being used – namely about 25mm or so from the top – using a kitchen measuring jug. But if you want to do it the Euclidean way, then here goes…
The formula for a tapered cylinder (frustum of a cone) – which is what this bucket is, is…
V = ⅓ πH(R² + Rr + r²)
V = volume
Π = pi…3.142
R = top large diameter squared
r = base small diameter
So off we go (in millimetres)…
V = ⅓ x 3.142 x 230 (812 + 81 x 61 + 612)
V = 241 (6561 + 4941 + 3721)
V = 241 x 15223 = 3668743 (which, because we have been working in millimetres, is divided by 1000000. Hence the volume is…
V = 3.366L
But as that is the total volume, to the very brim, and we will be considering it full about 25mm from the top, so the workable volume is around 3L… in this case, just below the lower-bolt nuts.
Materials:
- Ice bucket – stainless steel or aluminium
Aluminium:
- 3mm ferrules – two
Stainless steel:
- Length of 3mmØ stainless steel cable, cut to length – in this case, 460mm (remember to include the length of cable that must pass around the thimble on each end – in this case about 70mm on each end – which gives an effective total length of the handle cable, from thimble to thimble, of about 320mm or so)
- 4mmØ cable saddle clamps – two
- 3mm thimbles (also called eyes) – two
- 4mmØ Nyloc nuts – four
- 4mmØ hexagon nuts – four
- 4mmØ flat washers – eight
- 4mmØ quick links – two (please note that quick links are also known as chain links or as quick connect rings)
PVC tubes:
Each length is about 20mm longer than the aluminium tube handle; so that they will protrude on each end and be able to be trimmed off flush with a utility knife. So…in 120mm lengths (and in outer diameters {OD])…
- 6mmØ
- 8mmØ
- 12mmØ
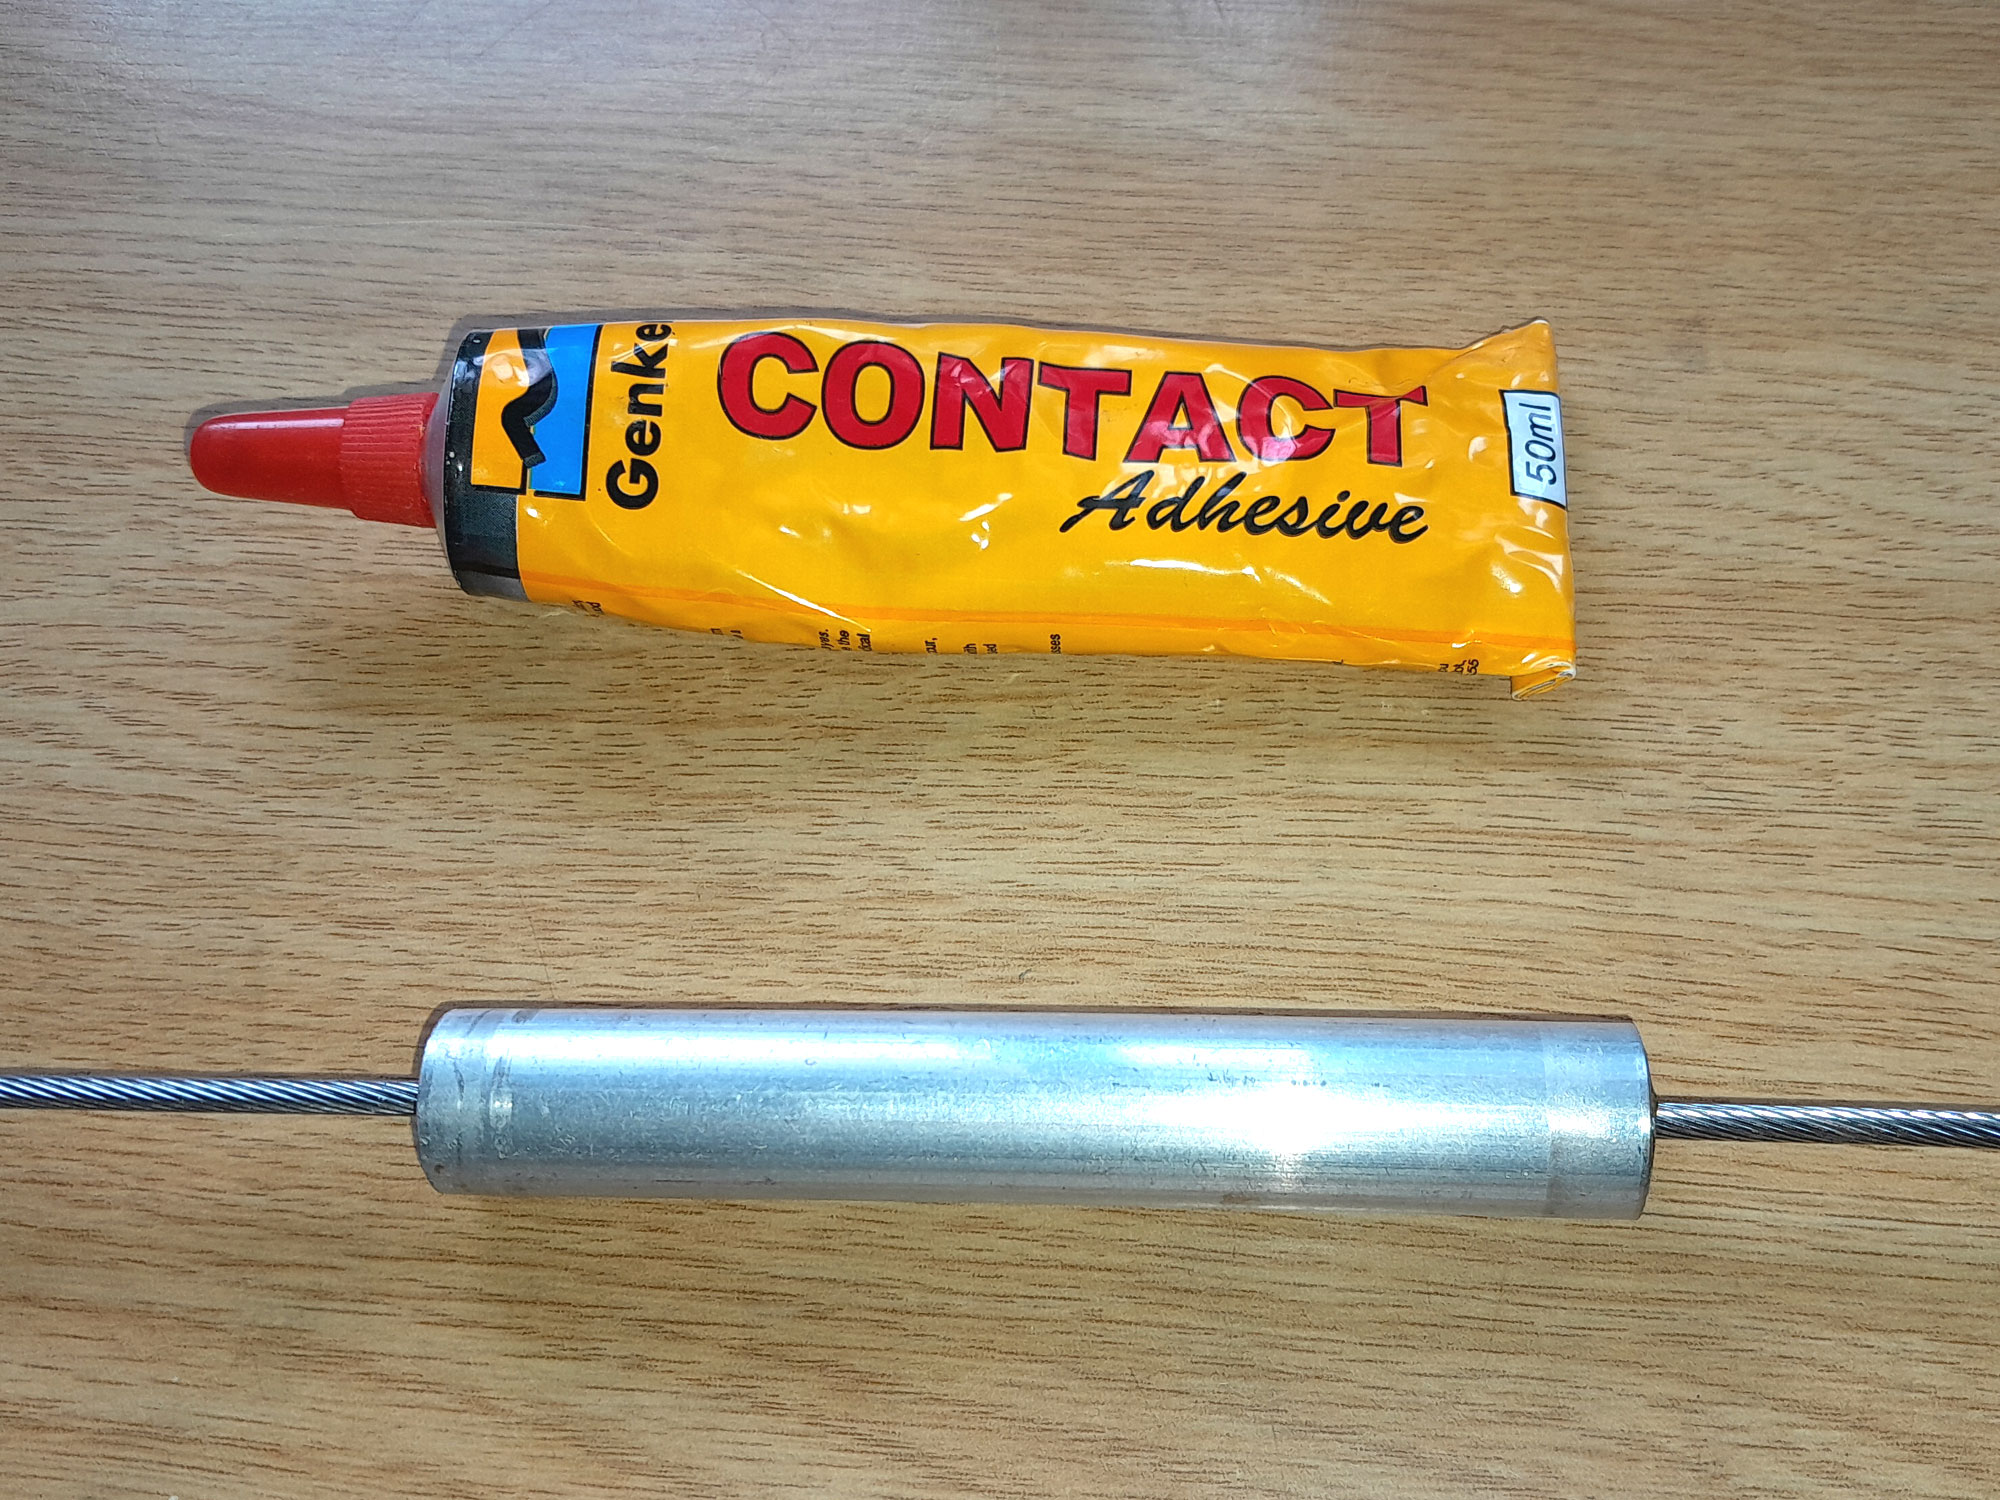
Contact glue – to secure the PVC tubes within the aluminium handle and within each other
Method:
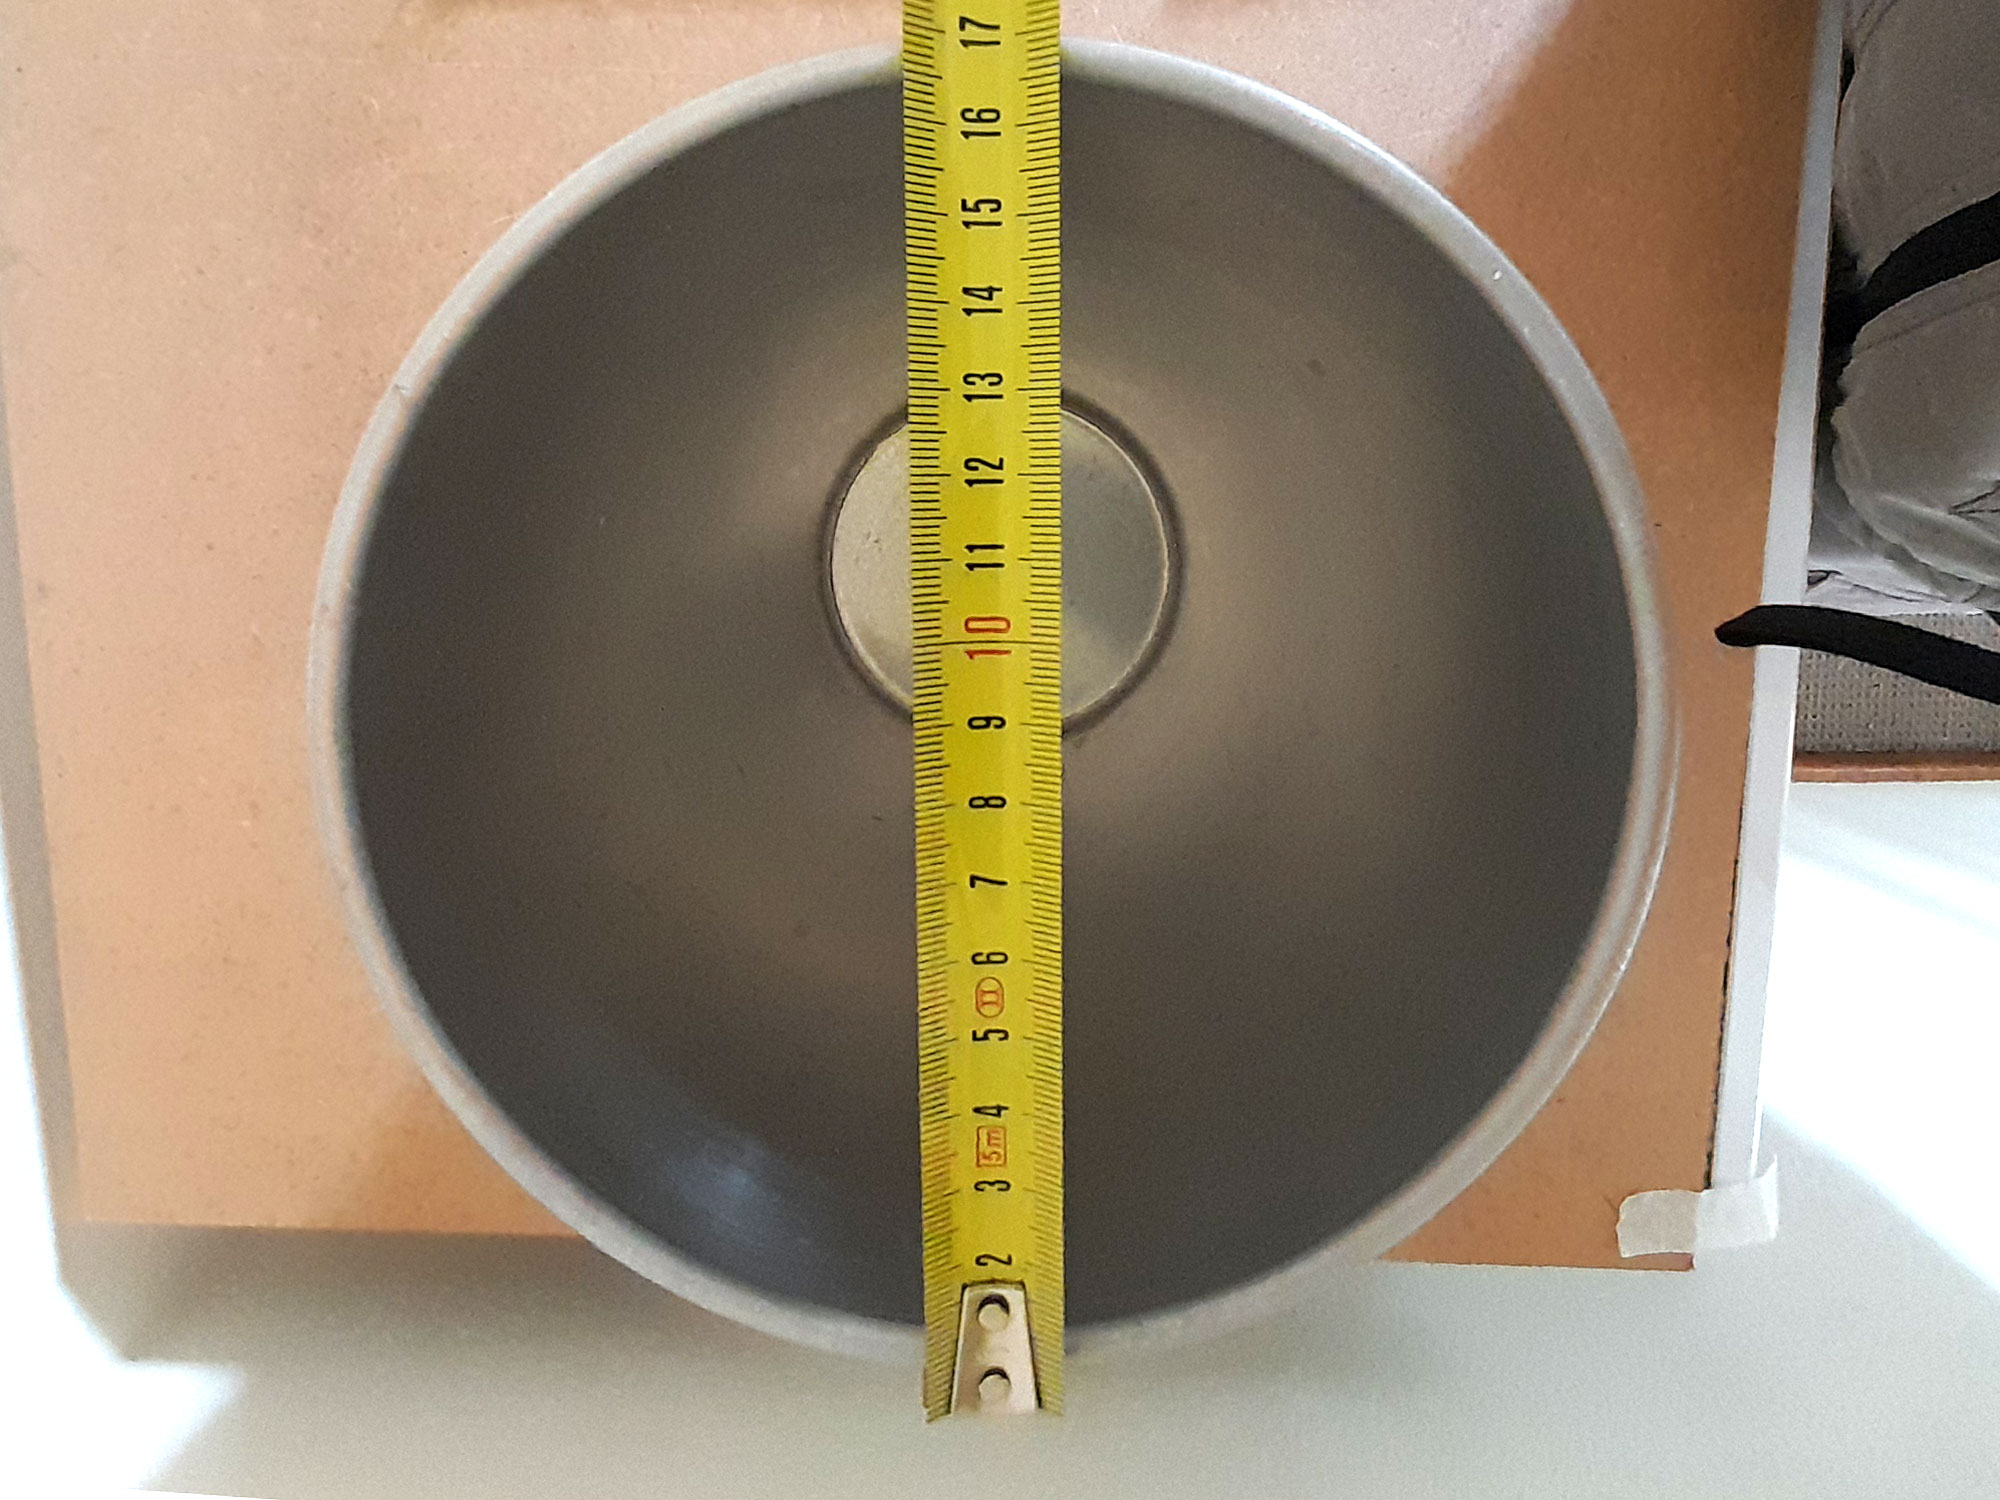
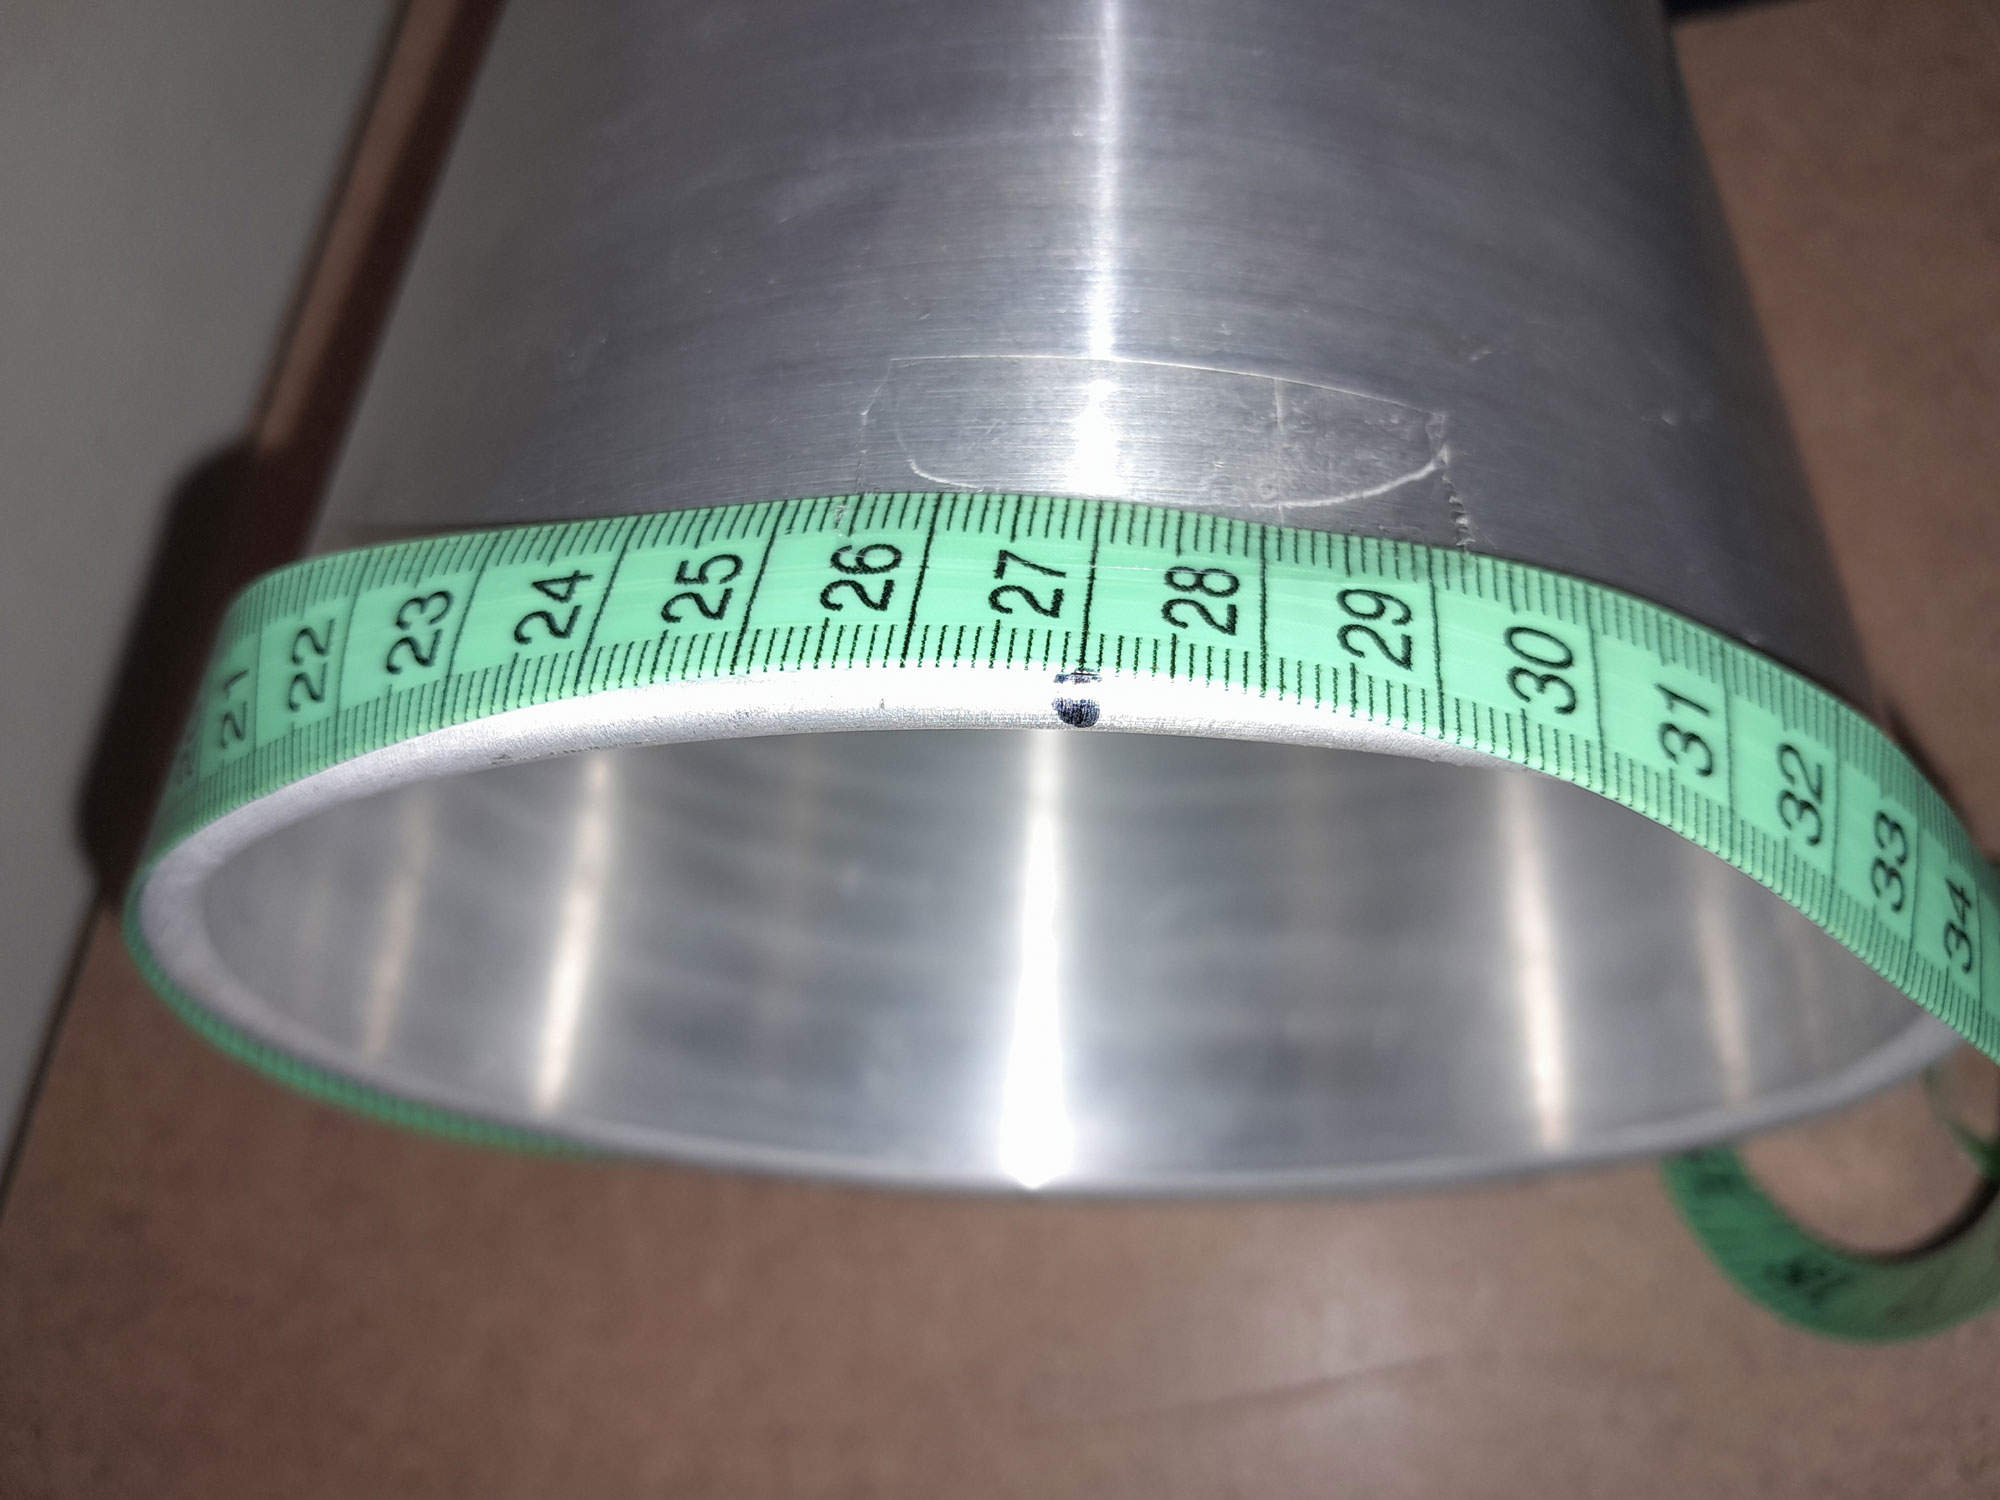
- First of all, you need to measure the diameter of the rim of the bucket, so begin with a tape across the centre point, as close as you can judge it.
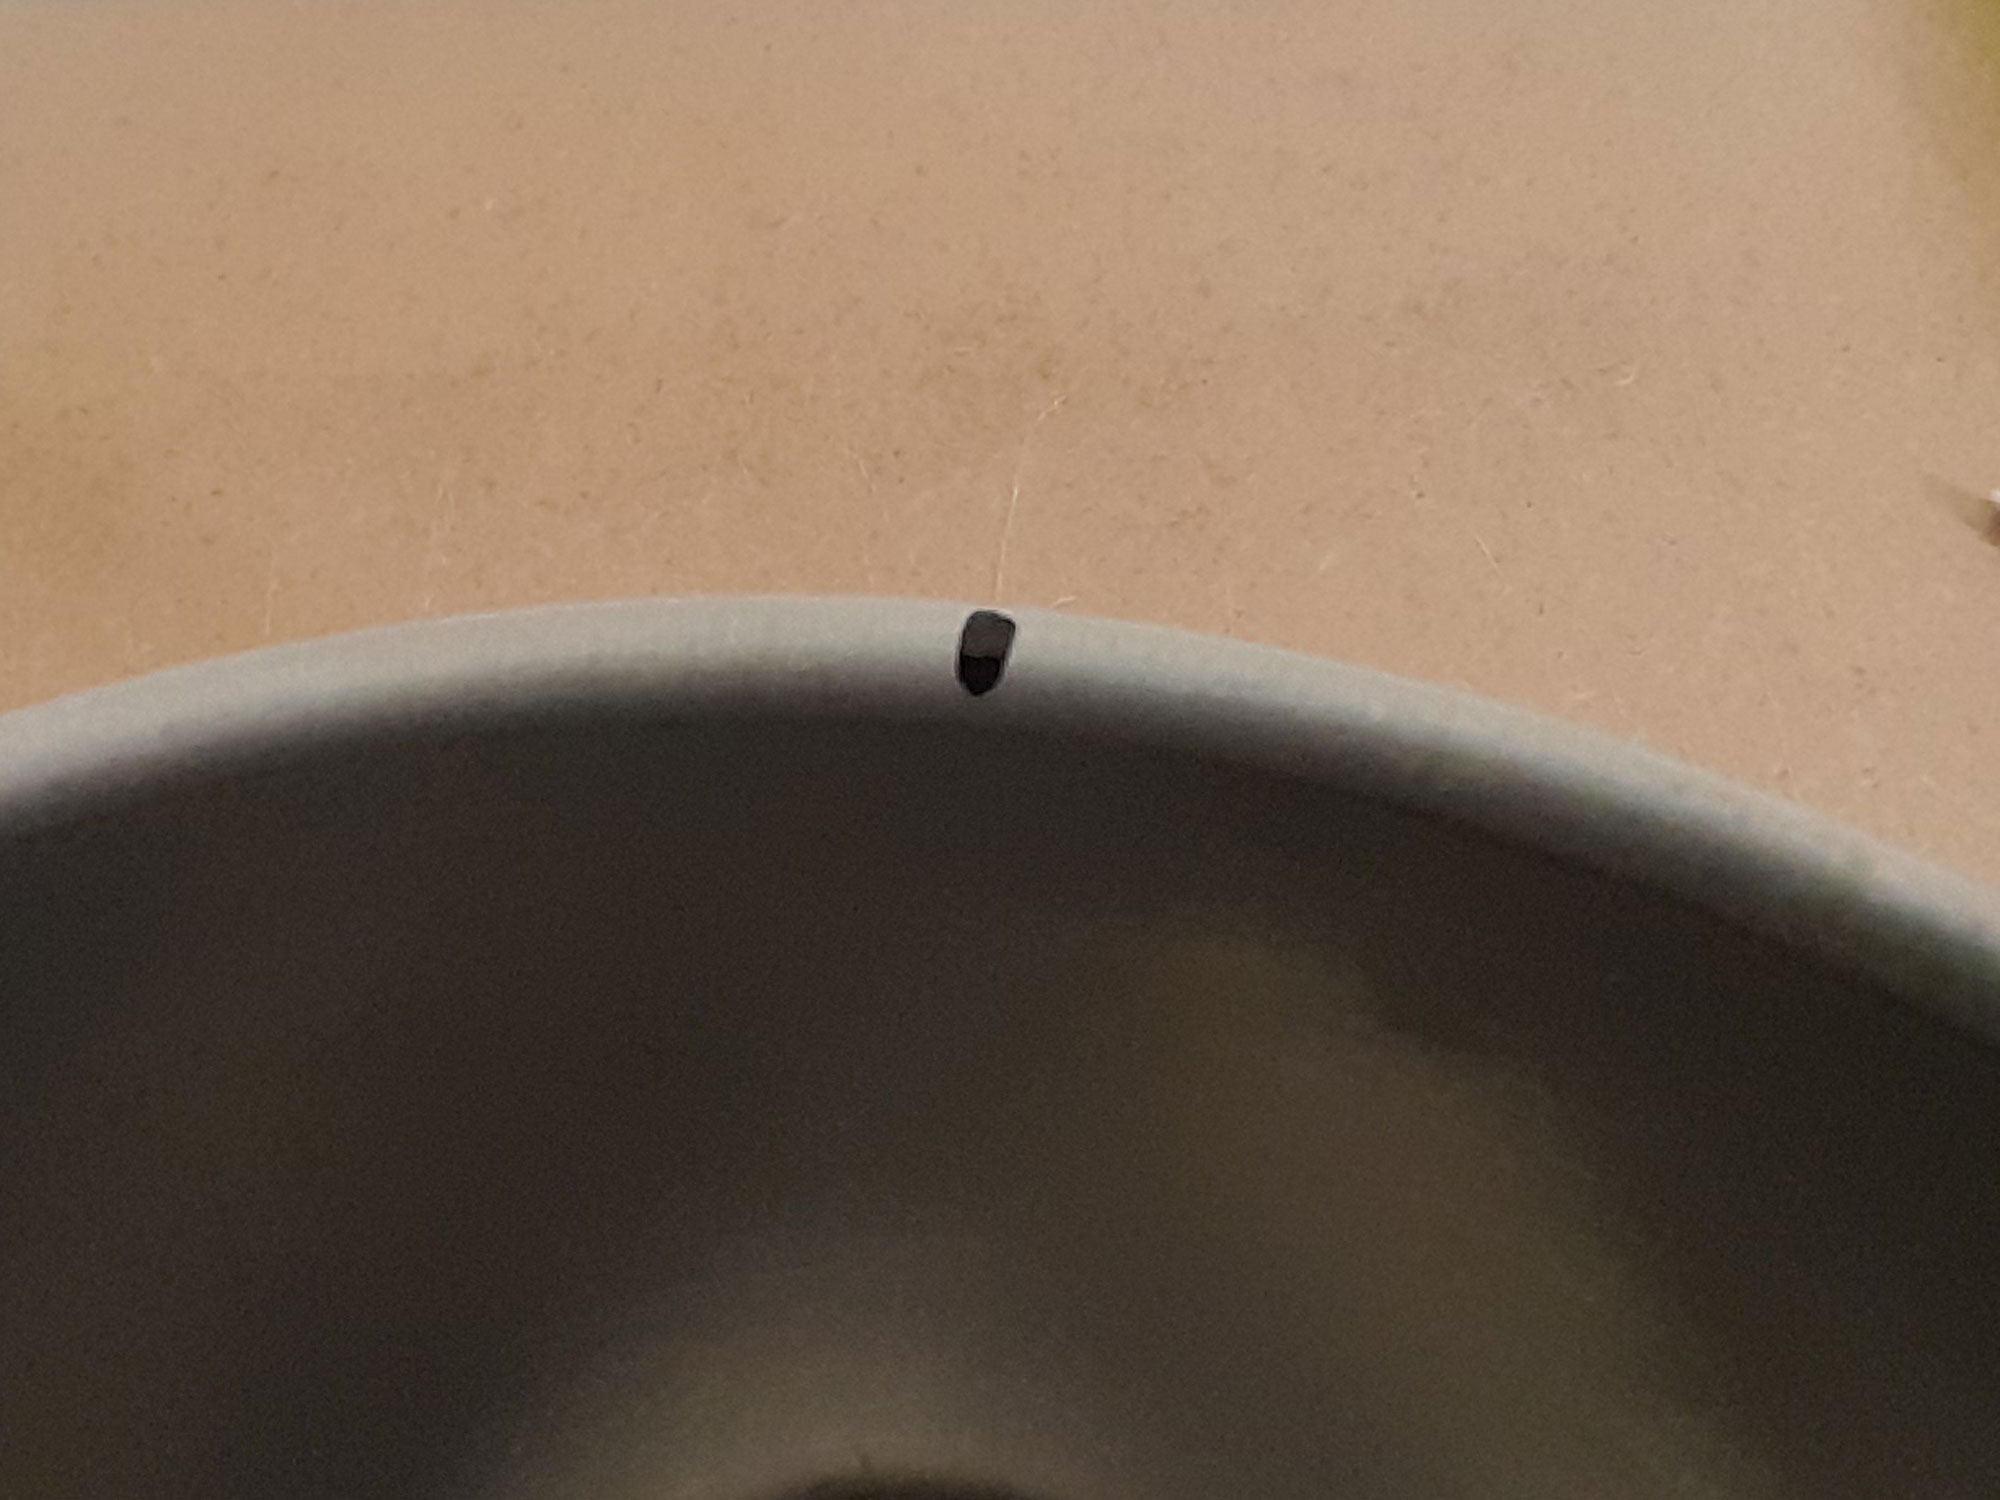
- Make one mark on one point on the rim – this can be anywhere on the rim, but will act as your marker.
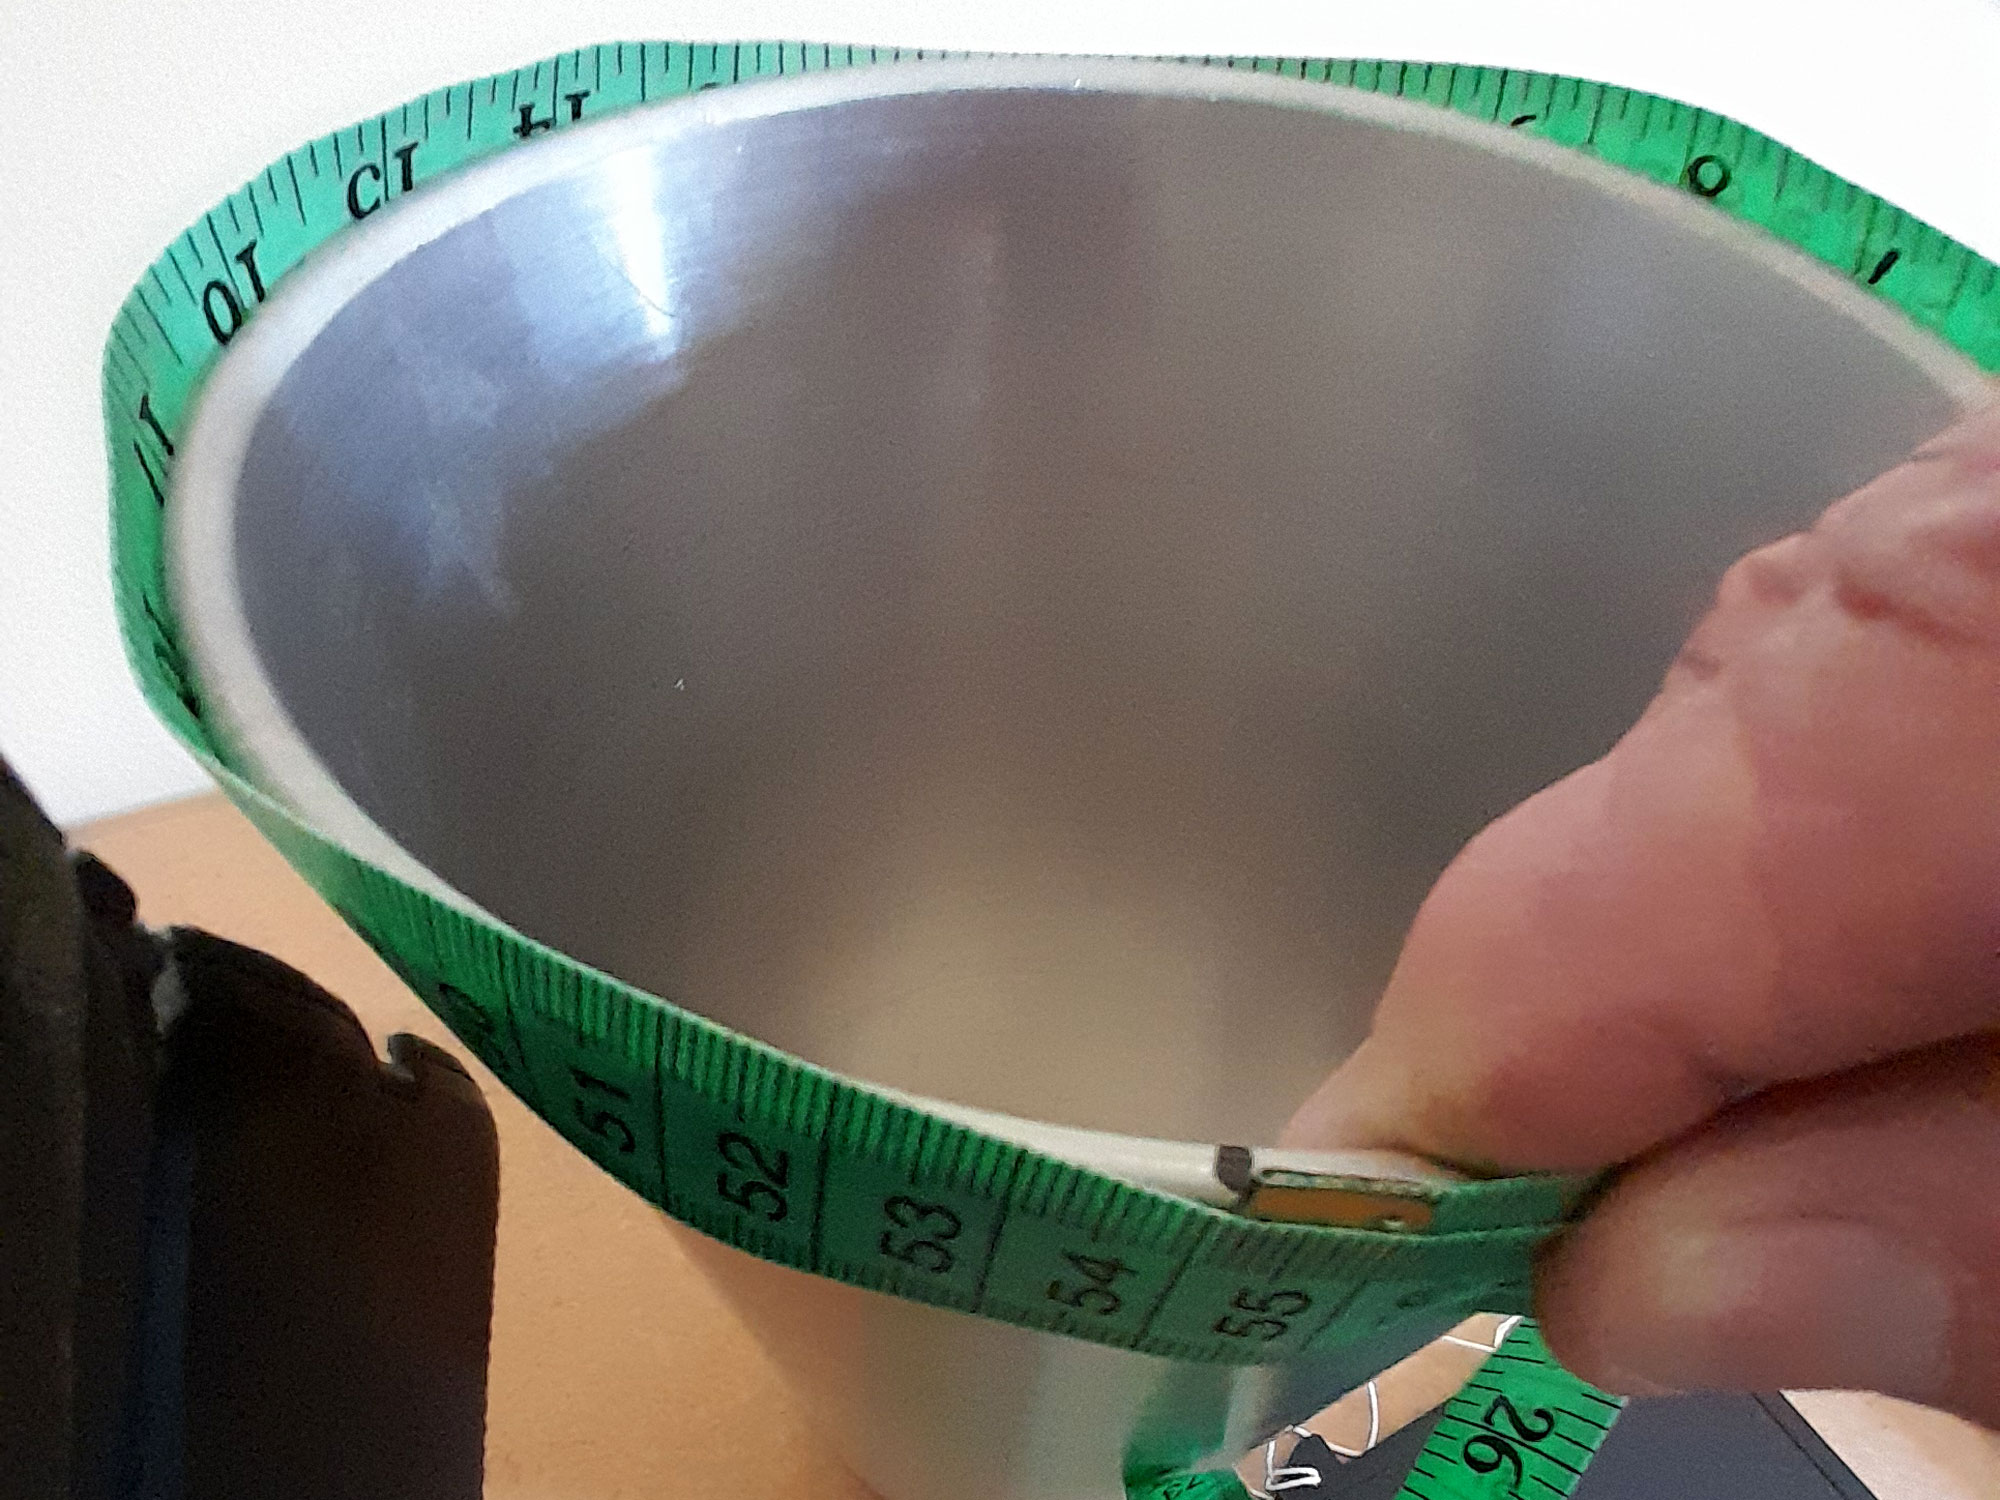
- To confirm you measurement, run a cloth tape around the rim, taking care to not pull it too tight, as this might stretch it and give you an error. If you can run your steel tape around the rim, even better. Run the tape from the mark you made and back to it. This will give you the circumference of the rim. In passing, placing the bucket upside-down on a flat surface will make this task easier, as you can keep the bottom edge of the tape against the flat surface.
- Now for a bit of that Euclidean geometry you reckoned you’d NEVER, EVER use again. Well… now you are… in this case the diameter of the rim was 172mm, so we multiply that by pi – 3.142… 172 x 3.142 =
- … 540.424mm – that is the circumference. So we divide that by 2…
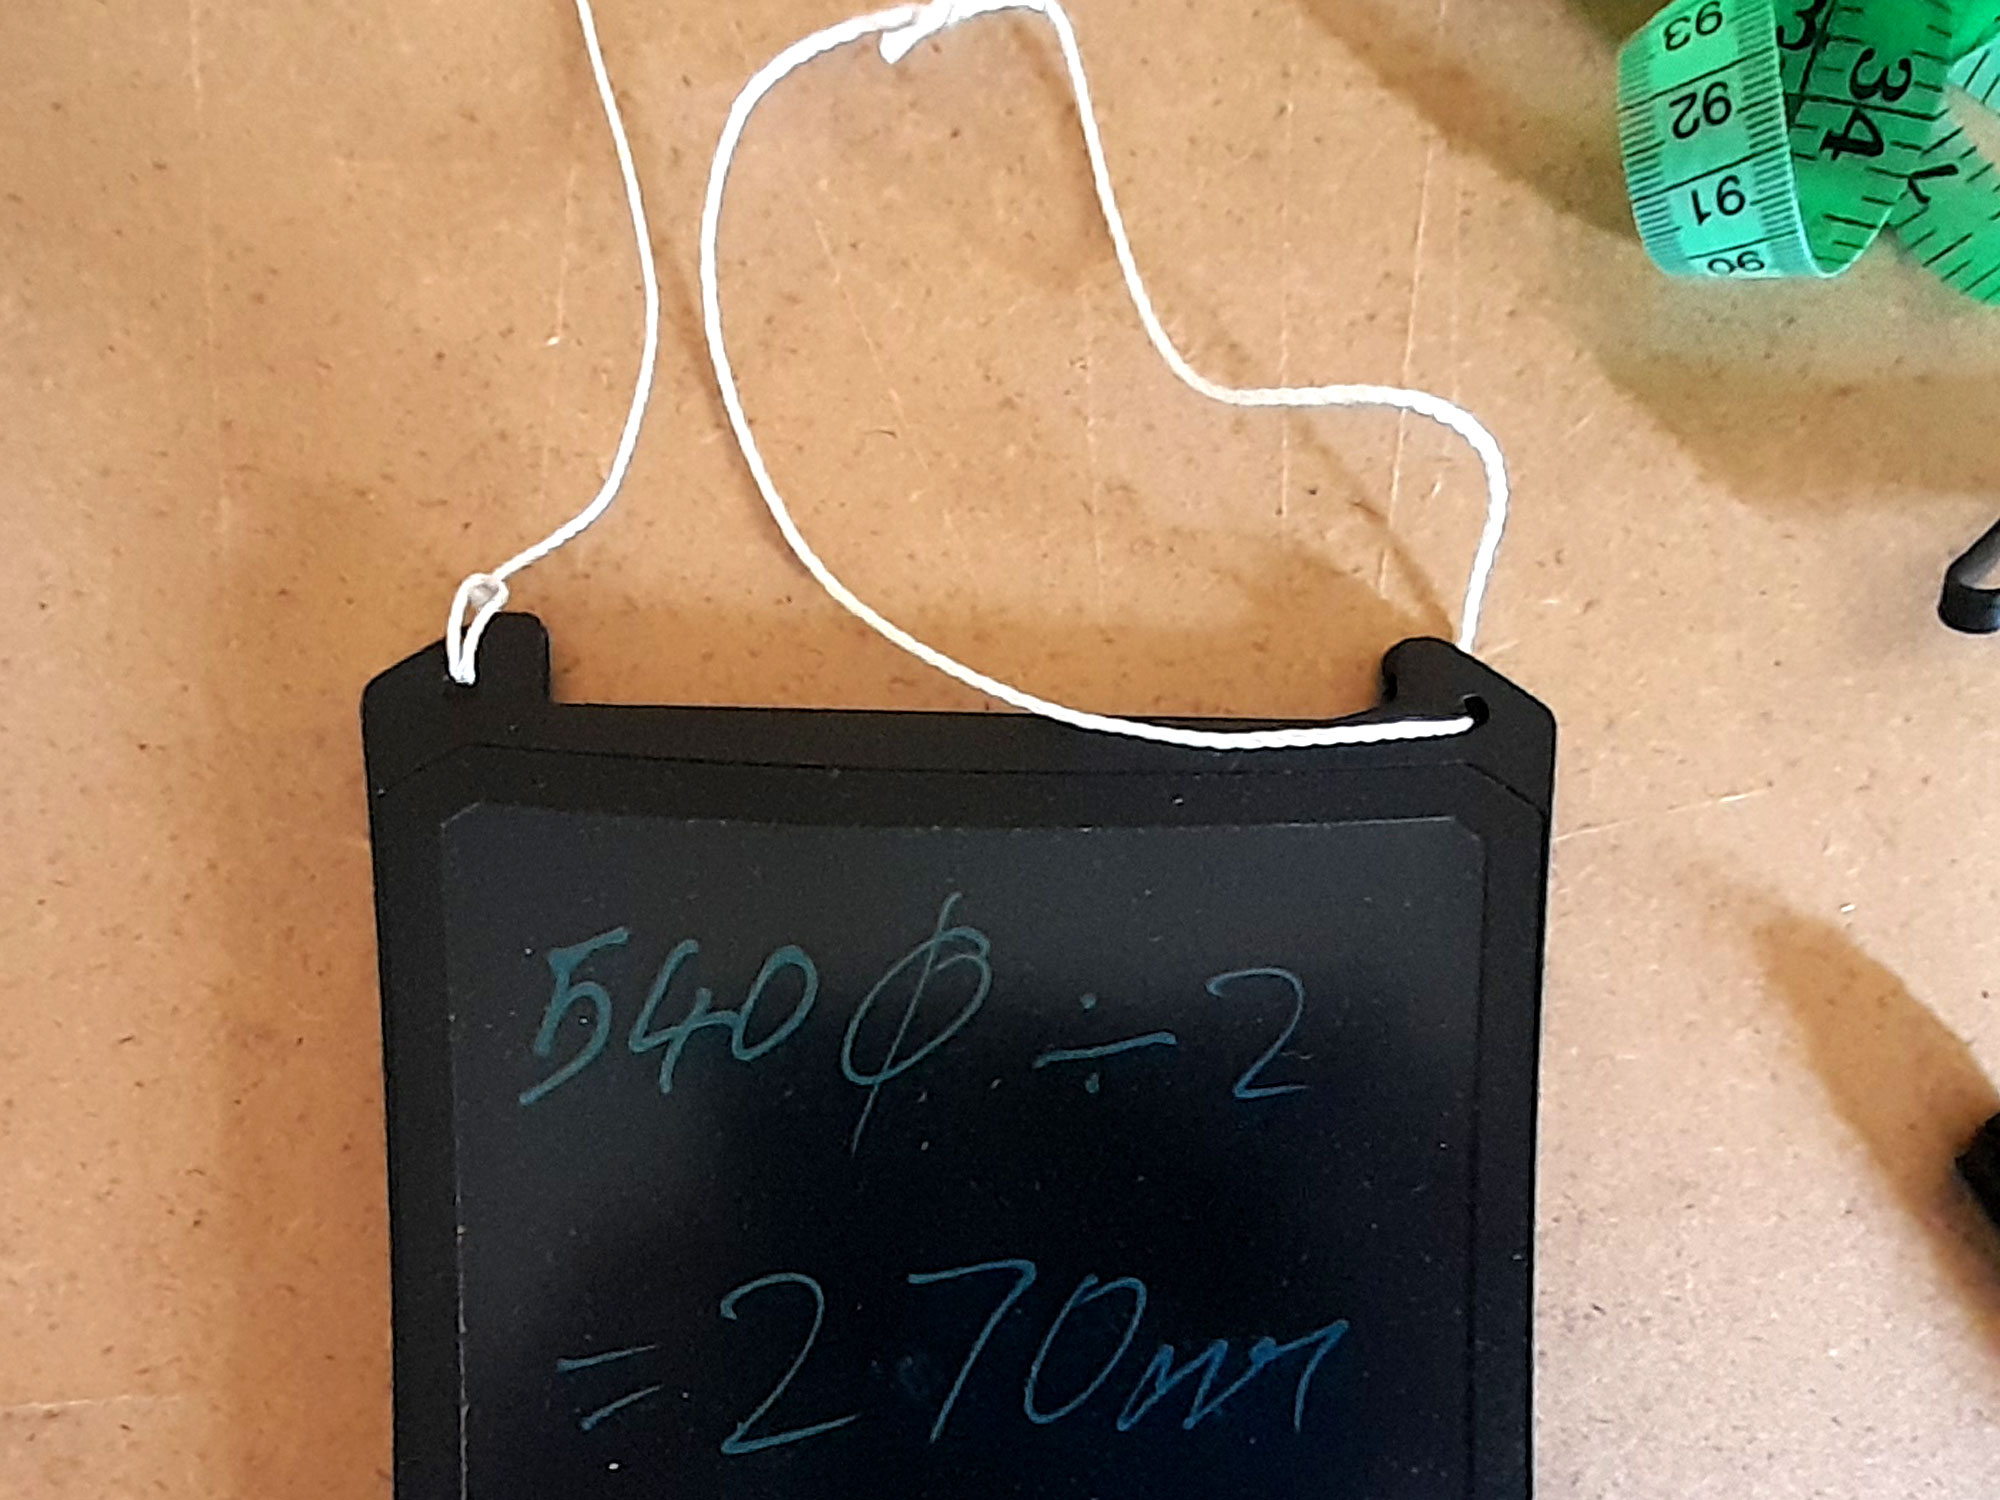
- … 540.424 ÷ 2 = 270.212mm.
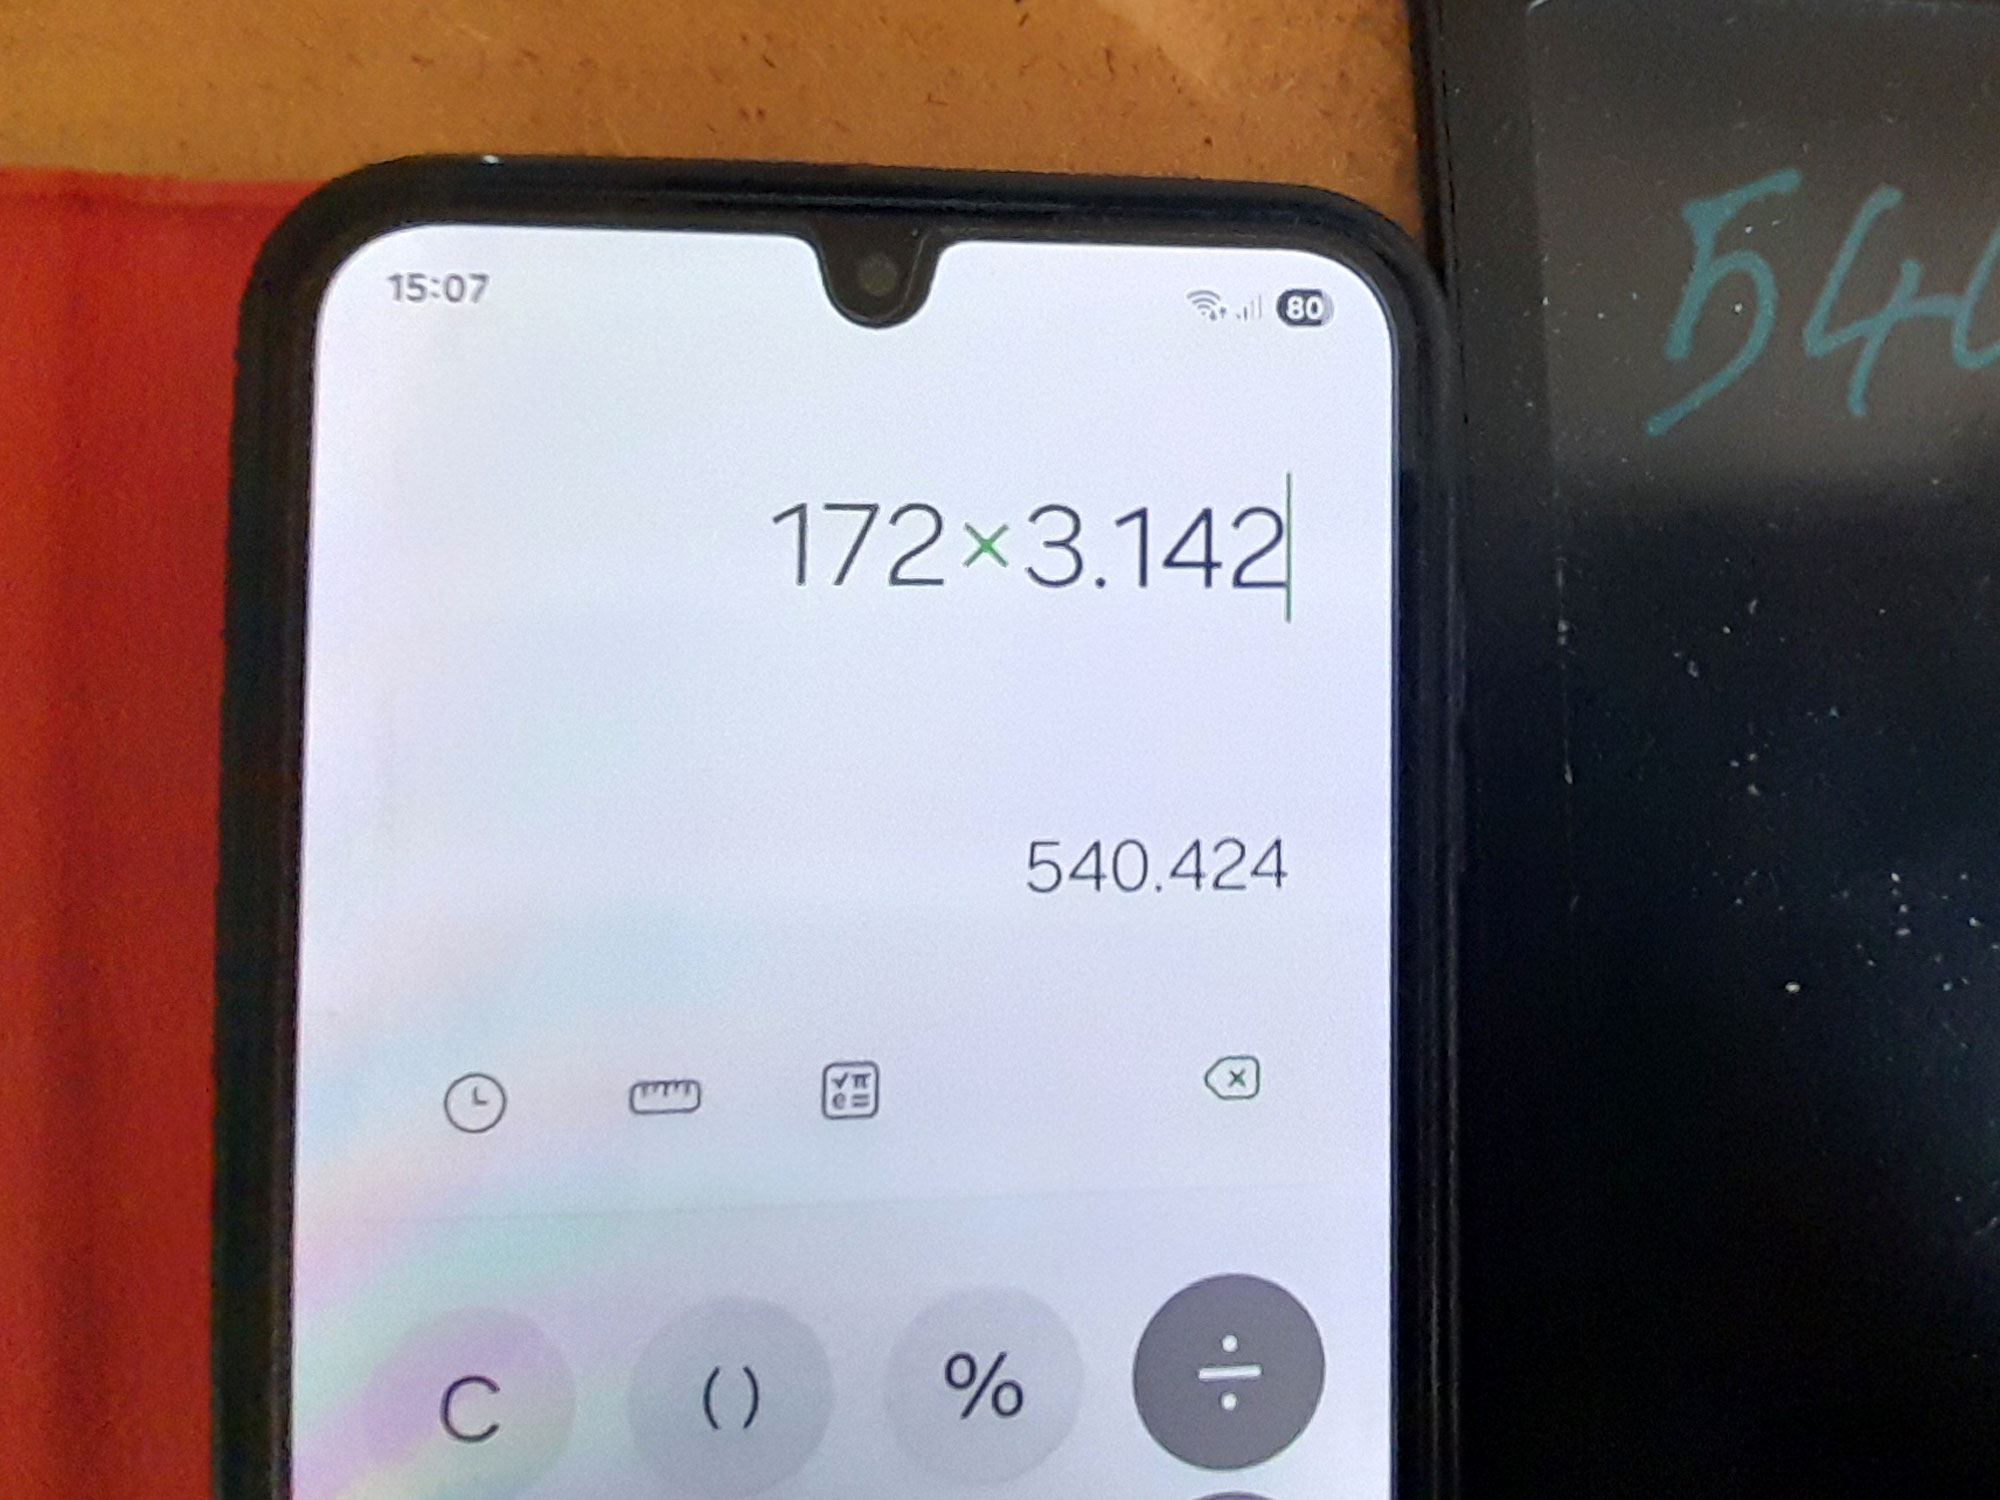
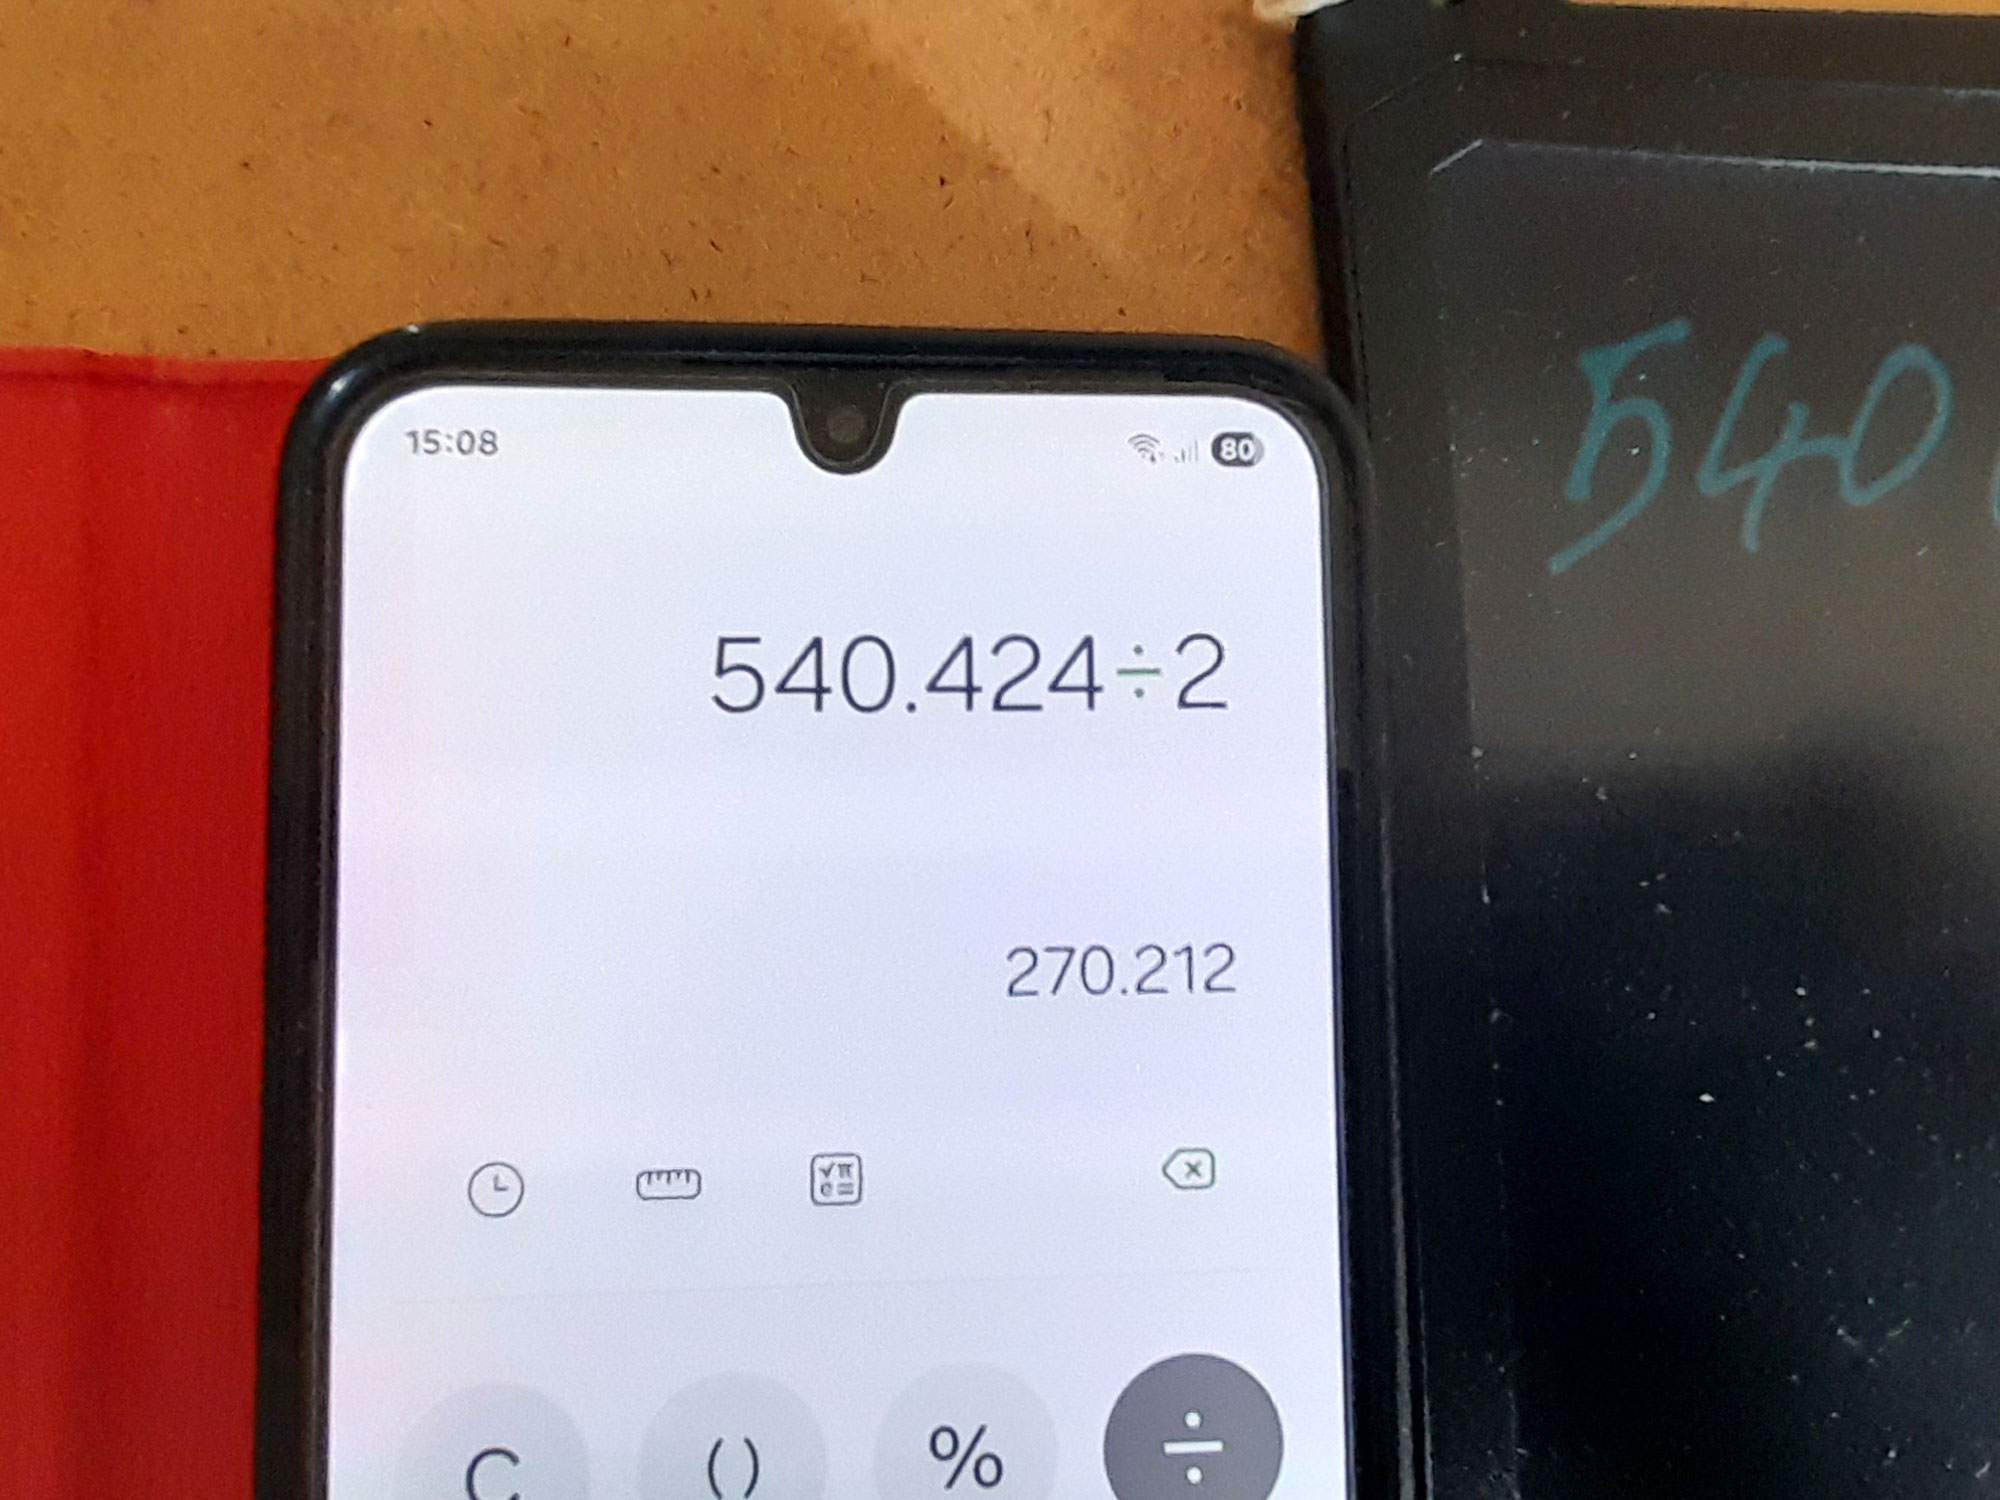
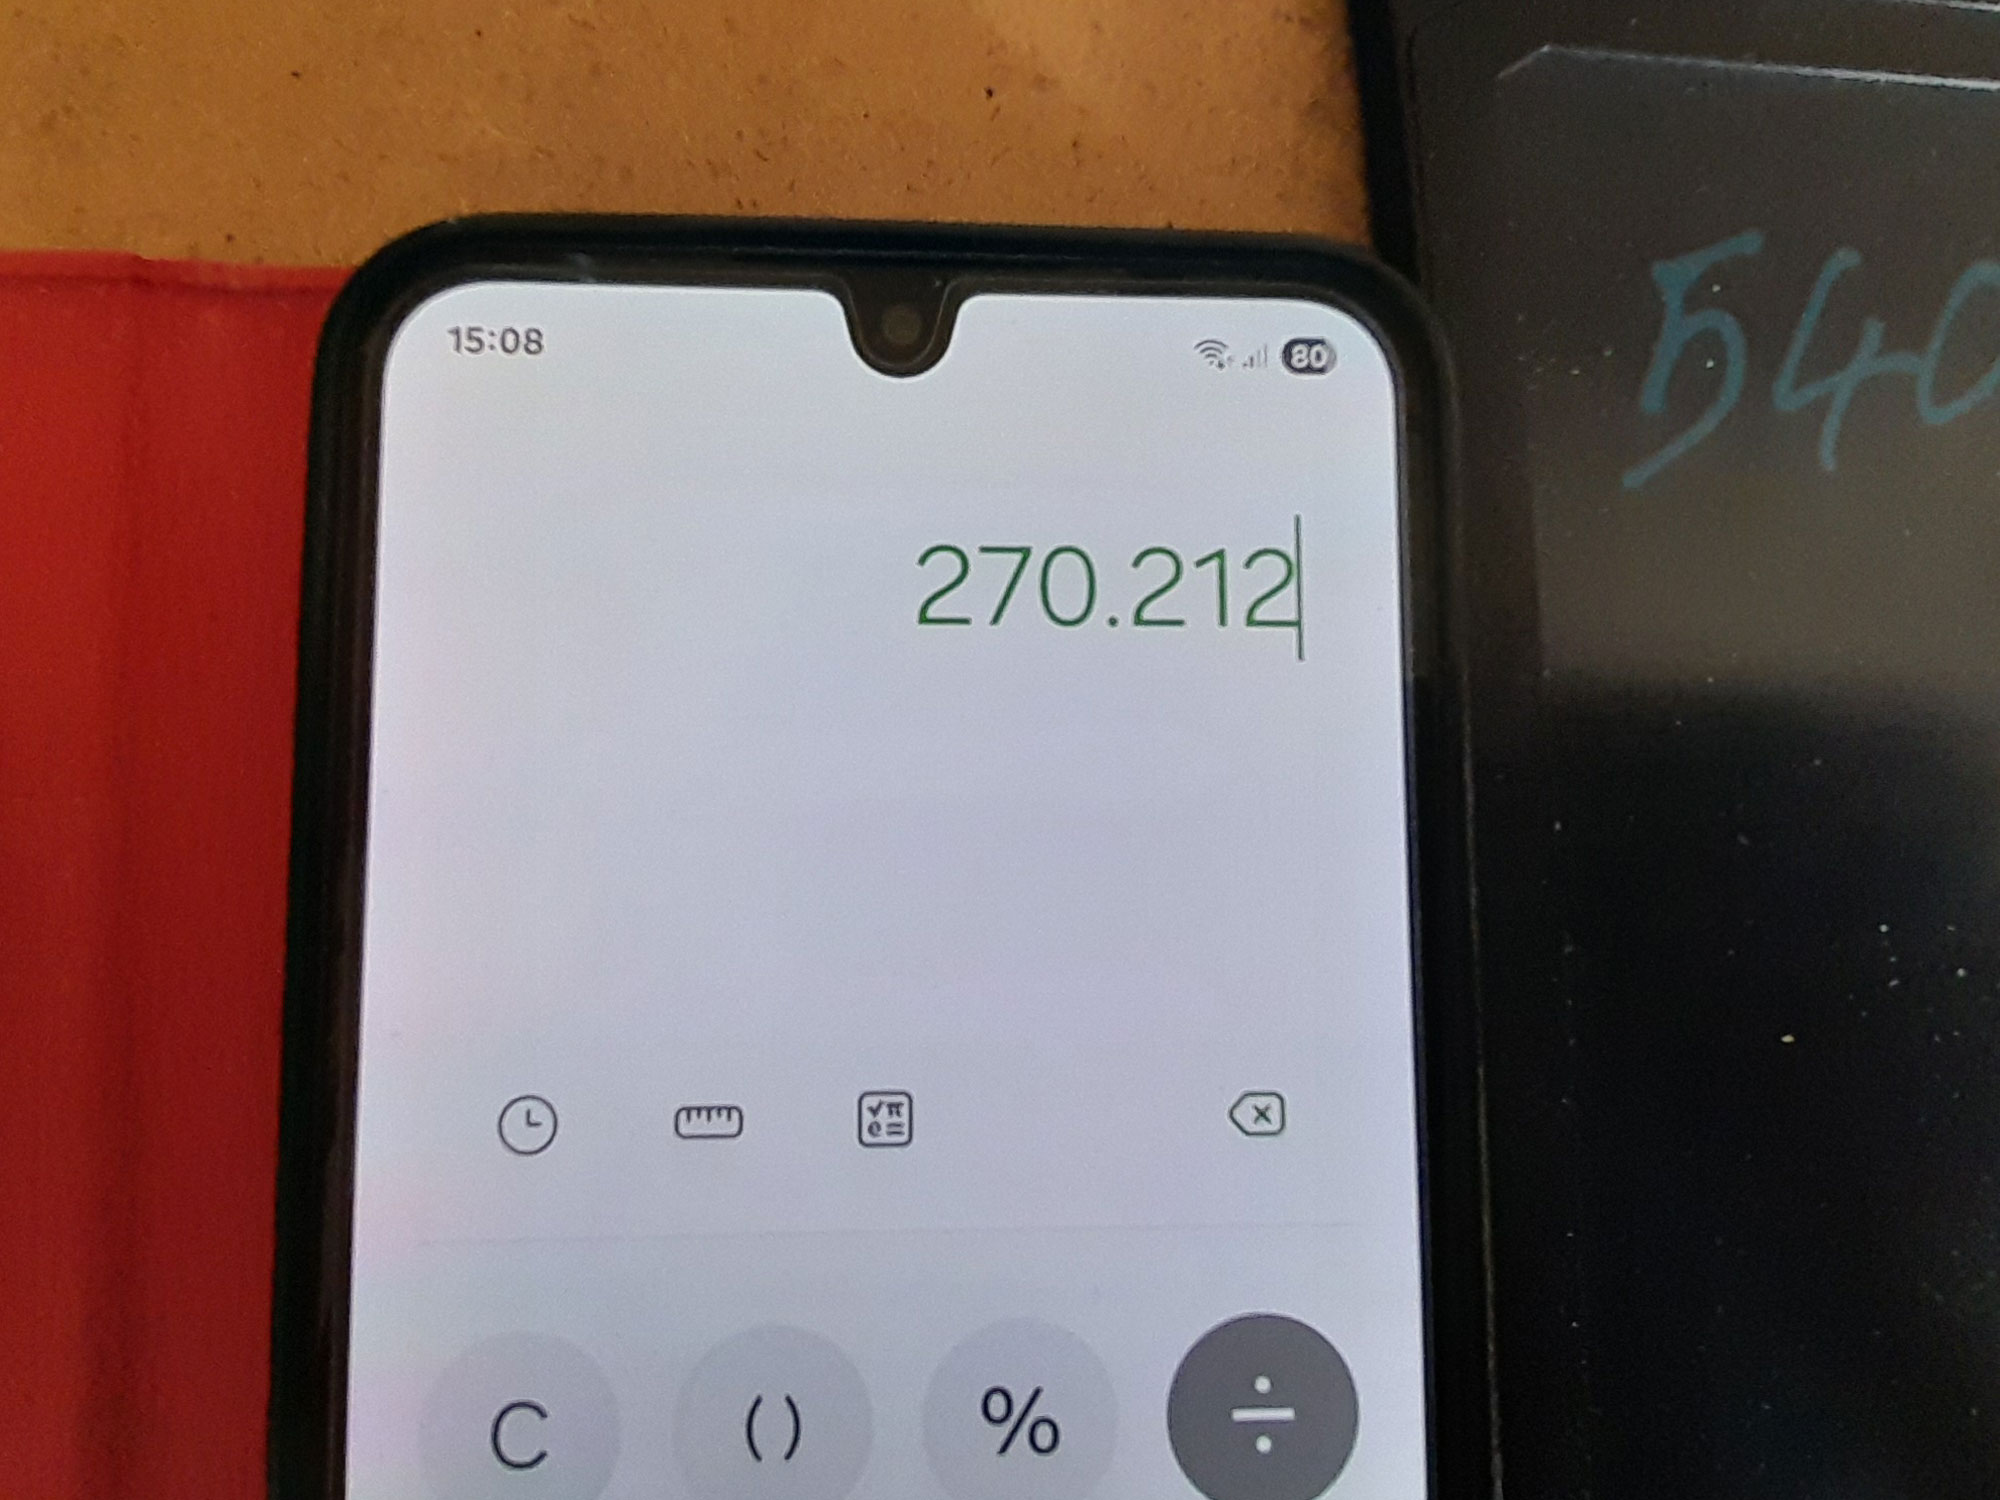
- In passing, I use a rewritable LED tablet on which to do my calculations, which can be saved for later or deleted as soon as you are finished with them.
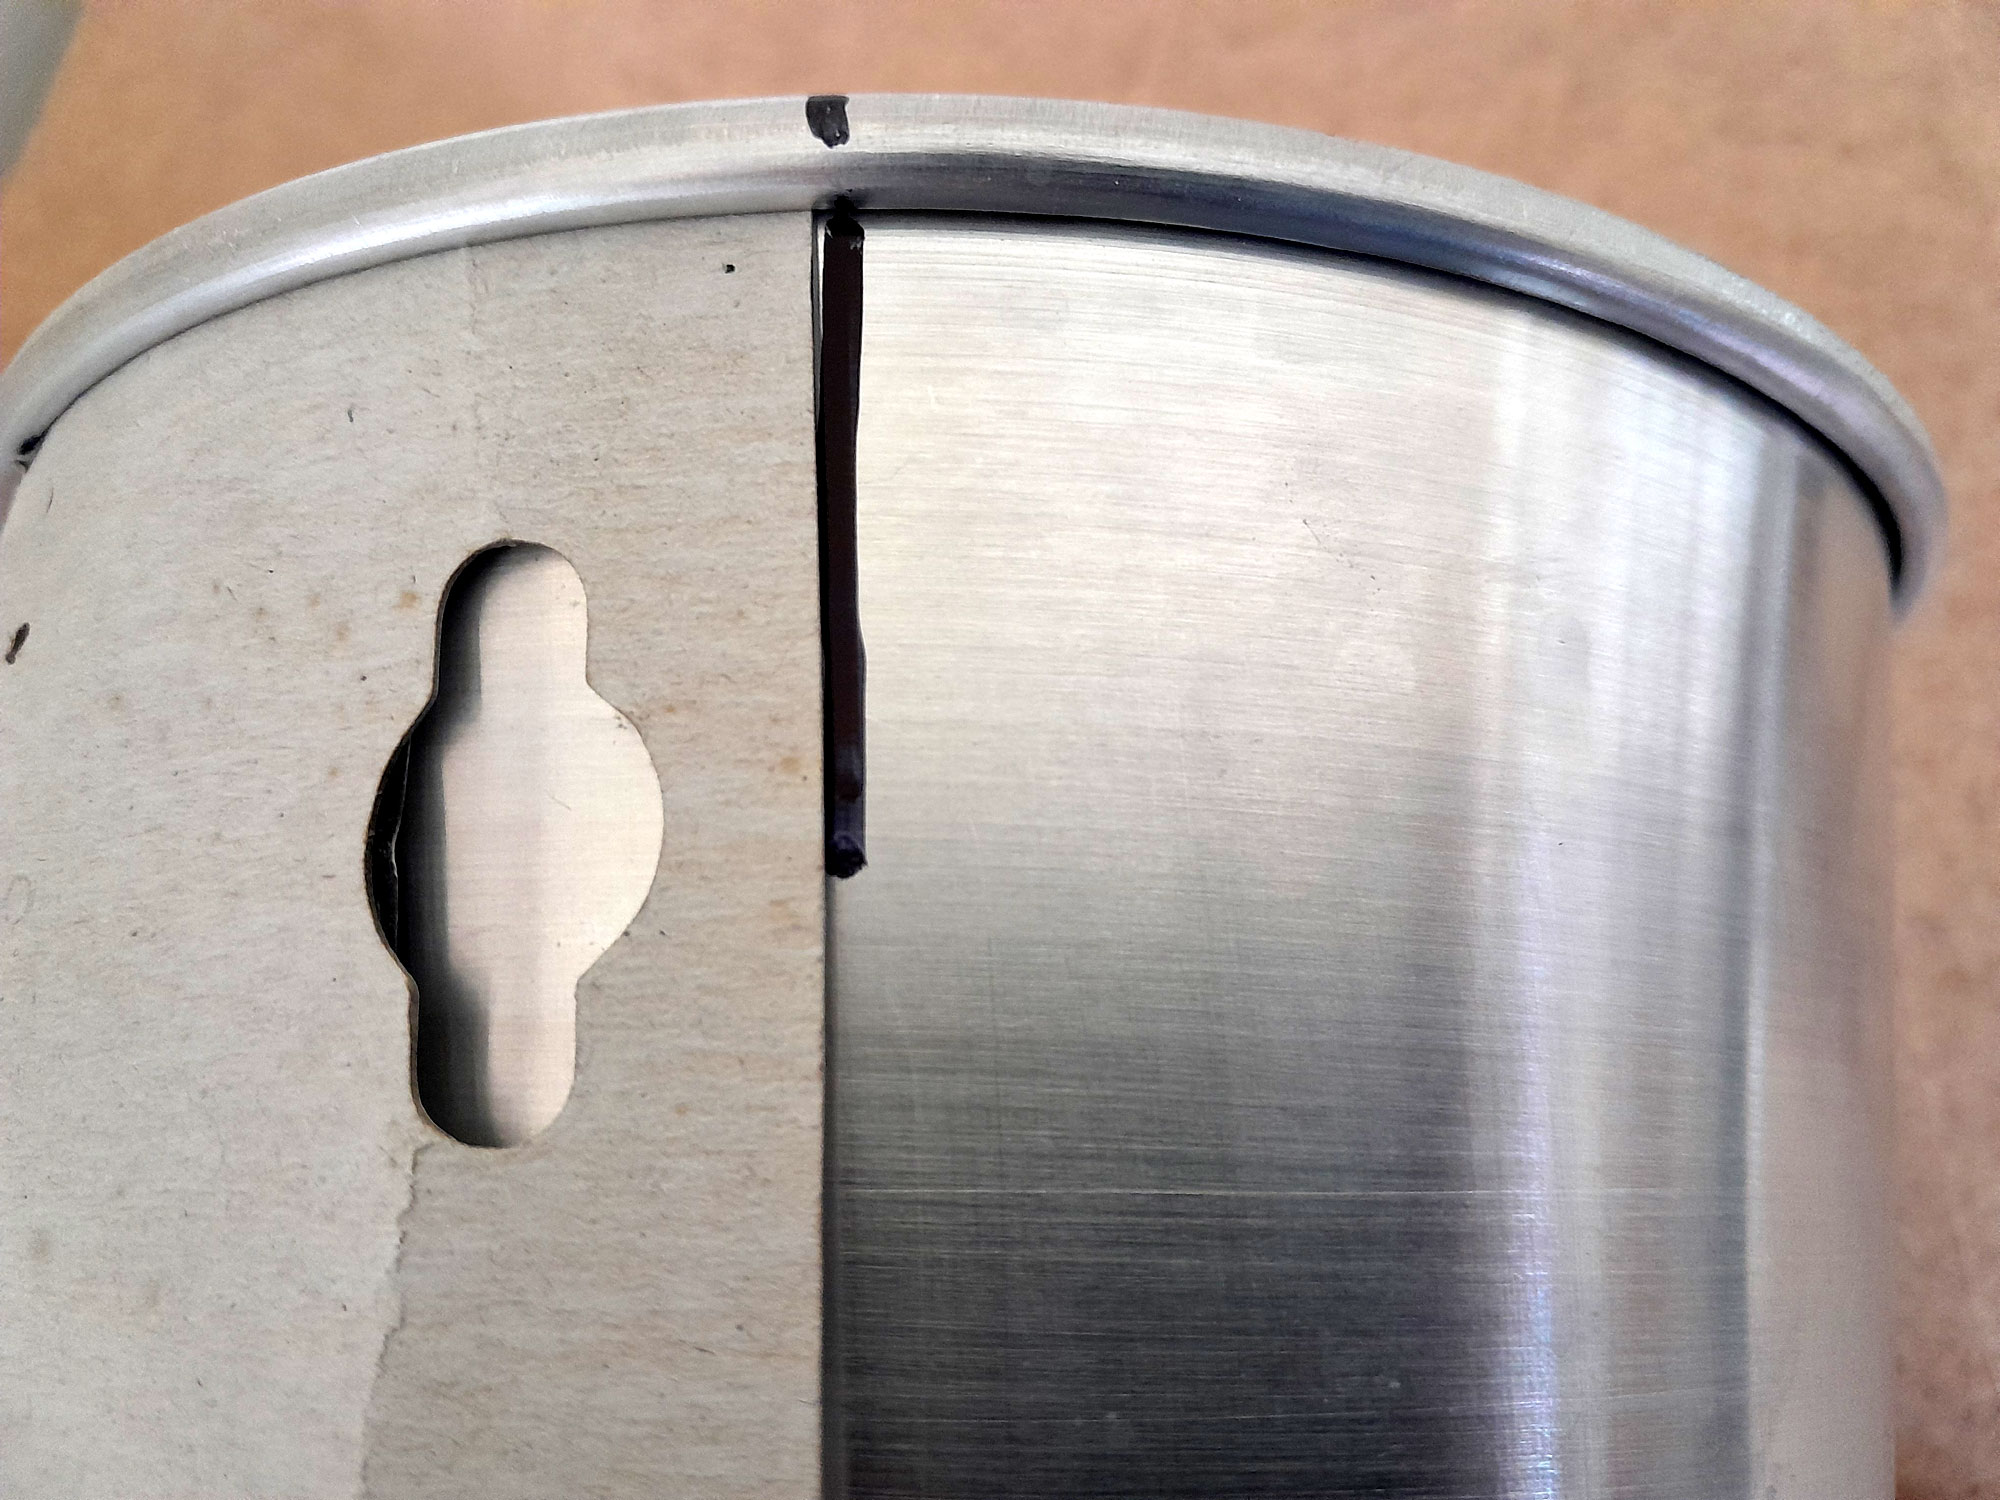
- My original diameter having been confirmed, I passed the tape from the first mark I made on the rim, and around the rim, to the 270mm mark, and made my second mark on the rim, as shown here. I suggested double-check these measurements a couple of times to ensure you got them 100% accurate. If they are not, your bucket with not hang directly under the handle but will be lopsided off to one side… which is not what you want. The two attachment points must be absolutely opposite each other, a line between them passing through the centre point of the circle the rim inscribes.
- I used one of the product cards to mark a line from each mark I made, down the side of the bucket – I used a felt-tip pen for this purpose, as it would wash off easily afterwards.
- I wiped away the top couple of centimetres below the rim and positioned the cable clamp saddle on the line and marked the U-bolt hole positions.
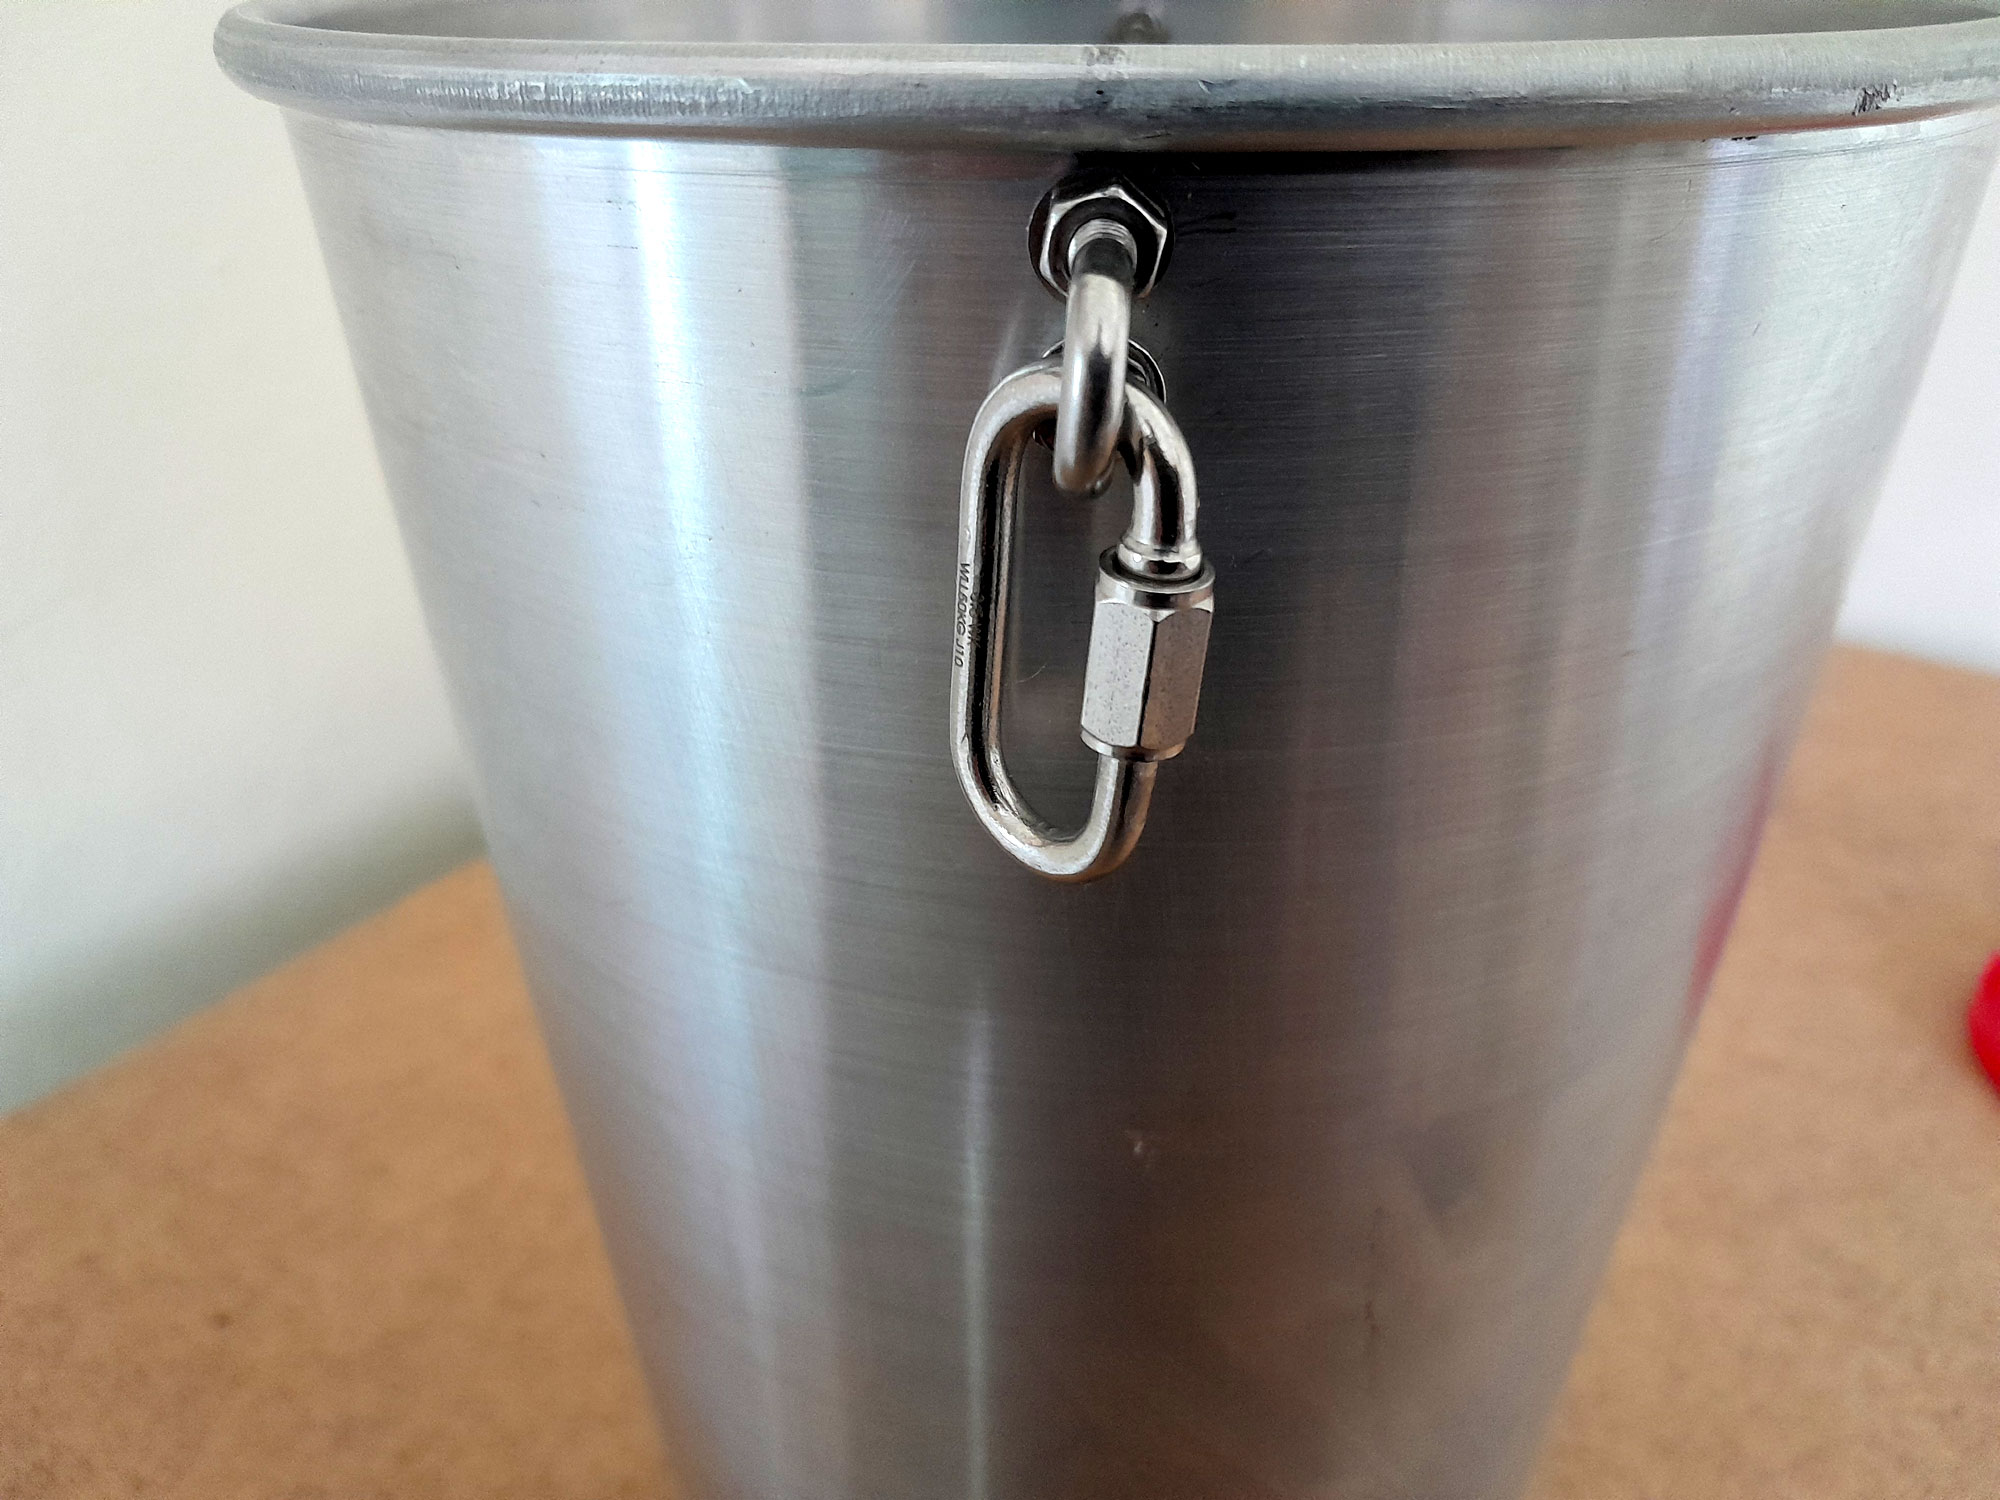
- Then I attached the first clamp to the side, with a quick link inserted, but I found that with the saddle in place, the U-bolt held the link very firmly, and I wanted it to be able to swing freely…
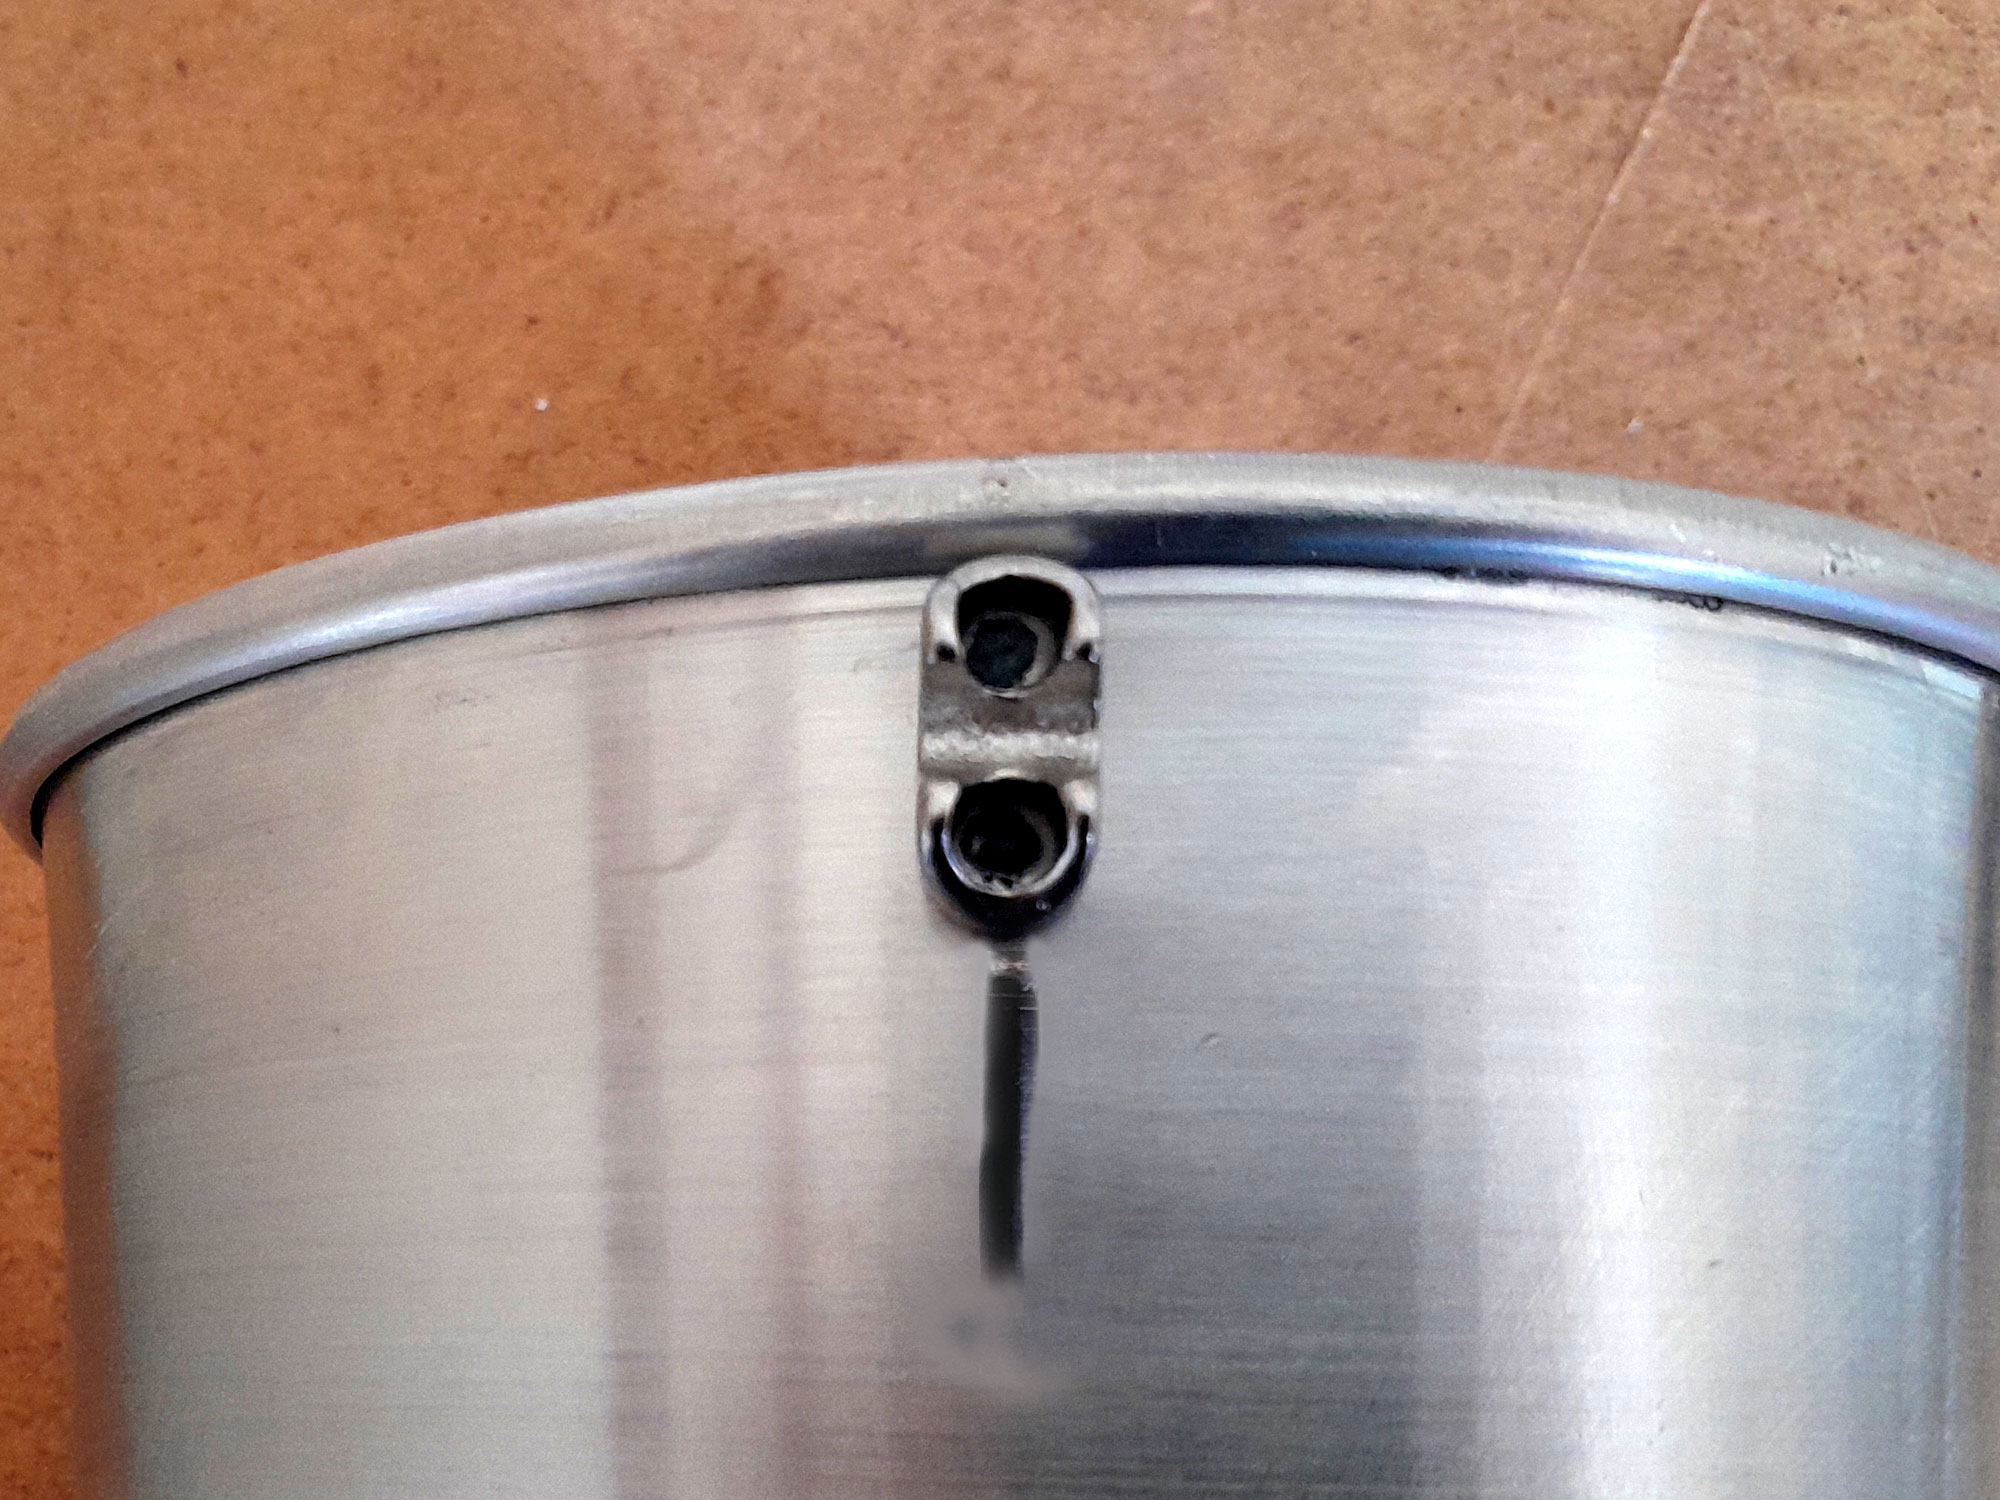
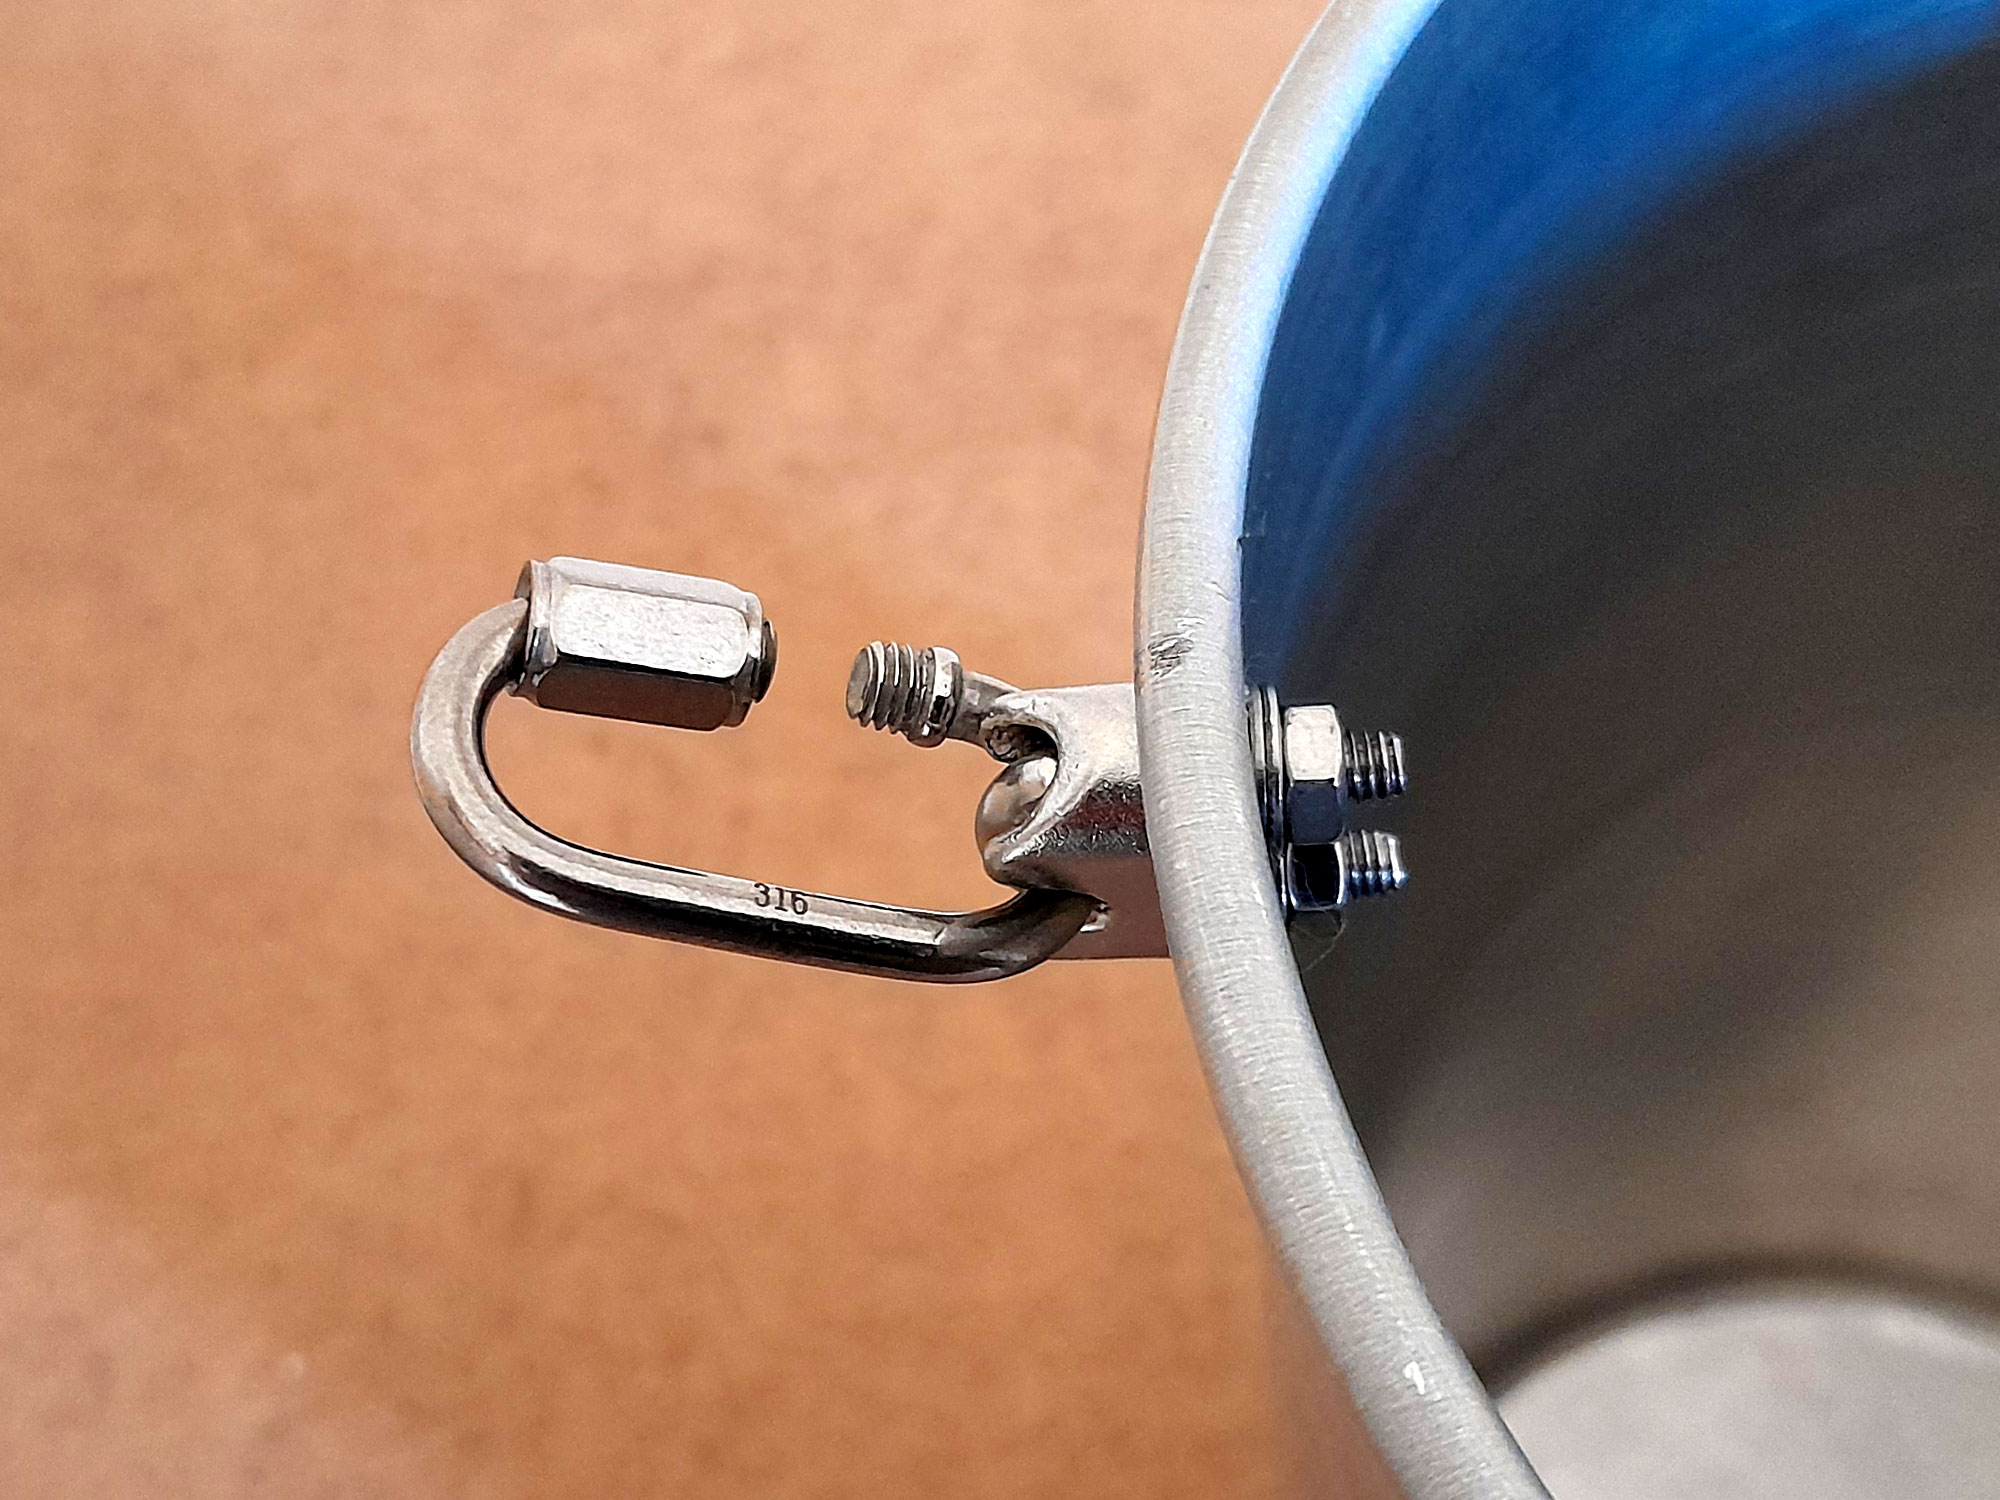
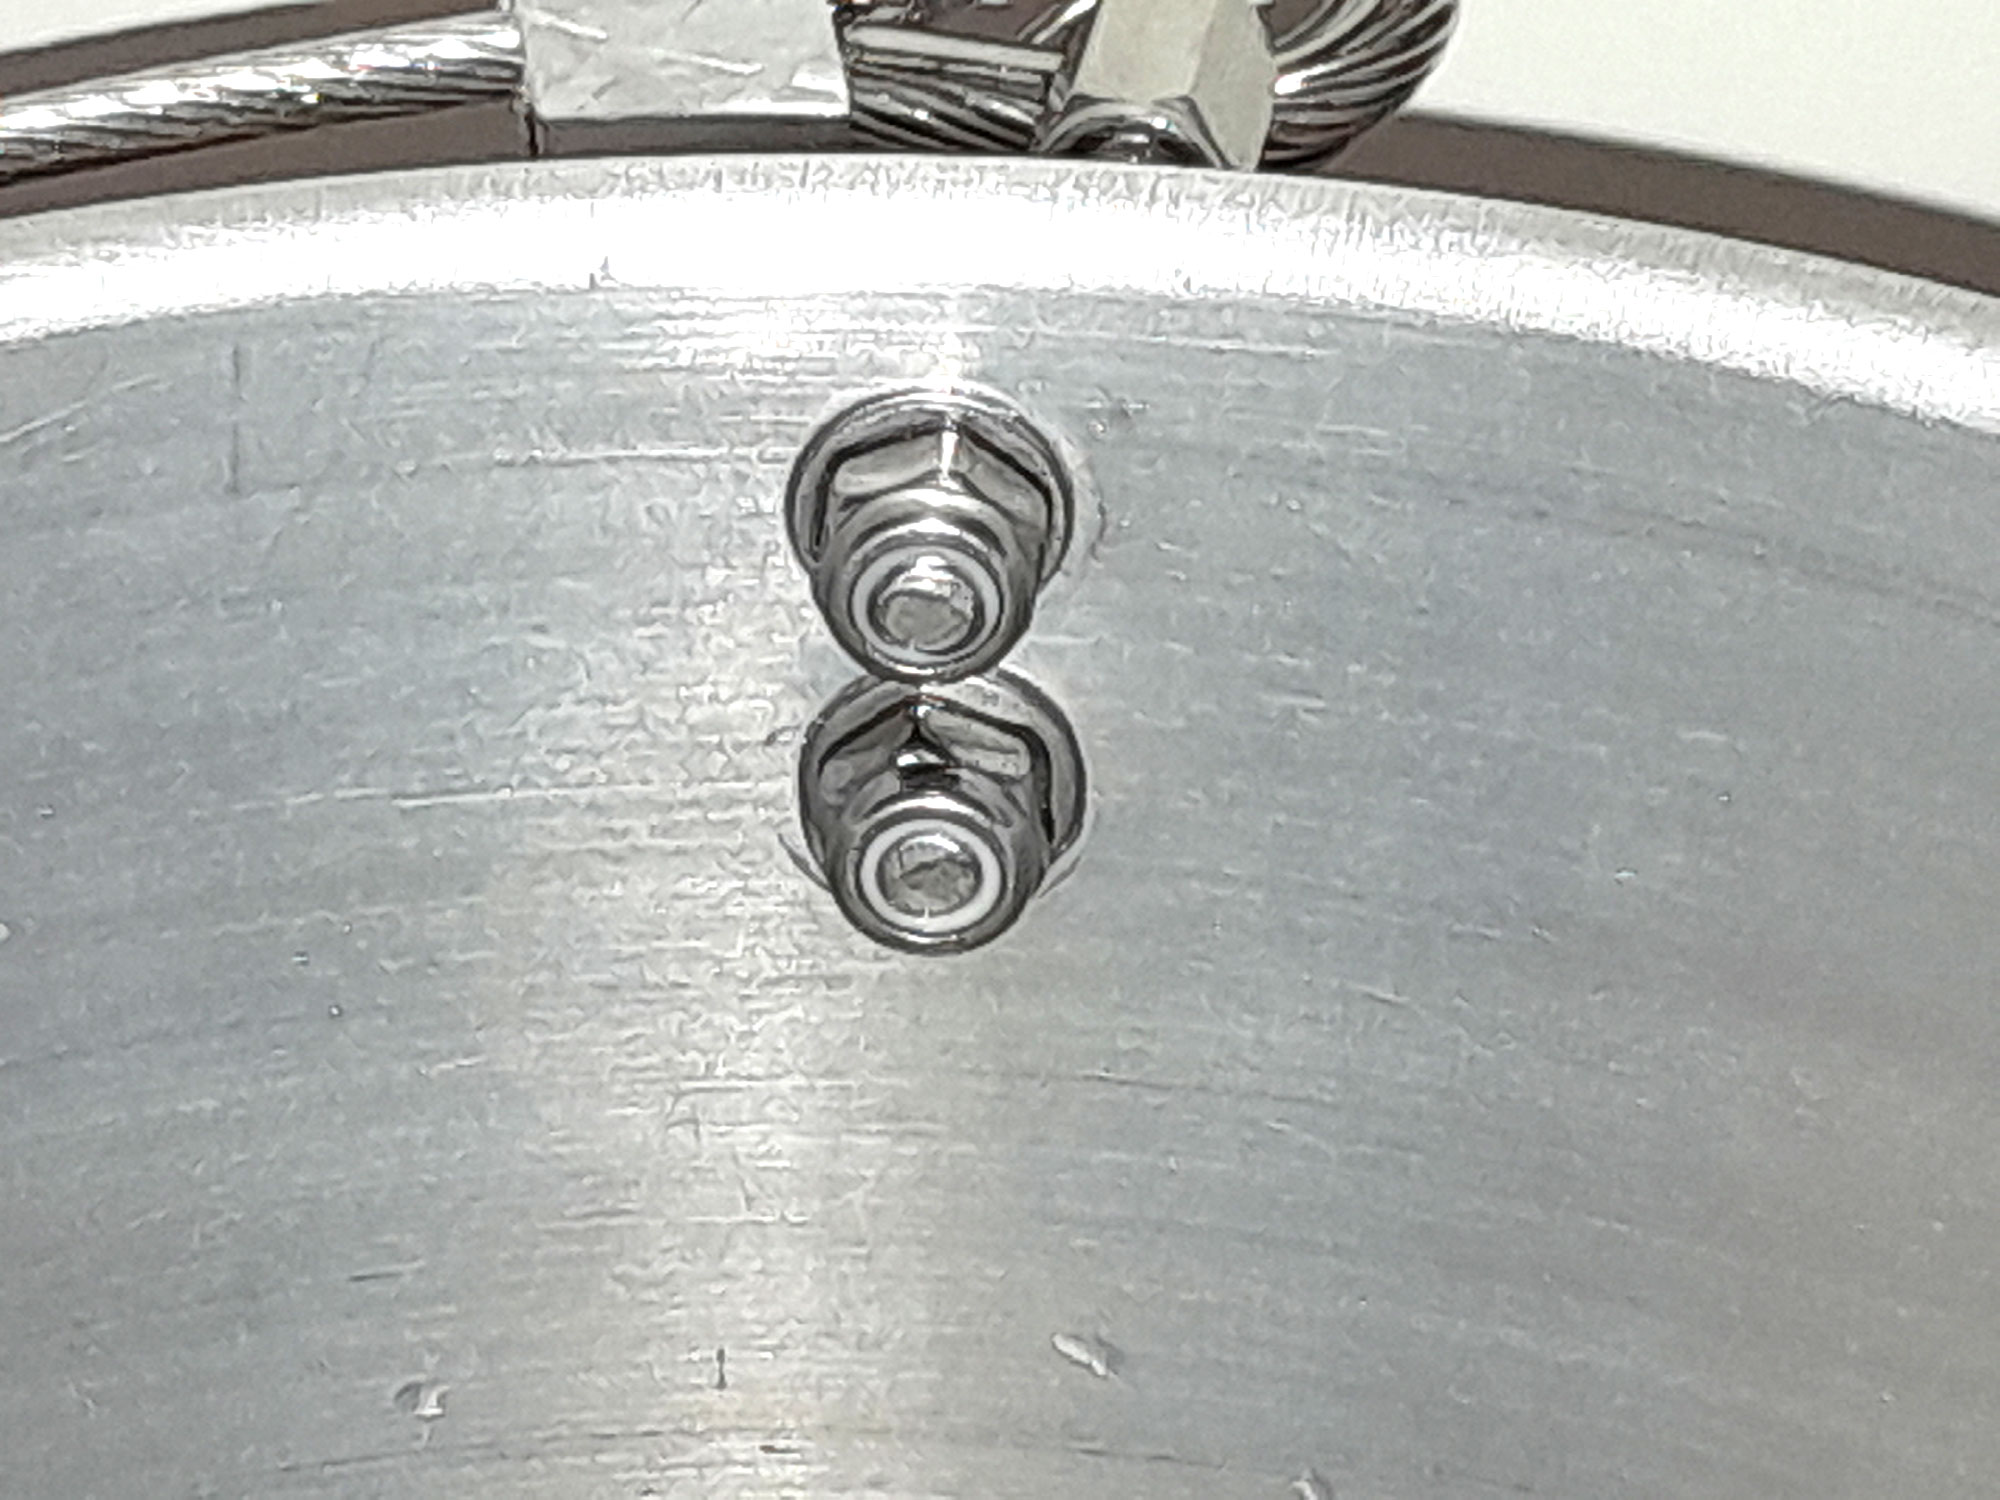
- So, I dispensed with the saddle and used just the U-bolt, using the nuts supplied as locking nuts on the outside, and then an extra pair of nuts on the inside, with flat washers on each side. Later I swapped out the inner nuts for Nyloc nuts. As you can see here, the quick link is free to swing.
- I tightened the Nyloc nuts just far enough to meet the ends of the U-bolts (so that there wouldn’t be any sharp edges to catch an unwary hand) and then tightened the outer nuts to lock the U-bolts in place.
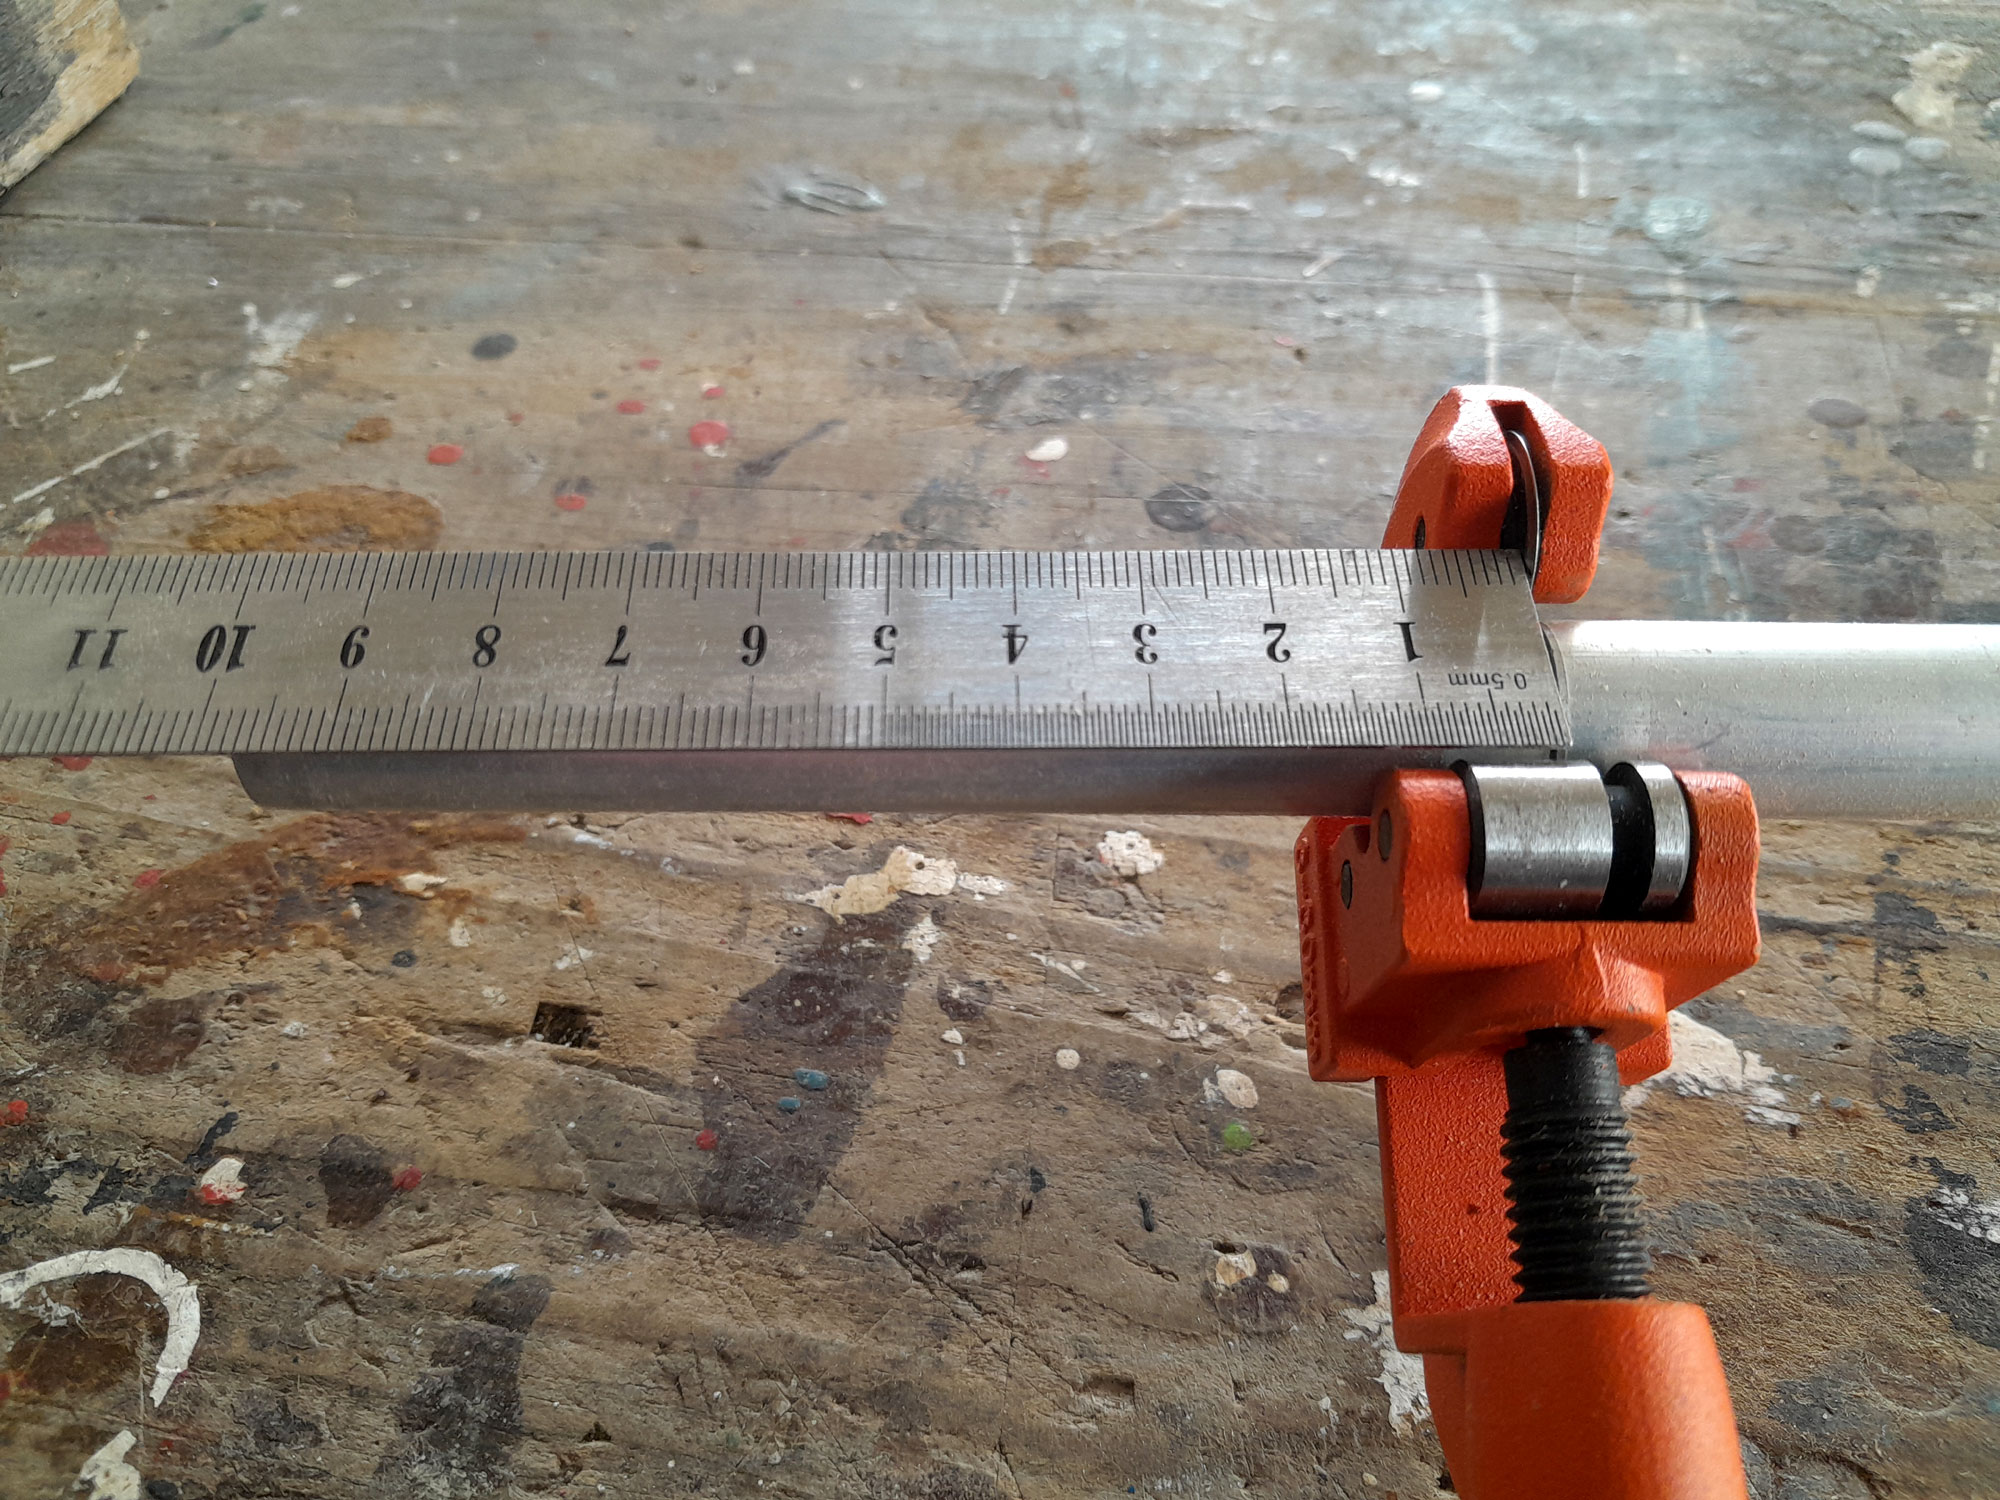
- Now for the handle… I used a pipe cutter to cut my 100mm handle.
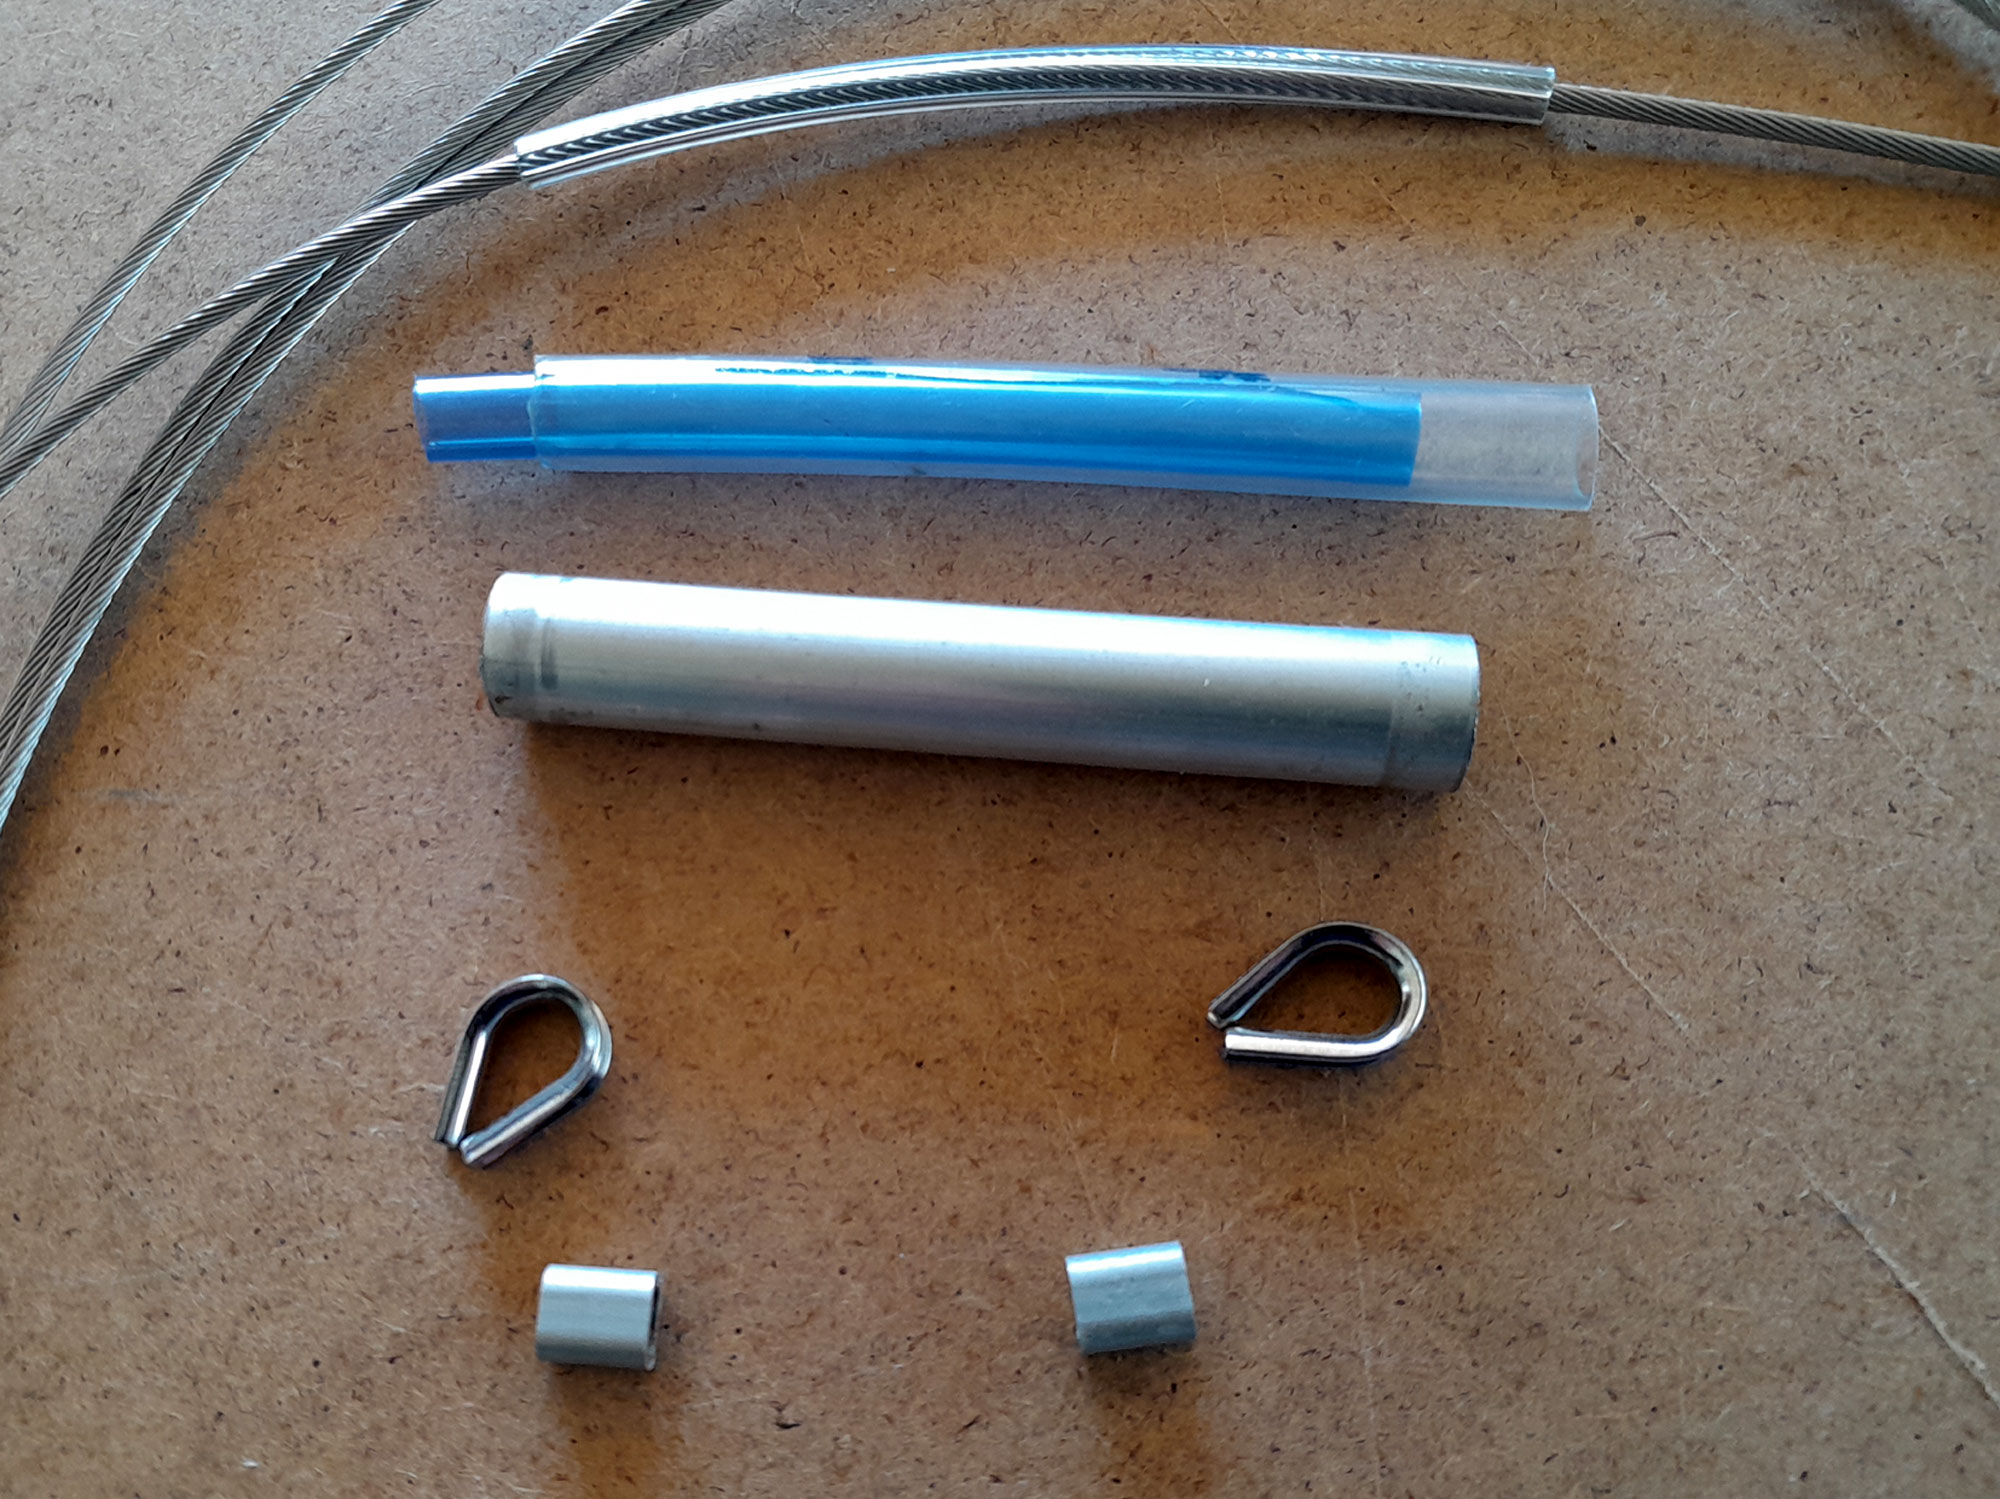
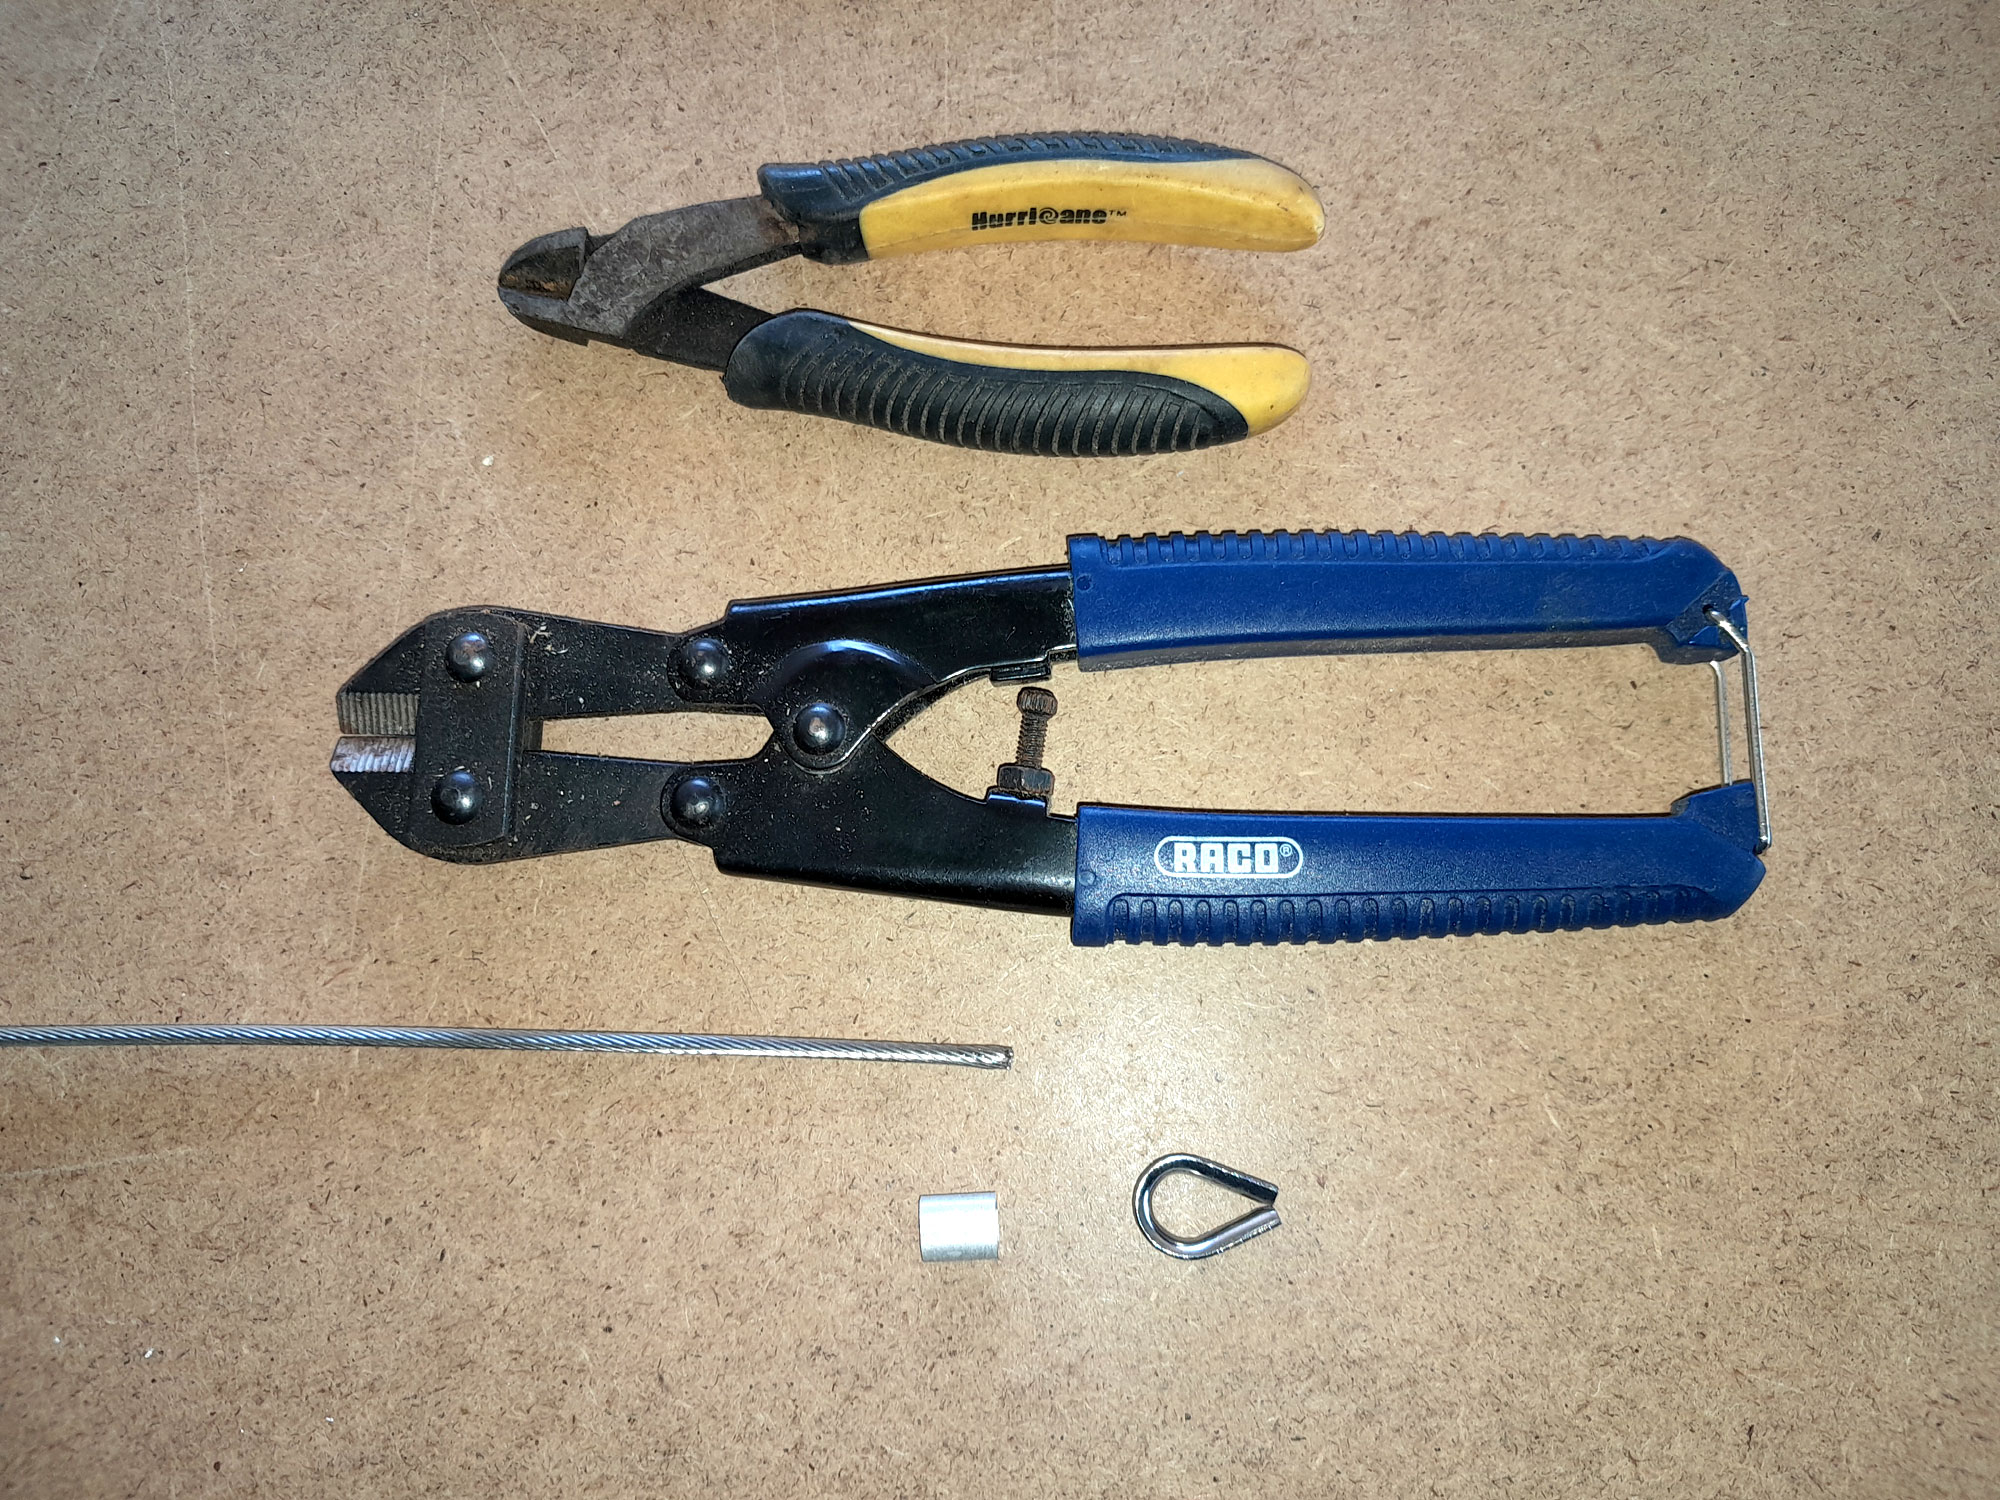
- Here are the components for the handle assembly… cable, three inner PVC lengths – as you can see, I have already slipped the smallest tube on to the cable – the outer aluminium handle, two thimbles (eyes) and two aluminium ferrules. Note that all three PVC tubes are longer than the aluminium handle into which they will be fitted.
- I coated the smallest tube with contact glue, then I slipped the next (8mmØ) tube on to it, applied glue to that, and slipped the outer (12mmØ) tube in turn on to that, applied glue… and pushed it into the aluminium handle, ensuring that the ends of all three tubes protruded well out of the ends of the tube.
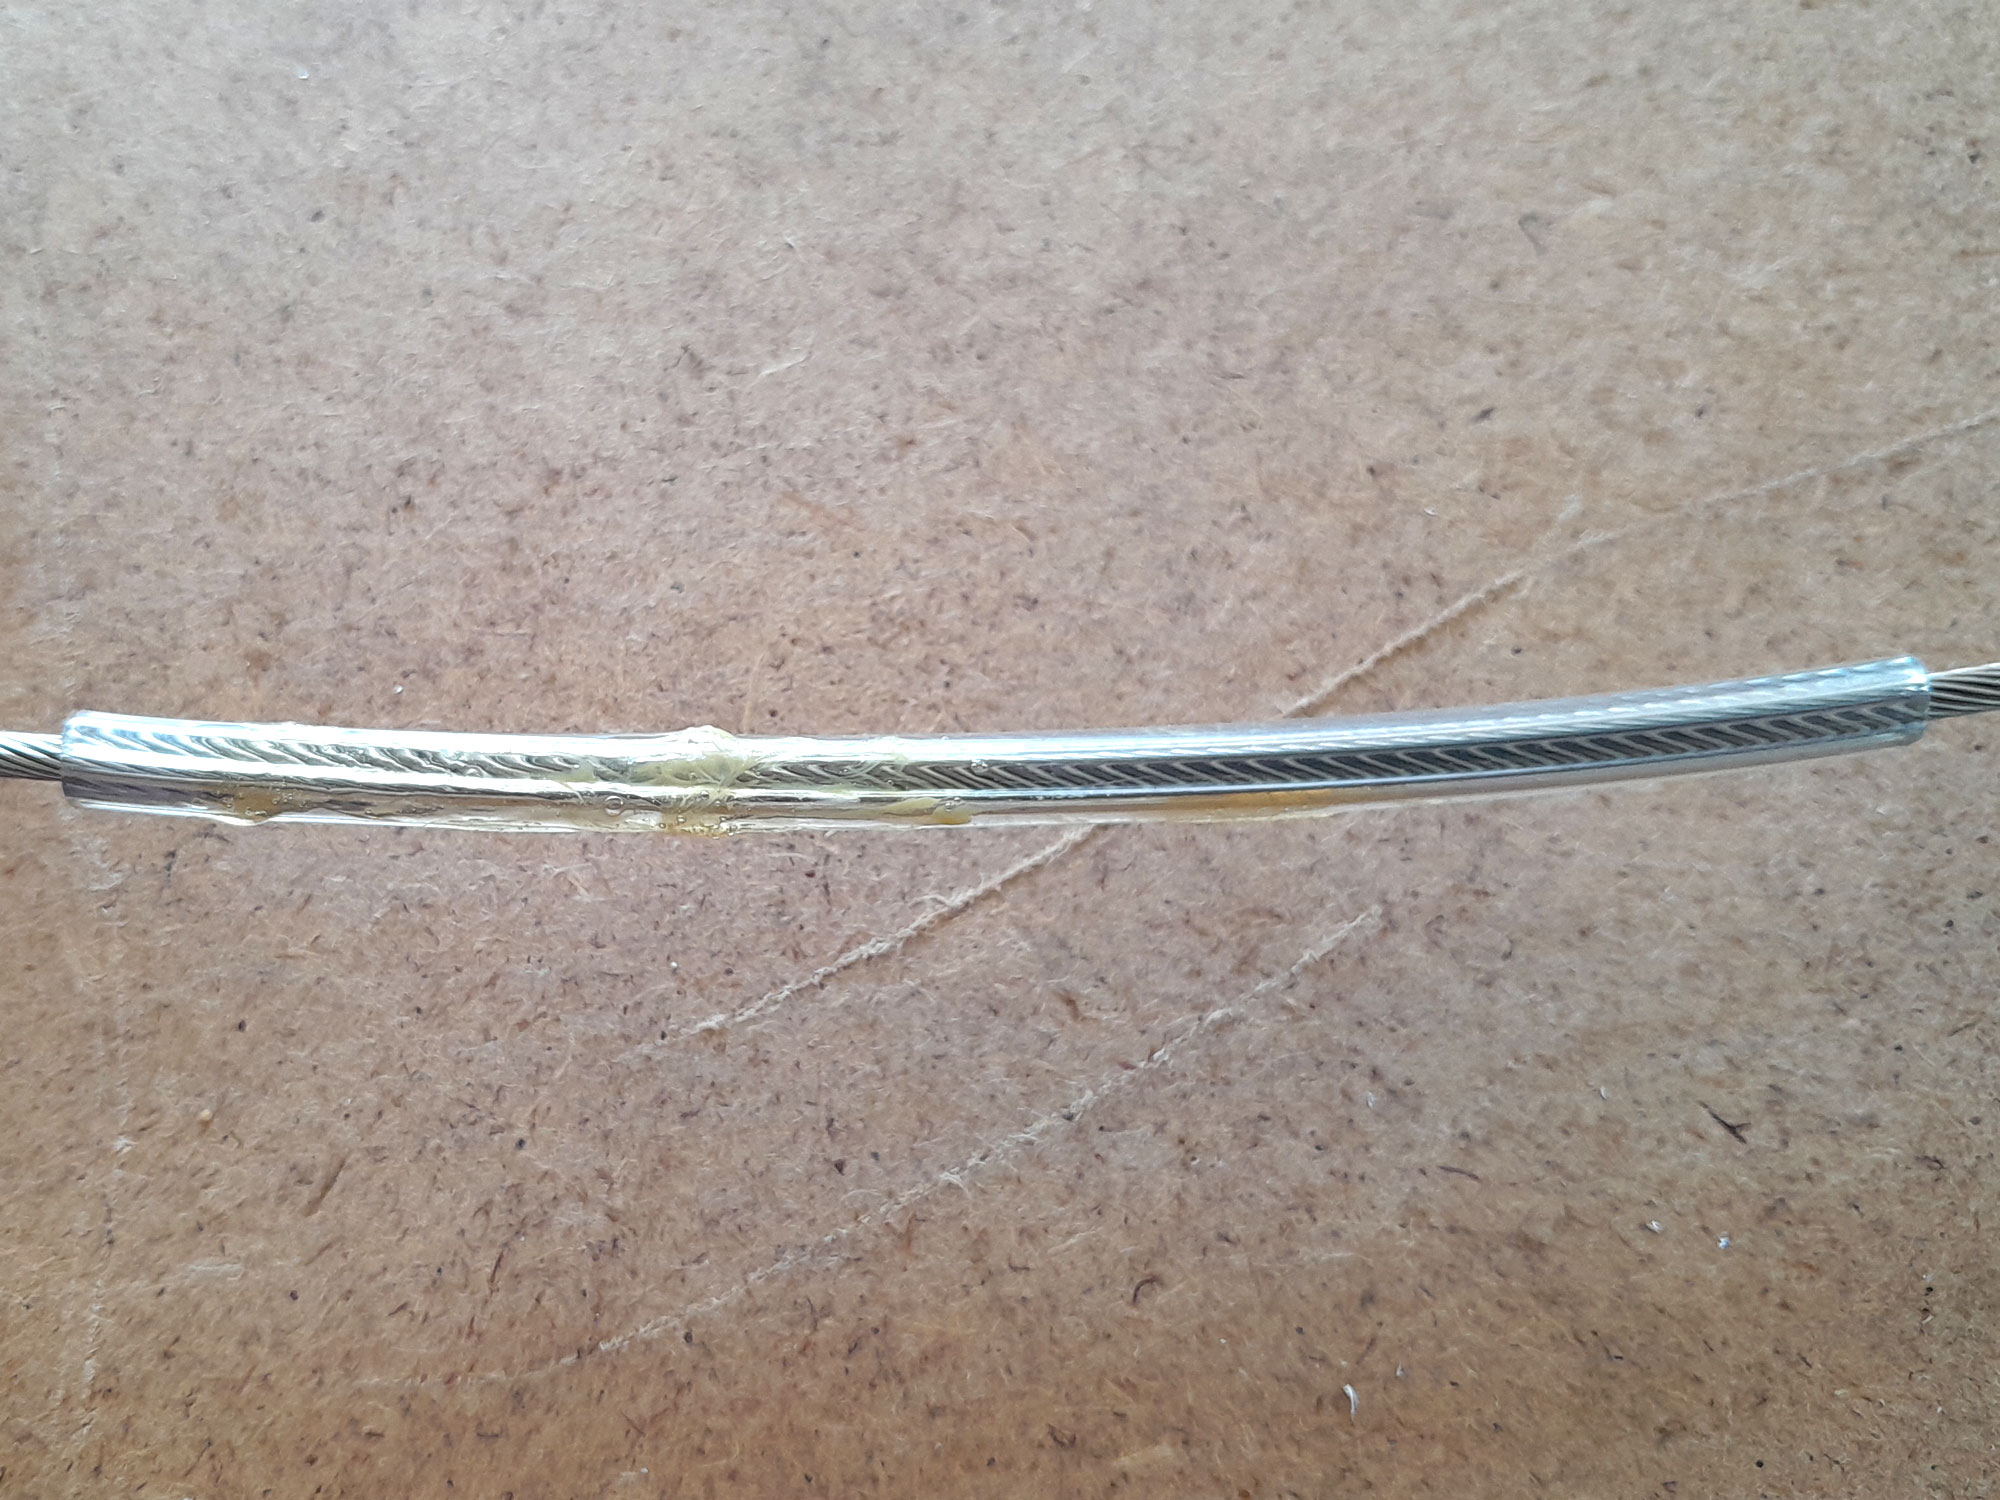
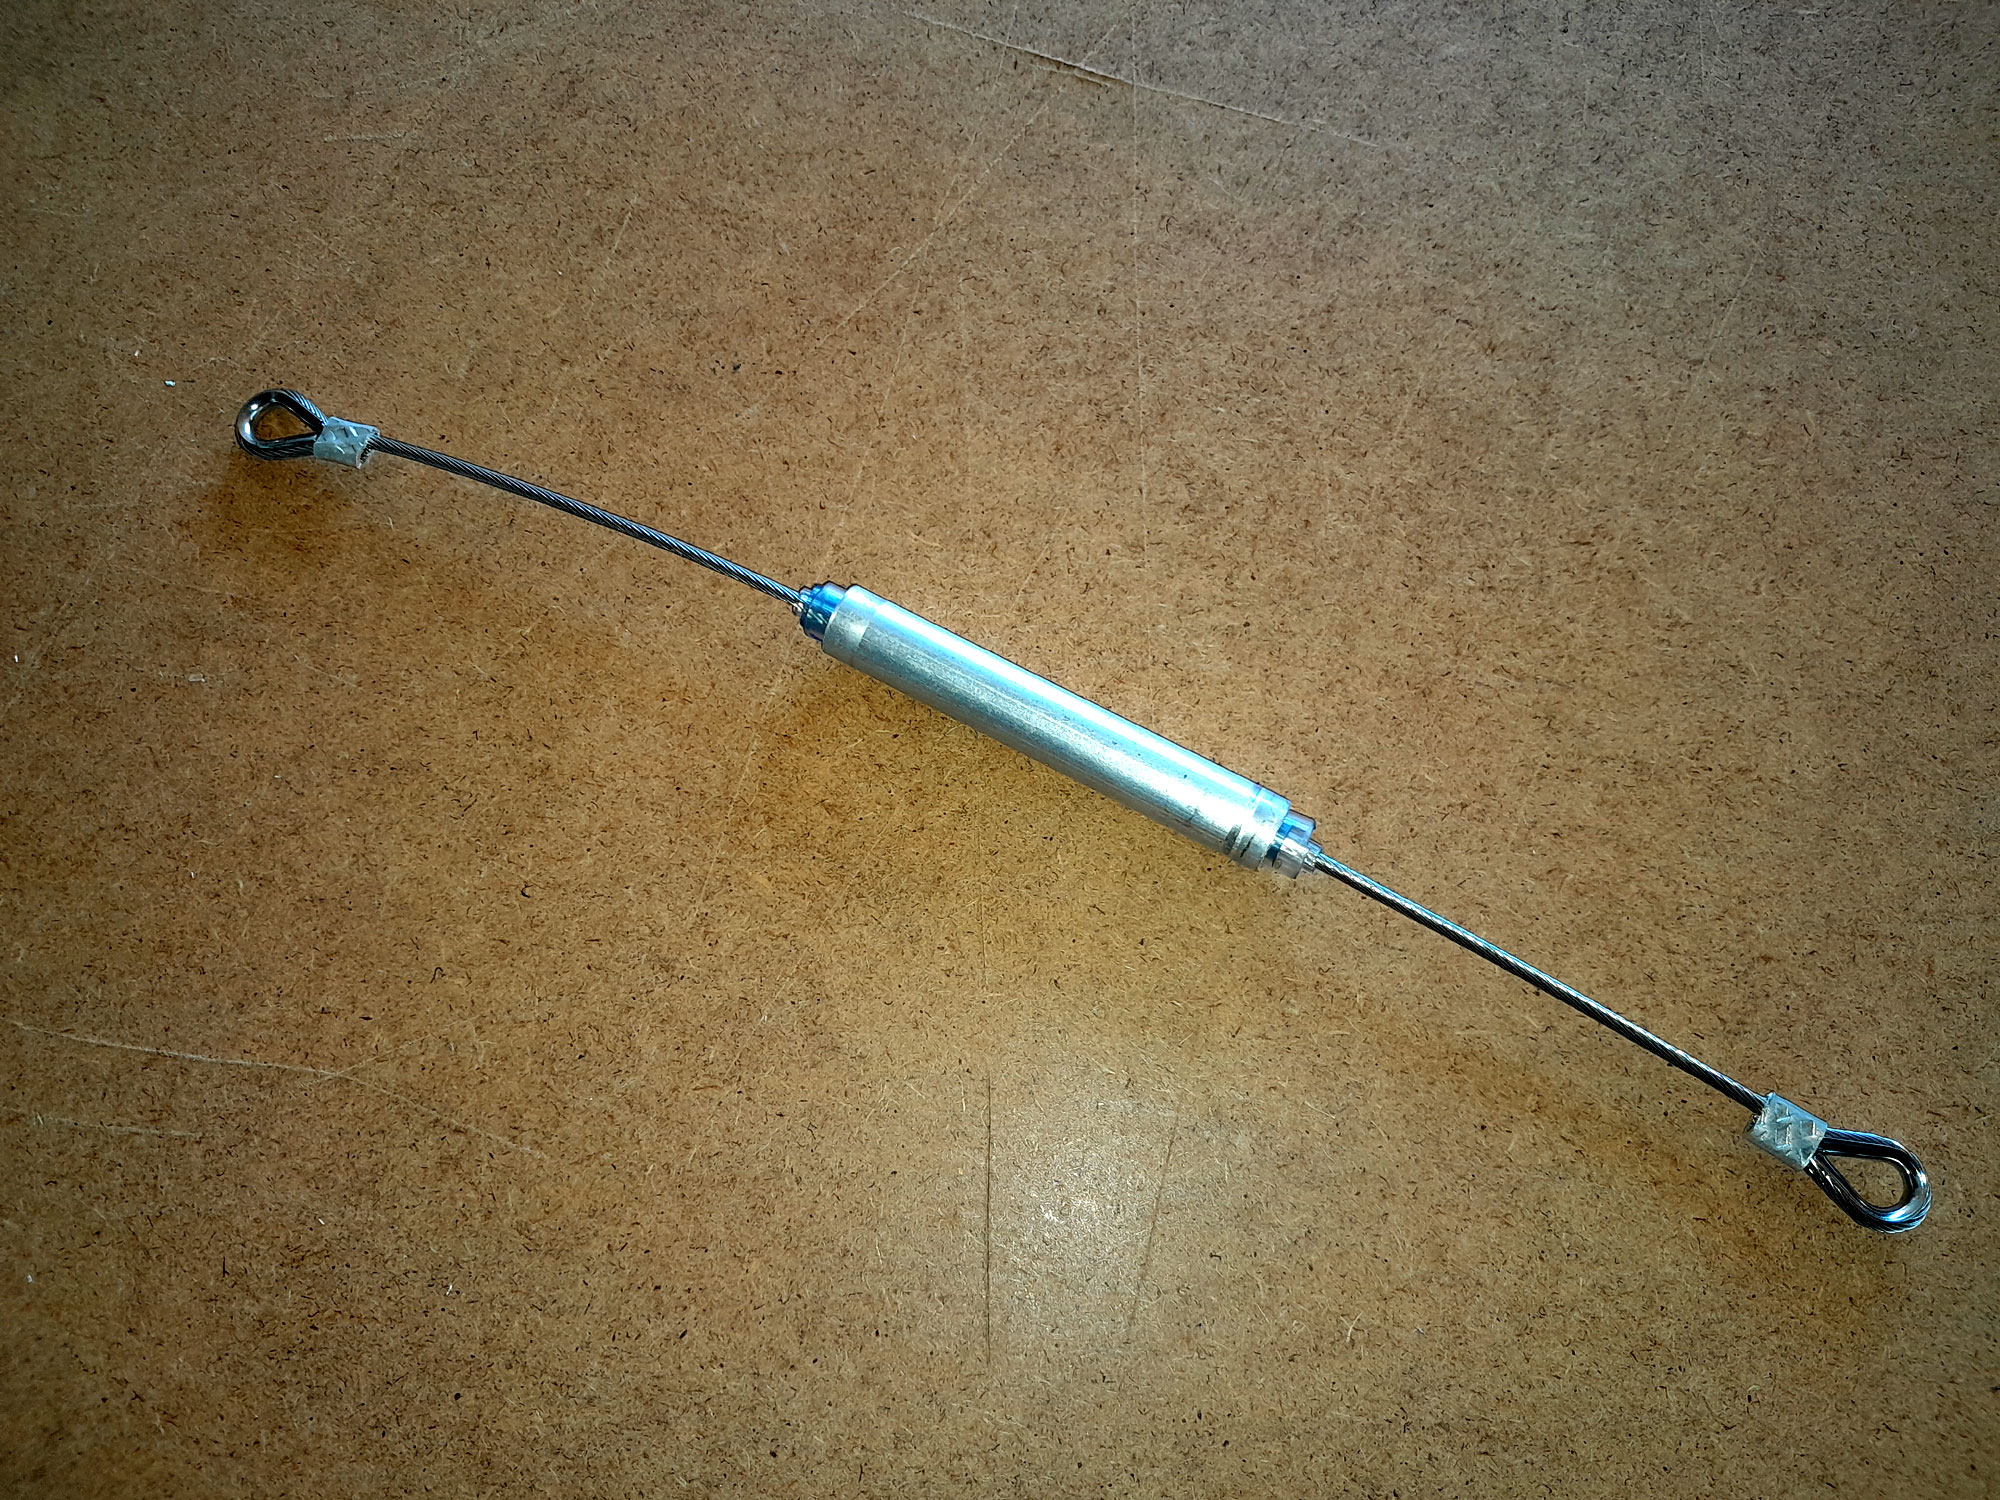
- Note that the handle assembly is not glued into position on the cable… it is free to slide, albeit very snugly, on the cable. this ensure that once the cable ends have been sorted, and the whole handle assembly attached to the quick links, the handle can be accurately and easily centred bang in the middle of the cable and directly above the centre of gravity of the bucket. At around this time, you can also use a utility knife to trim the excess PVC tubing away for a neat finish to the handle.
- Now to sort out the ends of the cable. To cut the length the need, use either a side cutter (top), cutting one or two strands of wire at a time. Alternatively, use a cable cutter (centre), which is rather akin to a mini bolt cutter.
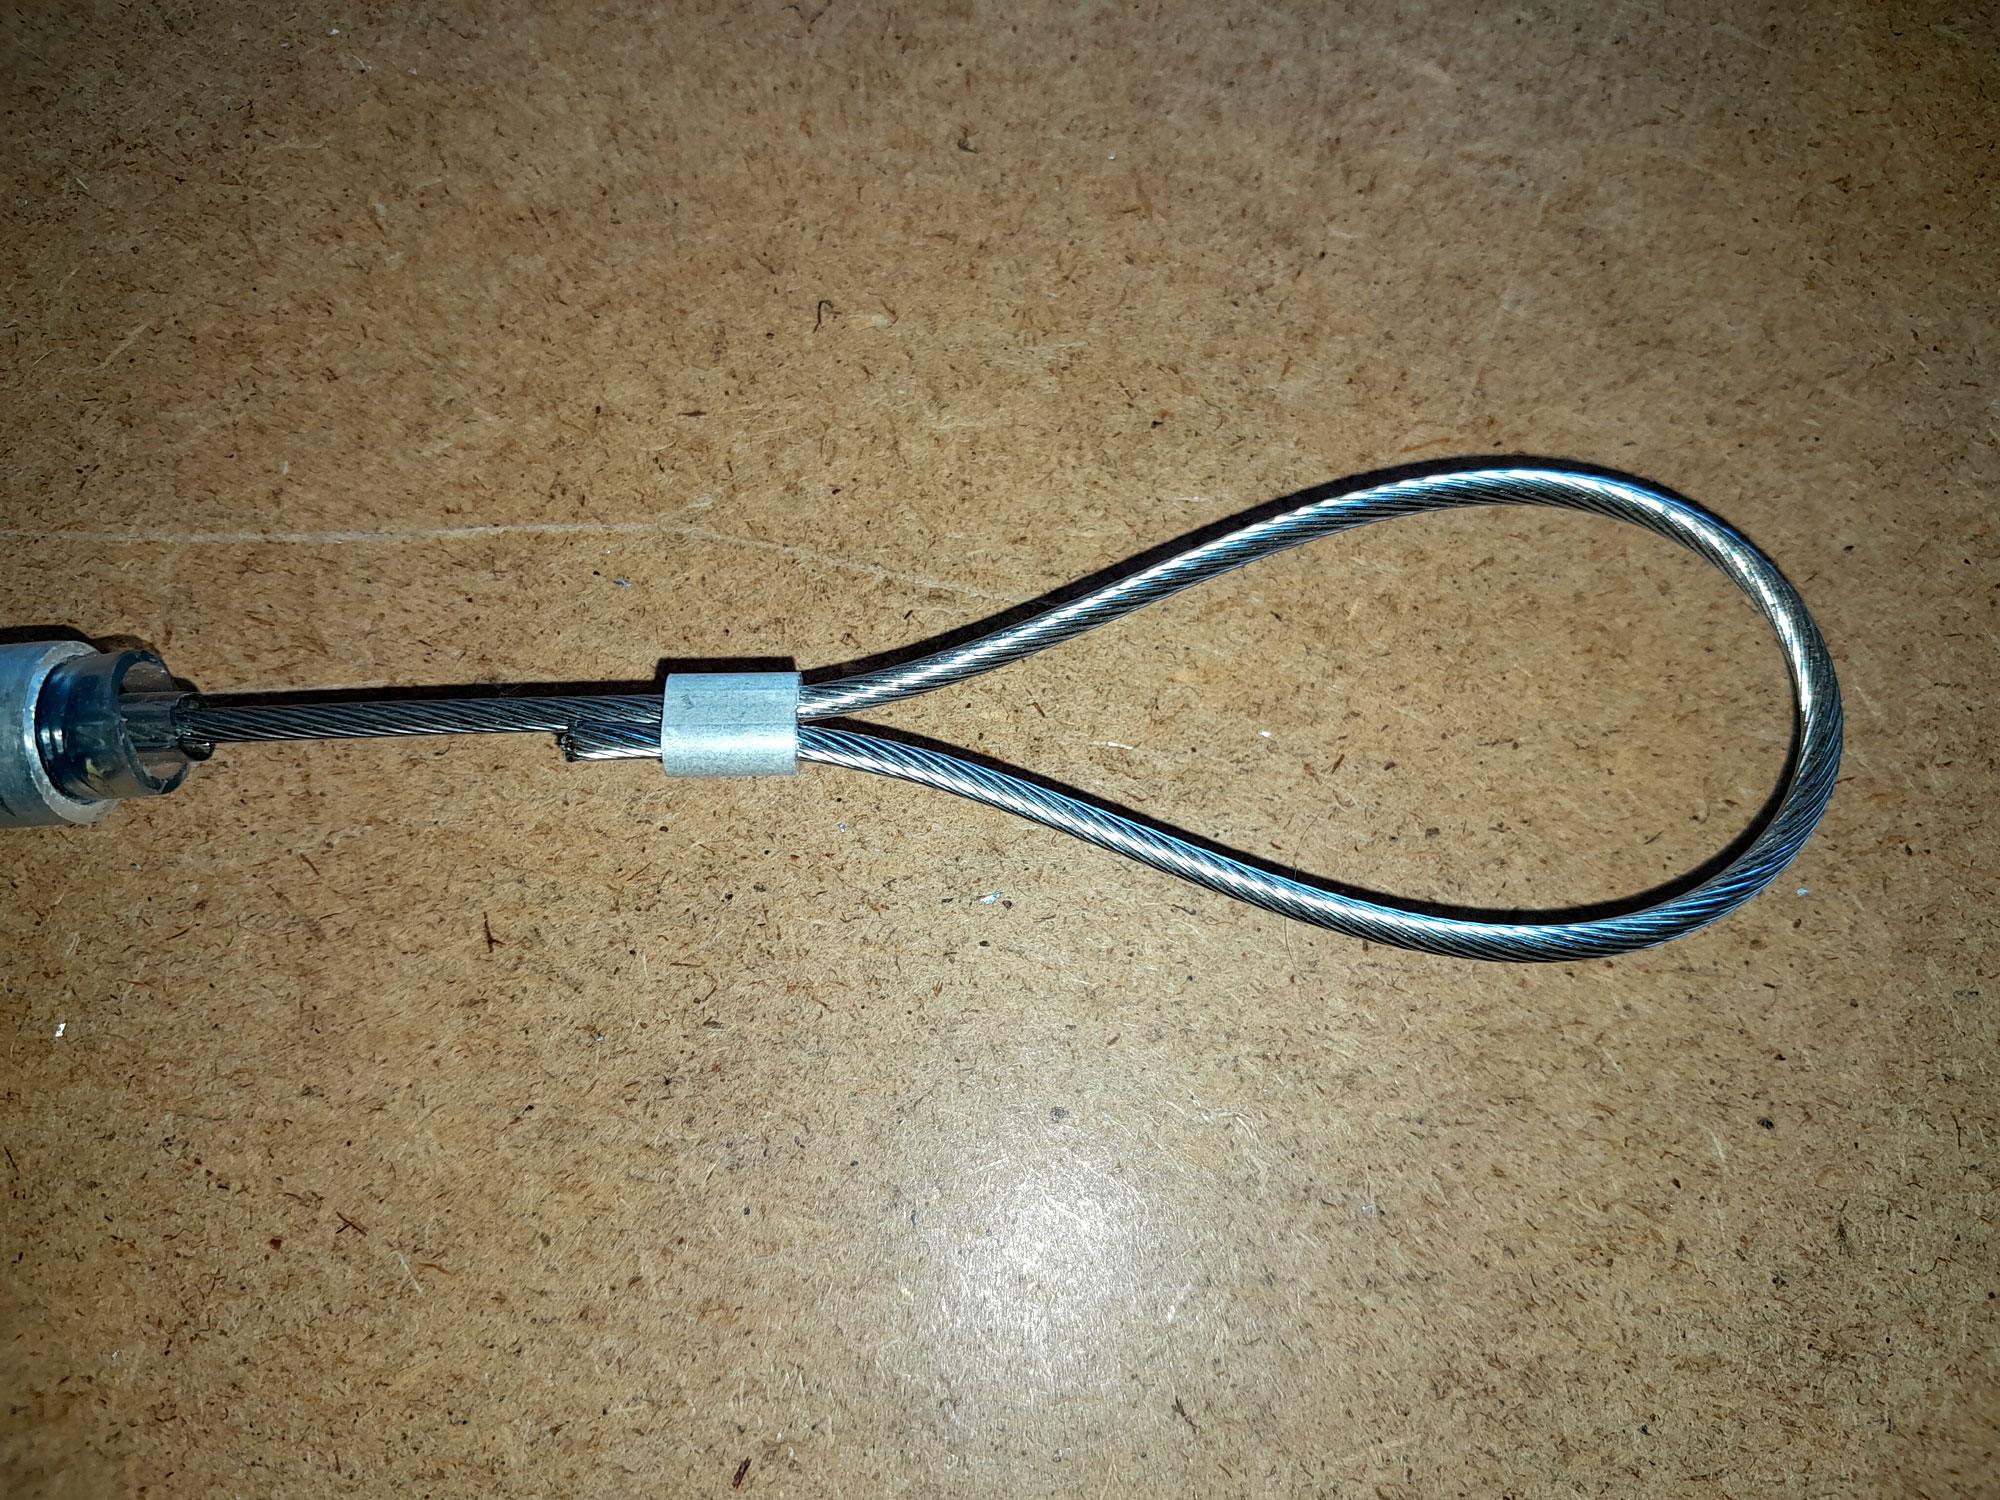
- First of all, slip the ferrule on to the end of the cable, loop it, and push the end back through the ferrule – it will be quite a tight fit. Then pull the loop up and don’t forget to put the thimble into the loop and pull it tighter.
- The ideal is to have the end of the cable flush with the end of the thimble… not protruding, where the strands might scratch you, and not just halfway in, where you might not attain a secure fix. Once satisfied, crimp the ferrule tightly on to the cable. If you do not have a crimper, a bench vice works just as well – as it did here.
- Now, it’s important than the loops and hence the thimbles be in the same orientation, so that the cable is not twisted in any way. So, I found the easiest method was to clamp the first thimble snugly, but not TOO firmly, on to the work surface. Now is also NOT the time to forget to ensure your handle is on the cable.
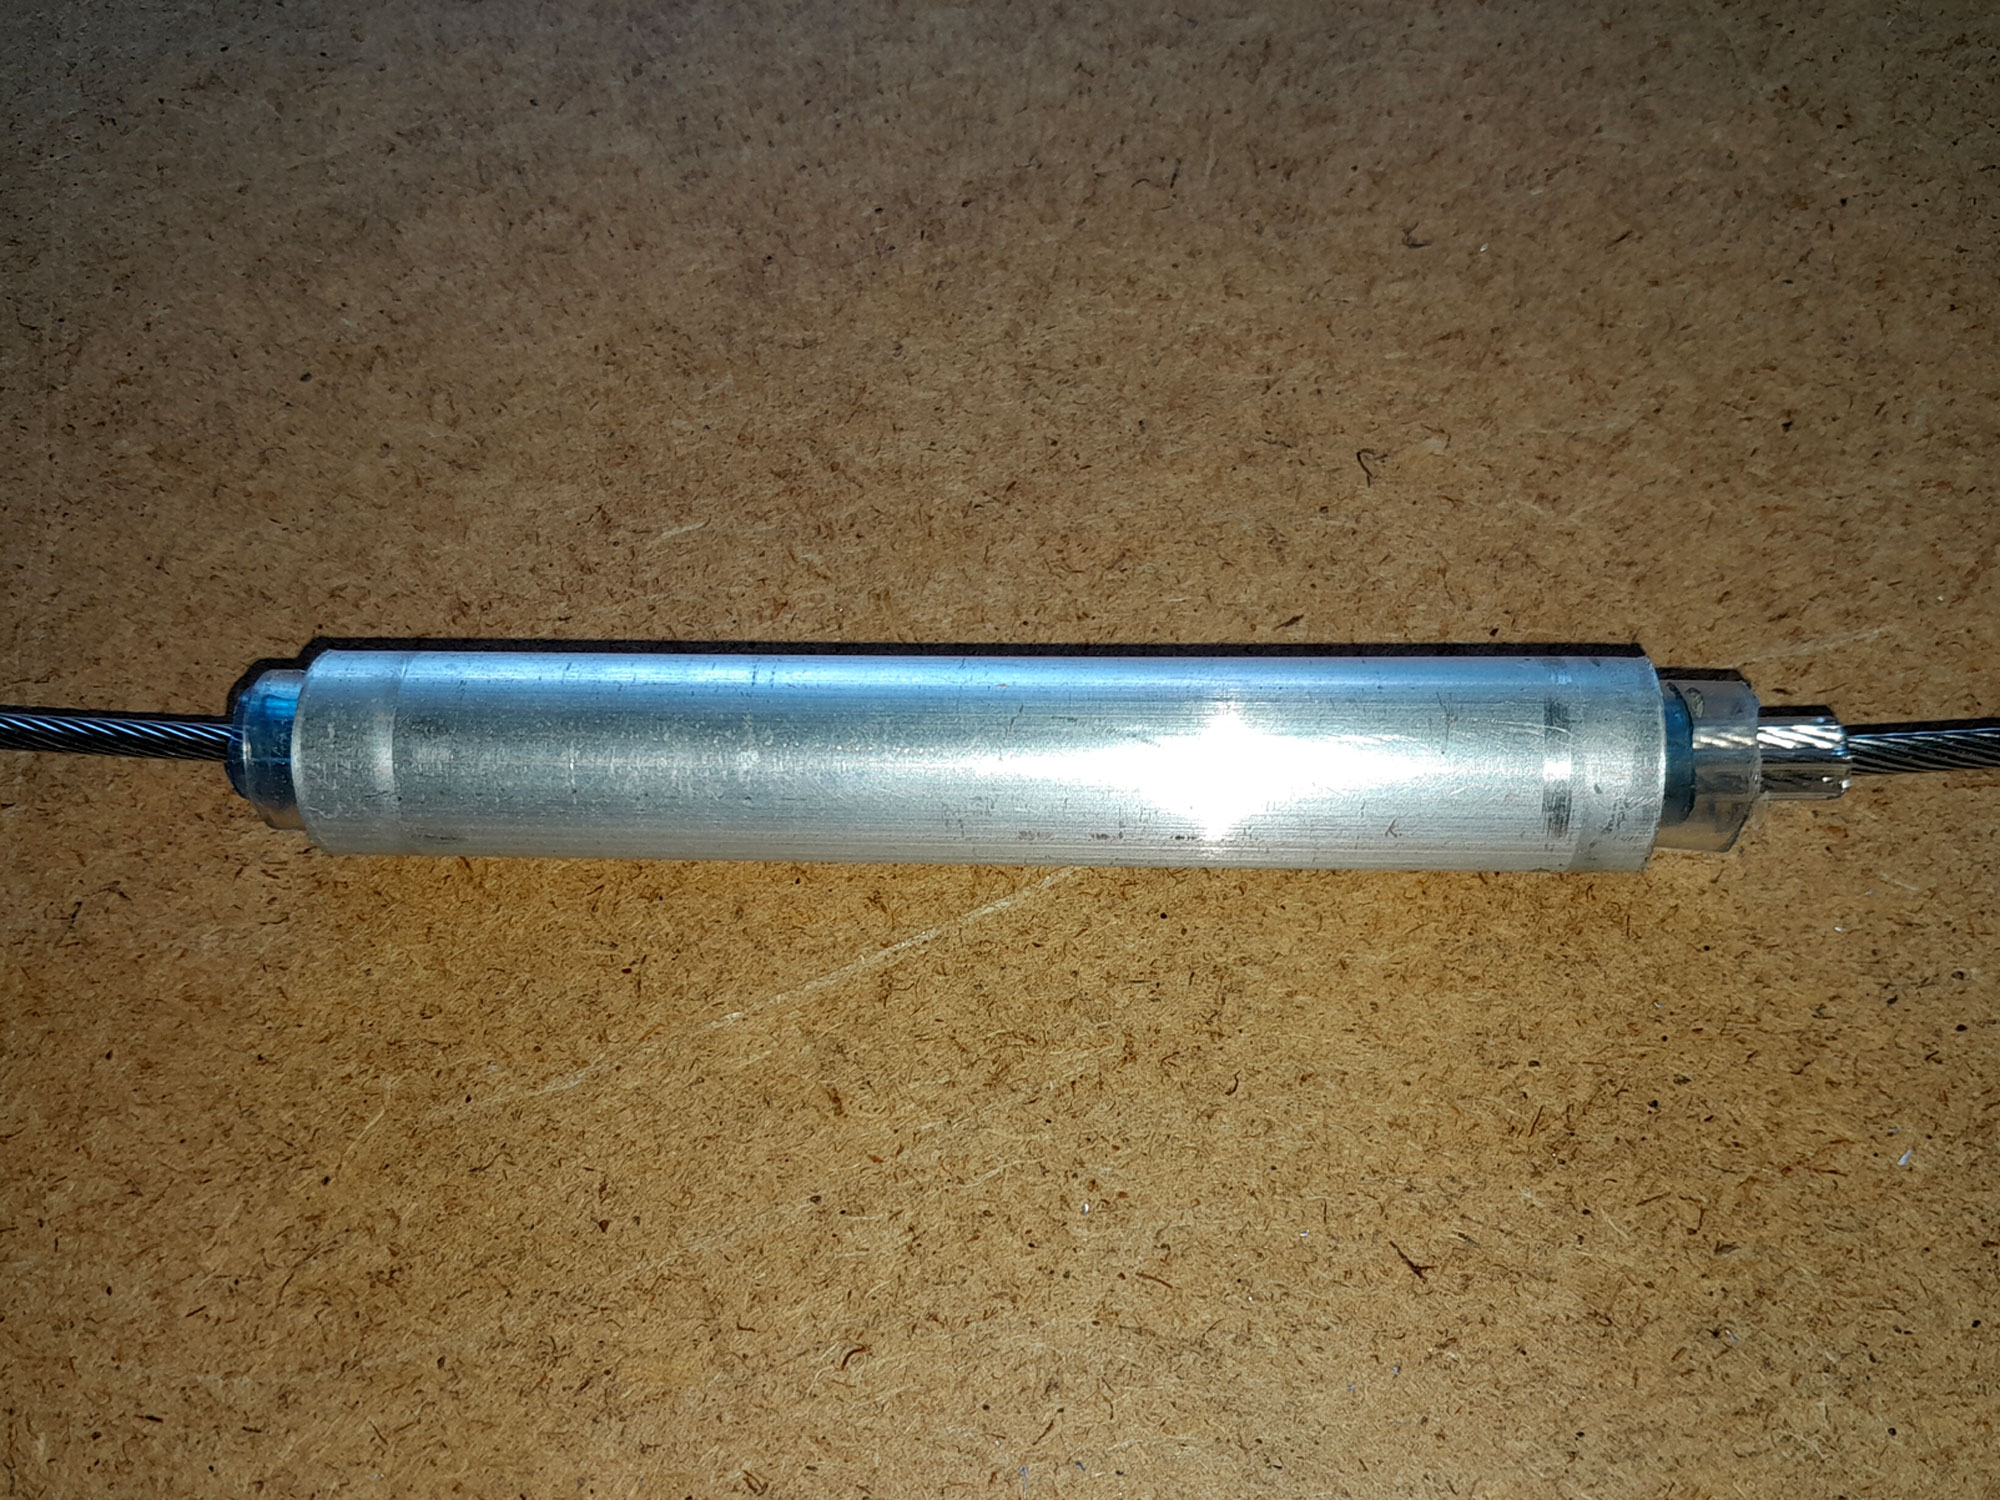
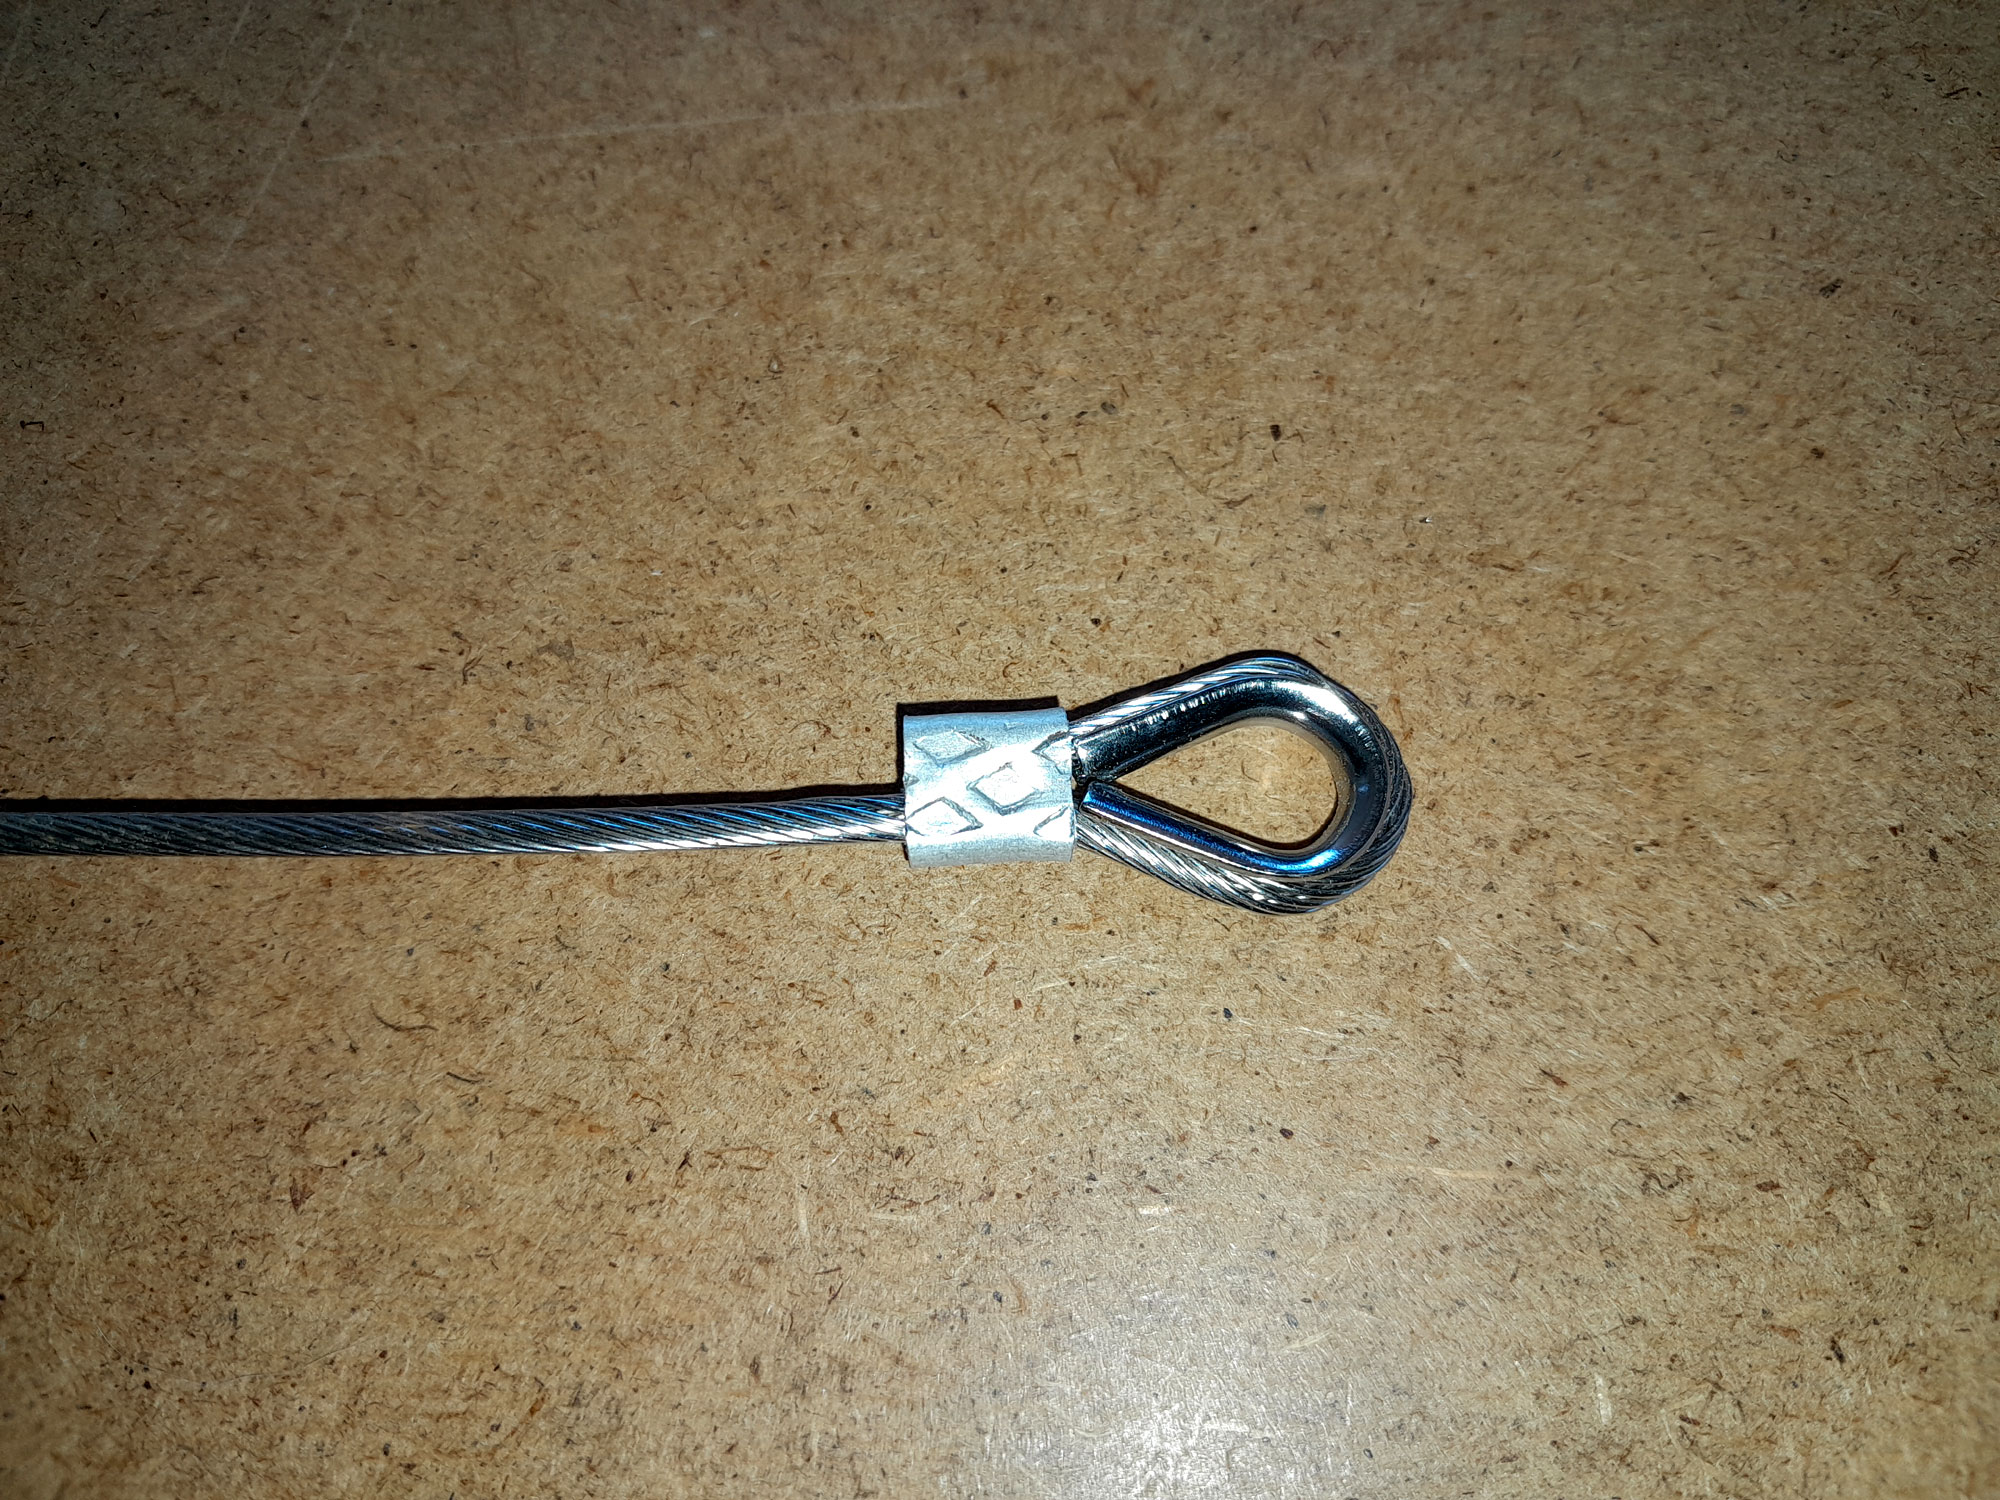
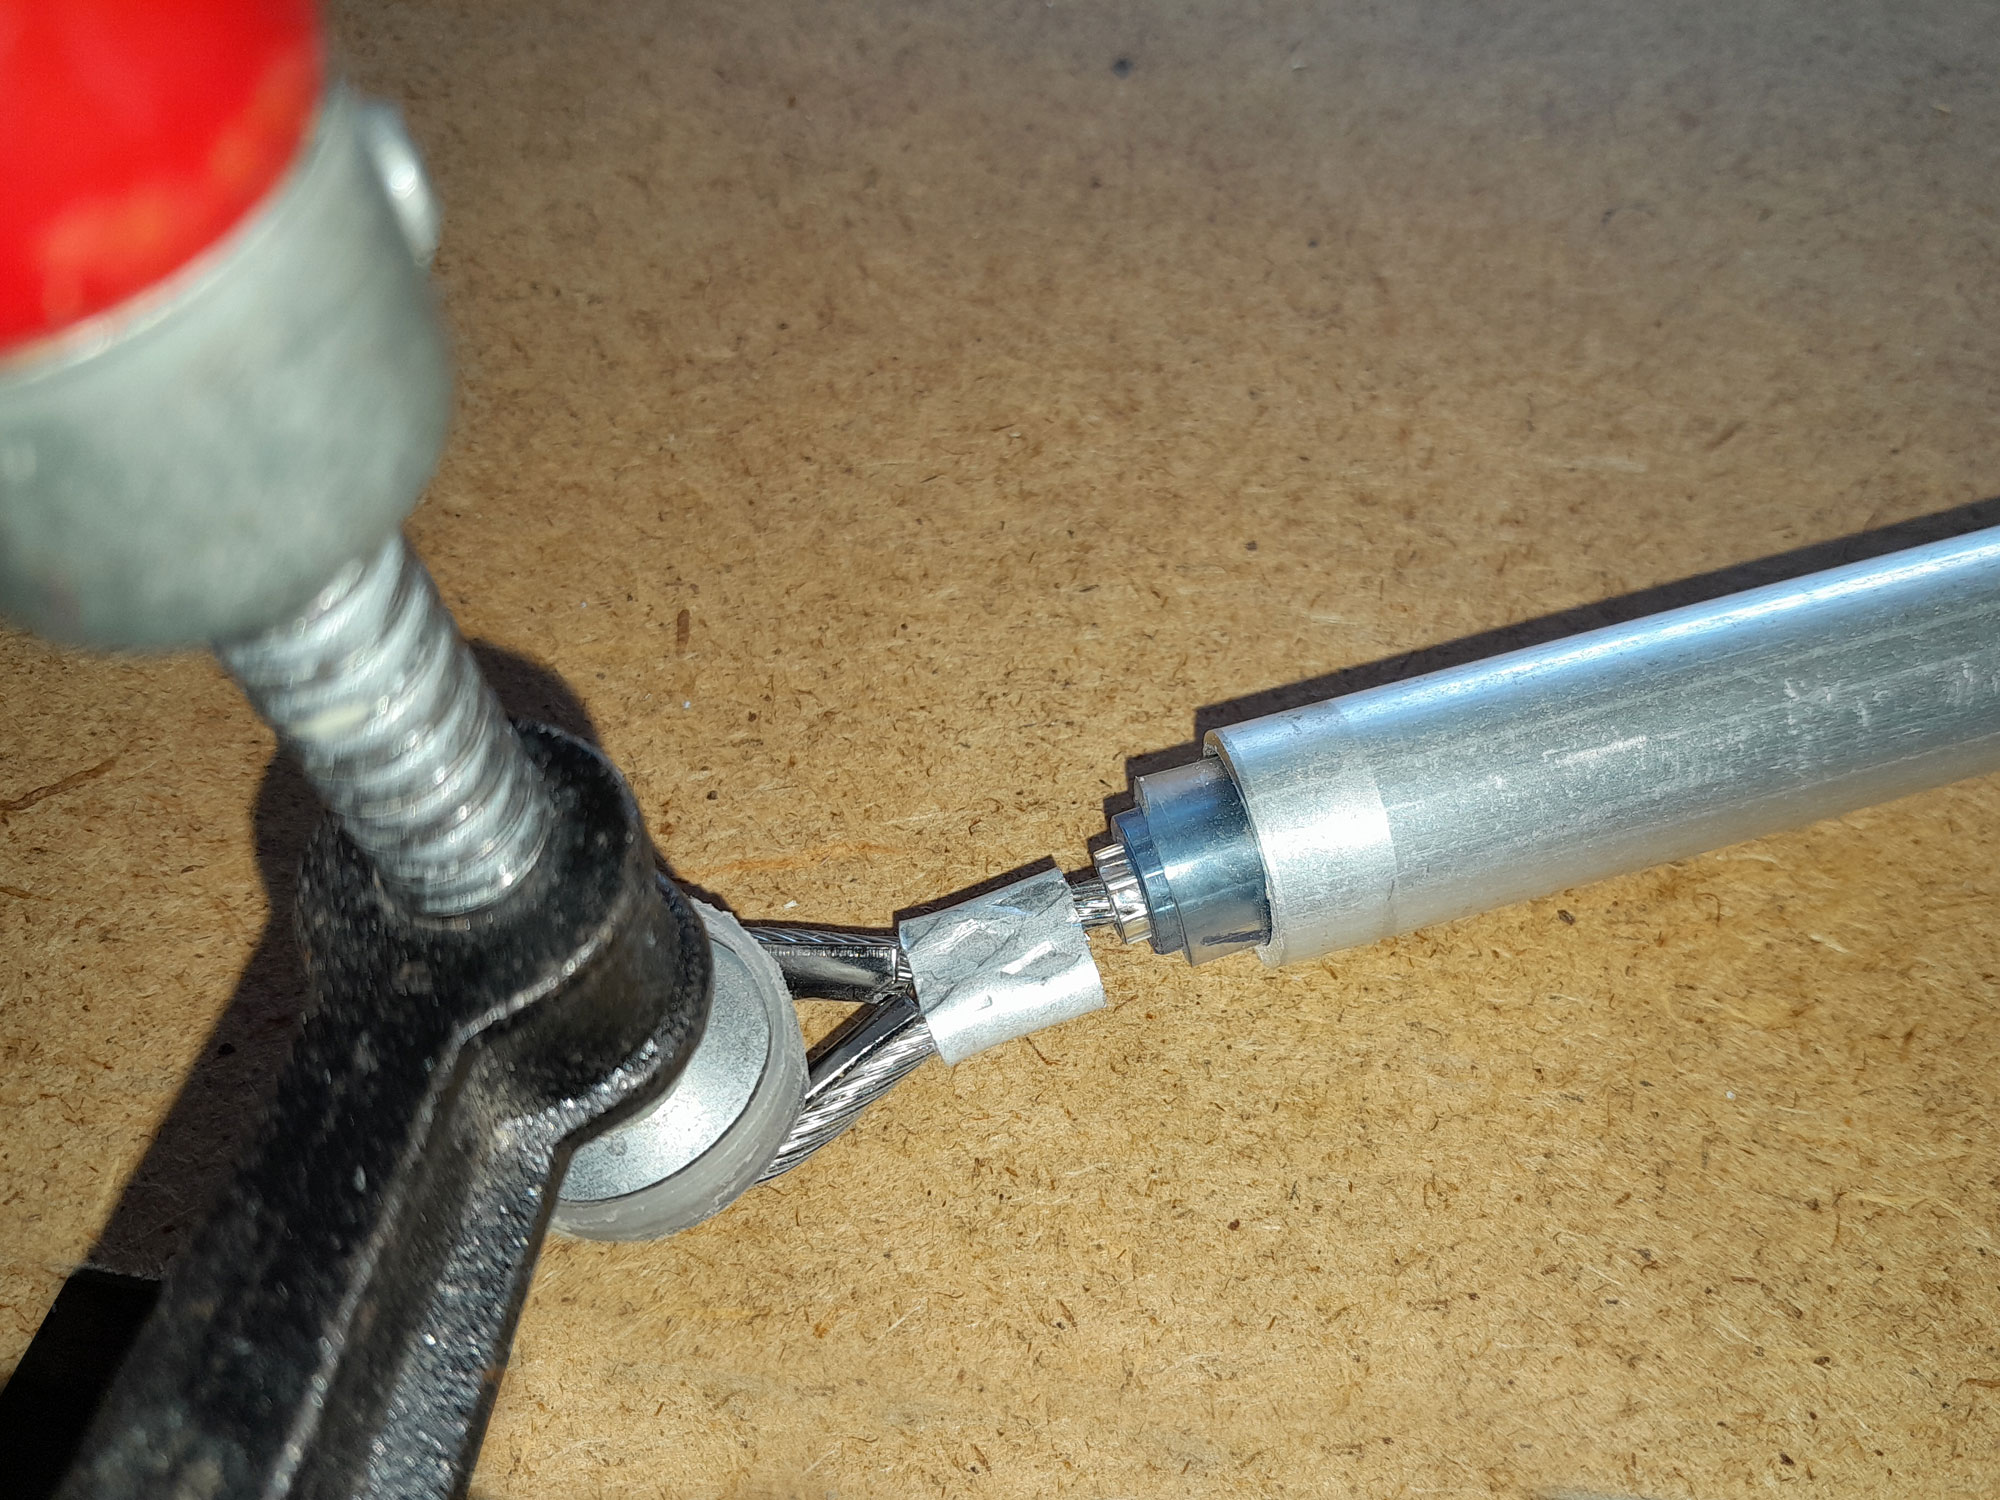
- Then slip the second ferrule on to the other end of the cable, loop the cable as before – ensuring the loop you make is flat against the surface – and assemble the other end of the cable as you did the first. This shows the completed handle assemble, with the thimbles and ferrules in the same orientation.
- If you haven’t already glued the PVC inserts in place within the aluminium handle, now is the time to do it.
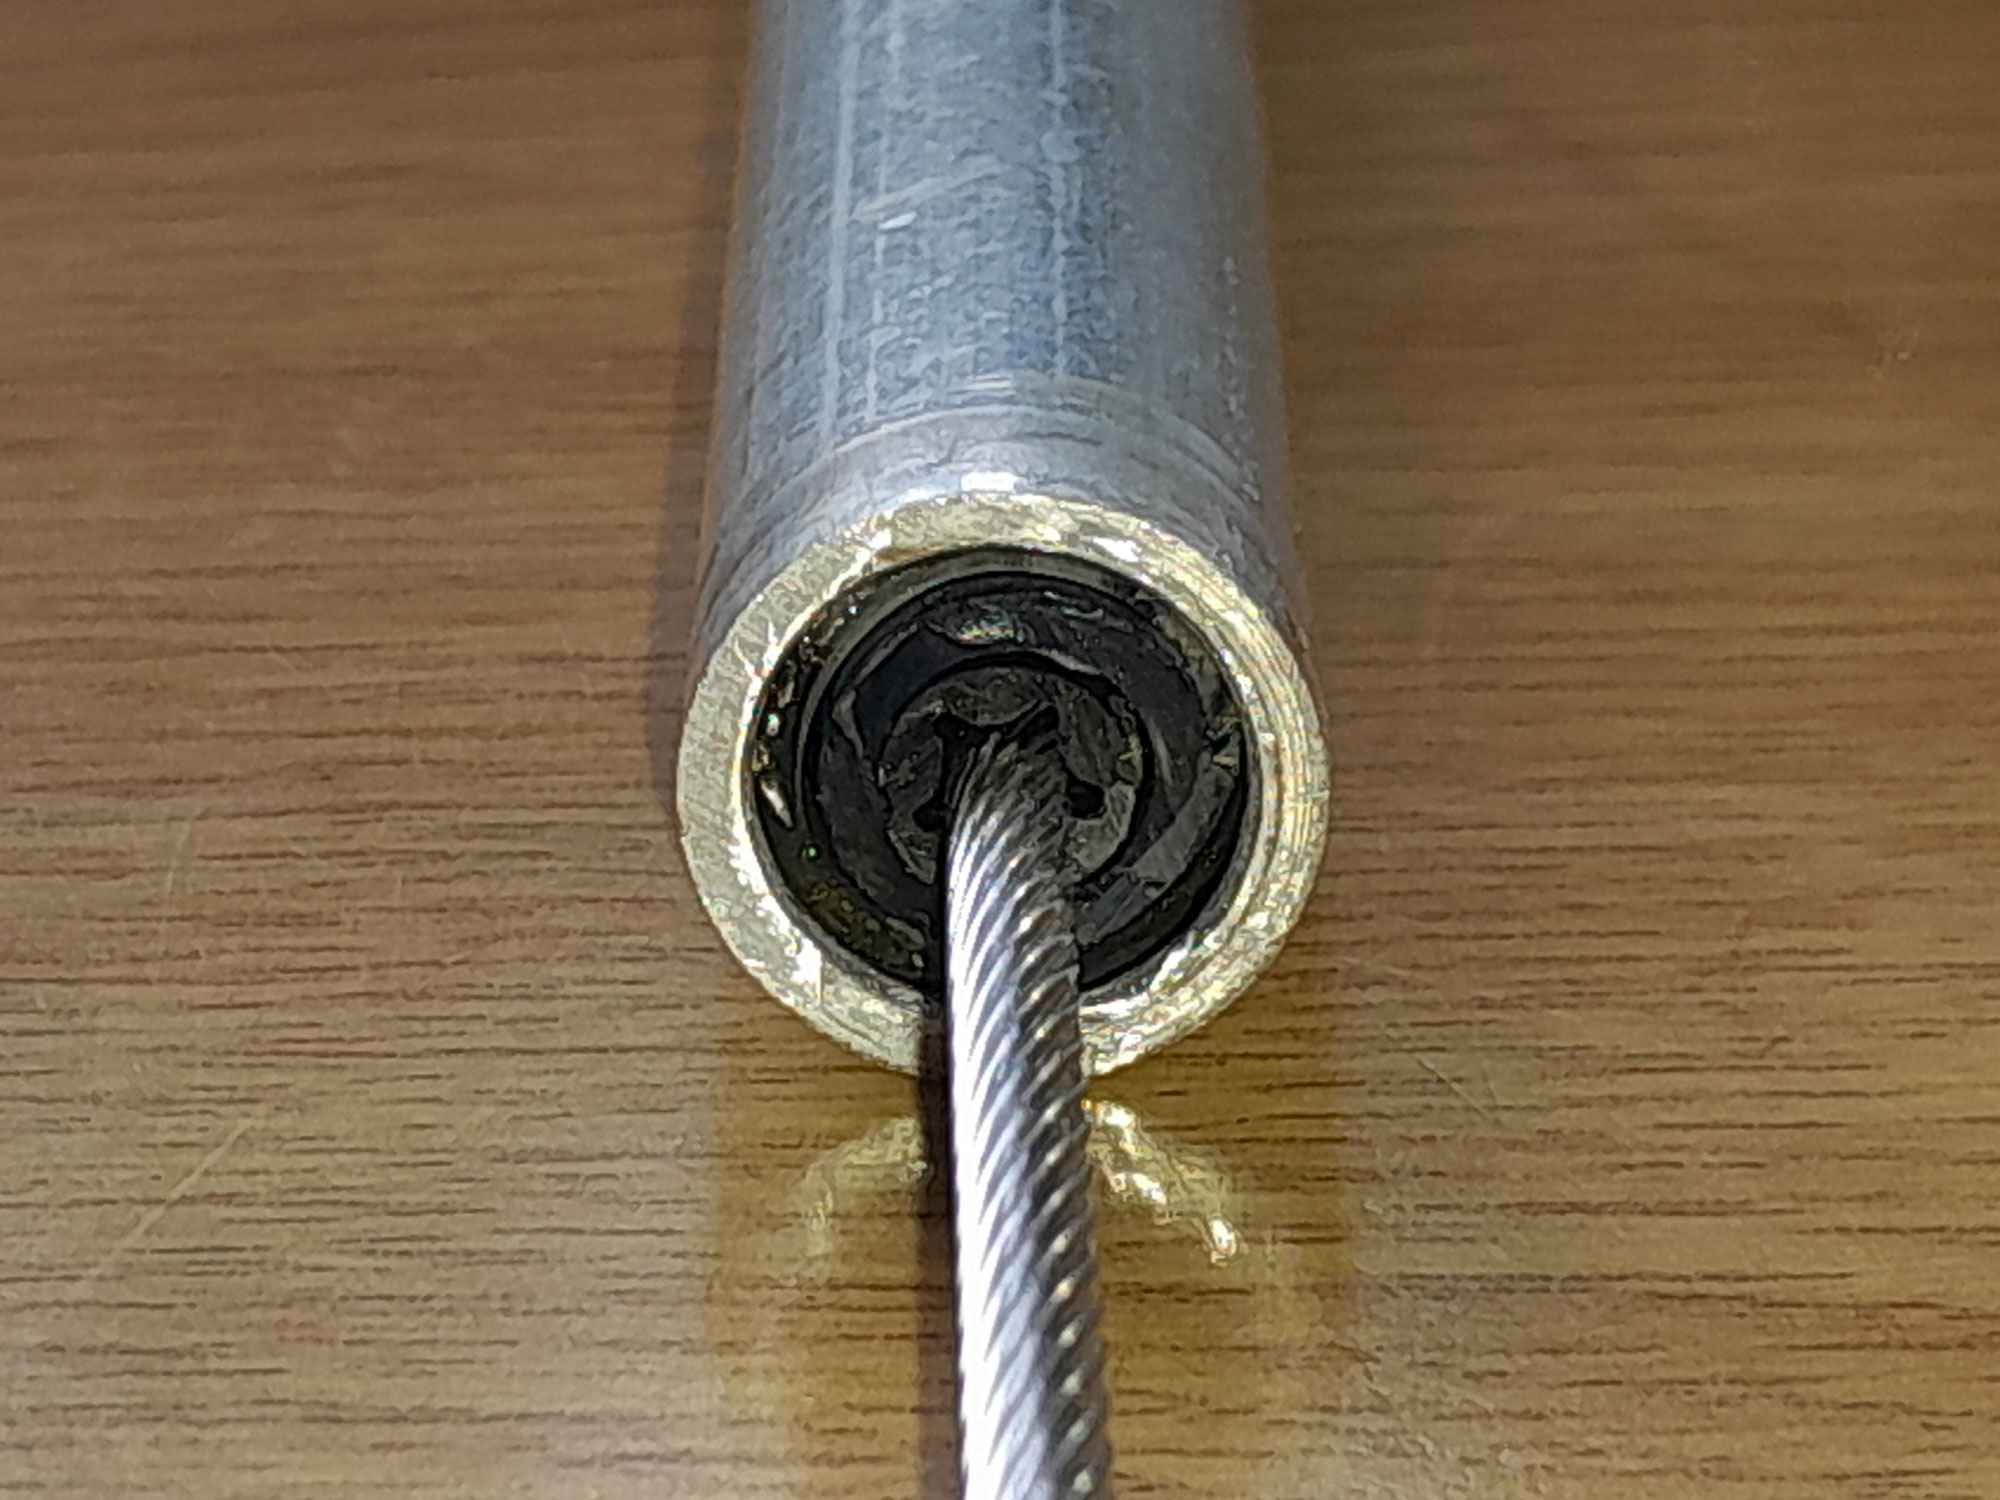
- Notice how the three inner PVC tubes centre the cable within the handle…with a wood dowel handle, you would have to drill a hole through the centre of the dowel. Here, there is no need for anything like that. You will now also notice that ends of the PVC tubes have been trimmed flush with the ends of the aluminium handle for a neat finish.
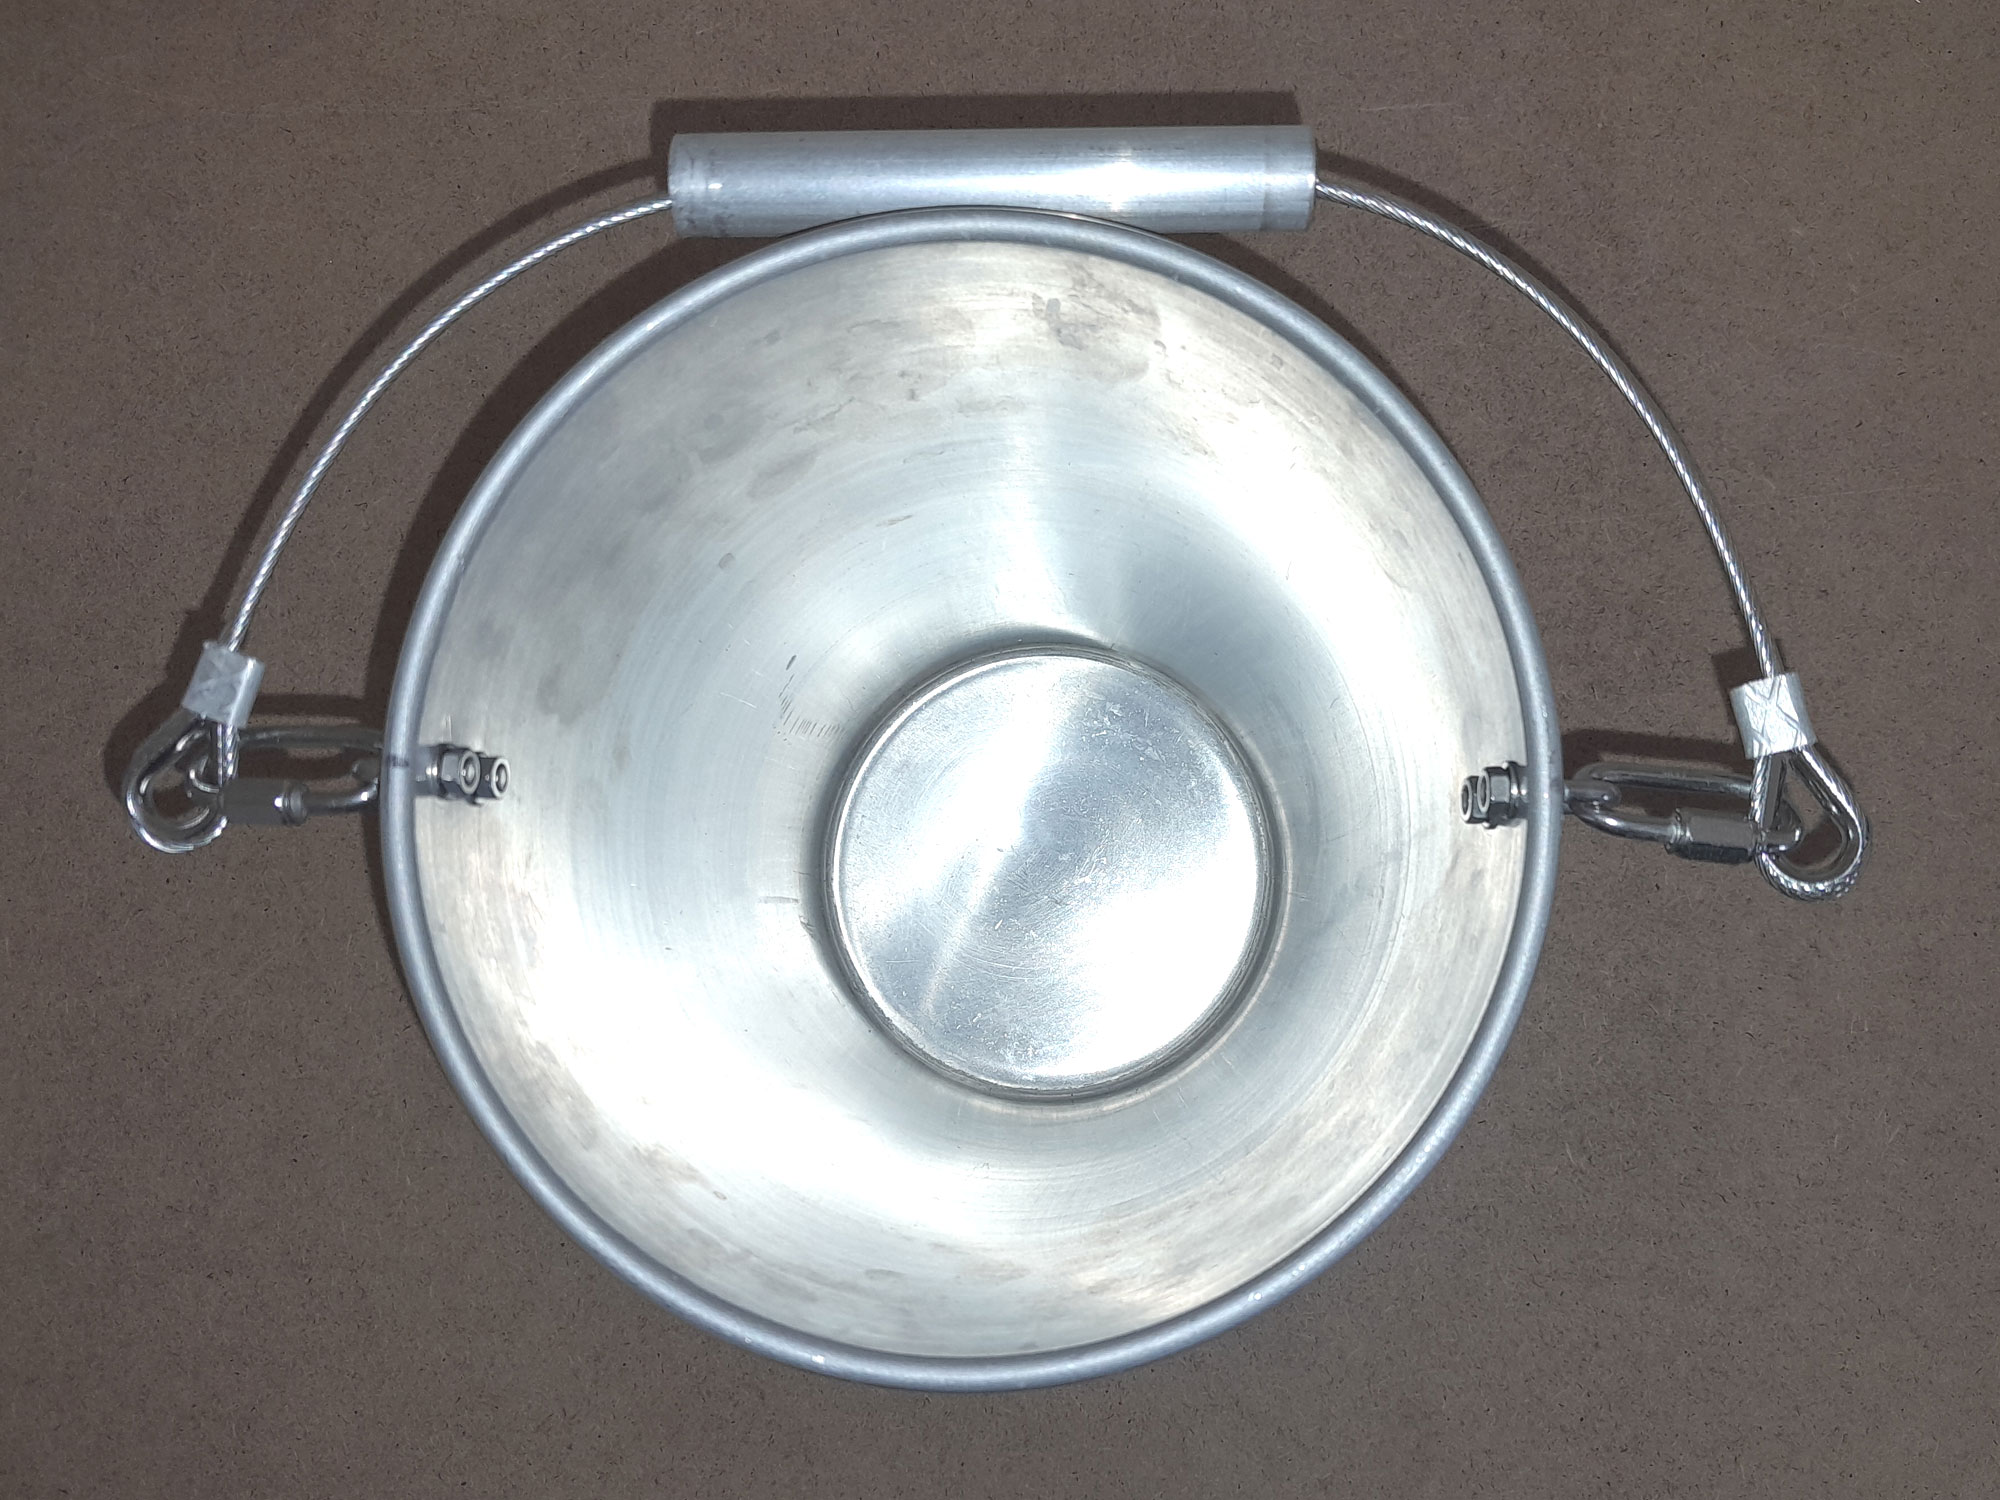
- Here’s a view from the top, clearly showing how the handle is centred…
- And here’s a side view… one bucket with enhanced use and portability.
Panel:
The materials, other than the bucket, are available at Selected Mica Stores. To find your closest Mica and whether or not they stock the items required, please go to www.mica.co.za, find your store and call them. If your local Mica does not stock exactly what you need they will be able to order it for you or suggest an alternative product or a reputable source.
Project guide
TIME: 1 day
COST: R50 or so
Skill: 2
Assistant: No
Tools required:
Cordless drill/driver, spanner, cable cutter, cable crimper and/or vice.