06 March 2026


Meet the Wood-n-Book-n-Wine Rack
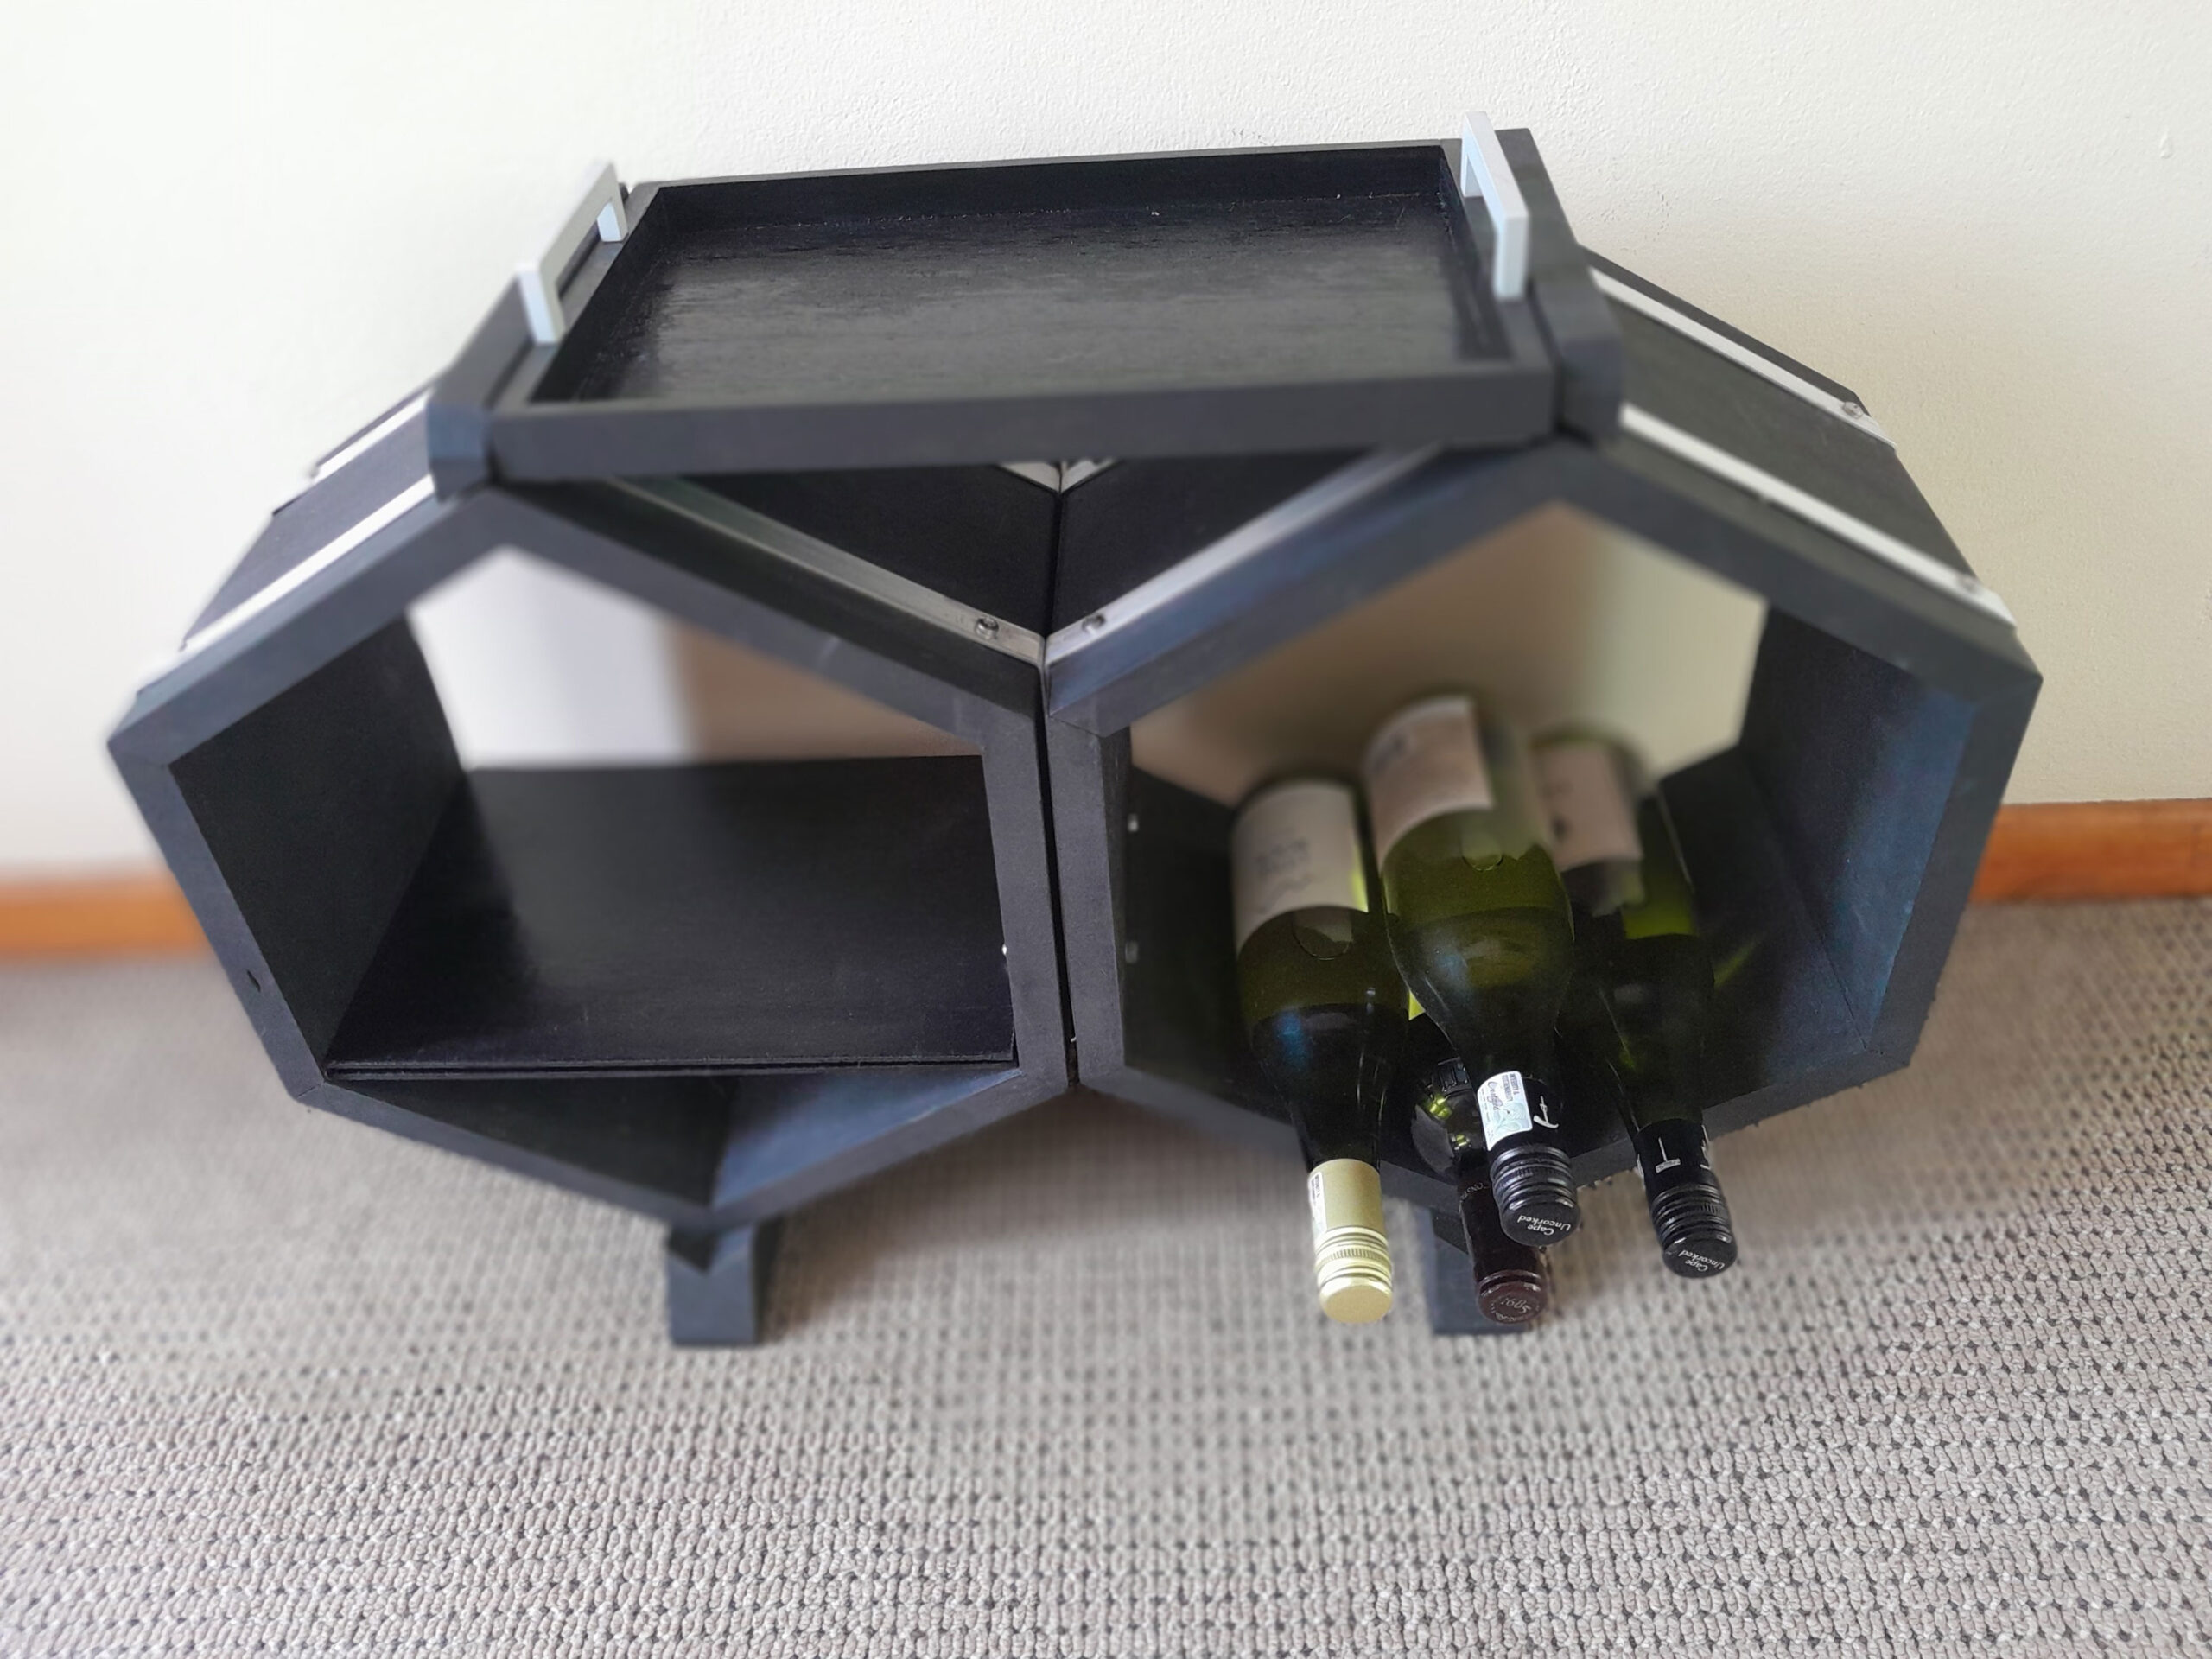
This multipurpose rack is essentially modular hexagonal that can be added to, if you wish with a third or even fourth hexagon, even on top. Construction is relatively simple, but you have to ensure that your measuring of both its sides and its angles are very precise.
But being multipurpose, it is literally a rack for all seasons.
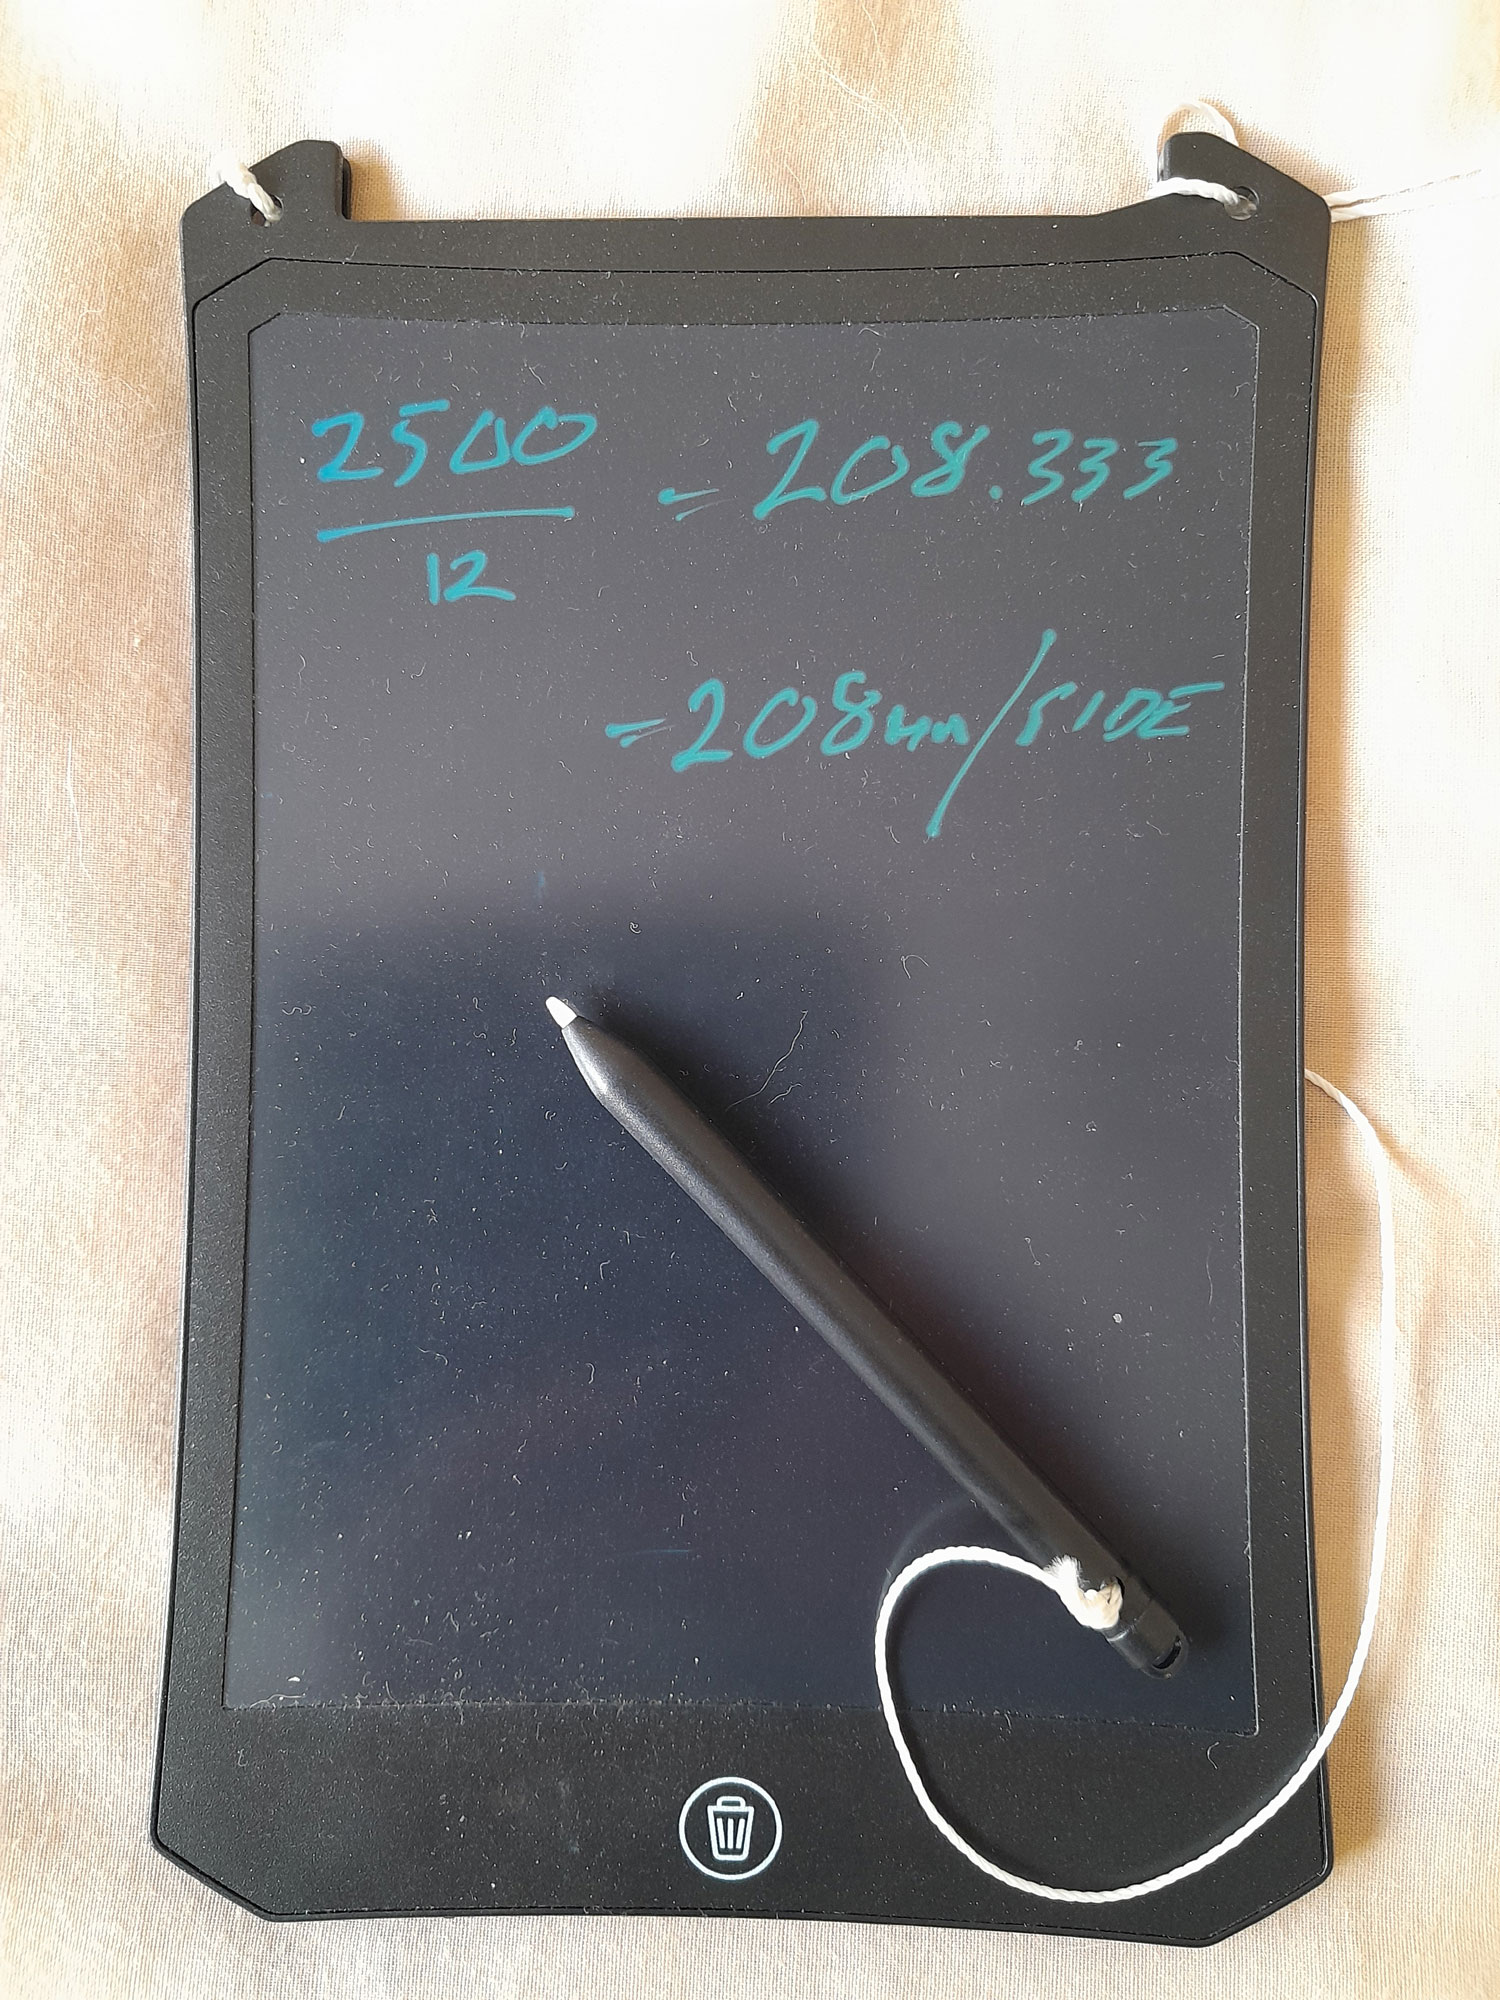
I sized each hexagonal to make the best possible use of the (optional) aluminium flat bars. Each is sold in 2500 lengths, and as each would be cut in half to make up 1250 each, and then in turn bent to make six sides, each side of the hexagon would be 208mm.
I also made up a tray to fit across the top of the unit when it is used as a book rack/side table, and two bookshelves, to fit across the hexagons, as shown.
You do not need to include the bars, but I did in order to strengthen each hexagonal part of the unit as it would be taking quite a strain when the rack is used to store wood during winter.
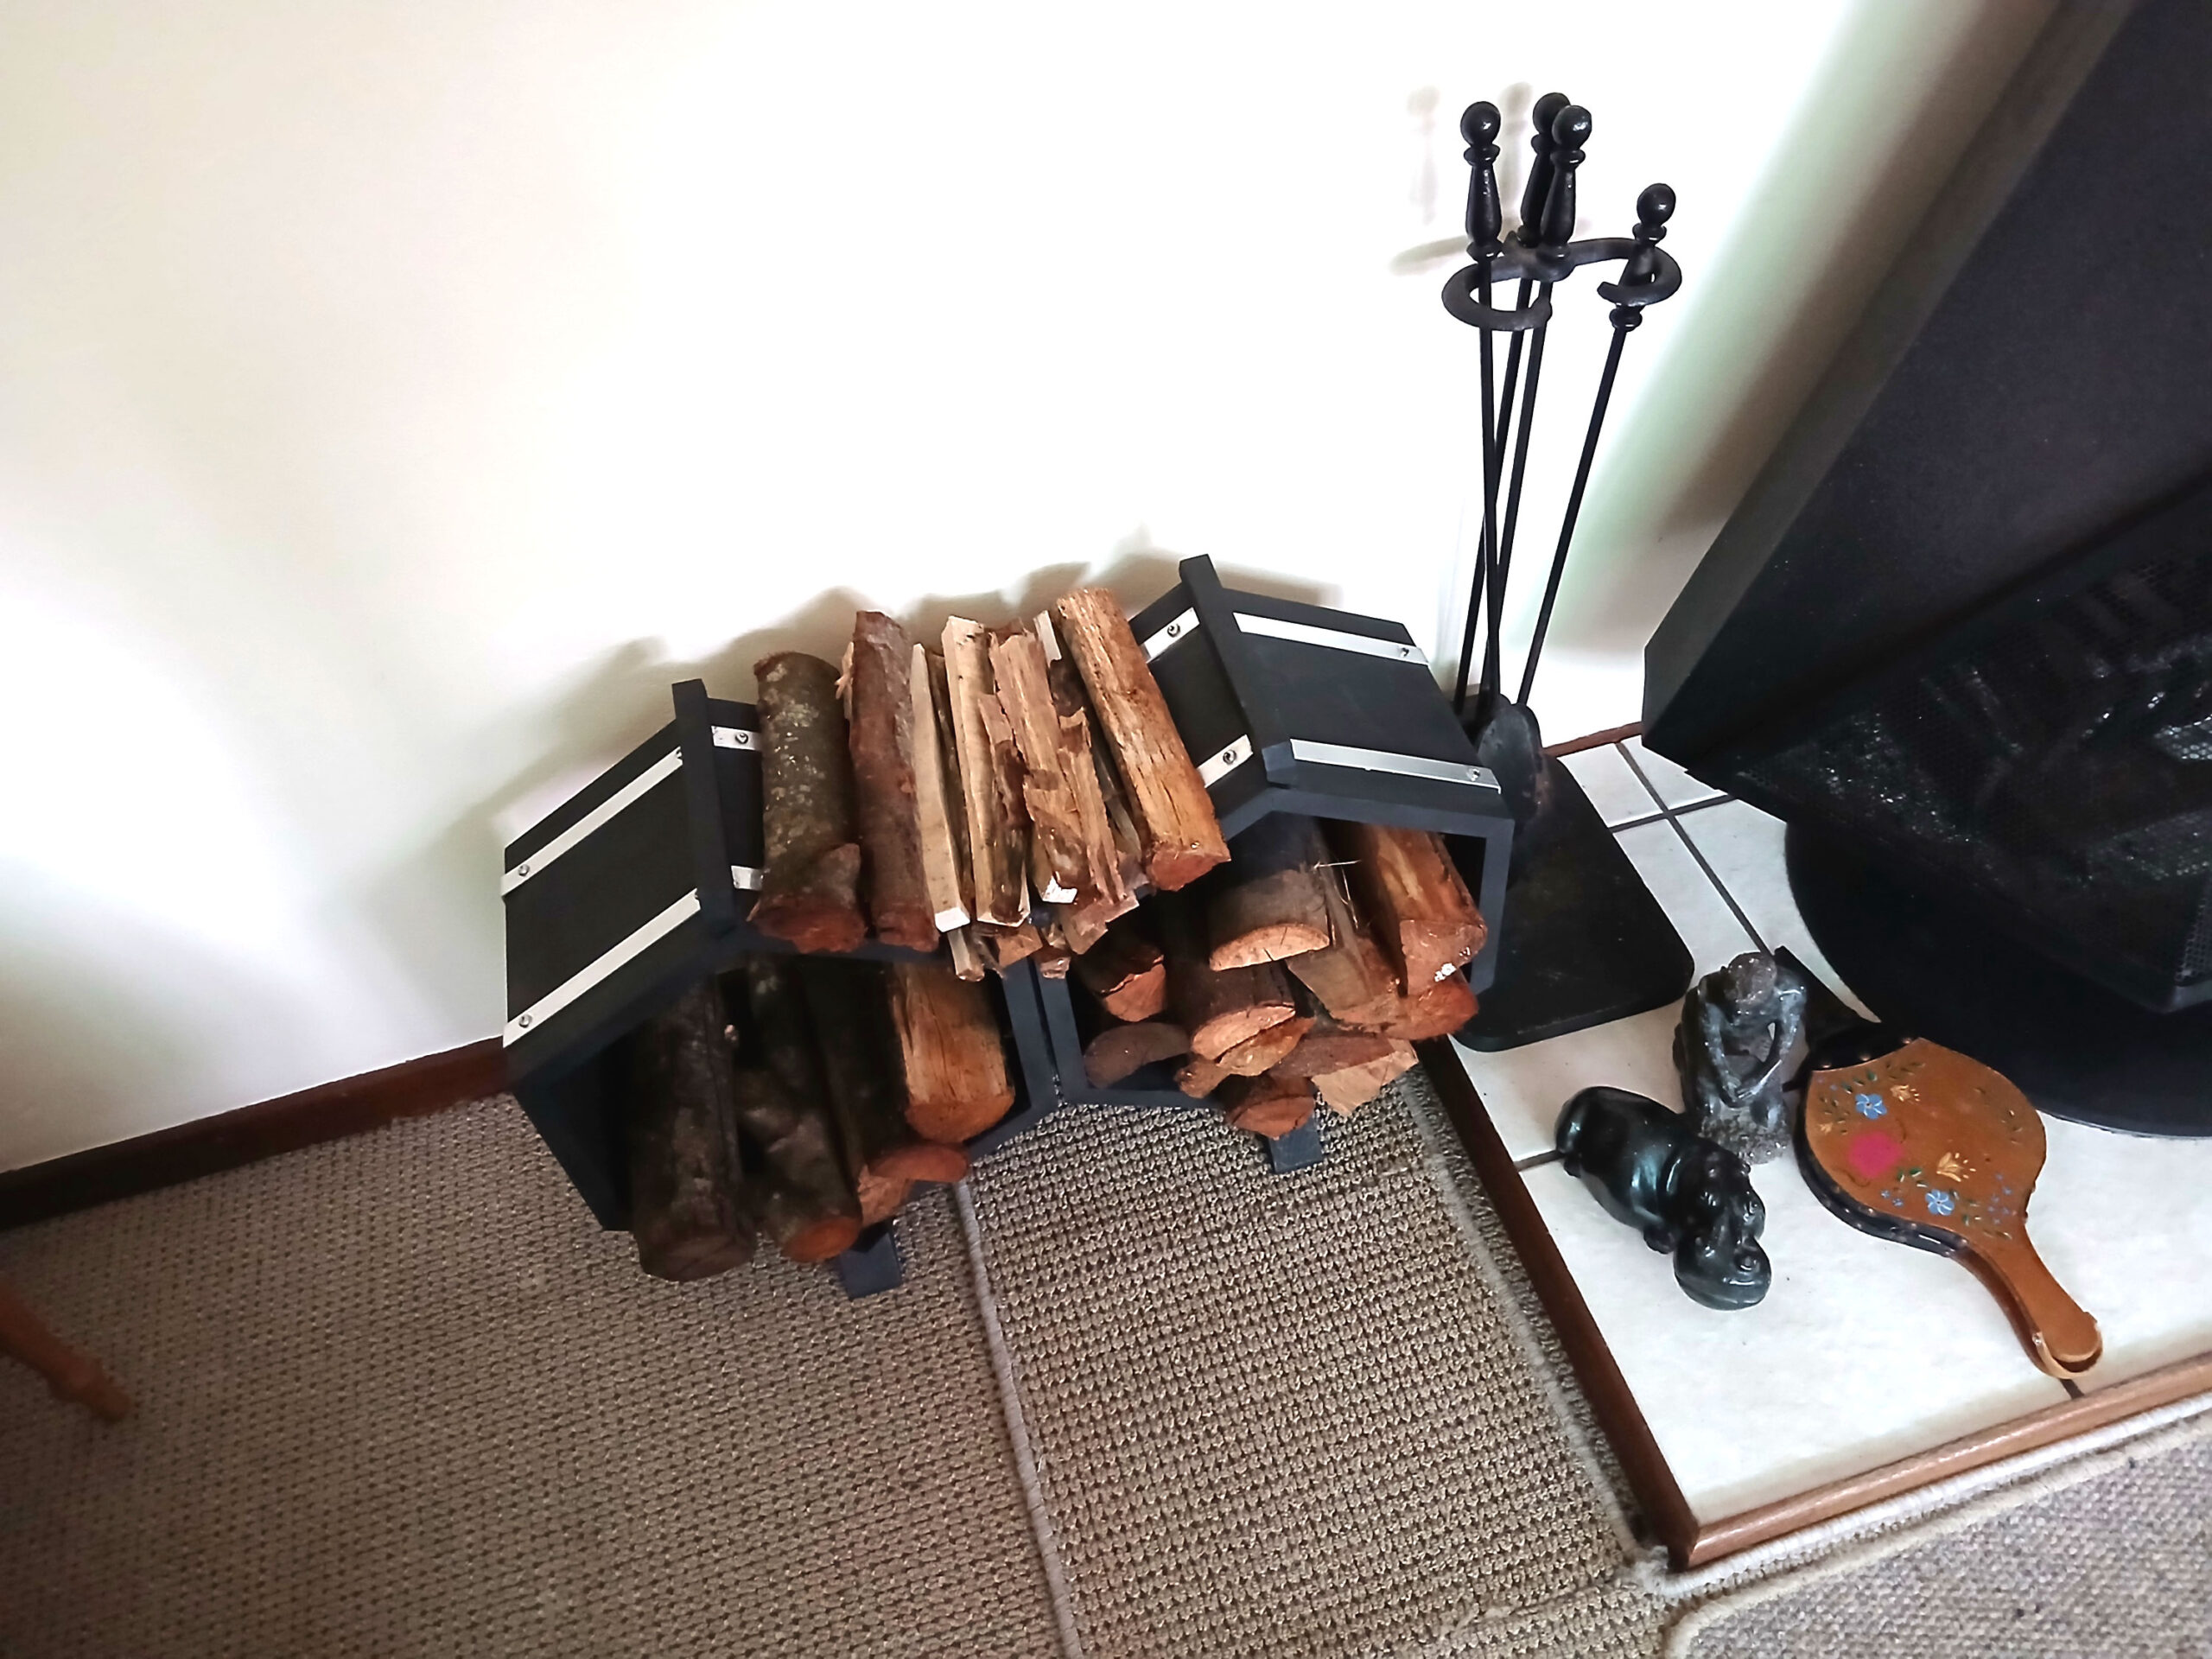
The total height of the completed unit is 480mm, by 730mm long and by 22mm deep, with feet being 292mm; the feet not only stabilise the unit, but also serve to provide clearance between the back of the unit and a wall. In passing if you add a third hexagon on the top, then you might consider lengthening the feet to ensure stability.
Let’s get started…
Materials:
- Main units:
- SA pine: two 1800mm lengths of 22×222 cut into 12 lengths of 210mm with both ends bevelled at 30º (naturally, if you want a deep or shallower unit then you would select timber of the appropriate dimensions. Likewise if you wish to make a large unit, then you need to take that into account when purchasing the length/s of timber
- One 600mm offcut of 22x96mm for the feet
- Two 22x222mm sides, bevelled at 30º these are cut from the leftover 22x222mm wood
- Wood glue
- Twenty 19mm pan head screws (optional used only if aluminium straps added)
- Four 70mm 6mmØ bolts (may need to be trimmed by 5mm or so)
- Four 6mmØ dome nuts
- Four 40mm wood screws to attach the sides to the top
- *Aluminium flat strip: Two 2500mm lengths of 20×1.5mm
- Finish of your choice. I used blackboard paint.
- Tray 222x358mm:
- Base 6mm ply, cut to fit between the side stays attached to the top of each hexagon
- Sides 9x44mm cover strip ripped to approximately 9x20mm
- 20mm panel pins
- Aluminium handles two of your choice, plus securing screws
- Shelves 222x315mm:
- Two pieces of 3mm (or 6mm) ply or tempered hardboard cut to fit as shown. (I used 3mm hardboard but reinforced it with 3mm play offcuts, as both were handy, and as the saying goes… waste not, want not…)
*The aluminium straps are optional, but I used them to strengthen the structure.
Method:
- I find this LED writing pad very useful for various calculations, designs and so on. You can save you calculations, and then erase them when you wish to.
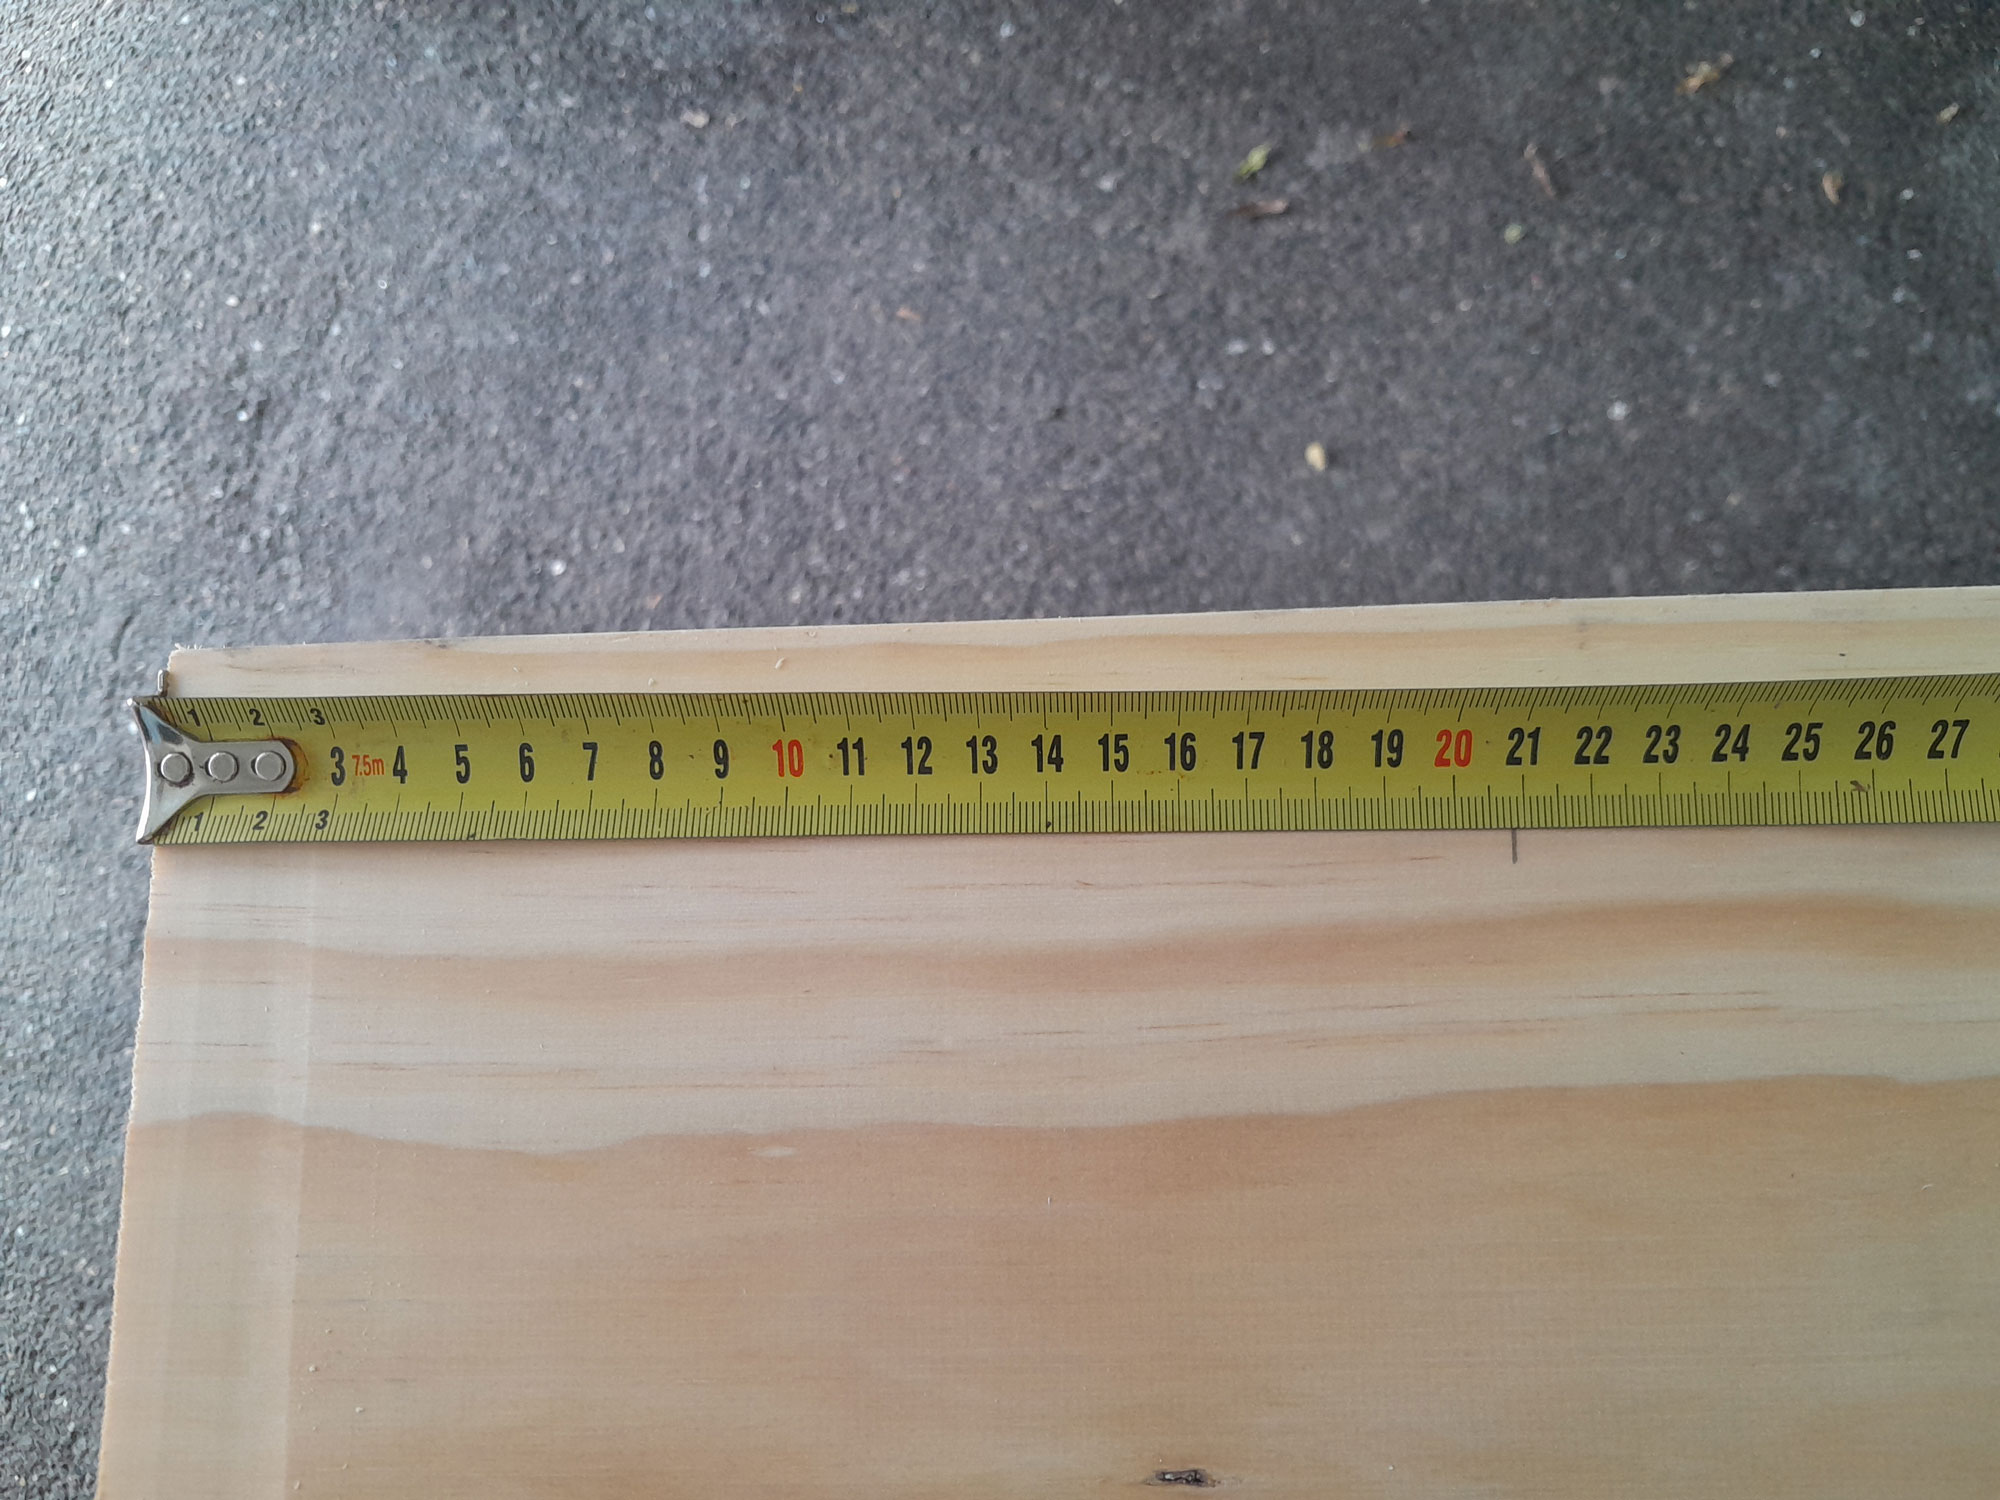
- First mark off your sides each section of the hexagon is 210mm on the top and approximately 187mm on the shorter bottom edge, as each cut is made at a 30º angle.
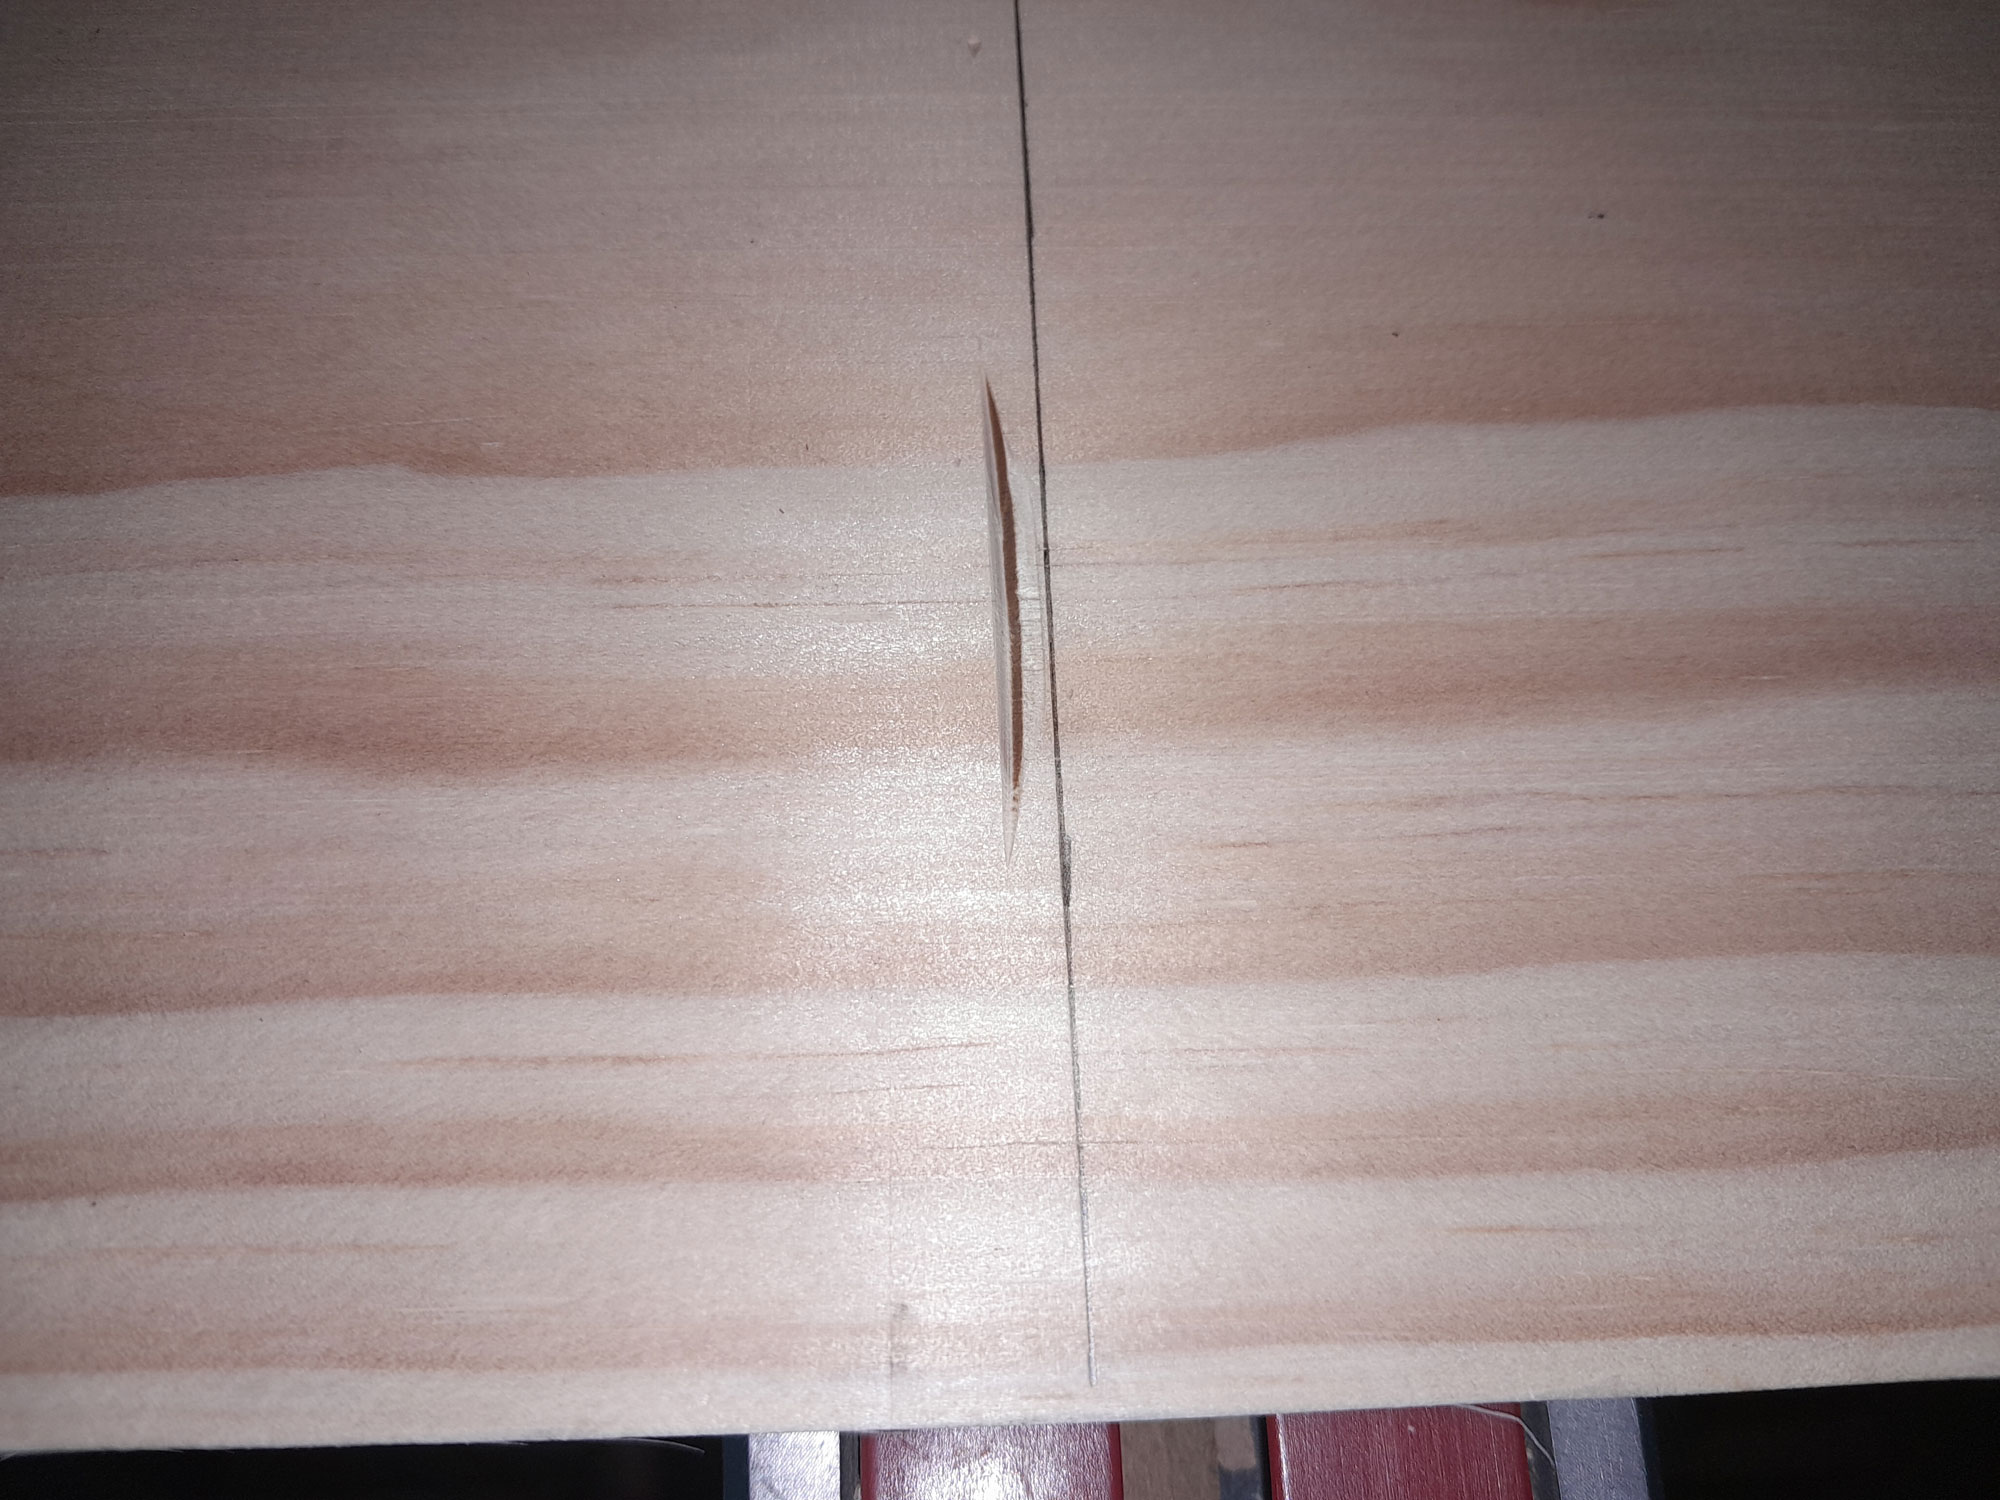
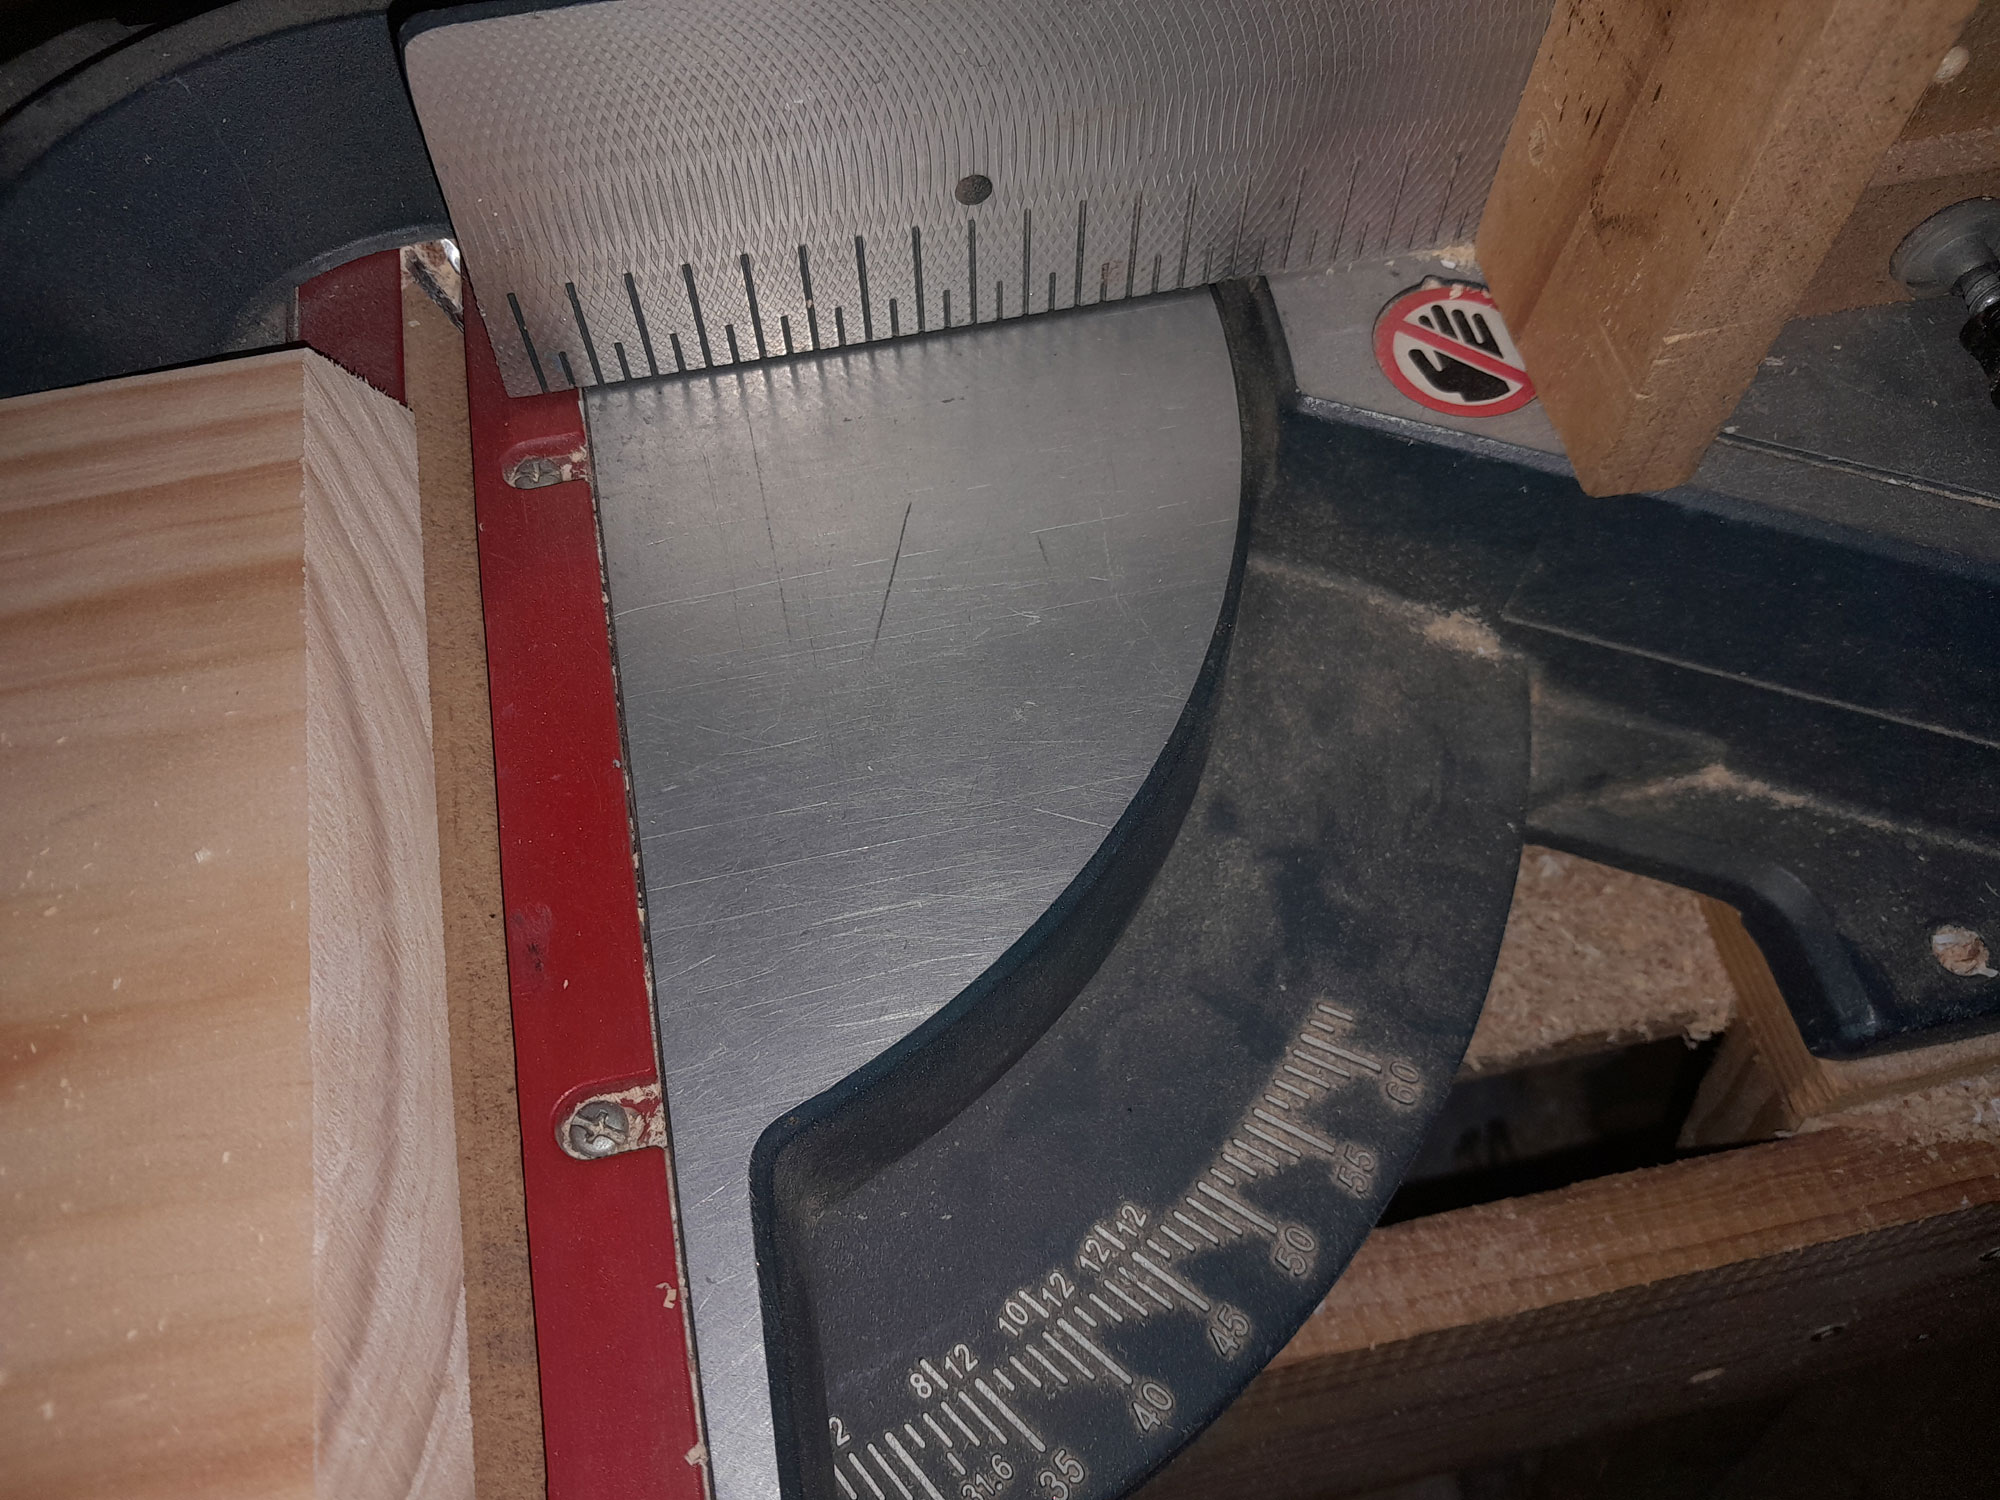
- With your mitre saw set to 30º, check that the blade will be on the cut line.
- This shows one bevelled end, cut at 30º.
- And here are the 12 that have been cut. Each is exactly 210mm on what will be its longer, outer edge.
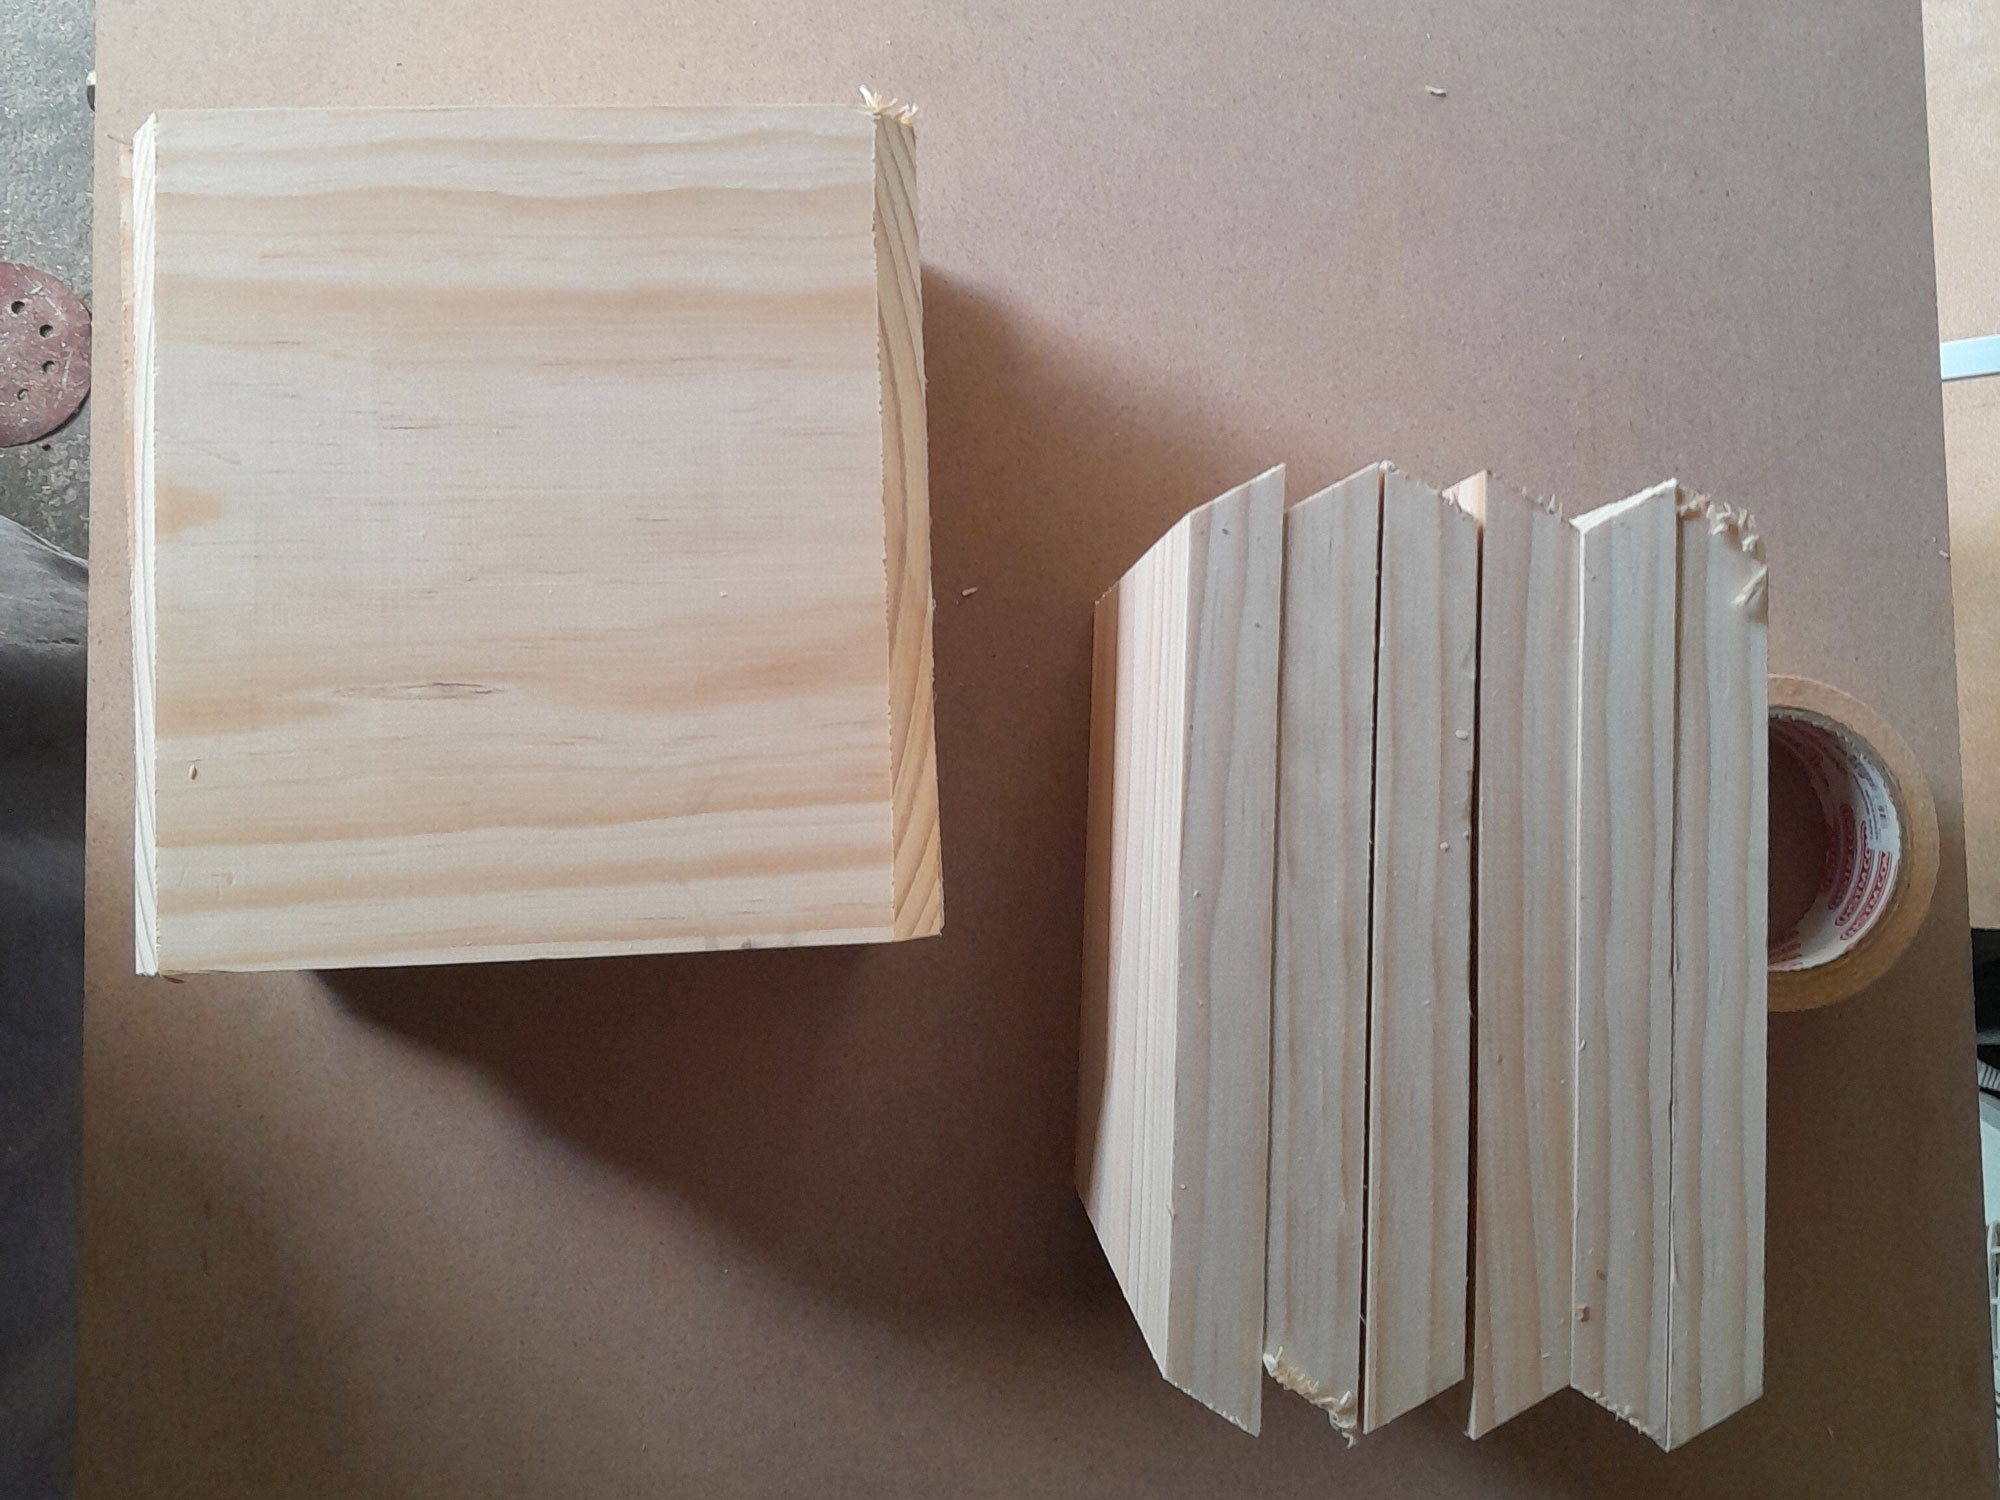
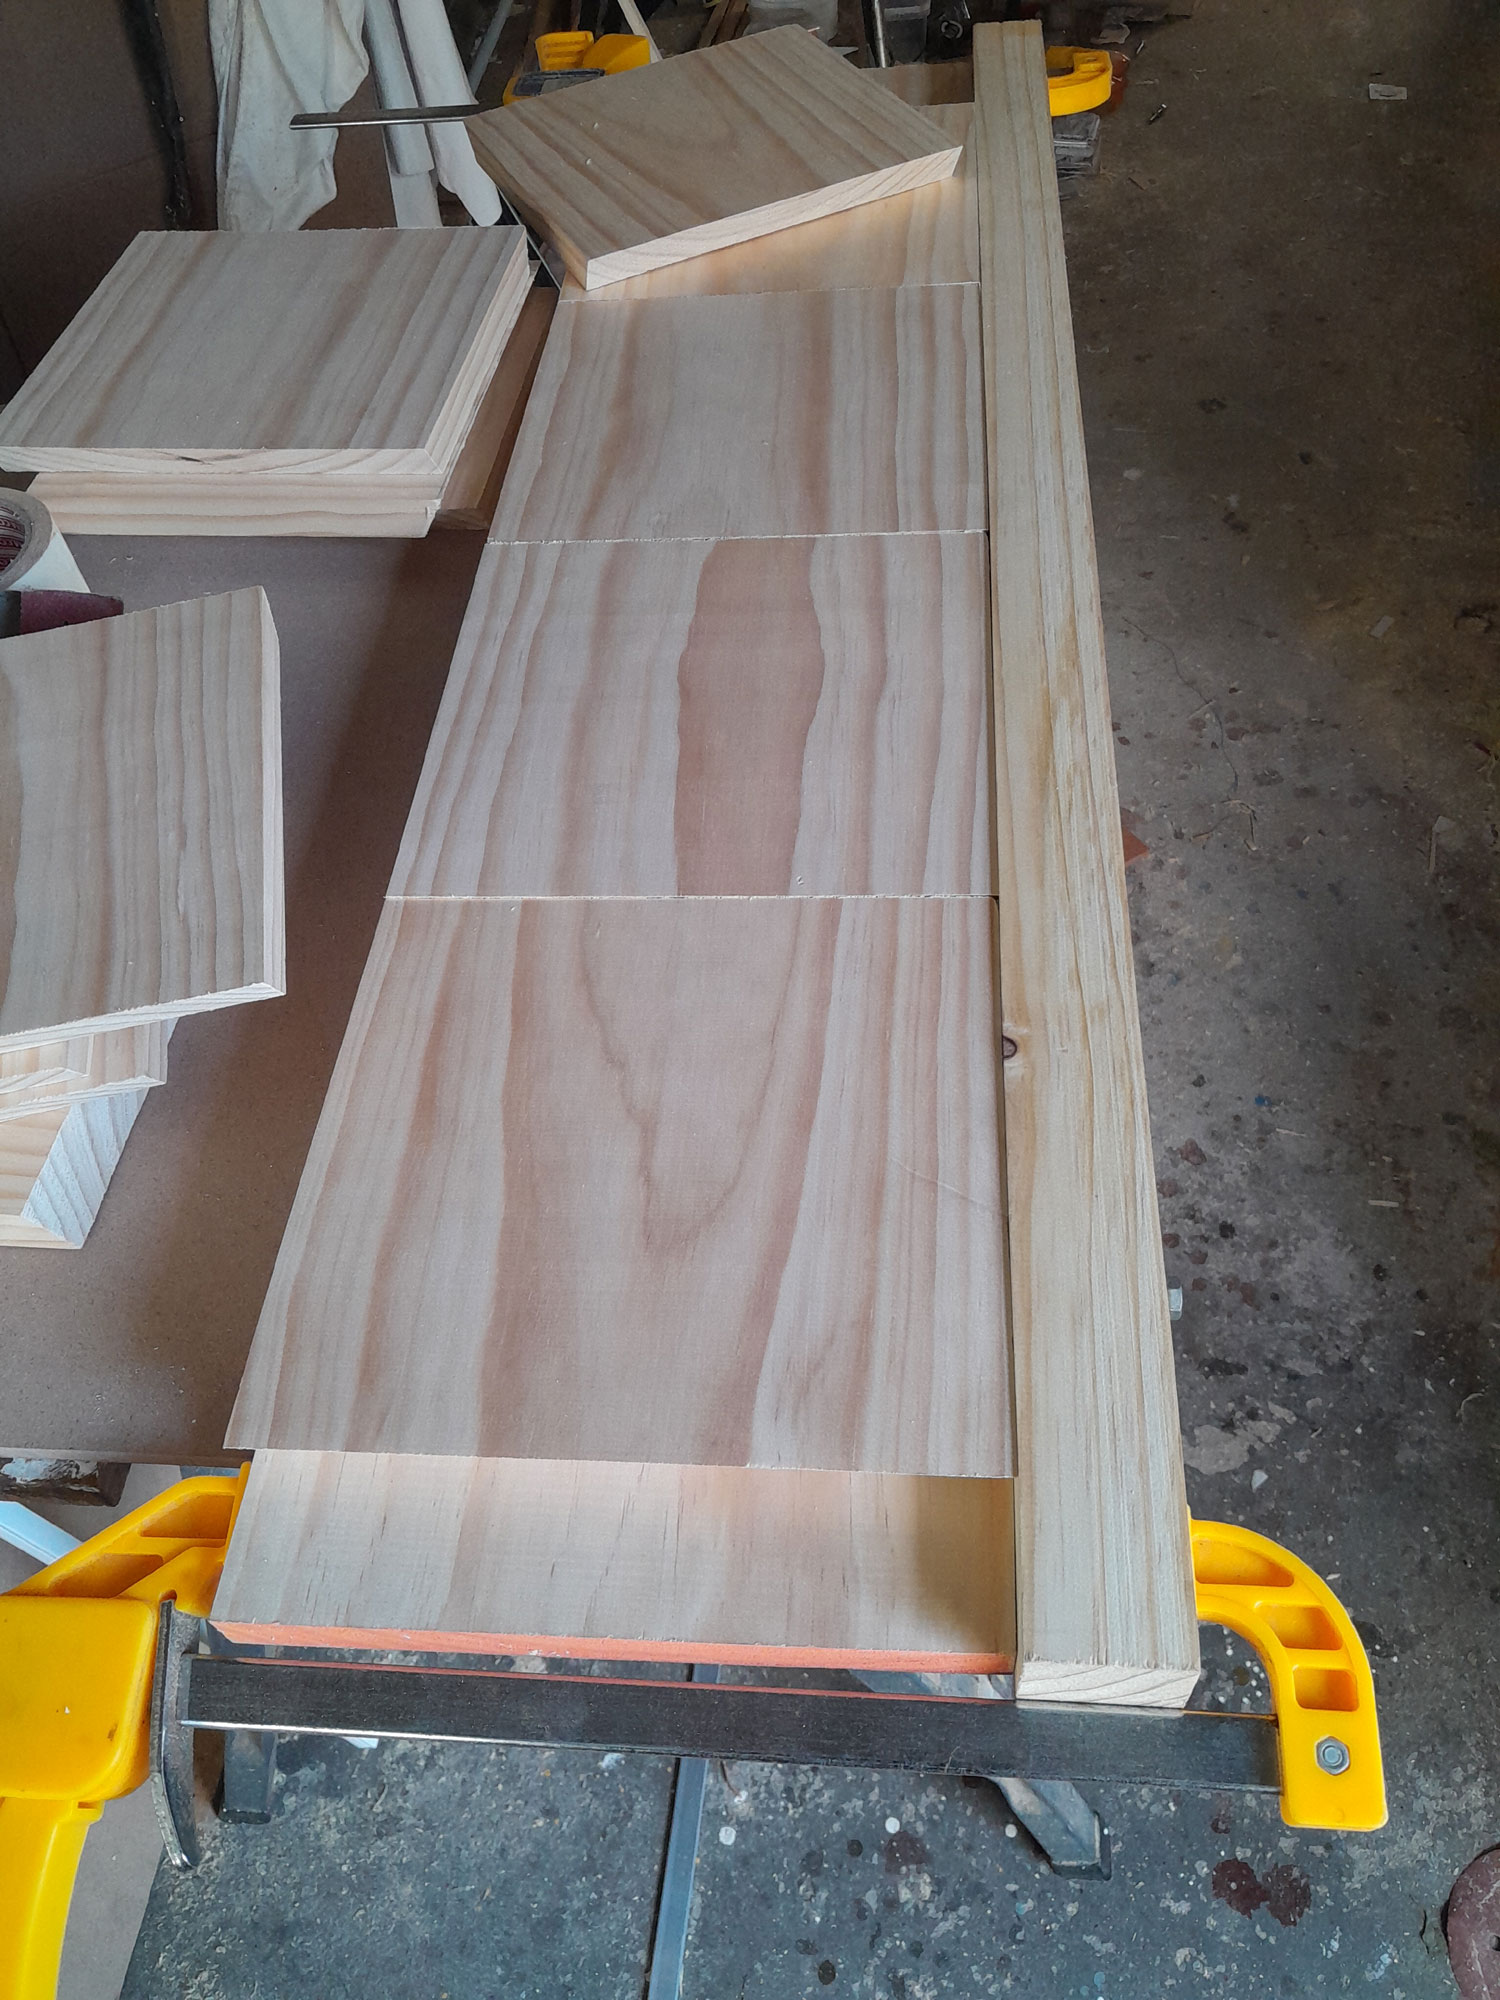
- I laid them out, using a length of straight wood on one side to ensure each segment would be absolutely aligned with its neighbours.
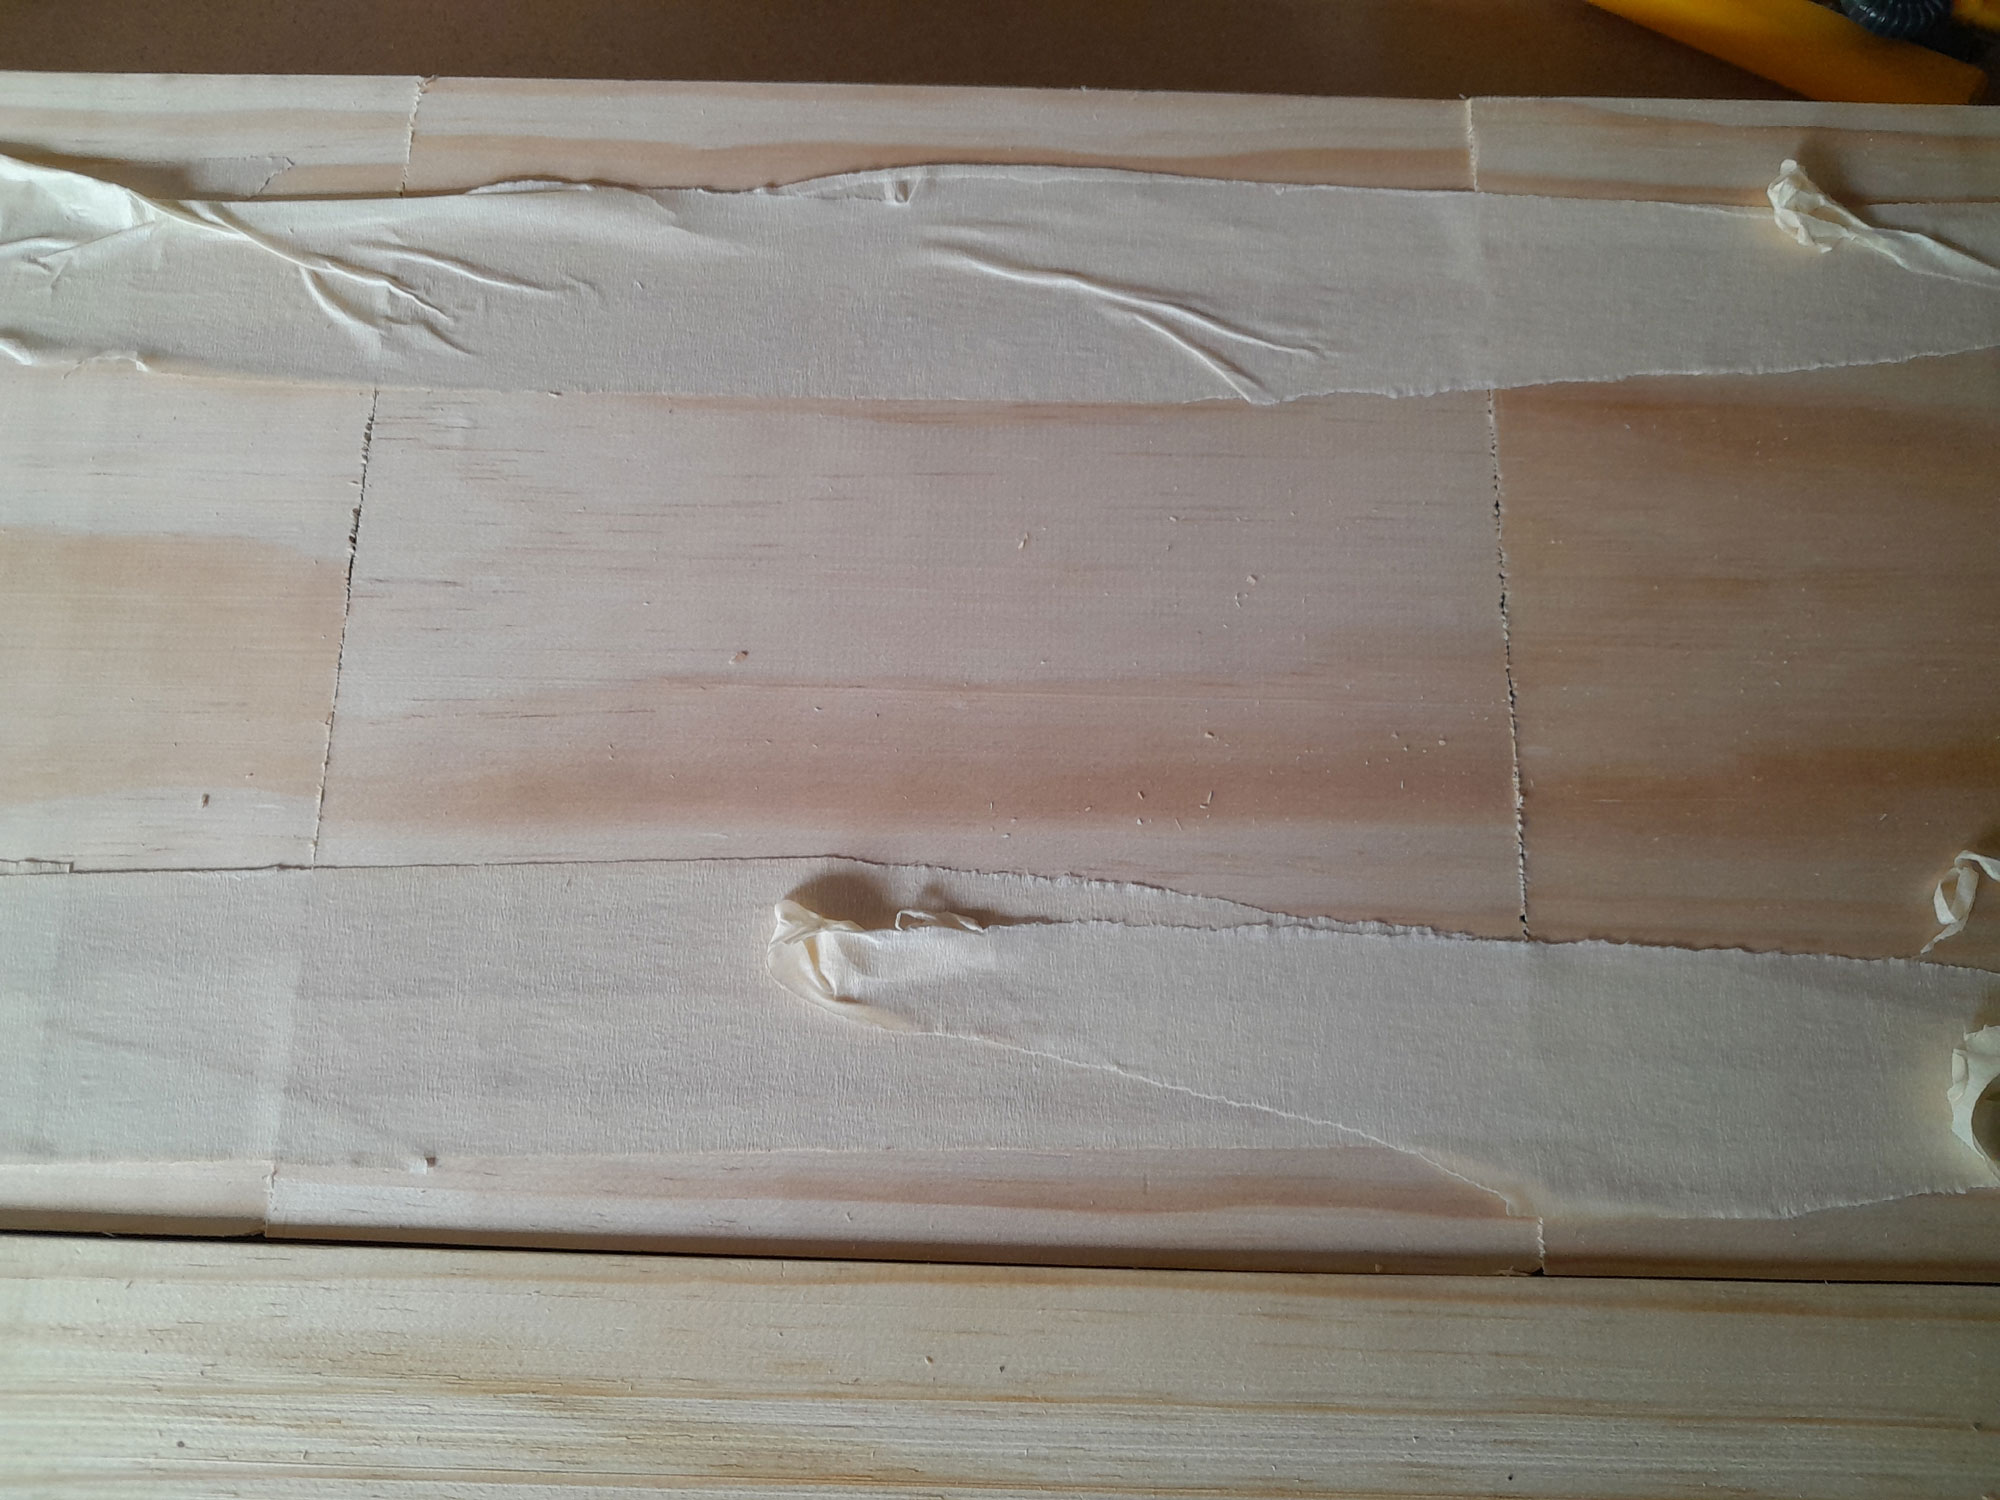
- I used wide masking tape to hold the segments together; in retrospect, luggage tape might have been a better option as it is stronger.
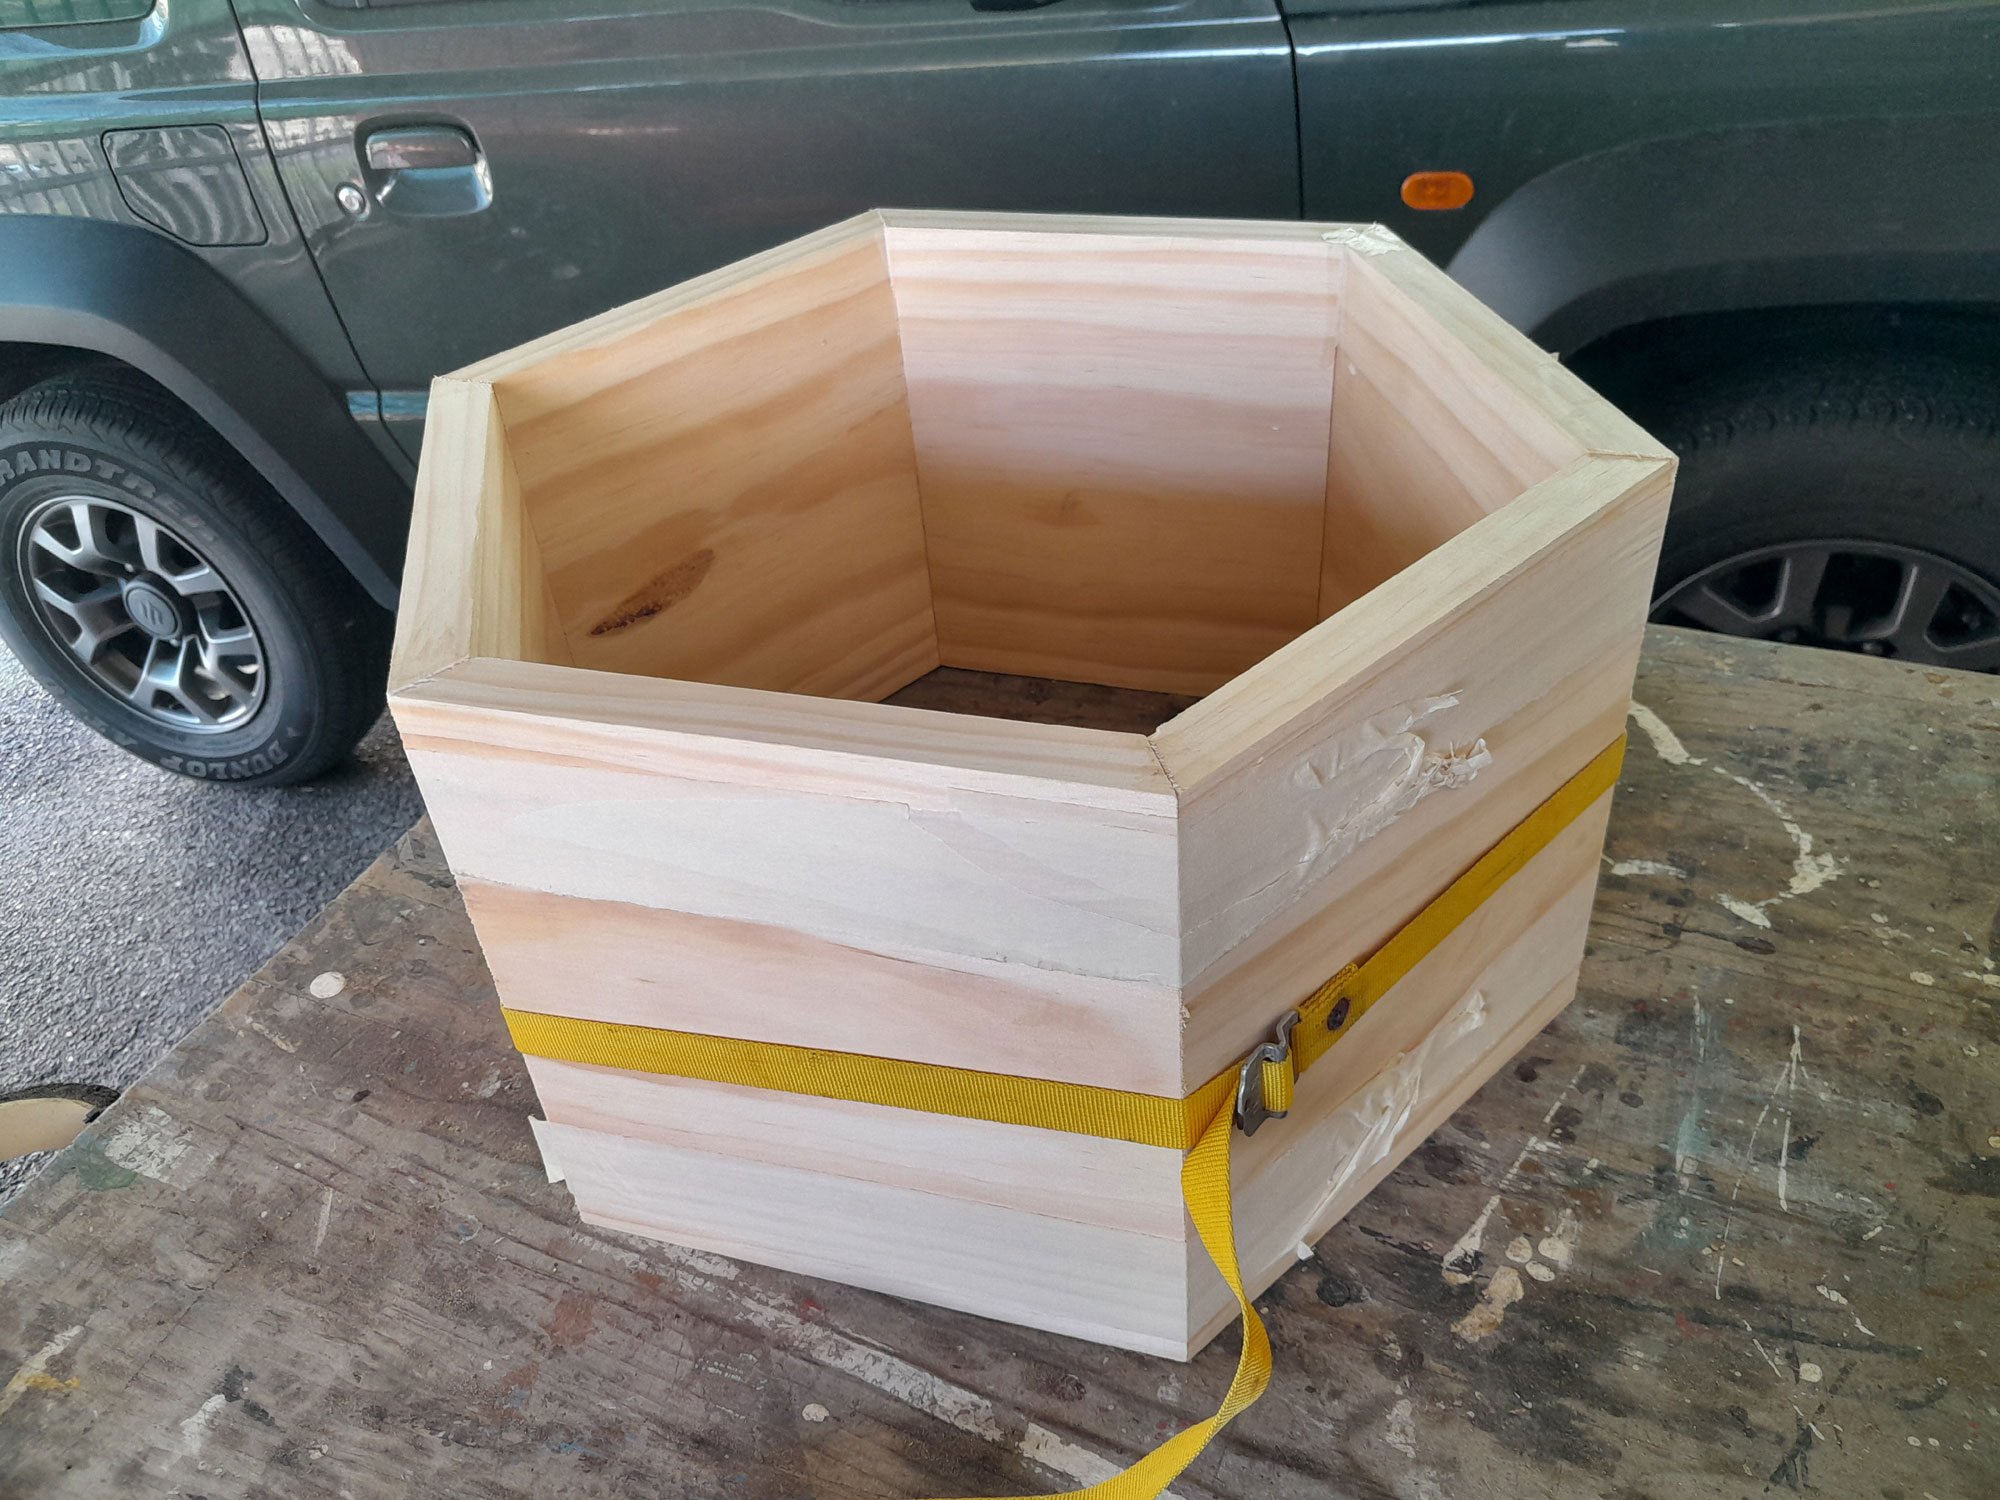
- Then I flipped them over on to their back and I applied glue to each segment meeting surface, and then carefully rolled the segments up, rather like a tank track, with some tape to hold them together. Then I secured them firmly with a luggage strap to hold them firmly together while the glue cured.
- To tighten the strap as much as possible, I pushed offcuts under the straps as shown. I also measured across the hexagon to ensure it was all correctly aligned. I assembled the second hexagon in the same manner.
- Now for the feet… I marked off the centre of the 22x96x600mm offcut, cut it in half and ripped it down each length at a 30º angle.

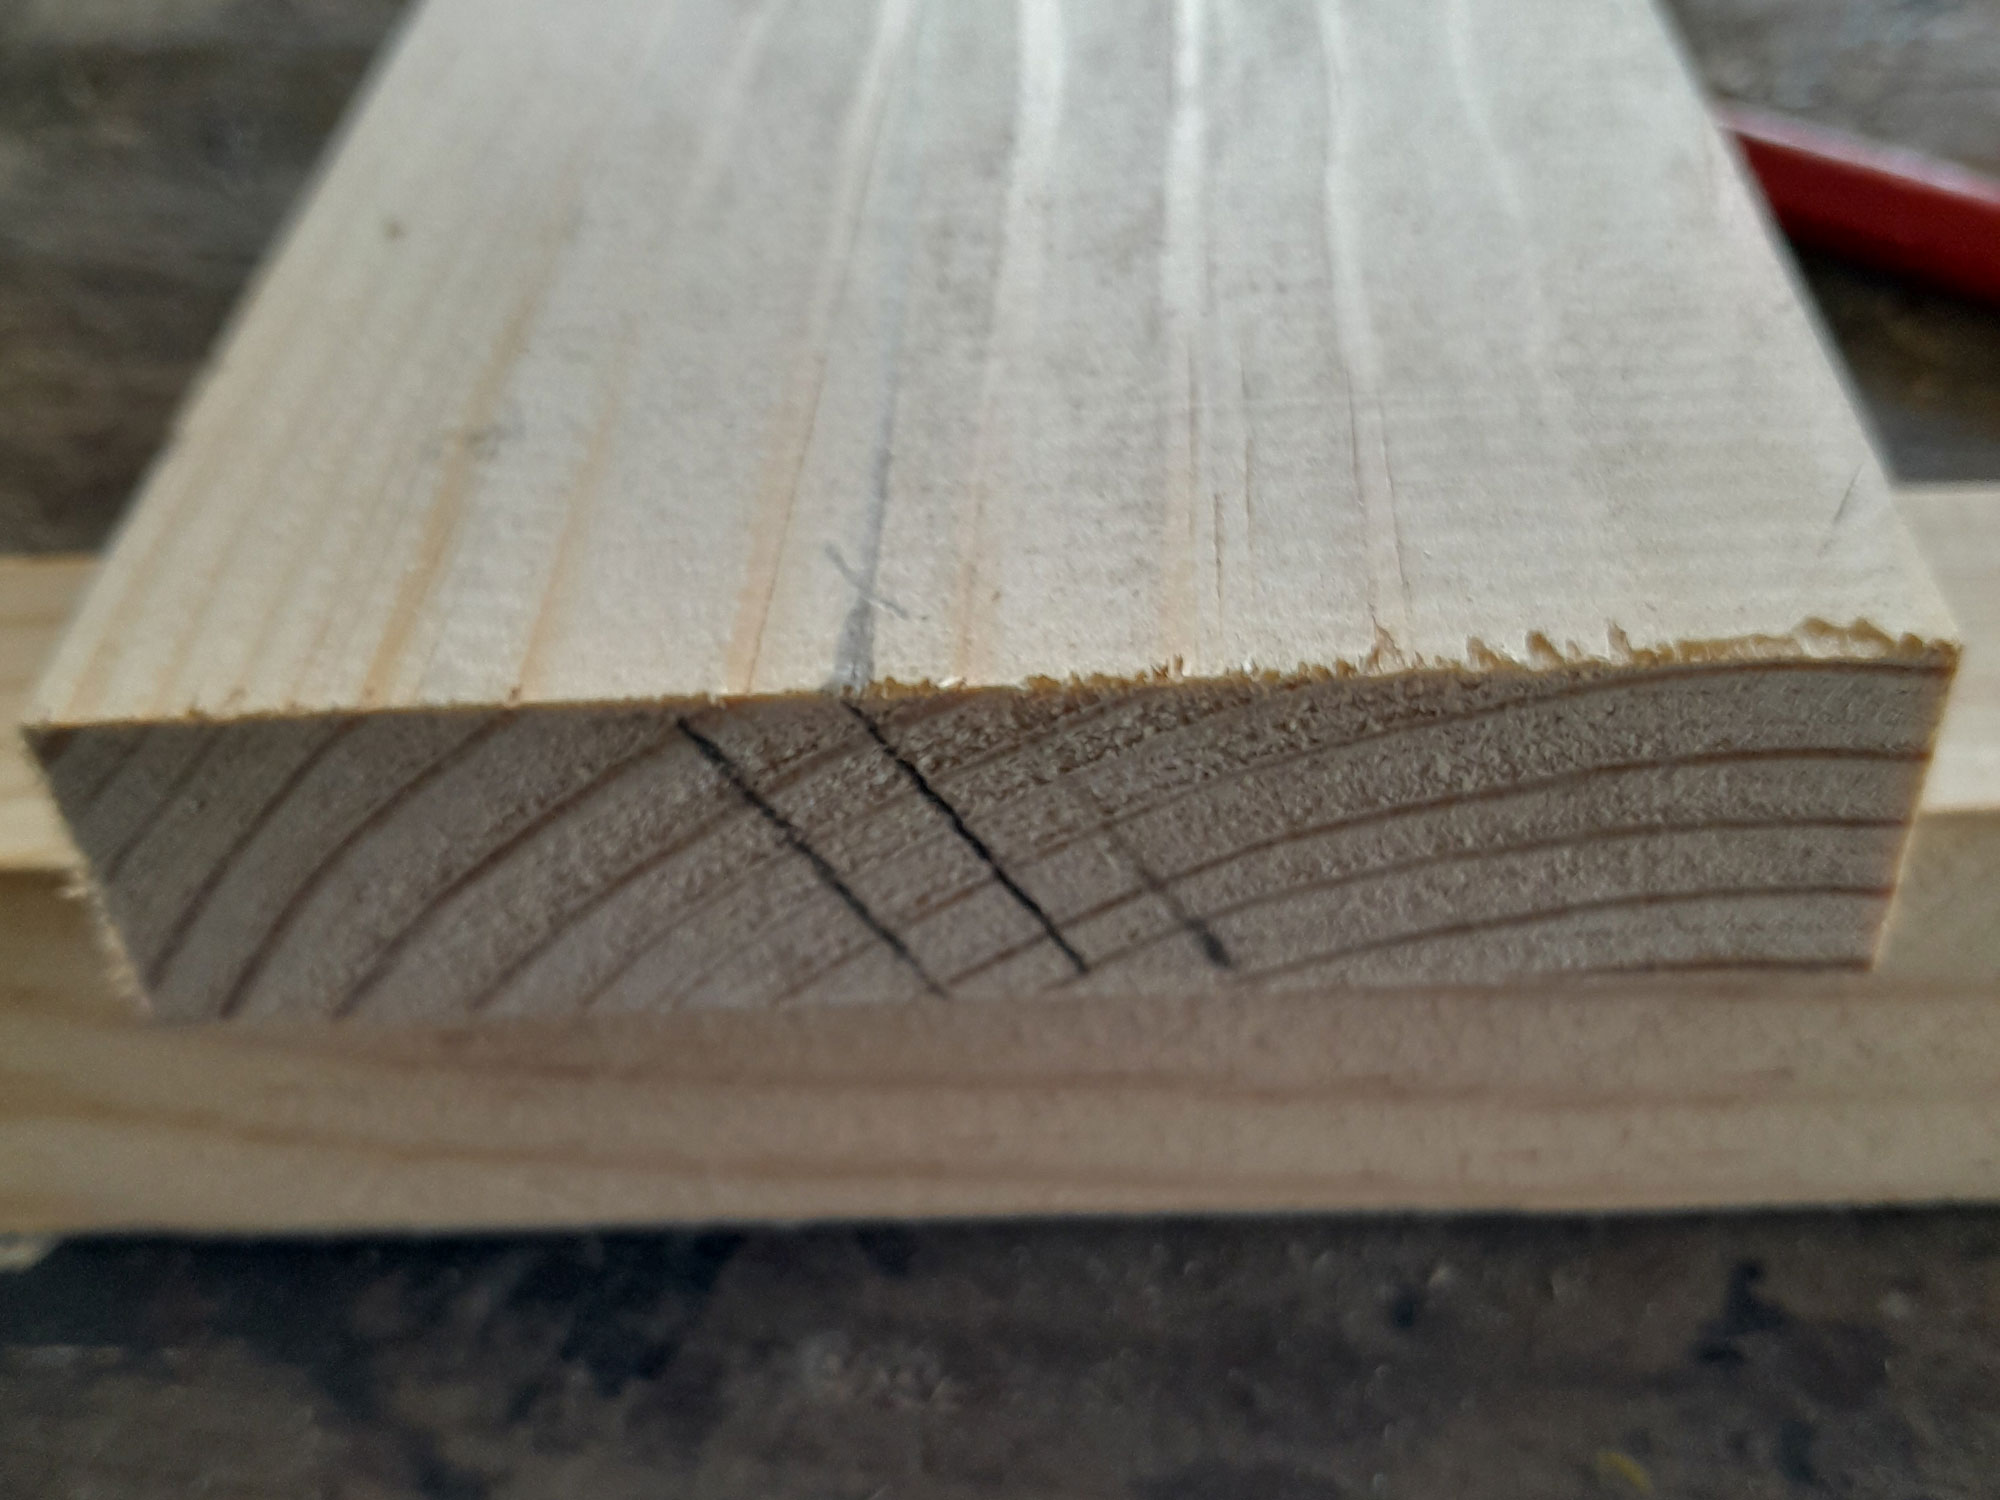
- Then I glued the pieces together as shown here and clamped them while the glue cured.
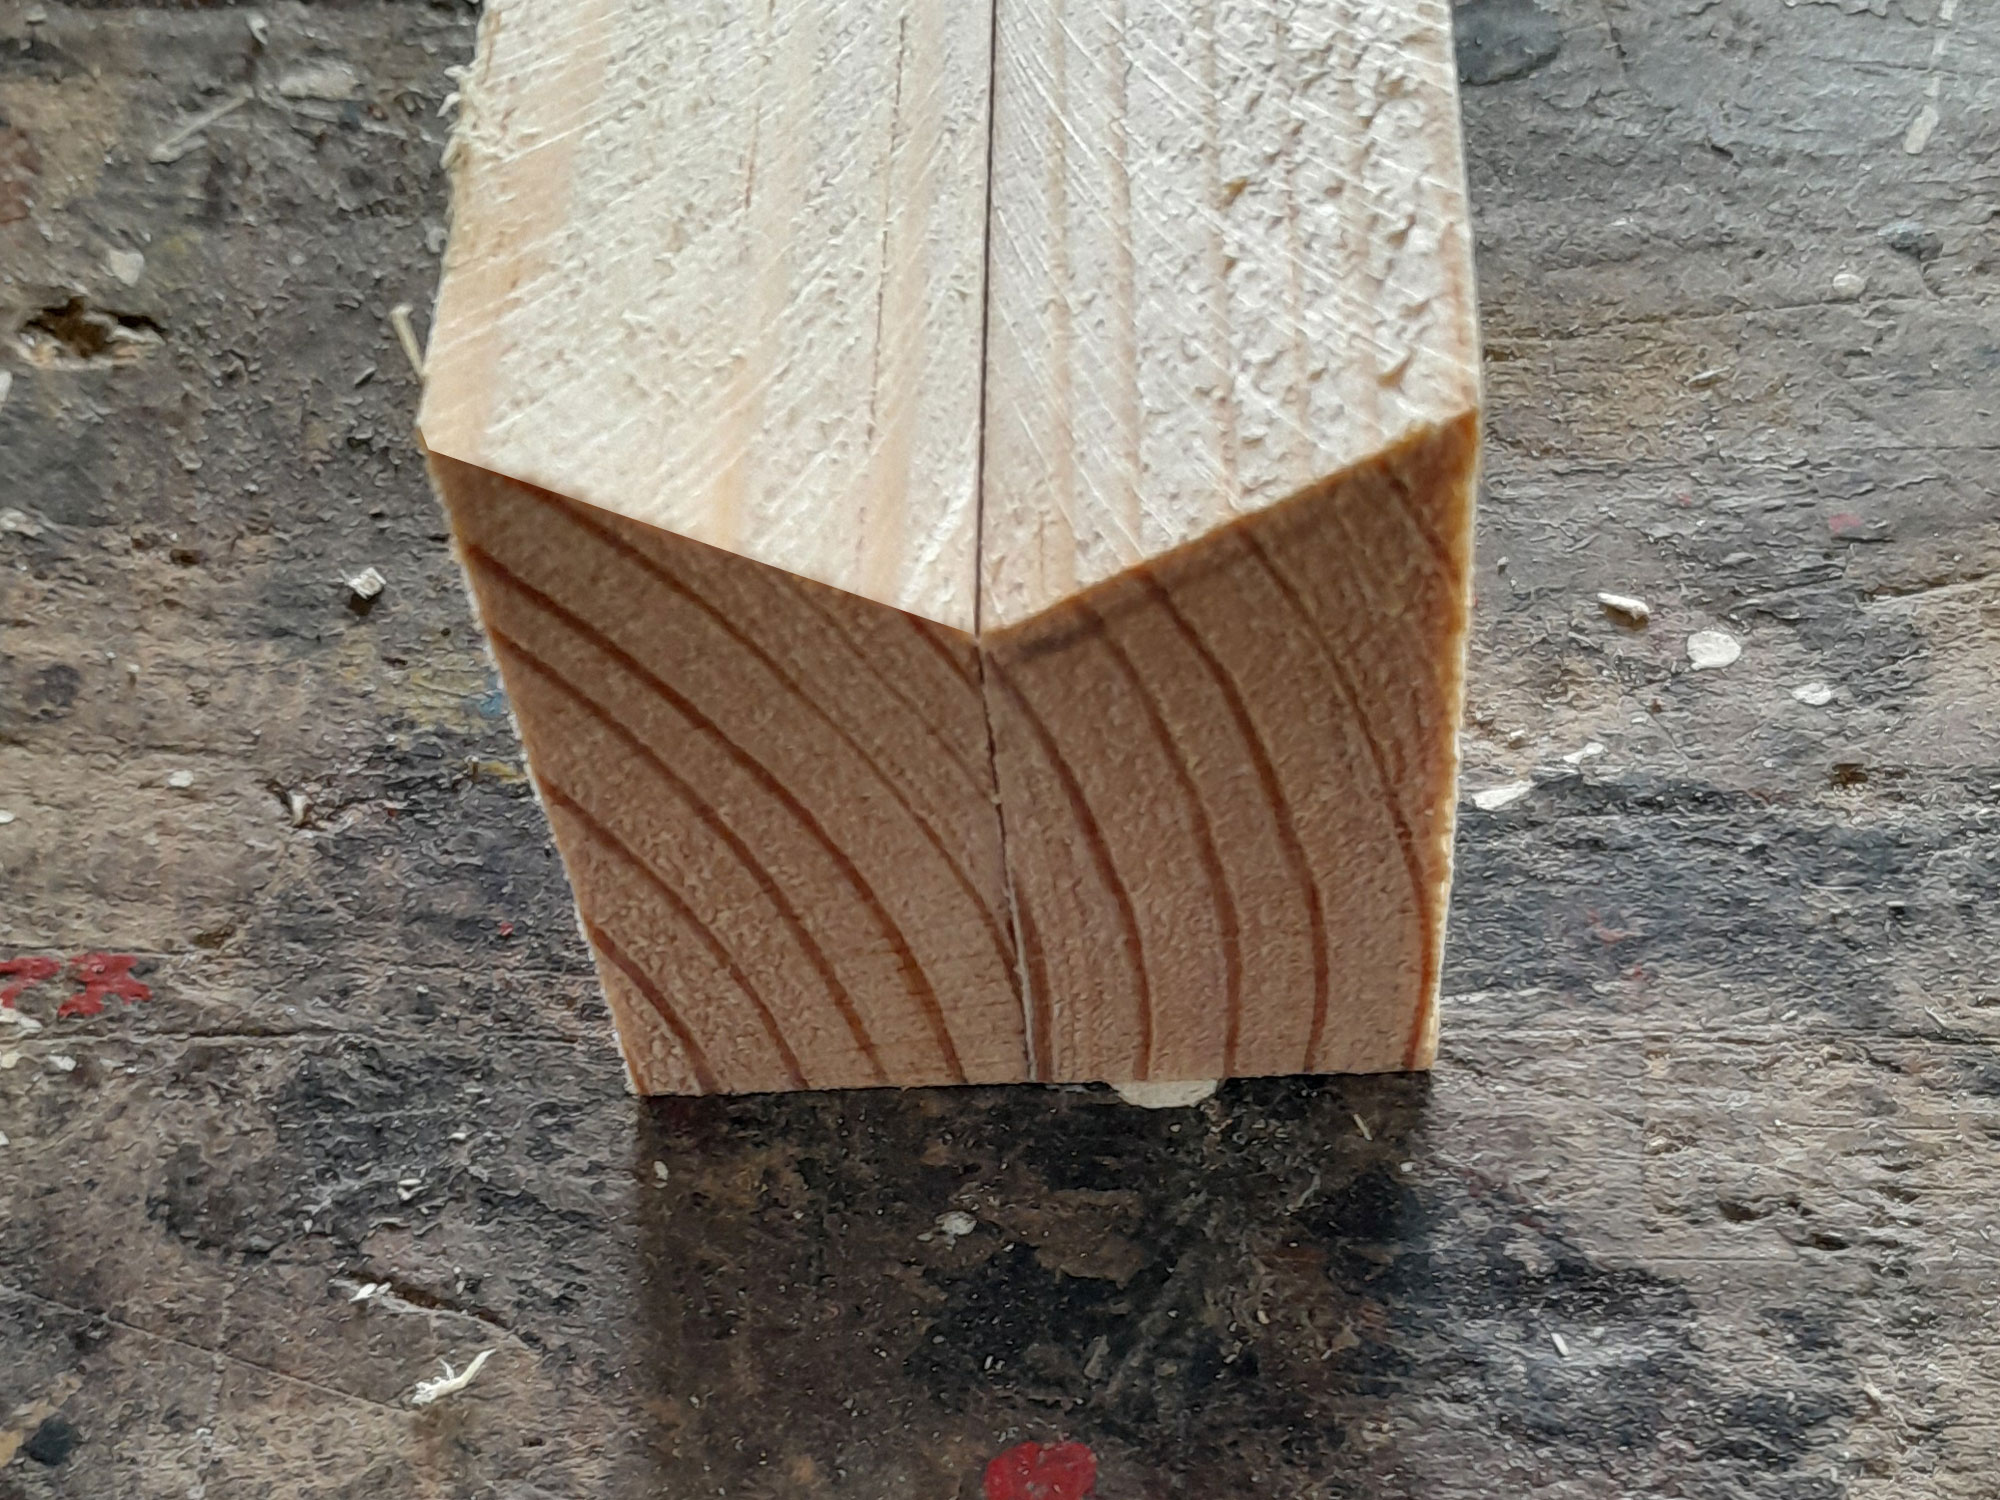
- The “V” of each foot needs to meet exactly as shown here.
- I bevelled each end at 30º, to match the rest of the angles, leaving a flat end of about 8mm on each end so that there would be no sharp edges to snag on a carpet.
- By now the glue has cured on the two hexagons, so I was able to check that they were both a match. There was a slight difference of about 1mm along one facet, but other than that, they worked out well.
- I used a flat strapping bar, with its predrilled holes, as my template to align the four 6mm boots that would hold the two hexagon sections together. Then I drilled the four holes, from the outside.



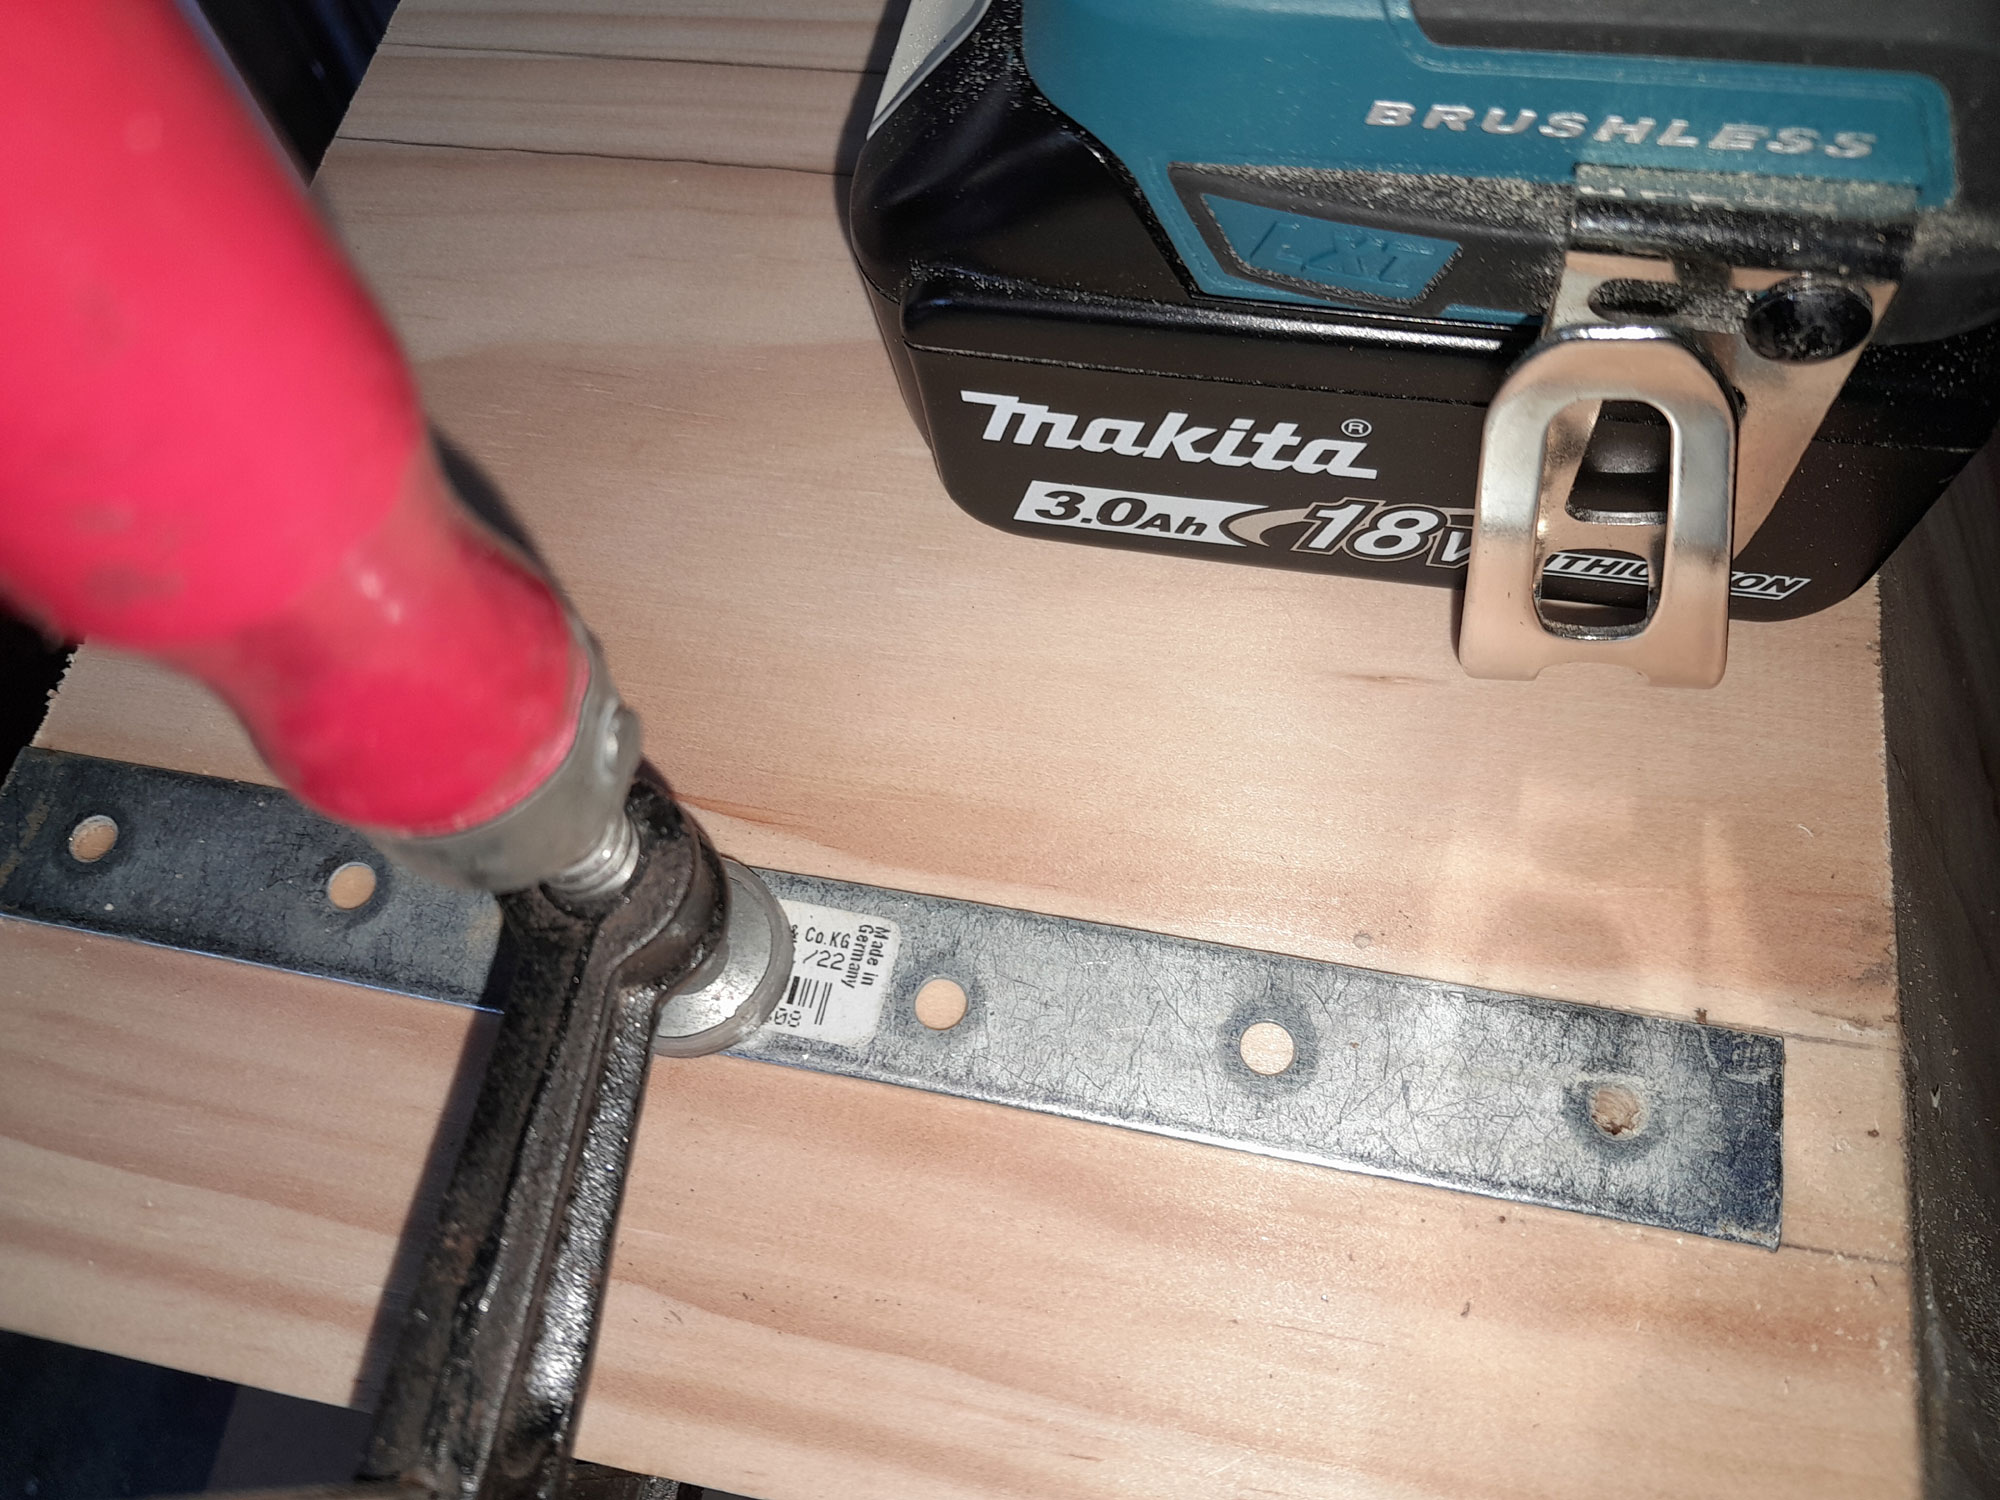
- Then I clamped both hexagons together, ensuring they were perfectly aligned and drilled through the holes already drilled, from the inside. So I now had four exactly matching holes for the bolts.
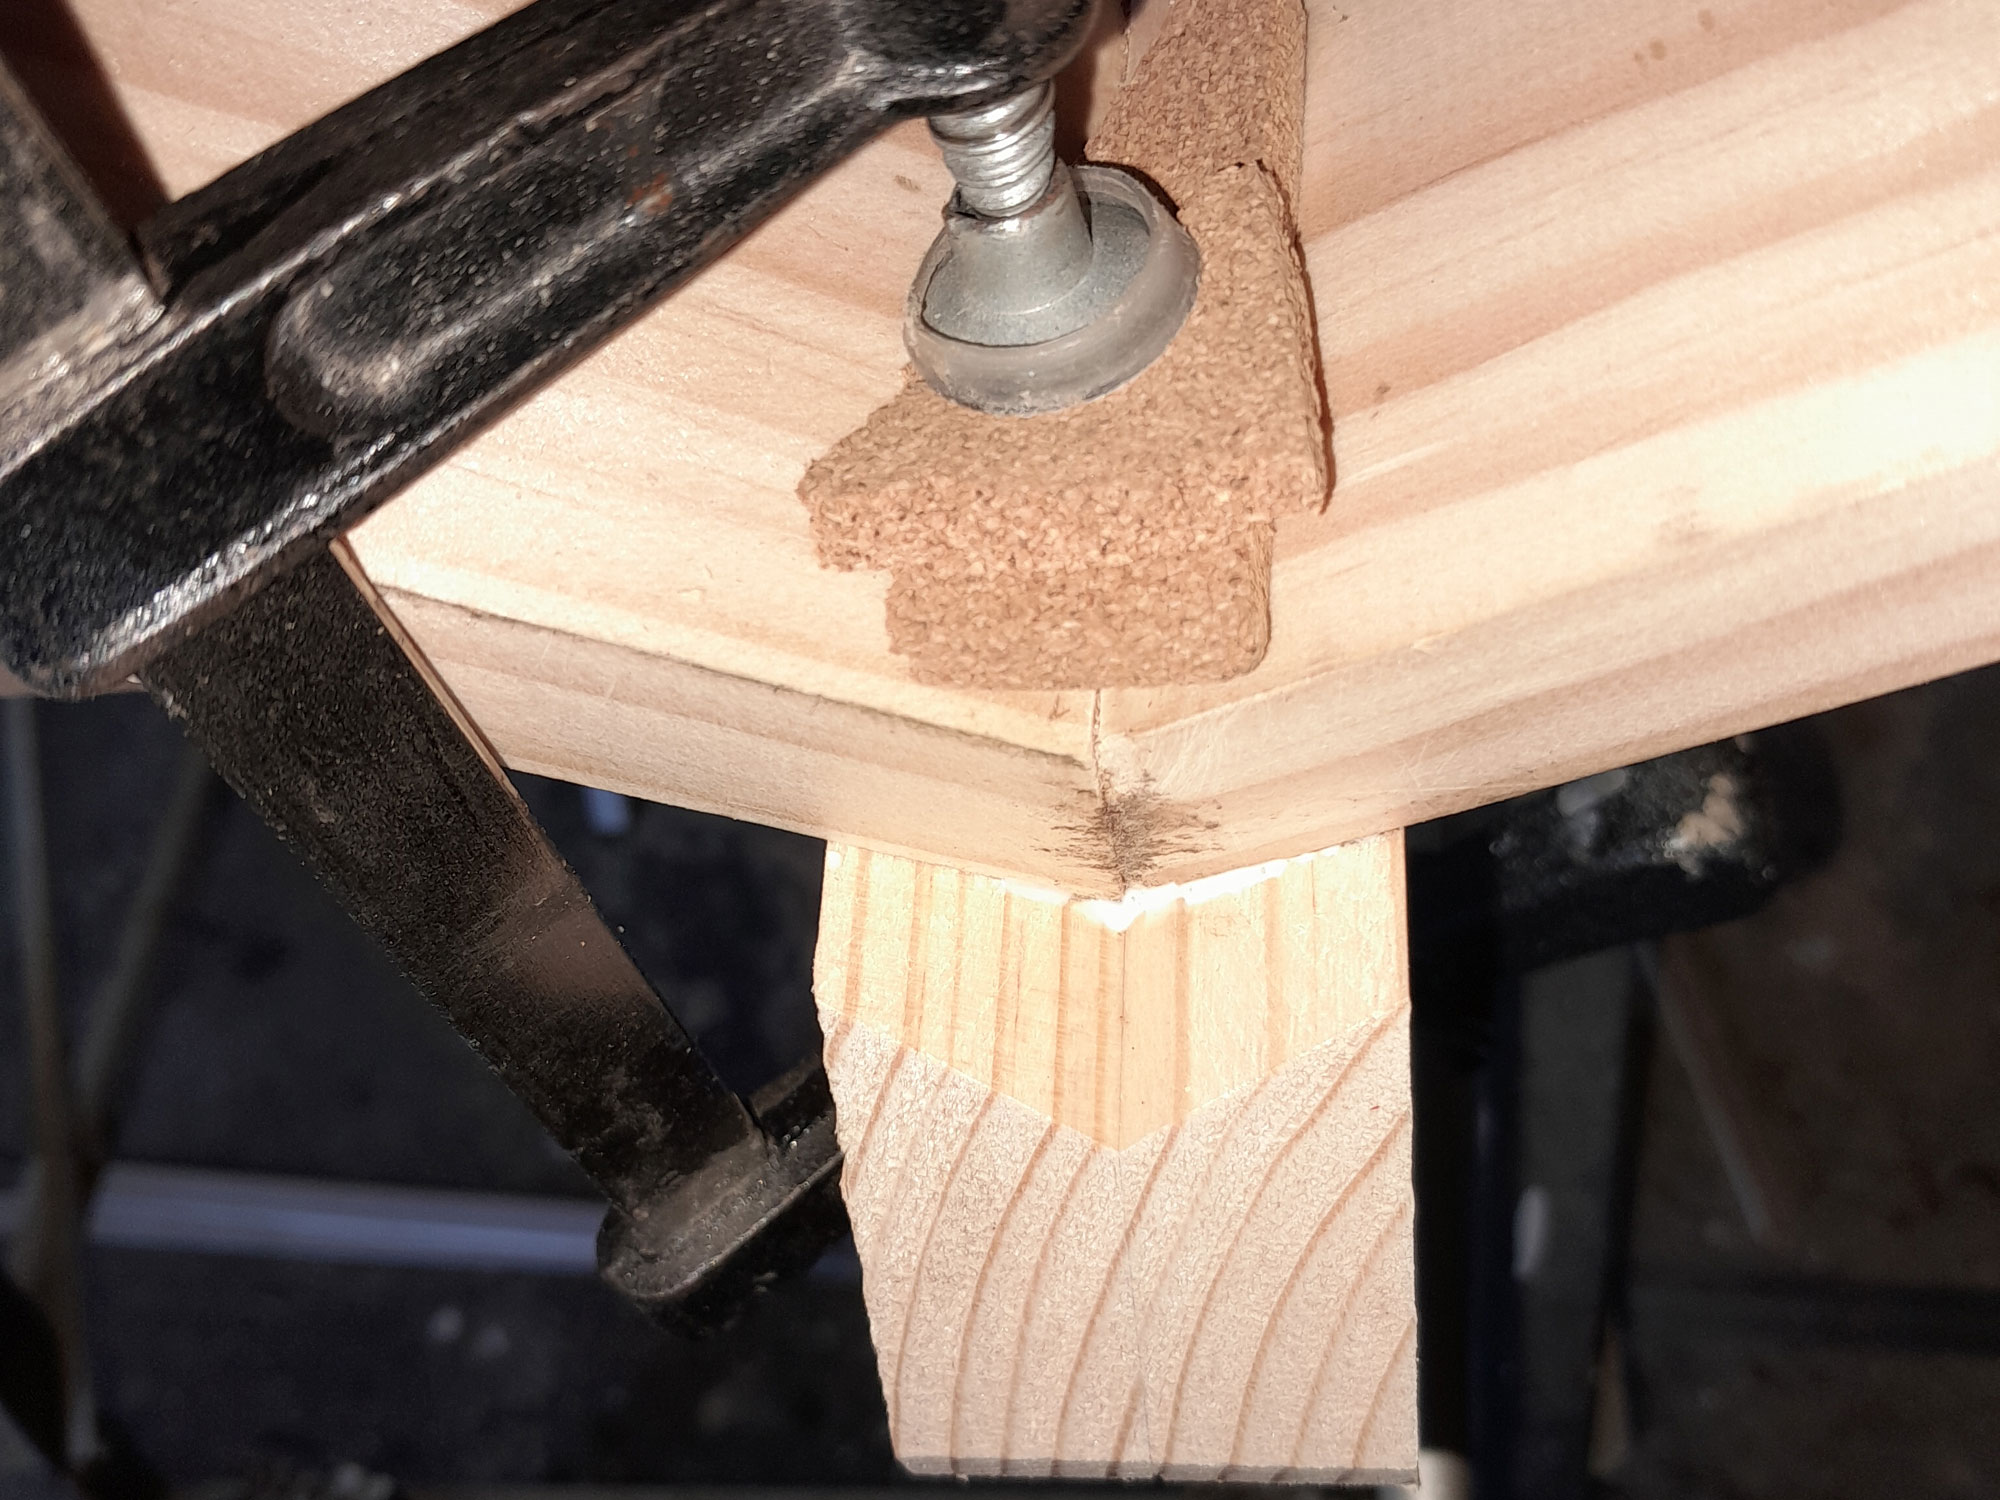
- My next step was to secure the feet to each hexagon, centring them and using some scrap cork left over from an earlier project as cushions, so the inner edges of the hexagons would not be indented by the clamp heads.
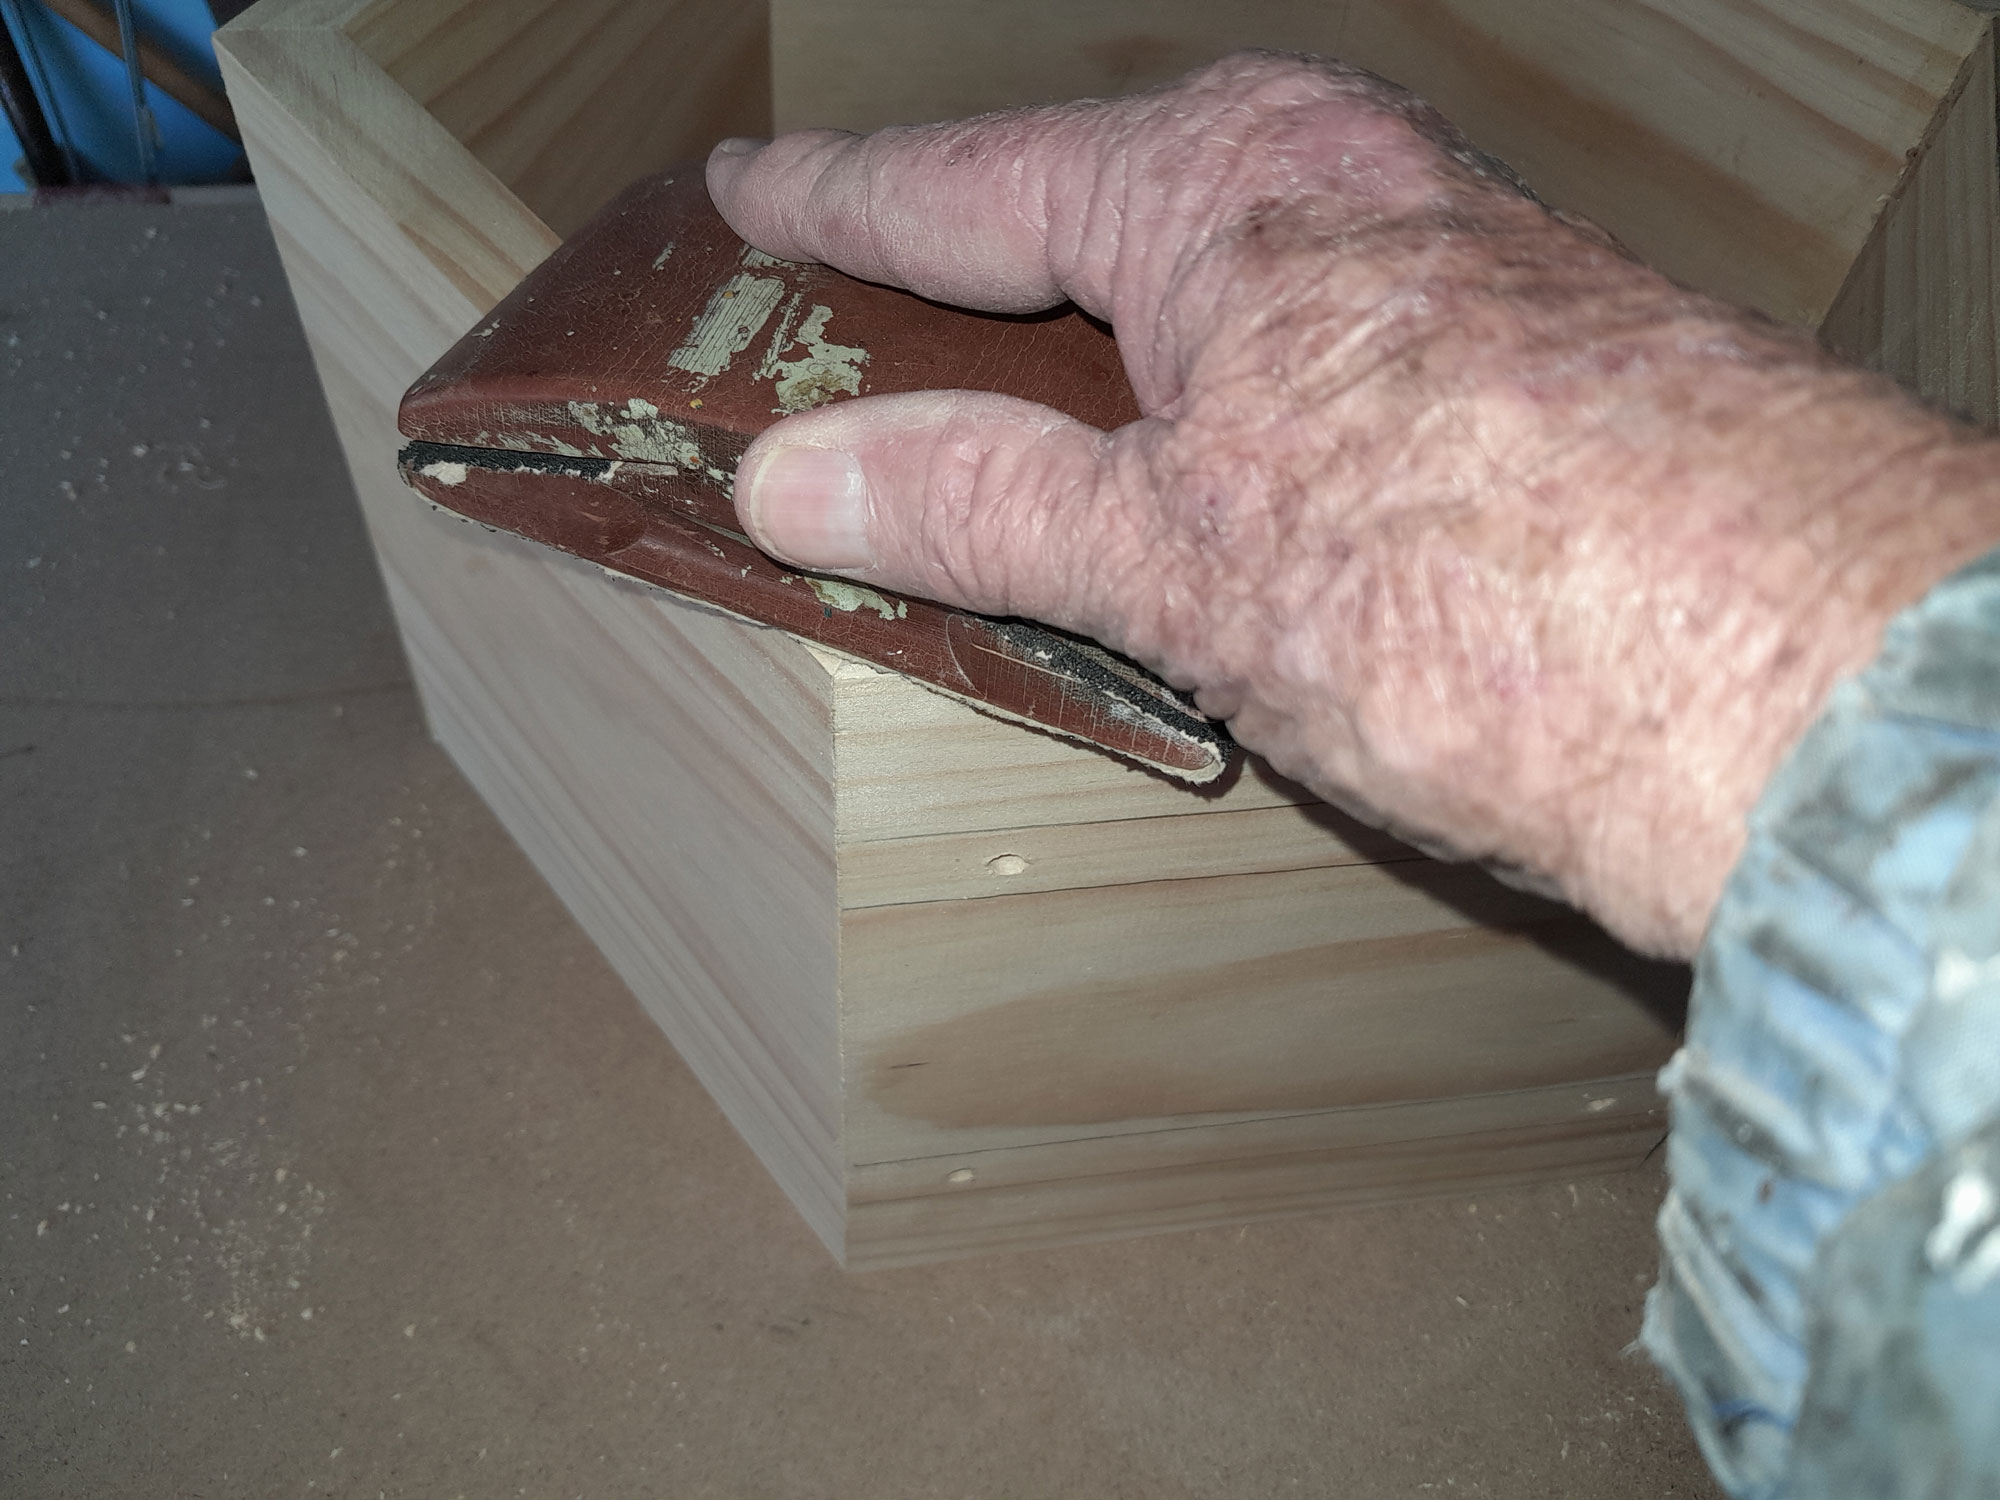
- Then I sanded off each join…
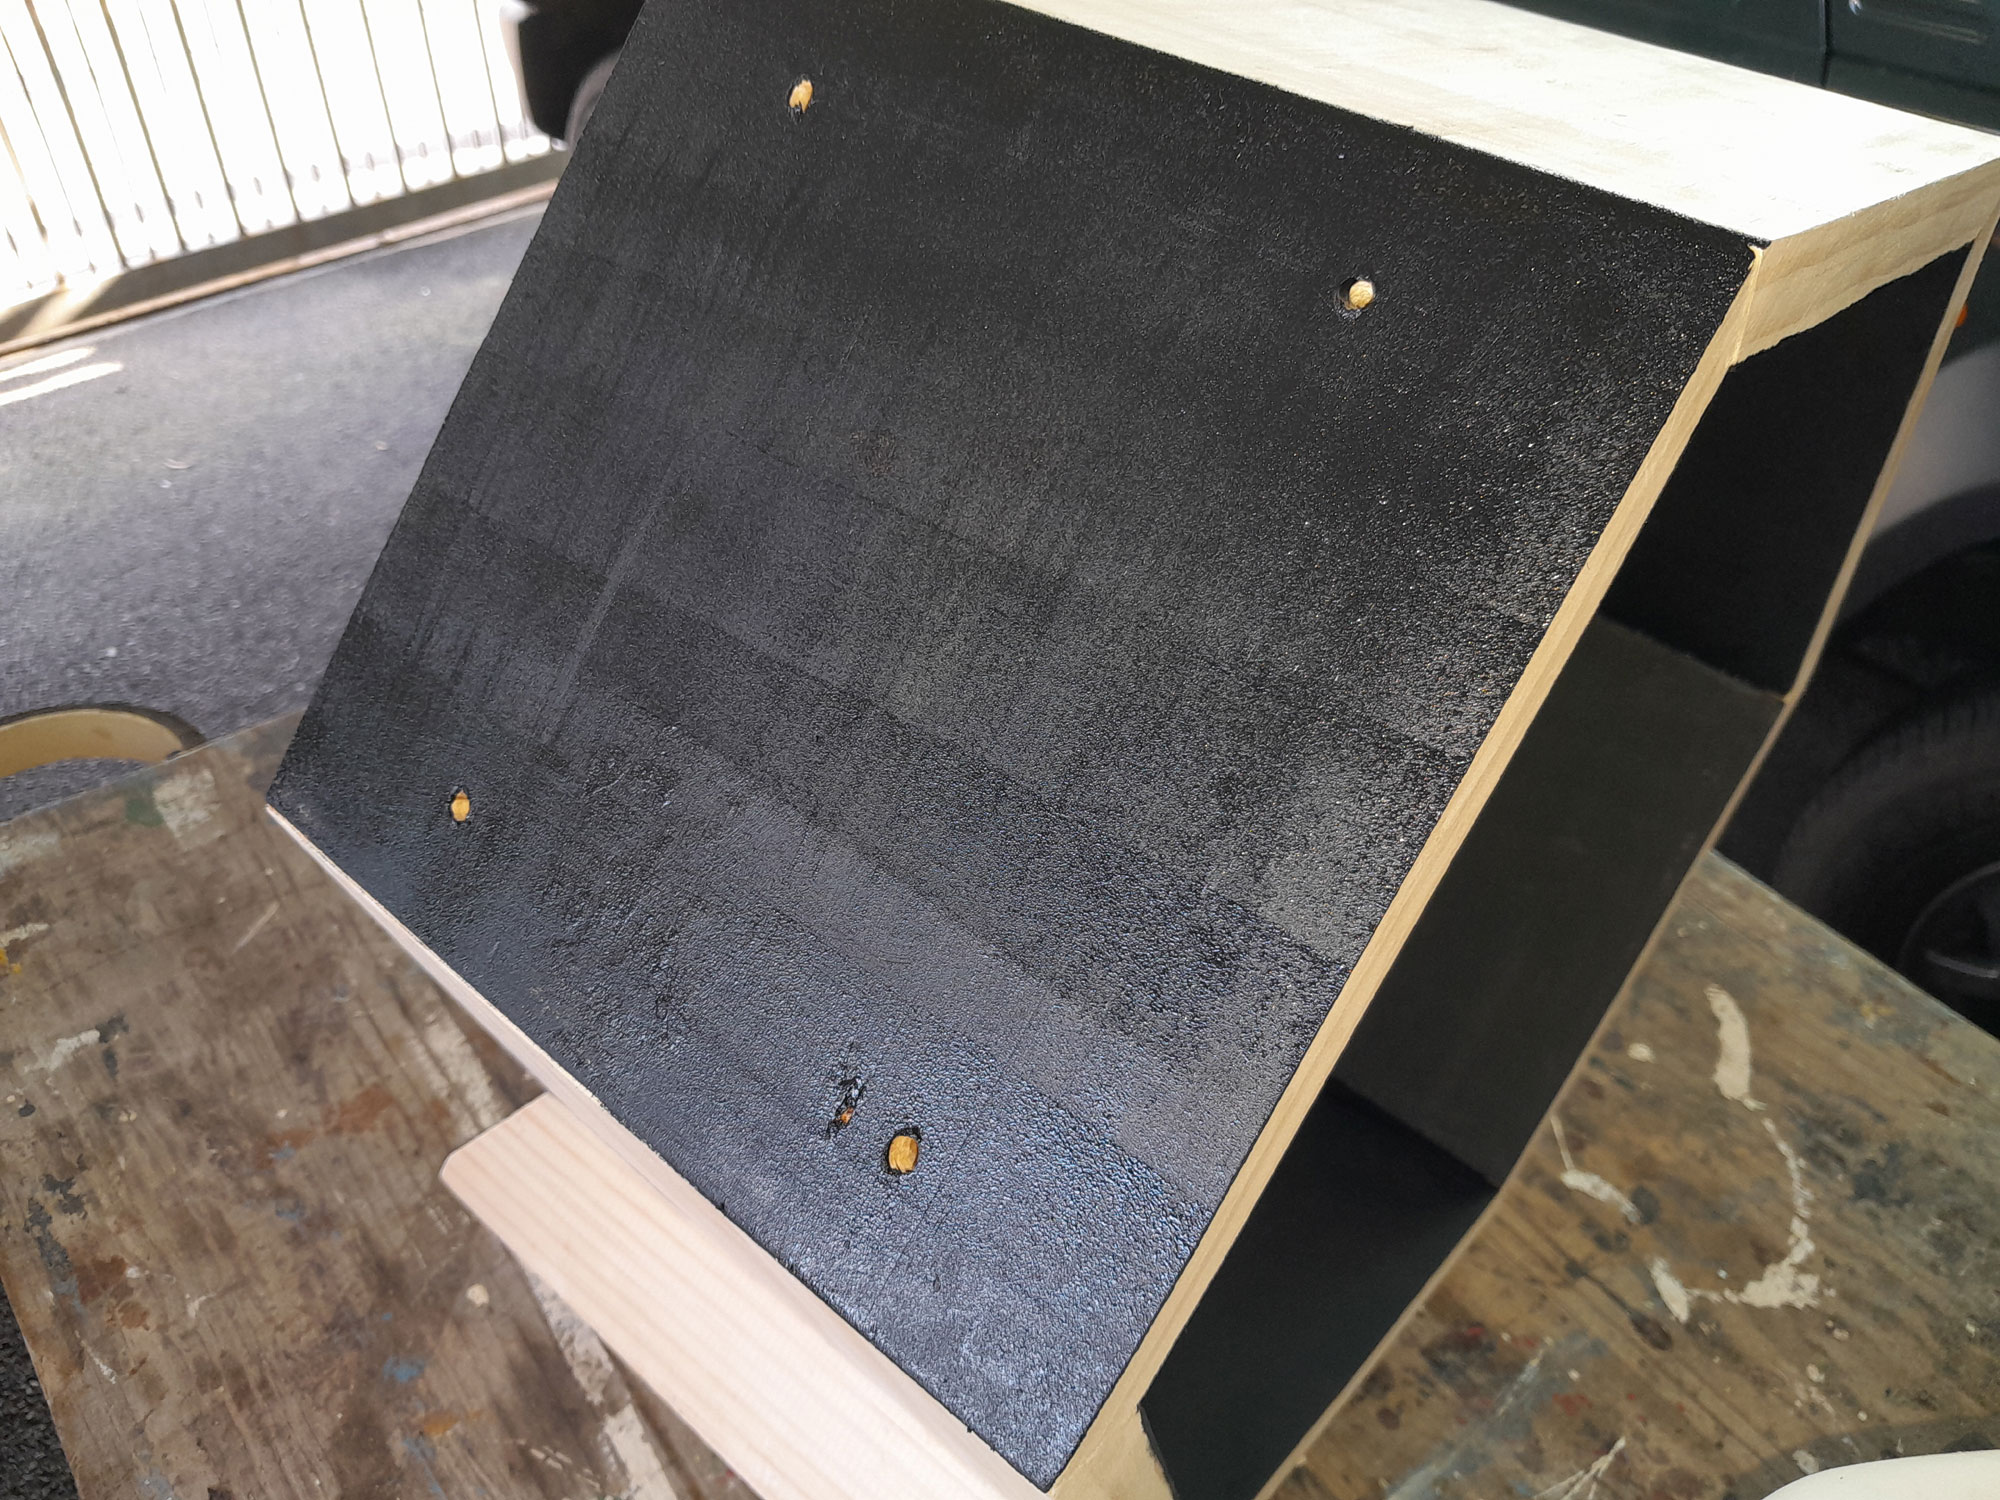
- And then I painted the inner surfaces of the hexagons.
- Followed by the outer surfaces. You can paint afterwards, but unless you are painting over the straps as well, you will need to mask them off. I found this to be much simpler, with just a little touch-up here and there where the paint might have been scuffed.


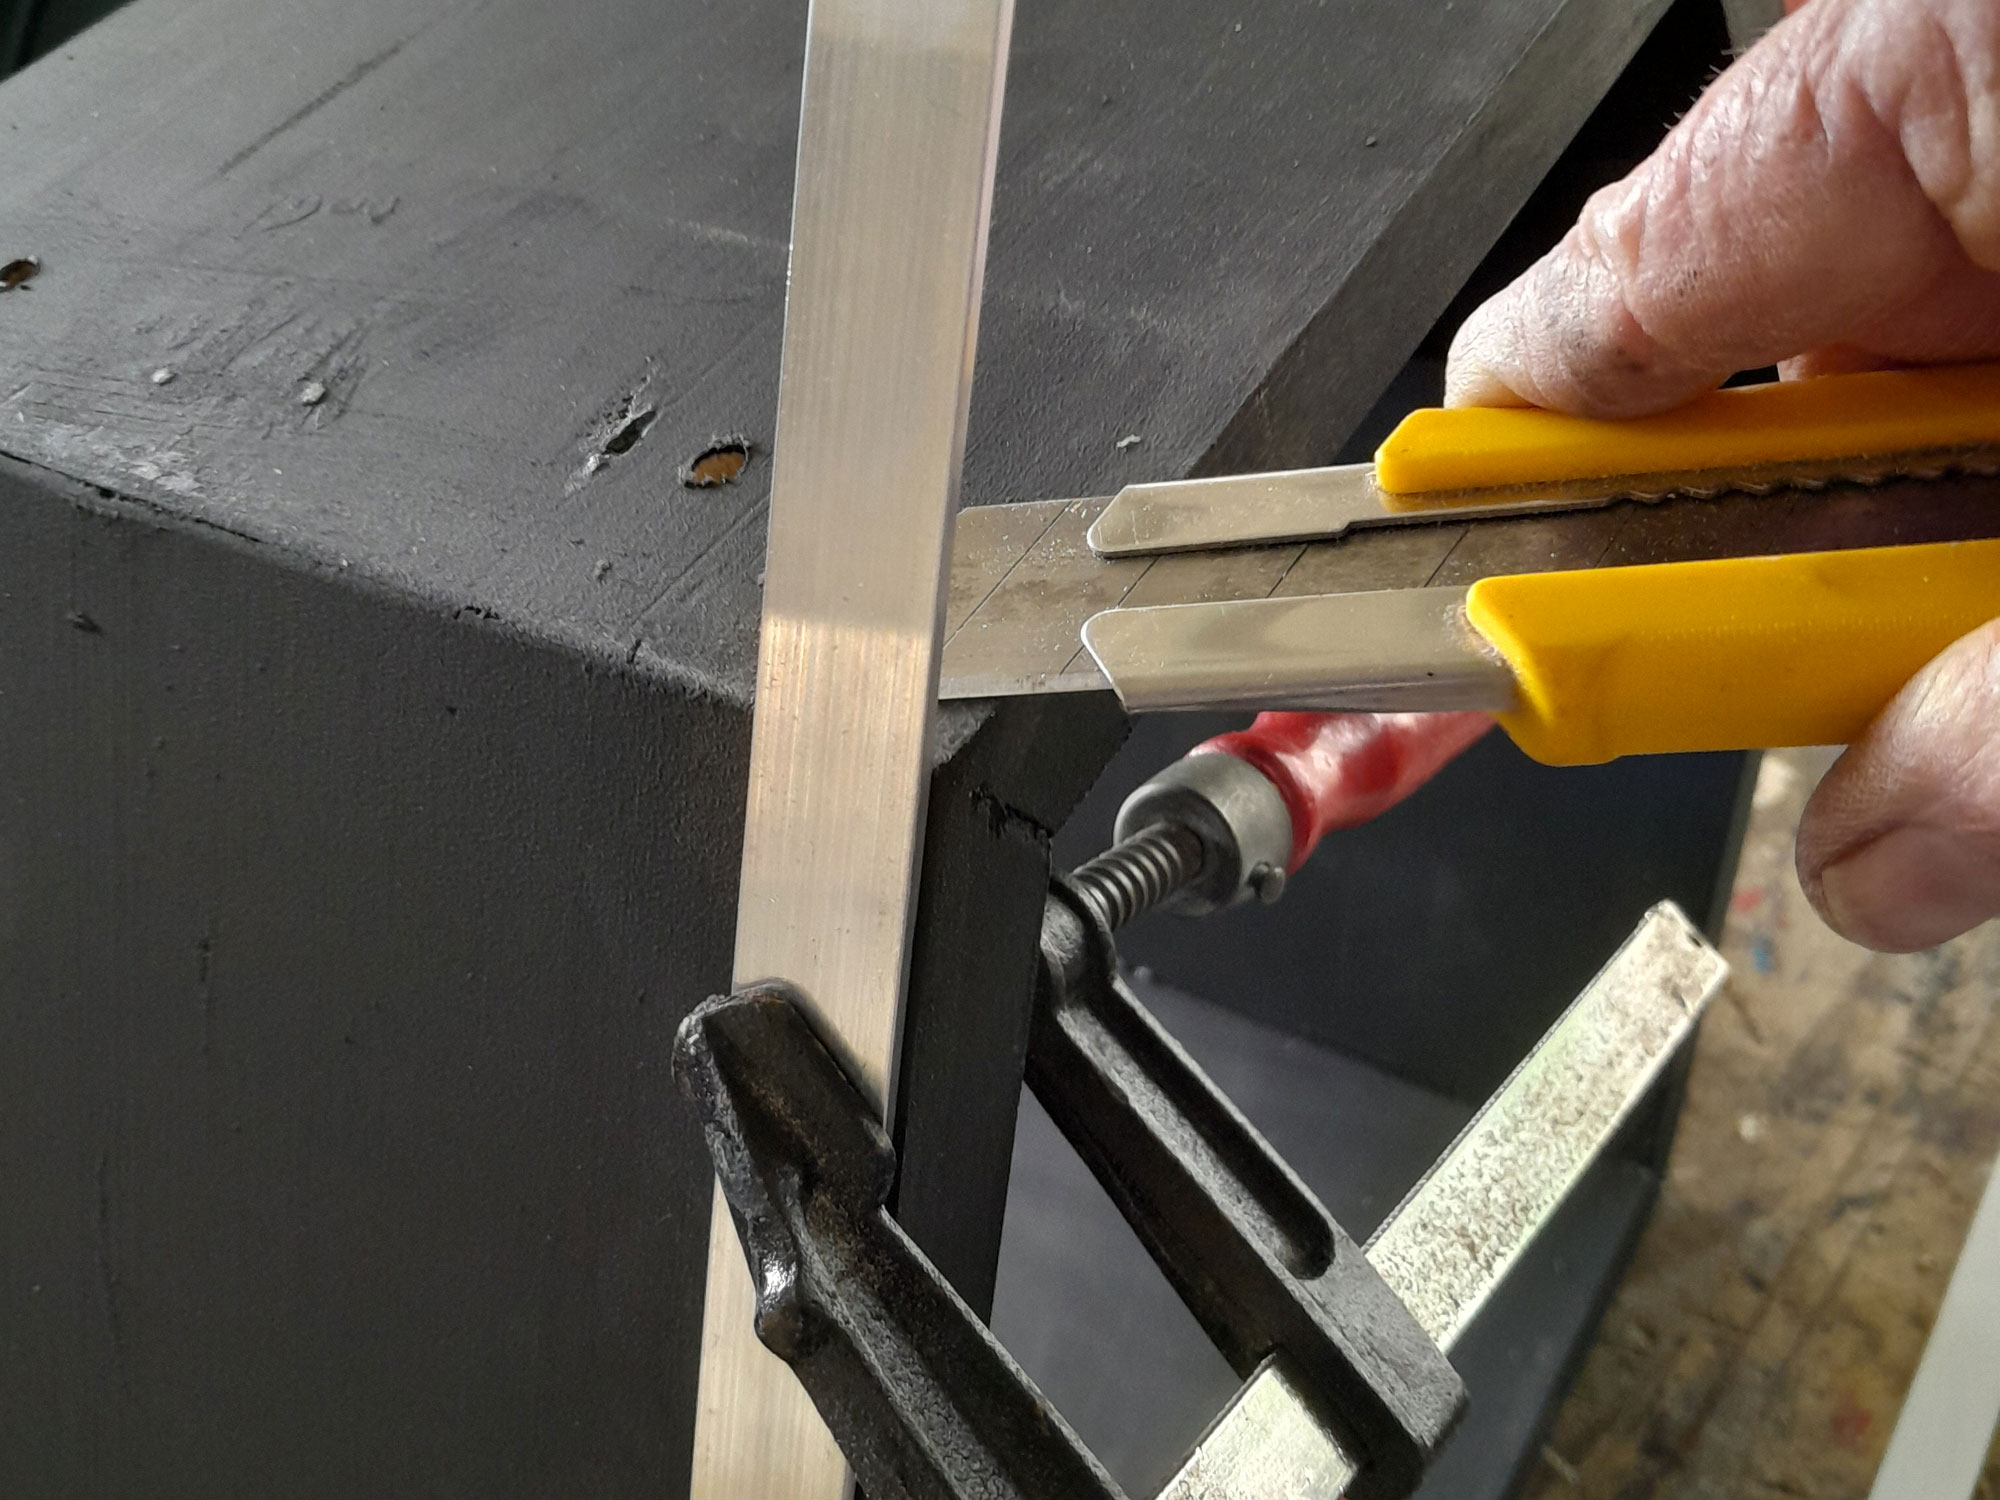
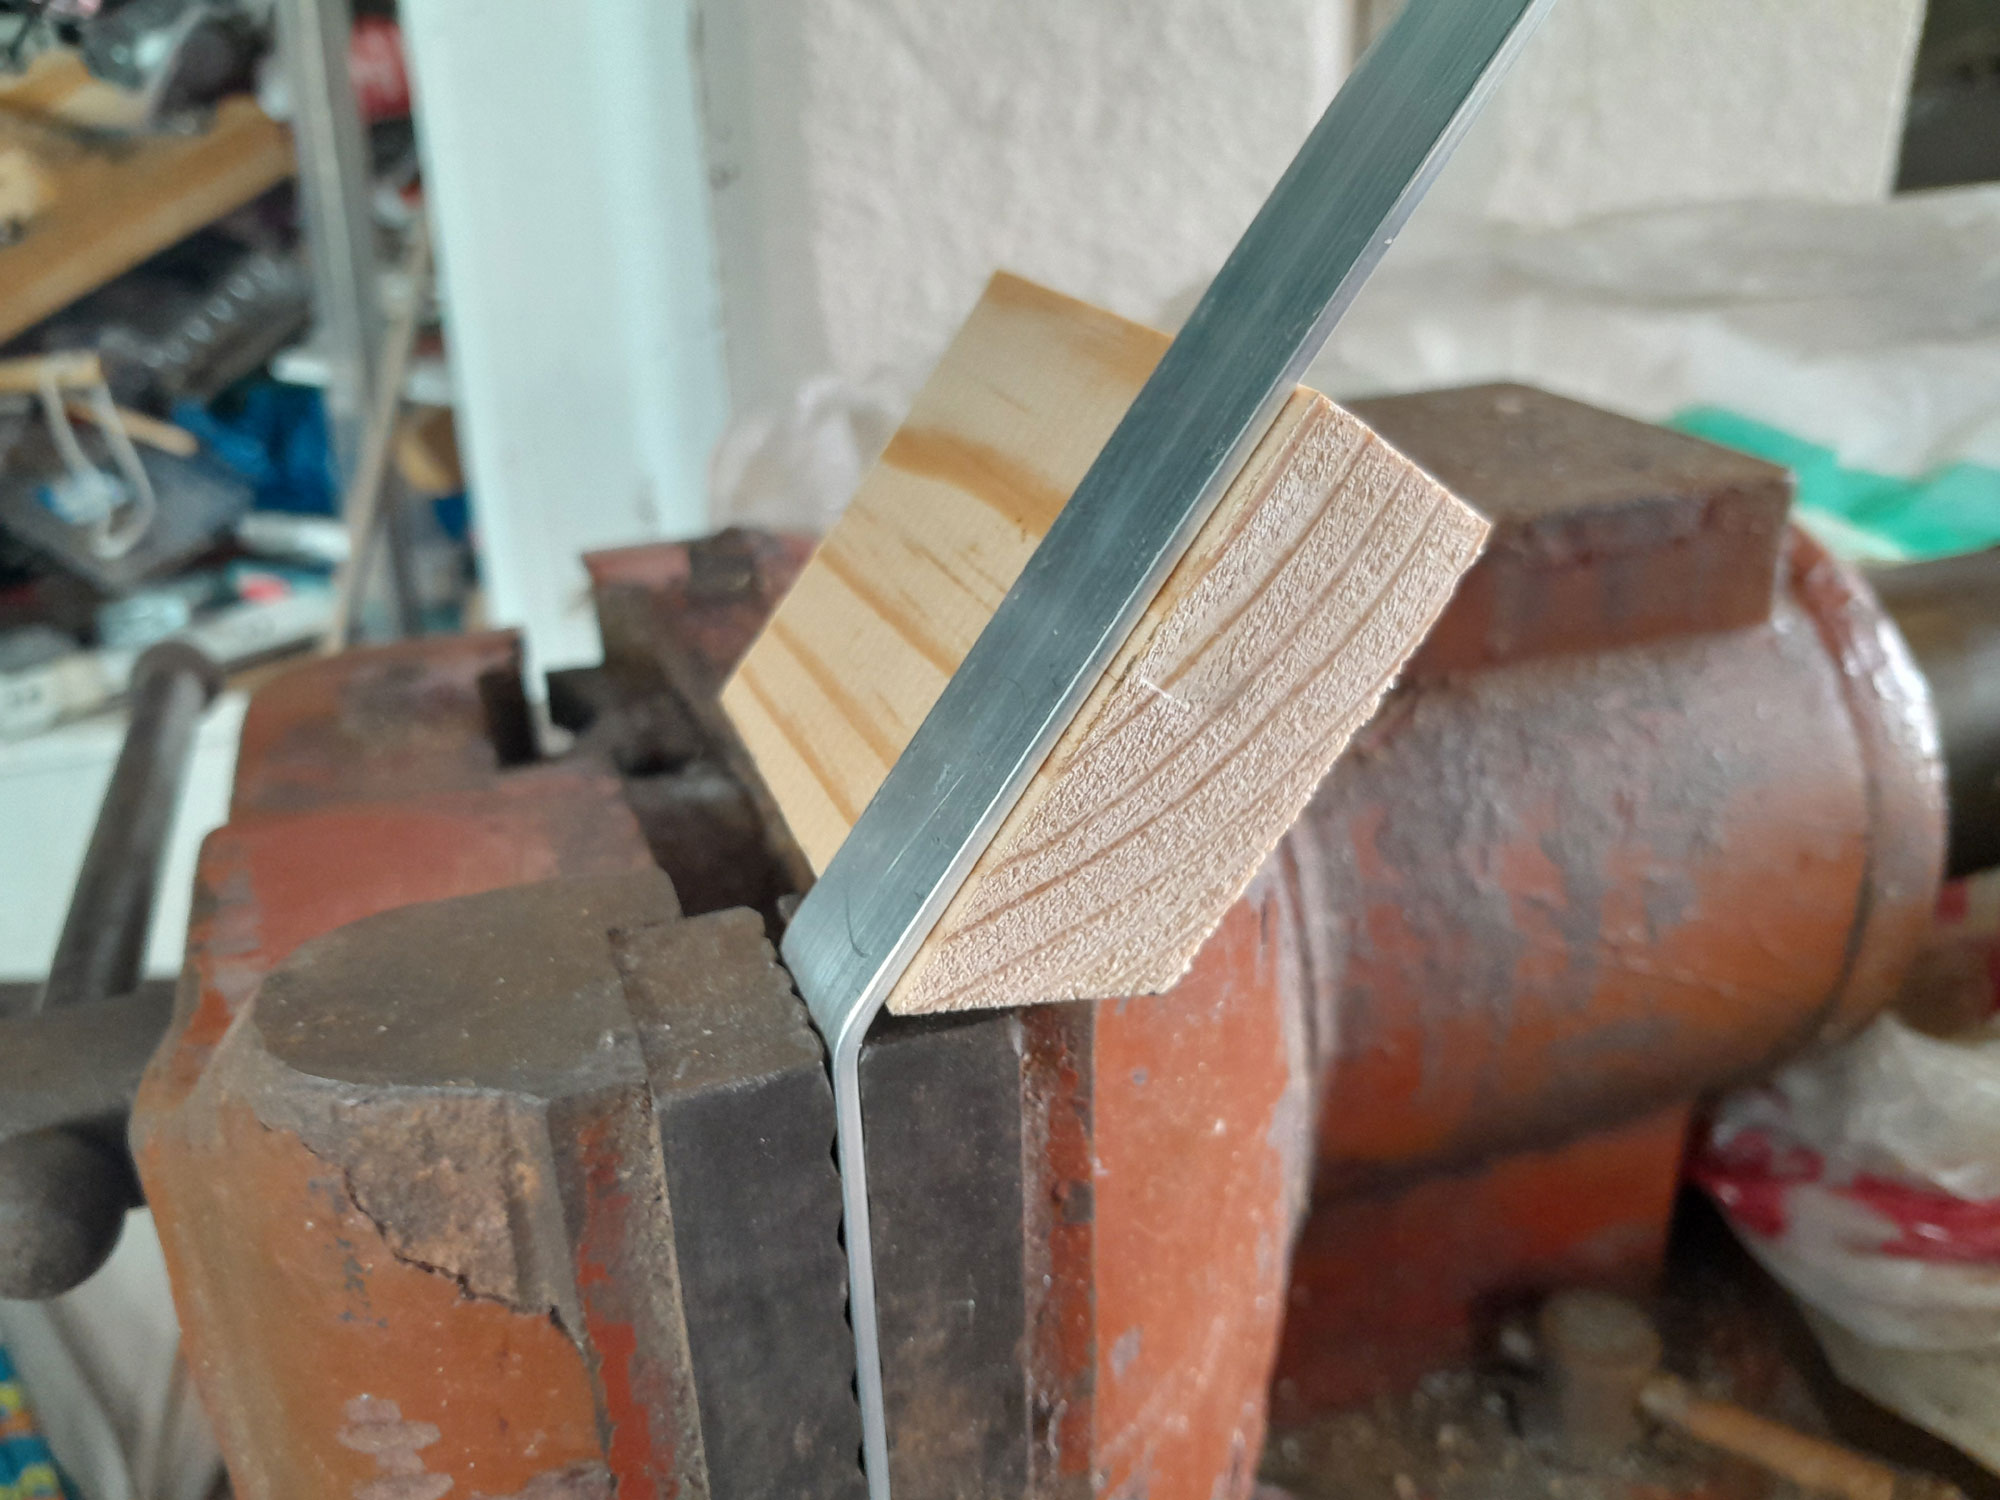
- I decided how far from the edge each strap would be placed namely 44mm (a short length of 22x44mm wood is a useful gauge), clamped one end firmly against the first segment that being the one to which the feet were attached and used a utility knife to very accurately mark the position the bend would be made.
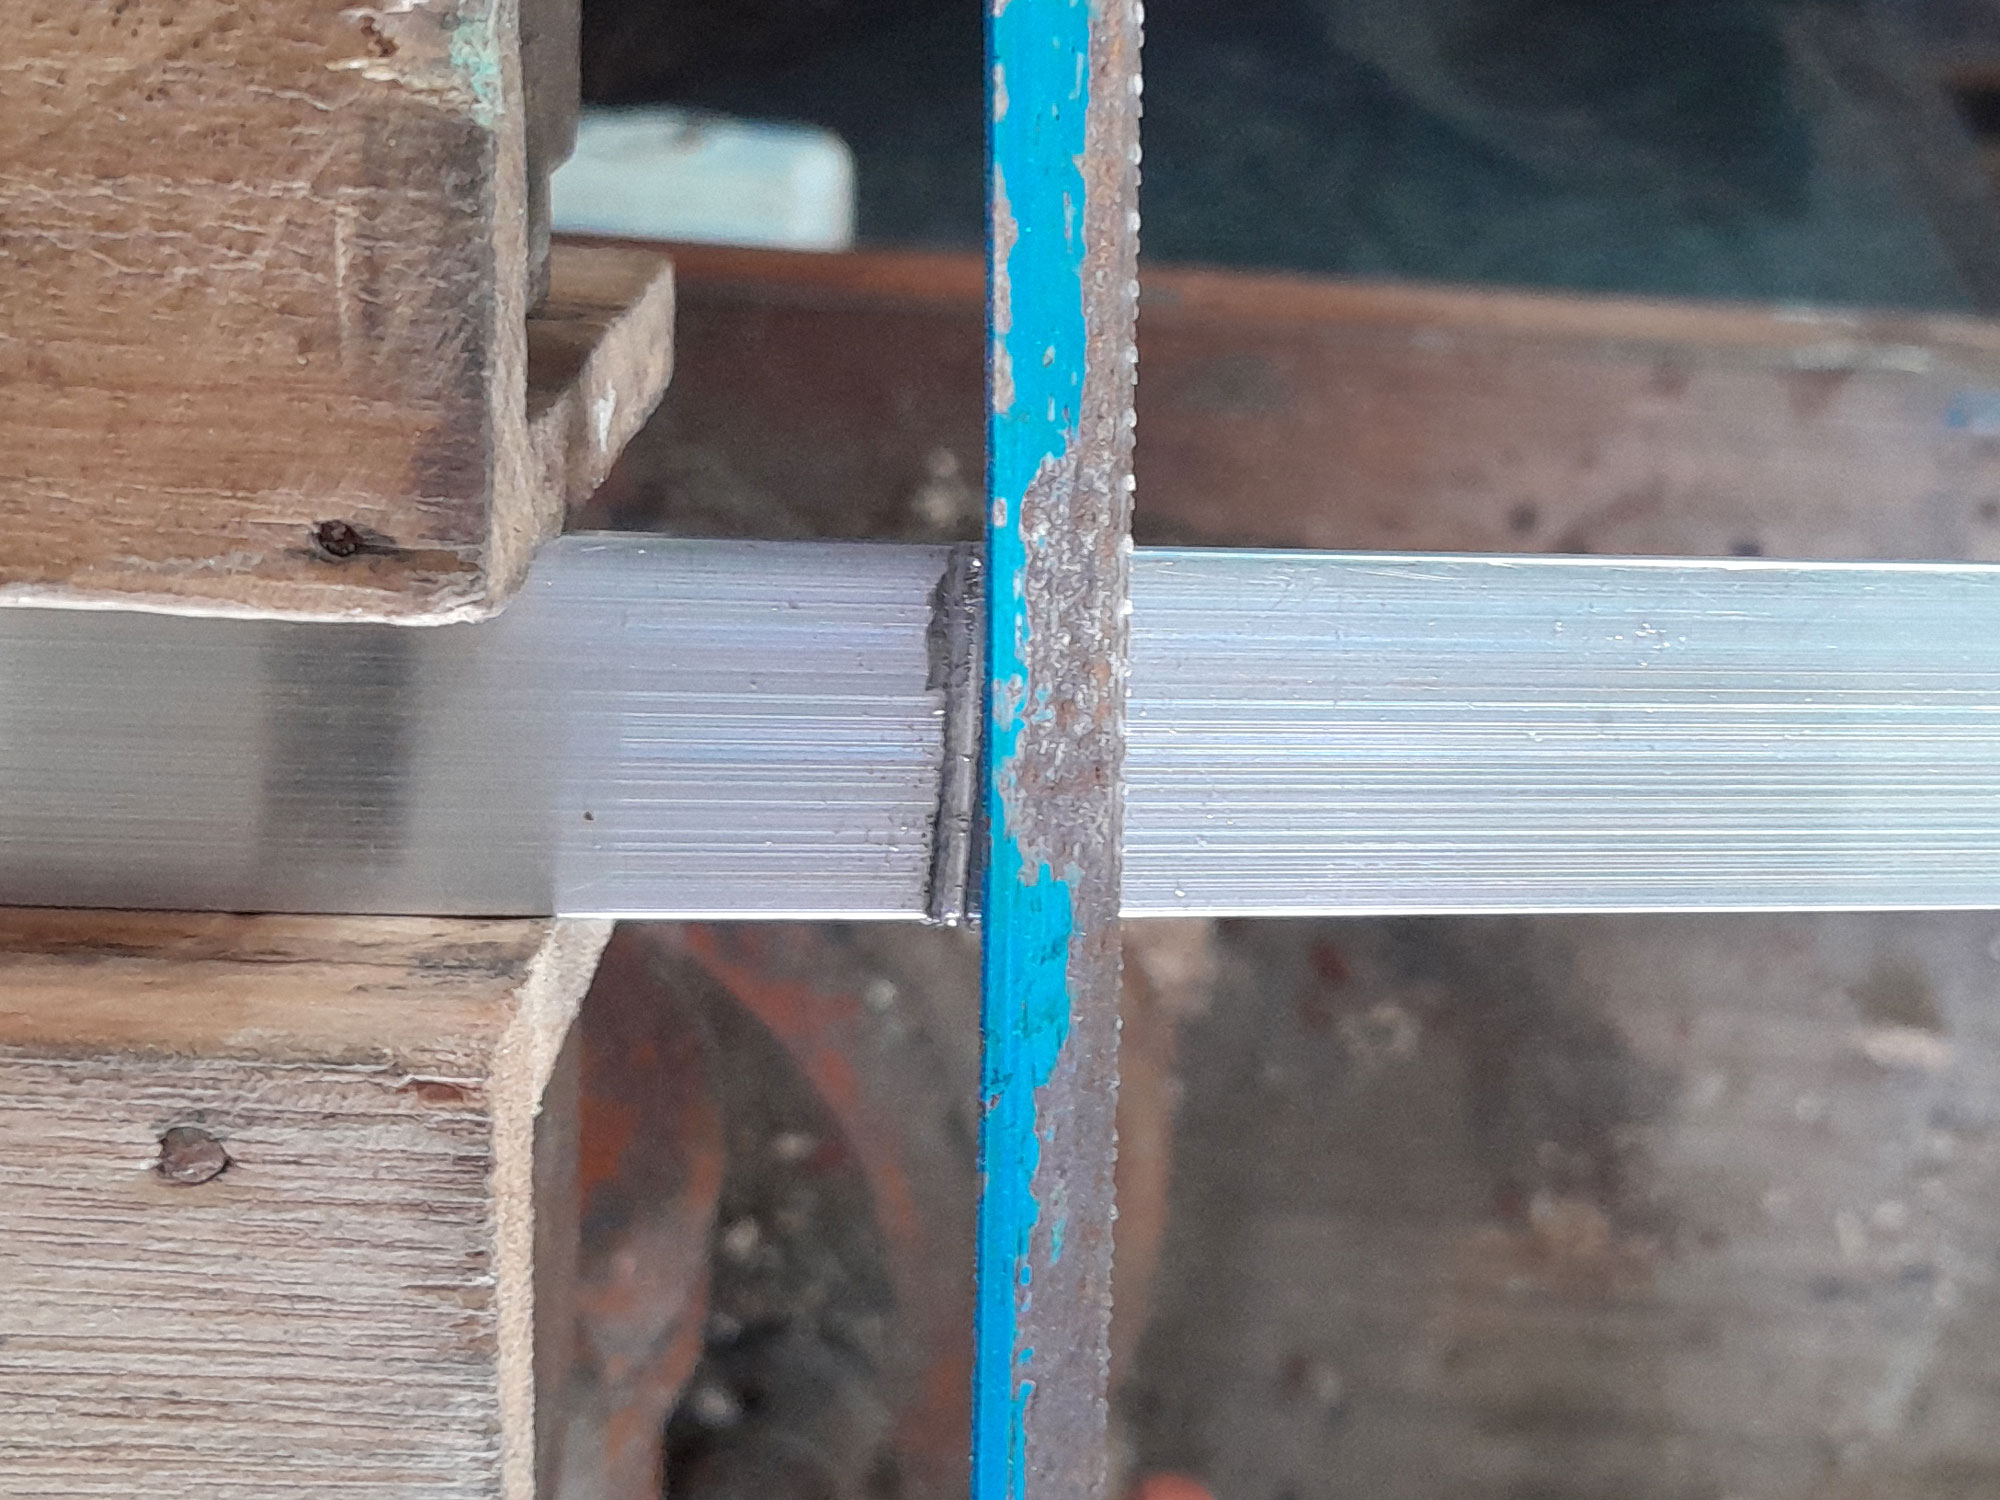
- Then I lightly scored along the mark made with the knife with a hacksaw… just a fraction of a millimetre to make the bend easier, but without impairing its strength.
- Then I used that score mark to facilitate the bend, ensuring that it was sharp.
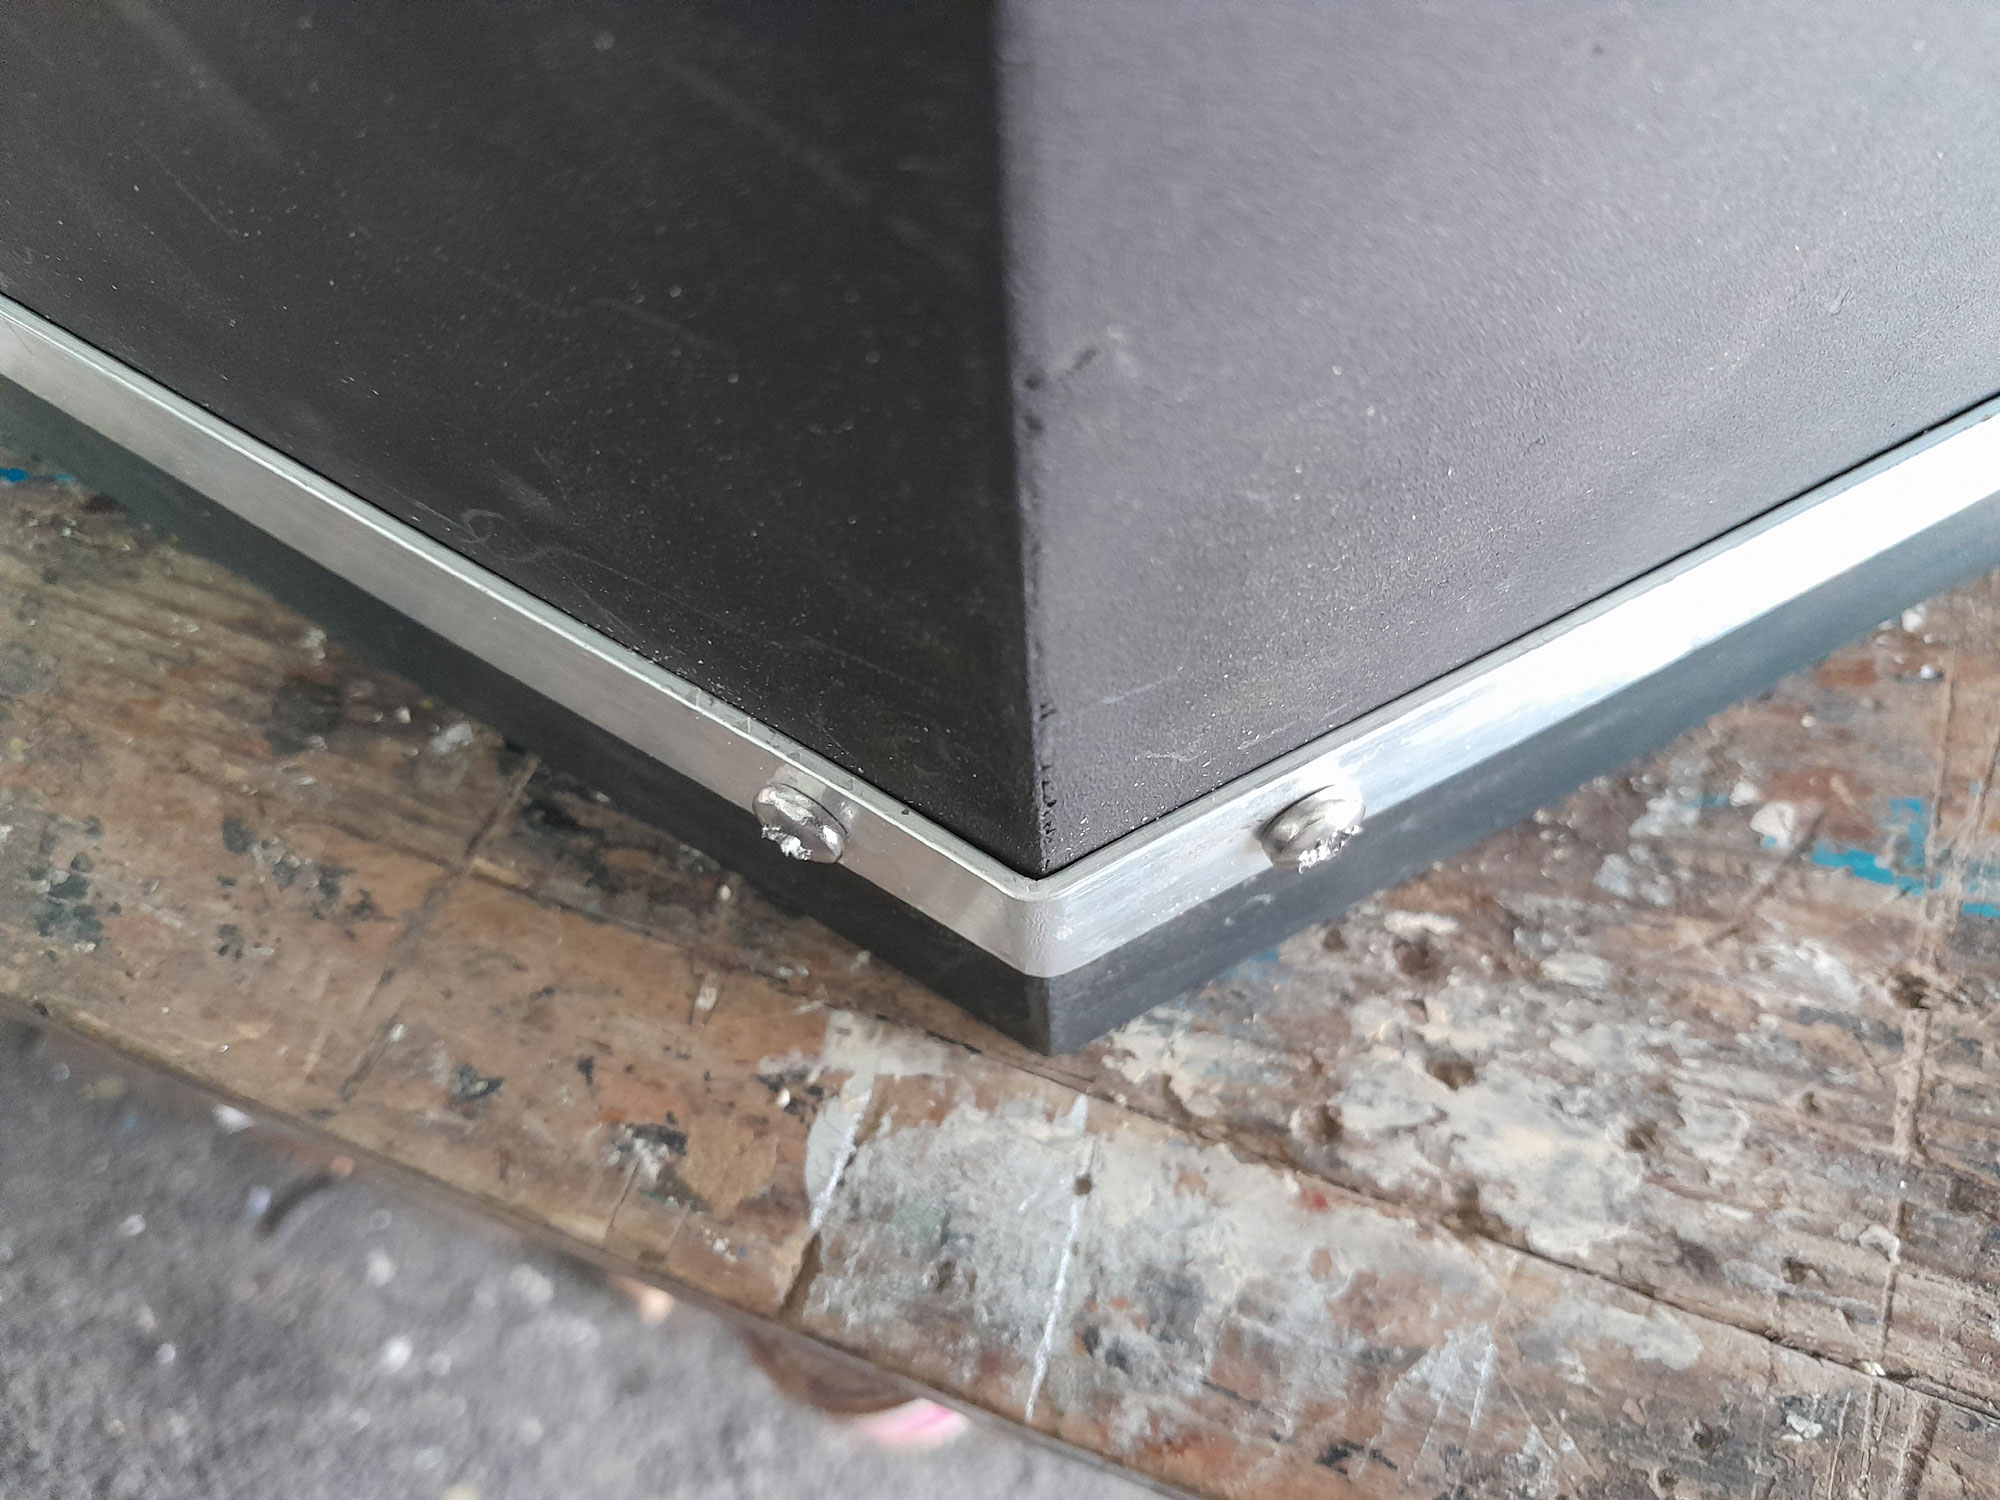
- I repeated the process around the hexagon, and trimmed off the little excess left over from where the other end of the strap meets the other side of the foot. I drilled a guide hole in it about 30mm from one end, ensuring it was centred, and used that as a template to drill the other holes for the strap securing screws. For aesthetic reasons, they need to be centred on the centreline of the strap and the same distances from the other edges of the corners, so they all line up properly.
- The use of the offcut as a template will ensure accuracy.

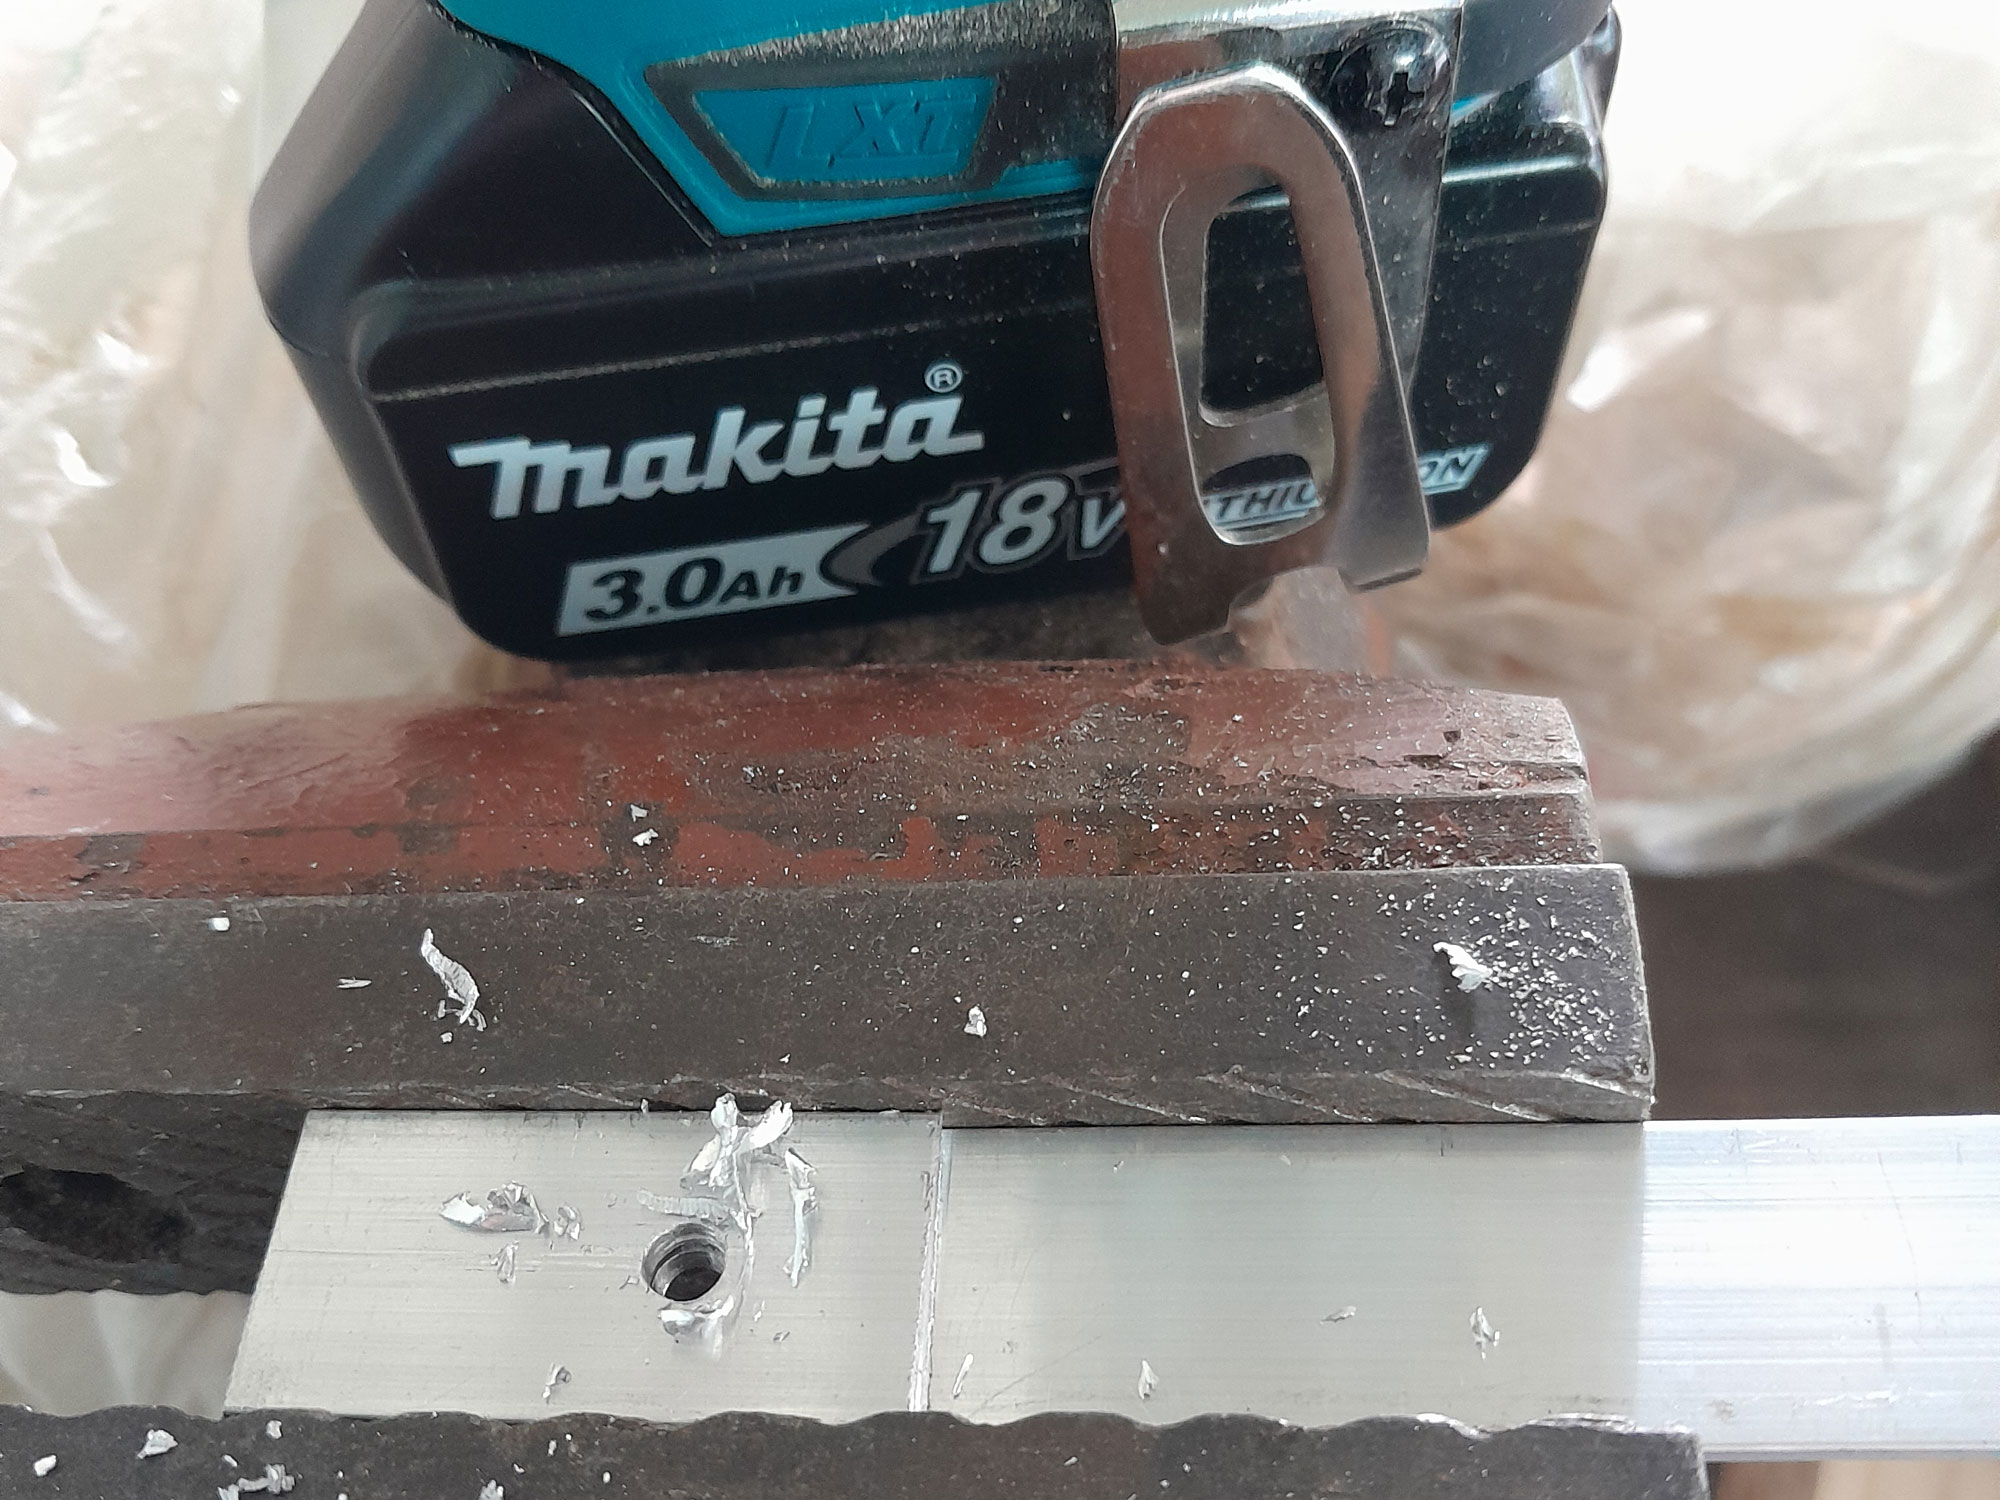
- See?! They line up properly.
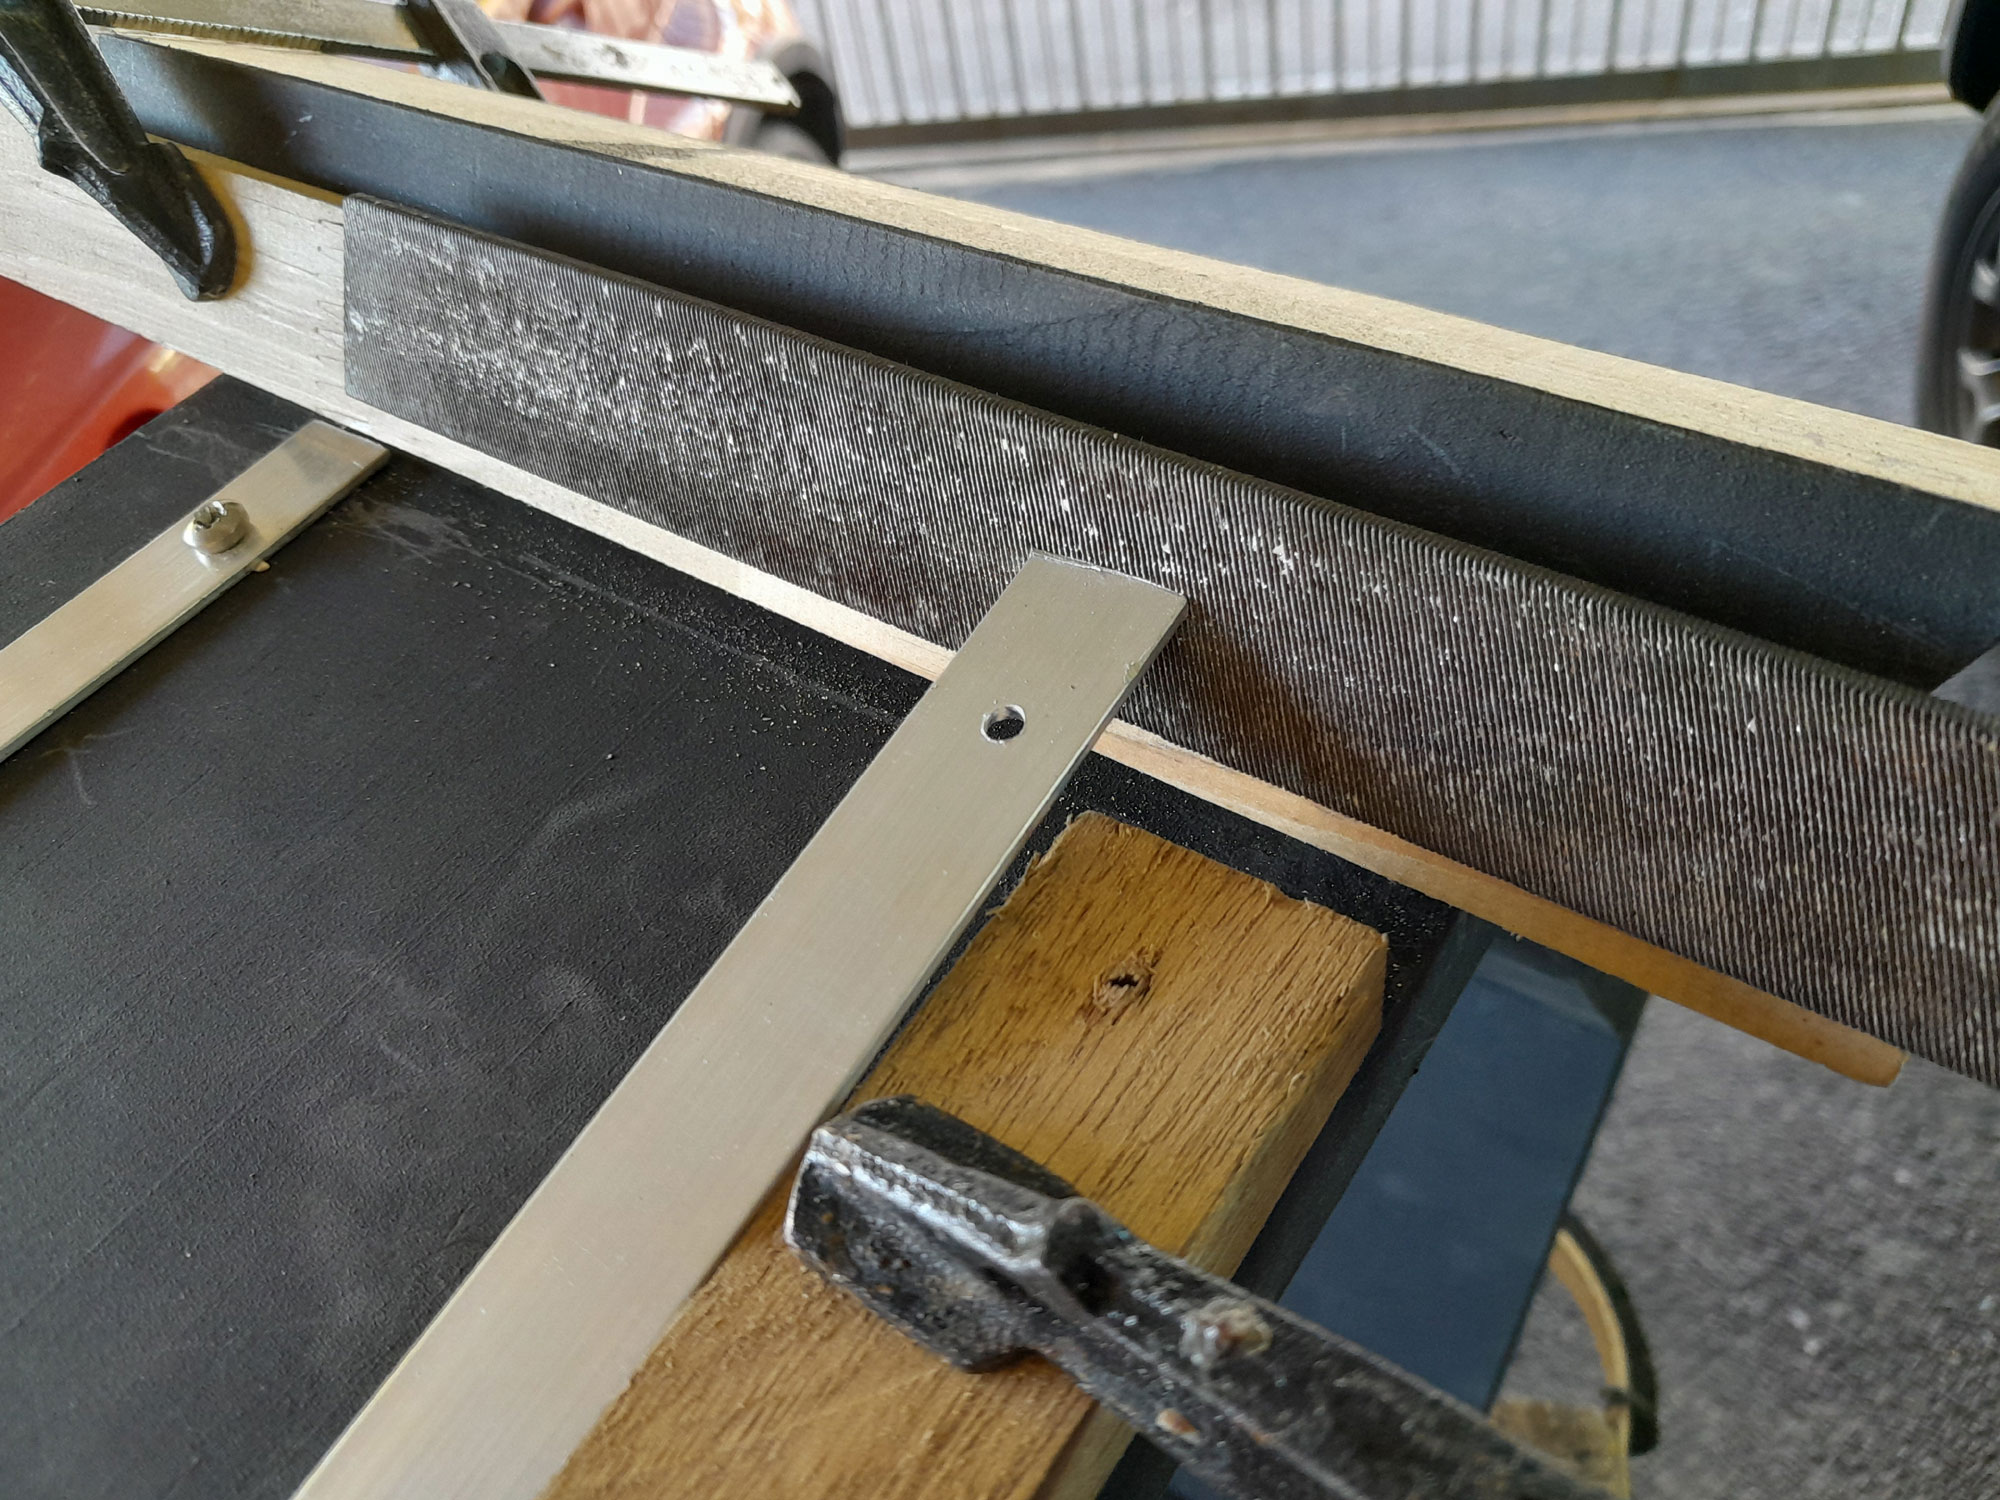
- I trimmed the other end of the strap slightly long, and then used a metal flat file to file the end own, at a 30º angle to meet the foot. Use a piece of 3mm ply offcut or similar to prevent the file marring the leg’s surface while you work the file back and forth.
- It required quite a bit of filing… checking… filing… checking, before I got the strap to meet up exactly as I wanted it to.
- I used the leftover 22x222mm wood used for the main construction, to cut two lengths of 22x222mm, with bevelled surfaces. These would become the sides for the tinder section when the unit is used as a wood rack, and as side stays for the tray when it is used as a book rack-cum-wine rack-cum-side table. I drilled two holes in each for 40mm screws to secure them to the top of the unit. I pre-painted the sides, fixed then to the outer edges of the pinnacle of each hexagon, filled the holes and once the filler had cured, touched them up with a little paint.
- Then I bolted the two hexagons together. This shows the hexagon end of the bolts… the other side uses the dome nuts. This ensures that neither end of any of them would damage any books.
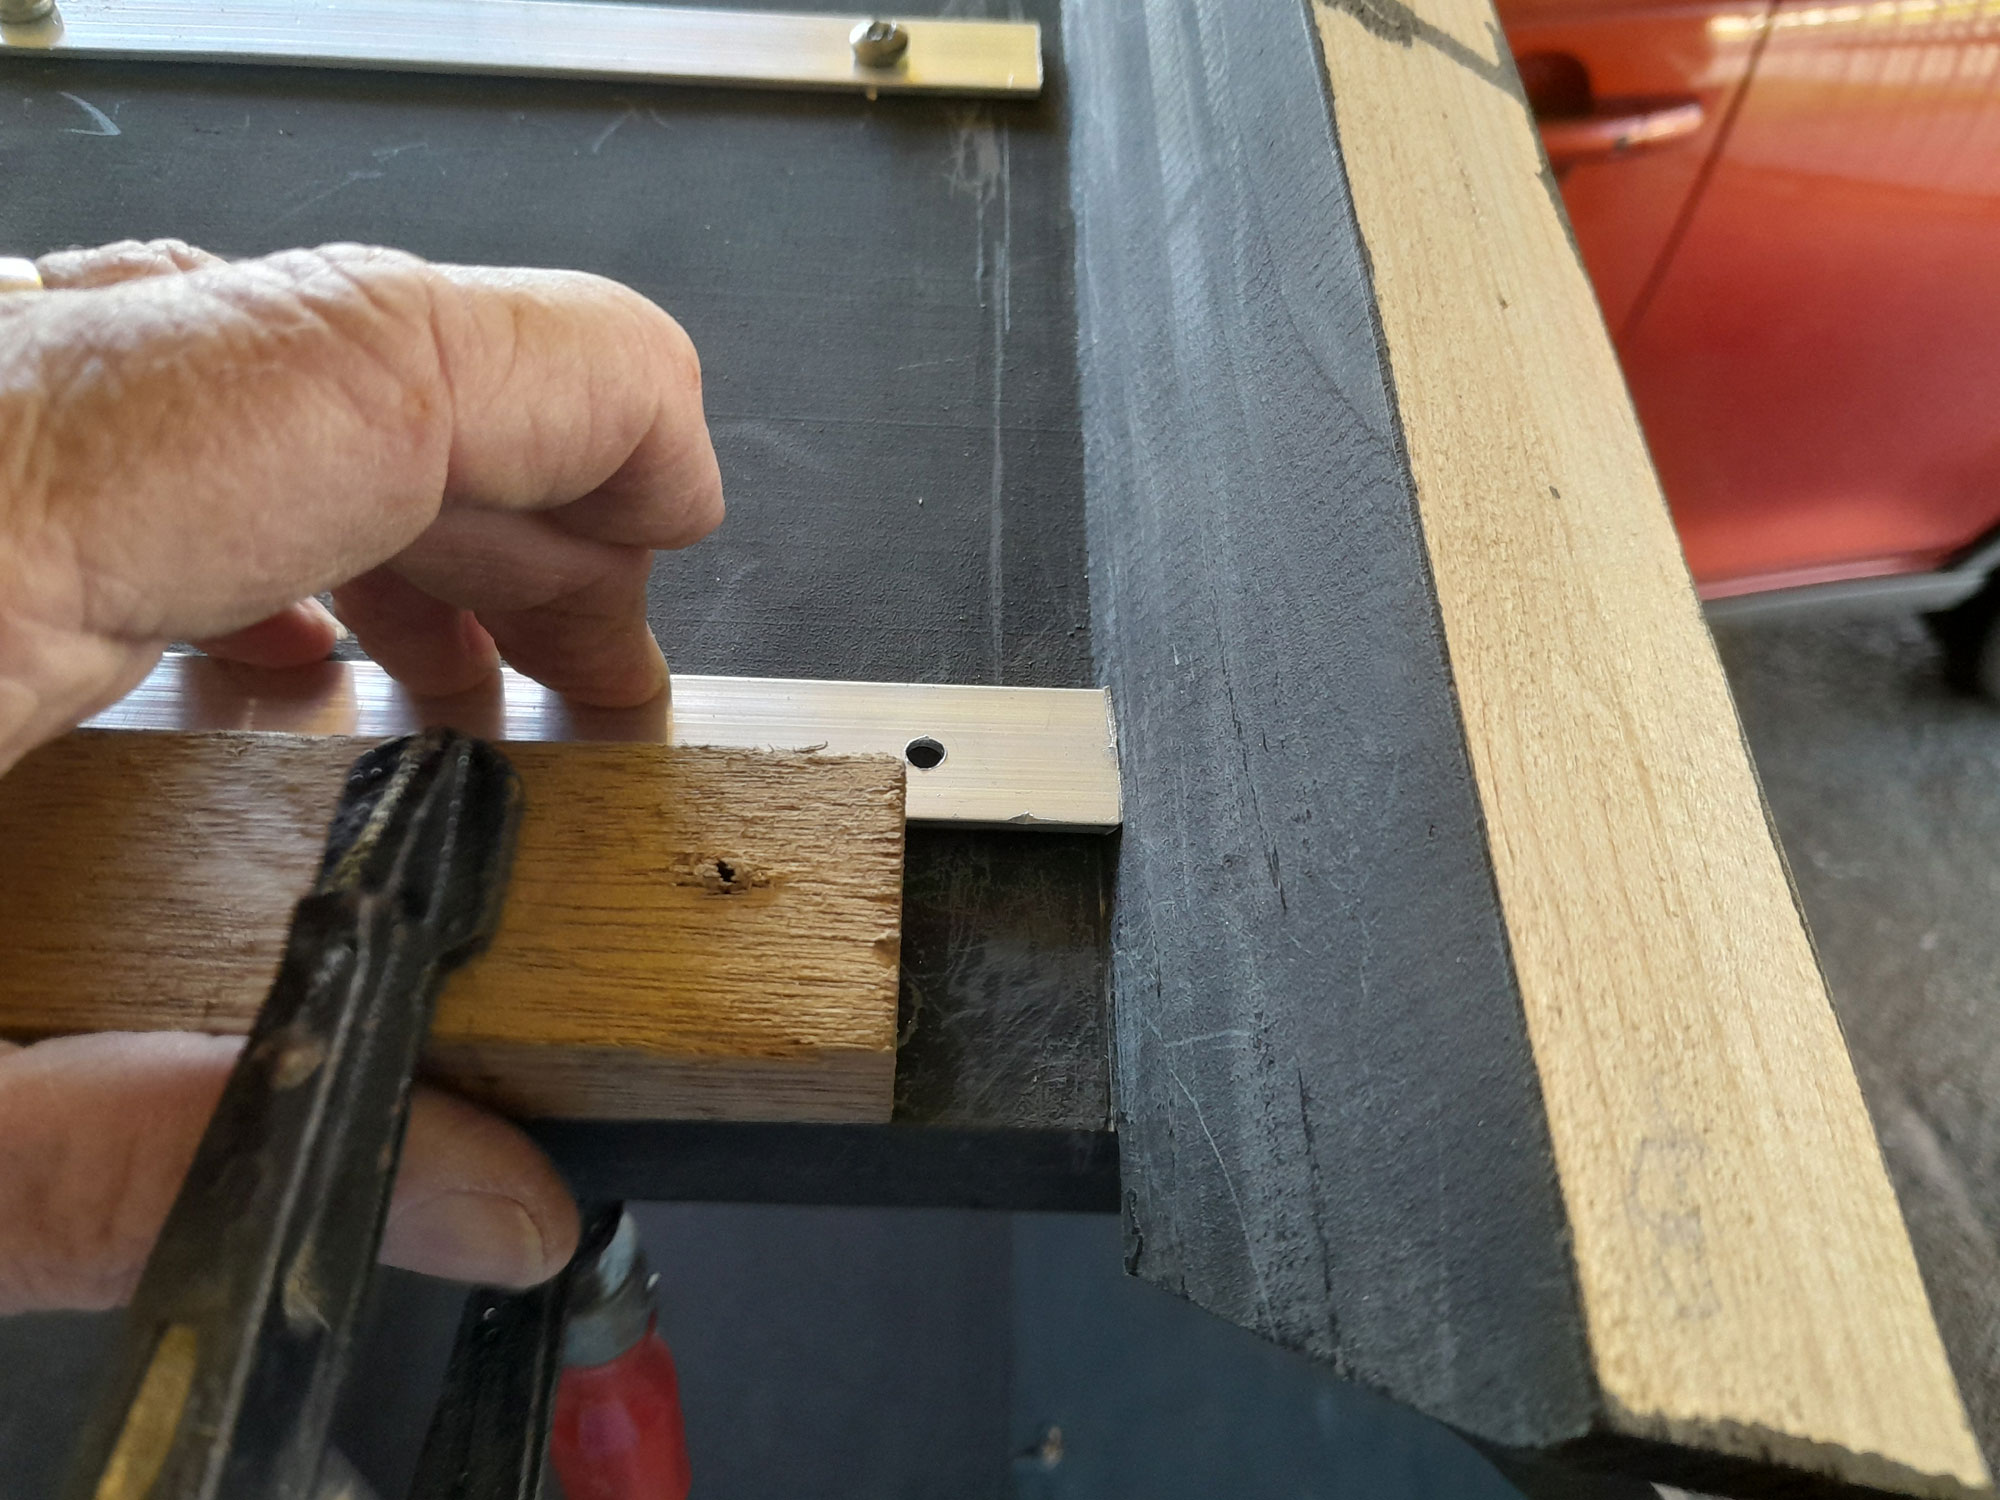
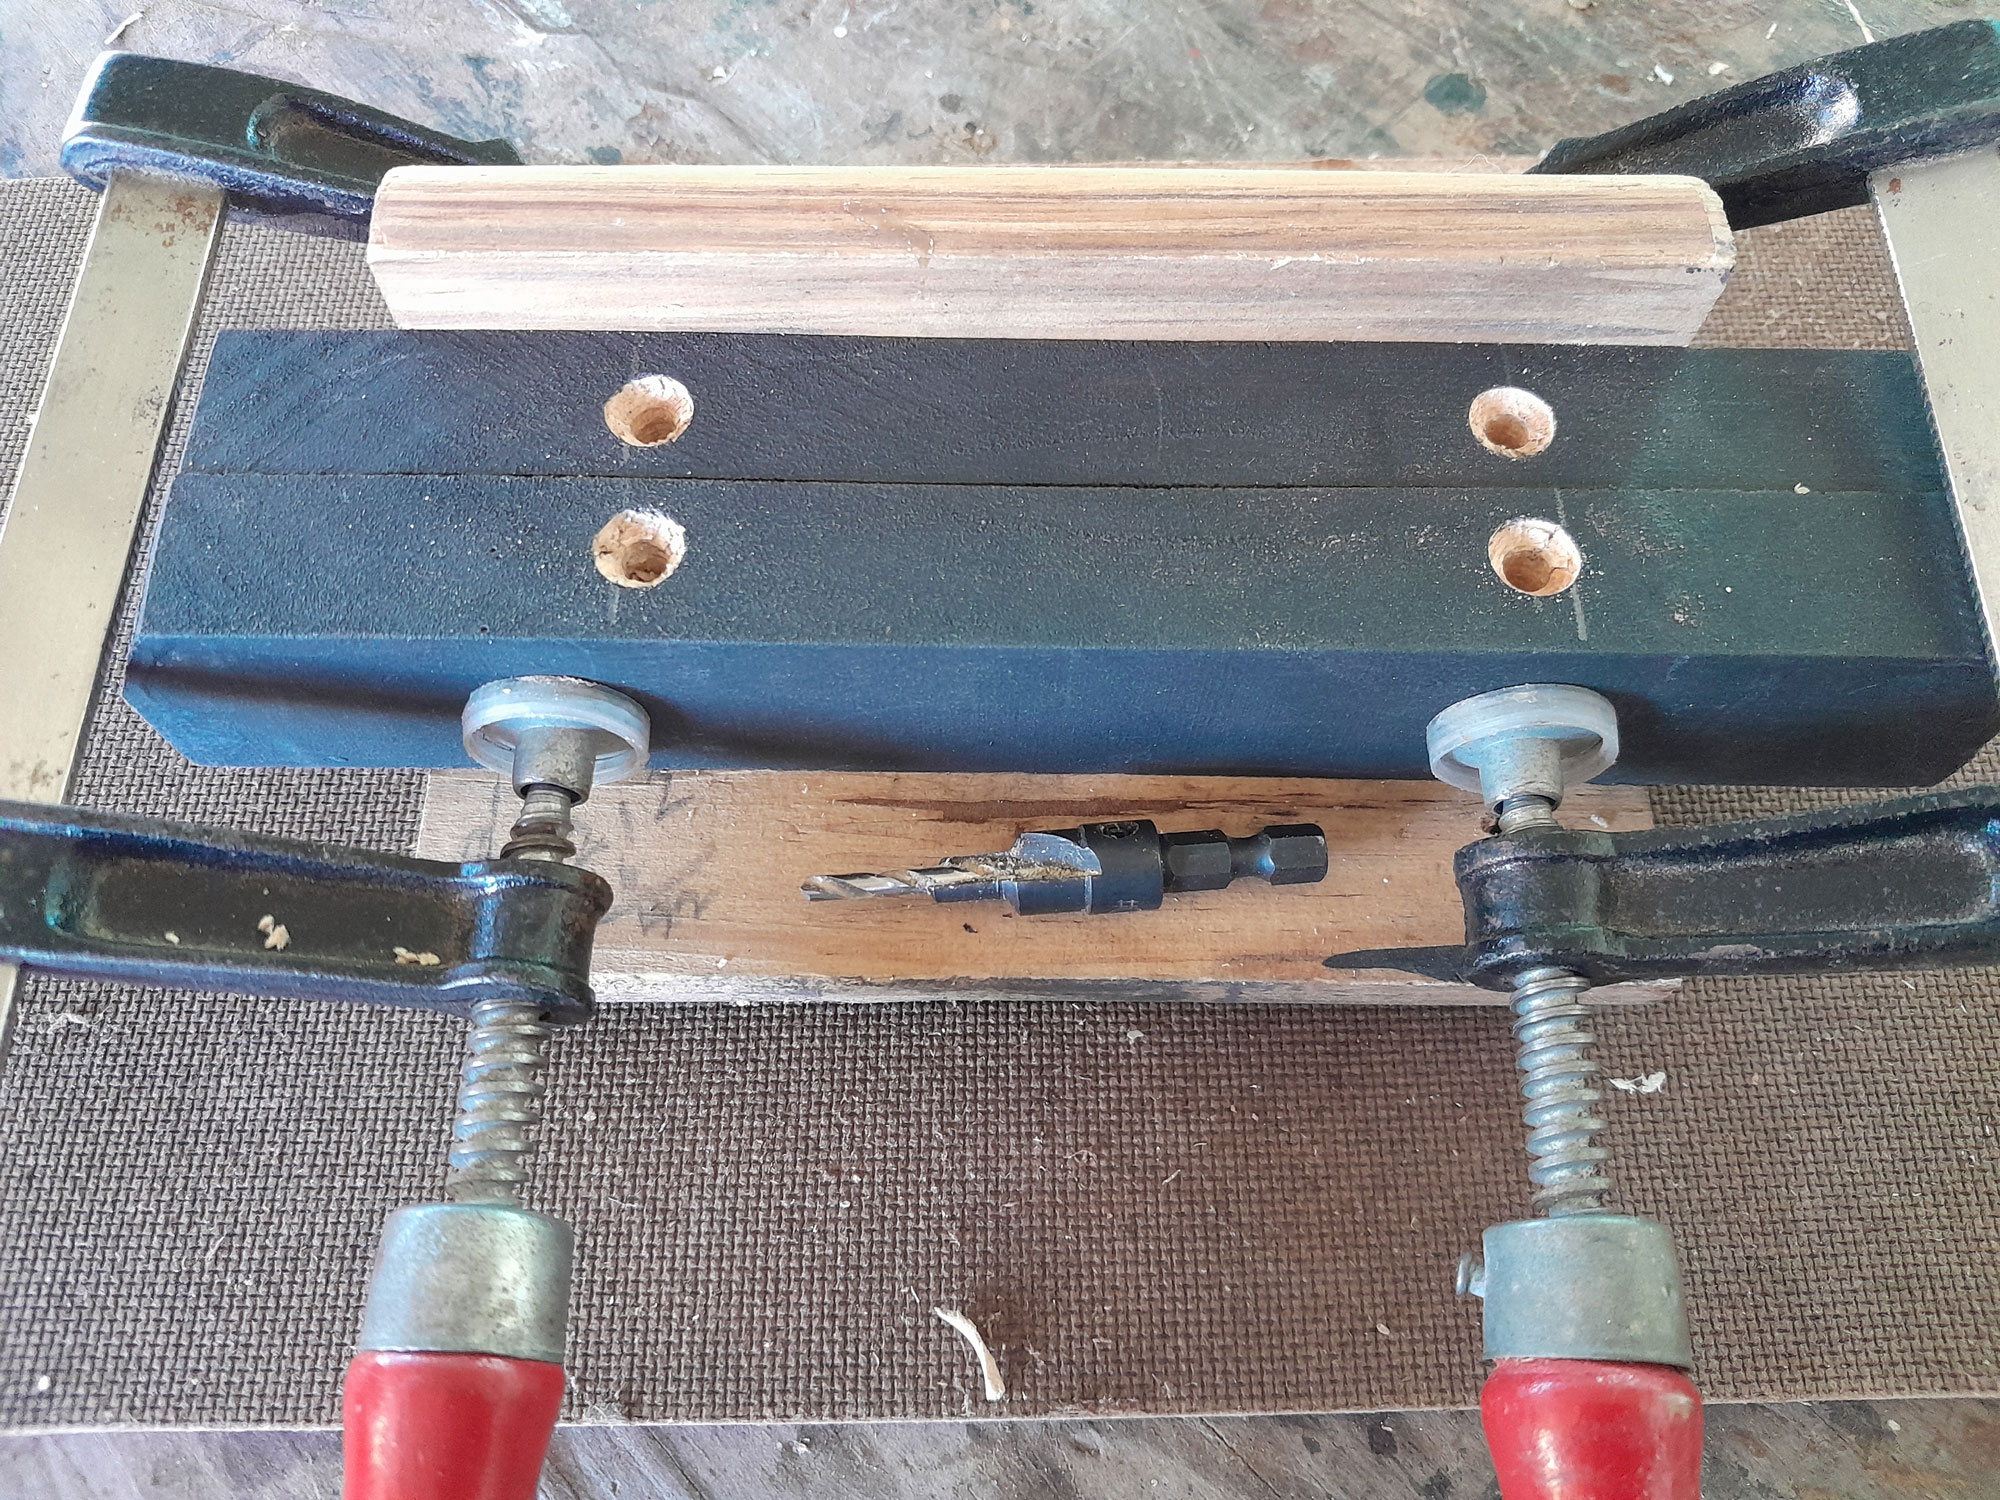

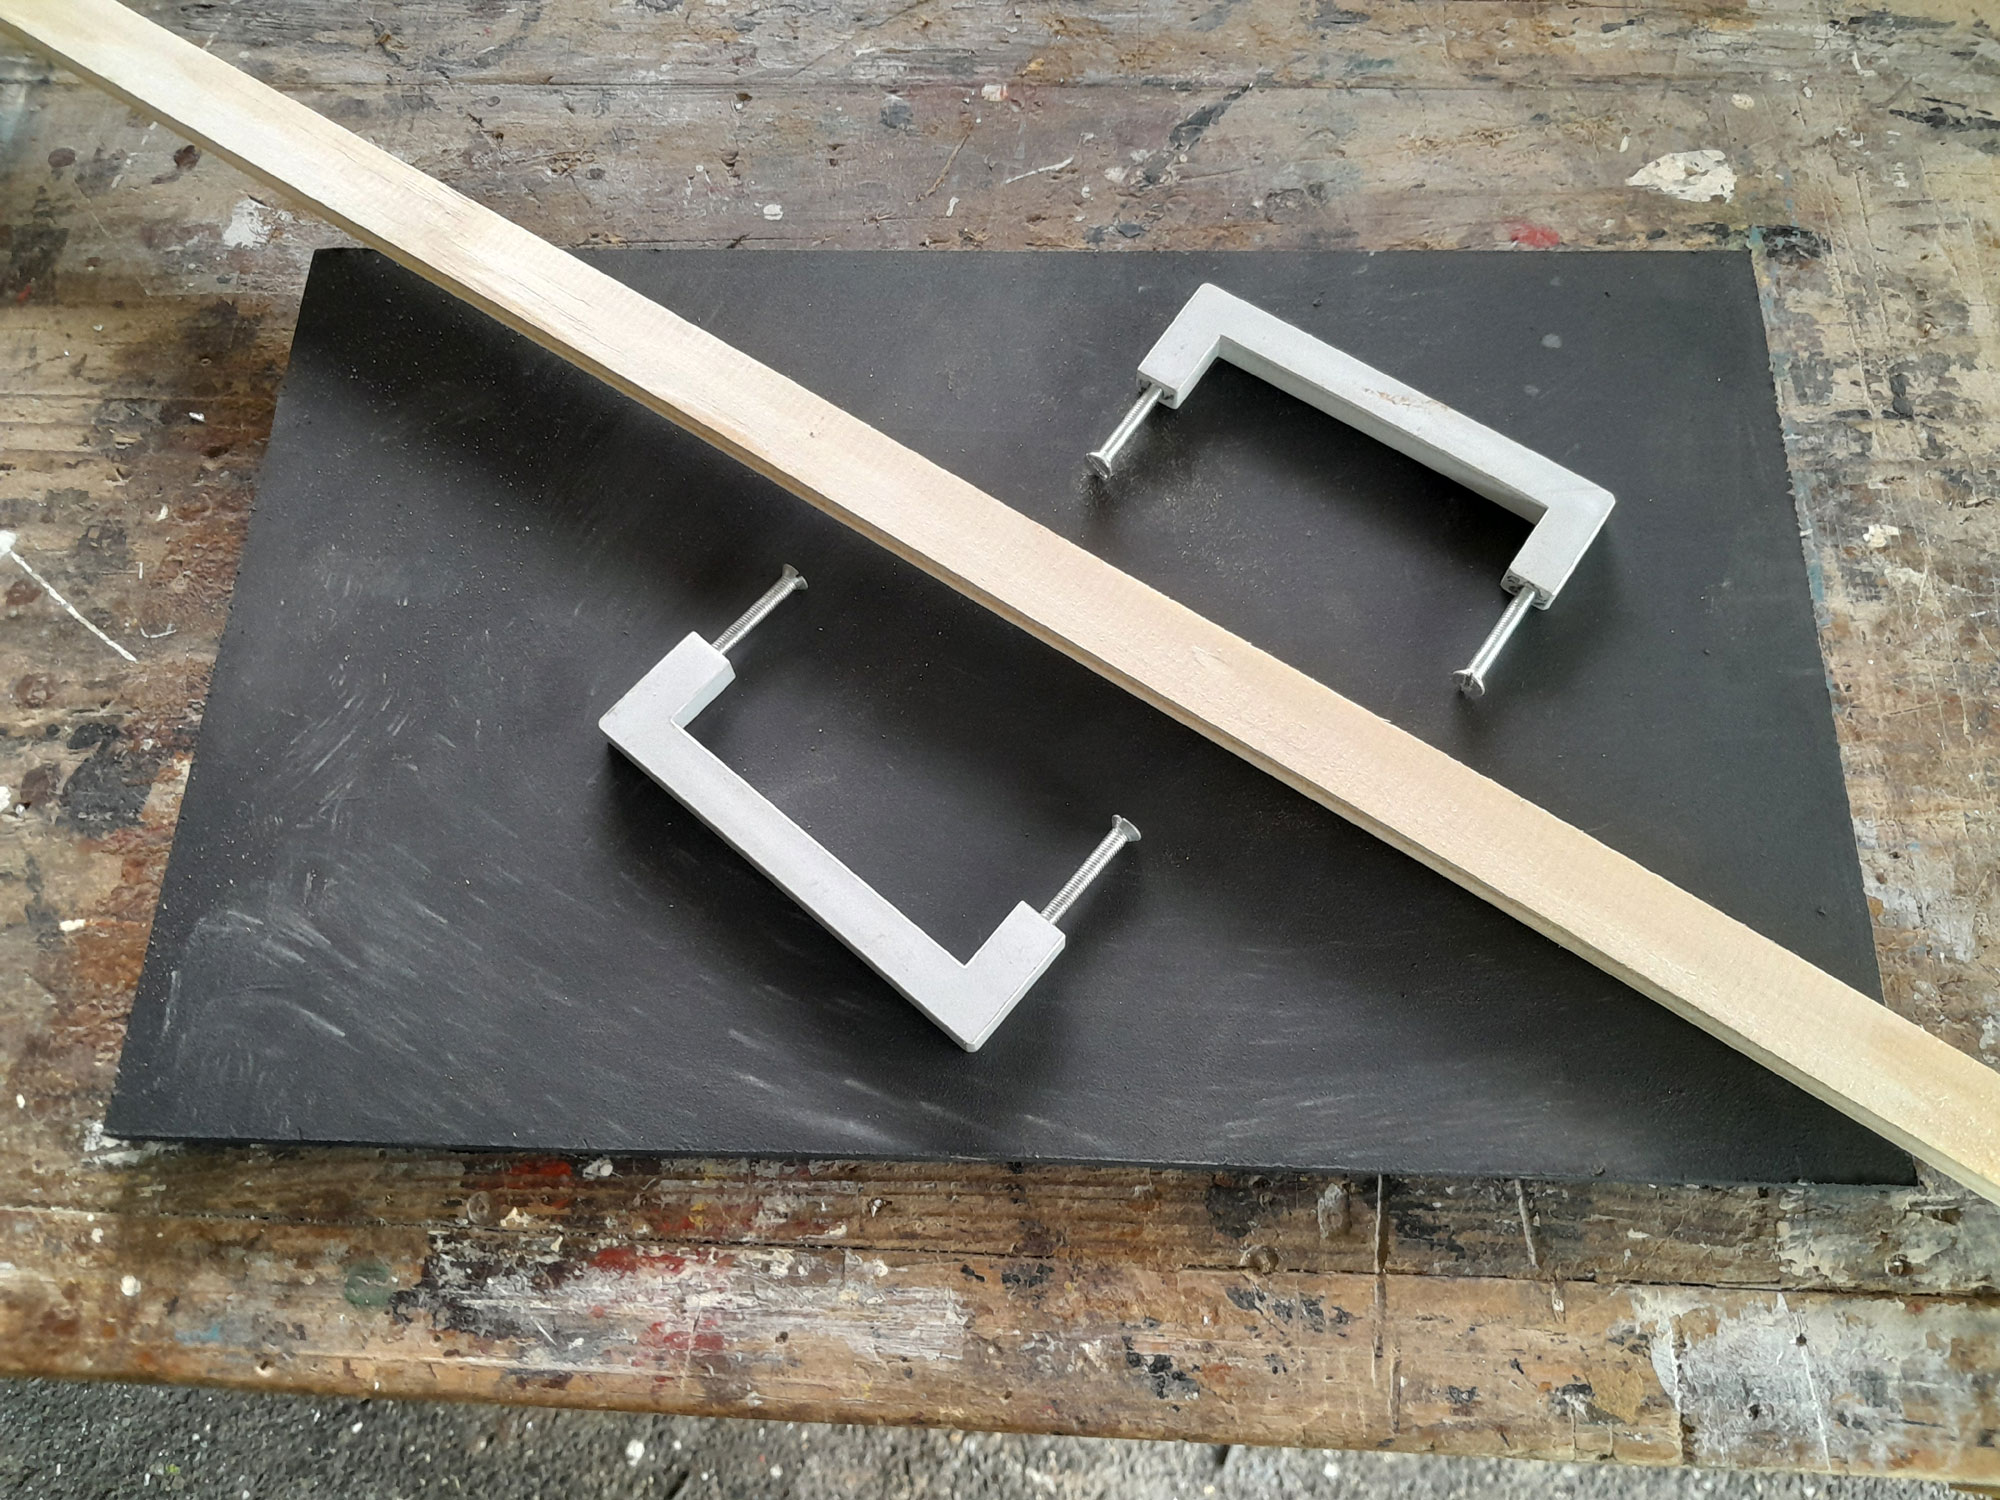
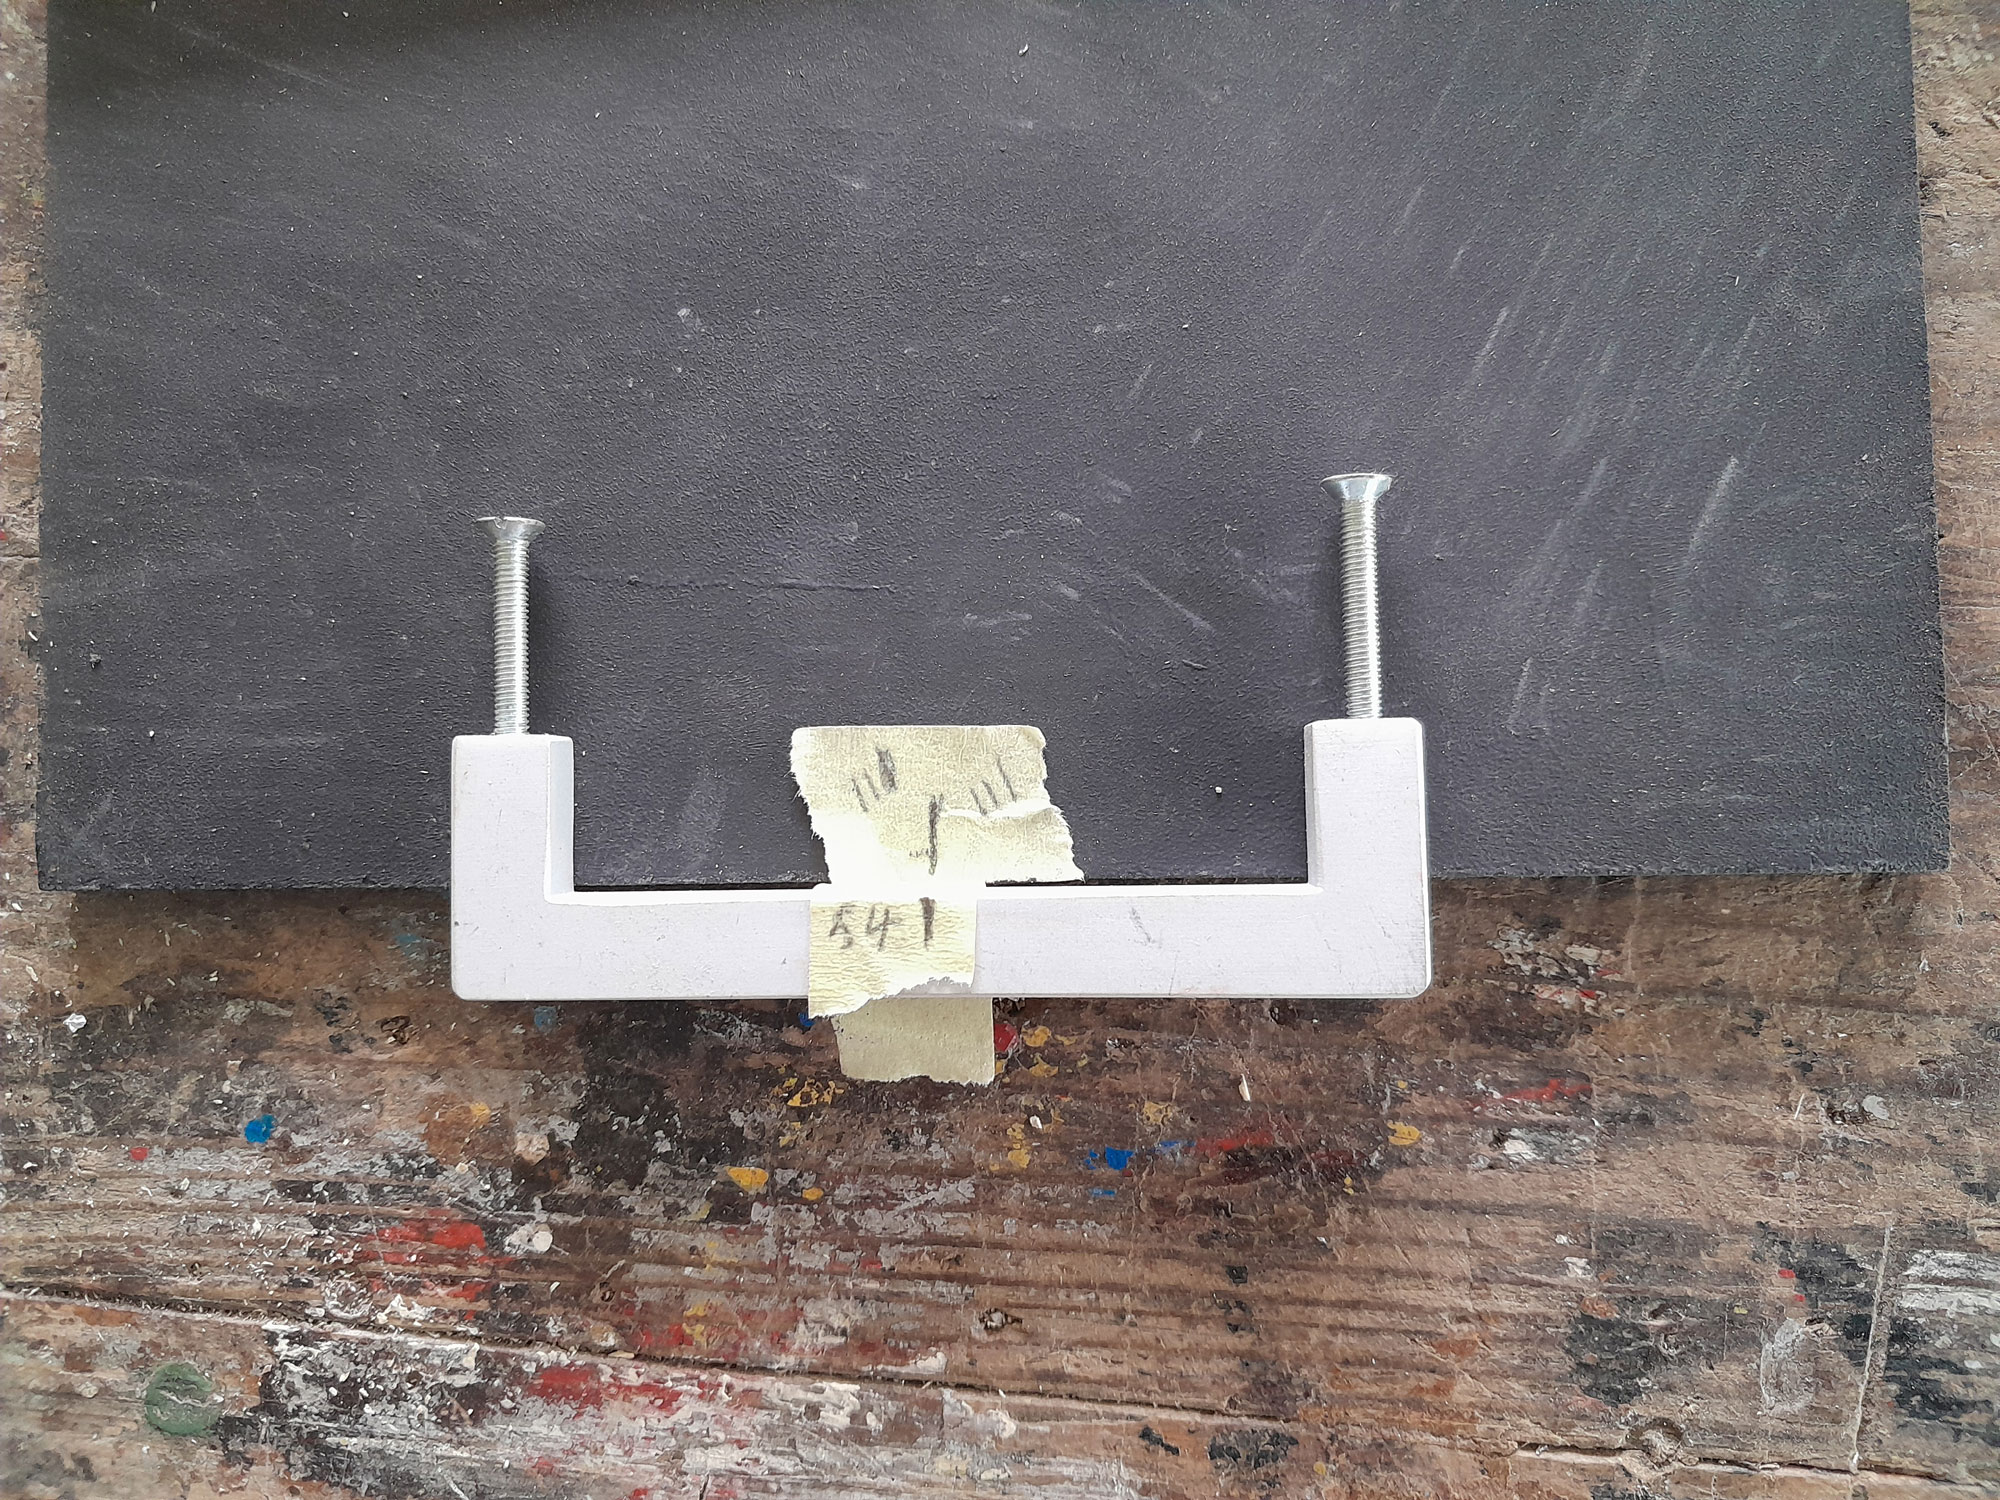
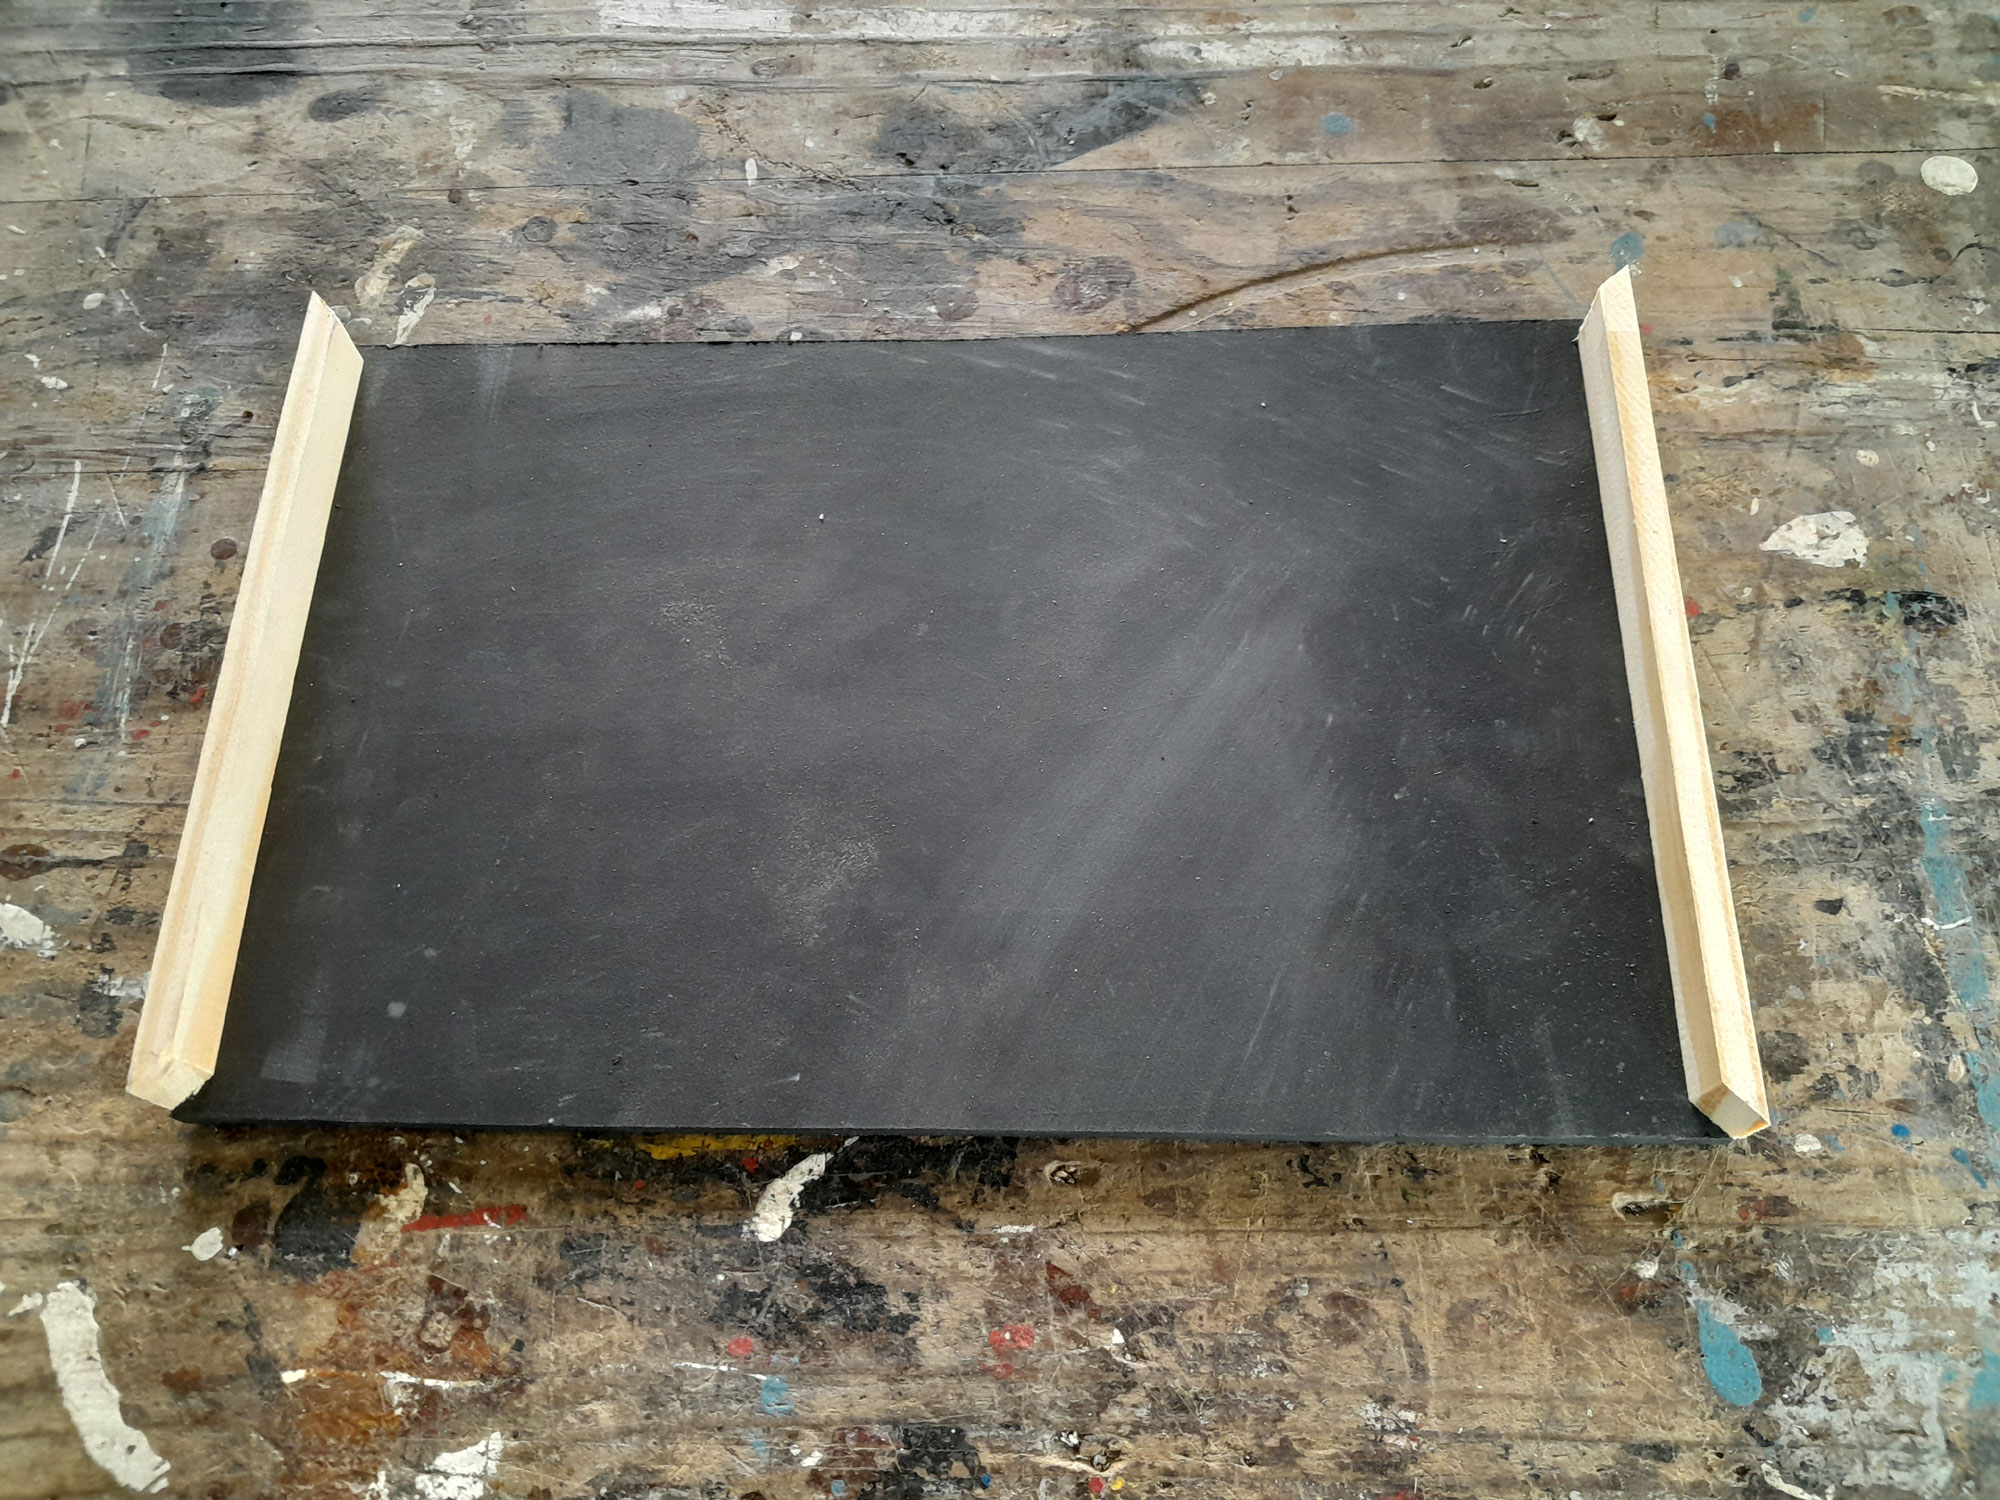
- Now for the tray… I cut a piece of ply, as per the materials list, to the dimensions as listed there namely 222x358mm. The tray needs to be a reasonably loose fit… if too tight, it will be difficult to place between the two sides, and difficult to extract which could lead to spills when placing it on the unit or removing it. The handles are aluminium to match the bands used on the unit.
- I marked the centrepoint of the handles and the centre point on the tray base and drilled the securing screw holes in the base, just 4.5mm in from the edge.
- Then I cut the two ends and secured them in position, first scraping off the layer of paint to a width of 9mm so that glue would adhere properly. (Of course it would have been easier to assemble and then paint the unit before attaching the handles, but I had a senior moment I make these mistakes so you don’t have to.)
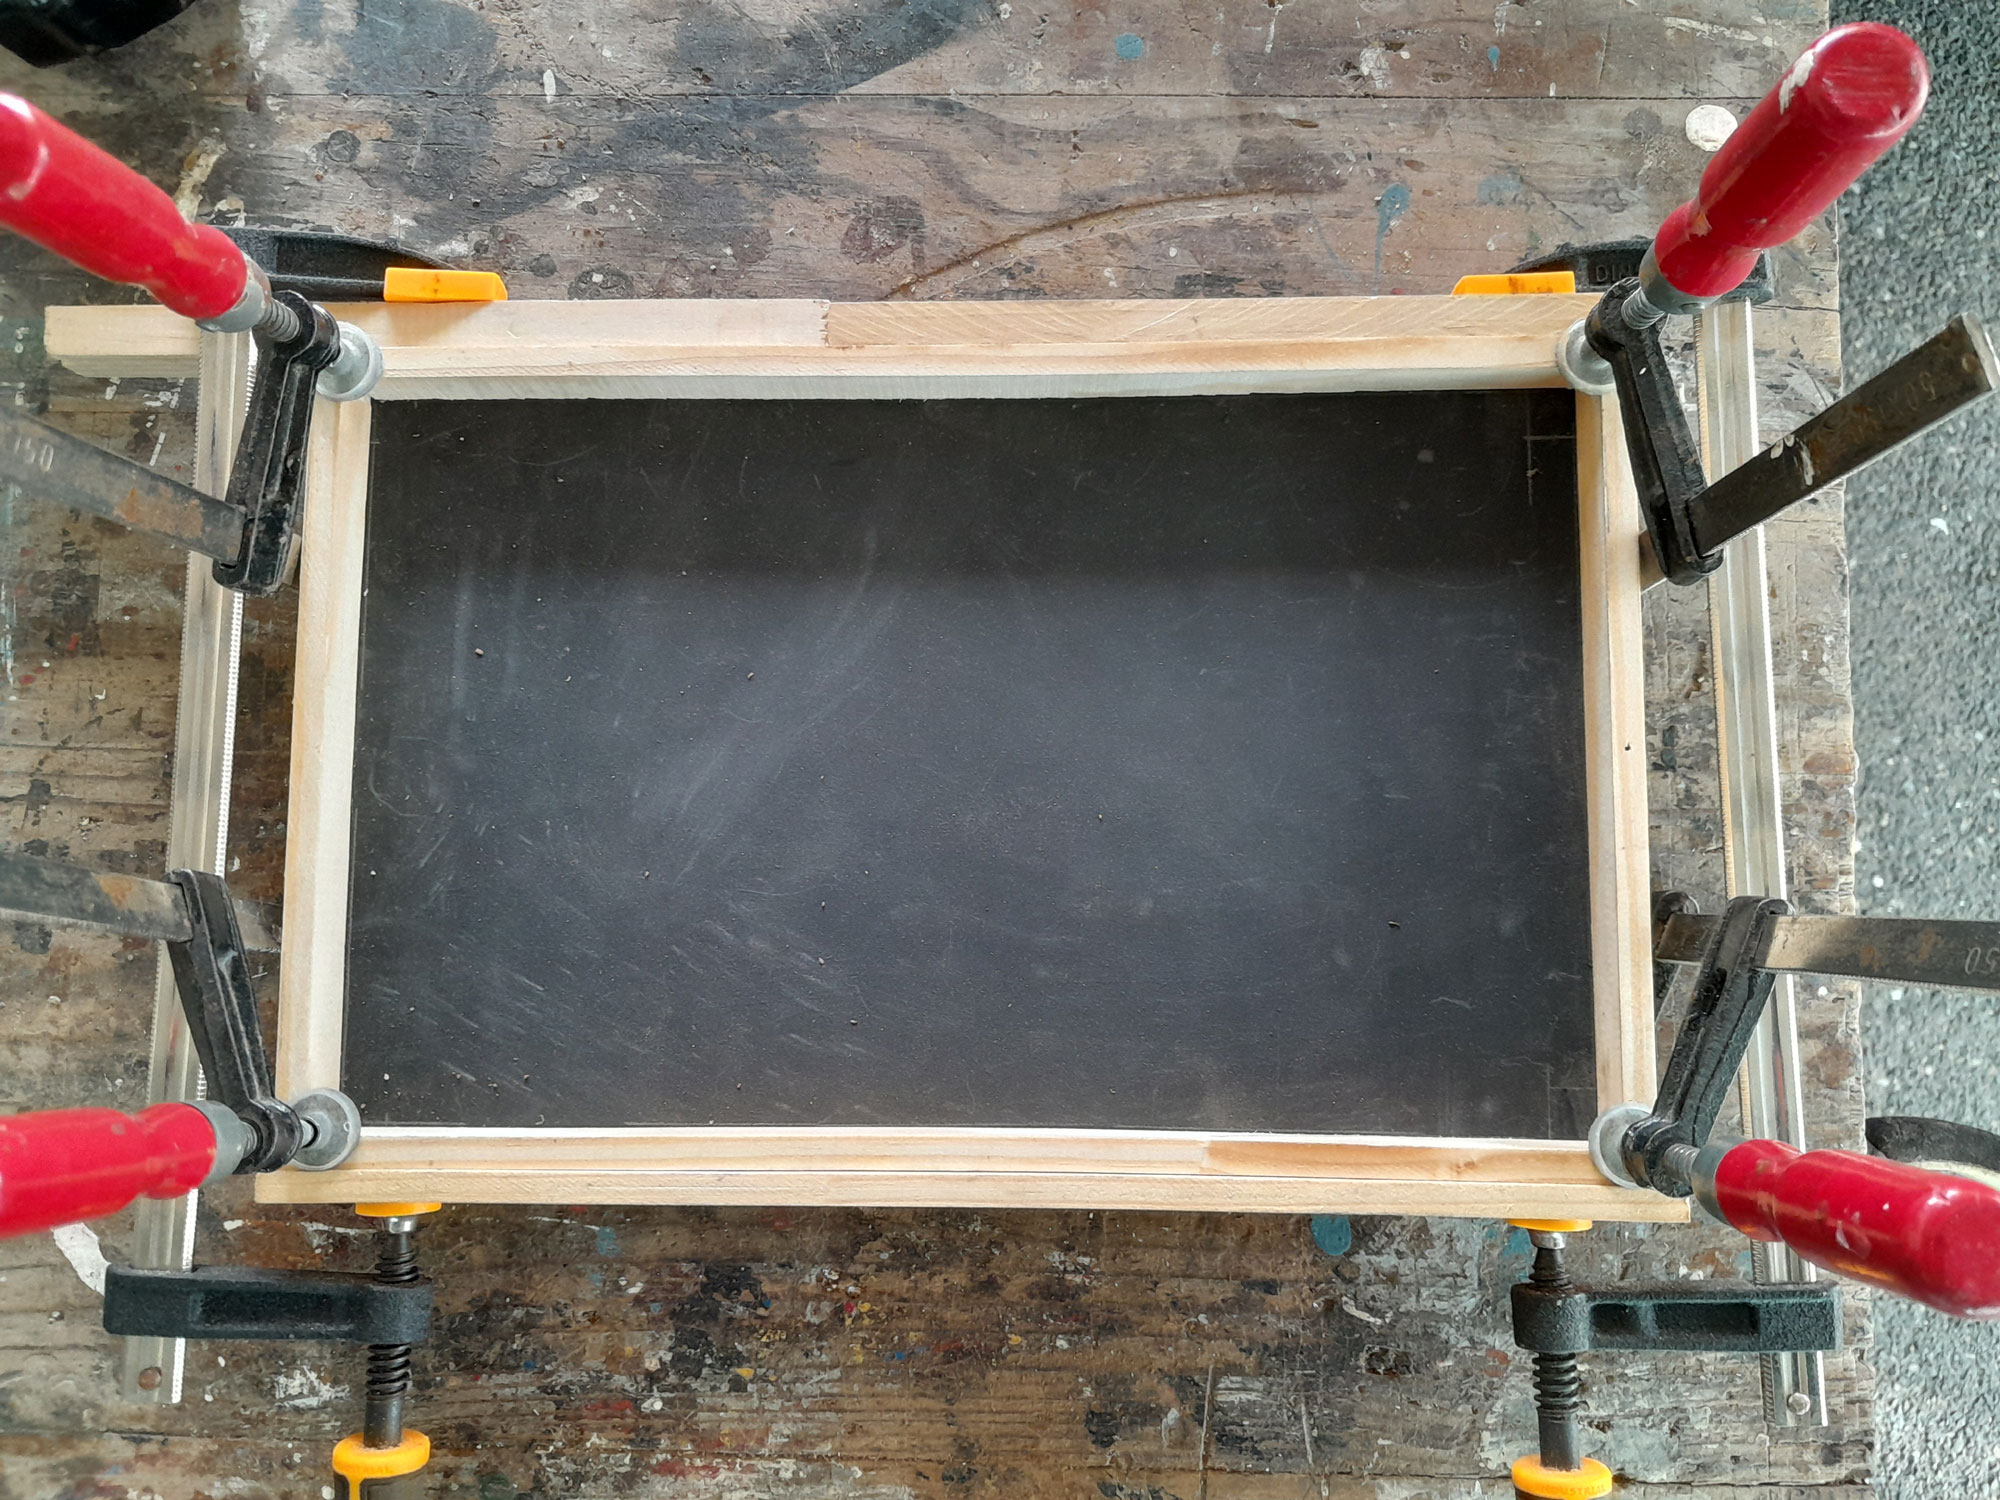
- I followed with the two sides, mitred to fit neatly, and with the paint removal repeated. I clamped the sides firmly as the glue cured, and later used 20mm panel pins to secure the sides and ends to the base. Then, for the handle securing screws, I very carefully drilled through from the underside of the base, painted the tray and once the paint had dried, fixed the handles to it.
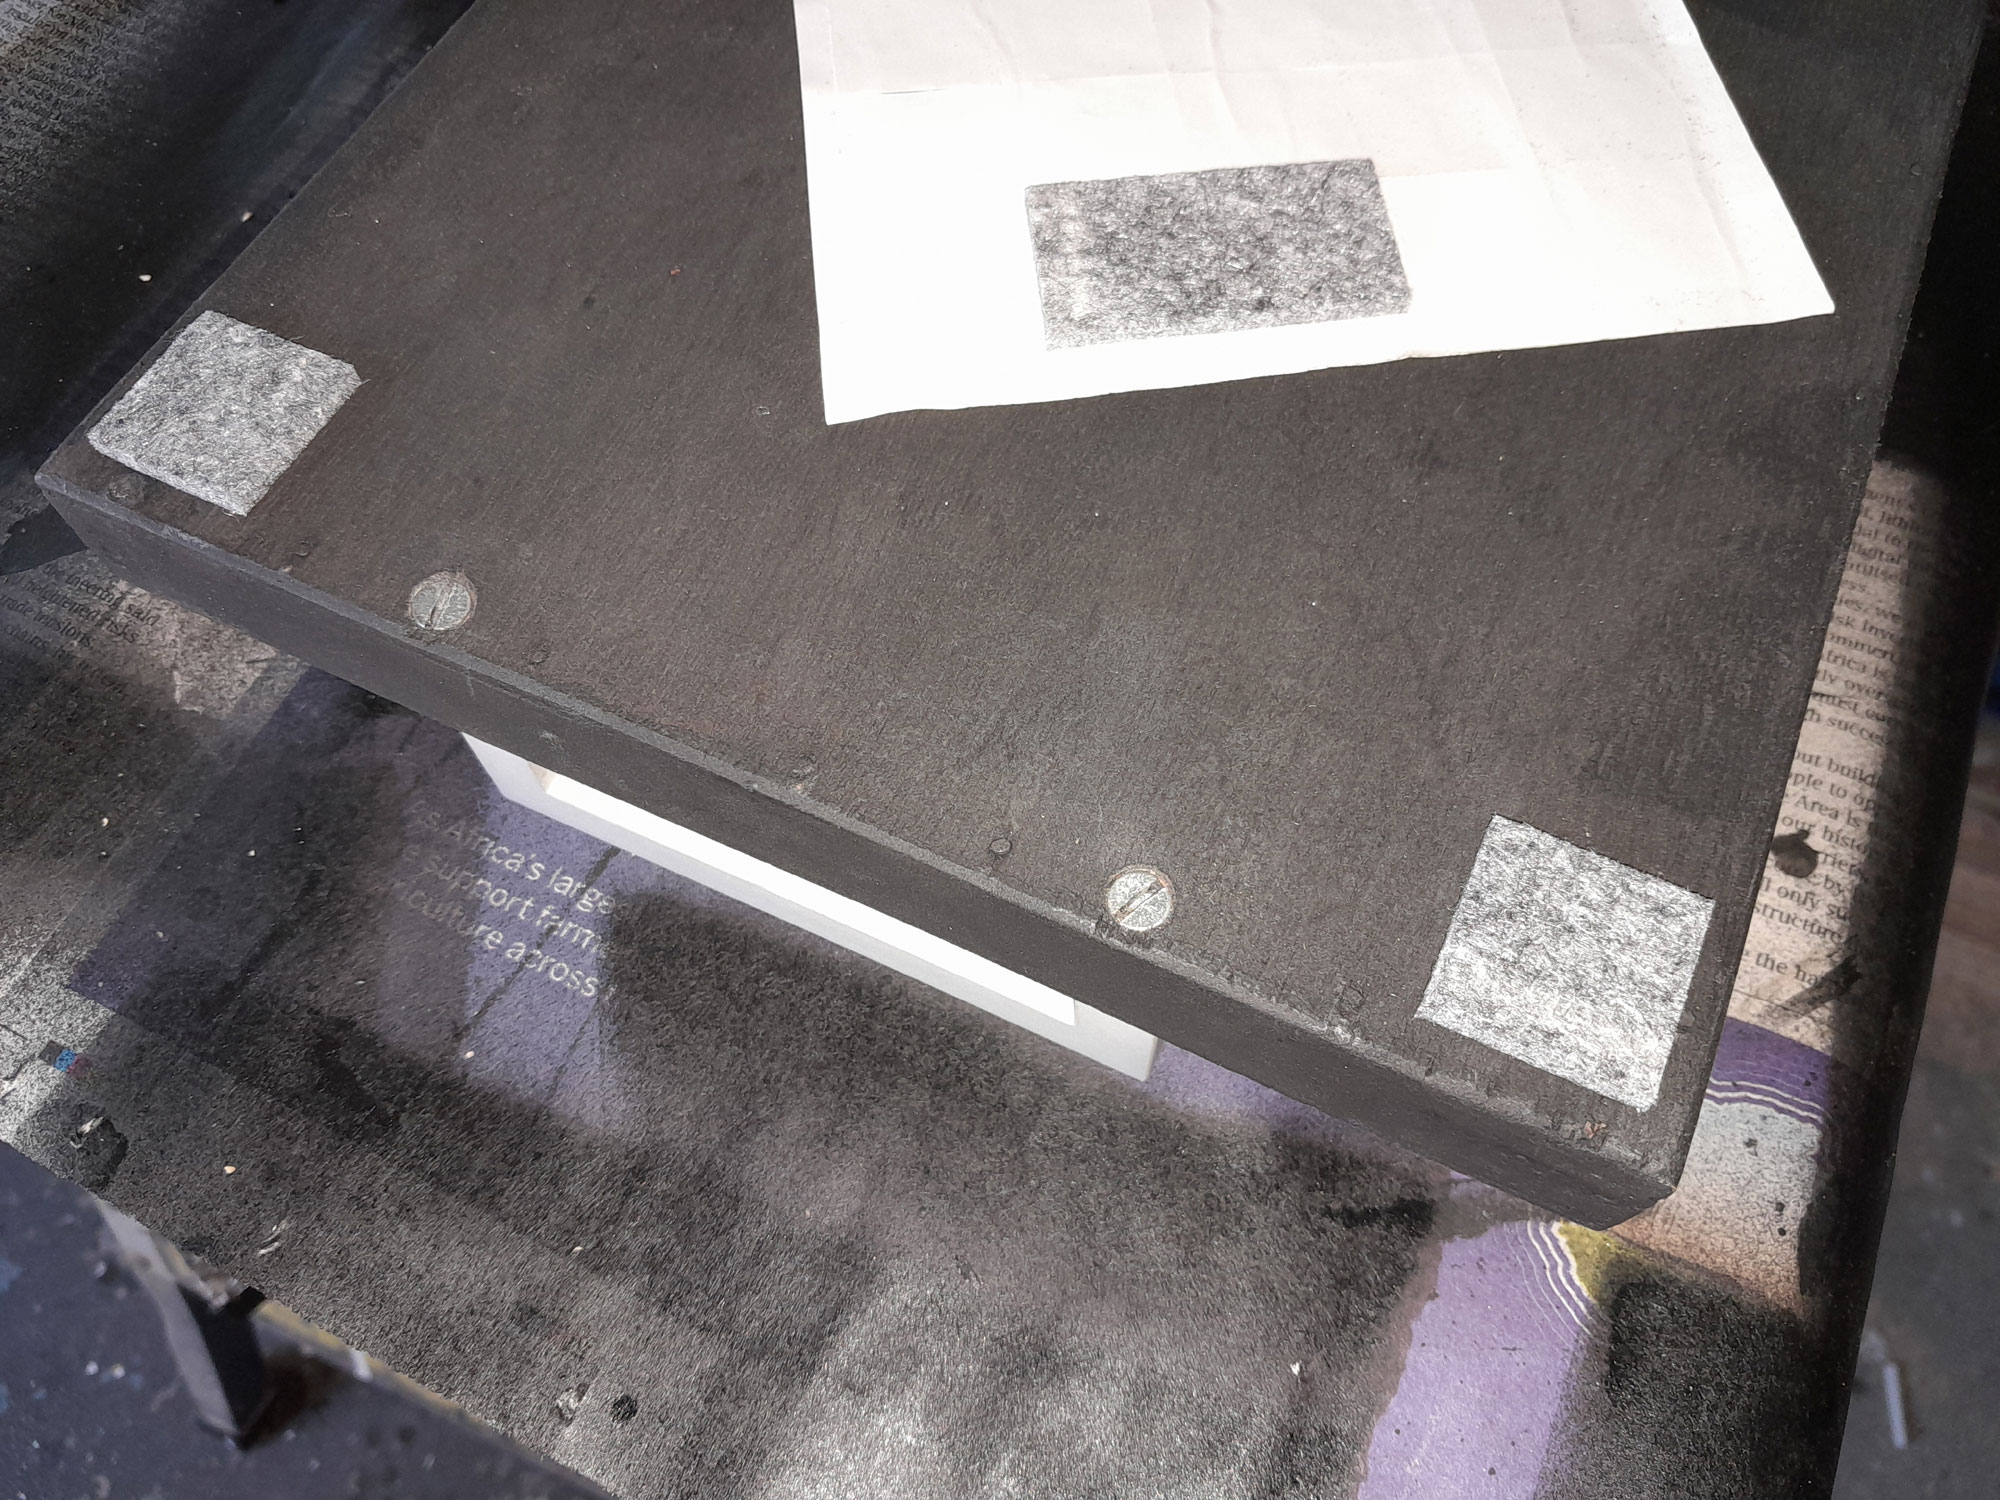
- And finally finished the tray off with a self-adhesive felt pad on each corner.
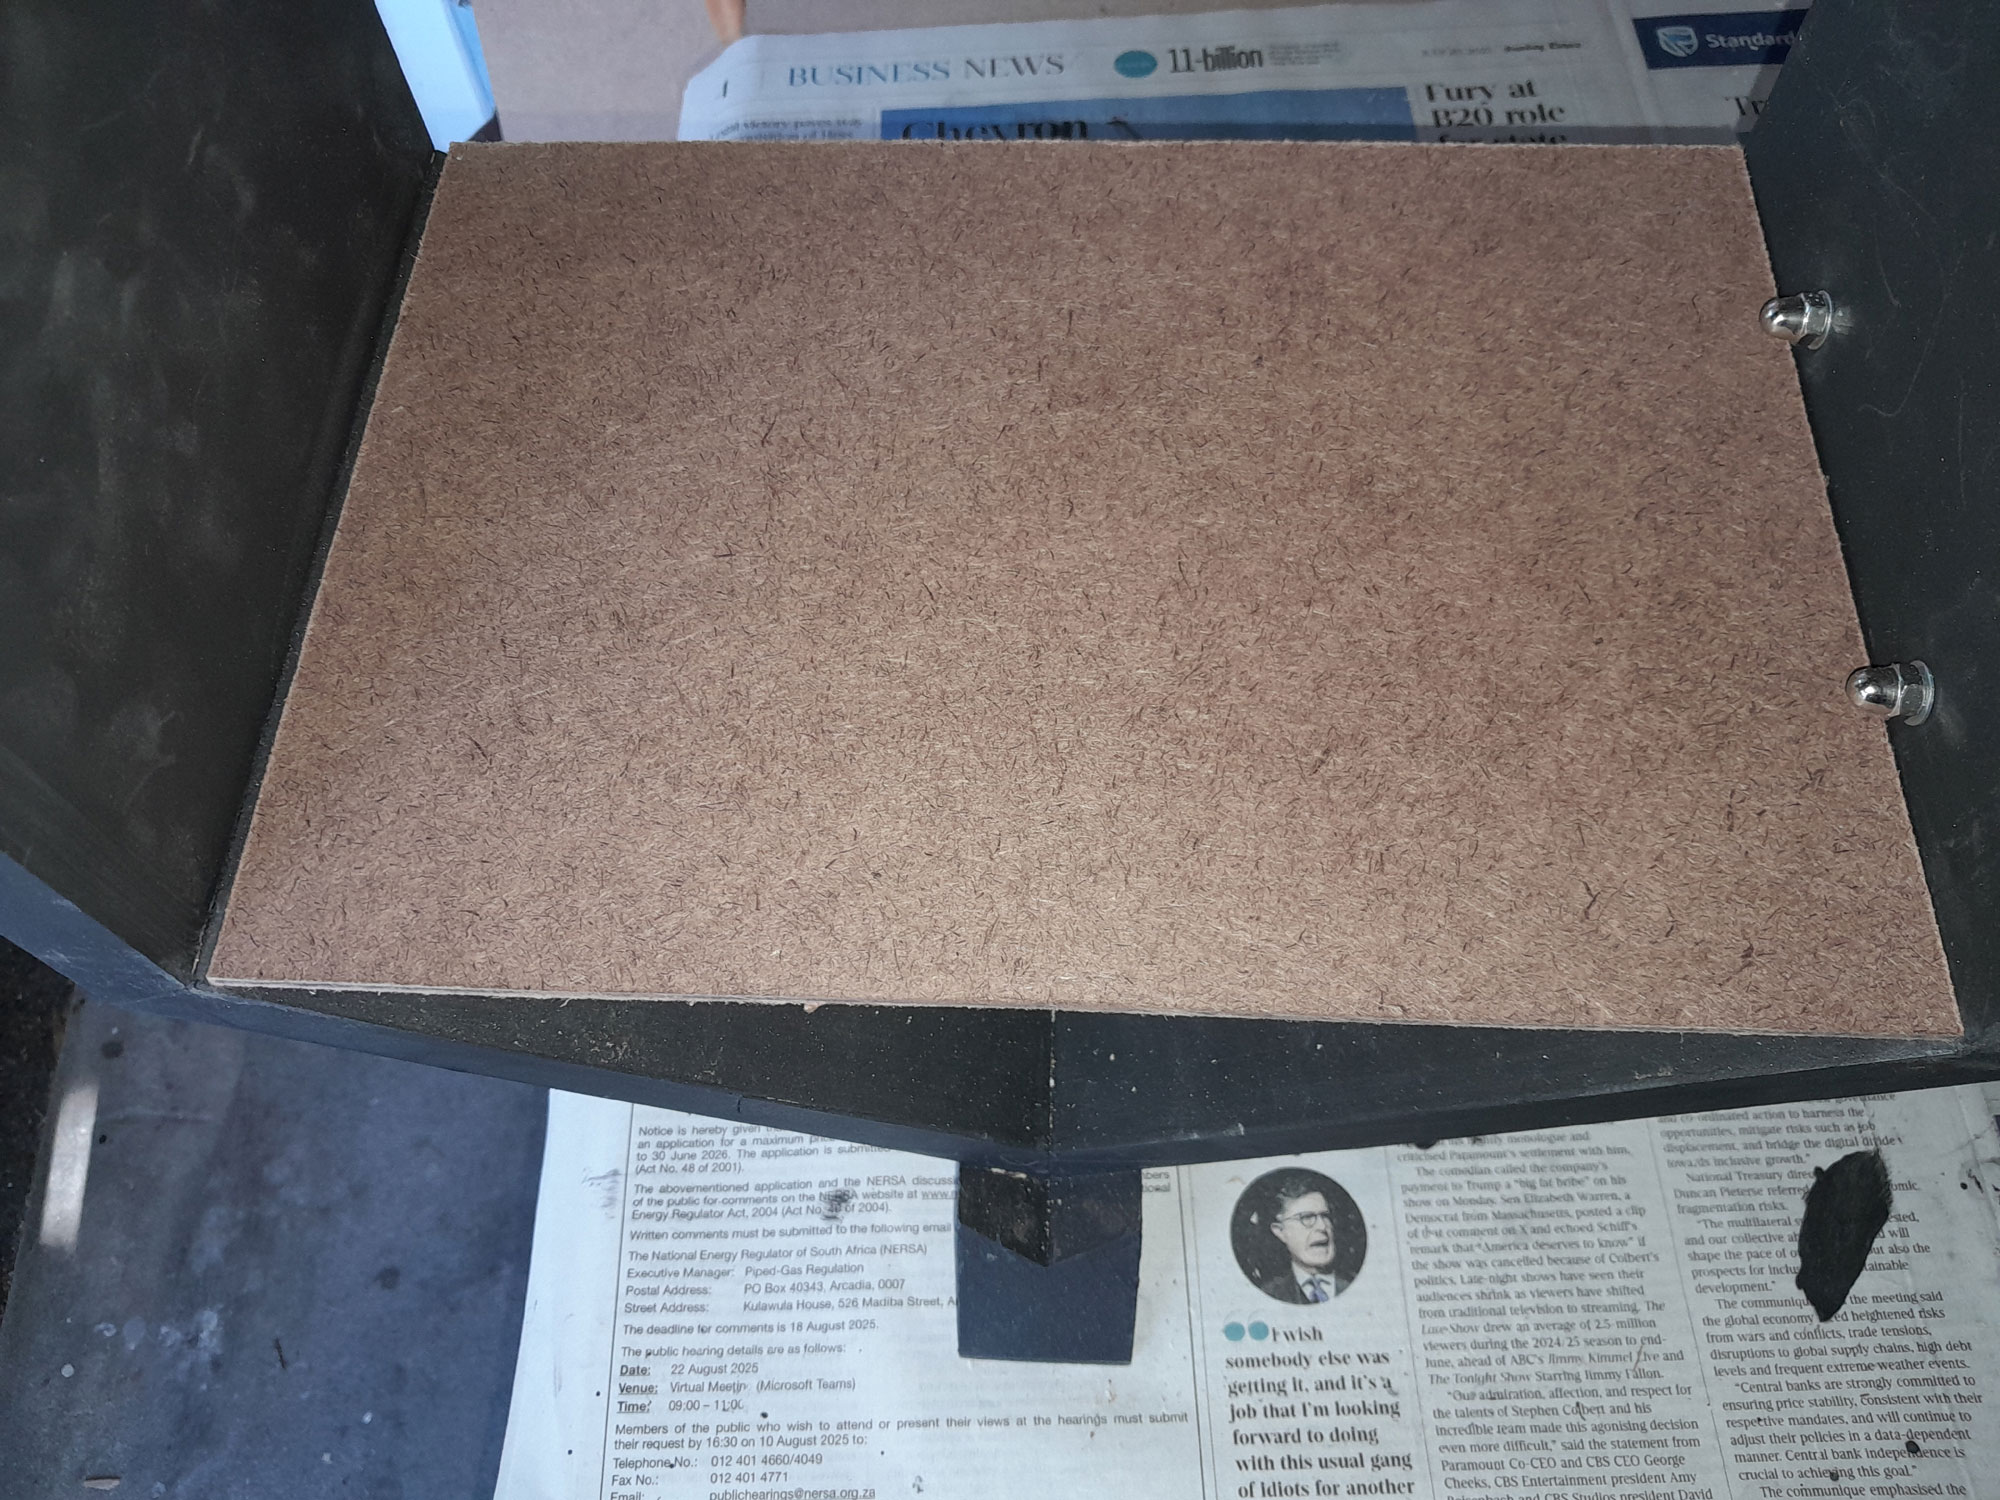
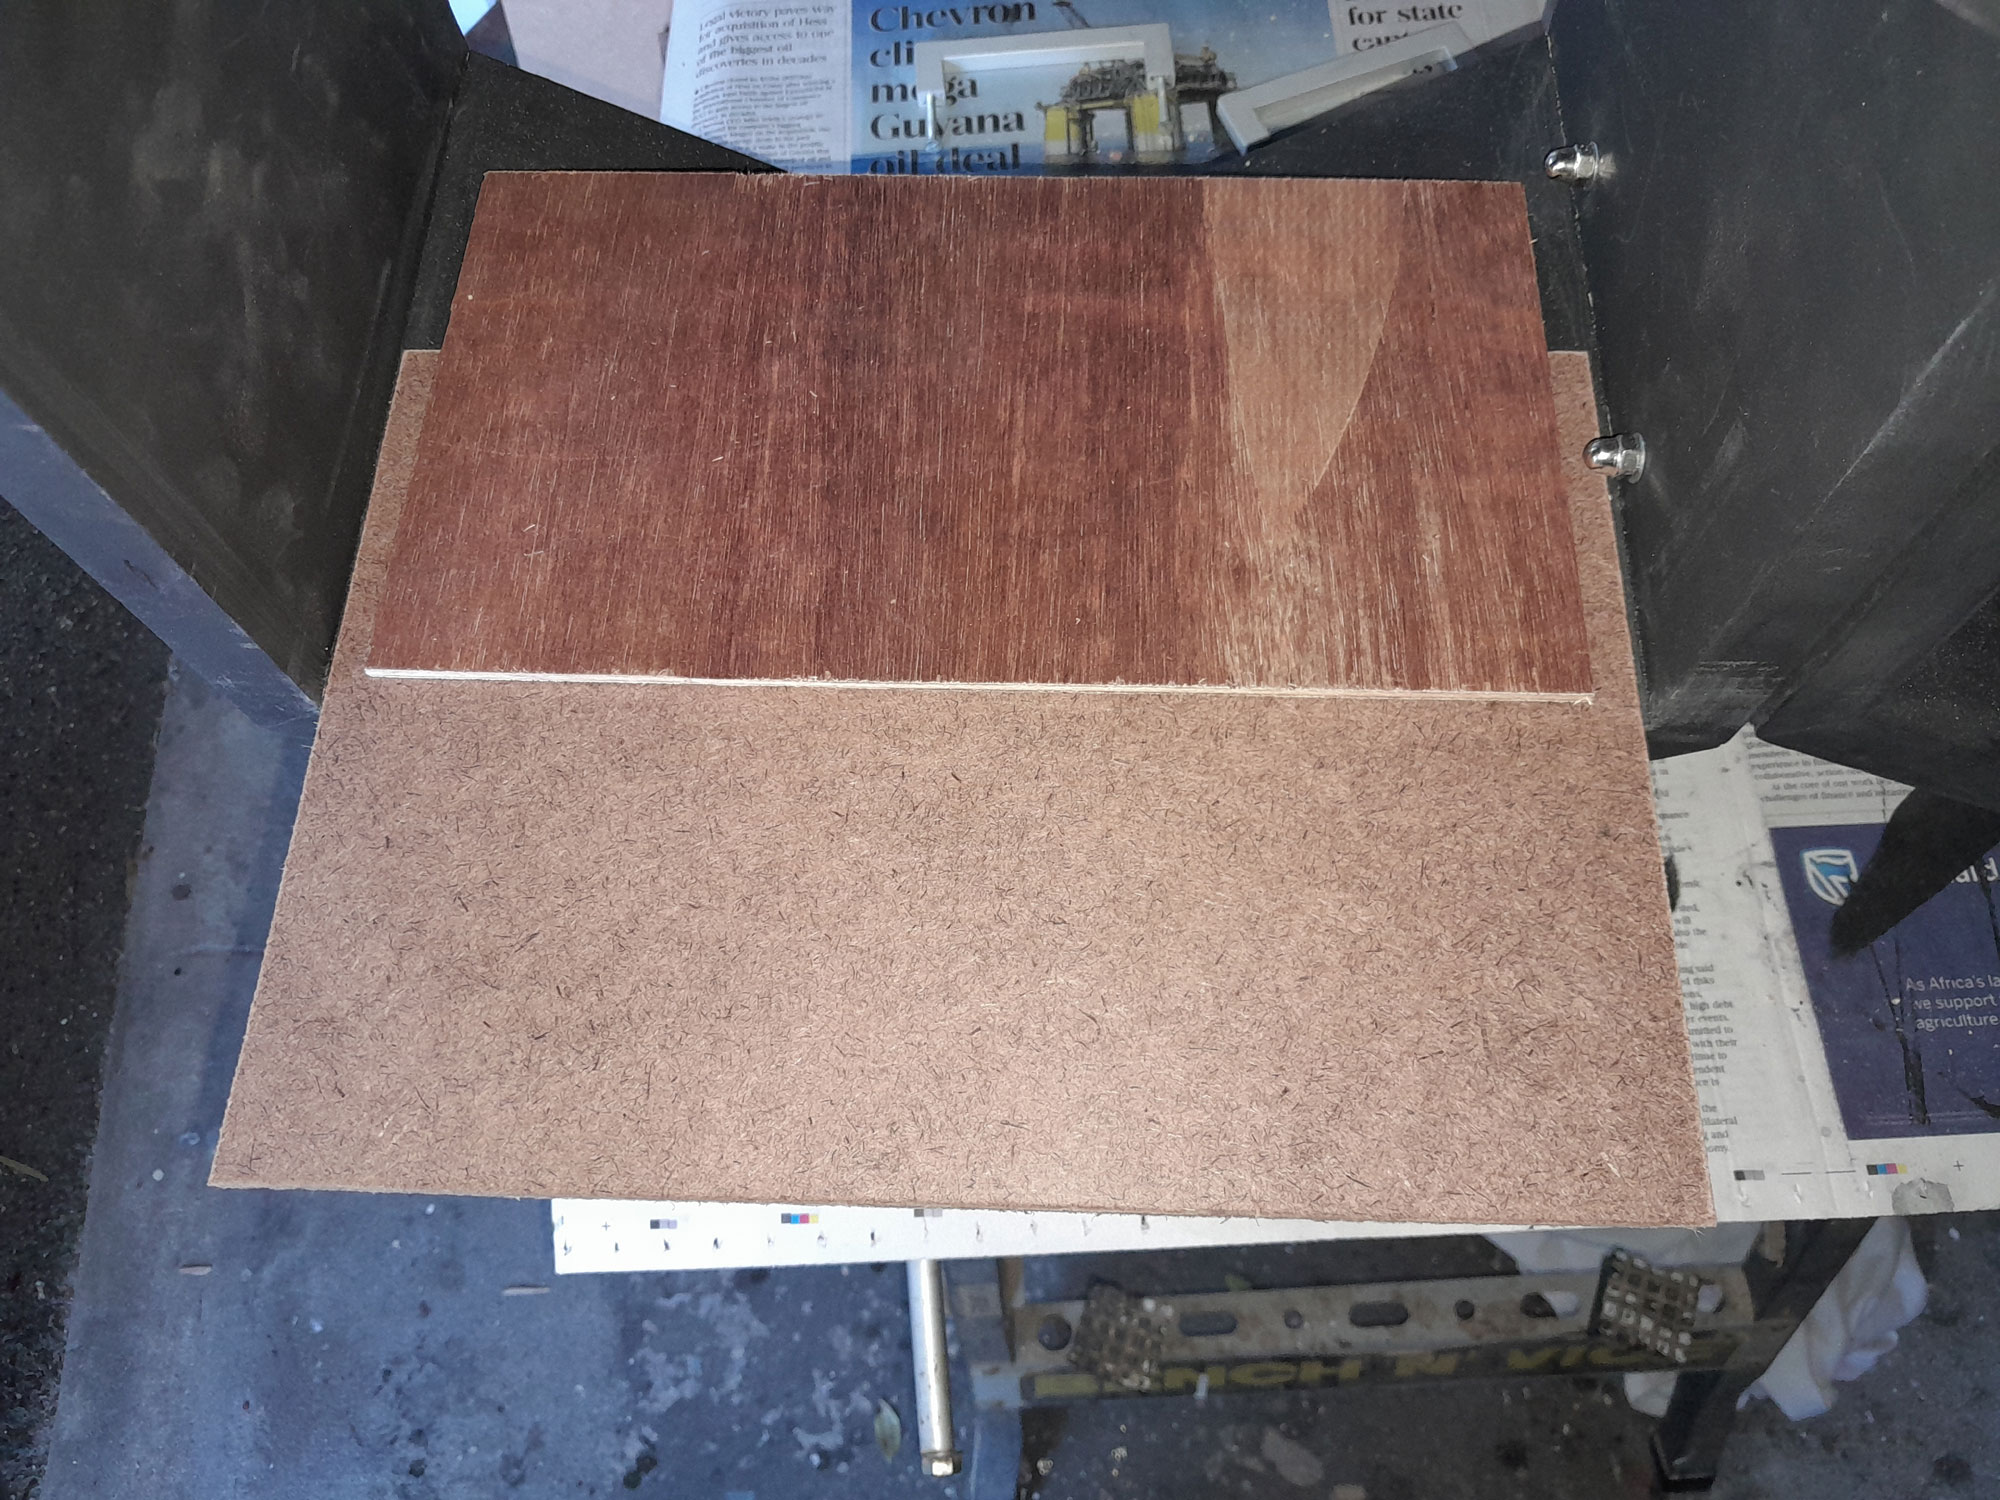
- The shelves are far easier and quicker… I had some offcuts of tempered hardboard handy, so I cut two each 222x315mm.
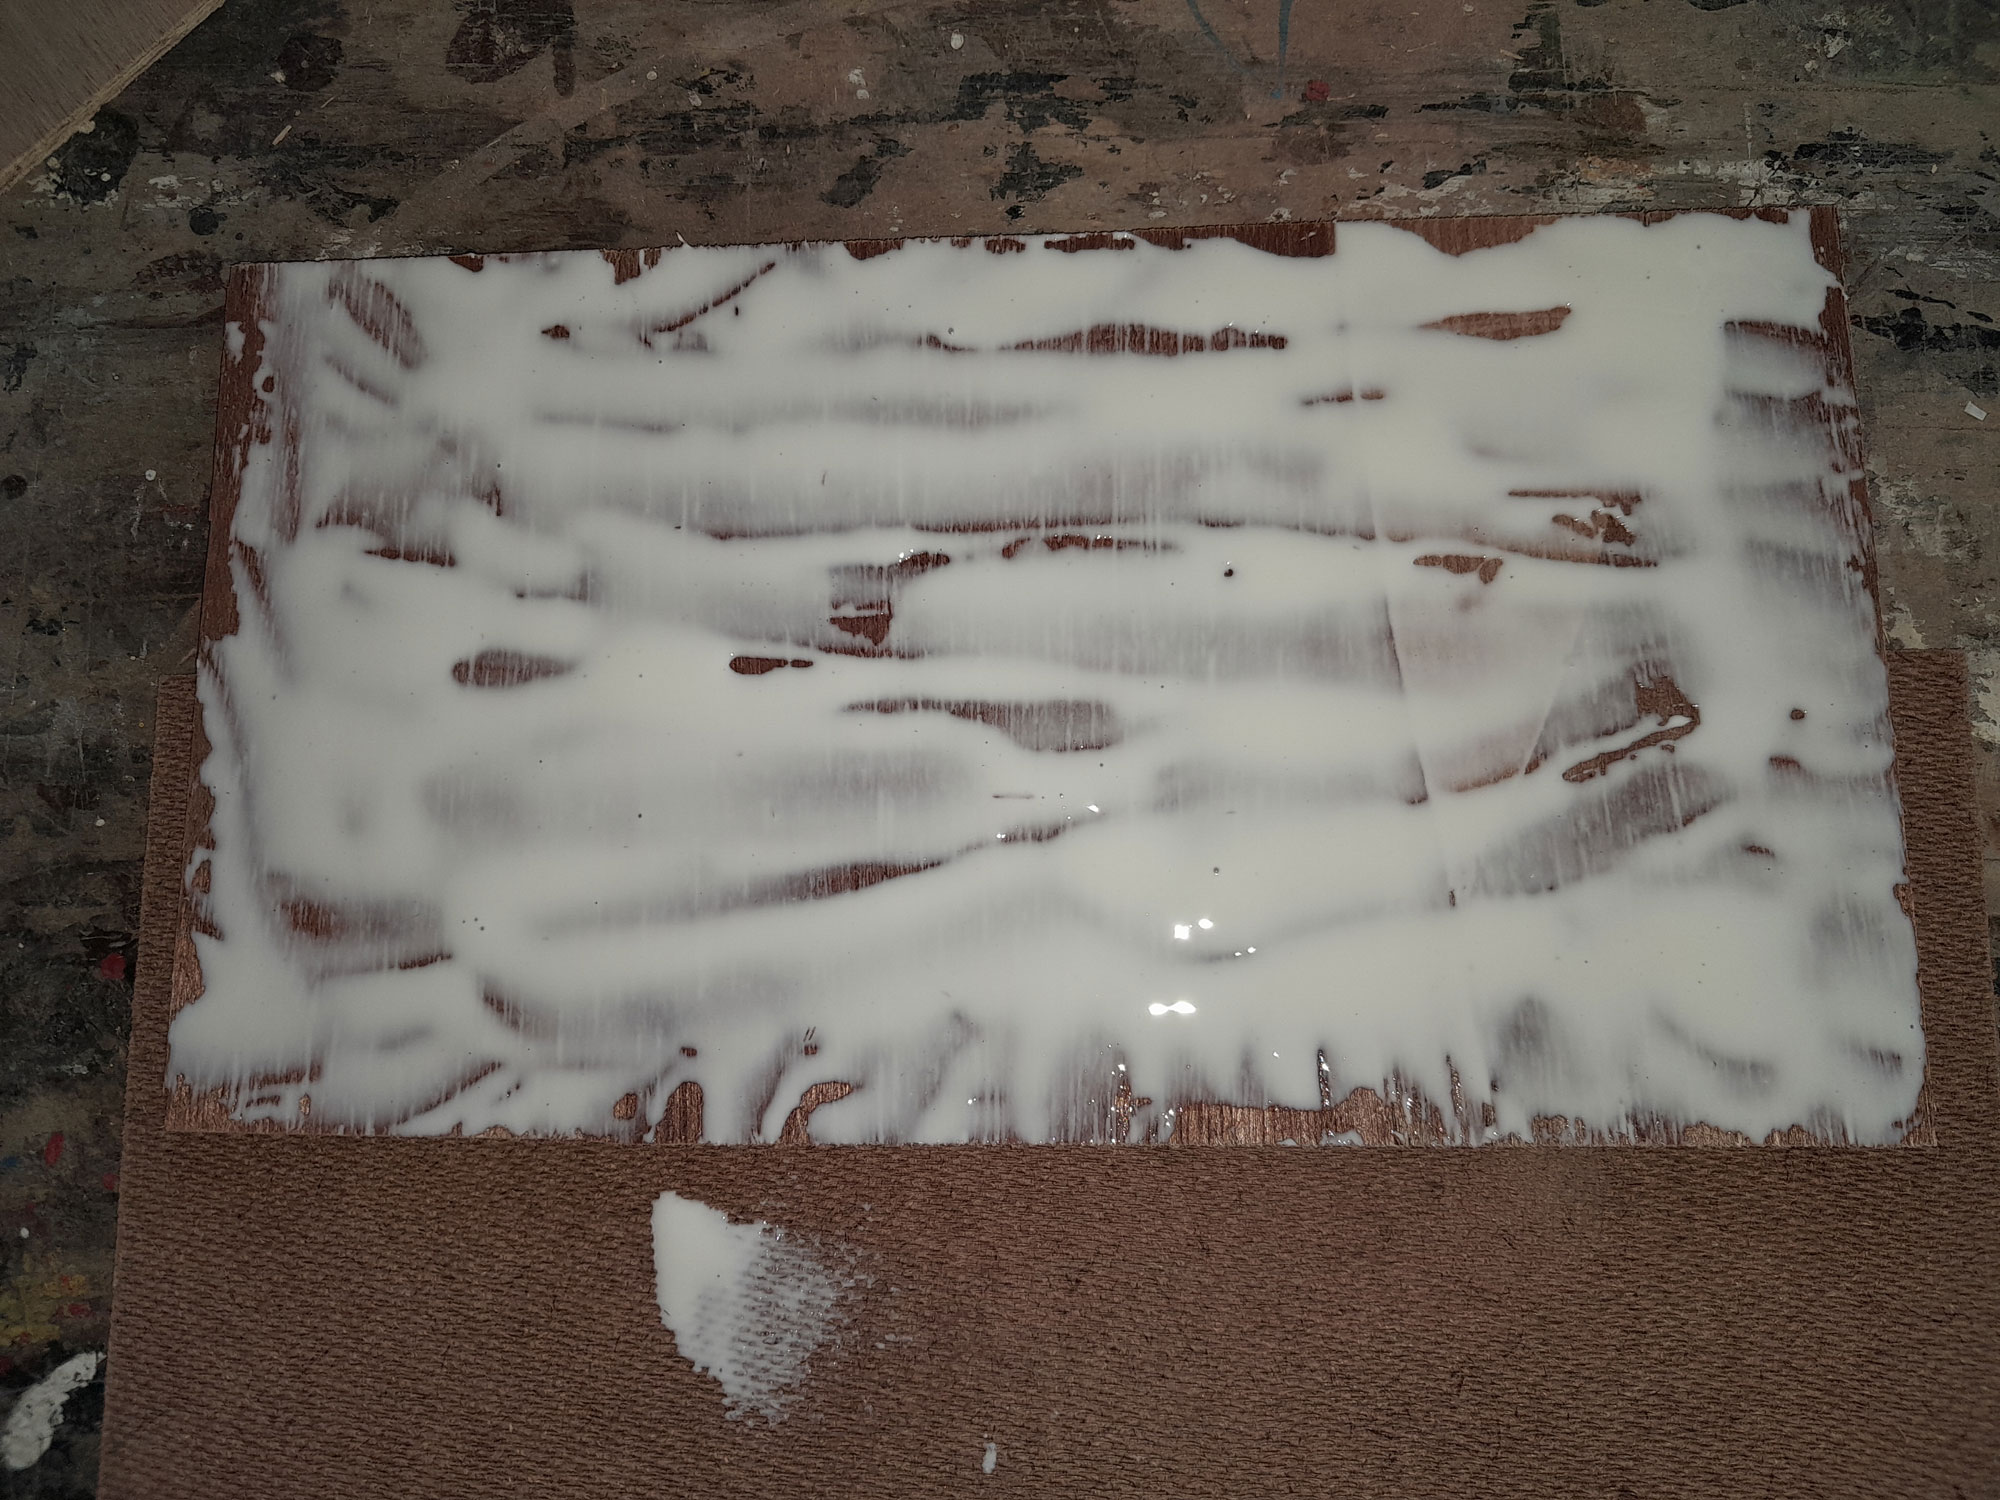
- To reinforce them, I glued a sheet of plywood to the underside of each…
- I ensured the glue was spread right across the ply.
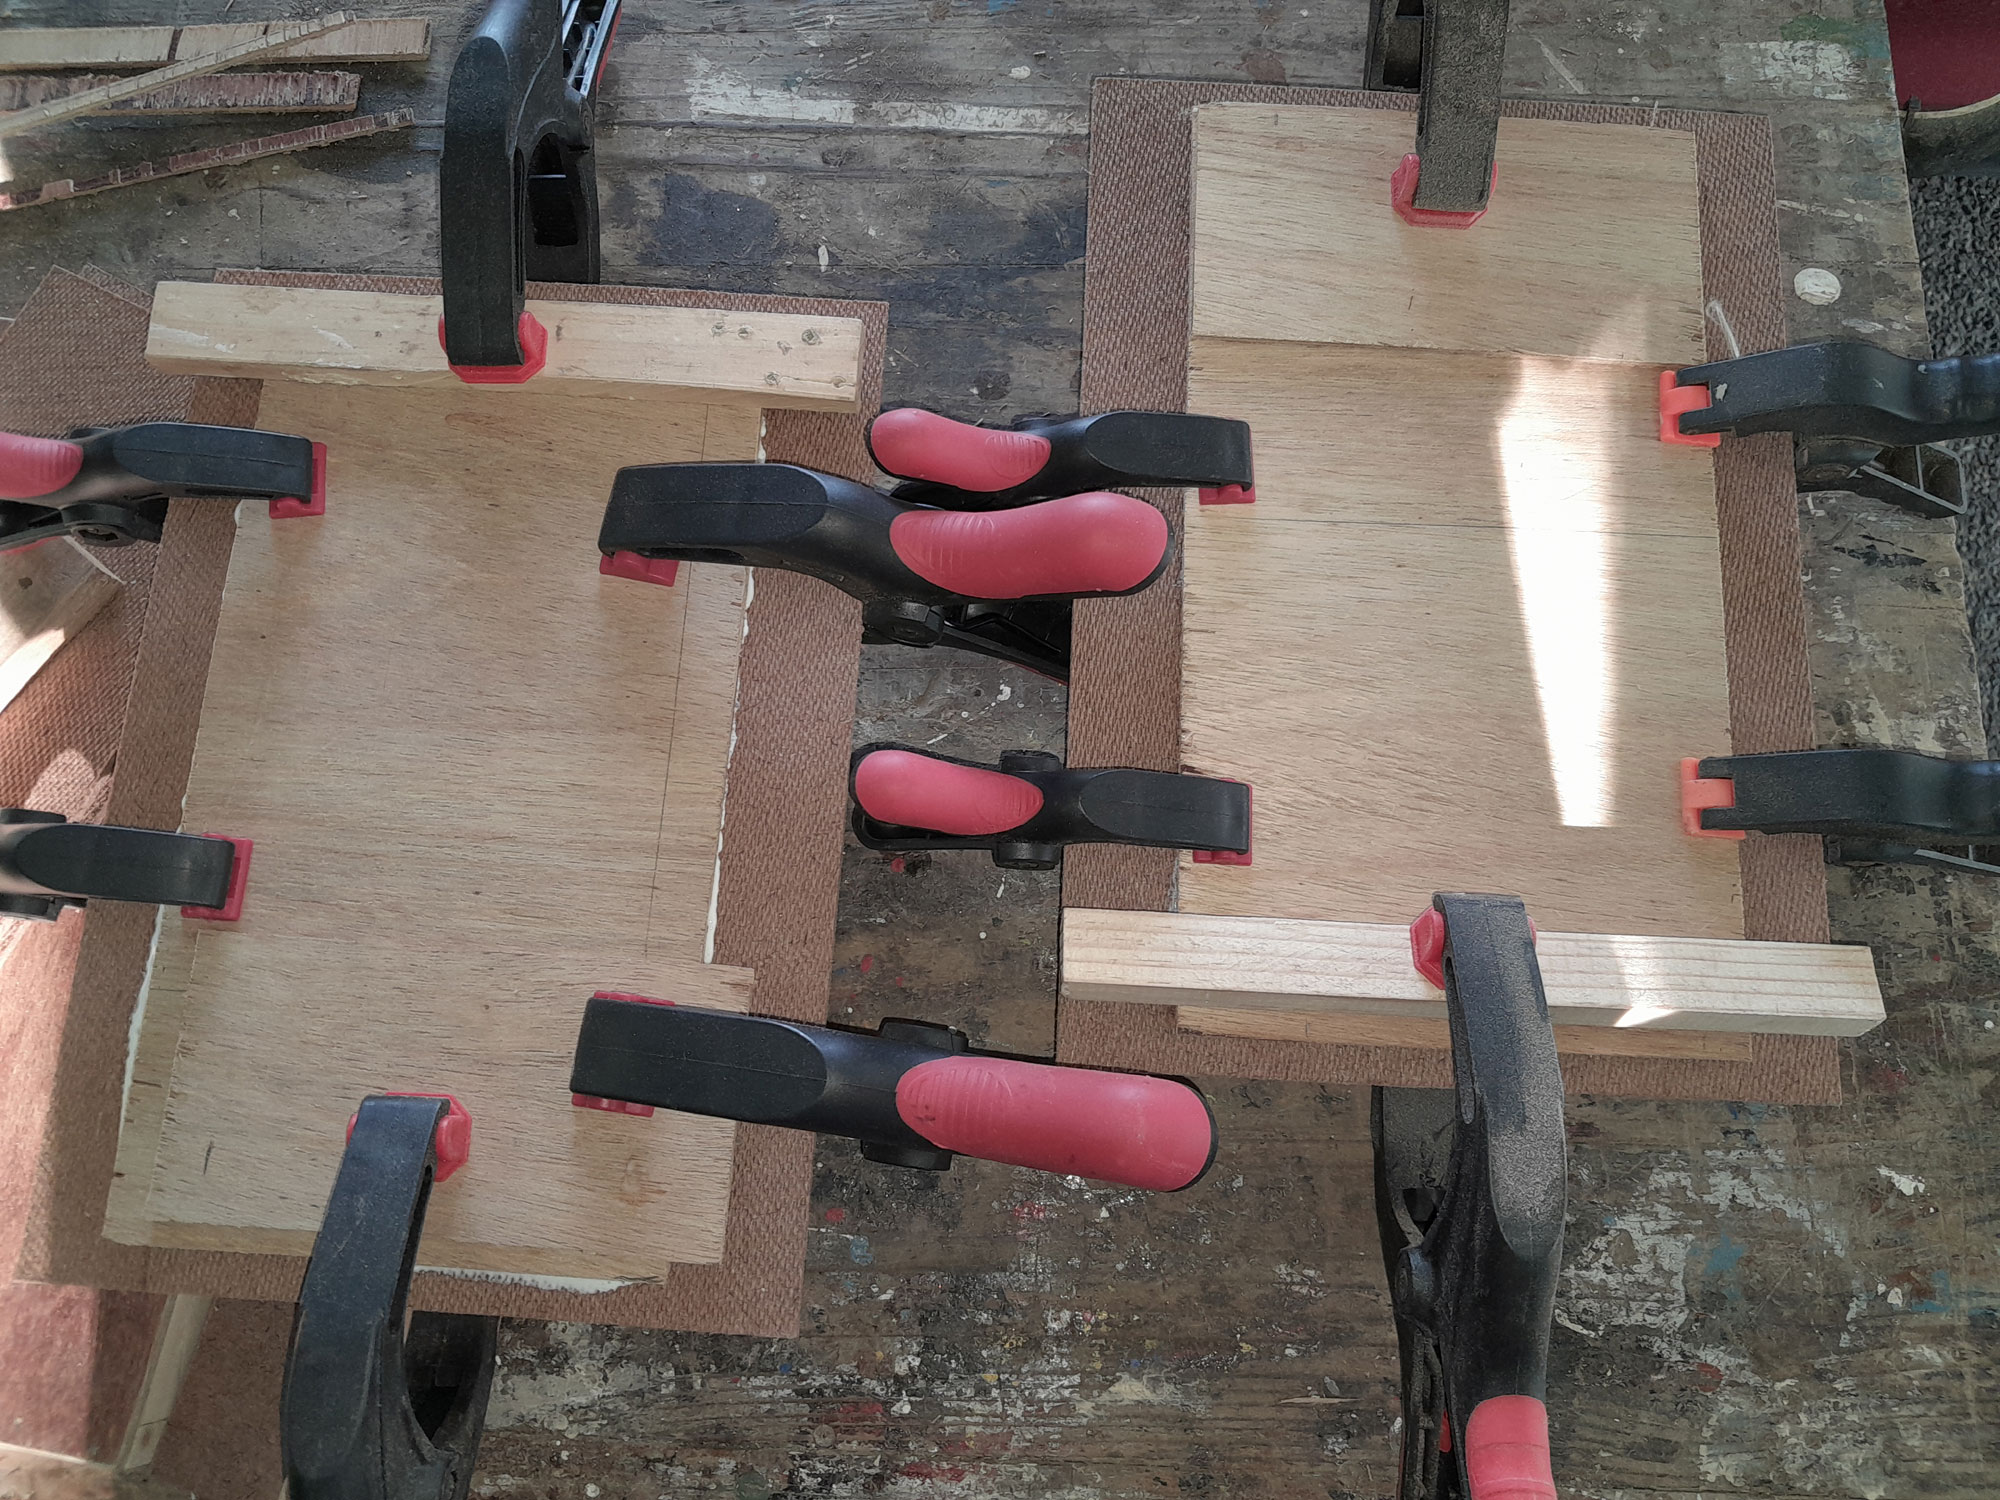
- Then I clamped the pieces to the shelves, left them overnight for the glue to cure and the next day, painted them. Job done!
- You can use it as a wood rack
- You can use it as a book rack and/or side table
- You can even use it as a wine rack a unit for all seasons, indeed.

Panel:
These materials are available at Selected Mica Stores. To find your closest Mica and whether or not they stock the items required, please go to www.mica.co.za, find your store and call them. If your local Mica does not stock exactly what you need they will be able to order it for you or suggest an alternative product or a reputable source.
Project guide
- TIME: 1 week plus
- COST: R750 R1000 (depending on whether you include the aluminium straps as well, or if you add to the number of hexagons)
- Skill: 4
- Assistant: No
Tools required:
Jigsaw, mitre saw, sander, drill/driver (cordless or mains), strap clamp or luggage strap, masking tape or luggage tape to secure the hexagons while their glue cures.