10 August 2021

Tape storage taped
This handy tape storage rack is very quick and easy to make and will store a large number of tape rolls. It can be made any length, depending on what you require.
Materials:
Scrap wood – in this case 22x44mm SA pine, and one length of 16mmØ dowel.
40mm screws and glue.
Method:
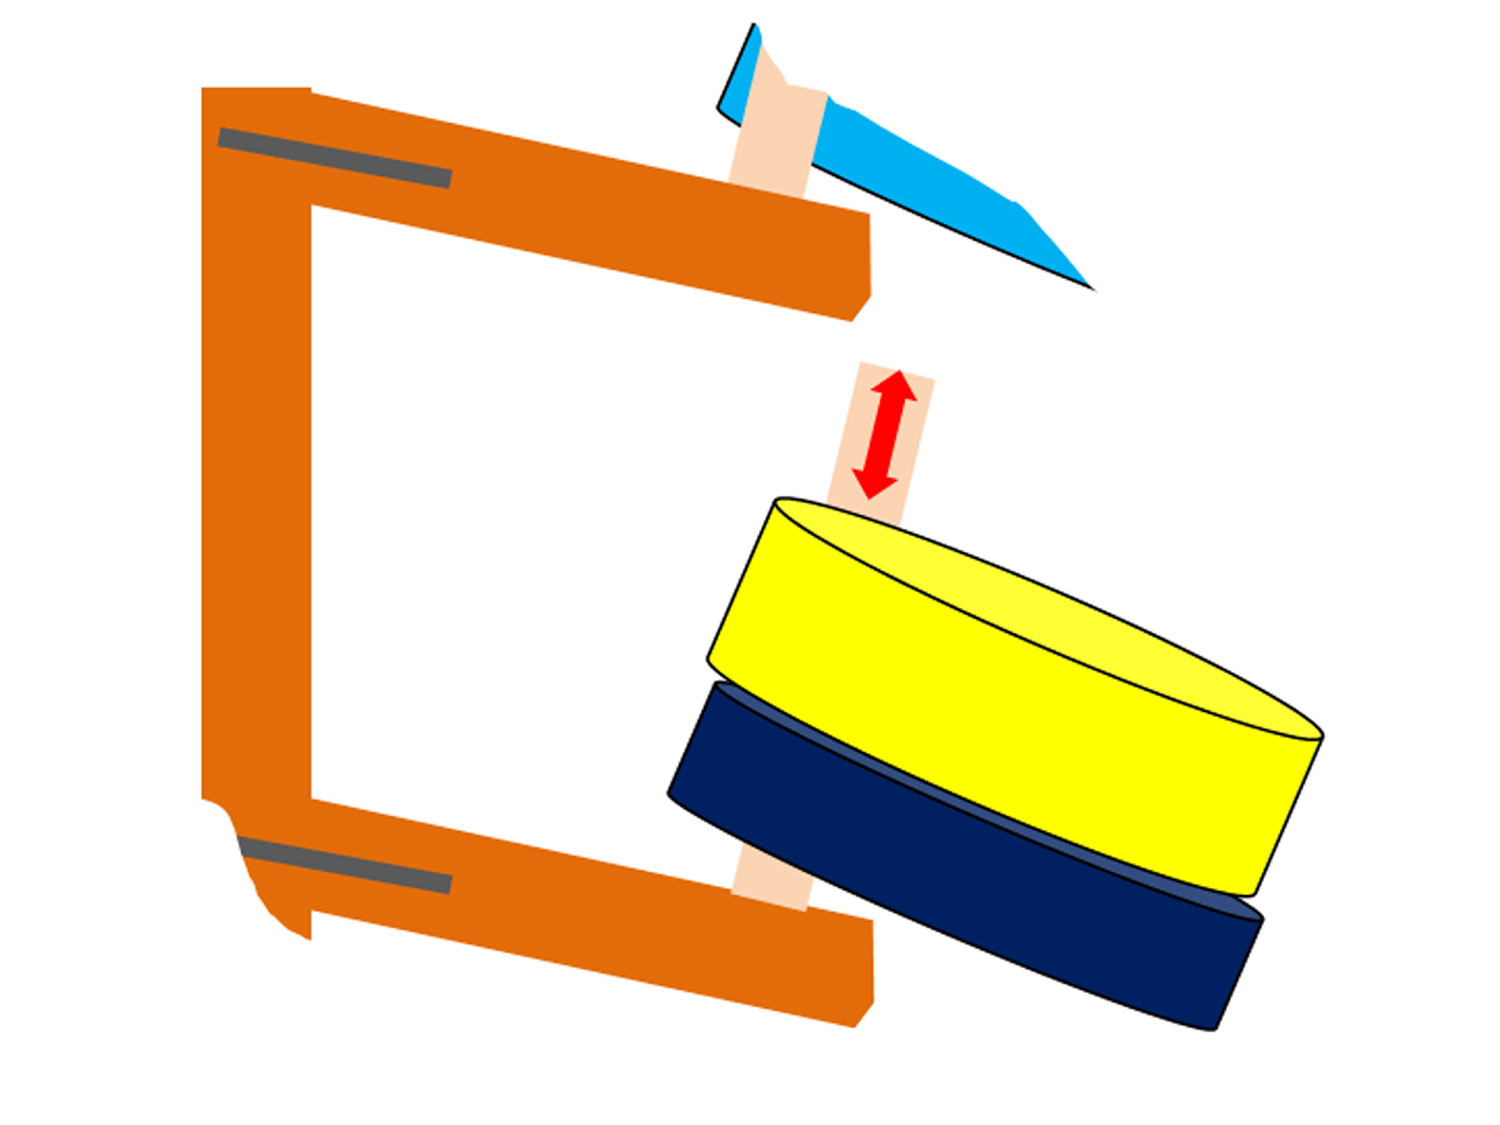
The illustration shows that by angling the struts down at a slight angle, the end of the dowel is clear of the strut above and can be easily removed and reinserted as and when necessary.
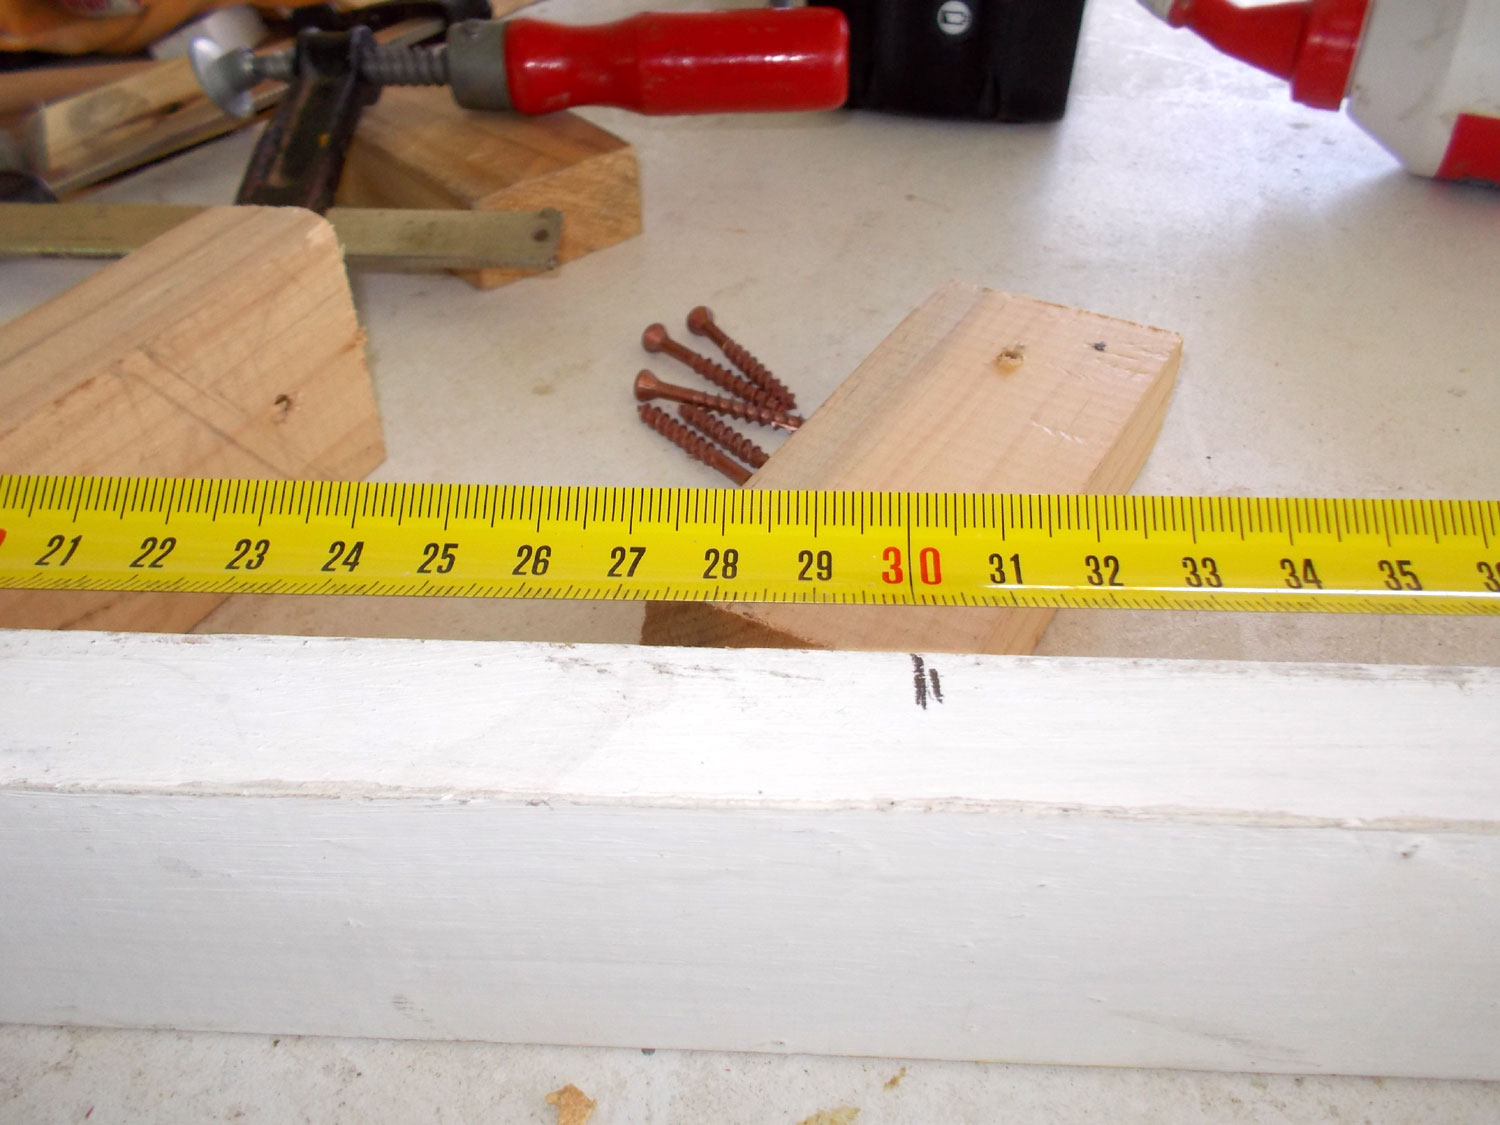
- In my case, I wanted to attach the rack to a cupboard door, so the first step was to measure the door and see how long (or high) the rack needed to be. As it turned out, 600mm.
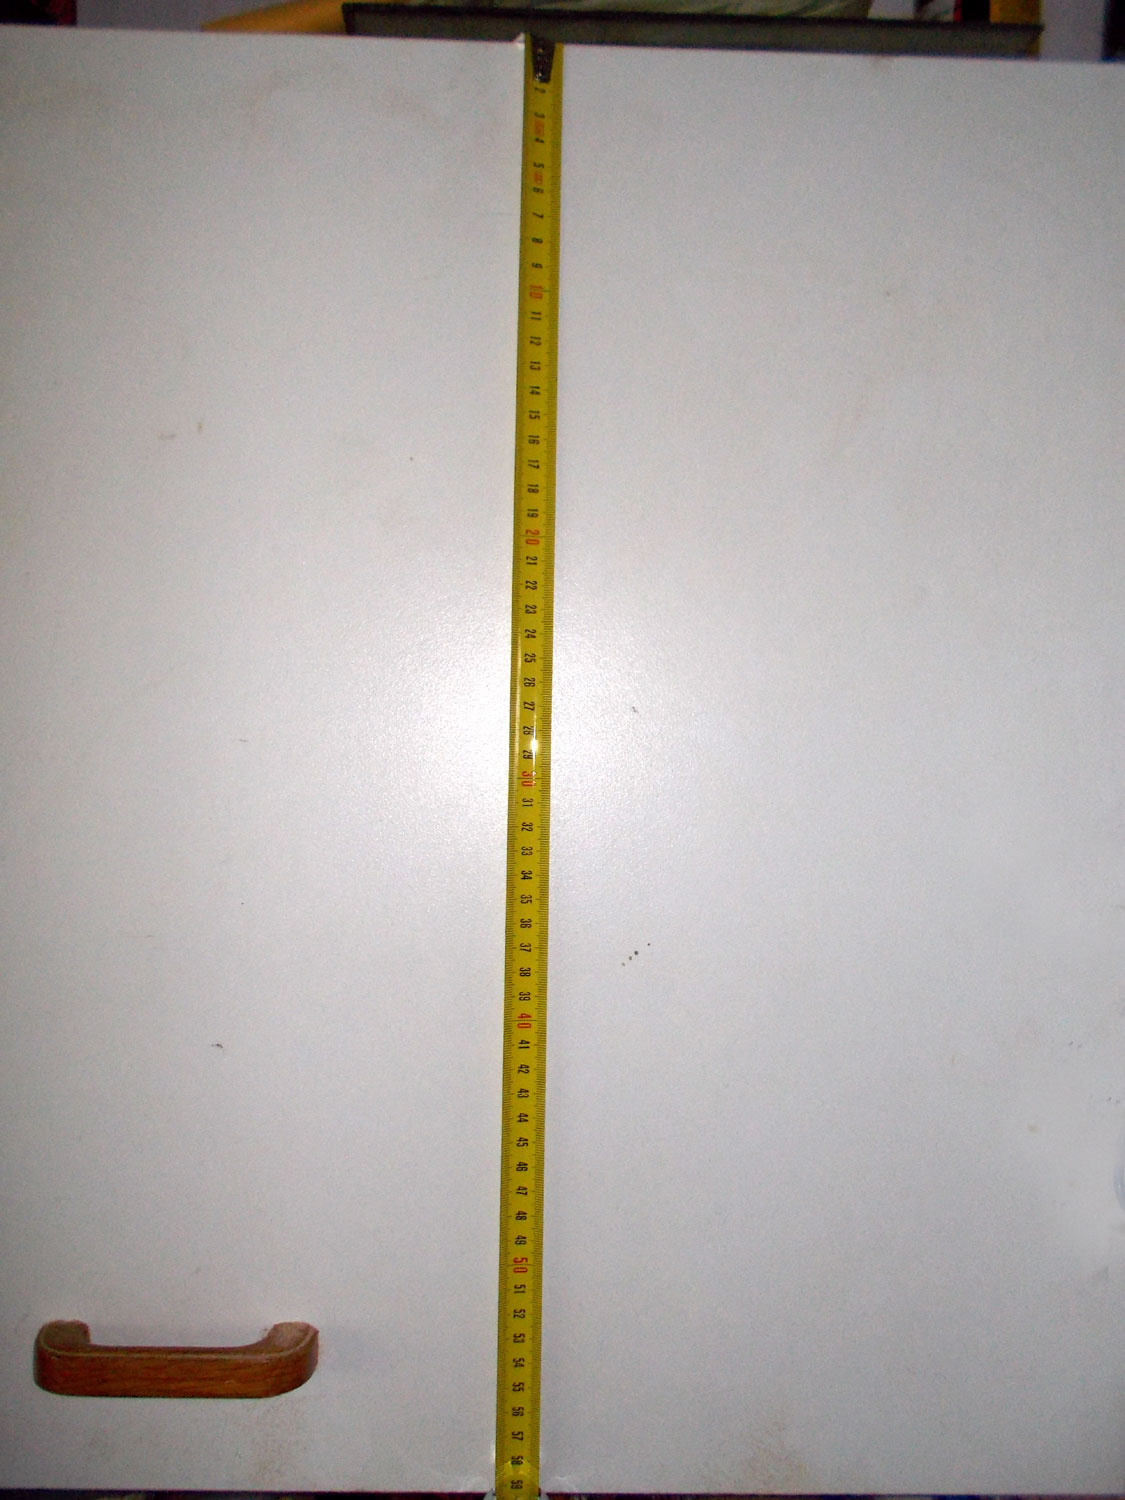
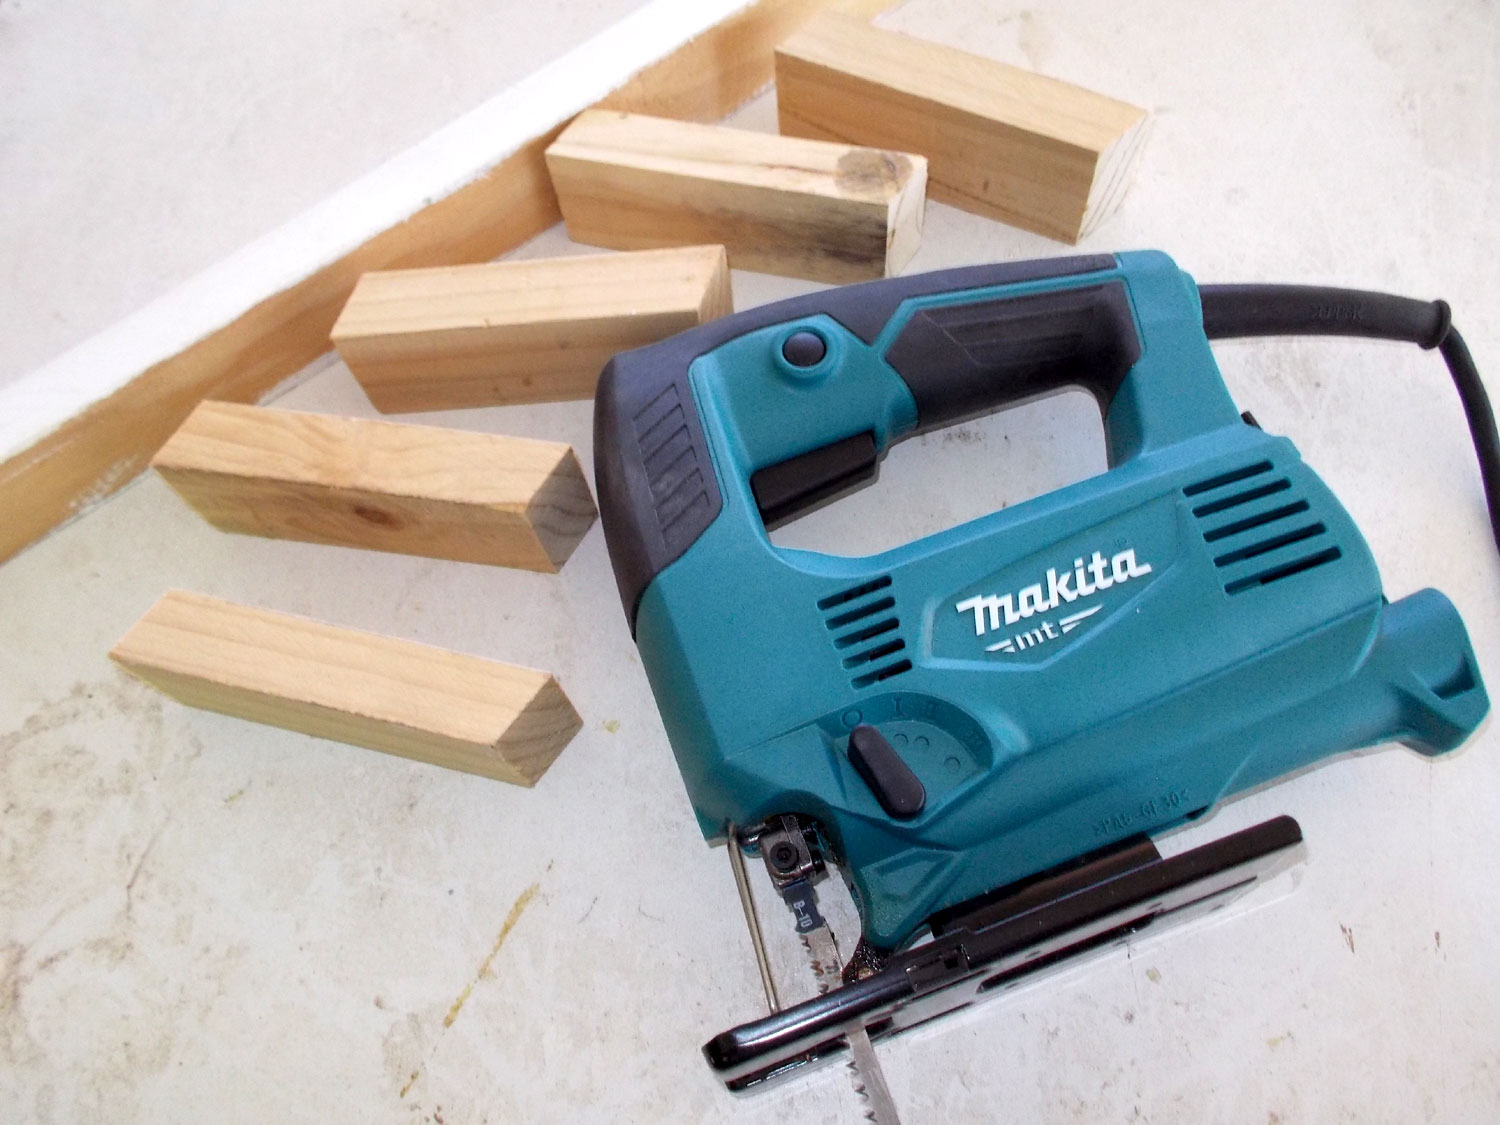
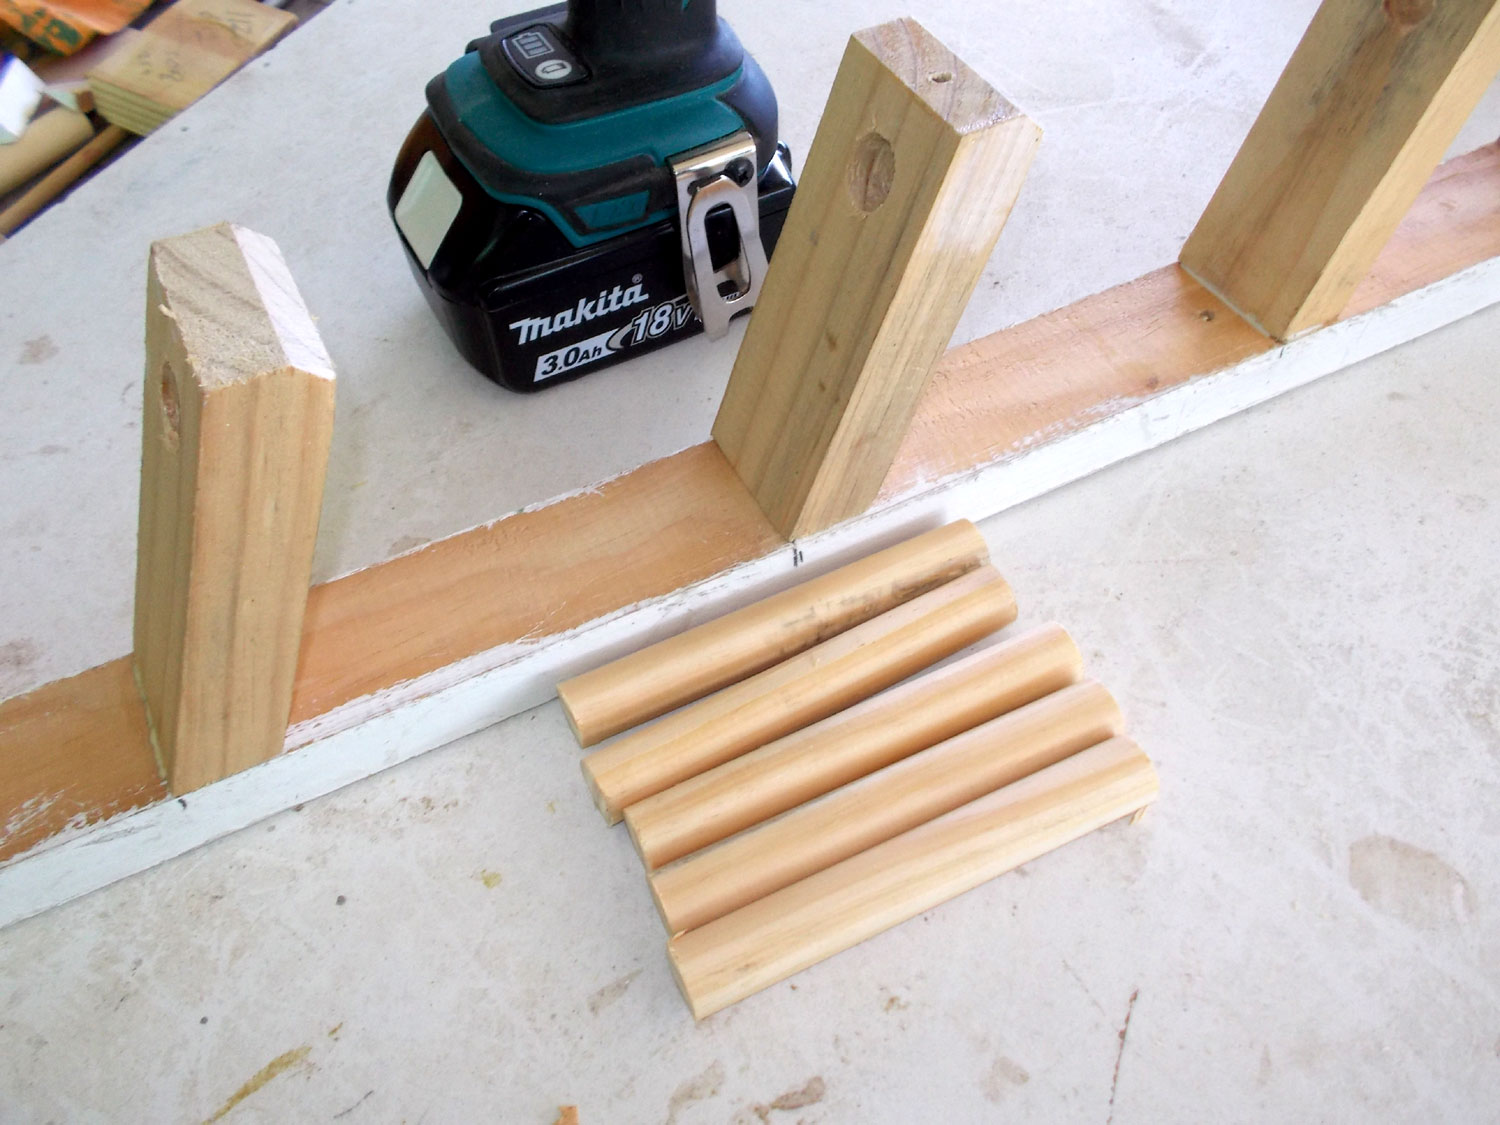
- I cut the 600mm backing member and five shorter struts, each 100mm long. I chose to angle the struts at an angle of 22.5° so that it would be easier to slip rolls of tape on and off their dowels (by clearing the end of the strut above), and if necessary remove the dowels to reload tape rolls (ditto).
- The rack’s pieces ready for assembly.
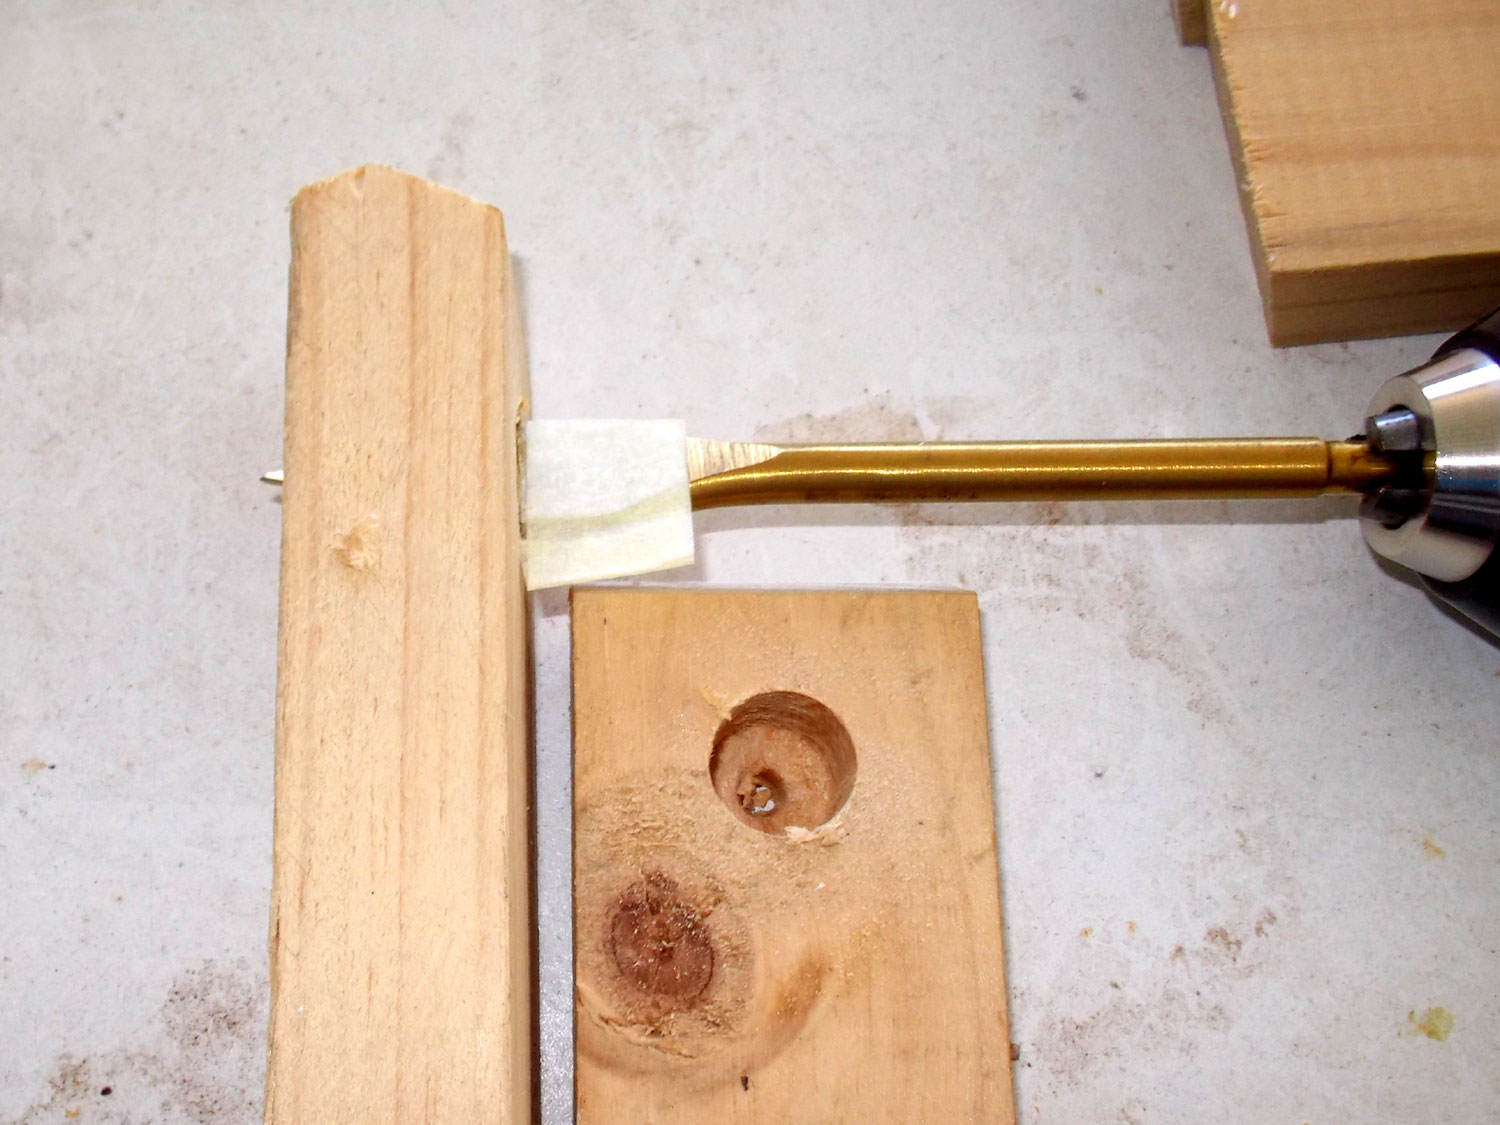
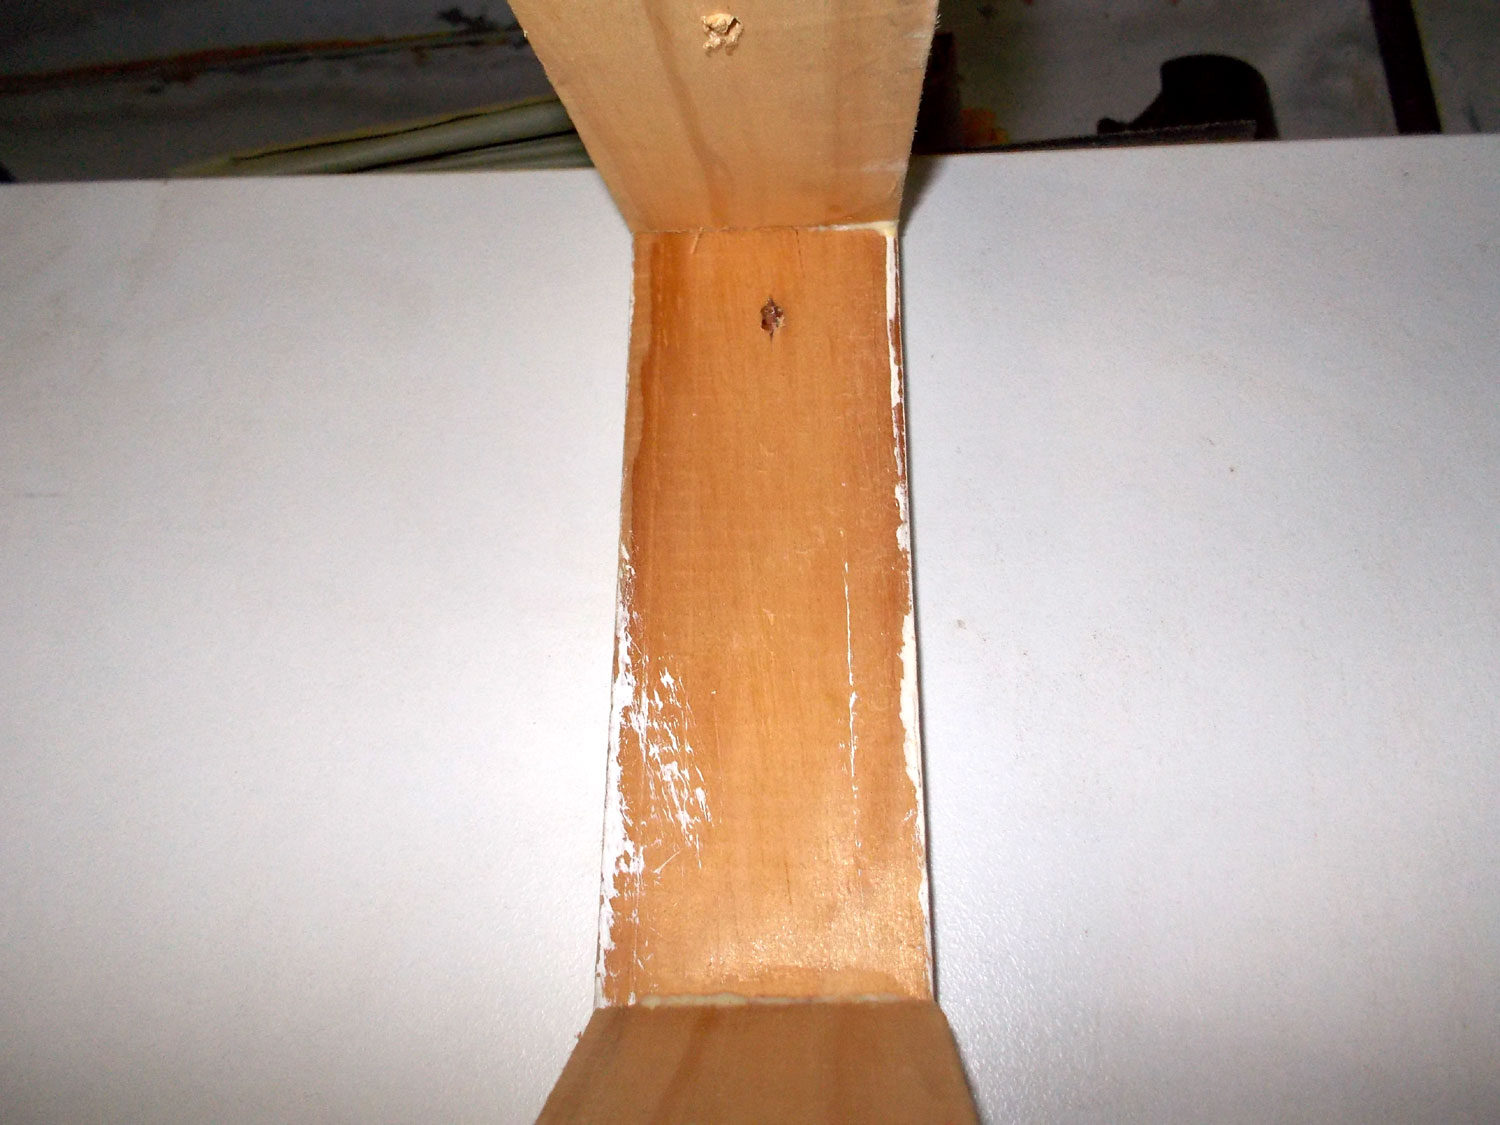
- Before attaching the struts, I drilled a hole in each for the dowels. It is 16mmØ and drilled 18mm into the strut.
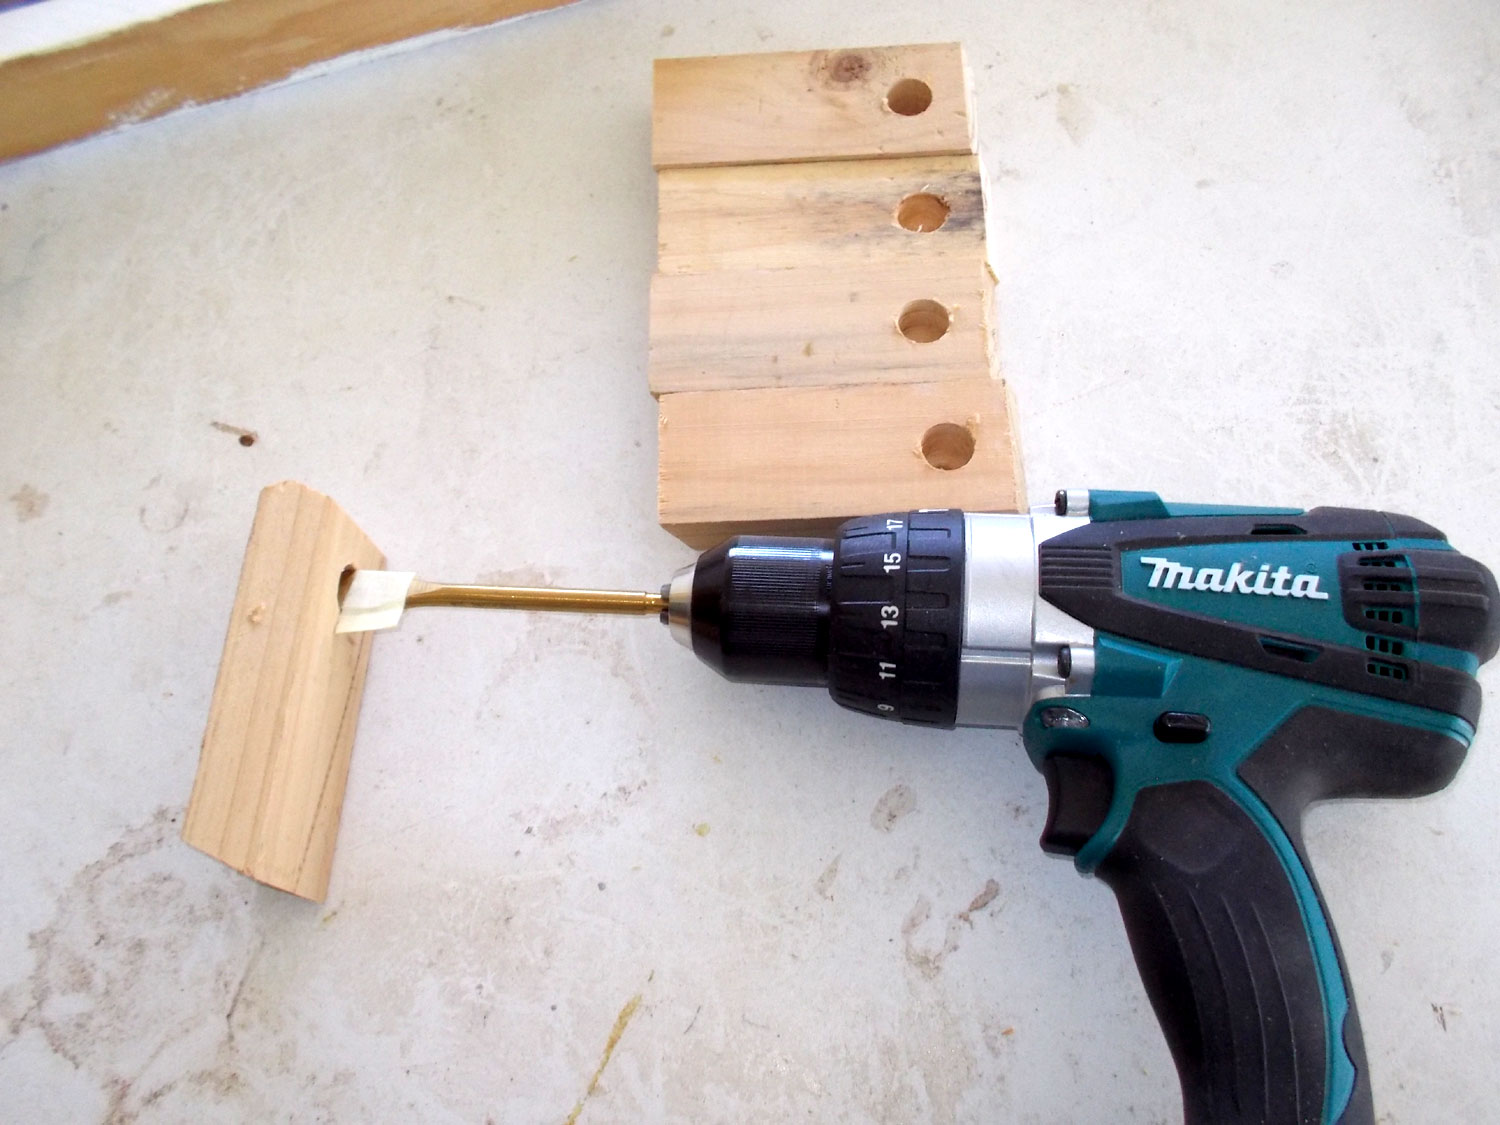
- This shows the tip of the spade bit just penetrating the lower surface of the strut. Note that I trimmed the ends of each strut slightly so that it did not present a sharp edge, which could cause a bit of discomfort if one’s hand hit it.
- I positioned a strut each at the extreme top and bottom of the backing member, and the third at the centre. The remaining two were attached at the midpoints. Hence, the five struts were spaced at 120mm intervals on the 600mm backing member.
- I used glue and a 40mm screw per strut to attach it firmly to the backing member.
- With the struts secured, I cut five lengths of dowel, each 100mm long. This is now all the pieces of the rack complete and ready for attachment to the cupboard.
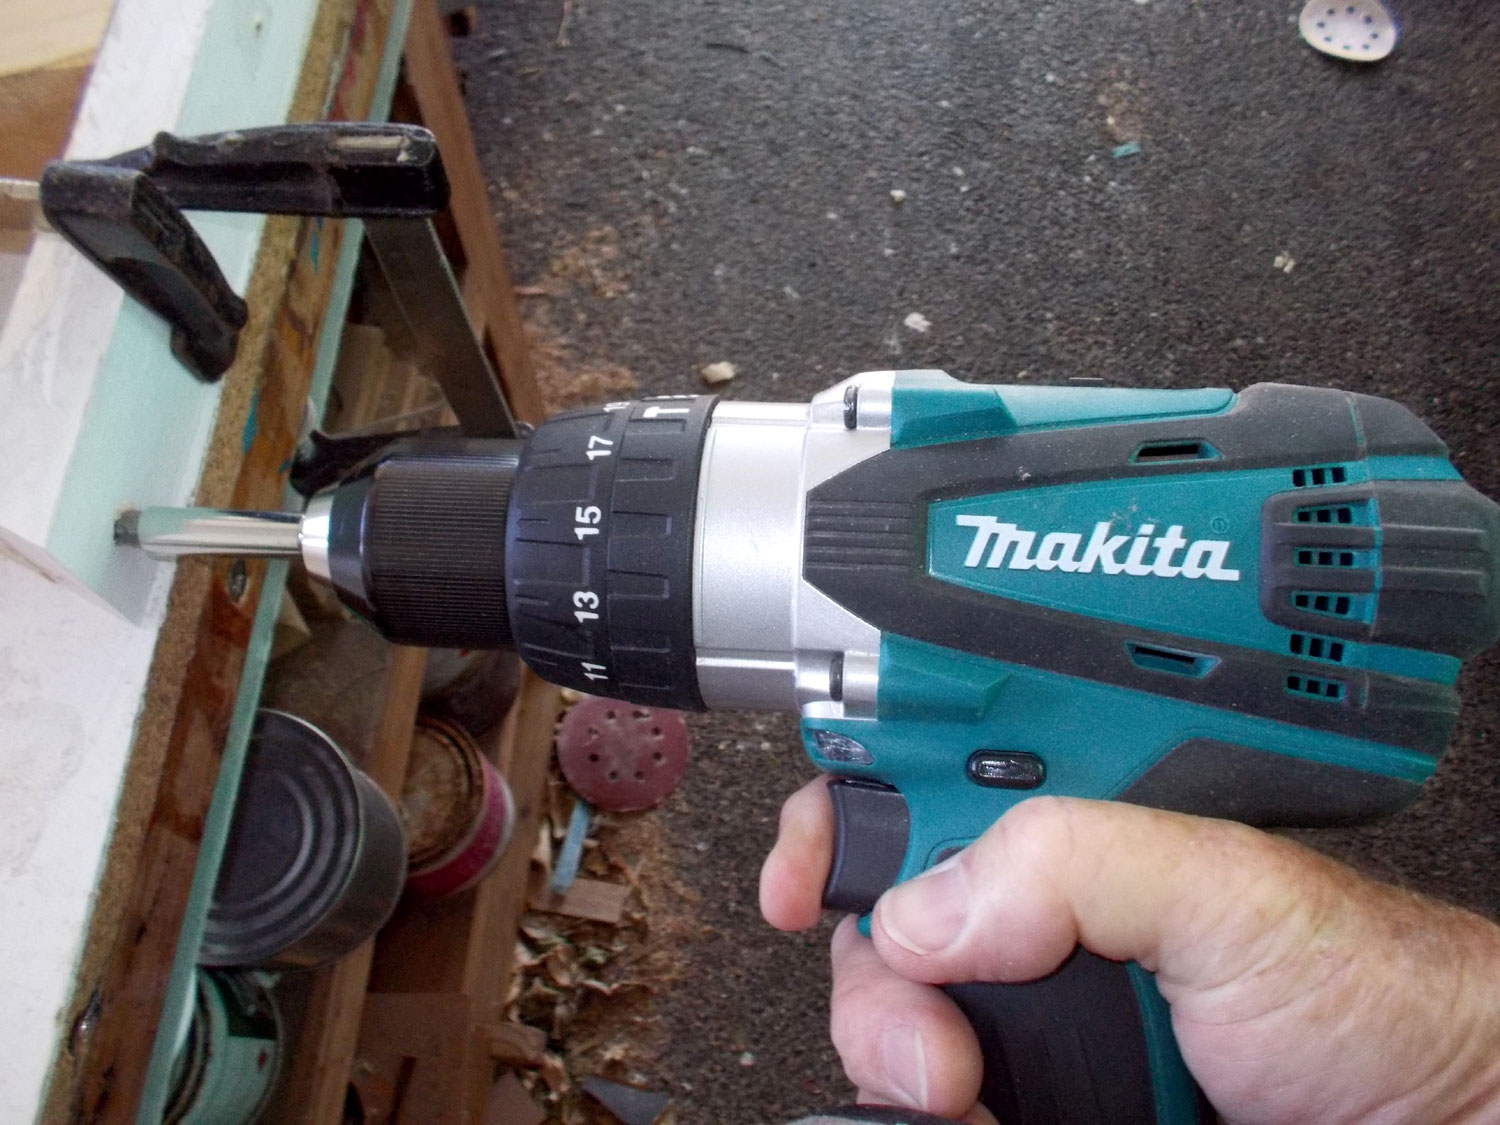
- Though the rack, even when fully loaded will weigh very little, cupboard doors are not meant to be weight bearers, so if you mount one of these racks on a door, position it as close as you can to the hinge while allowing the door to fully open. I secured the backing member at the top, driving a screw through from the far side of the door and into the SA pine. I did it this way because chipboard – the door’s material – will not secure the rack as I would like because there is no grain for the screw’s thread to grip.
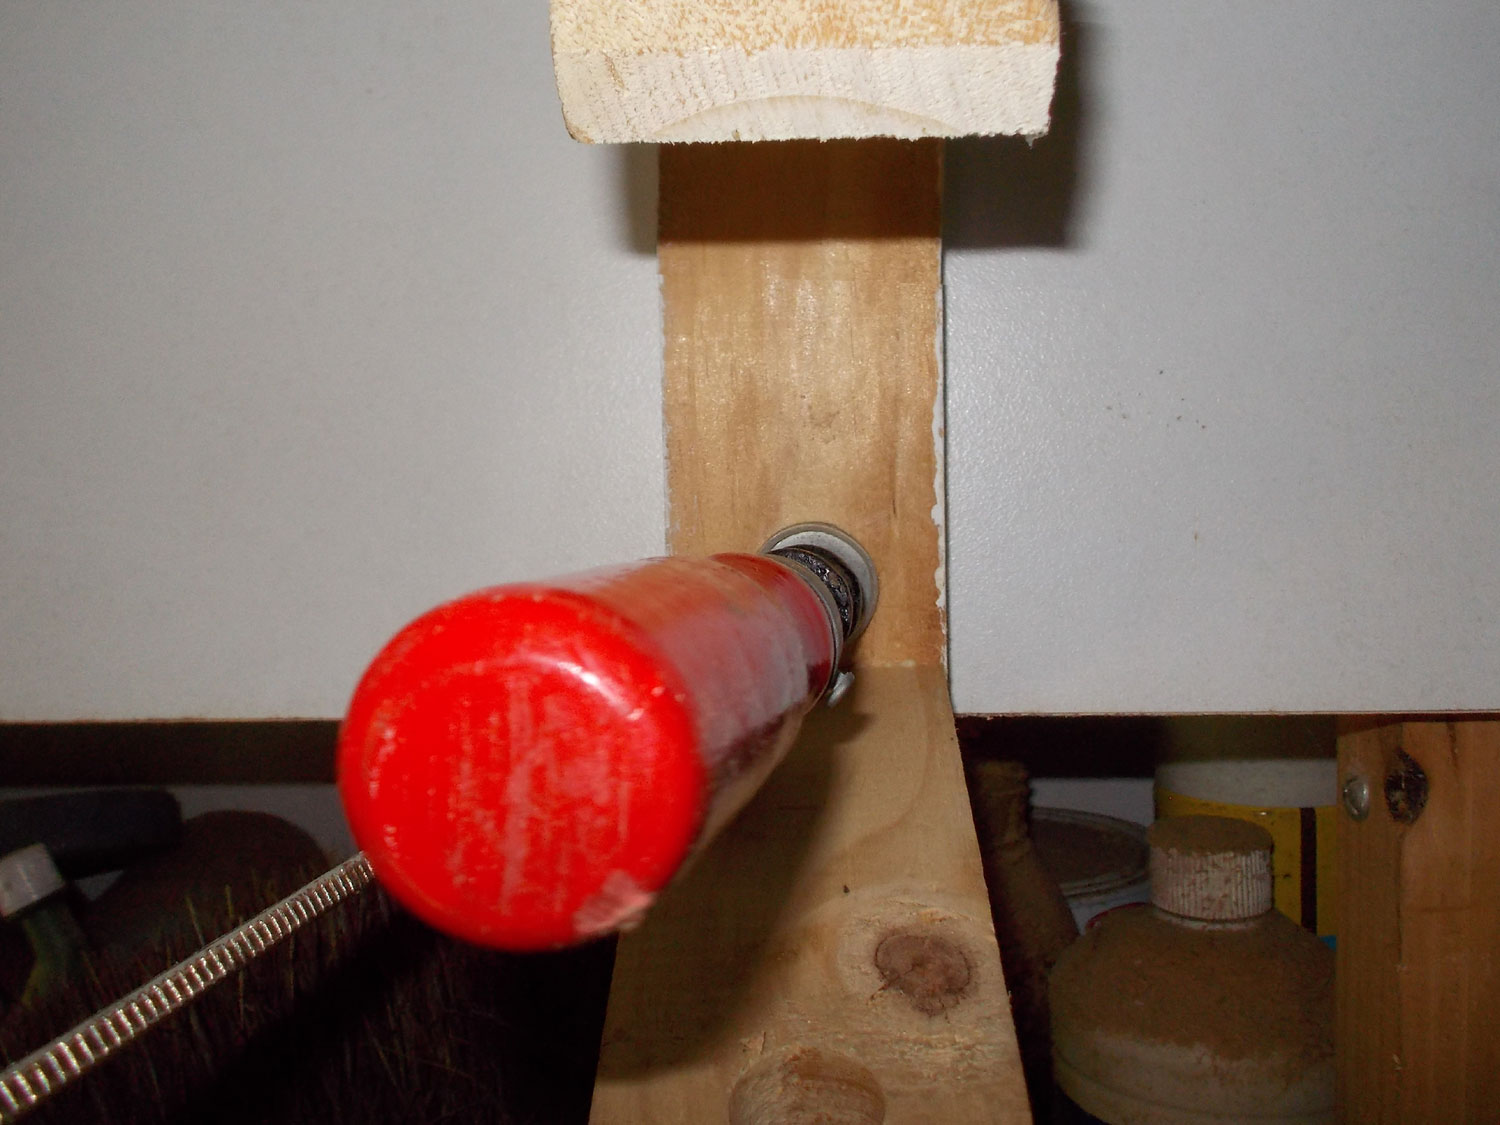
- With the rack aligned to vertical, I clamped the bottom of it and drove the lower securing screw through the door and into the backing member. This secured it to the door.
- The completed rack, loaded with tape rolls. The dowels can be removed if it should prove difficult to remove or replace a roll of tape. The rack is not a thing of beauty, but it does keep all your tapes close to hand and easily accessible.
Project guide
Skill level: 1
Estimated time: 45-90 minutes
Cost: R20
Assistant: No
Tools required:
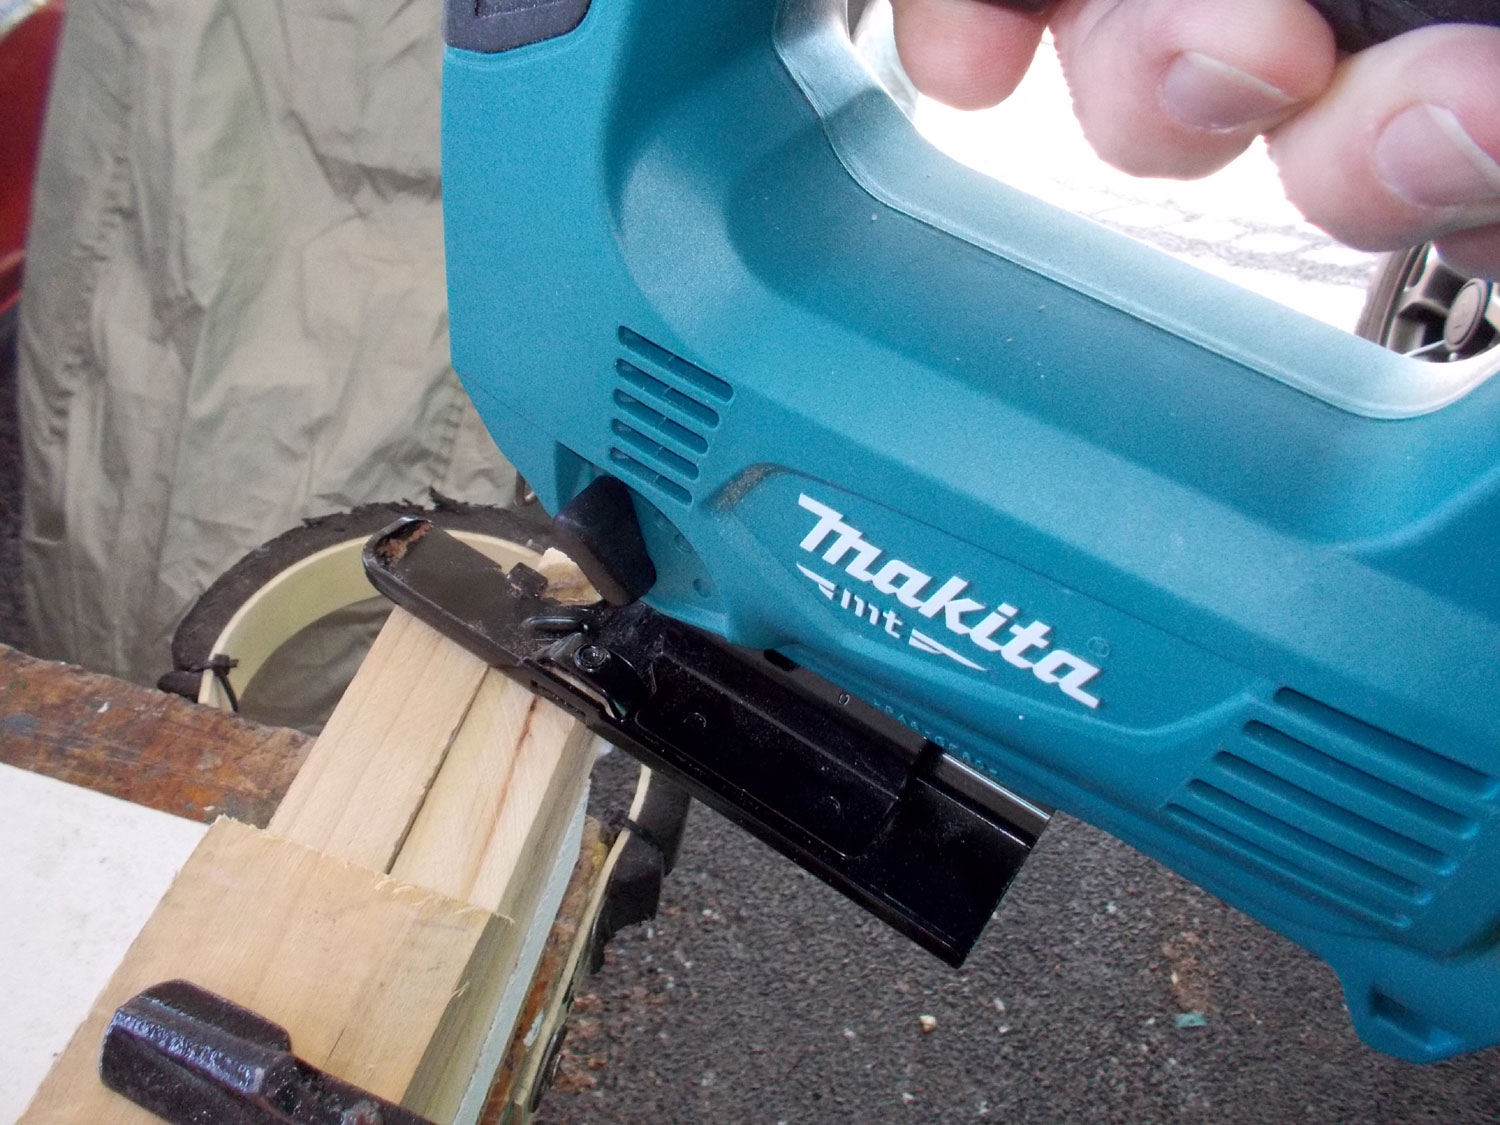
Drill/driver, jigsaw or circular saw.
Panel:
These materials are available at Selected Mica Stores. To find your closest Mica and whether or not they stock the items required, please go to www.mica.co.za, find your store and call them. If your local Mica does not stock exactly what you need they will be able to order it for you or suggest an alternative product or a reputable source.