05 February 2025

Some mugs just hang around for ages
Very often hanging racks for mugs and the like are fixed horizontally to the surface, but in this case I wanted to make use of some very narrow spaces, and in addition, the racks would be mounted on a highly curved wall, as the quaint home in question comprises a conjoined pair of thatch-roofed rondavels, and the kitchen area is in one of them.
There was limited space below the existing shelves, and in any event, mounting a longish (600mm) rack horizontally on the curved wall would leave a large gap behind it and hence a very nice home for geckoes and other non-paying tenants.
So I decided to mount the racks vertically, which not only made great use of the narrow spaces available, but the gap behind them was at most a millimetre or so… not enough for many creatures to make their homes.
Materials:
- SA pine p.a.r. – two lengths of 1.8m x 22x69mm, cut into 5 lengths of 600mm.
- Brass plated cup hooks, or hooks of your choice – numbers as required (these are often sold in packs. I used 16 hooks in all – 4 per rack.
- Two 70mm 8-gauge screws plus wall plugs per rack – total in this case, 8 of each.
- Finish of your choice – I chose gloss clear varnish
Method:
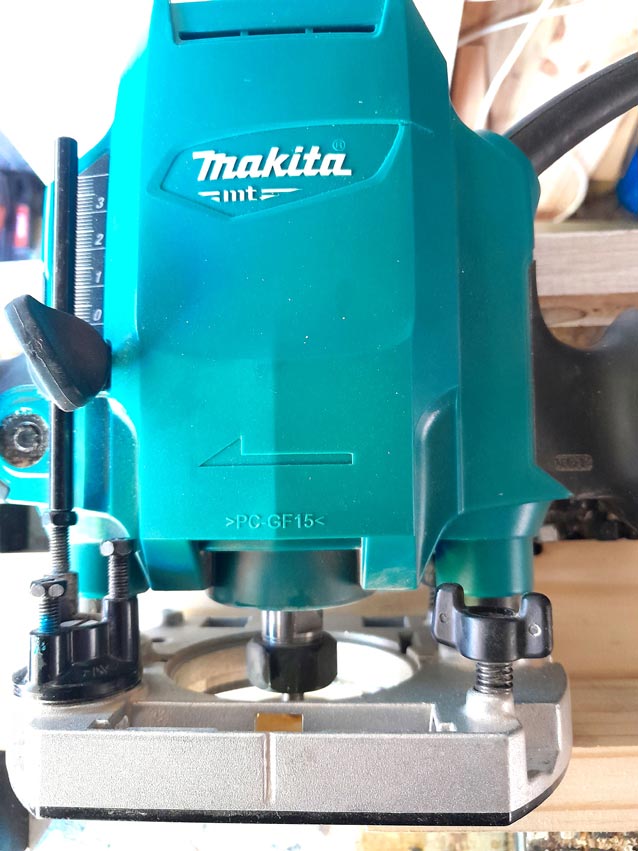
- First of all I fitted a router with a rounding-off bit and using a piece of 22x44mm scrap, set the router’s cutting depth. What I wanted was stepped rounded-off profile. (It doesn’t matter what width of scrap you use, as long as the depth is the same as that of the wood being used for the racks – in this case 22mm thick.)
- Setting the router’s cutting depth…
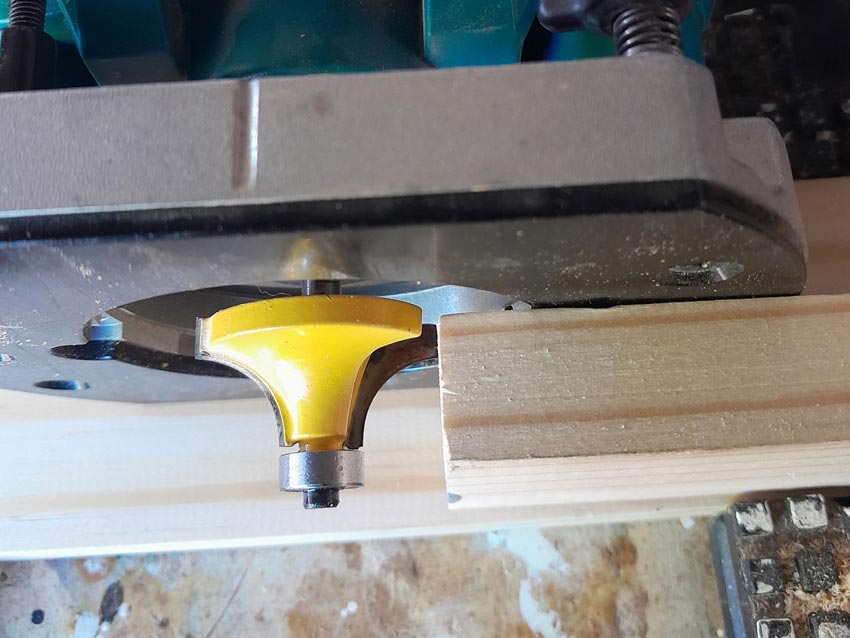
- Here you can see that the straight-edge cutting section is just below the wood’s surface – about 3mm, which produces a little step… rather nice.
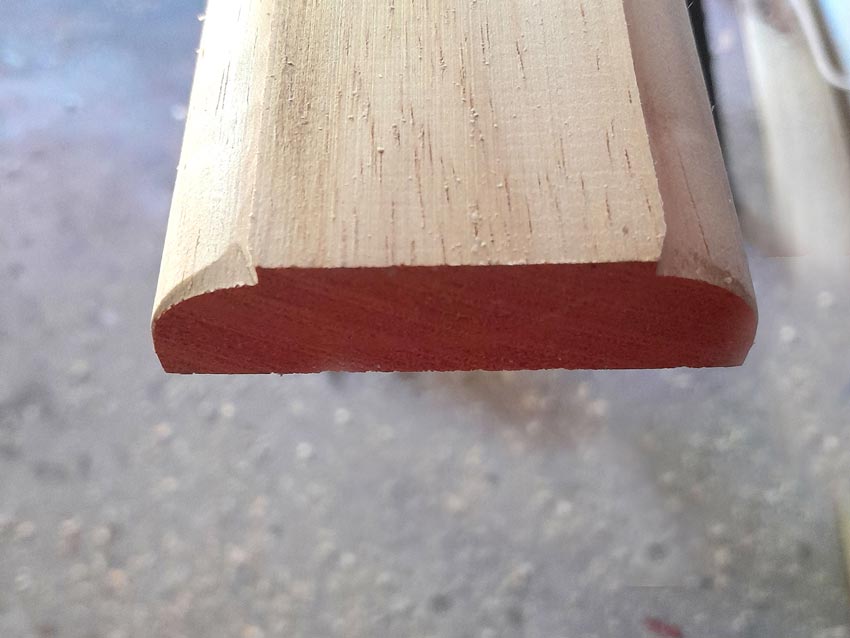
- Small point, before cutting the pieces to the required lengths, trim the last 1mm or so off the end where it has been painted with an identification colour at the timber mill. Then I cut the 4 (later 5) racks, each to the required 600mm lengths (naturally, you can decide on your own length of rack, but take care if they end up being too tall for a shorter person to reach whatever is hanging at the very top. I did a trial run with the router, to confirm I had the desired profile. This is the end view with the mill’s ID paint not yet removed.
- Top view of the same but now slightly trimmed to remove the red paint.
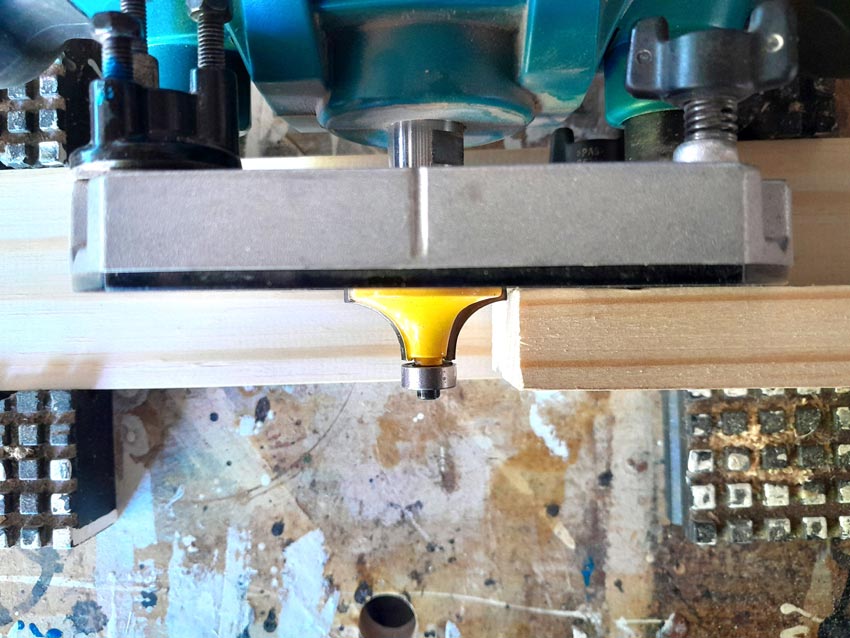

- I very carefully aligned and then clamped the 4 lengths together as shown, ensuring they were also exactly level on the horizontal plane.
- Then I routed along all 4 ends, and repeated the process on the other ends.
- When clamped together, the ends support each other, but take extreme care on the outer corners of the outer pair as this is when chipping can occur.
- I drilled and countersunk a hole in each, about 30-40mm in from the end and centred.
- Then I applied 4 coats of varnish, allowing each to dry and sanding very lightly with 120 grit paper after the 1st, 2nd and 3rd coats, then leaving 4th and final coat a high gloss.


- This illustrates, in a highly exaggerated manner, how it can be better on a curved wall to mount racks such as these vertically. The lower detail gives a clearer idea of the final racks’ profile… far more attractive than simply a straight-edged plank!
- Here’s the first one of them… note that we used this first one as a template to set the distance between the hooks, as it turned out, it had to be 140mm. Once that spacing is established, you can drill the pilot holes for the hooks in the other racks and either fit the hooks before fitting the racks on the wall, or afterwards (fitting the hooks first can be a lot easier for you).
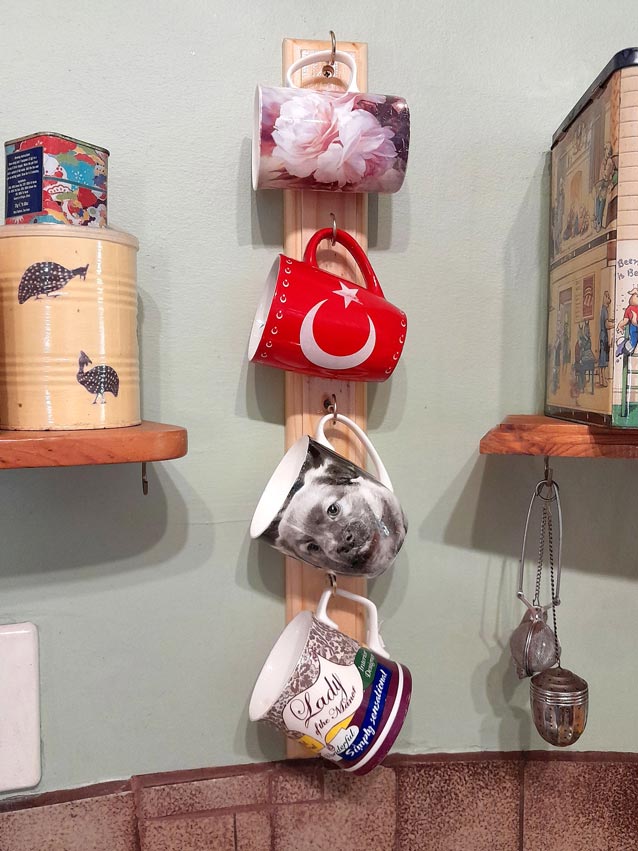
- And the one in the middle – notice the very limited space between the two shelves, but very good use now being made of it.
- And the last pair, on either side of a window, and again making great use of 2 very narrow spaces.
- And here are all 4 in all their glory… hanging space for 16 mugs or cups. The 5th will be used at some future stage.


Project guide
Skill level: 2
Estimated time: 1-2 hours at the most, but with extra time allowed over a couple of days for applying 3-4 coats of varnish and allowing them to dry properly.
Cost: R50-R75, depending on what wood you use, how many racks you need and the finish.
Assistant: No
Tools required:
Drill/driver, jigsaw or circular saw, router with profile bit of your choice.
Panel:
These materials are available at Selected Mica Stores. To find your closest Mica and whether or not they stock the items required, please go to www.mica.co.za, find your store and call them. If your local Mica does not stock exactly what you need they will be able to order it for you or suggest an alternative product or a reputable source.