30 April 2024
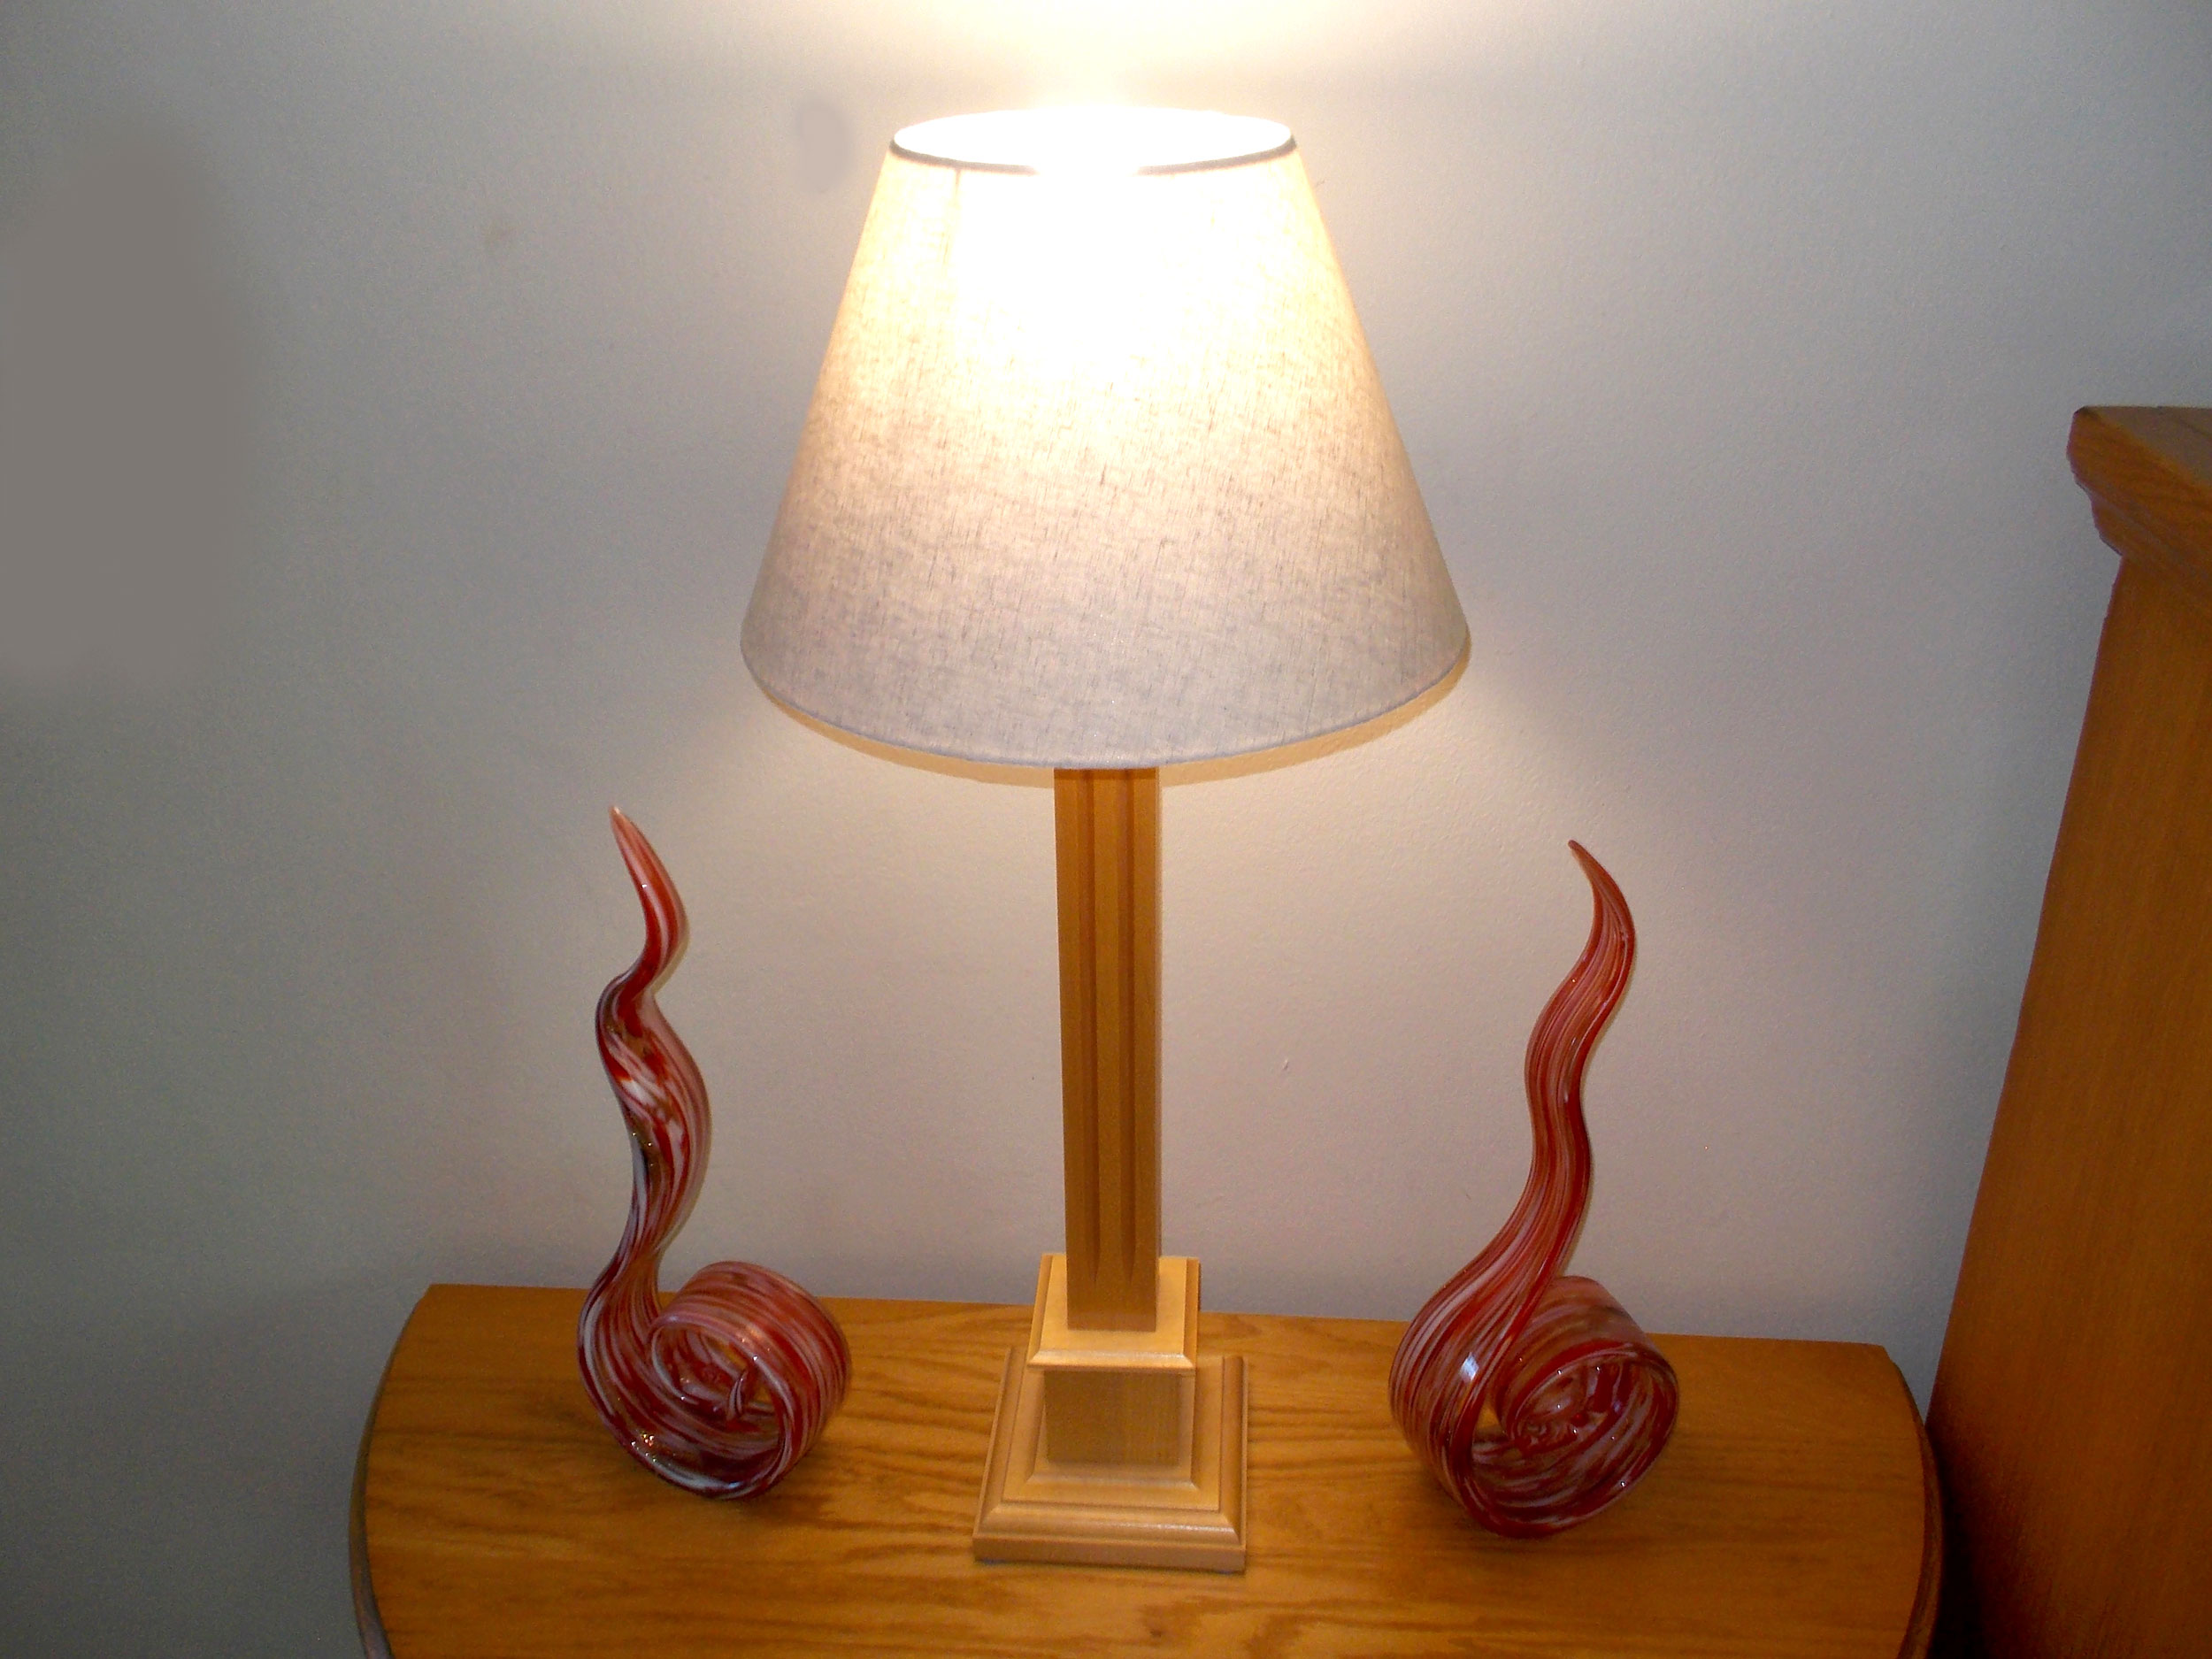
Let there be light – Rewire standard lamp
Before we begin, if you are in ANY doubt whatsoever regarding your skills at connecting wires, electrical plugs and so on, get an electrician to do it for you.
If you are confident, however, here is how you can do it…
In passing, cable twin flex is available in a range of colours. At first I was going to use brown, but then opted for black as it would match both the inline toggle switch and the wall plug I got for the installation.
Materials:
- Cable twin flex – length as required, but bear in mind the height between the base and the actual bulb fitting… cable twin flex is not expensive at all, so I suggest rather buy a little more than you reckon you might need and then cut to length after fitting it through the lamp column
- Inline switch
- Bulb holder
Method:
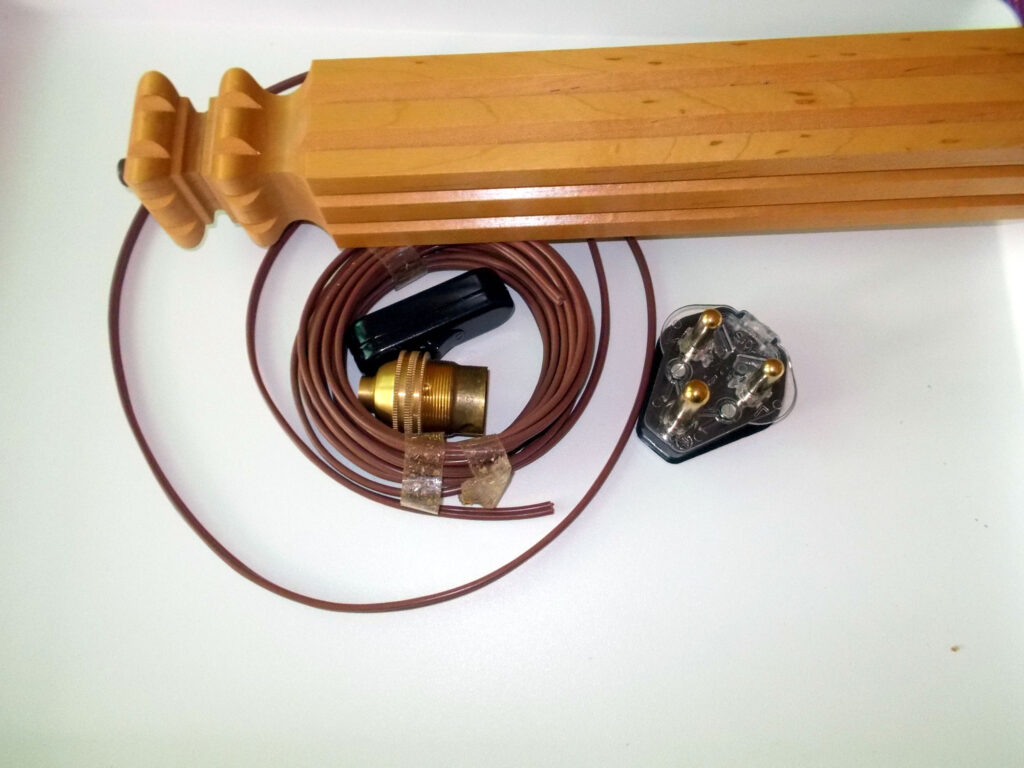
- Here are the materials. This is before I switched the brown flex for black.
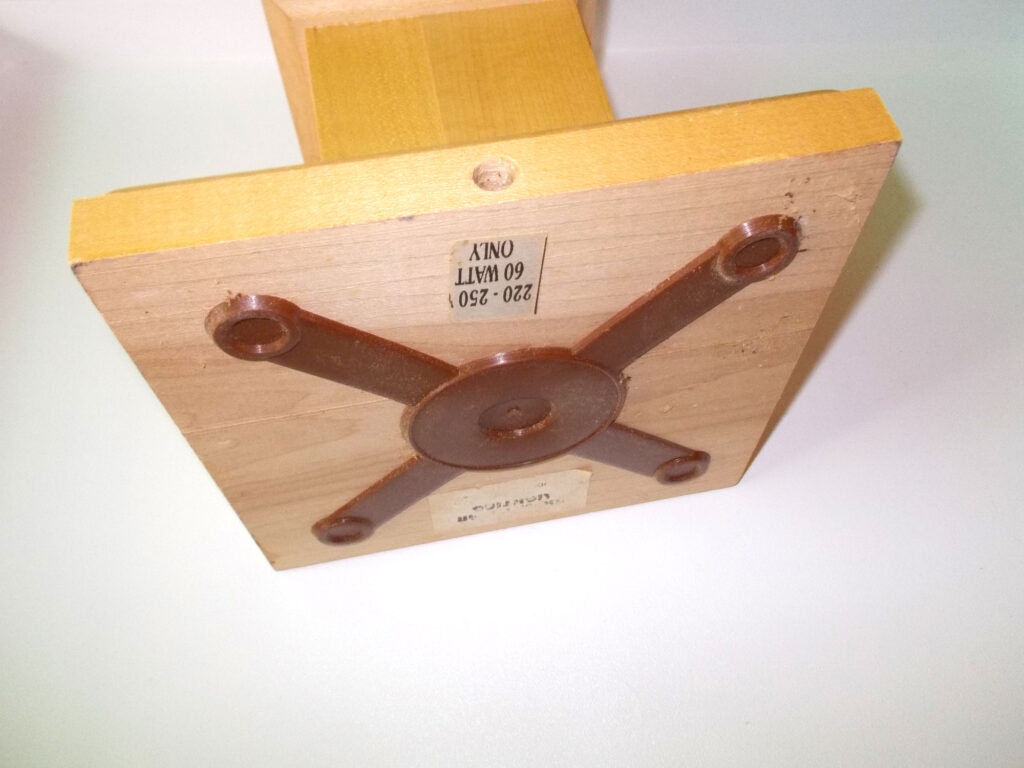
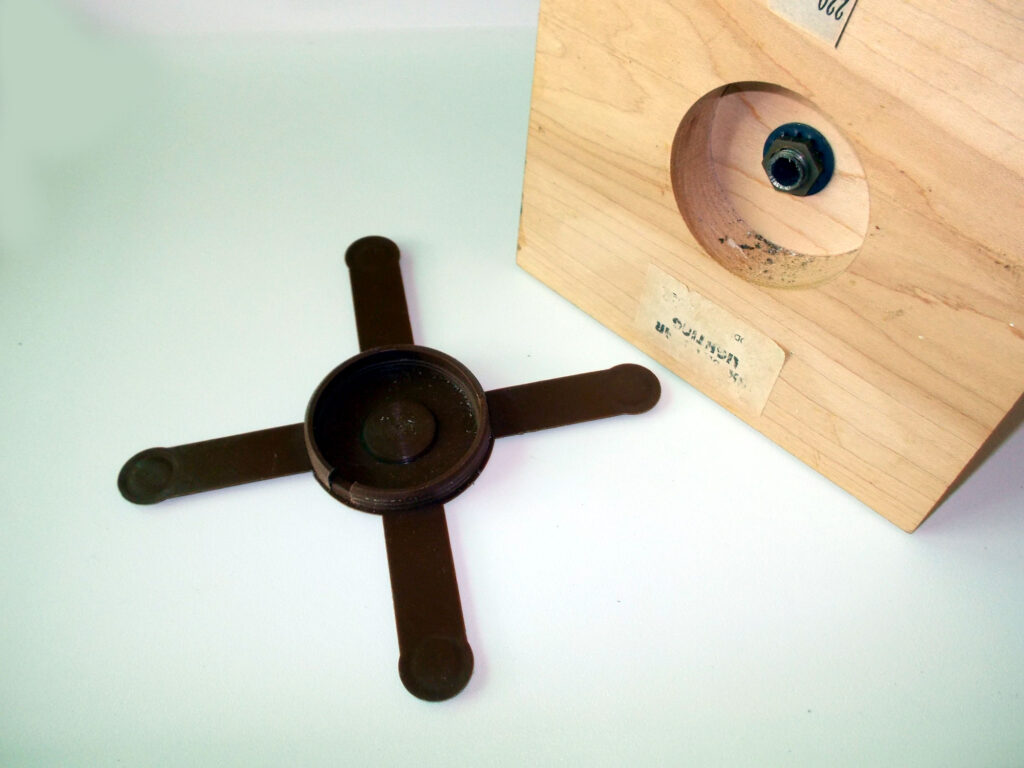
- First step is to prise off the cover on the base of the lamp stand.
- This exposes the recess the manufacturer cut into the base for the conduit locking nut and also the feeder hole that takes the flex out on one side of the base. Note that the brown cover has a recess cut into one side to allow the flex to pass to the outside (plug end).
- First step is to pass the flex up through the conduit and out the top of the stand.
- Then disassemble the bulb holder and screw its base on to the exposed threaded top end of the feeder conduit. Do not trim the other end of the flex yet, and allow plenty on the bulb side while you do all the fittings.

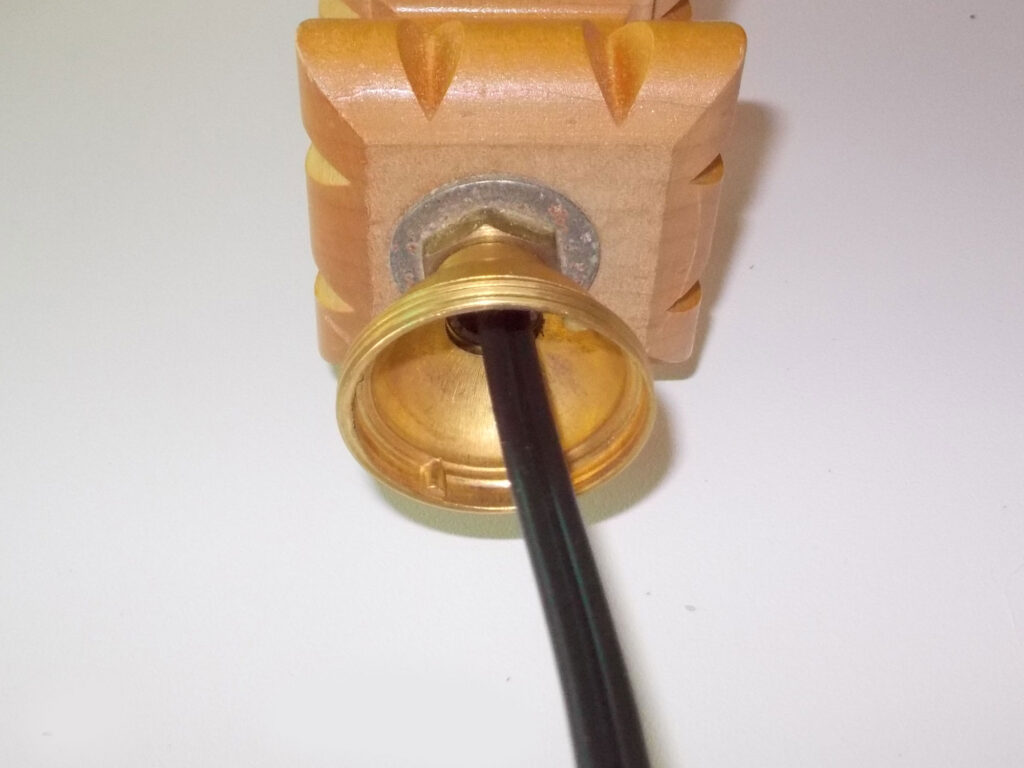
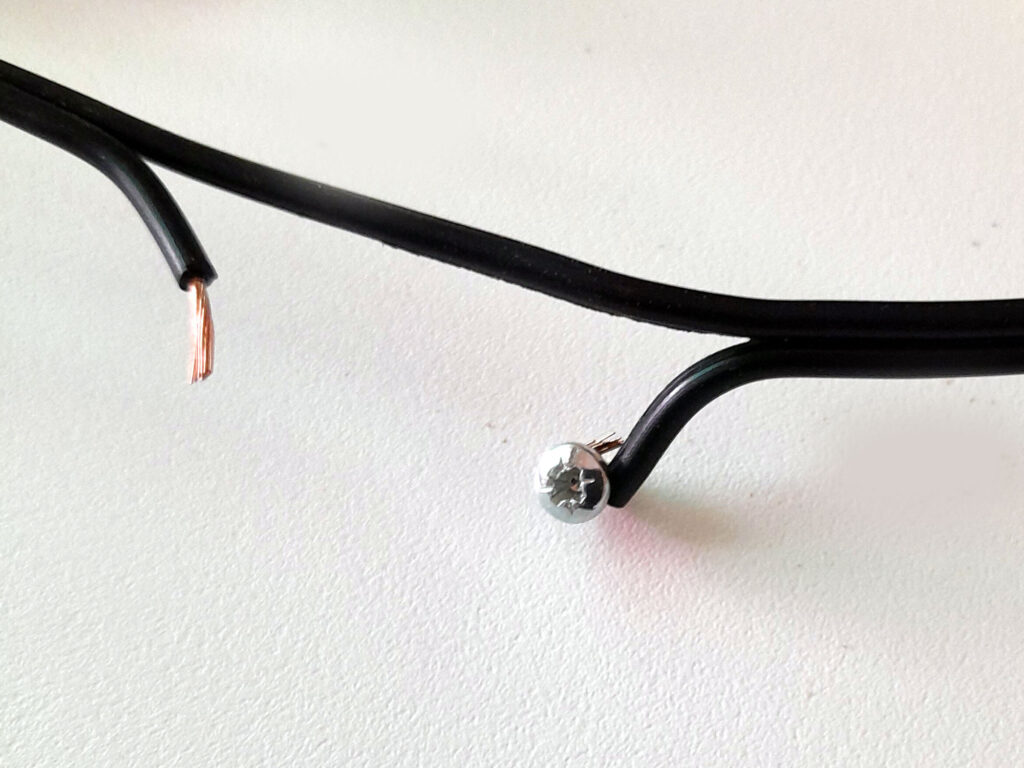
- Remove about 8mm of insulation from the flex. I always twist the ends and then fold them over, so that there is more wire for the fixing screws to grip. One of the fixing screws is shown in more detail in the inset on the image. Note that the screw has been unscrewed far enough to allow for easy insertion of the folded end of the flex. Once it is fully seated, tighten the screw fully… if a little of the bend in the folded flex is just visible, even better.
- Now reassemble the bulb holder. Note that there is a recess punched into the base, and flex holder, and the top cap. This is to ensure that the spring-loaded contacts are properly aligned with the light bulb’s contacts. (This is a bayonet-type bulb holder.)
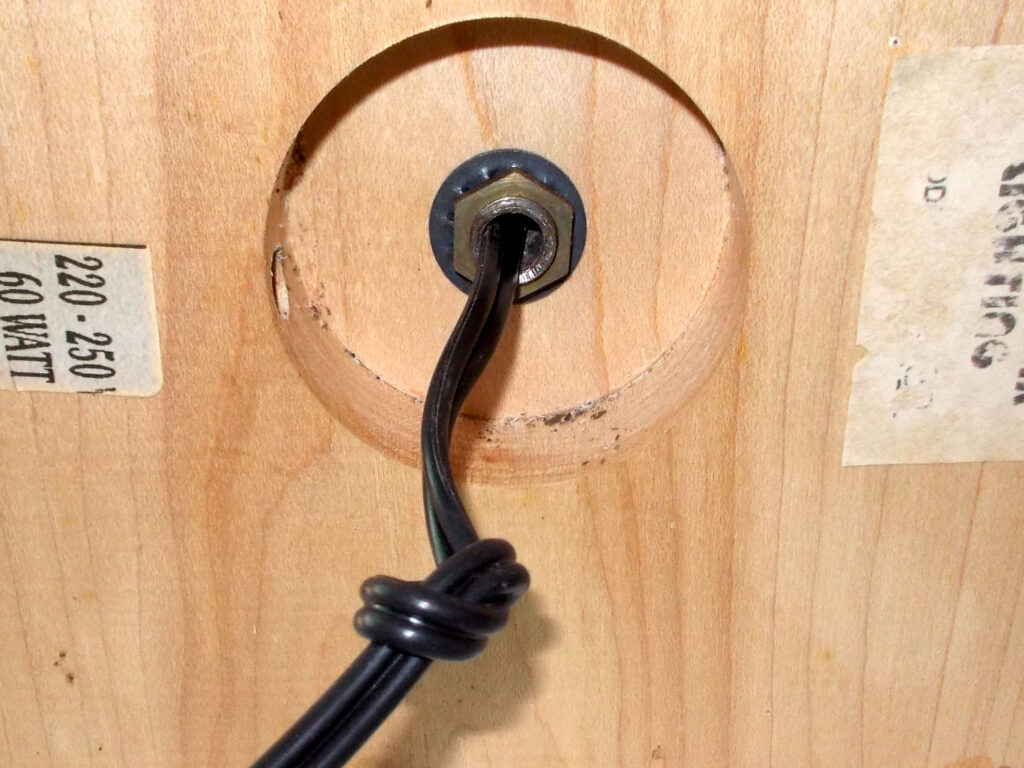
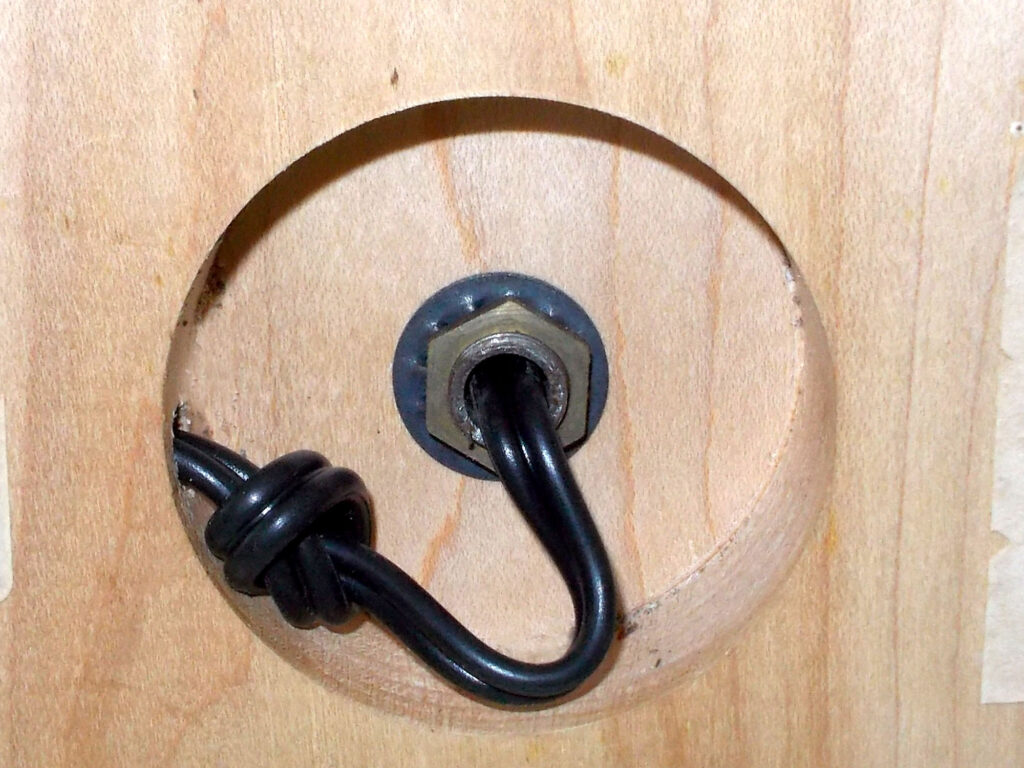
- Now, on the bottom of the stand, tie a loose knot in the flex, with plenty of play allowed. This will ensure that the flex insulation will not be damaged by the end of the conduit as and when the lamp is moved from spot to spot. If the flex’s insulation is damaged – worn through – a short-circuit might result.
- Now the rest of the flex is passed through the hole for it in the base. Notice how the knot will prevent any wearing of the flex insulation where it exits the conduit.
- Back to that recess in the cover… here I have shown where it is with the other end of the flex.
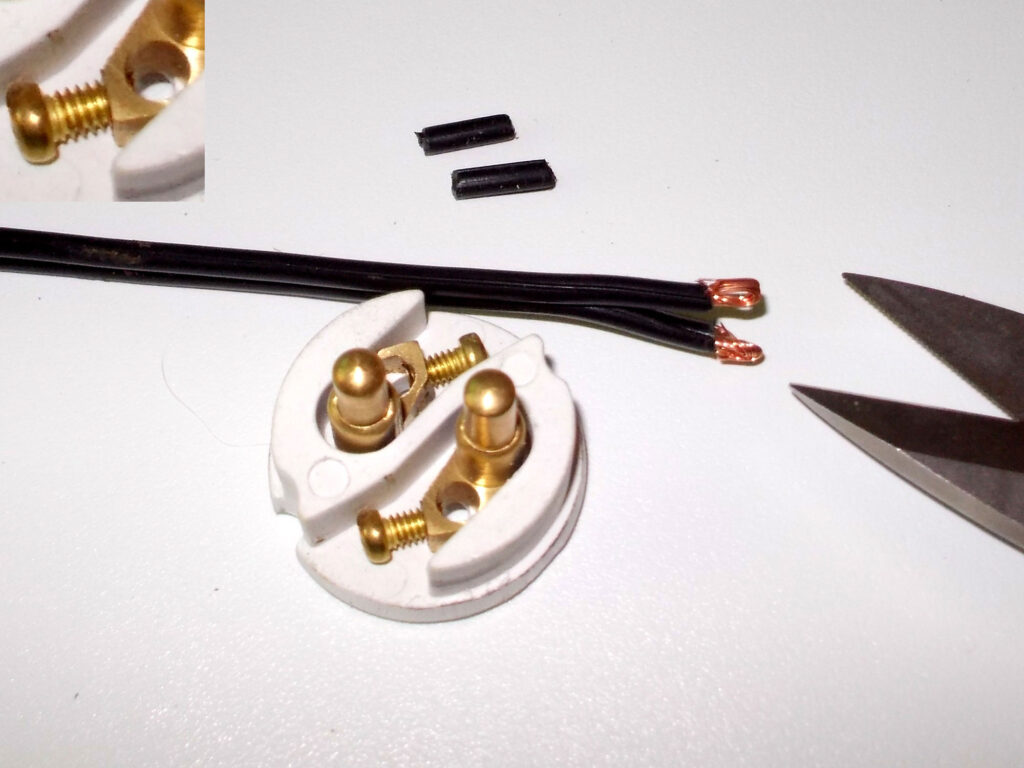
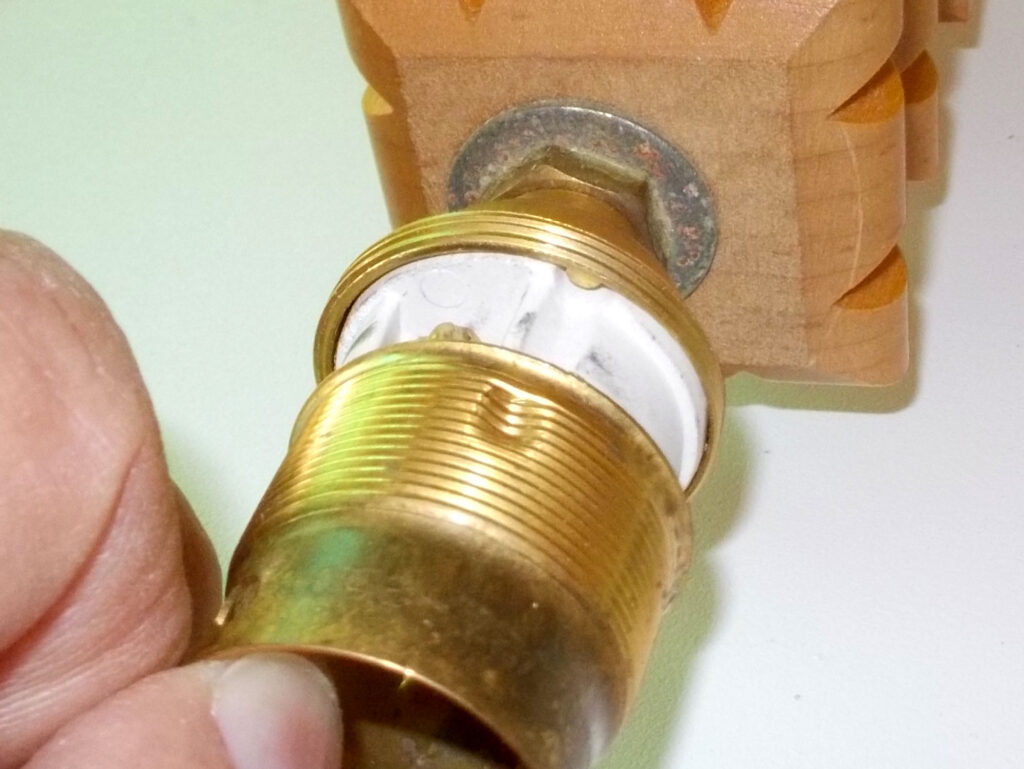
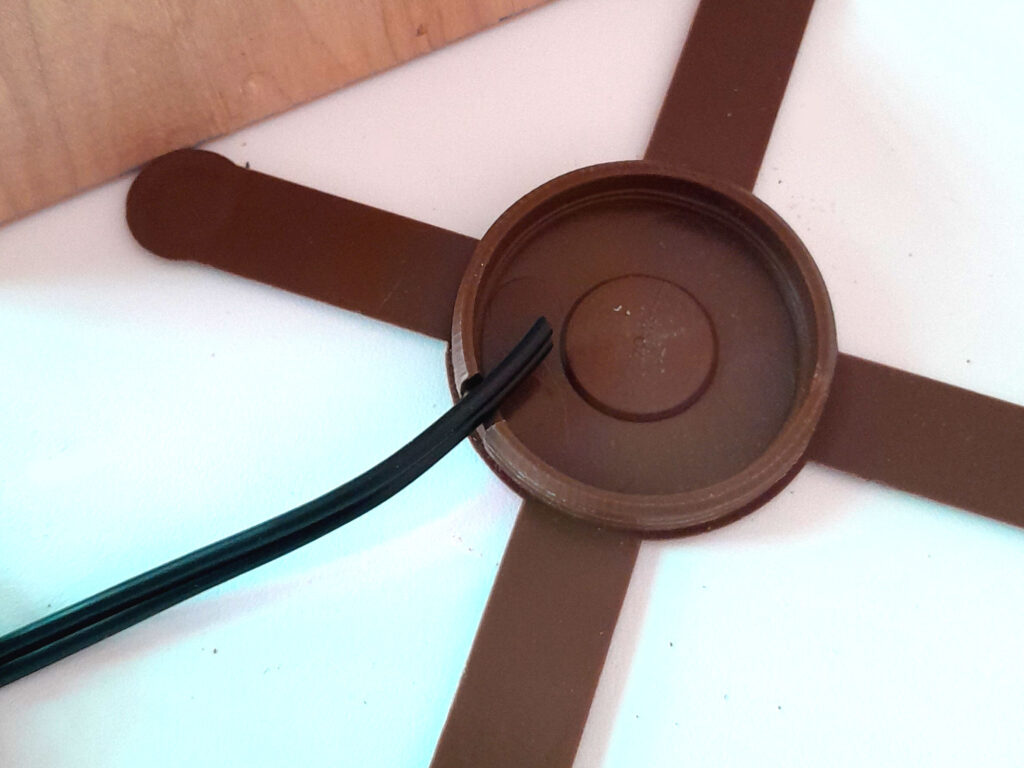
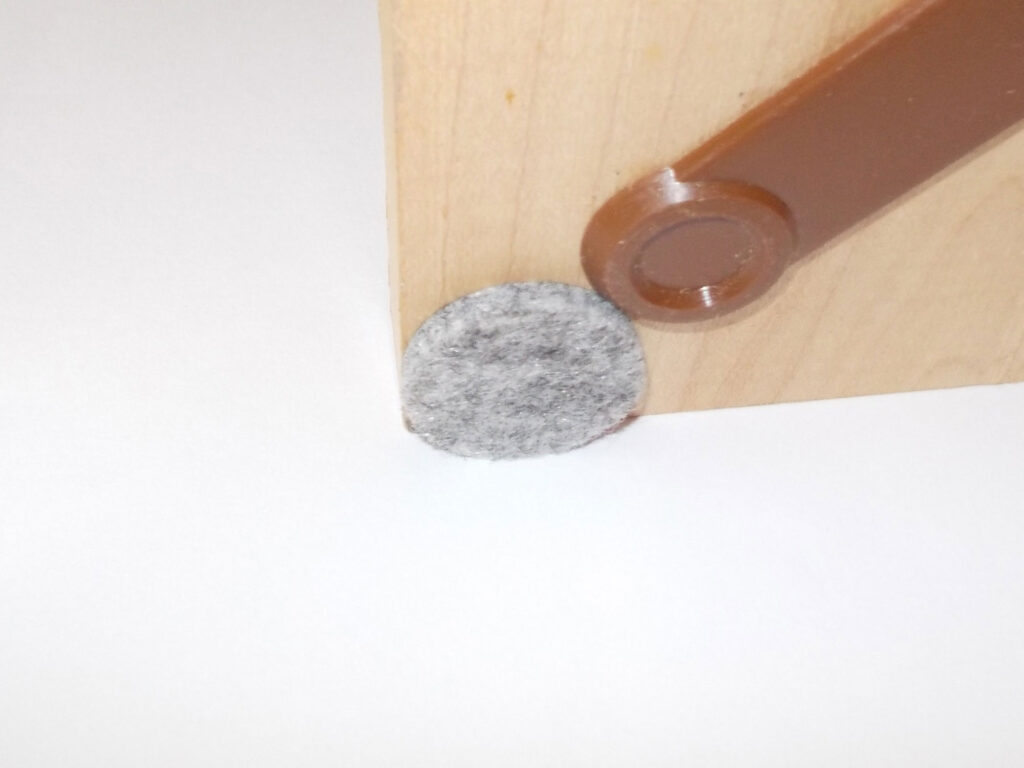
- Push the cover back into place in its recess. The arms of the cover also act as cushioning feet, but I also add a self-adhesive felt pad right on the corners for added stability.
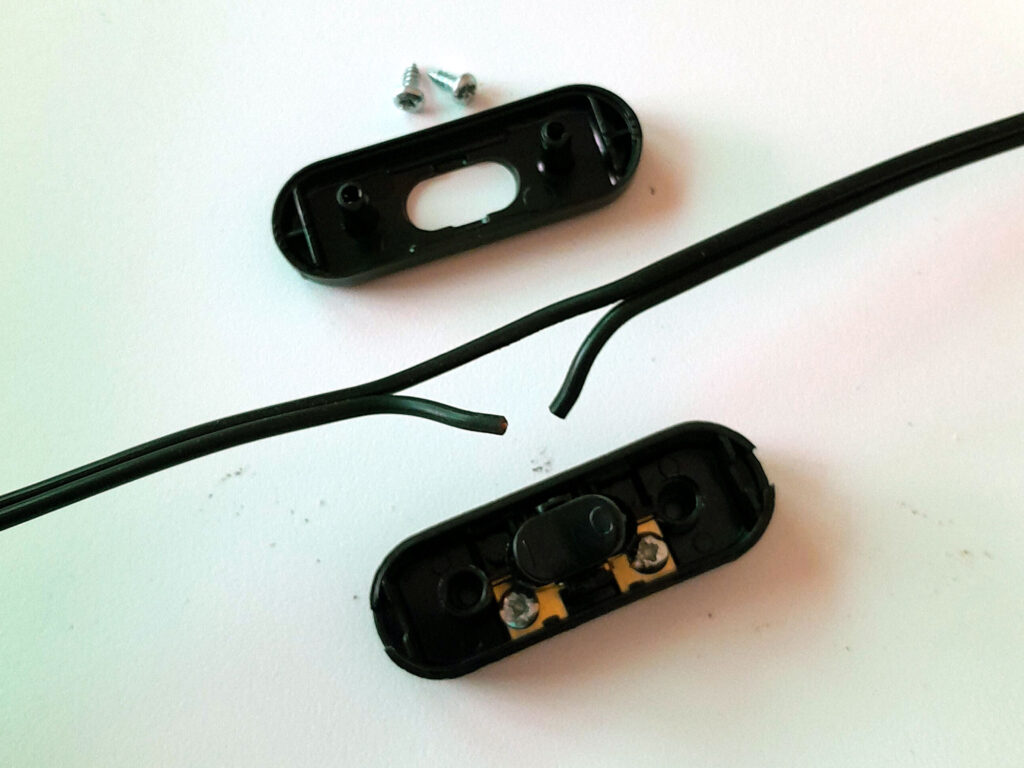
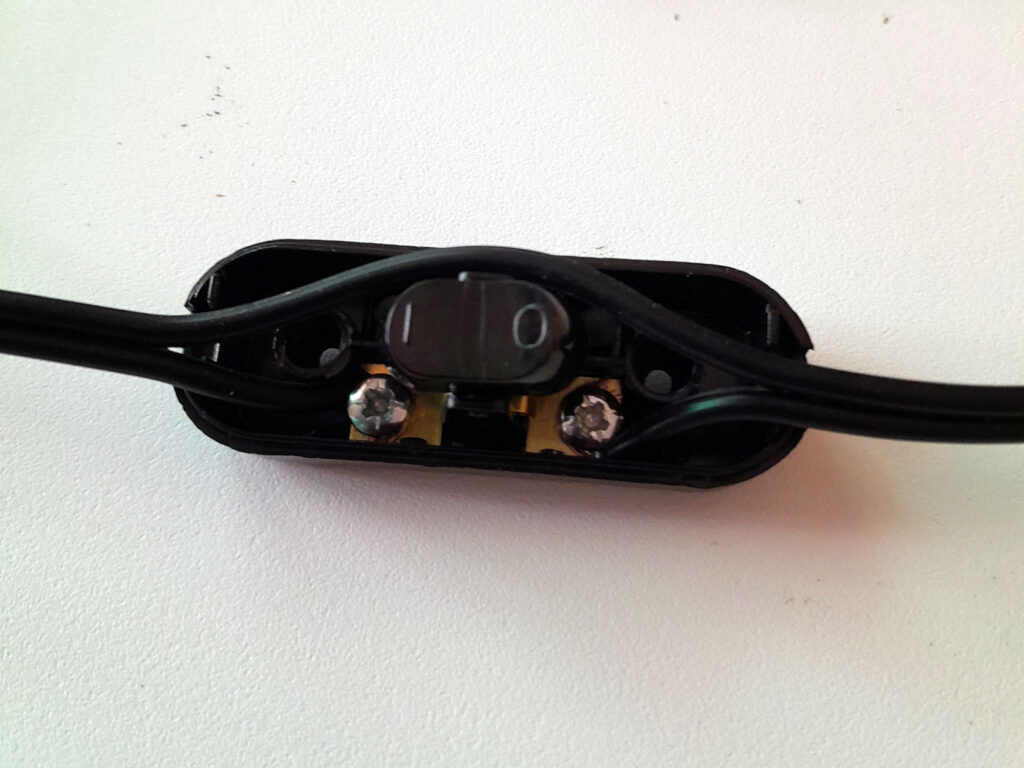
- Now to add the inline toggle switch. First step, clearly, is open it. And very carefully snip one of the flexes. Do not trim the cut ends.
- Remove about 8mm of insulation from the end of each and pass it around the attachment screw, in the direction of rotation for tightening it… i.e., tighty-righty. This will tend to pull the stripped bare wires into the screw.
- Now drive the screws into their positions, ensuring that they are tight and holding the flex securely. Gently push the other flex into the switch housing and reassemble the switch.
- Now for the plug…again, strip the ends of about 8mm of insulation.
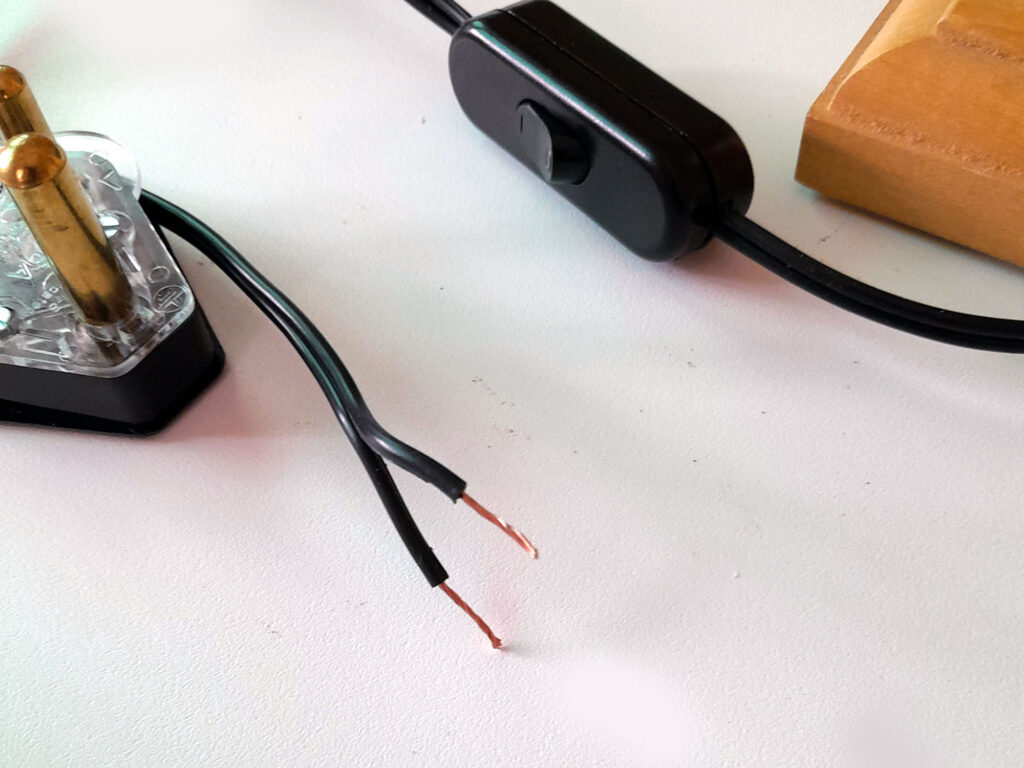
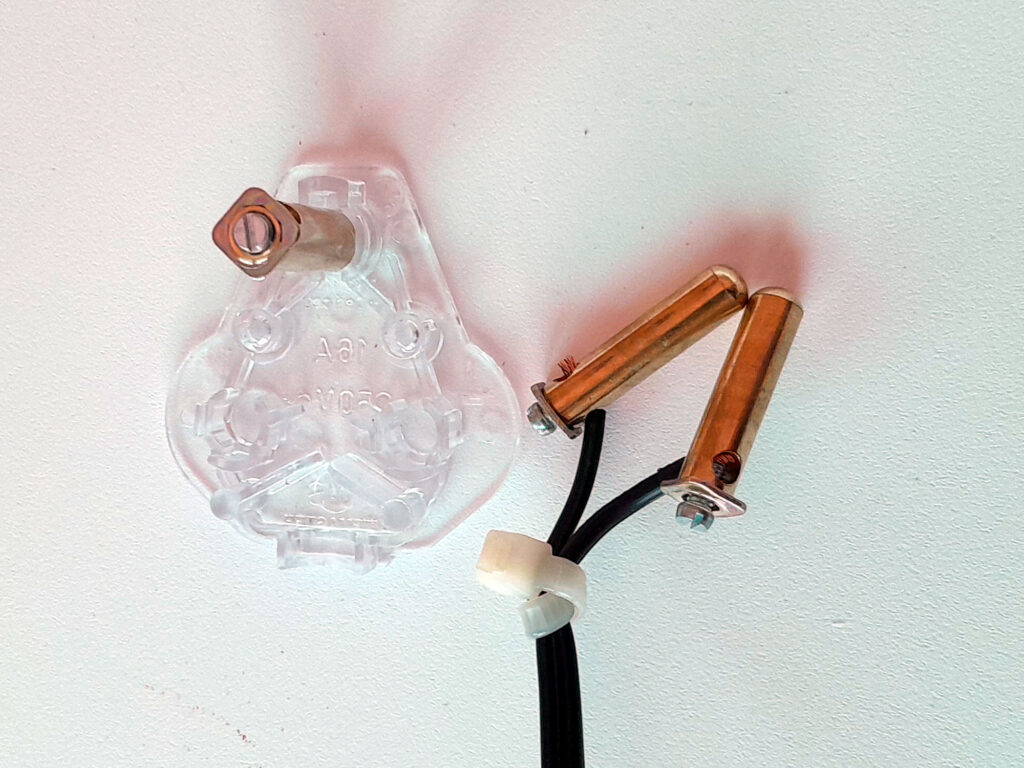
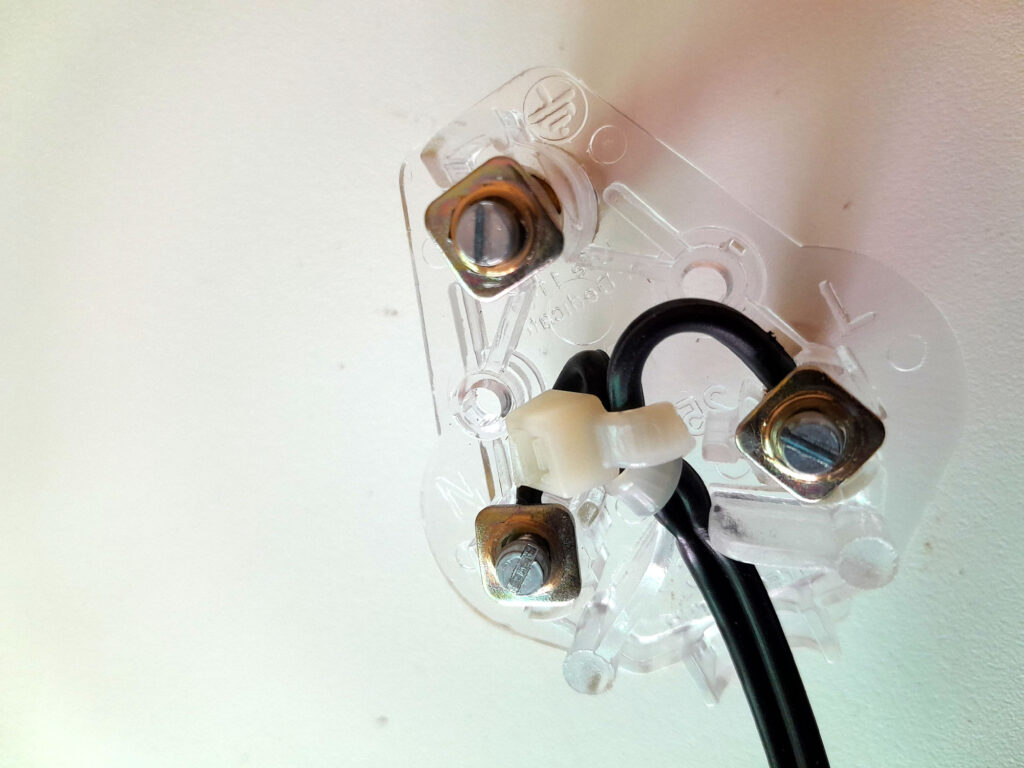
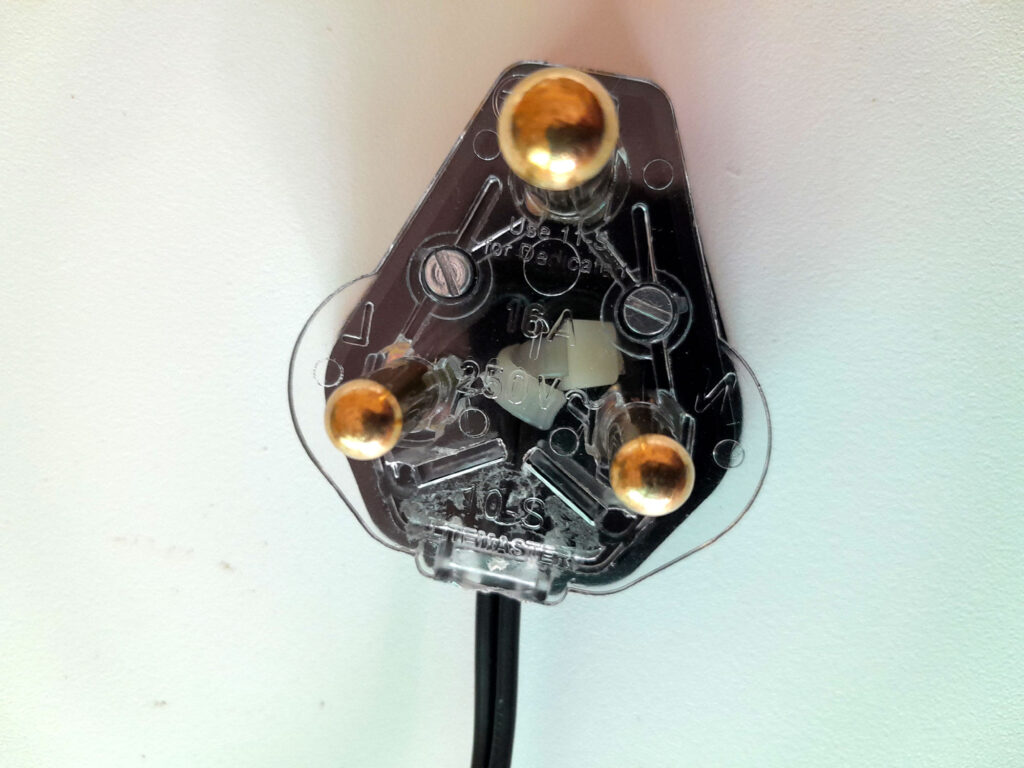
- I find it easier to sort everything out by pushing live and neutral pins – the small ones – out of the plug base. Note that when fitting twin flex cable such as this to a plug, it is attached ONLY to the small pins, on some plugs also indicated by colours… hence Live (brown), Neutral (blue). The large top pin is the earth pin, and not used in this instance. I also find that sometimes the two flaps that are designed to grip the wire and prevent it being pulled out of the plug might sometimes not grip twin-core flex very tightly. In such cases, I pass a cable tie around the flex and pull it as tight as I can.
- It can be accommodated in the plug body when the plug top cover is reattached.
- Like so. To finish off, fit the lampshade and the bulb, and test. Aah… so what’s all this talk of blackouts?
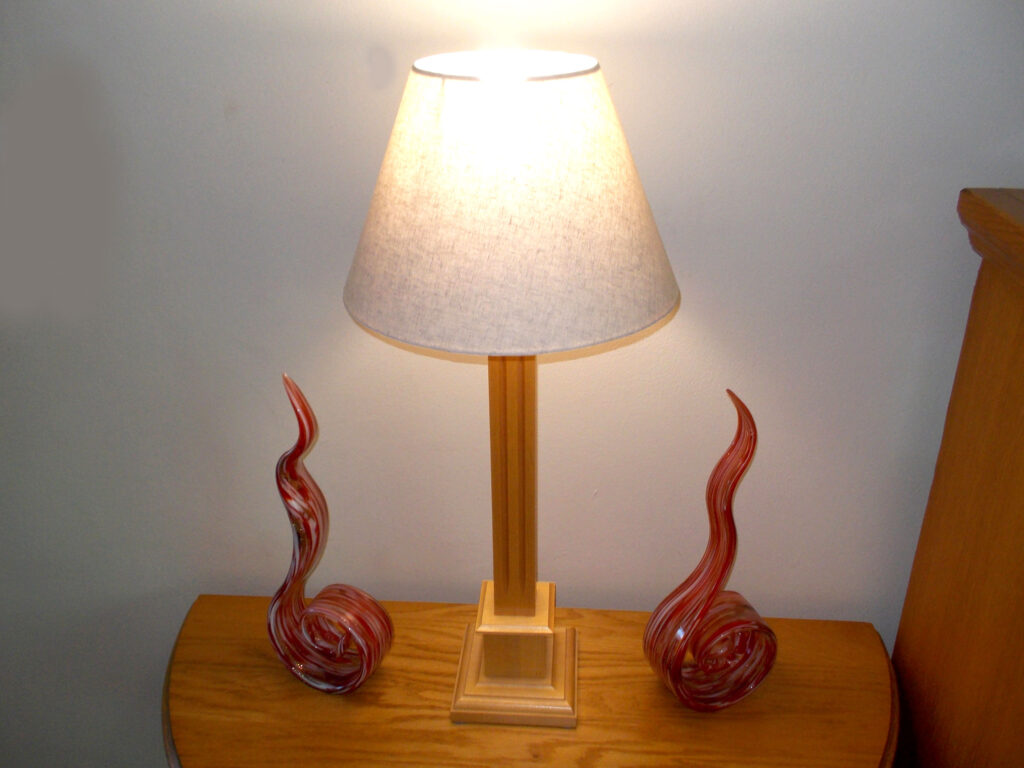
- And here it is… the completed job.
Panel:
These materials are available at Selected Mica Stores. To find your closest Mica and whether or not they stock the items required, please go to www.mica.co.za, find your store and call them. If your local Mica does not stock exactly what you need they will be able to order it for you or suggest an alternative product or a reputable source.
Project guide
TIME: little more than an hour
COST: +-R50, depending on how much flex you purchase
Skill: 2
Assistant: No
Tools required:
Electrician’s scissors or wire stripper, small screwdriver