18 December 2014

Replace a Shower Unit
Project Guide:
Difficulty: Intermediate/Reasonably skilled
Estimated time: 30 minutes
Cost: R200 (depending on the fittings used)
What you will need:
- Replacement shower/tap unit
- Barrel nipple (if necessary)
- Reducing bush (if necessary)
- Thread tape.
*All materials are available at Selected Mica Stores. To find your nearest Mica and to enquire about availability, please go to www.mica.co.za, to use our store locator. If your local Mica does not stock exactly what you need they will be able to order or suggest an alternative product or a reputable source.
Method:
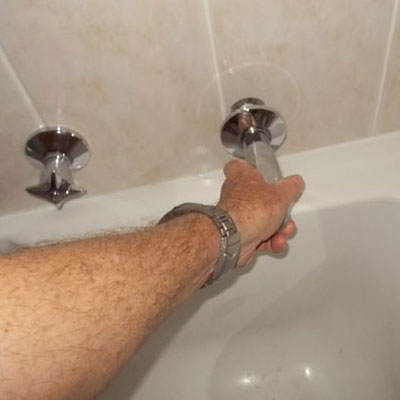
With the water off, remove the old unit, unscrewing it from its pipe fitting within the wall, and trot off to your local Mica, and go to the plumbing department.
Ideally, you will be able to purchase an identical unit, but in this case, the original had a 3/4 inch, which is 19mm.
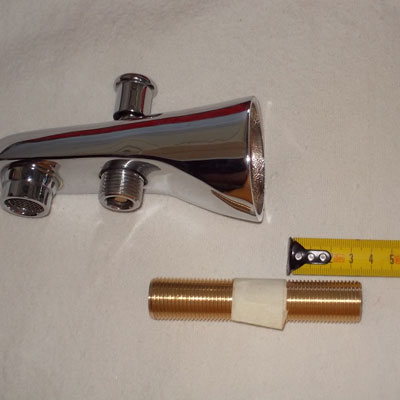
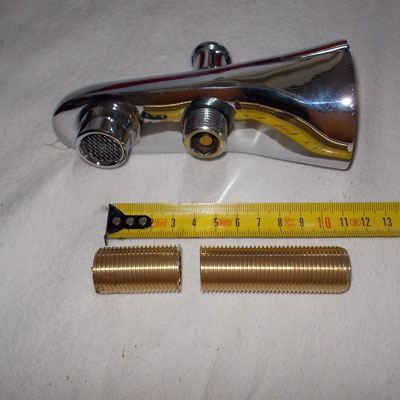
The replacement unit, however, uses a 15mm connection, and it’s a female, as opposed to the old unit, which was a male – meaning it was turned into the outlet pipe in the wall, whereas the new unit has the connecting pipe screwing into it.
So we also needed a 19-15mm reducing bush, which would be screwed into the pipe in the wall, and a connecting 15mm barrel nipple, which would connect the shower unit to the system.
This is why it’s best to take the old unit to your Mica, so that the assistant can select exactly what you need.
How we installed the new unit:
- Remove the old unit – ensuring, of course that the water is off.
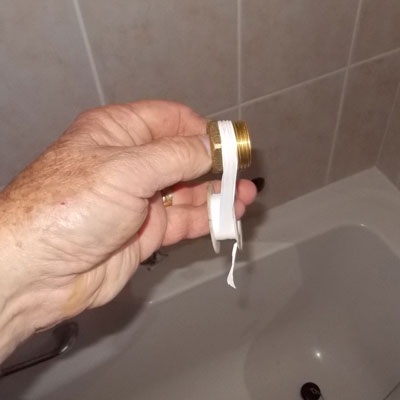
- Wind some thread tape around the reducing bush. The tape seals the thread, making for a leak-proof connection.
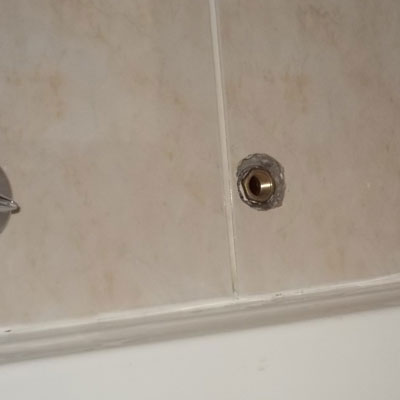
- The reducing bush fully seated in the outlet pipe.
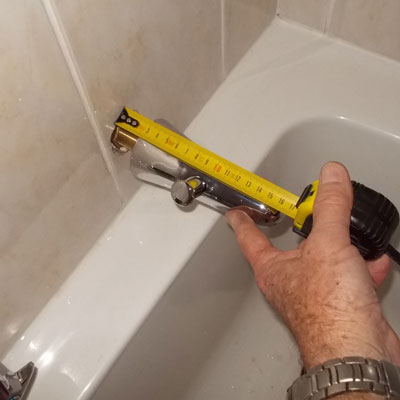
- Then, without using any thread tape, turn the barrel nipple into the adaptor and then screw the actual unit on to the latter, just tight enough until it would be turned in no further, and measur the gap between the tile surface and the end of the shower unit.
- It was just on 30mm, so we decided to remove 35mm from the barrel nipple – we have used masking tape to make the cut line clearer to you…
- And cut the barrel nipple to length.
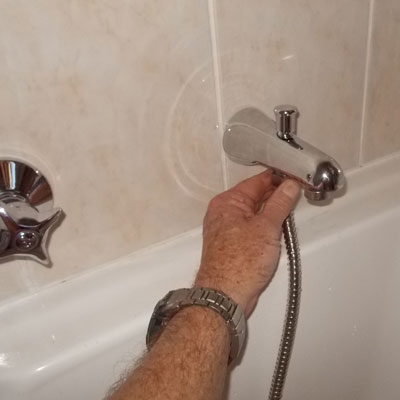
- Then it was simply a case of winding thread tape around each end of the barrel nipple and screwing the shower unit into the wall until it just touches the tile and was vertical – as in the spout delivering water to the bath was vertical. Attach the shower flexible pipe.
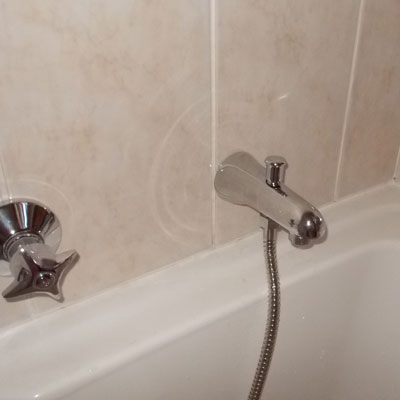
- The completed unit.
Hints:
- As you do not want to mar the chrome surface of the new unit, try to use only hand-power to screw the new unit into its required position, but if you do need to use a spanner, cushion the surface of the new unit with some bicycle inner tubing or a piece of flannel, to protect it.
- If you find that you cannot turn the shower unit in far enough to seat it properly and vertical, then unscrew it, remove and discard the thread tape, rewrap the thread with less or more new thread tape and try again.