07 August 2024

Oh look! There’s your fan on the stand!
Always make a point of keeping offcuts from your projects, particularly offcuts that are relatively large… you will never know when they might come in handy.
In this case, we purchased a small hand-held 3-speed fan with a replaceable battery back-up. It is charged with a mini-USB and the 18650 Li-ion 3.7V battery gives it quite a long run time of 30 or more minutes, depending on the speed you select. Naturally, the faster the speed, the quicker the battery will run down and the shorter the run time. However, you simply recharge it when the Eskom power is back on again. Even better, have a second or even third battery available, fully charged (these batteries can be purchased at various stores) so you can simply pop a fresh battery in as the current one runs down.
Materials:
- Offcuts of wood from previous projects – in this case a 150mm length of 32mmØ SA pine curtain rail, a 150x150mm offcut of 9mm MDF, four 6x30mm dowels, and a piece of 22x69x69mm meranti
- Two 40mm screws and glue
- Black spray paint – to match the stand to the fan
- Short length of foam weather-strip, for use as pads under the stand’s base
Method:
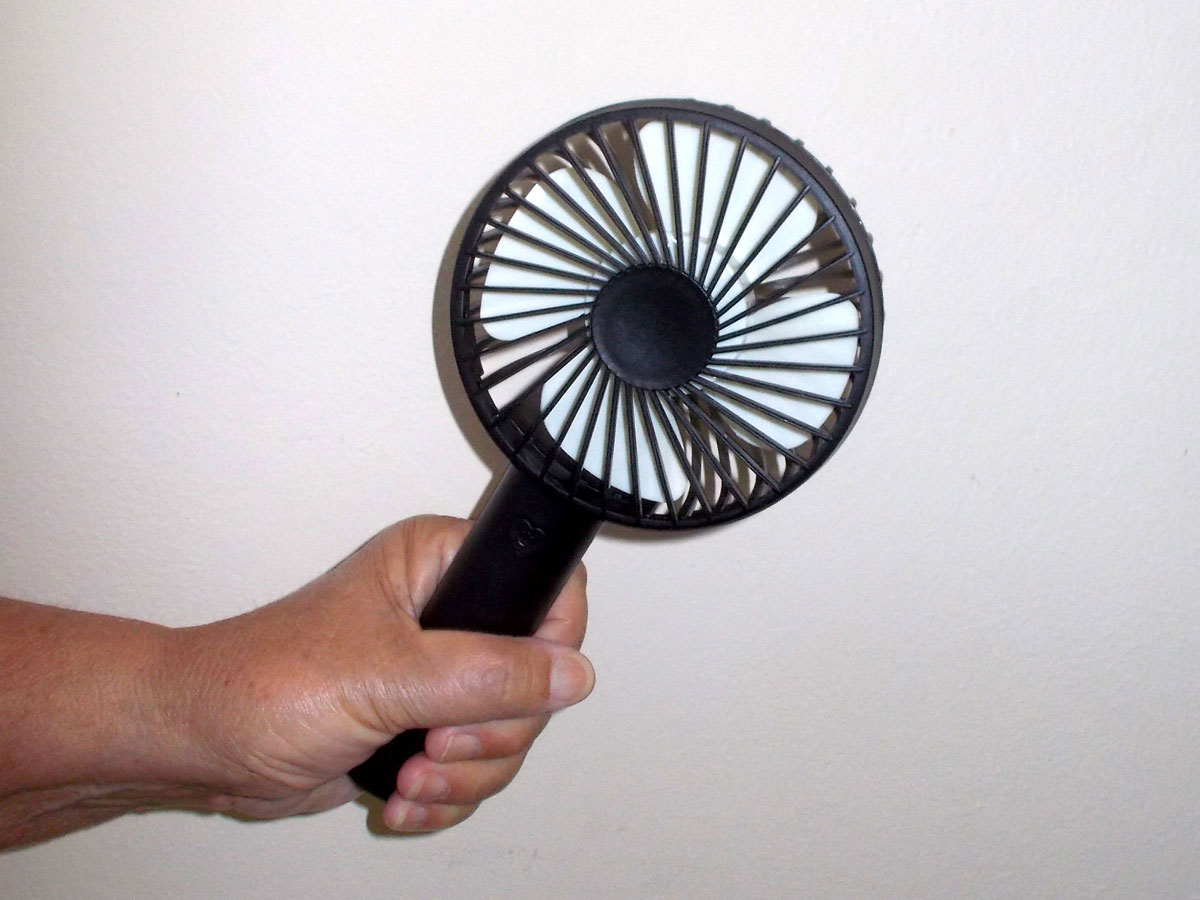
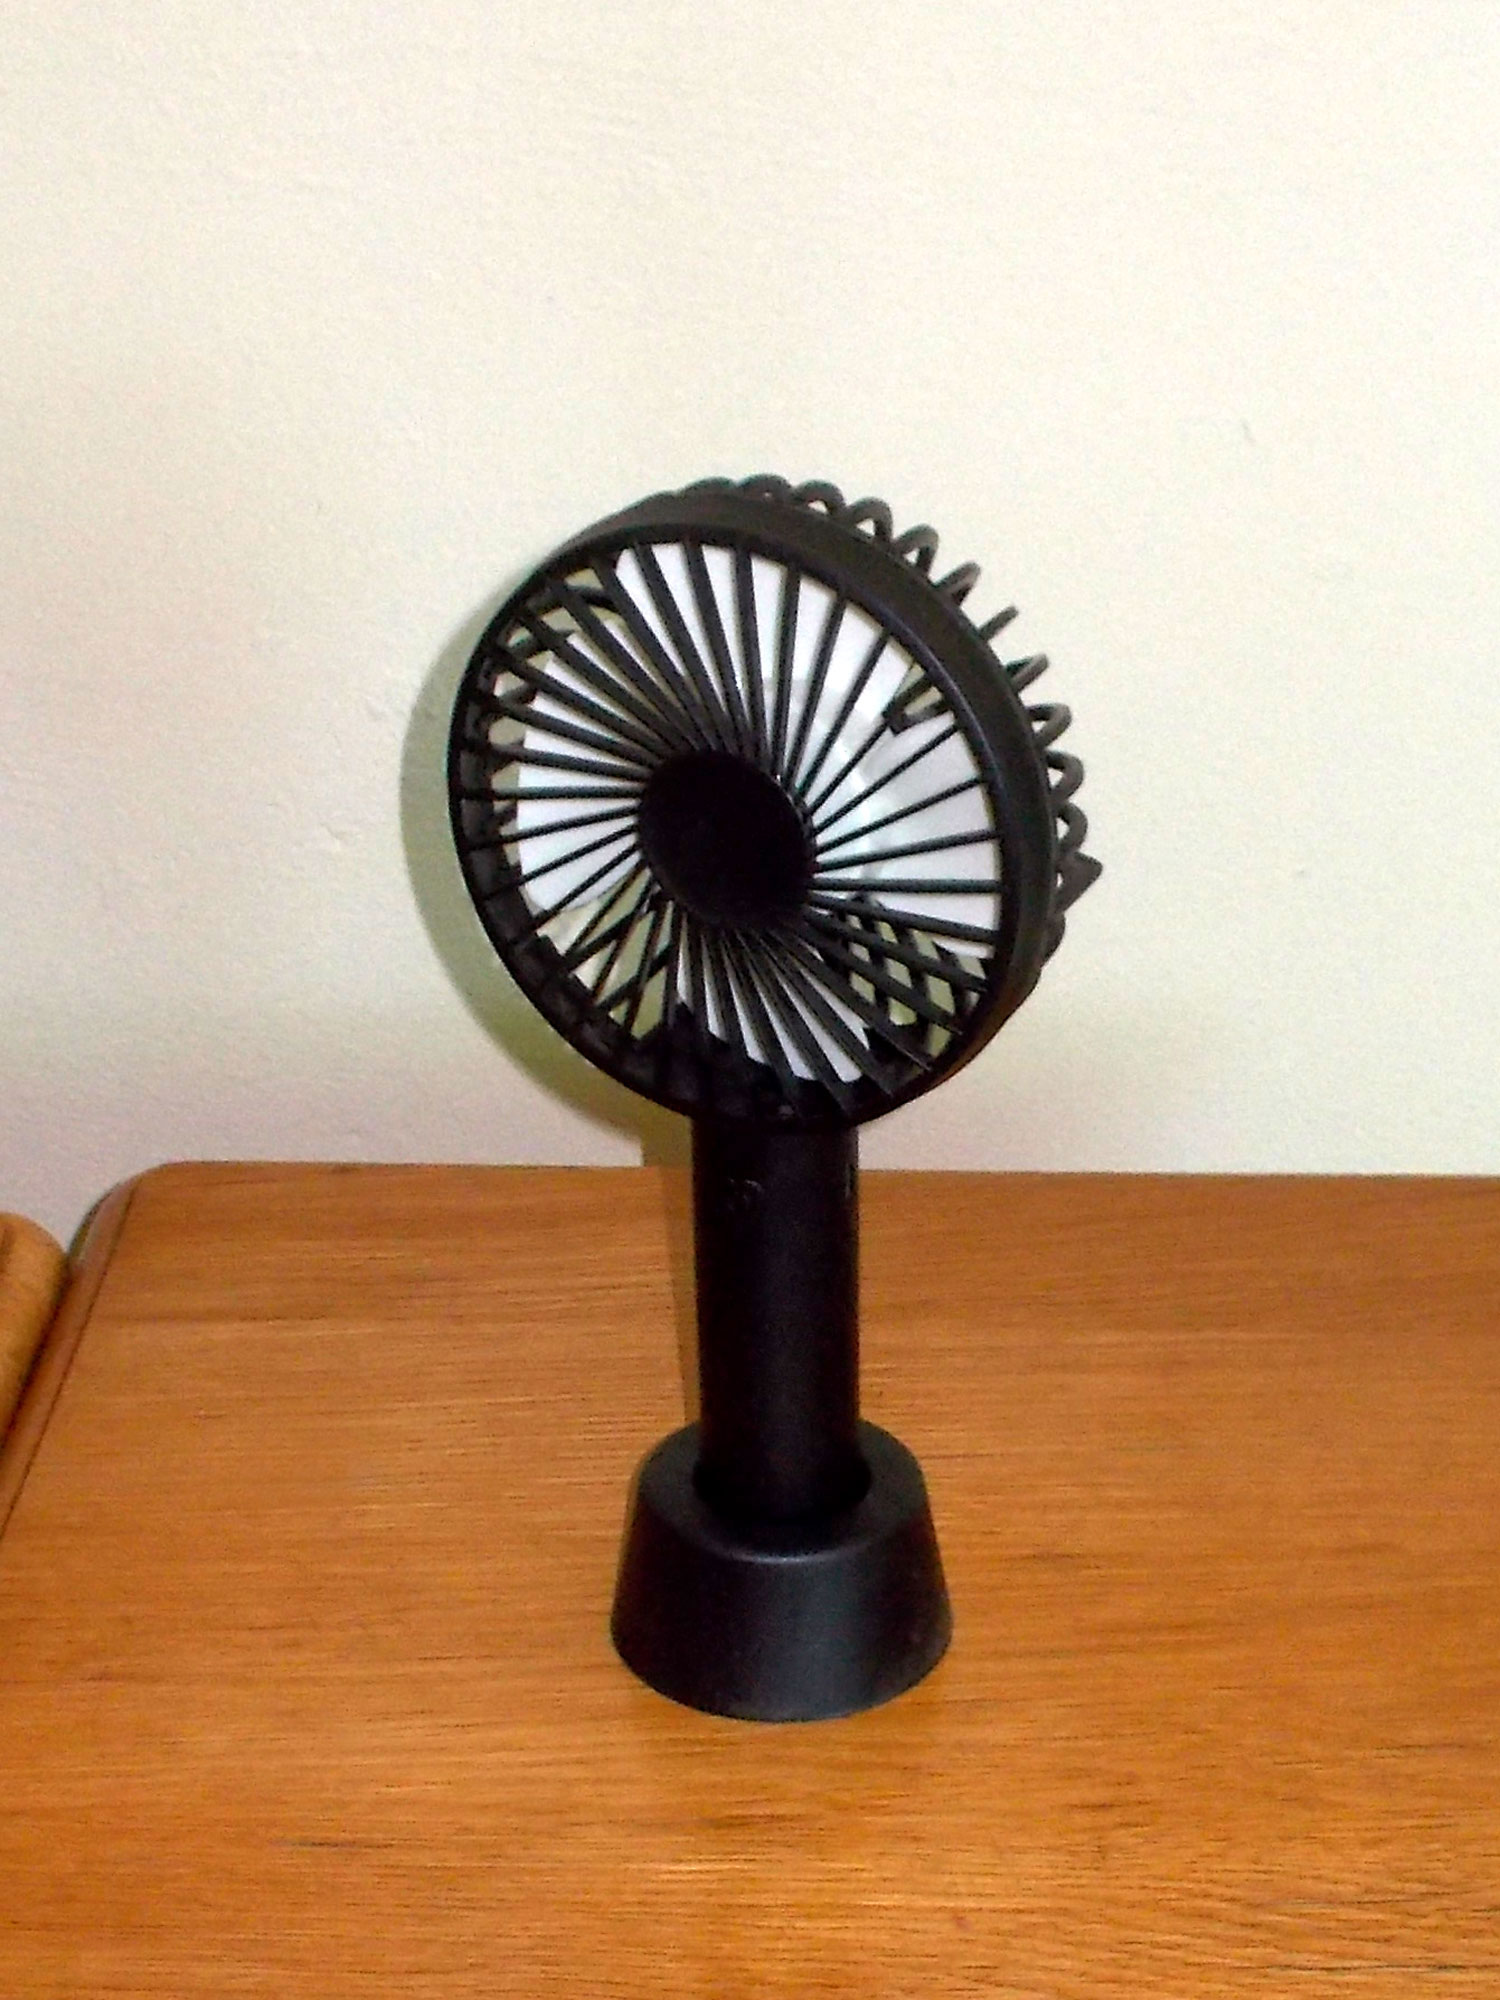
- This is the fan… very lightweight, quiet and handy, and it comes with its own small stand.
- You can use it as a hand-held version as here, but then the problem arises… how do you keep cool while holding the fan, reading your book and taking a sip of your favourite beverage – simultaneously? The short answer is… you don’t. So… what is needed is a stand to allow you to place the fan at a height that puts your face in direct line of the breeze. This is how you do it…
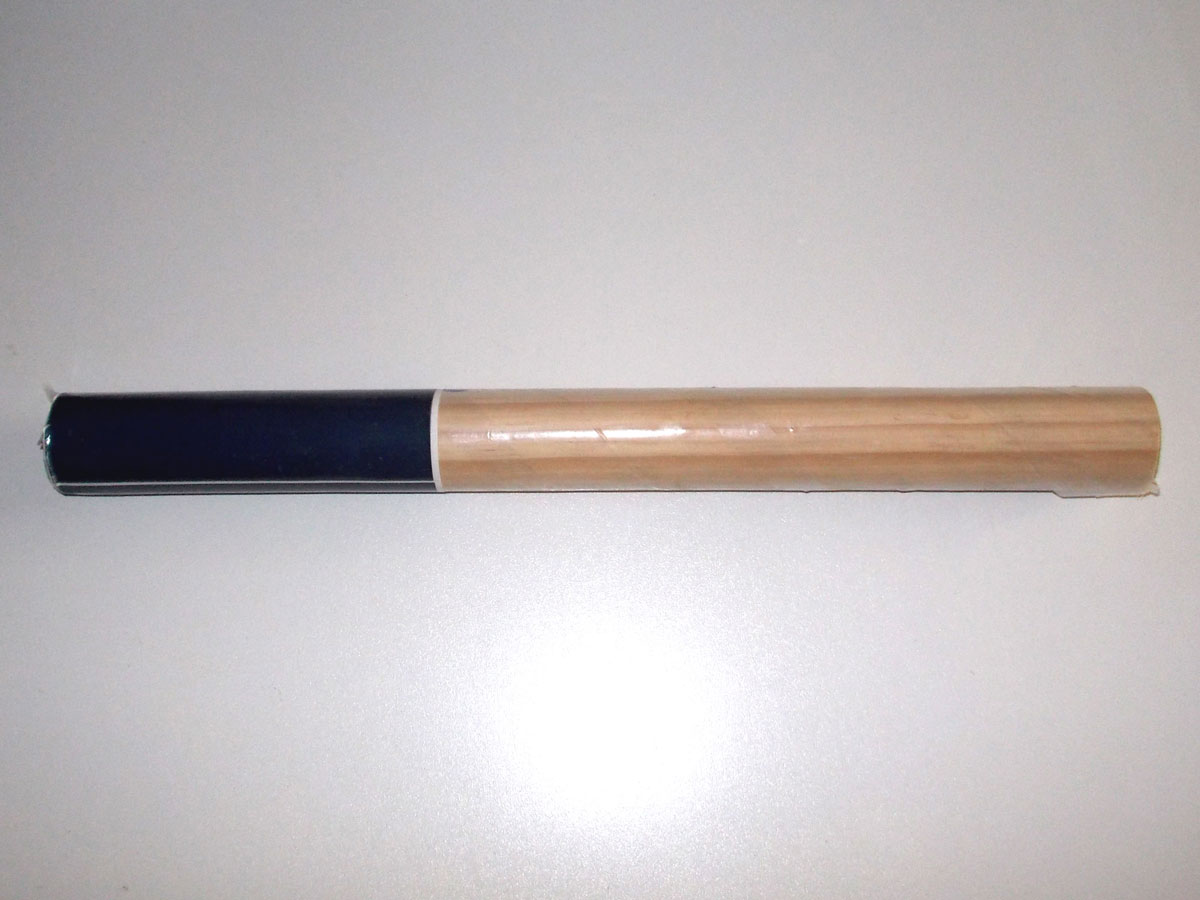
- First of all, having decided on the required height the fan needs to be to its job efficiently, you need to cut off a length the curtain rail offcut… in this case, I cut a length of 150mm.
- Then I cut the base from the MDF. Note that the higher you make the stand, generally speaking, the larger the base needs to be. Too small and the fan could end up actually blowing it over.
- I cut the 69x69mm meranti fan stand base and marked off its centre.


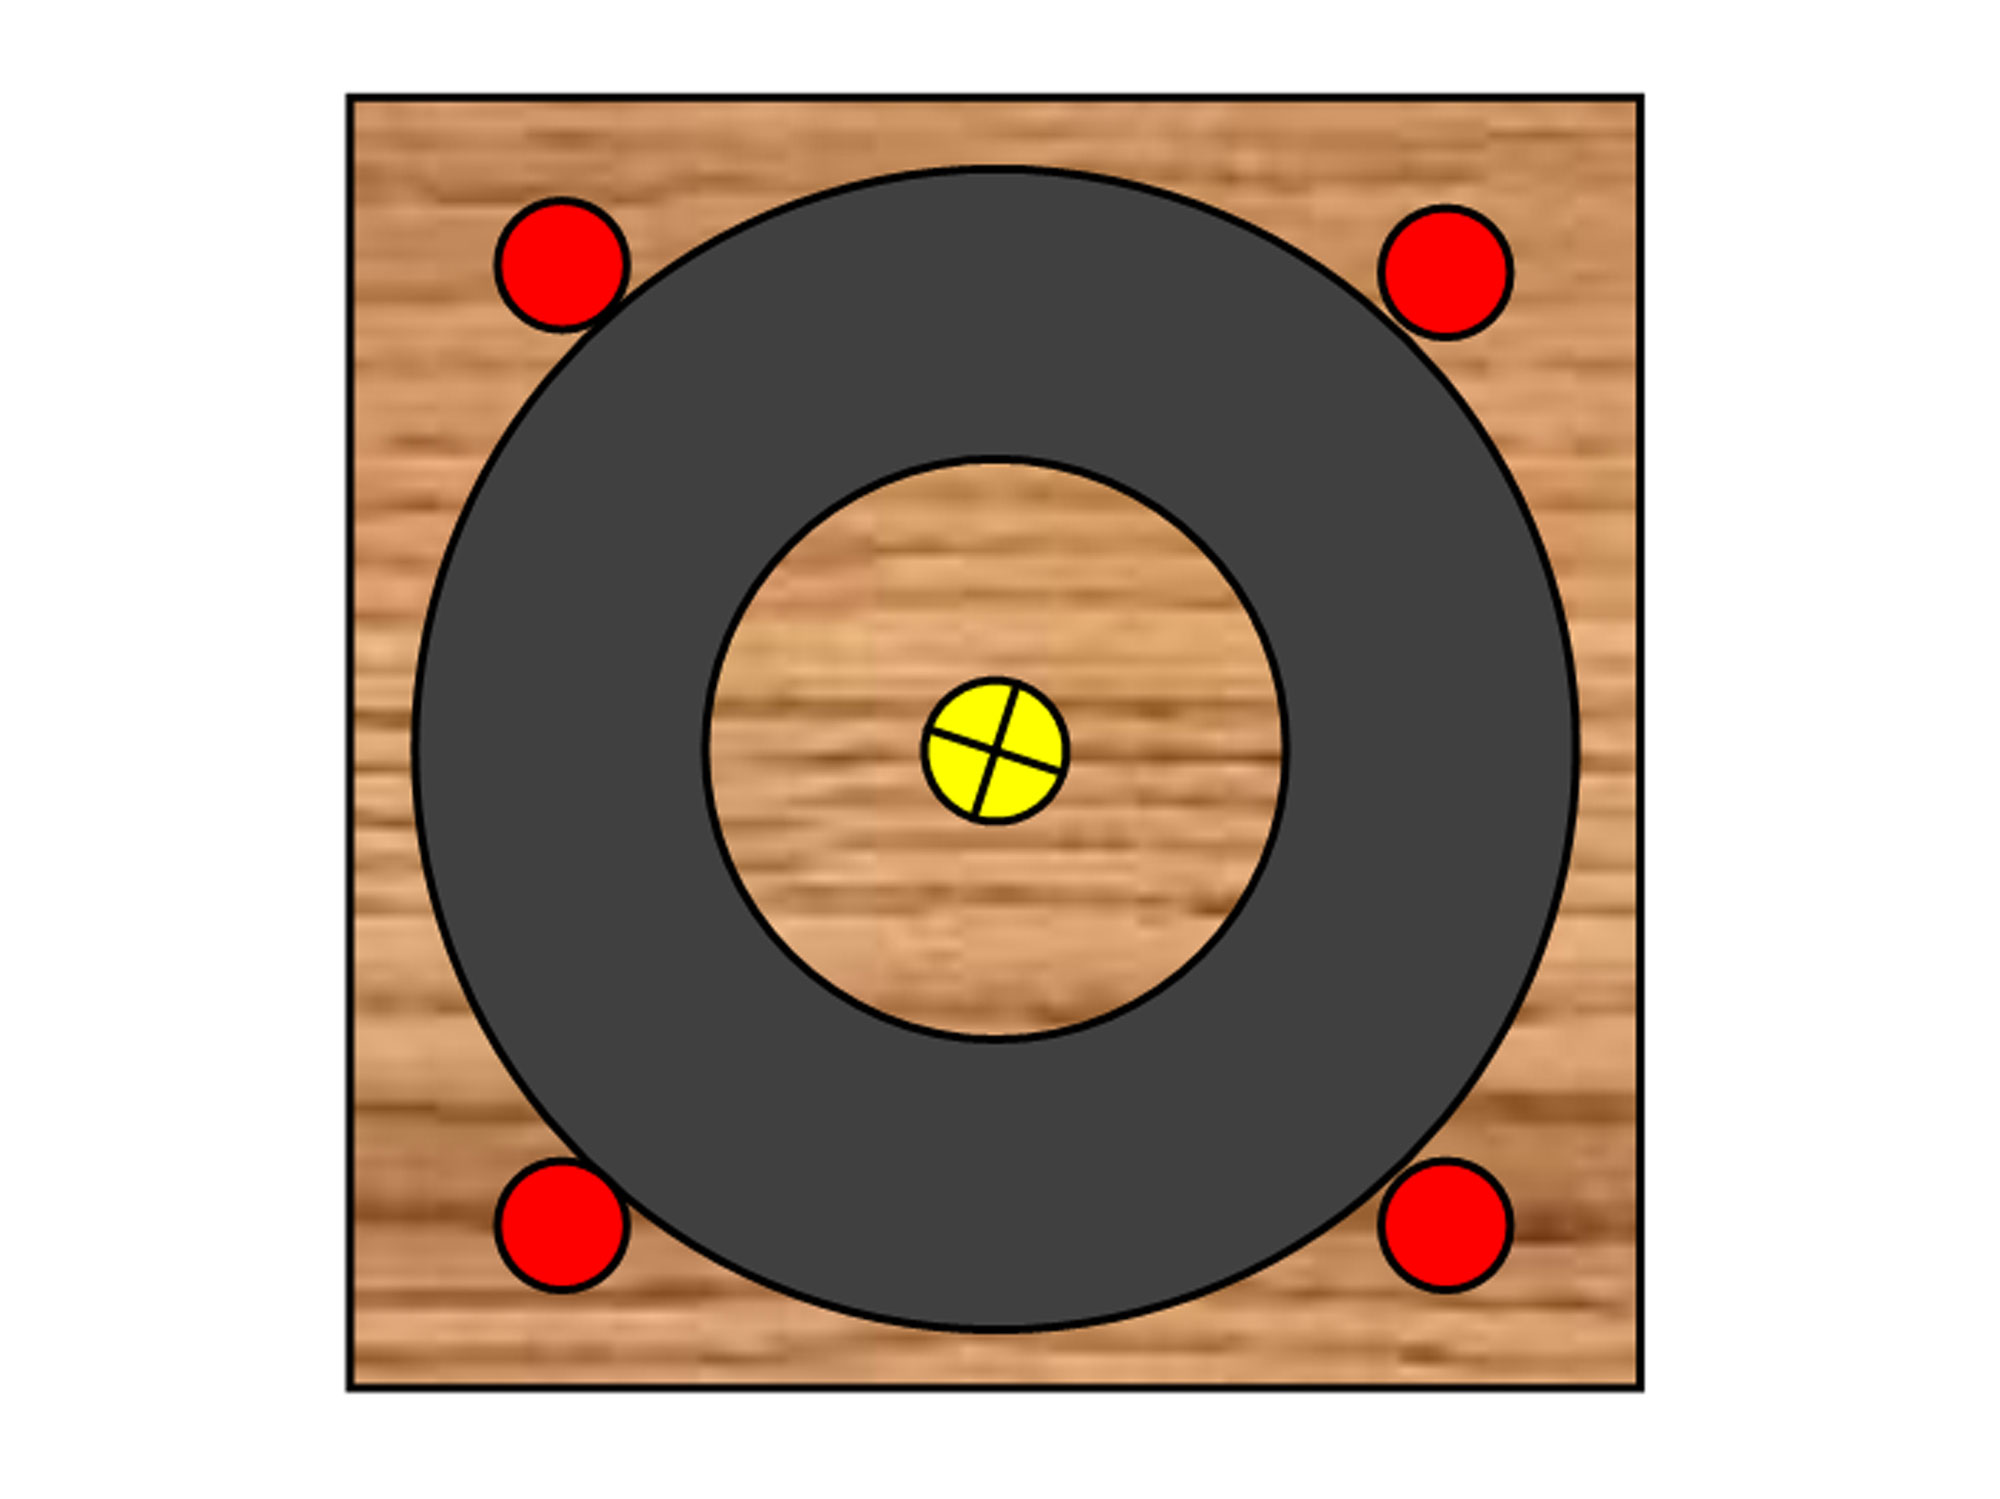
- This shows how I then positioned the fan base on the meranti and positioned four 6x30mm dowels. These simply need to keep the fan base in place, so allow a little play of a millimetre or so… if the fit is too tight, you could end up cracking the stand or it will not seat properly and pop out – leading to your fan ending up on the floor and possibly damaged. The dowels, as stated, are 30mm long, so seat them only to a depth of 10mm, which naturally allows a 20mm-high barrier to keep the fan base in place on the stand.
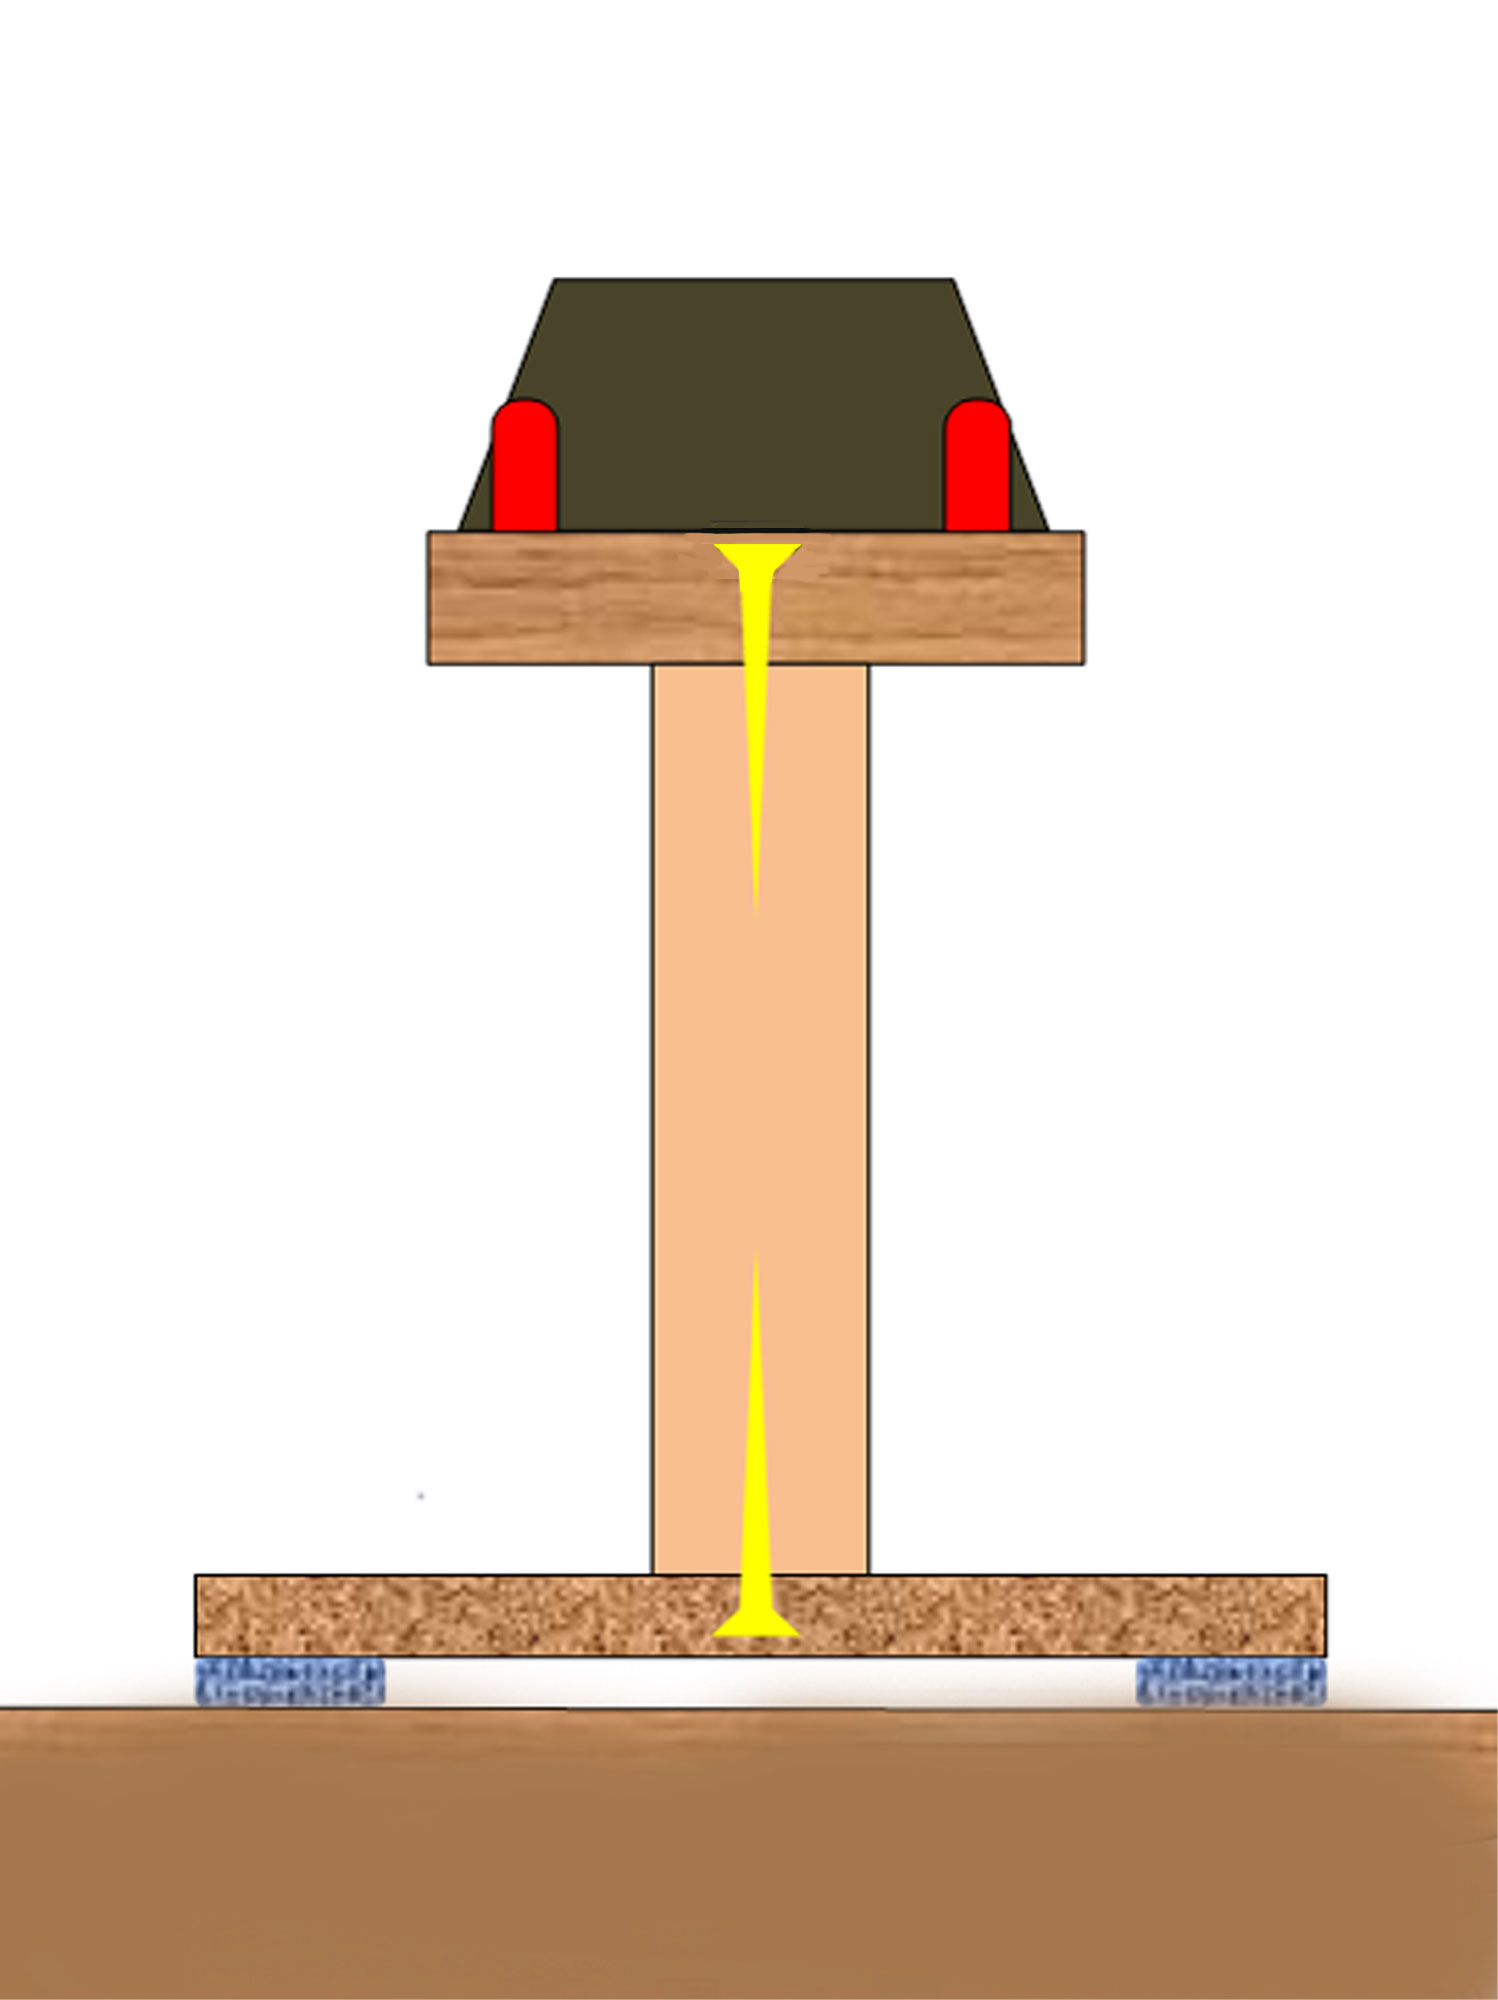
- This shows the completed stand, side view, with the fan stand in black, the dowels in red, and the two 40mm securing screws in yellow, with the protective pads in mottled blue. Not only will the pads protect any surface on which the stand is placed, being foam they will tend to remove any ‘rattle’ should the fan blades be slightly out of balance, but even better, they increase the friction between the stand and the surface – so you won’t end up with your fan stand ‘walking’ off the edge of the table or slowly rotating through a circle due to any vibration.
- Here’s the fan on its small stand… working like mad but only keeping the armchair’s armrest cool.
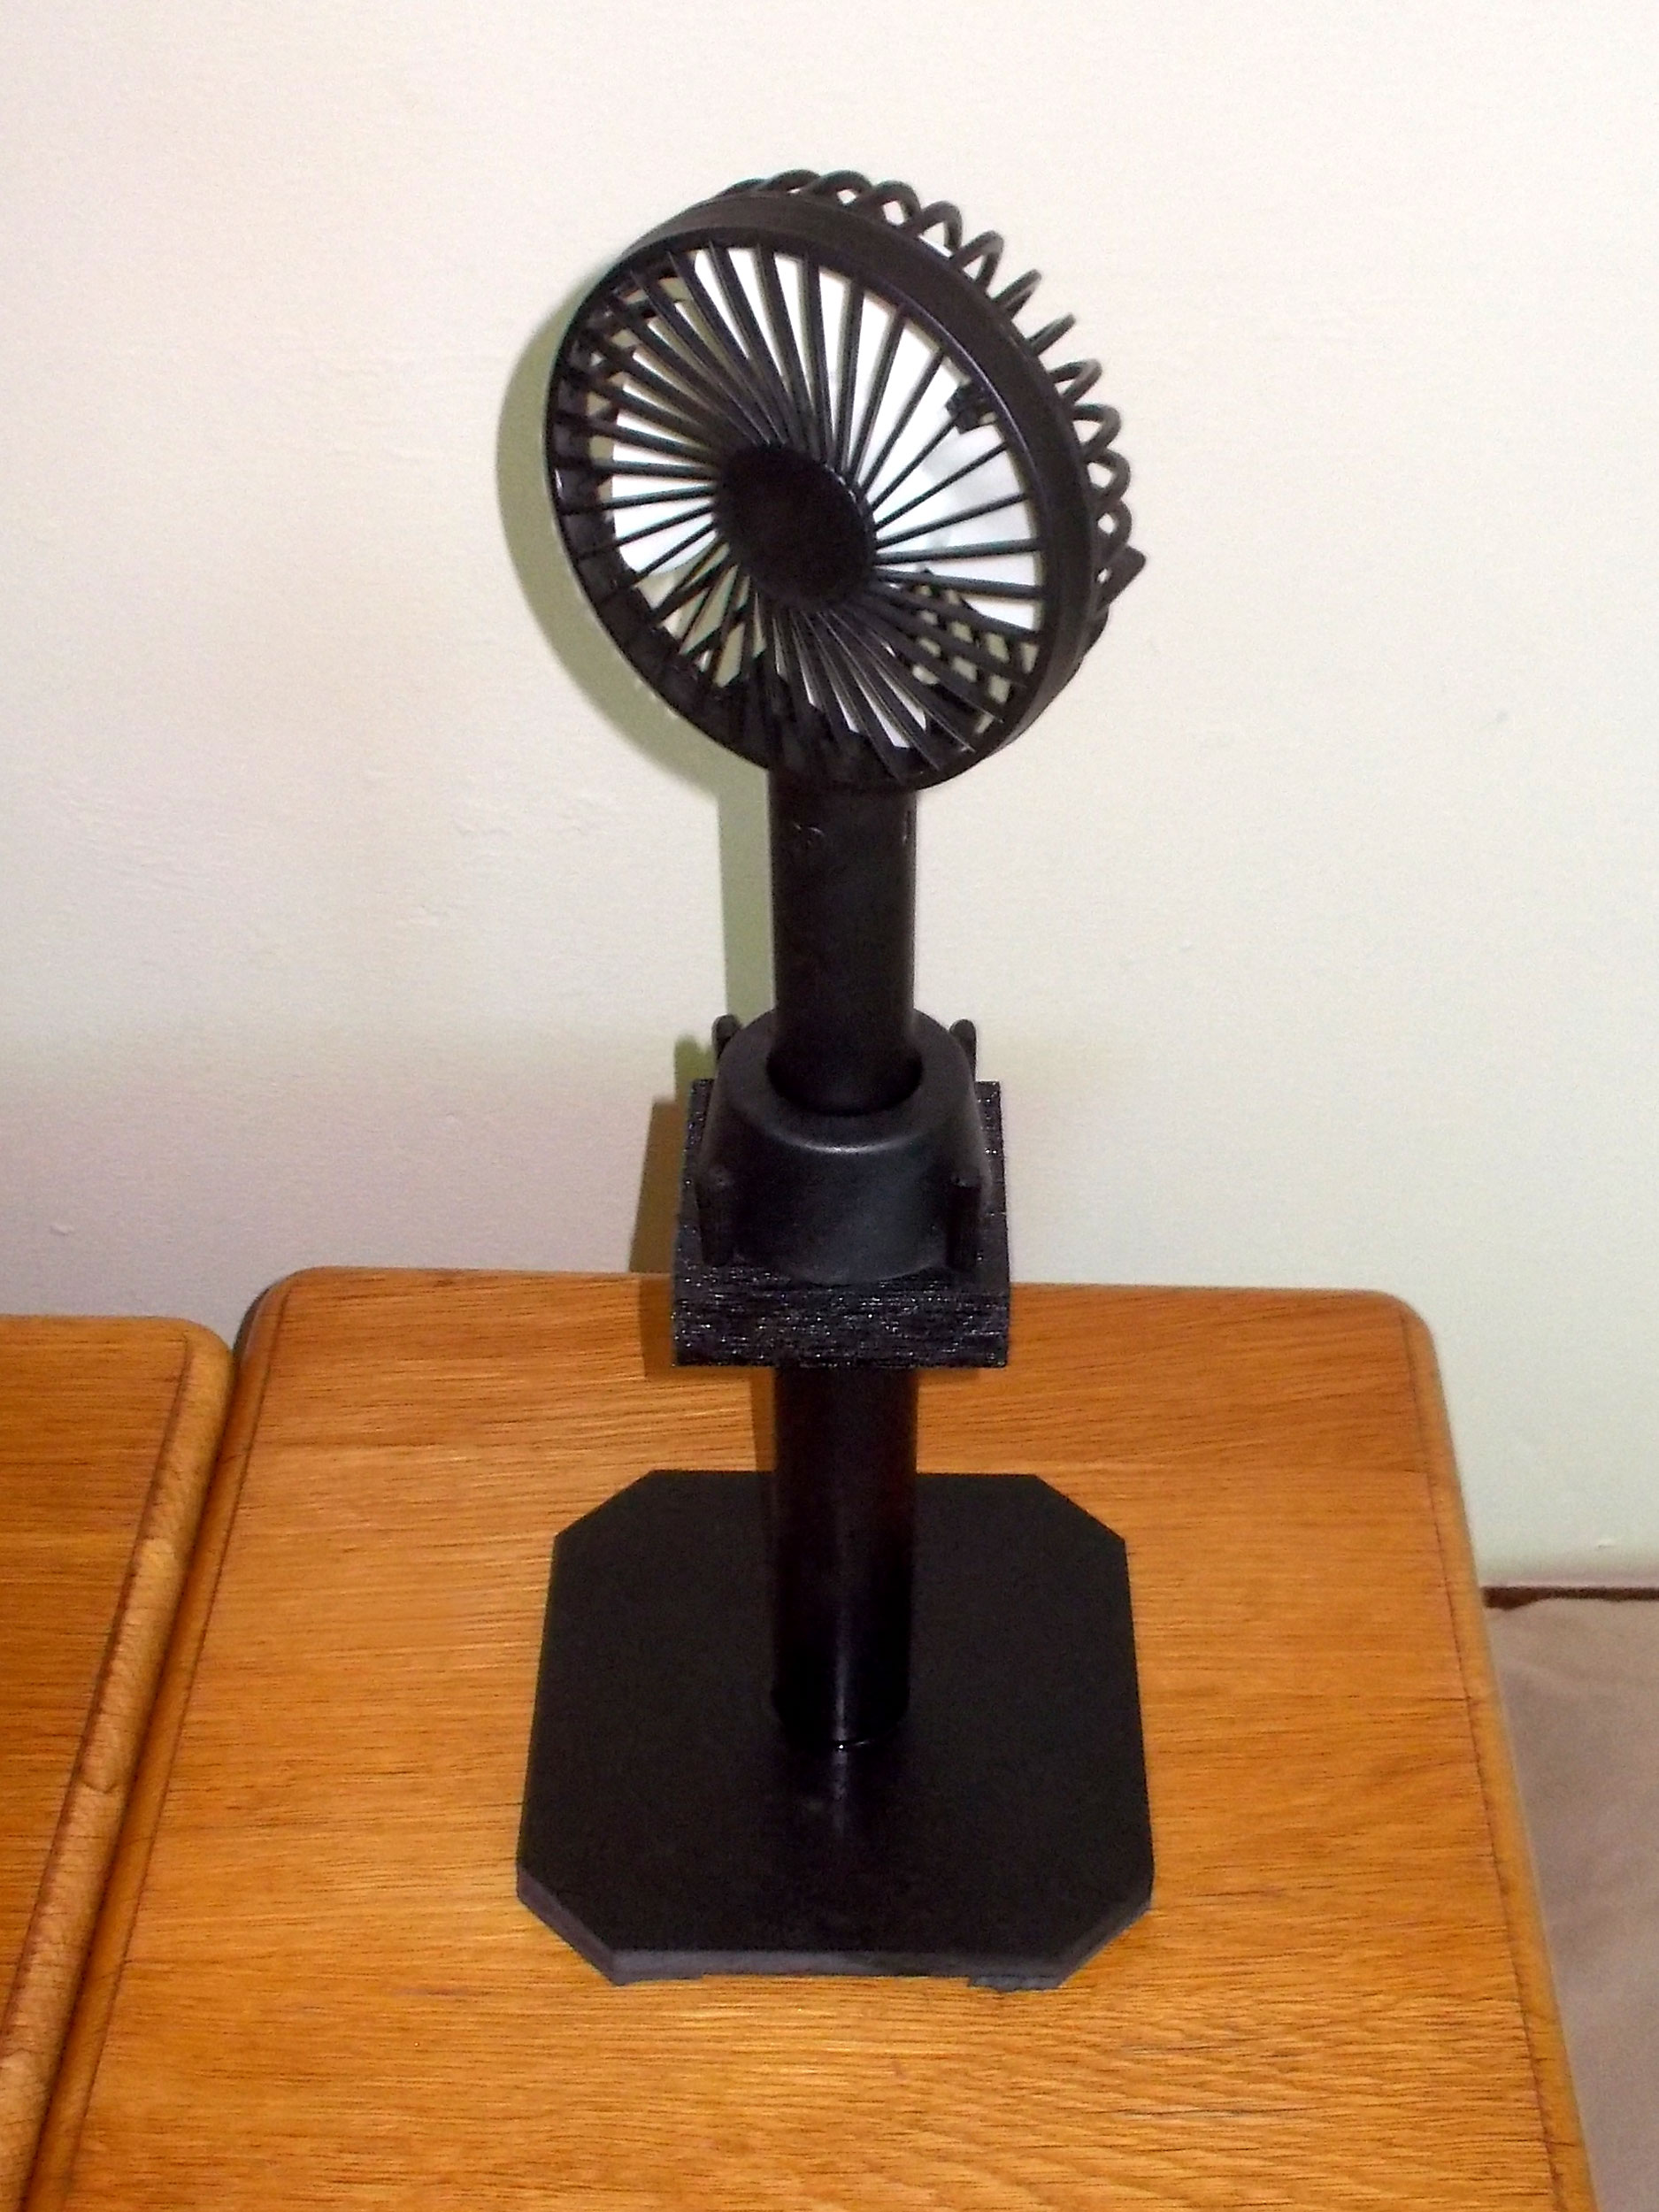
- Viola! It is time to make a stand! And here it is…
- And there we have it, the completed assembly, with the fan now providing a cooling breeze just where it is required.

Project guide
Skill level: 1
Estimated time: 45-90 minutes
Cost: R20
Assistant: No
Tools required:
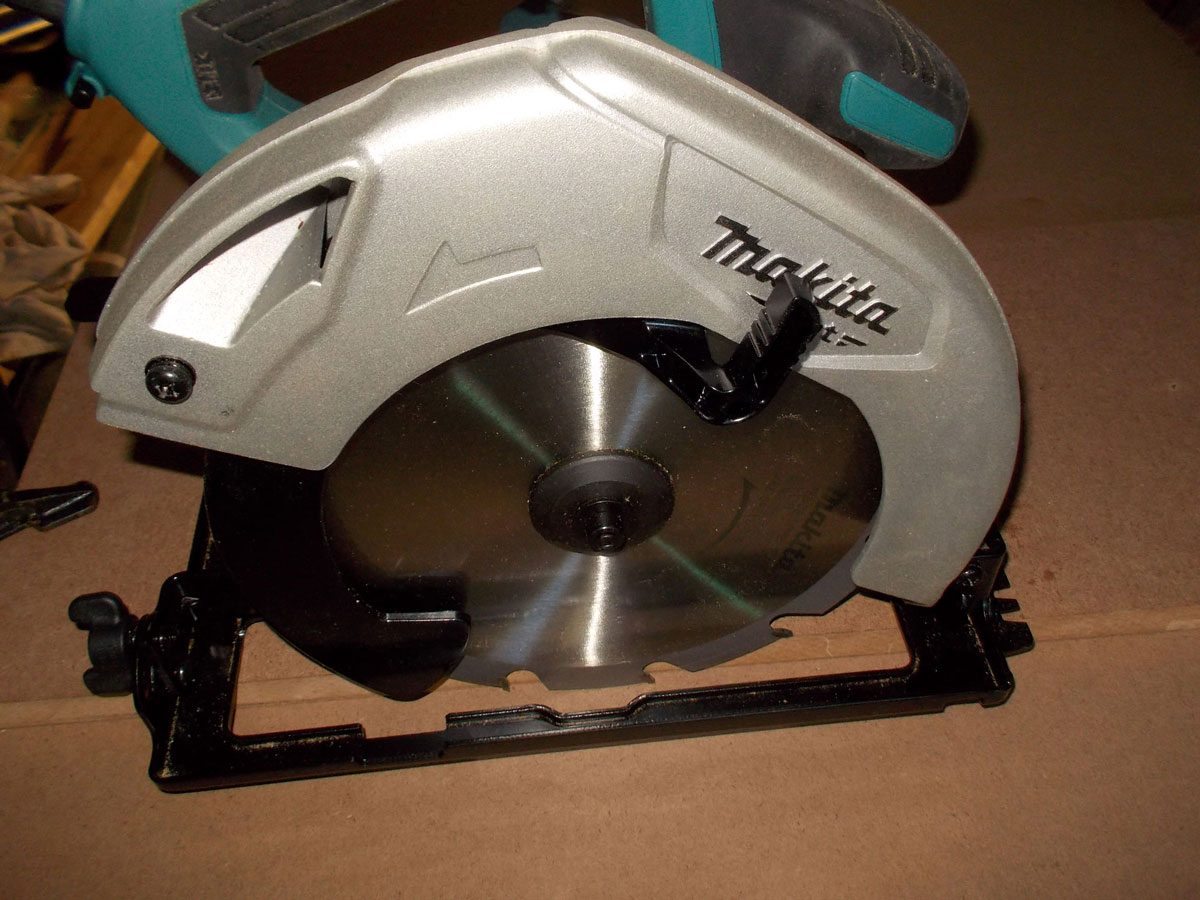
Drill/driver, jigsaw or circular saw.
Panel:
These materials are available at Selected Mica Stores. To find your closest Mica and whether or not they stock the items required, please go to www.mica.co.za, find your store and call them. If your local Mica does not stock exactly what you need they will be able to order it for you or suggest an alternative product or a reputable source.