21 August 2014

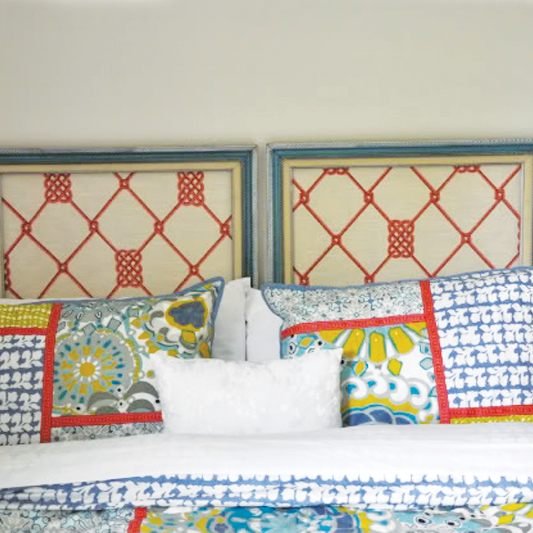
Make your own Picture Frame Headboard
What you will need:
- 2 x Old picture frames (At least A3 to A2 in size)
- 2 x Backing board (Same size as the picture frames)
- Material of your choice (Enough to cover both backing boards)
- Spray Adhesive
- Extra strength glue
- Screws
- Screwdriver
- Scissors
Method:
- Place your picture frames facing downwards.
- Measure the size of the backing board to ensure the size is correct.
- Measure out your choice of material to cover the backing board and cut excess off with your scissors.
- Spray the backing board with spray adhesive ensuring to not cause spotting as this will stain the material and leave marks. Spray the adhesive evenly.
- Place the material over the backing board stretching the material to prevent creasing and bubbles. Smooth out the material by hand. And leave the backing board to dry for up to 1 hour.
- Once the backing boards are dry, apply your extra strength glue around the edges of the frames and place your backing boards on top making sure each corner is equal.
- Place a heavy object on top and leave to dry over night.
- When the glue is dry check if the boards are secure.
- If properly secured add a screw to each corner, use small enough screw to not screw through to the front of the frame but big enough to secure the backing board.
- Once the screws have been put in place you are done.
- You are now ready to hang your headboard in place.