03 October 2024

It’s time to take the bag to a braai
I was going to have a bag made up by a local business which manufactures leather bags, but when I was told it would cost R500 – so I was supplying the canvas, plastic buckles, adjustable carry strap and virtually the kitchen sink – I decided to make one myself.
OK, it’s not a Louis Vuitton or Gucci, but then it didn’t cost R40000 either!
Materials: *
- Aluminium blind/pop rivets – large flange** – 4.8x10mm***
- 5mm flat or fender washers, ideally stainless steel to avoid rust stains on the bag
- Canvas to form the bag body
- Black nylon webbing strap:
- 25mm wide x 1.5m or so
- 50mm wide x 500mm (optional padding for underside of bag)
- Strap adjustment slide for the carrying strap and one strap quick release buckle for the strap used to keep the bag closed
*Your local Mica will very likely stock the above-mentioned items, apart from the canvas, but that can be bought by the metre from a haberdashery.
**If your Mica does not have large flange rivets in your required specifications, then you can use standard flange versions, but then I would suggest that you put a flat washer under the standard flange so that there is more bearing surface on the material below.
***Rivets are available in a wide range of diameters and lengths and types. For a full rundown of what is available, go to this article on the Mica website.
Method:
- As it turned out, a length of deckchair canvas I had going spare was exactly what I needed to make my bag.
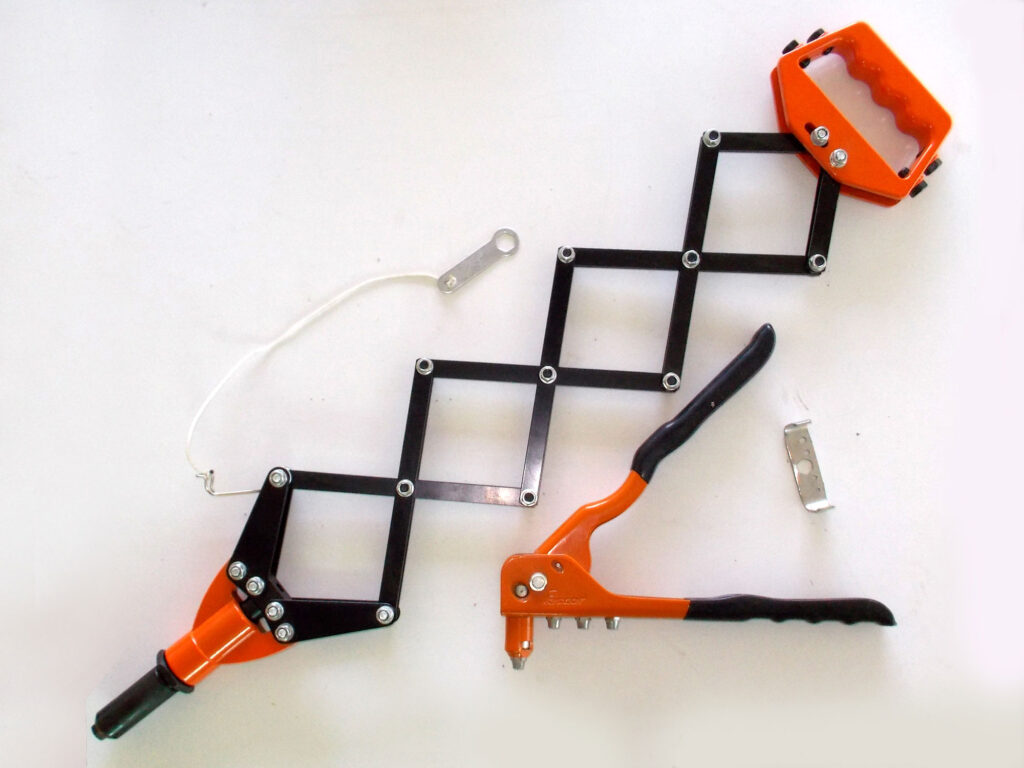
- Just a riveting tale about riveters… the concertina version is very easy to use as one can use your own weight (in my case, far more than either I or my doctor want) to do the work, but you may find that it caters for the larger rivets – which is where you need the extra force to snap the rivets’ mandrels. The pliers type is also very good, but you are applying hand power only, so while working with small rivets is easy, with larger rivets you and find it a bit of a struggle. Now wasn’t that riveting?!
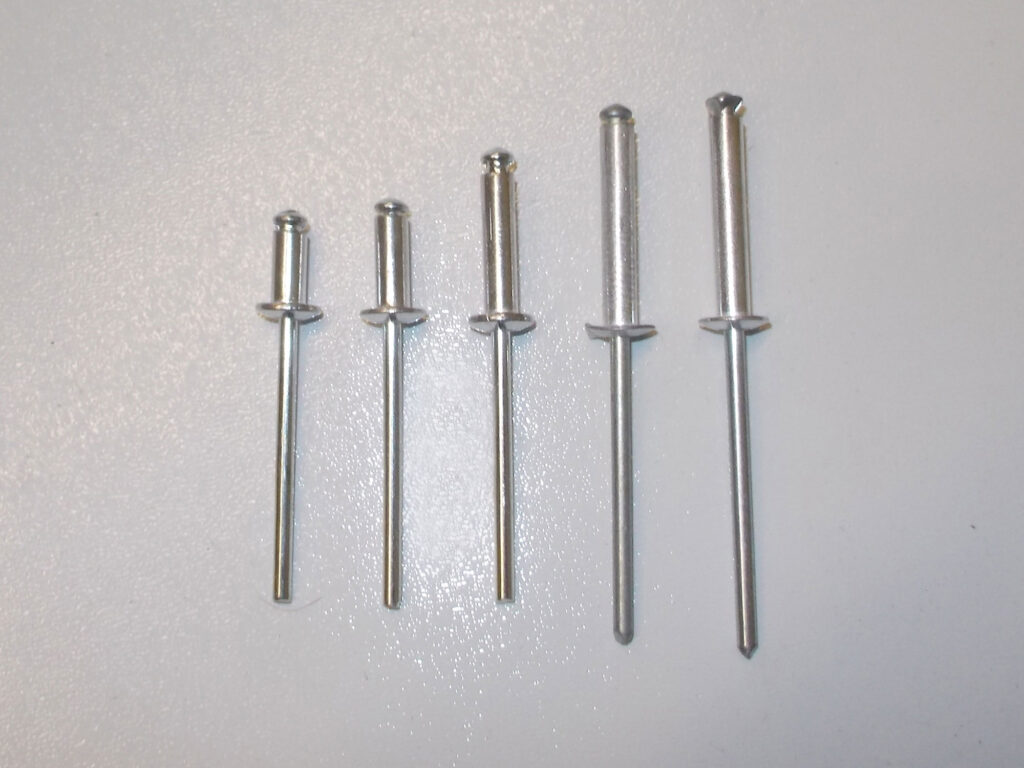
- Just a very small selection of some rivets. When using them to secure thinner materials, as in this case, you would not be using the very long versions. The 3.2mm standard flange examples shown here are 3.2×6-8-12-17 and 18mm.
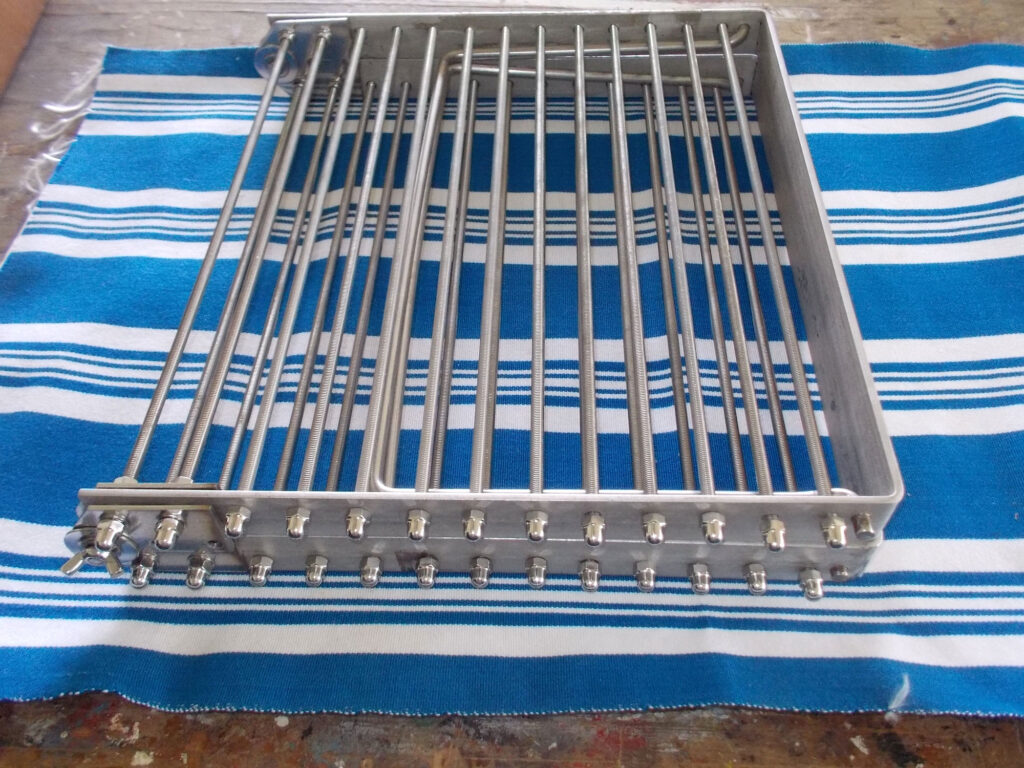
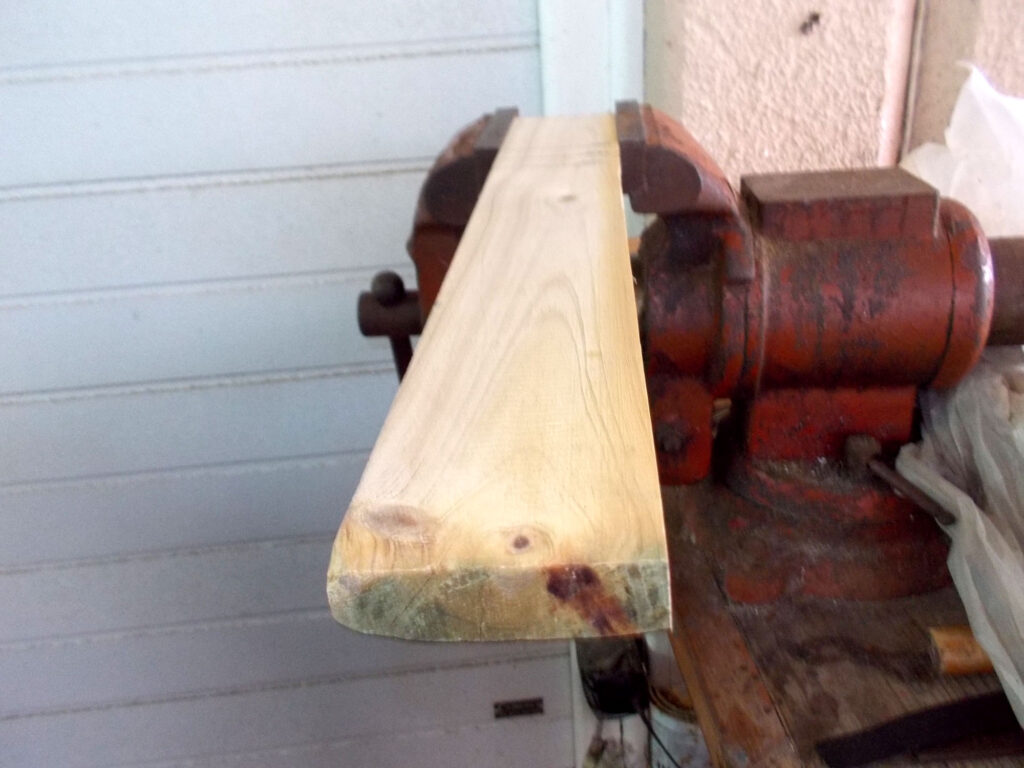
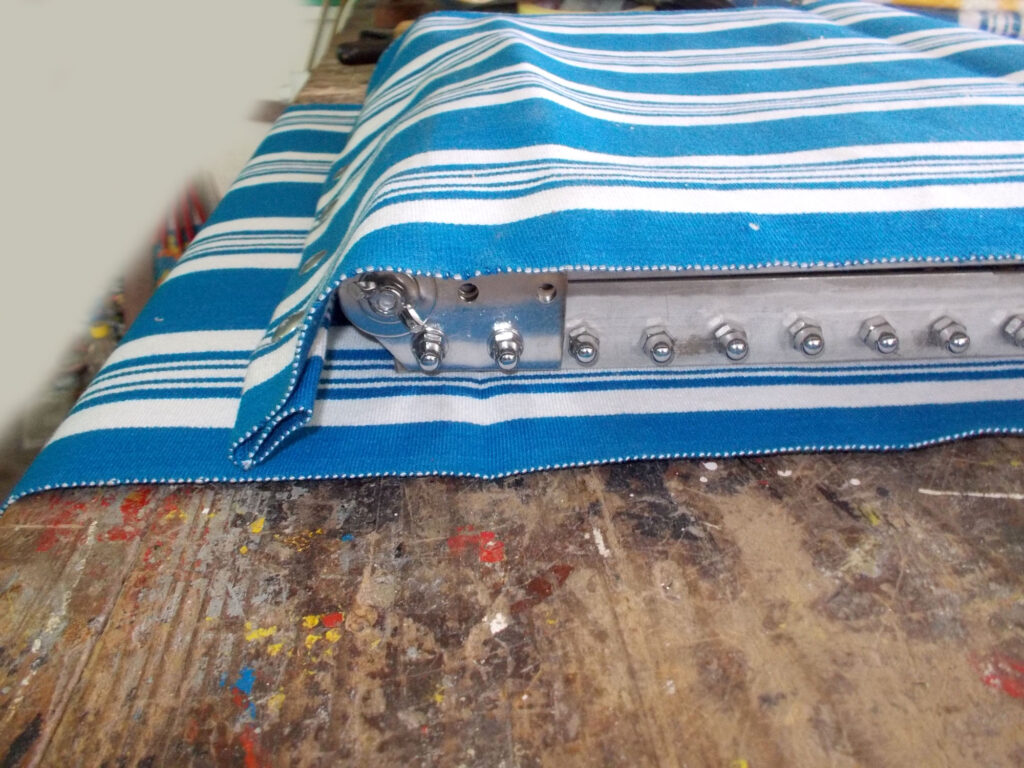
- To fix the bag depth – in order to accept the grid, I ripped a length of scrap wood to a width of 70mm, and that gives ample space for the grid to fit.
- In passing, if I were to make another bag, I would probably make it about another 10mm deeper, simply for an easier fit for the grid. But hindsight is perfect, isn’t it?
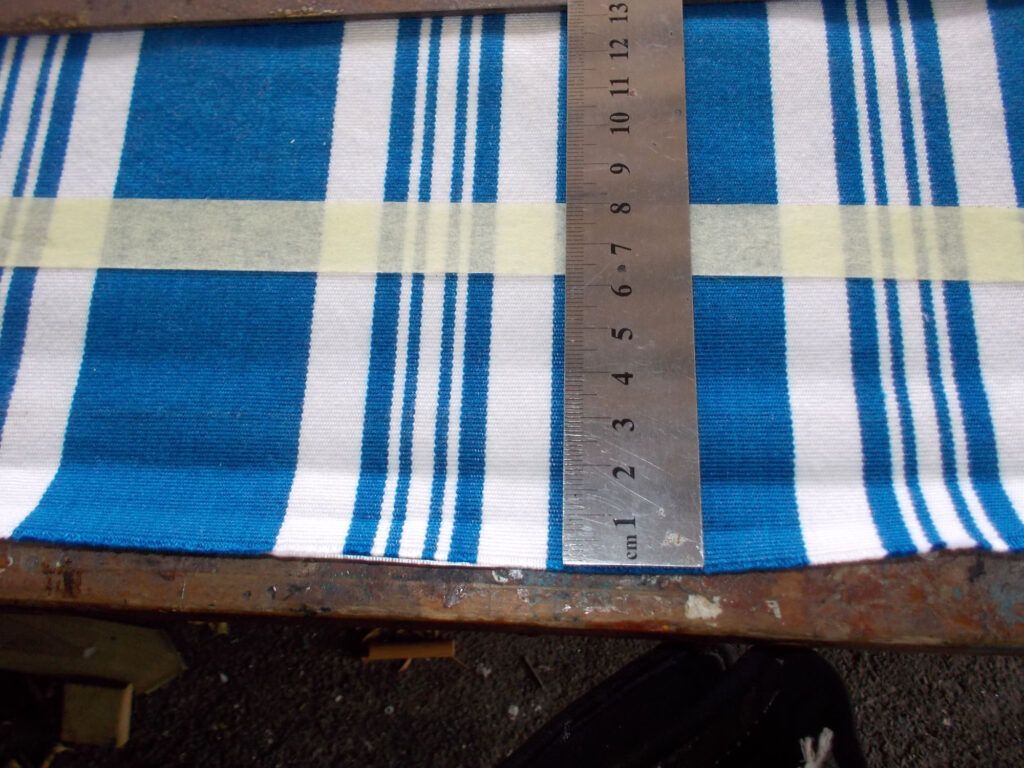
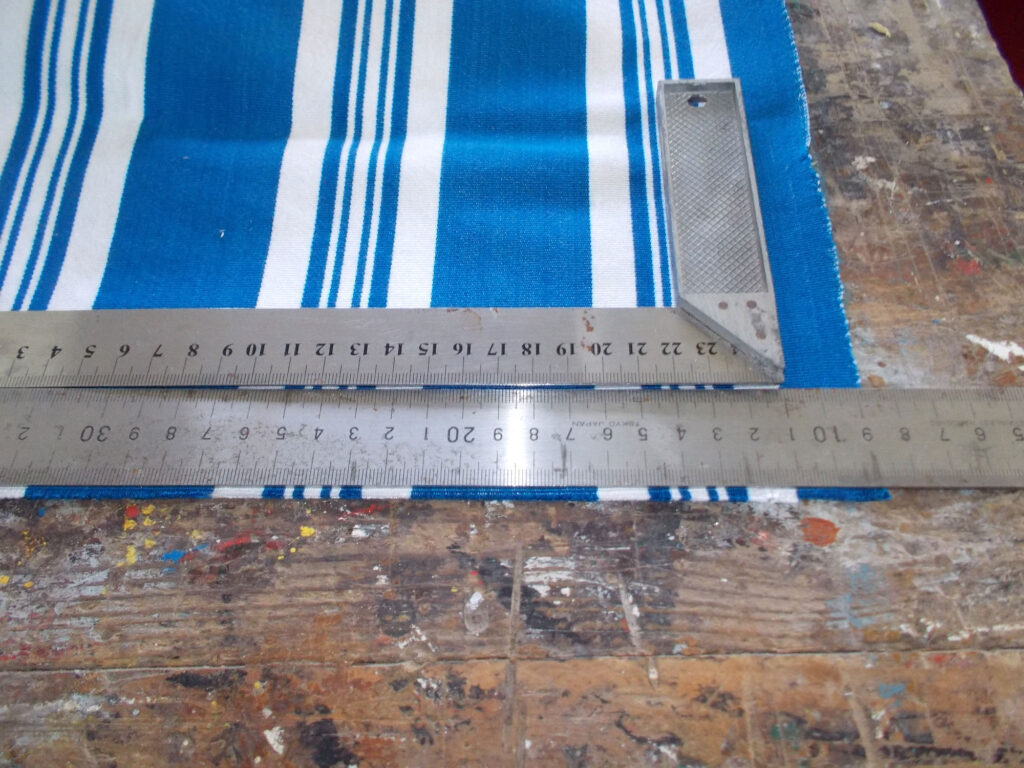
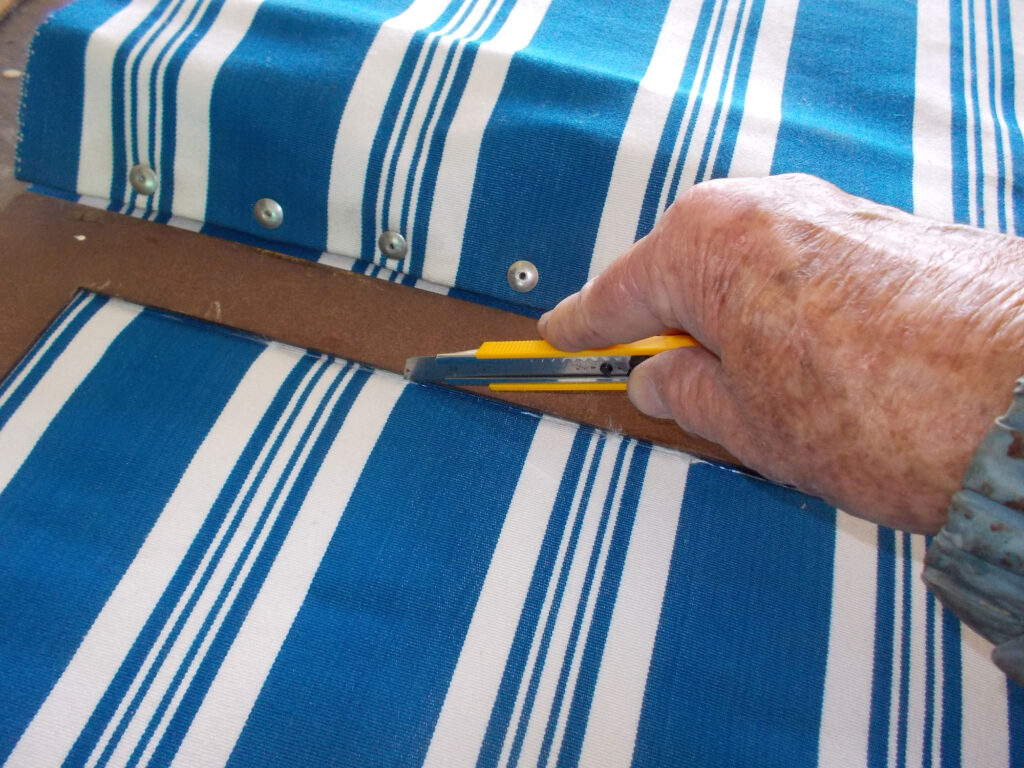
- I used a carpenter’s square and steel rule to ensure that my cut would be at a perfect 90° when I trimmed the canvas to length.
- At first I decided on a very narrow hem at the top edge, but then decided it would be too narrow – at around 12-15mm.
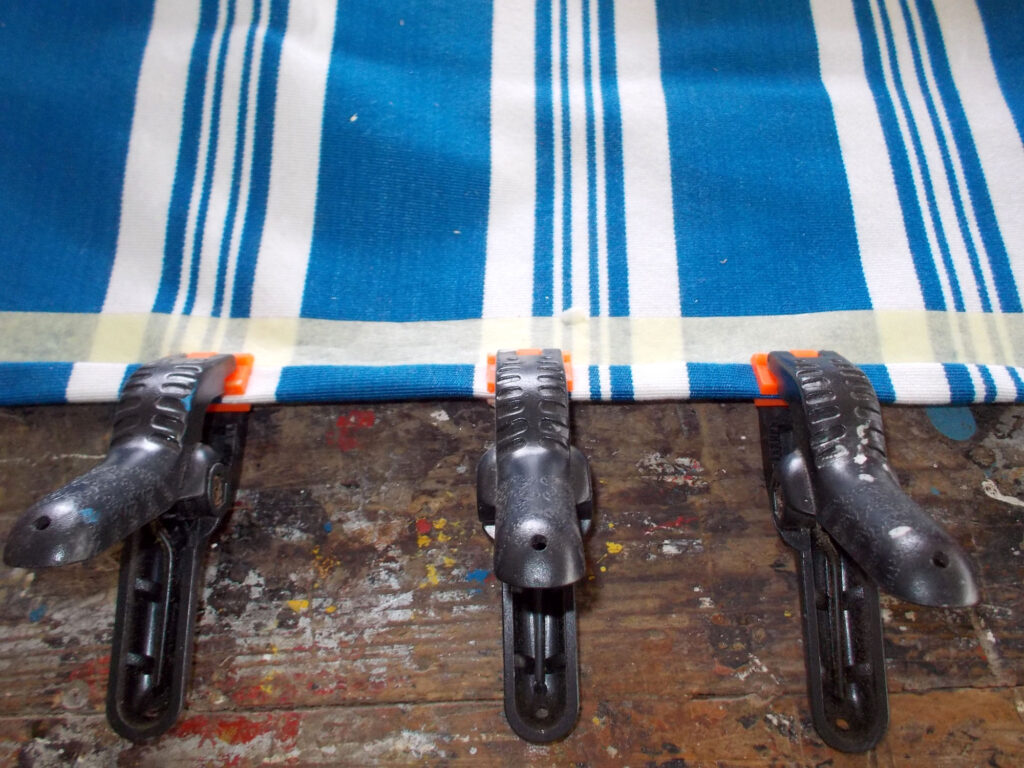
- So I went for a wider hem of around 22mm… I had plenty of canvas to play with. Note the use of the masking tape – its purpose is about to be revealed.
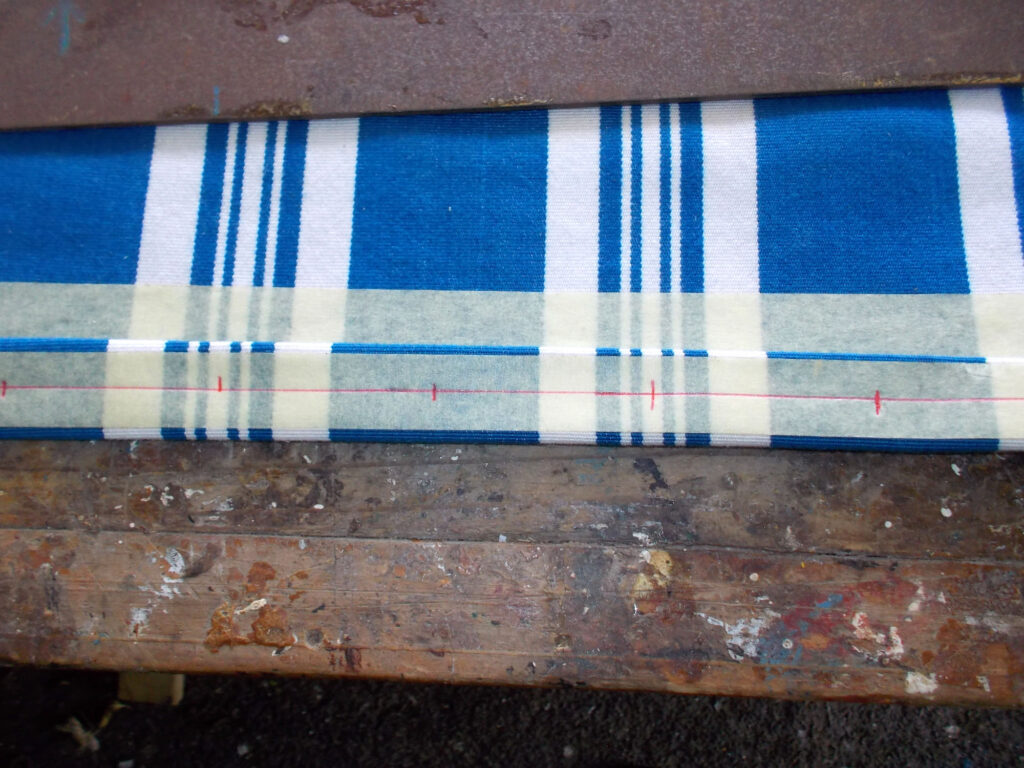
- And here it is… first of all, provided you have laid the tape very accurately, along the edge of the rule, you will get a very nice fold line for your hem – which I doubled over, by the way, so there are actually three layers of canvas along the top of the bag. The second length of tape laid on the hem itself is used as a surface on which to mark off the rivet positions – which I spaced at 50mm intervals, and because I had laid the tape out very accurately, in a dead straight line.
- I punched 3mmØ holes in the material as shown, and pushed the rivets through them. At this stage, try to remember of pull the tape away, so it doesn’t get caught under the rivet heads. I didn’t and it did! It doesn’t affect the join strength at all, but can look a little unsightly until the ragged edges have finally fallen off.

- I drilled an 8mmØ hole about 15mm into a piece of scrap wood that would act as my work surface.
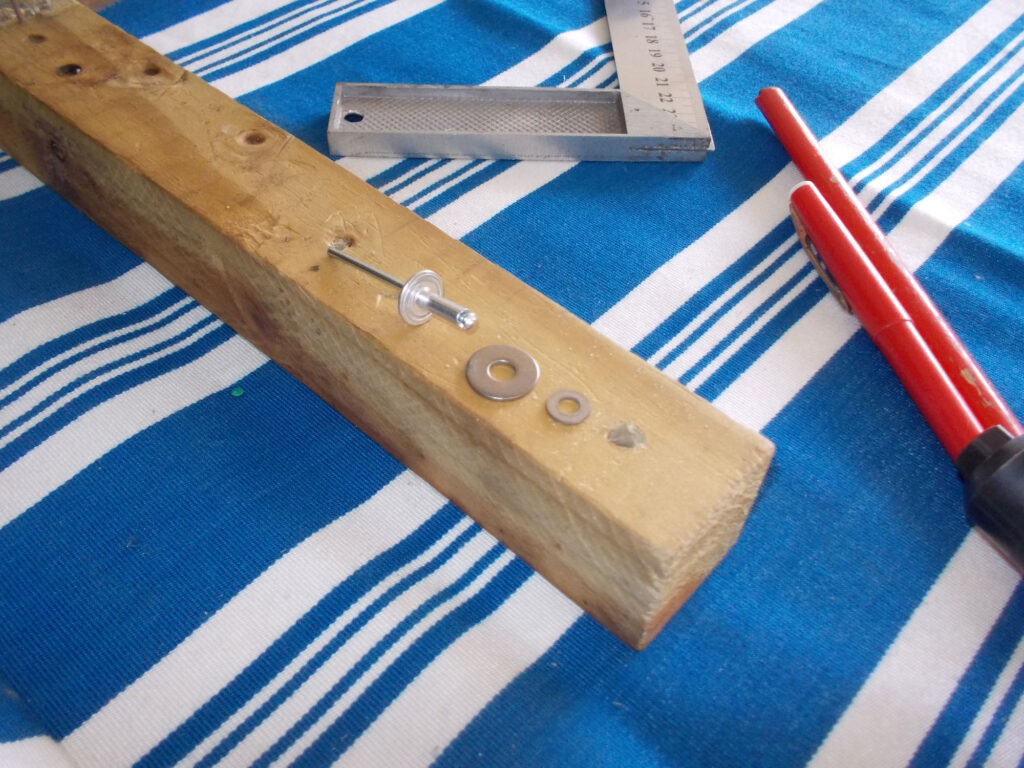
- This shows the order of the rivets I used. In this case, I had to also use 6mm flat washers, so I placed a 5mmØ flat washer on the underside of that, to ensure a proper attachment – so that the 4.8mmØ rivet would not pull through the 6mm washer.
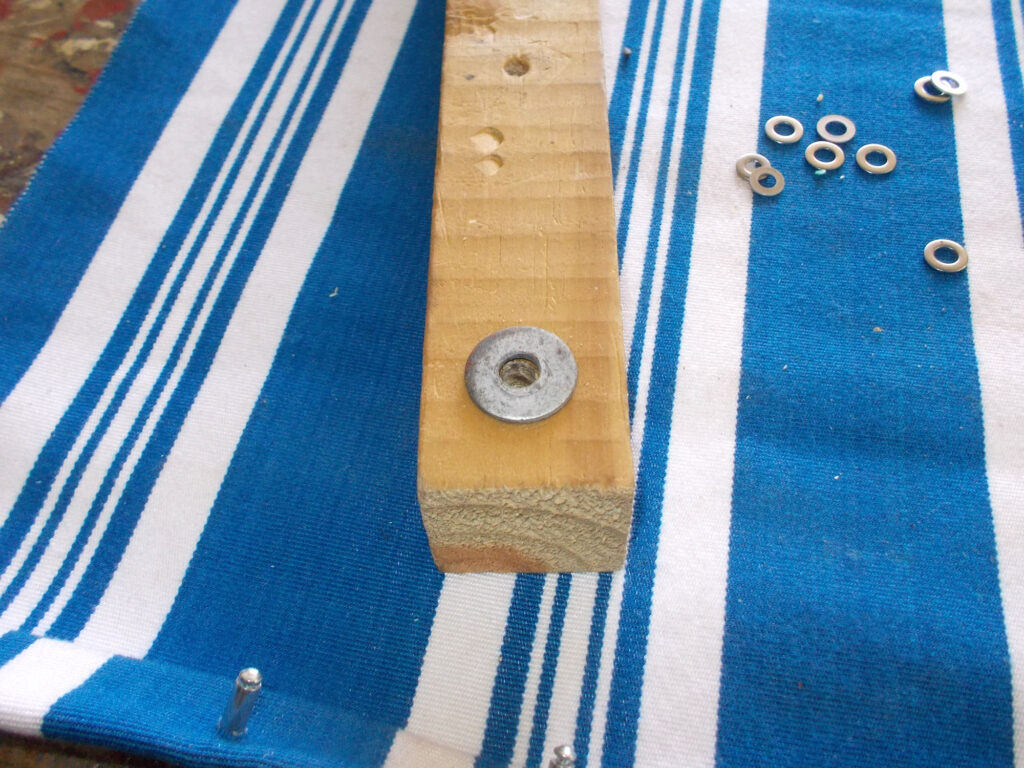
- In order to stop the washers being pushed into the wood, I also used a scrap 8mmØ flat washer as my cushioning washer; as it has a large surface area, it will not be pushed into the wood even under pretty high pressure.
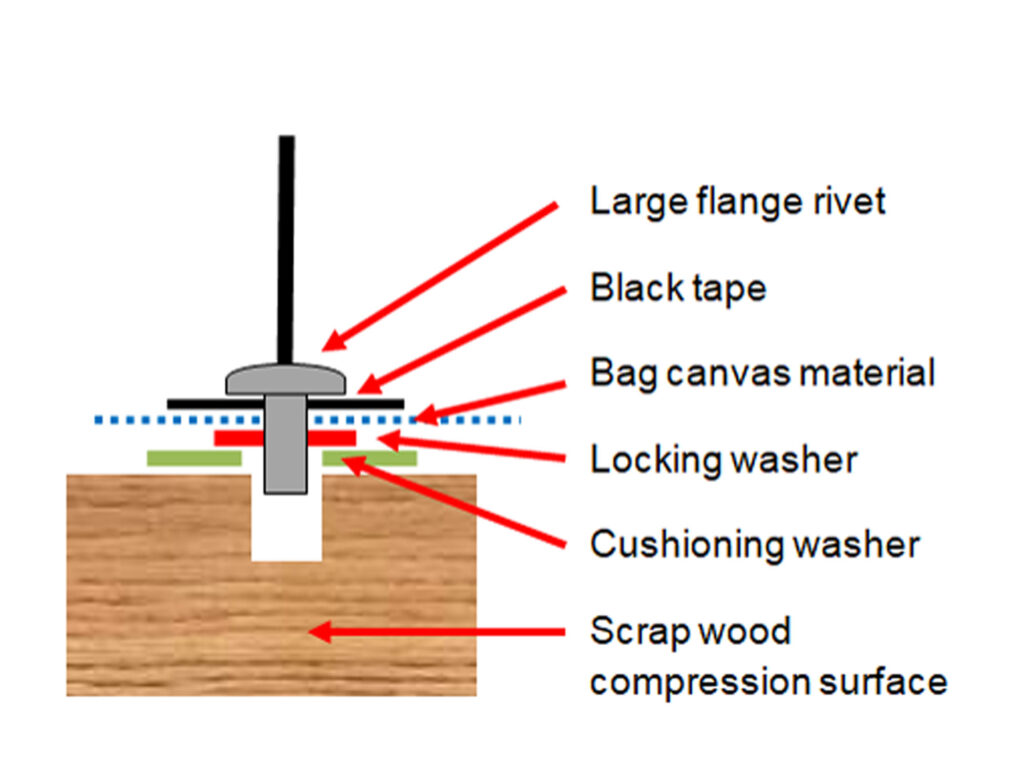
- This illustration shows how you can use pop/blind rivets to attach cloth and straps to each other very securely. Essentially, all that you do is sandwich the two materials, in this case, the carry strap (black) and the canvas (blue dots) between the underside of the large flanged rivet (grey) and a locking flat washer (red). You will find it easier if you drill a hole of about 8mmØ in the top of a piece of wood, and on that place a large 8mm fender or flat washer. The 5mm flat locking washer rests on the latter, and the 4.8mm rivet passes through it. With the riveter pressed down hard, the black mandrel is pulled up through the rivet body, expanding it and then sheering off. Leaving the two materials very securely fastened together. Caution: Ensure that the cushioning washer and hole you drilled in the wood are somewhat larger than the rivet body when it is expanded – otherwise you will end up with the whole lot locked together – very likely your cushioning washer and possibly even you wood as well. And that is NOT what you want!
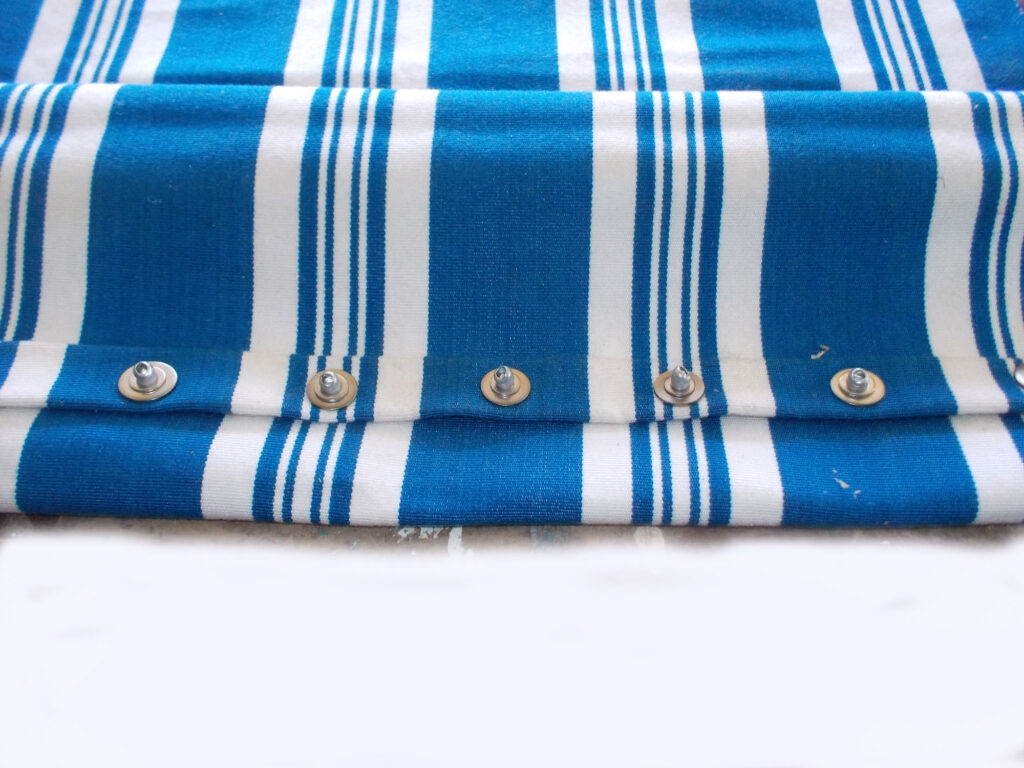
- And here is the result.


- Now I positioned the grid on the canvas and passed it back over the grid in order to set the position for the second hem. Do not stint on this stage… if you make the canvas too short, the grid will not be fully contained within the bag.
- Allowing myself plenty of extra canvas, I used the rule as a guide to cut the canvas to the required length.
- Then I hemmed and riveted it exactly as I had done the first. These two hems will make up the top of the bag.
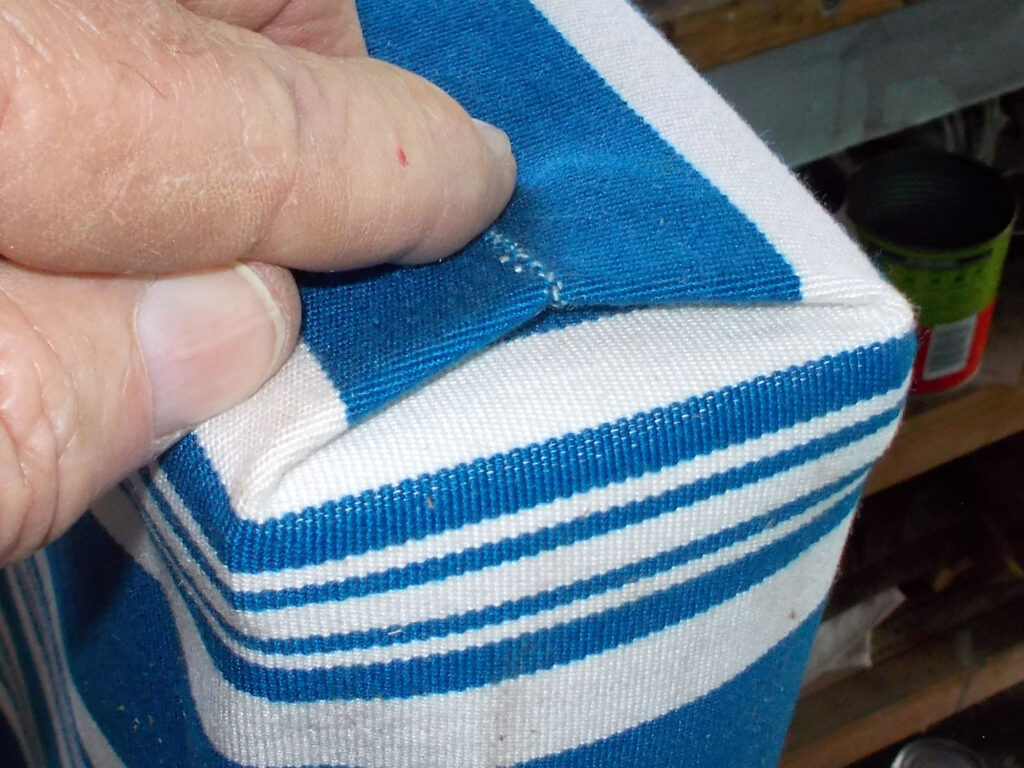
- The depth I had chosen allowed me to make a neat fold and have the sides of the bag meet in the centre, as shown here.
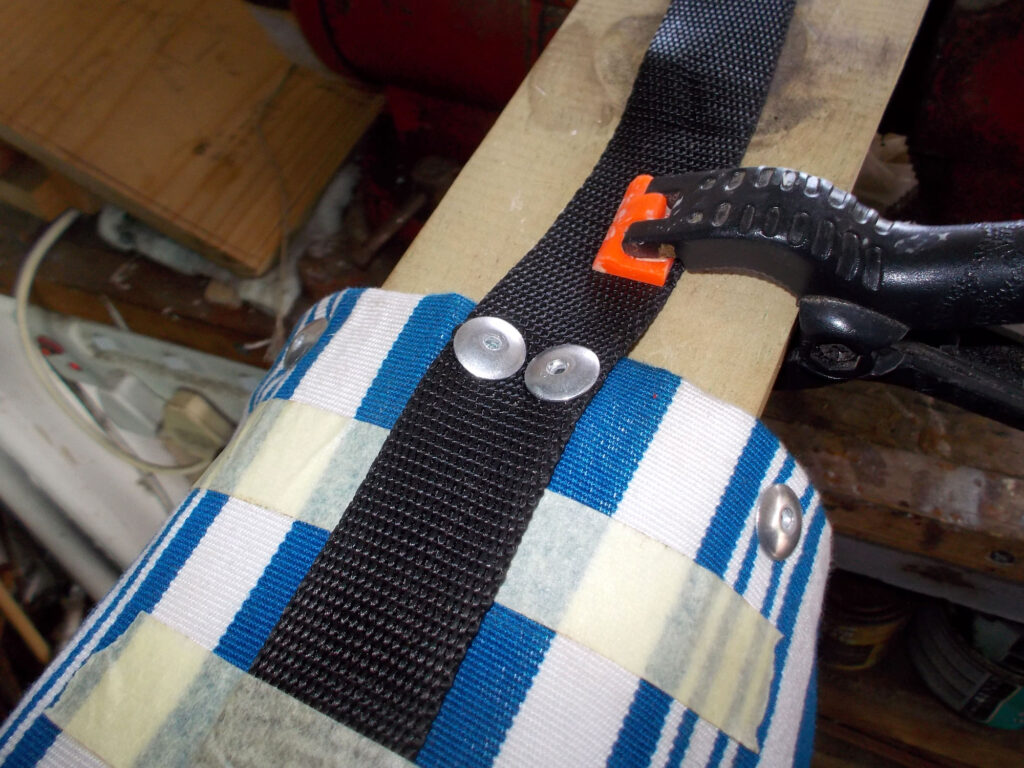
- I inserted about 30mm of the end of the 25mm nylon webbing into the fold I had made and then riveted the join together, with the rivets passing through the end of the strap twice – once on the outer visible side, and once on the inner side. This means that the strap forms the link between the two sides, locking them together.

- Having secured the bottom end of the strap, I put it under tension, pulled the bag sides up as far as possible and riveted the top, joining the two hems together. Tensioning the strap and sides like this ensures that the whole weight is taken by the strap and bag equally, and it also looks neater.
- This shows the hems riveted to the strap.
- Then I inserted the rest of the rivets, spacing them neatly, along the strap running up the side of the bag. This shows the strap webbing strap running up the side of the bag, with its far end making up part of the bag’s carrying strap.
- I used the same attachment method to fasten the top strap with its quick-release buckle to the top of the bag, on its centreline.
- Finally, but this is an optional extra, I used some spare 50mm black nylon webbing strap to provide just a little extra cushioning on the underside of the bag, using two rivets per side to secure it in position. This also serves to reinforce the bottom corners of the bag even more completely.

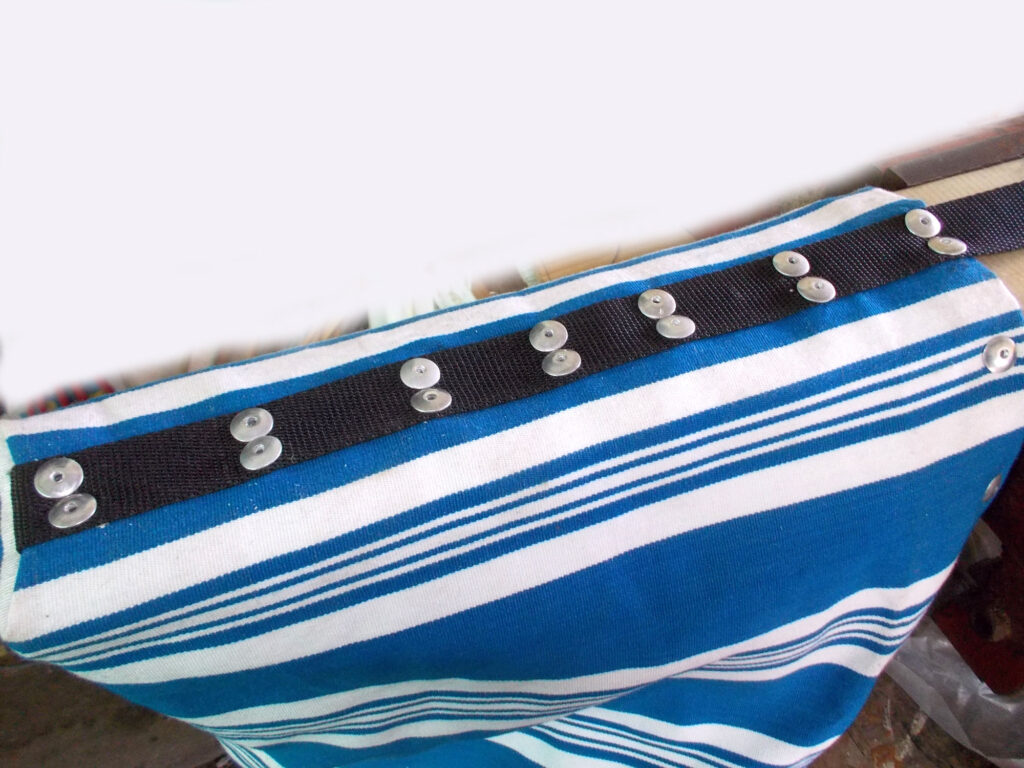
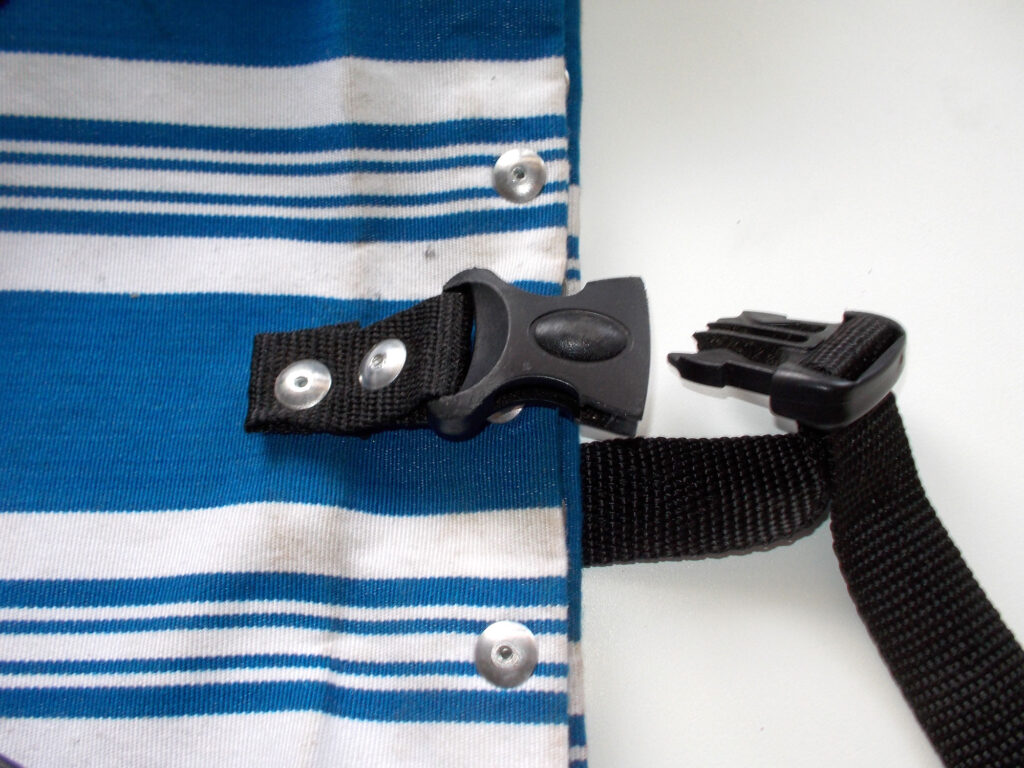

- And there is it… the completed bag.
- And you can adjust its carrying strap length as required. I found this project absolutely riveting!


Panel:
These materials, with the possible exception of the canvas, are available at Selected Mica Stores. To find your closest Mica and whether or not they stock the items required, please go to www.mica.co.za, find your store and call them. If your local Mica does not stock exactly what you need they will be able to order it for you or suggest an alternative product or a reputable source.
Project guide
TIME: 1 day
COST: R200-R250
Skill: 4
Assistant: No
Tools required:
Punch or pliers punch, pop/blind riveter (pliers type or concertina type – much easier to use), scissors and/or utility knife, patience – and I mean it!