08 December 2021
It’s time to make a stand! Part 1
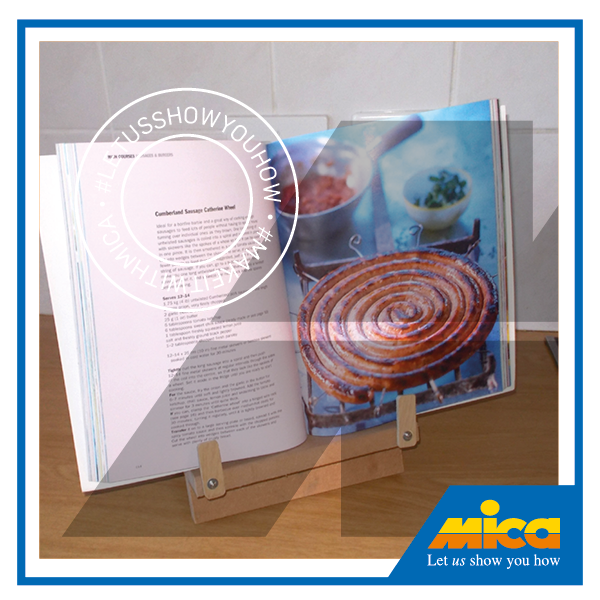
The issue with cookbooks is that they take up space if laid flat and they also stand a good chance of getting ingredients on their pages, so a stand to keep them reasonably upright – and open to the right page – not only saves space, but also tends to keep them out of harm’s way.
Materials:
- MDF offcuts or any other timber of your choice. In this case, MDF, 16mm thick.
- Small piece of 3mm ply offcut
- Wood glue
- Two 19mm 4 gauge screws and four washers to suit
- Short length of 6mmØ dowel – though 8mmØ or even 10mmØ can be used as an alternative
The shelf is 40mm x 195mm and 40mm up from the base and 195mm square, and the back is 270mm x 195mm. As always, however, adjust the dimensions to suit your particular needs.
Method:
- The first thing I did was select my wood and cut it to the size I wanted – which I hoped would allow it to support not only small cookbooks, but also large ones. The back is 270mm x 195mm, and the book rest is 195mm square. I clamped the two pieces together and then to a piece of scrap wood and drilled a 16mmØ hole through each 40mm from the base and off-centred by 8mm – so the edge of the hole is at the centre-point of the wood.
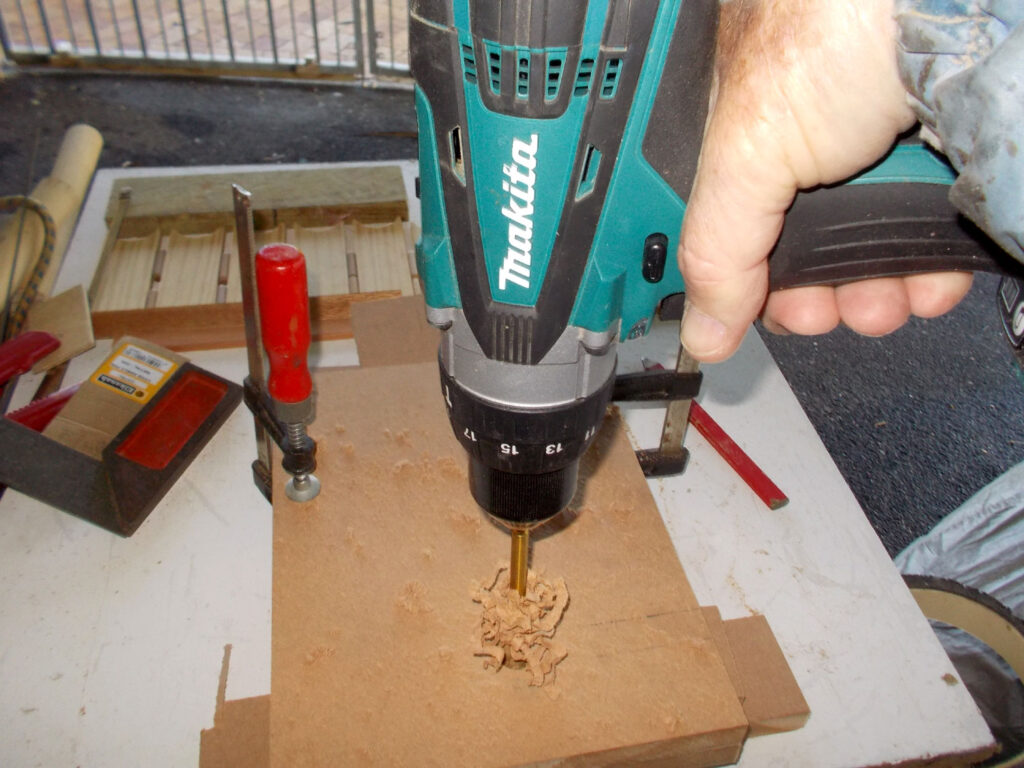
- By drilling right through into the scrap, the exit hole has a very clean edge.
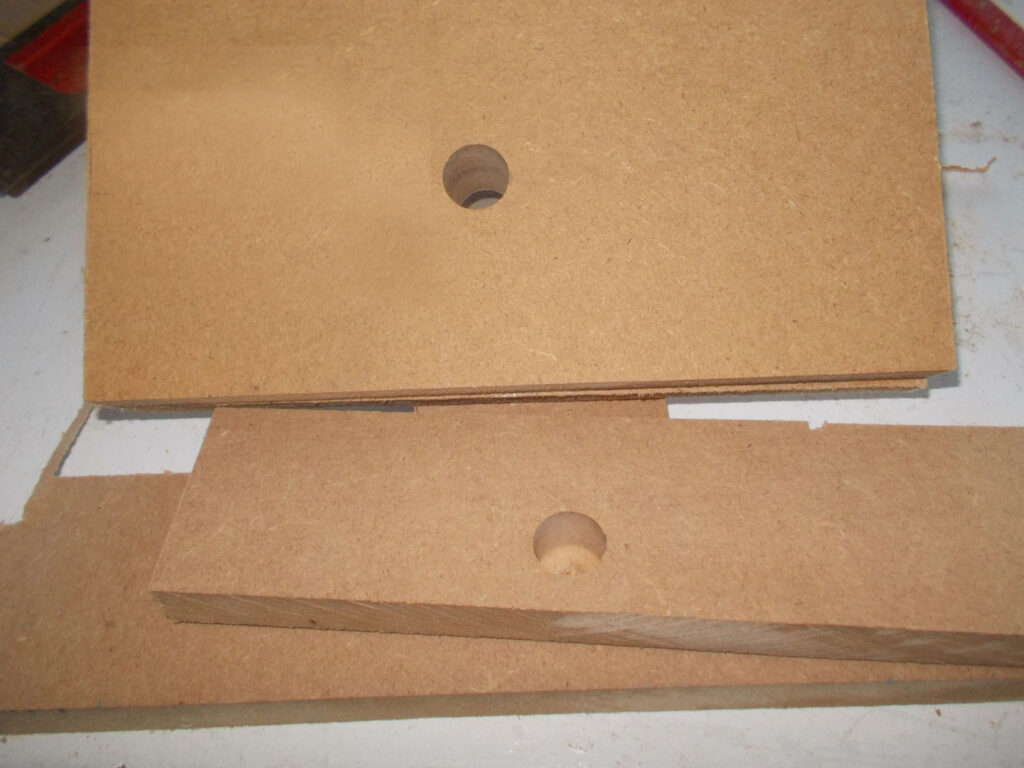
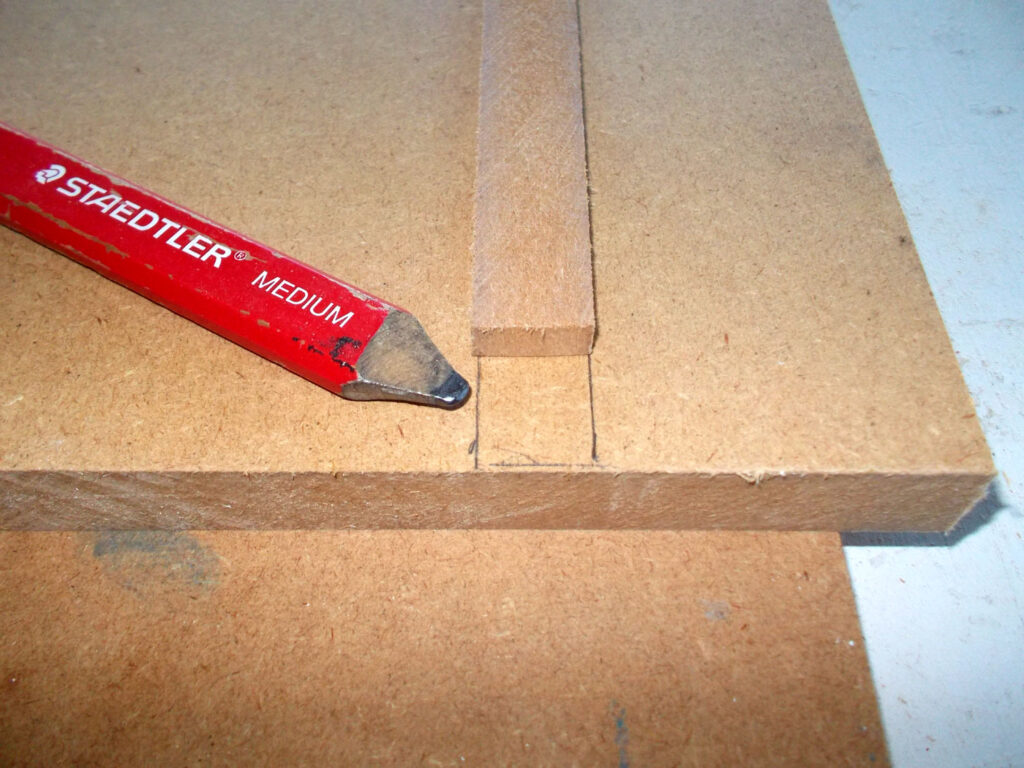
- I selected a distance of 40mm from the base as the book rest position and used a piece of scrap MDF to mark off the cut lines – naturally ensuring that they were at 90°.
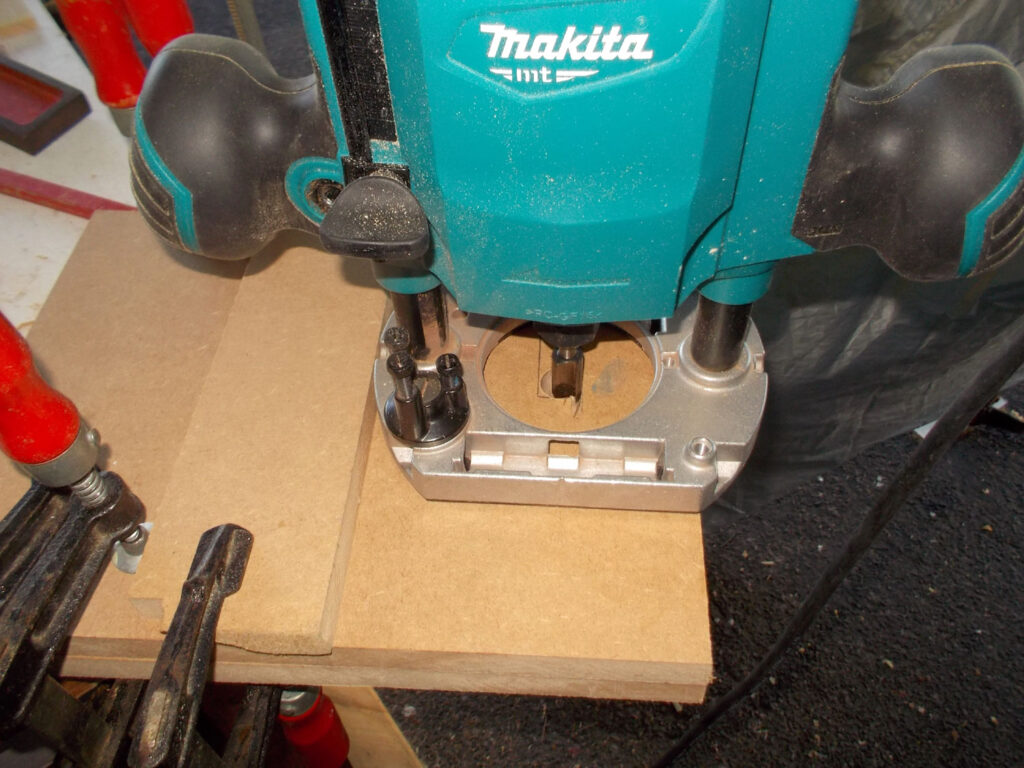
- Keeping two pieces precisely aligned – i.e. still clamped firmly together – I clamped them to the workbench and then clamped a wood fence to both, aligning it with the router fitted with a straight-cut bit partially inserted into the 16mmØ hole I had just drilled. This is merely to align the bit cutting edge with the edge of the hole.
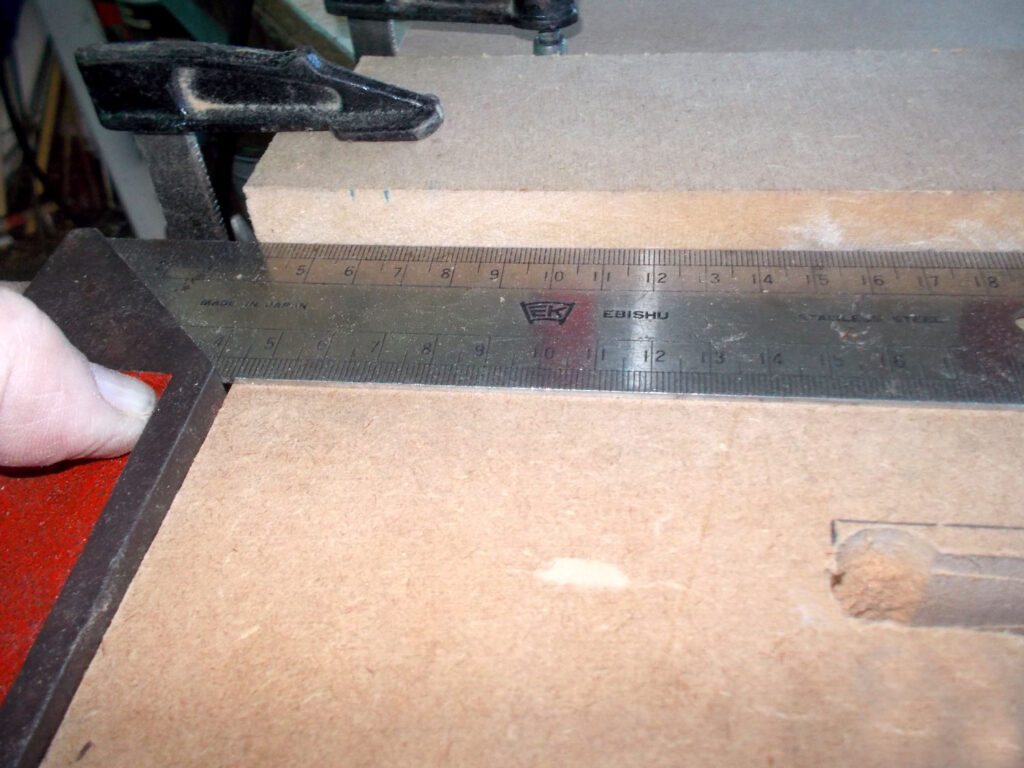
- I used a square to ensure the fence was properly aligned.
- Then I routed the cut-out to its full depth on the first side. After that I reset the maximum cutting depth to about 3mm, realigned the fence with the bit again seated in the hole, and routed the length of the cut-out. I started with the cut-out being slightly too narrow, and then moved the fence slightly, re-routed, and checked the cut-out with scrap piece of 16mm MDF. Repeat this until you achieve a snug, but not too tight fit. If you make the cut-outs too wide, the stand will be ‘floppy’; too narrow, and you either won’t be able to assemble the stand, but disassembling it might also be impossible. In passing, using a router with a fence, provided you set it up properly, will produce a very neat result. You can use a jigsaw, but extra care is required to ensure a very straight cut. It also means that if you cut too narrow a cut-out, widening it another millimetre or two will probably require sanding or rasping; with a router you can literally widen the cut-out by a fraction of a millimetre at a time with little effort.
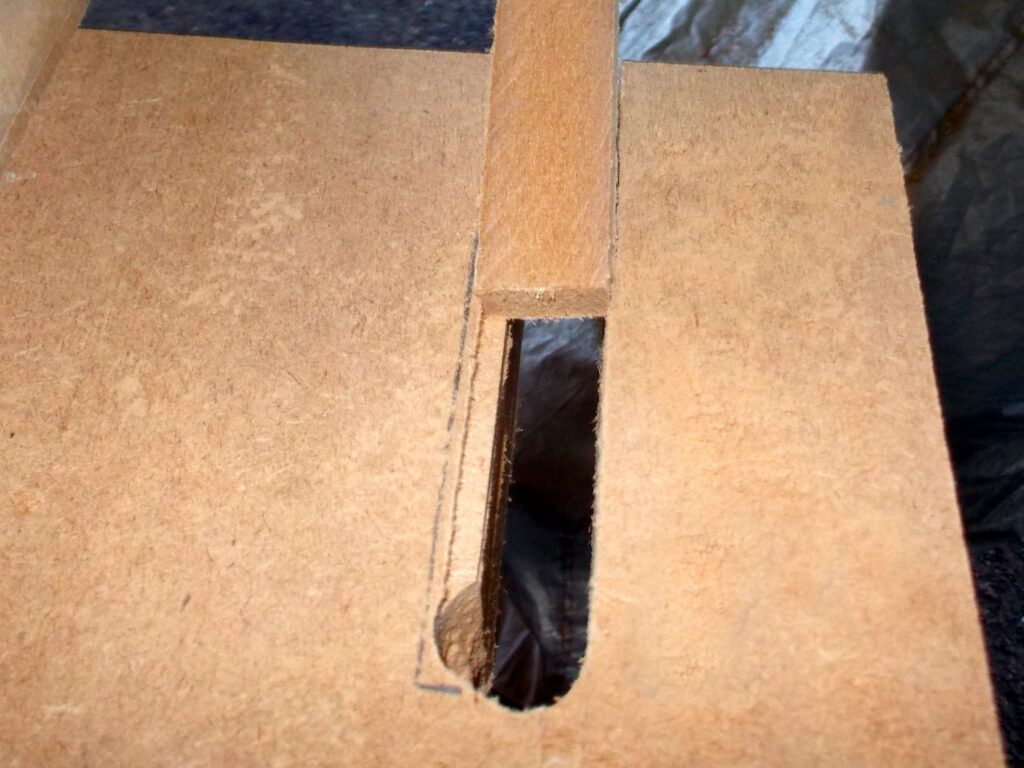
- Once I had the width of cut-out correct, I completed cut-out.
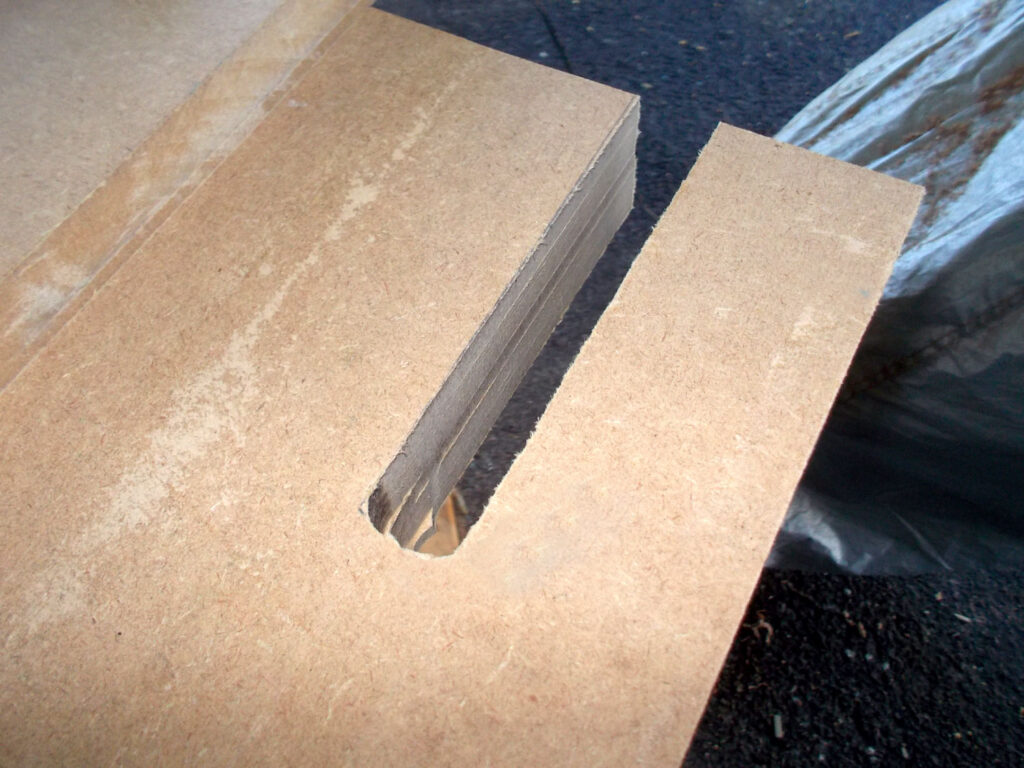
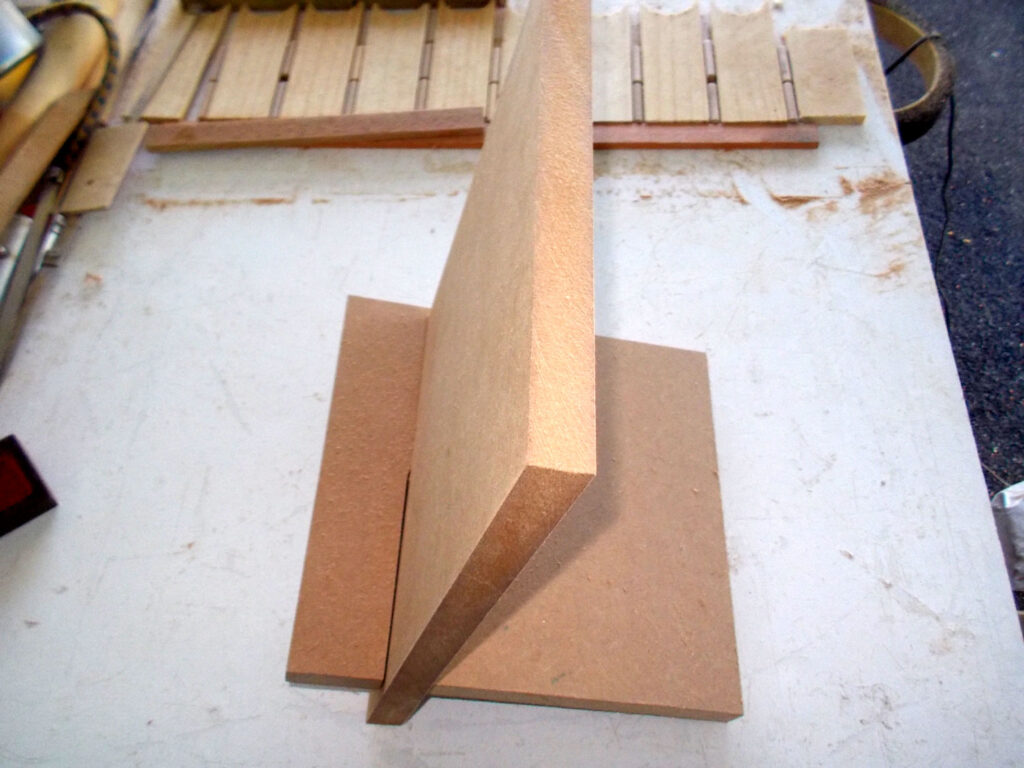
- I did a quick check to ensure the fit was correct. It was.
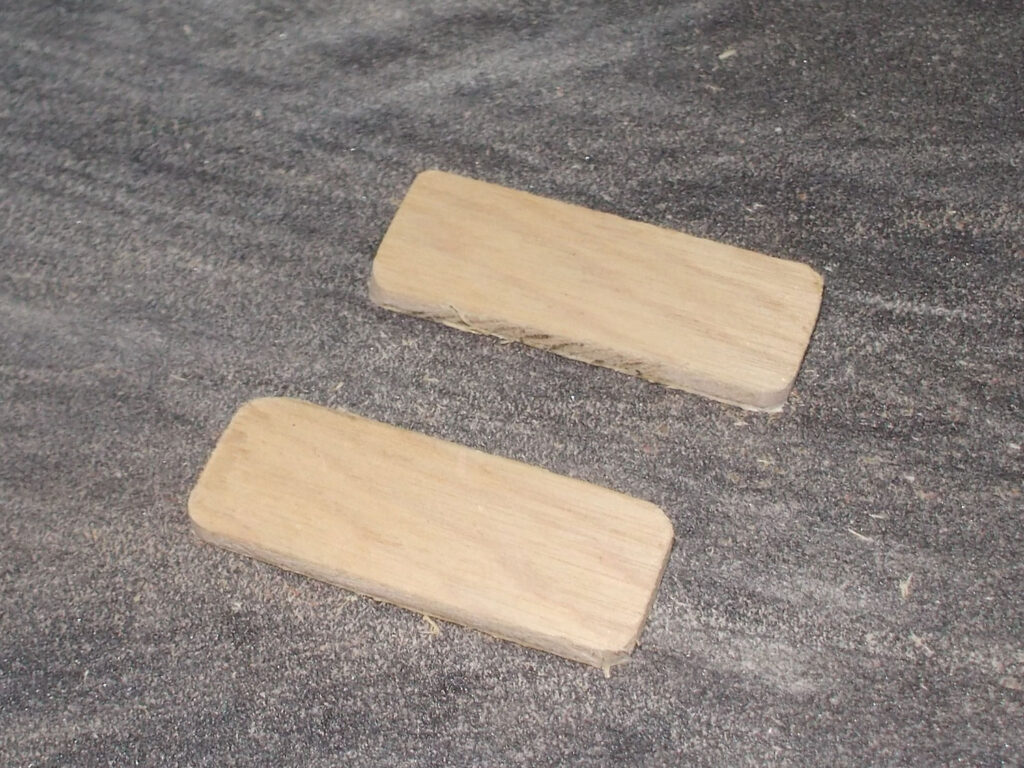
- Now for the page toggles… I cut two small pieces of scrap 3mm plywood, 45mm long and 16mm wide – to match the thickness of the MDF.
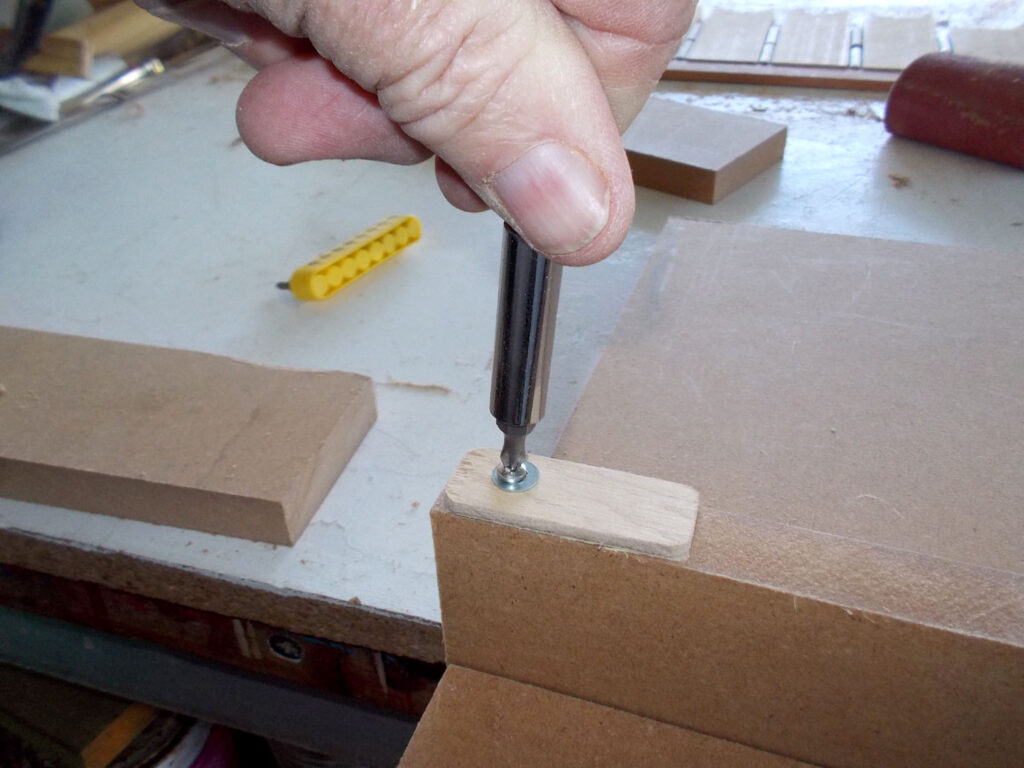
- I drilled a larger hole than the screw’s gauge so that the toggle could be rotated without gripping the screw and over time loosening it.
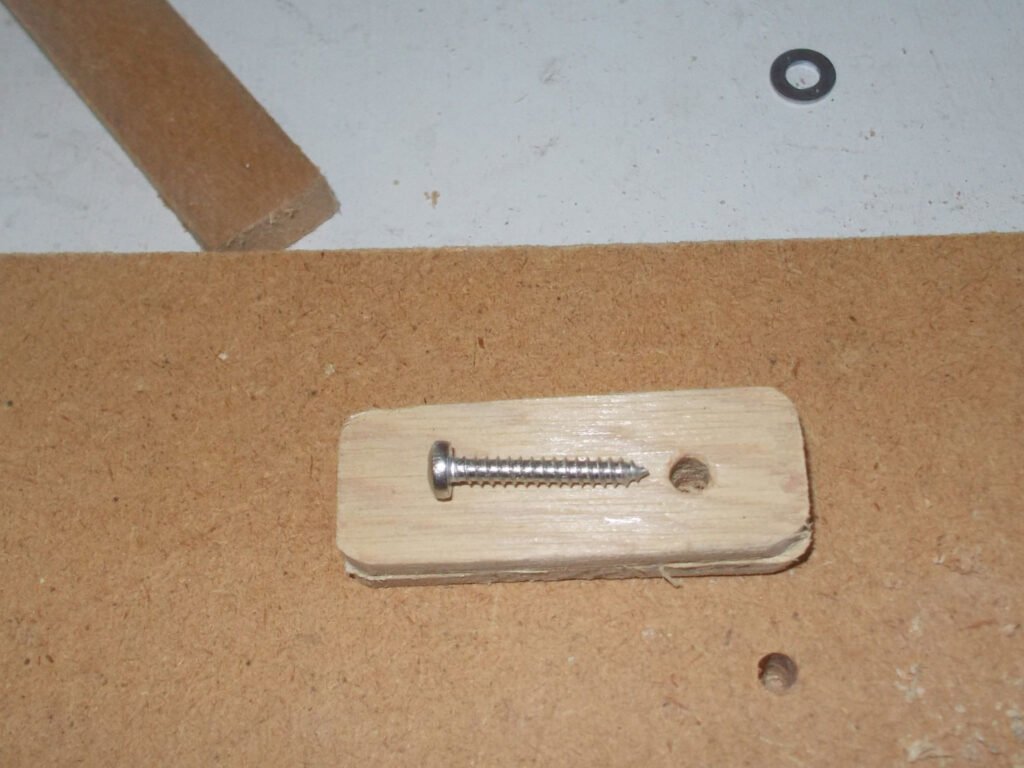
- Then with one washer between the MDF and the toggle, and the other under the screw head, I drove the screws in until the toggle could still be moved easily, but stayed put where it had been left – either vertical to hold the book open, or flat, for storage.
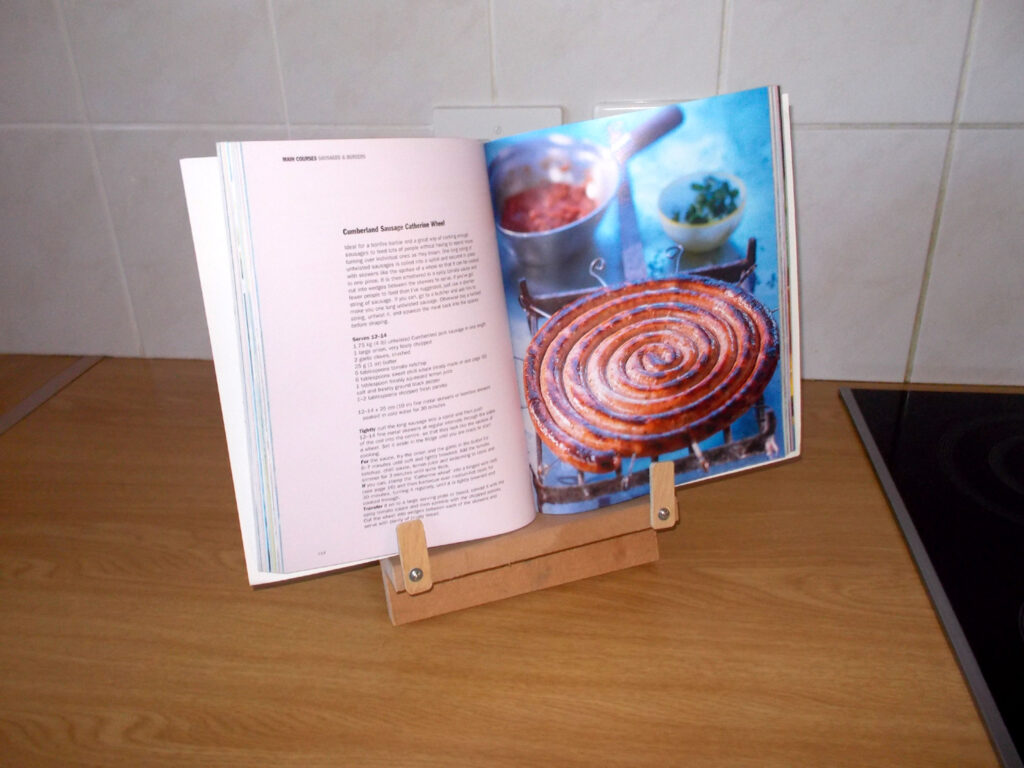
- First a check with a smaller cookbook…
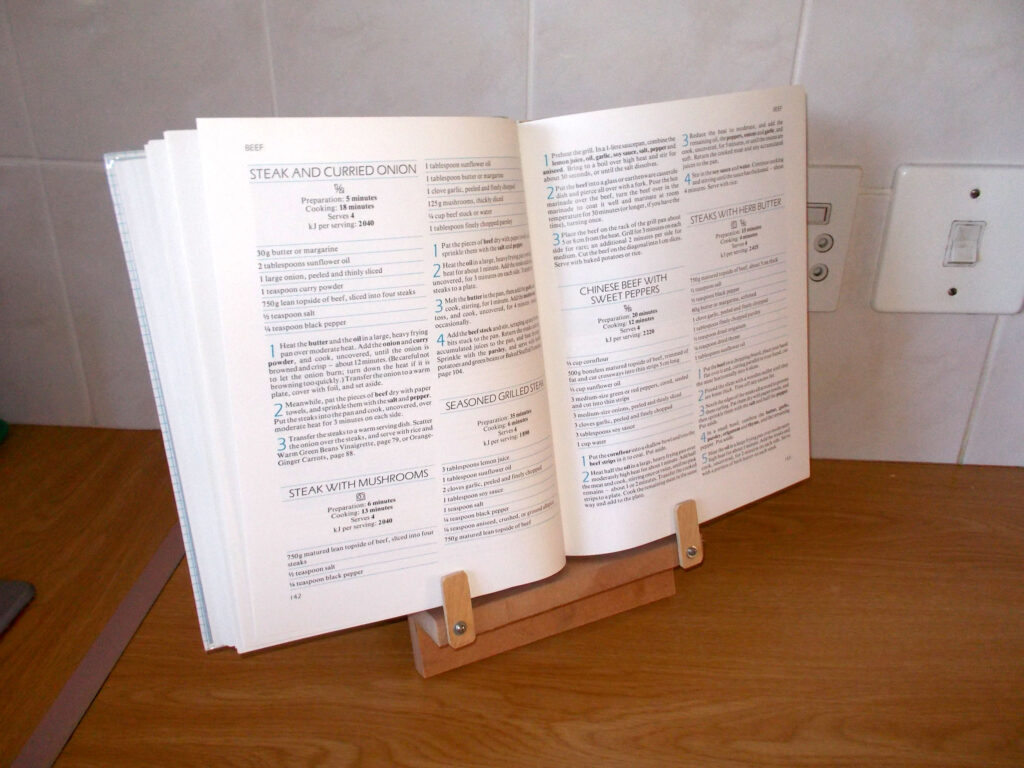
- Then with a much larger one – and the stand worked well with both. If you find the stand is holding the books too vertical, trimming a little off the rear end of the rest will increase the angle, but do it in stages until you achieve the angle you want… you don’t want the stand to have the book virtually reclining as that means it will take up space unnecessarily, and be more prone to being spilt upon.
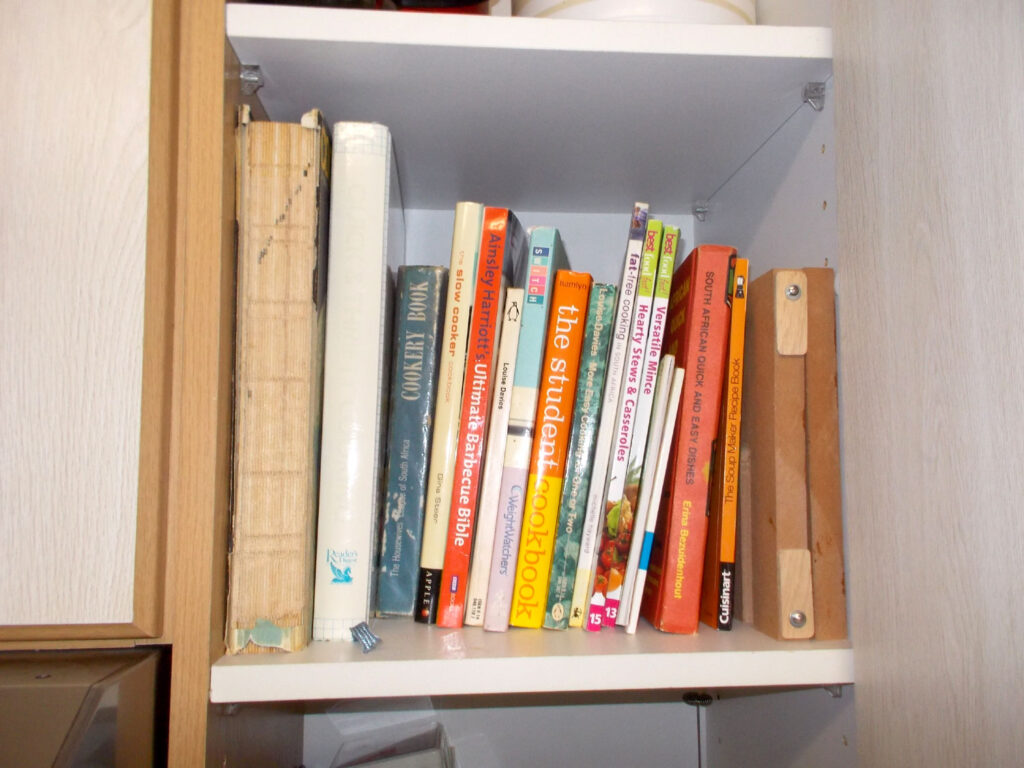
- Test complete, I waited for some words of praise from The Boss, and then disassembled the stand and popped it in with the cookbooks. Job done!
