19 December 2022
How to drill through glass – without having a cracking time!
In this case, it was a mirror that was to be mounted on a wall and to do that, it required a hole on each corner for the attachment screws – naturally, mirror screws, which have a threaded head into which is screwed a decorative chromed cap.
Some tips for you before you begin
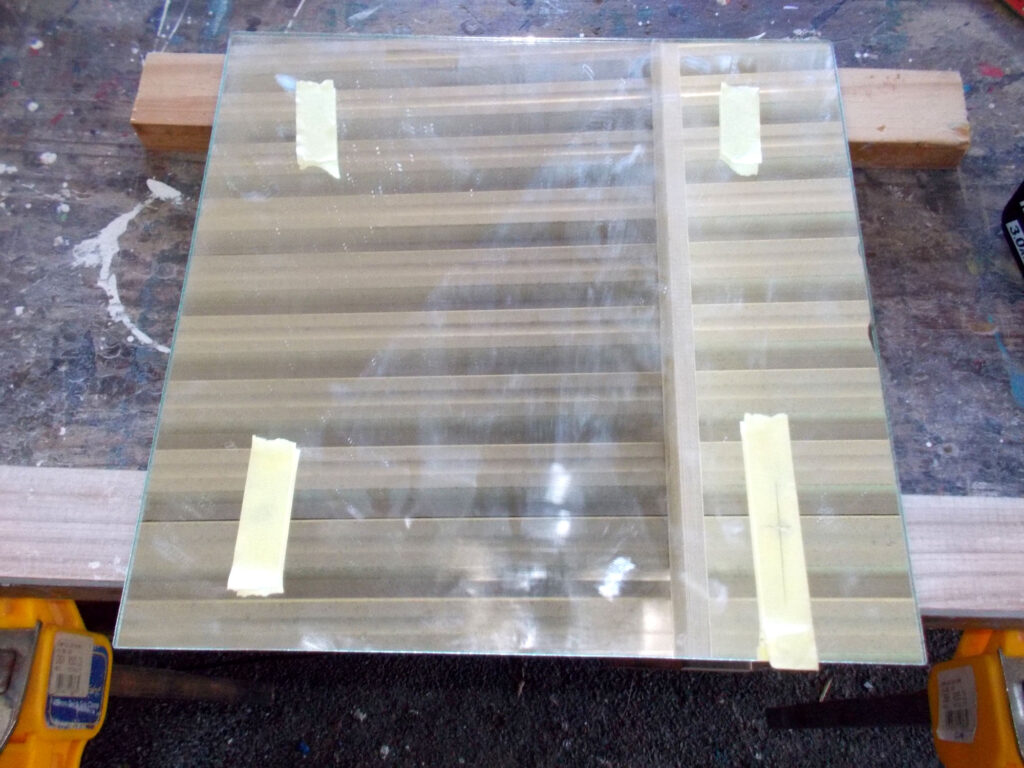
- Ensure that the glass (in this case, mirror) is on a perfectly flat surface or that it is supported at each drilling point by a flat surface under it, such as a length of flat wood.
- Use masking tape or similar to mark the drilling points; the tape helps prevent the drill bill from skittering over the surface and either scratching it – or, worse… breaking it.
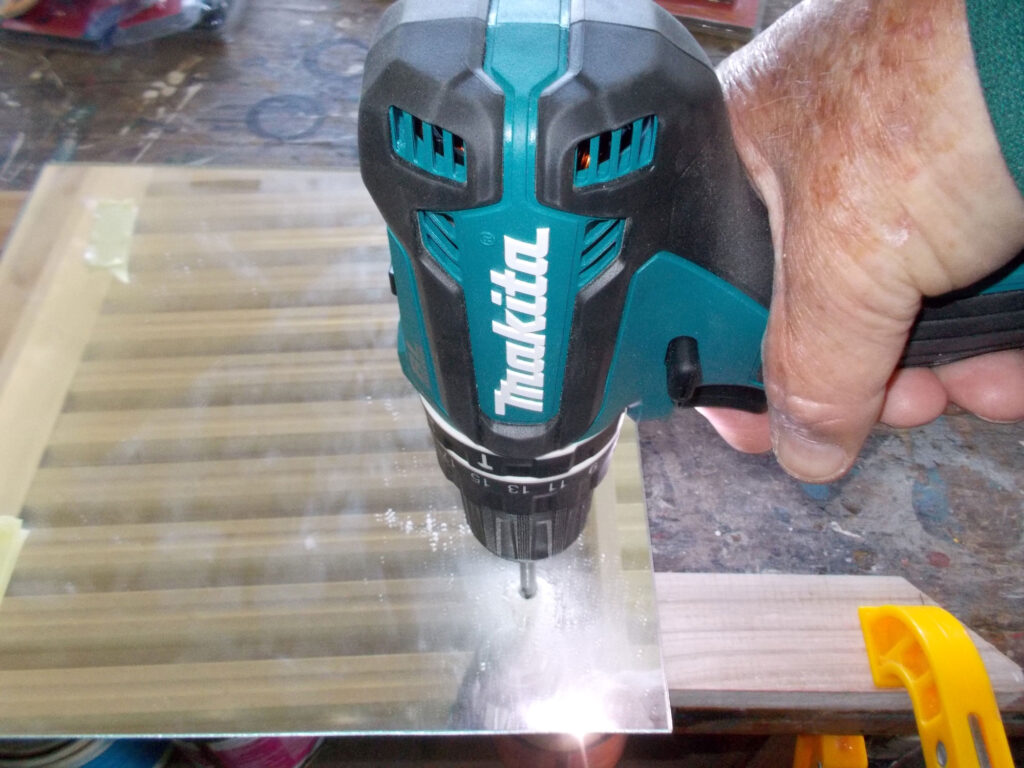
- Do not use excessive pressure on the drill. Let its weight do the work, with just a little help from you.
- Run the drill at a slow speed; ideally building a little coffer dam around the drilling site with some Prestik and filling it with a little water will also help the tip of the bit and the glass itself stay cool.
- When you penetrate the glass, take extreme care to not allow the drill bit to pass through too quickly – it could crack the glass.
- It is risky trying to drill a hole too close to the edge of the glass; the holes for the attachment screws in this case are about 50mm in from each side of each corner, giving plenty of supporting material on every side of the drill hole.
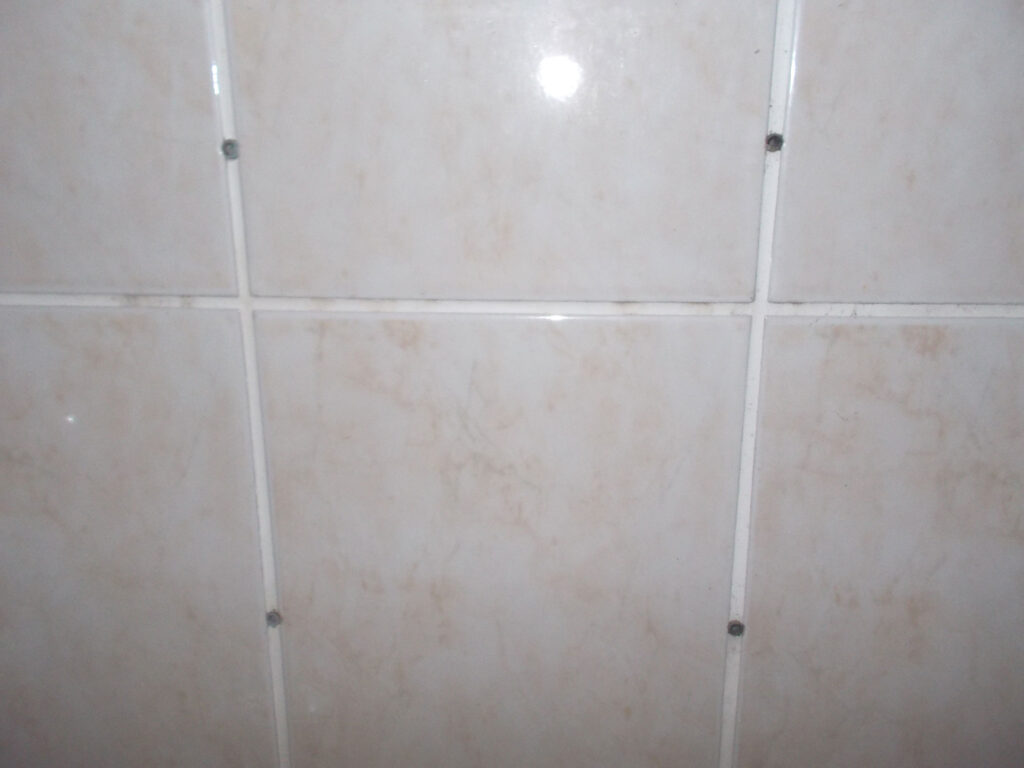
- Where possible, if attaching anything (mirror, medicine cabinet or wherever) to a tiled wall, try to position the attachment screws in the grouted channels between the tiles. As was done in this case. If you ever decide to remove whatever was on the wall, it is very easy – after removing the plugs – to then fill the holes with grouting compound… for a very unobtrusive restoration job. Holes bang in the middle of a tile can also filled in, but the restoration – unless you can very closely match the filler colour with that of the tile – will always be pretty obvious.
- In passing, if you are attaching a mirror to a bathroom wall, as in this case, take extreme care to avoid putting it anywhere where you might run the risk of going through a water pipe. It would really ruin your day!
Materials:
- Mirror
- Mirror screws – 40mm in this case
- Aerosol enamel paint
- Aerosol protective wax
Method:
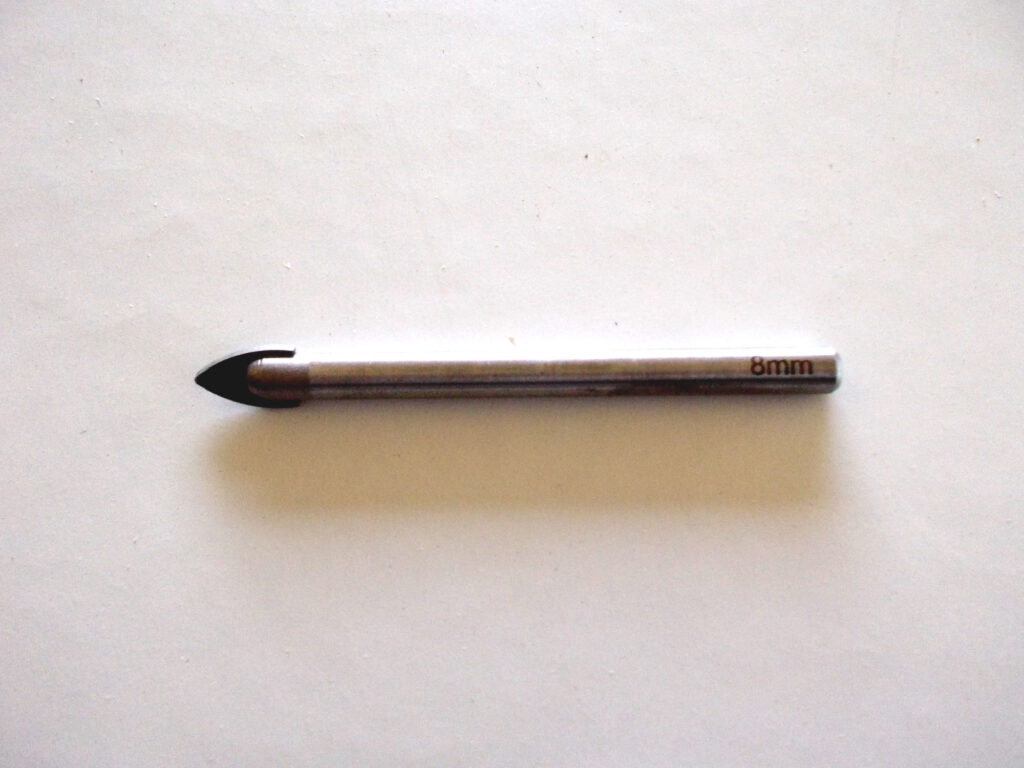
- Check the mirror’s dimensions against the wall and in the case of a tiled wall, position the drill holes for the attachment screws so that they will pass through the grouting – see above reference in Tips as to why this is a good option. Use masking tape to mark the positions of the holes VERY accurately on the mirror. Drill the holes with a drill fitted with a masonry bit of the required diameter – in this case 8mmØ.
- This is the glass drilling bit used in this project.
- The first hole completed. I repeated the same process with the remaining three holes.
- Then I positioned the mirror on the wall, lining up the drilled holes with the grouting, marked the holes’ positions on the wall and using a masonry bit, drilled the four holes to a depth of about 40mm.
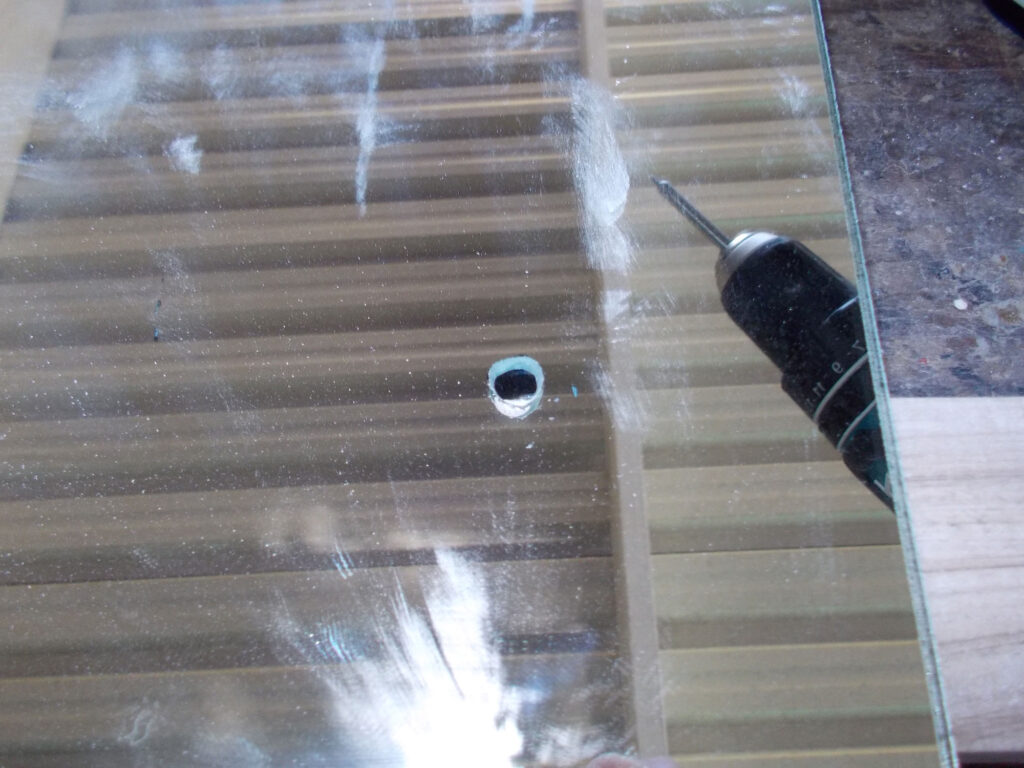
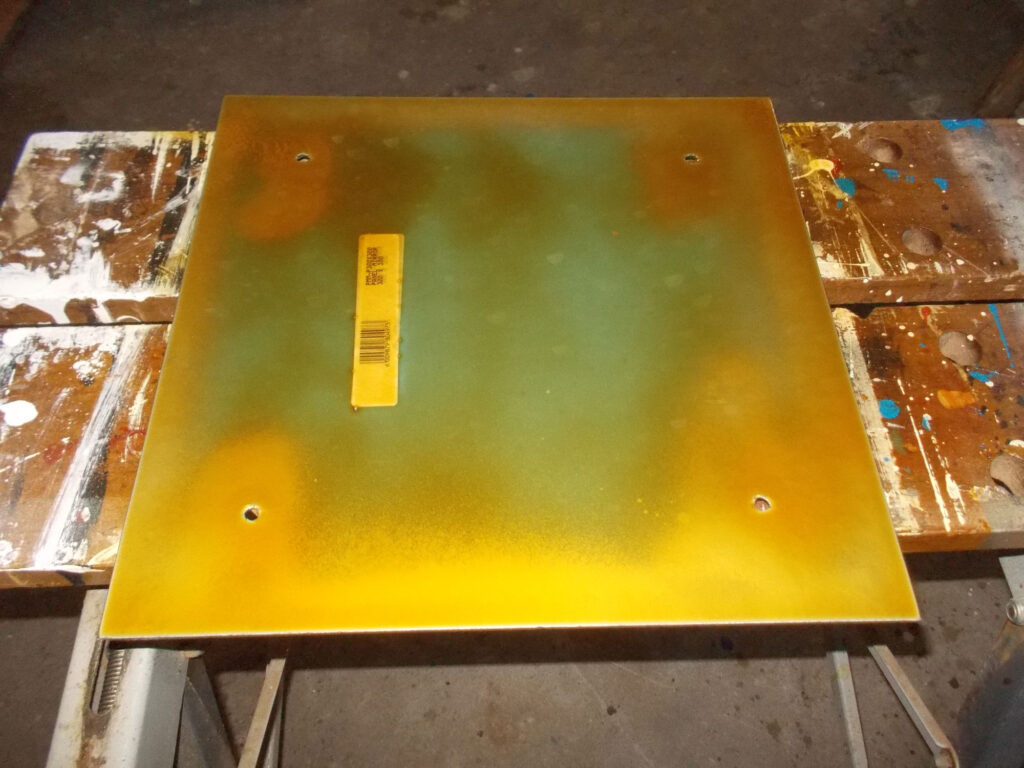
- One of the common issues involving bathrooms and showers is, of course, humidity and condensation as we enjoy a hot shower or steamy bath. Humidity hammers certain surfaces and finishes. In particular, it can affect the silver backing on mirrors, which even though mirrors have a protective coating over the silver, can still over time become corroded. So, first of all I sealed the edges of the mirror (and the edges of the holes) with a spray of silver aerosol paint – two coats to ensure a good seal and allowing plenty of drying time after the first coat. I could have coated the entire back, but for some reason did not. I suggest that if you do what I did, do the whole back.
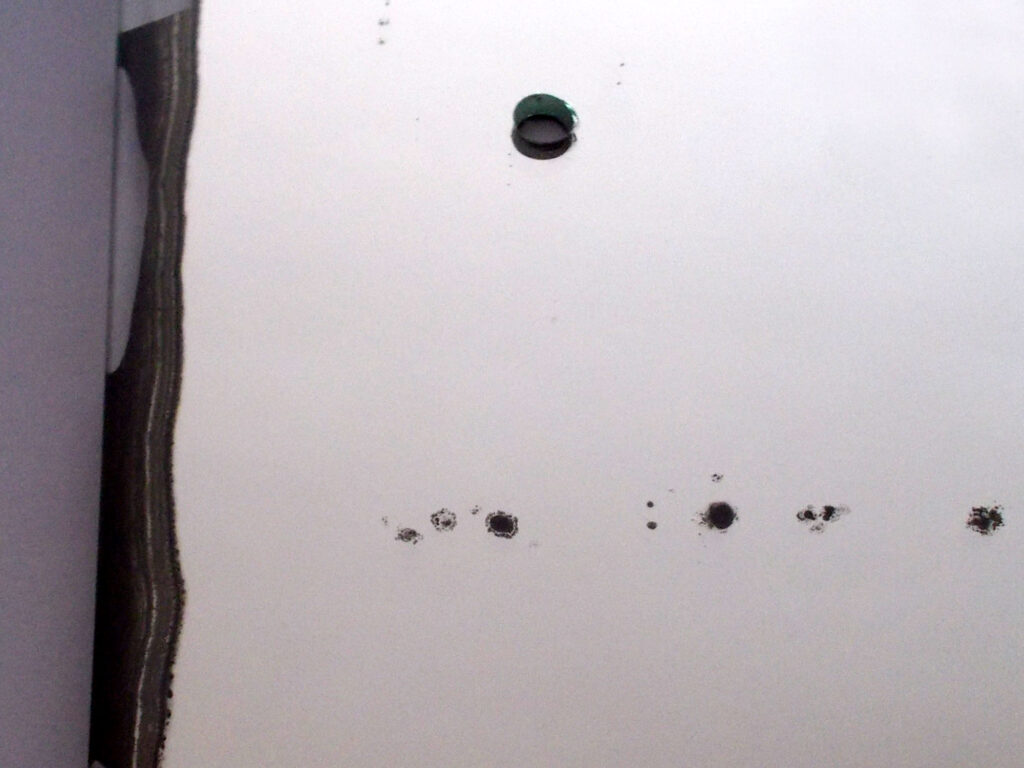
- Then I coated the entire back with a liberal triple coating of protective wax designed for protecting metal surfaces against sea spray etc – so it forms a very effective barrier. I paid particular attention to the drilled holes, but also again to the mirrors’ edges. I left it overnight to dry fully… when still ‘wet’ it is very sticky and a pain to get off your hands.

- The aim was to prevent or at least slow this sort of corrosion of the silvering on the back of the mirror.
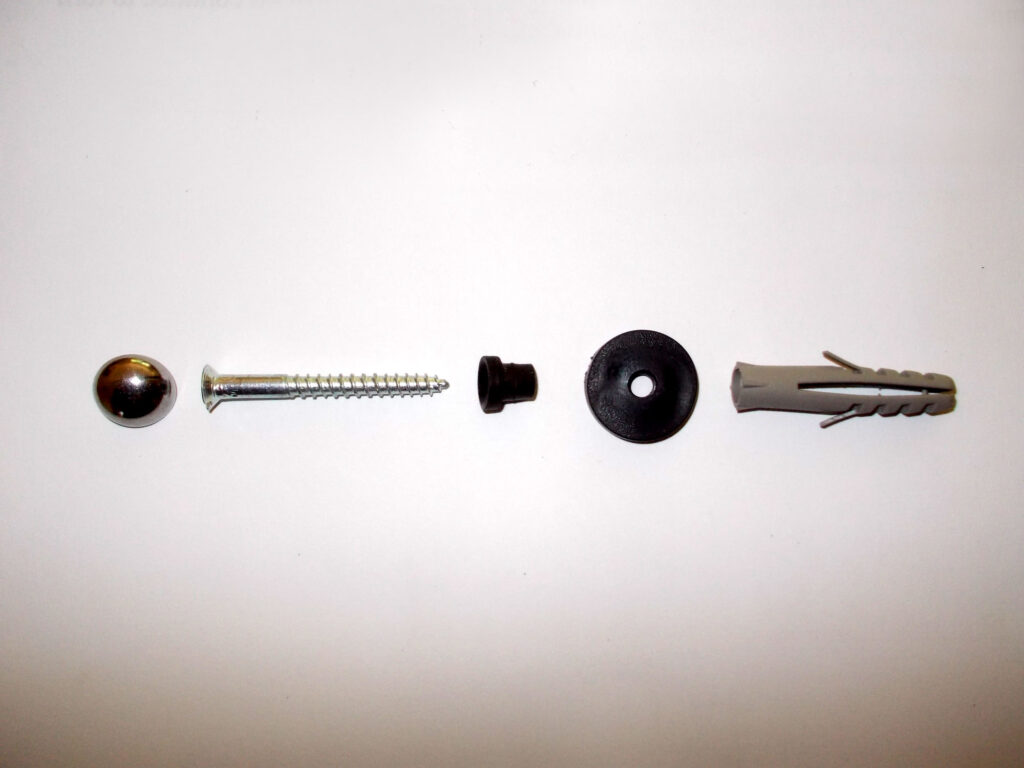
- Then I had a crafty idea… if a mirror is mounted flat against a wall, condensation building up behind it forms droplets which are held in place by their surface tension, so they stick around a bit. So I thought that if I made a space between the back of the mirror and the tiled surface, moisture droplets will tend to flow down and drop away without pooling. So I got four small tap washers, they are about 3-4mm thick to use as spacers. And this is the sequence in which they and the screws and mirror come together.
- Like so…
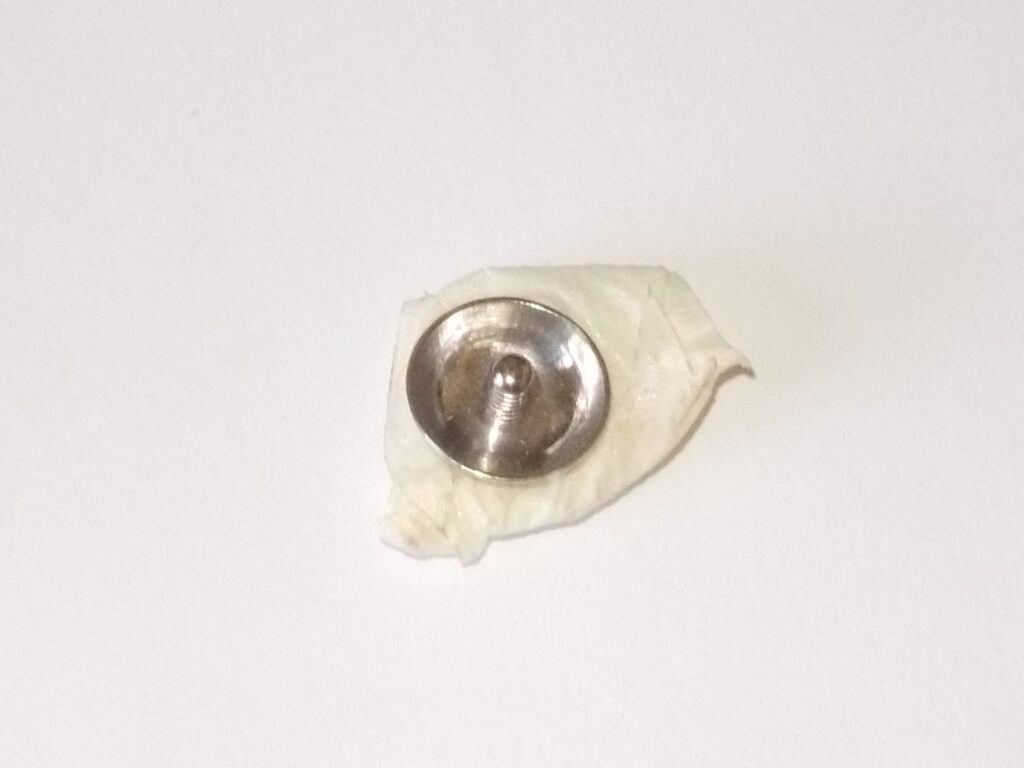
- In passing, some crumpled masking tape makes a handy helper when screwing down the screws’ chromed domes.

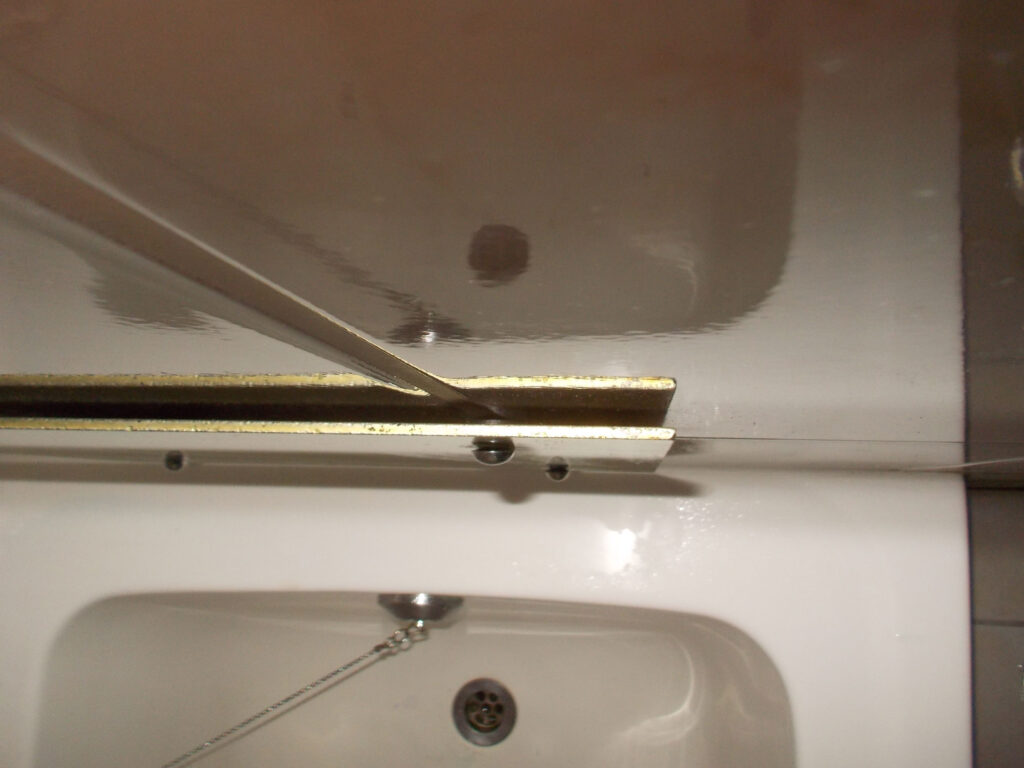
- Here is a top view of the mirror fully mounted. Note that the gap is half of what you see, as the mirror is reflecting off the tiles’ surfaces, but it still sufficient to allow moisture to fall away without condensing and pooling behind the mirror.
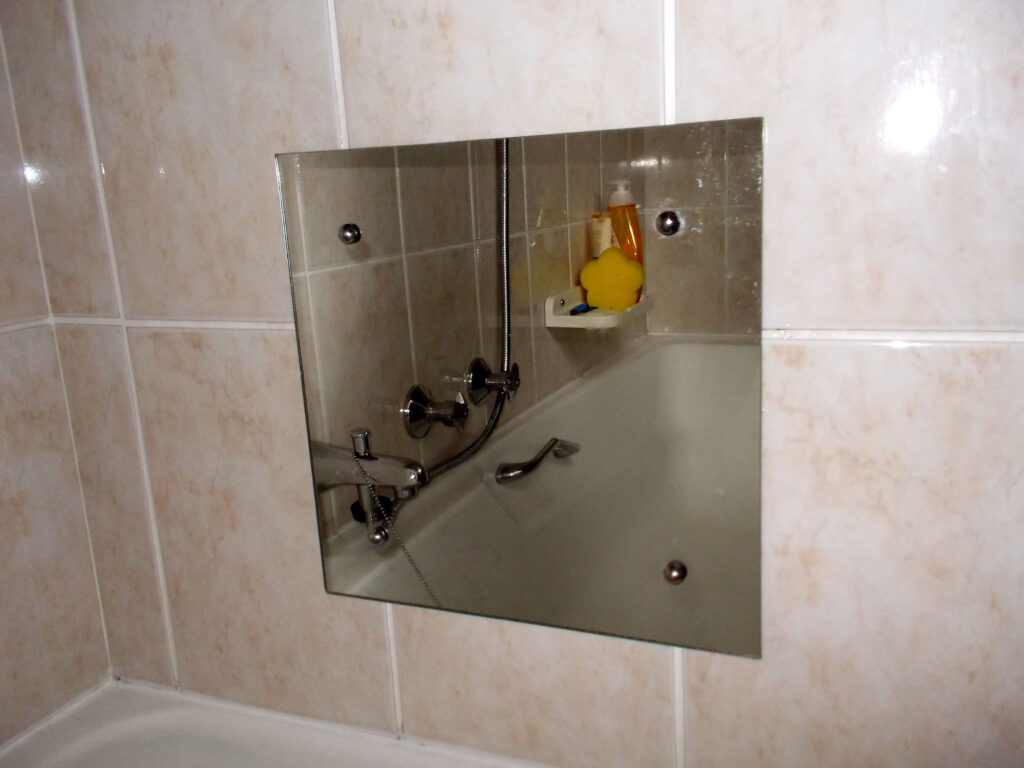
- Job done. Just a word of caution, when cleaning the mirror, because there is now a gap between its back and the wall itself, avoid putting too much pressure on the cleaning cloth when wiping the mirror clean.
Project guide
TIME: Couple of hours or so, depending on how many holes you need to drill
COST: Depends on size of mirror (or whatever) is being attached, but mirror screws cost around R50-R60 for four
Skill: 4
Assistant: No
Tools required:
Cordless or mains drill/driver, glass drill bit of a suitable diameter – work on 6-8mmØ.
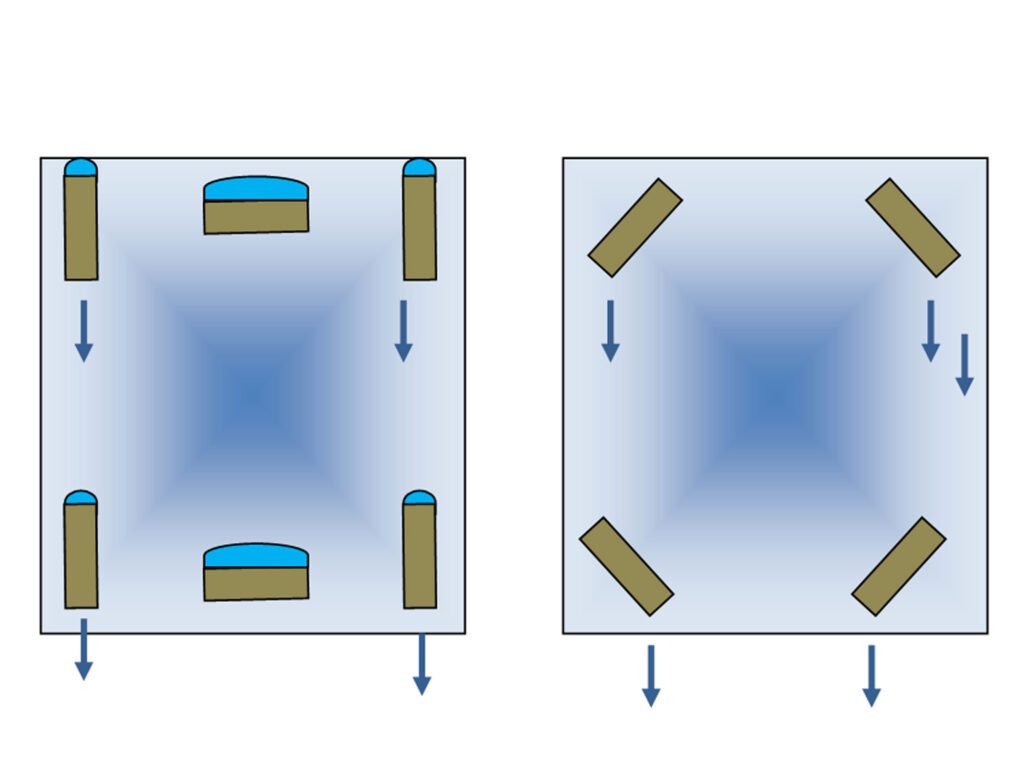
Mirror-tape-hint illustration
Hint:
Using mirror tape rather than screws – here’s a hint
If you use double-sided mirror tape to fix a mirror on to a bathroom wall, rather than placing the lengths of tape either vertically (or near vertically) or horizontally (or near horizontally), rather angle them all at about 45° or so.
This prevents moisture pooling on top of the level edges or ends of the pieces of tape, but instead, the water droplets tend to fall away and not stick around to slowly but surely damage the surface on the back of the mirror.
It is not a complete answer to the problem of corrosion, but it does help keep the mirror silvering in better condition for longer.
Panel:
Mica Stores stock the items featured in this project. To find your closest Mica and whether or not they stock the items required, please go to www.mica.co.za, find your store and call them. If your local Mica does not stock exactly what you need they will be able to order it for you or suggest an alternative product or a reputable source.