06 May 2021

How to build a table Part 2
This is the second part of the feature on how to make the meranti/SA pine table. and in this part we deal with the legs, the tabletop frame and final assembly of the table. To start from the beginning, please click here to view: Part 1

Now for the legs. As the total height of the table would be 900mm, the length of the legs had to take into account 22mm for the thickness of the top itself, the 44mm for the feet, and the 9mm from the foot pads. For a total length therefore of 825mm. I also decided to a leg spread of 170mm, so I also cut two 170mm leg spacers.

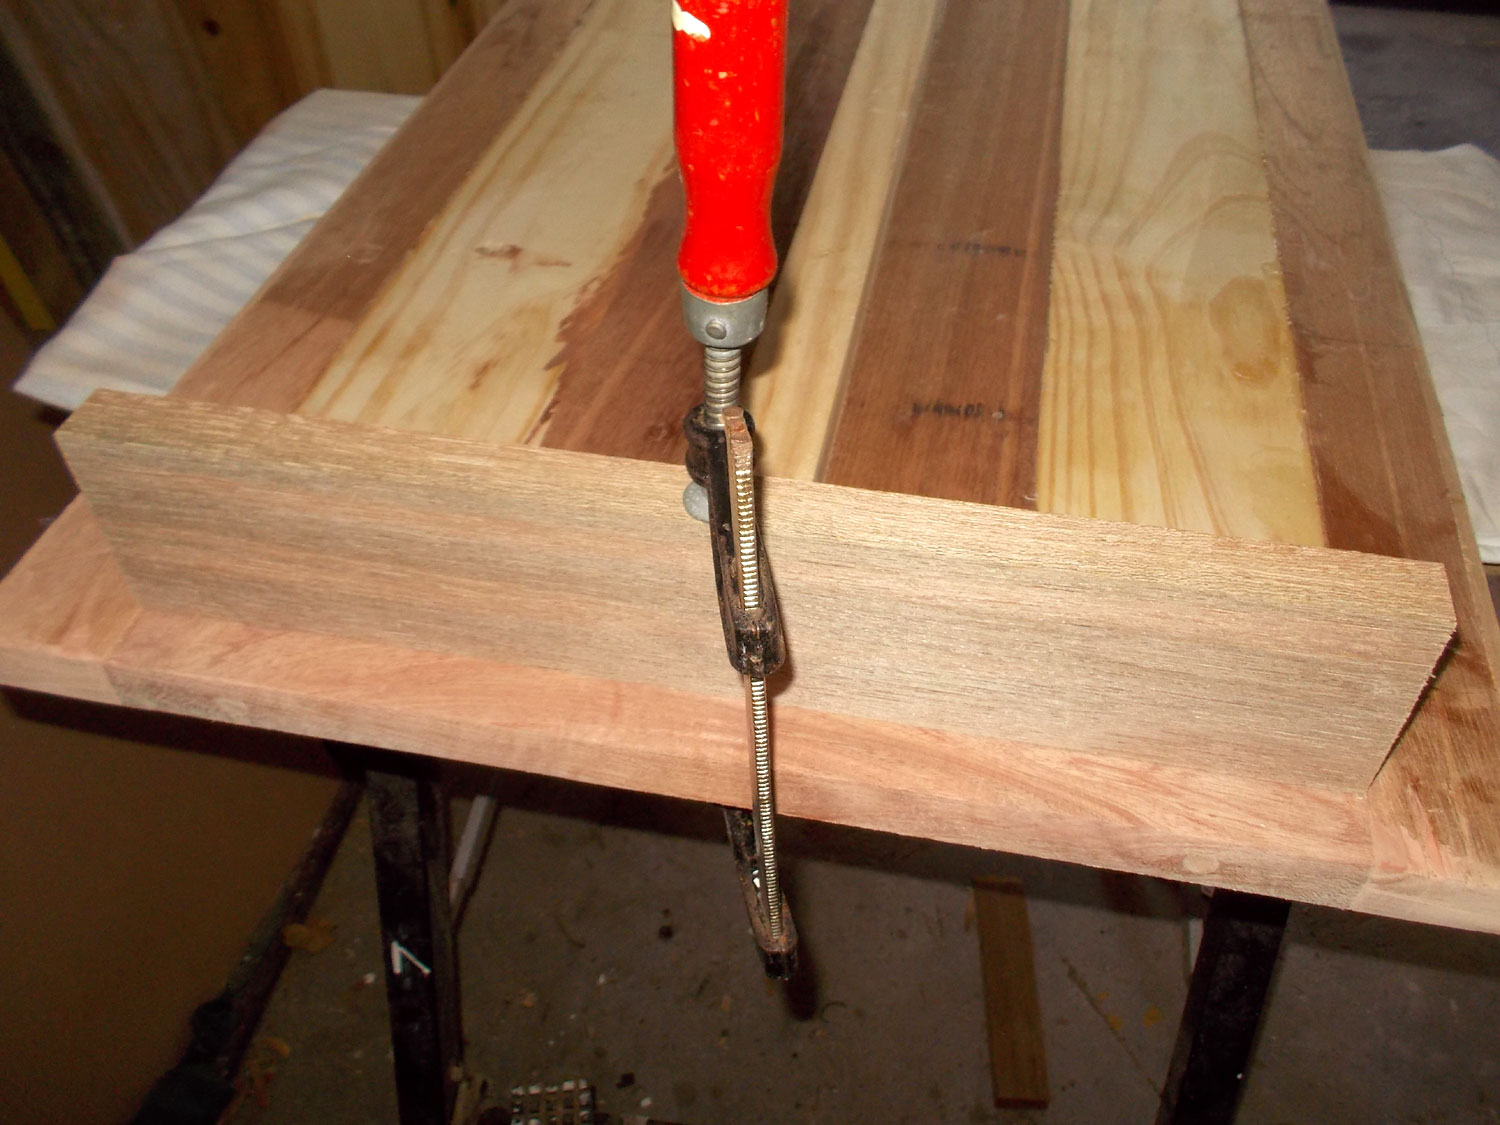
I followed up with the two feet, 460mm long, and bevelled their ends as shown, to make them less painful if tripped over. Note: For stability, it is very important that the feet be at least as wide as the tabletop, but not so much wider that they become a hazard. Here one is shown just lightly positioned against its two legs and the leg spacer (with the wedges remaining from the bevelling of the ends, for good measure).

I clamped one of the spacers to a foot to confirm I was happy with the spacing and marked off their positions on the foot.
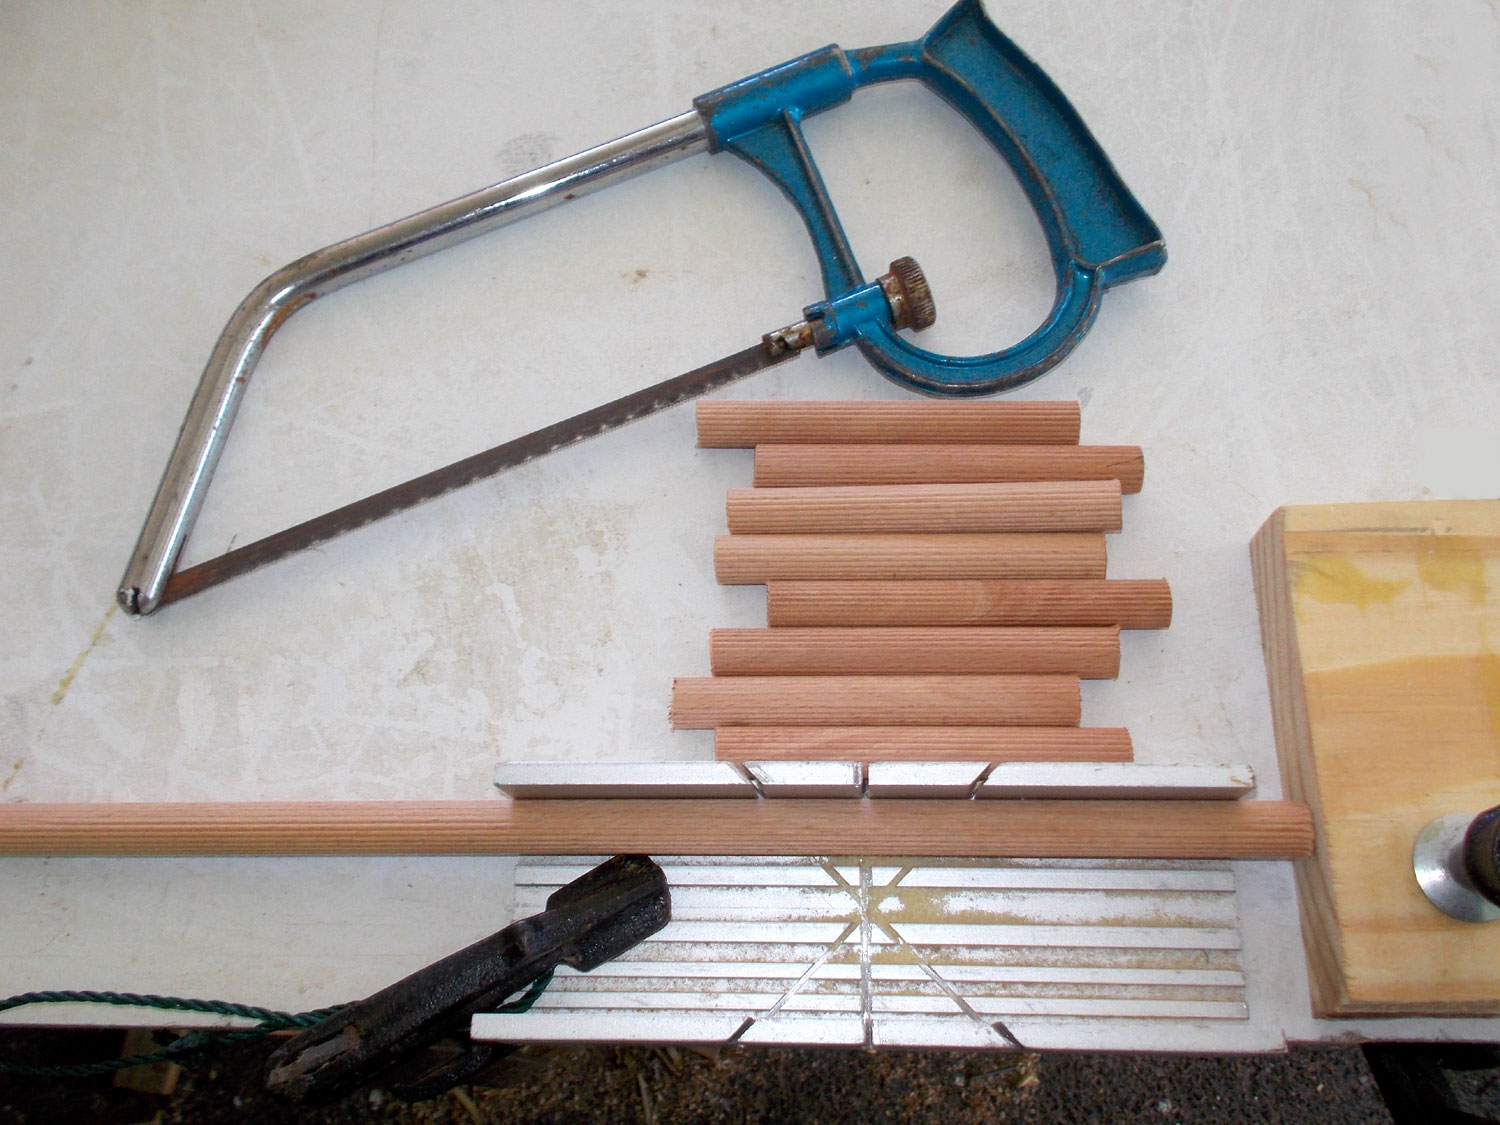
I cut eight 100mm 8mmØ dowels from one of the dowel rods. The use of a small mitre box and end-stop make cutting each one easy… there’s no need to measure off each one.

Having marked on the foot where the legs were to go I marked the position of two dowels in each, staggered.
As shown here…

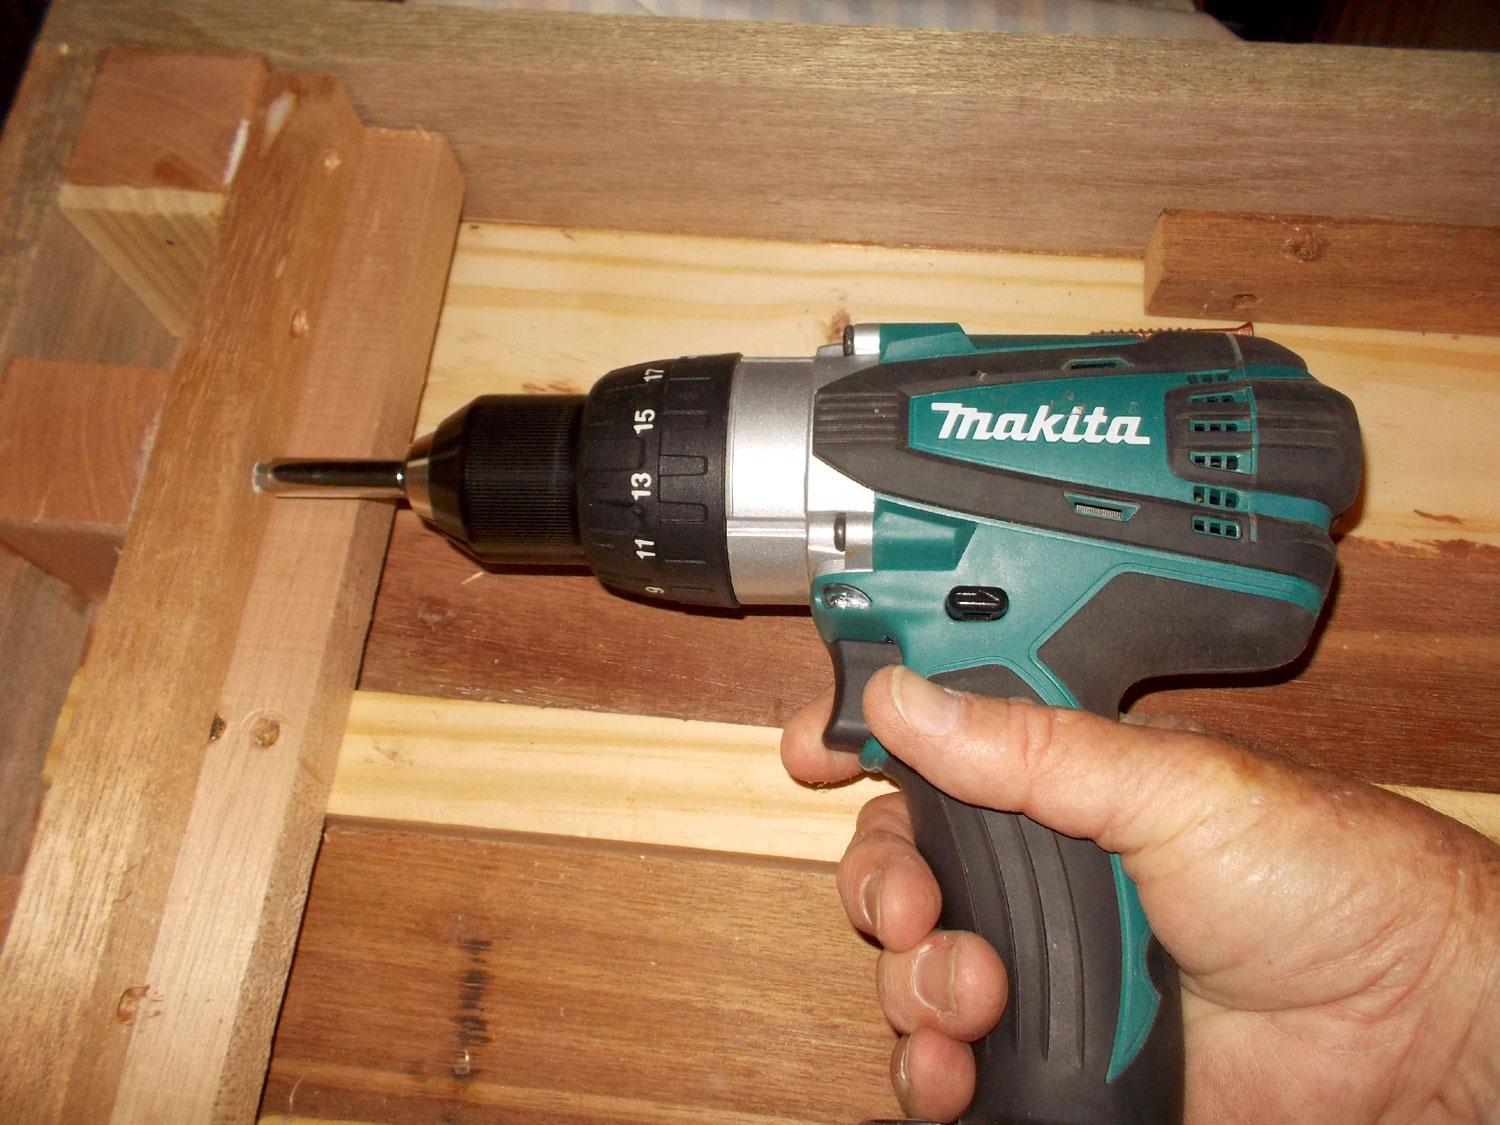
Then I drilled the four holes.

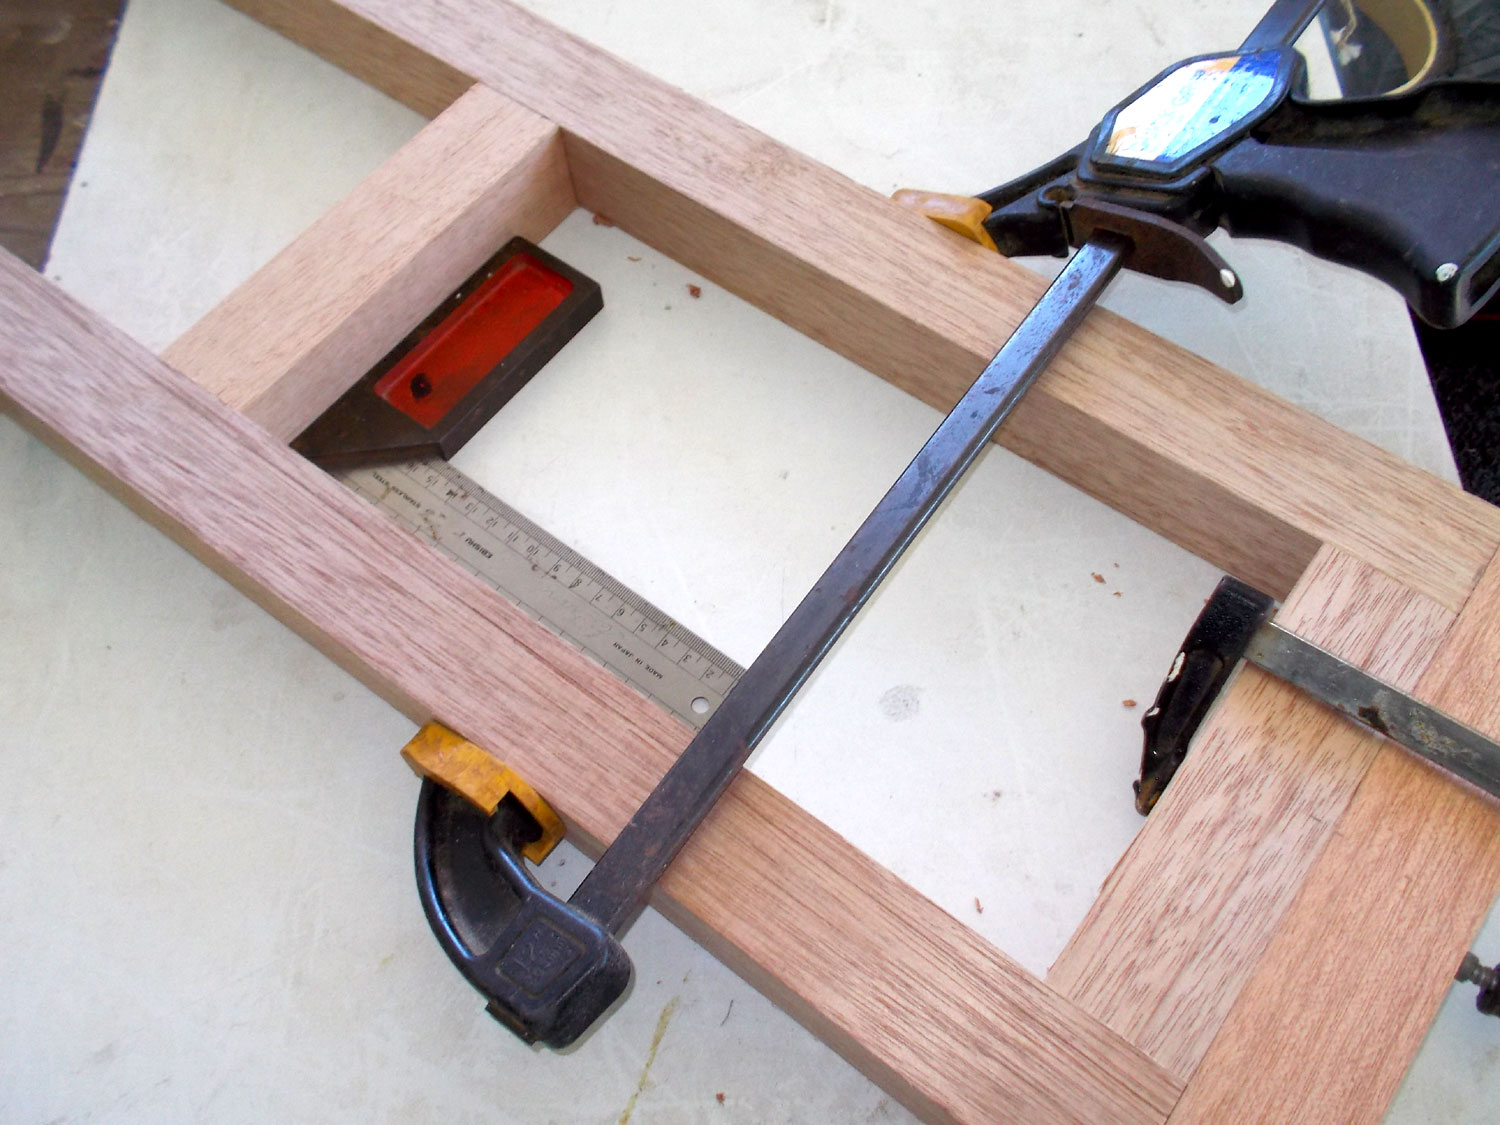
With the legs clamped on to the foot and the spacer in position – a pretty arbitrary decision but I chose what would be 500mm from the floor – I checked to ensure that the assembly was perfectly true – as shown by the carpenter’s square.
Just as I did with the foot, I confirmed the dowel lengths I had cut were long enough.

And I drilled two holes, again staggered, through the legs and into the spacer.

I applied tape along the edges to be glued and also note that I labelled each join – A-A, B-B, C-C and D-D. This is essential as you must ensure that each surface is paired – in the correct orientation – with its opposite number. This is because unlike factories, we are not computer controlled and the holes we drill might differ slightly in alignment.

Separate the pieces, apply glue to the surfaces and to the dowels, and clamp the pieces back together and then tap the dowels home.

An (almost) completed join showing the dowel ends slightly proud of the surrounding surface.

Use the first leg assembly as the template for the second.
Then attach the feet, using exactly the same method using dowels, as shown here.

Having sanded down the dowel ends, I glued the 100mm9x44mm foot pads to the feet. The bevelled ends allow the table to be slid more easily over imperfections on a floor – over a tiled floor, for example.

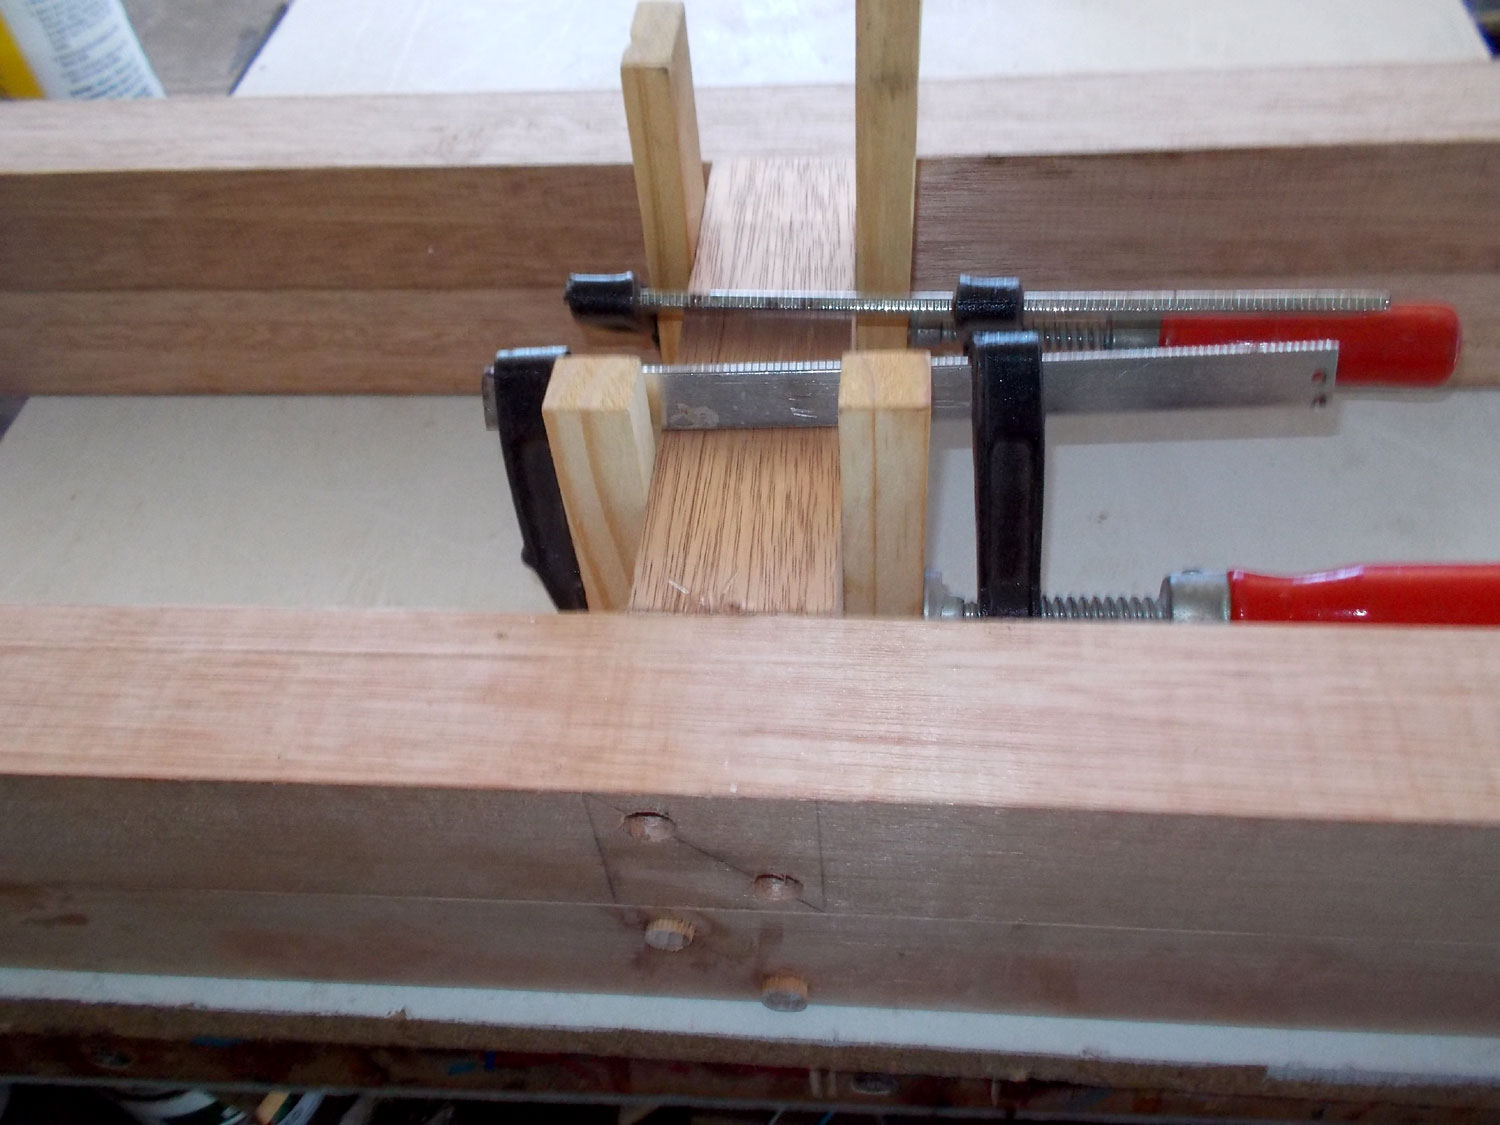
Here are the ends of the dowels securing one of the leg spacers.

I always sand pieces during and before assembly, even if only lightly, as this eliminates much of the difficult final sanding in hard-to-reach corners later on.

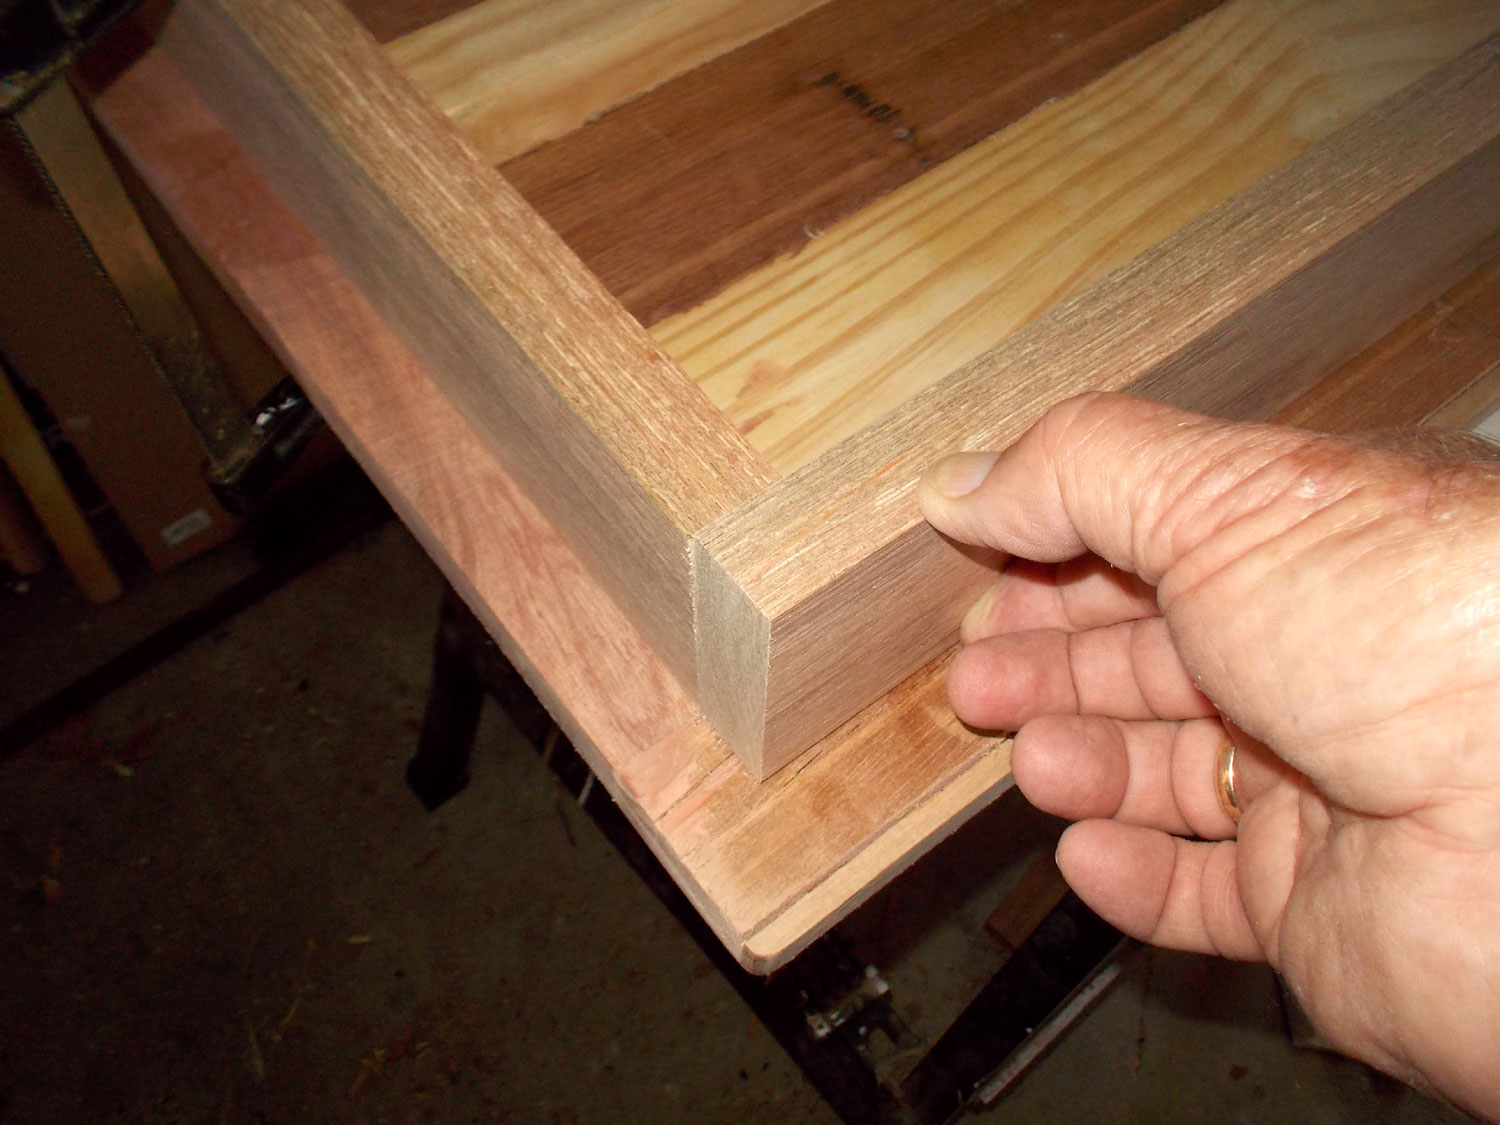
Now back to the tabletop… cut the two tabletop frame ends 360mm long and clamp them to the underside of the tabletop, aligning each with the end of the top and 22mm in from the edge.
Place the side pieces against the ends and mark off their cut lines… slightly proud of the ends by about a millimetre so that they can be sanded down smooth.

Confirm the fit is perfect.
The frame sides are attached to underside of the top with two battens of 500mm 22x22mm meranti. Cut, apply glue and clamp the attachment battens on what will be the upper inner edge of the side frame, but about 1mm up from the edge of the latter – this will ensure that the side frame is held very hard against the underside of the tabletop. After attaching the battens, glue the frame together and leave to cure.
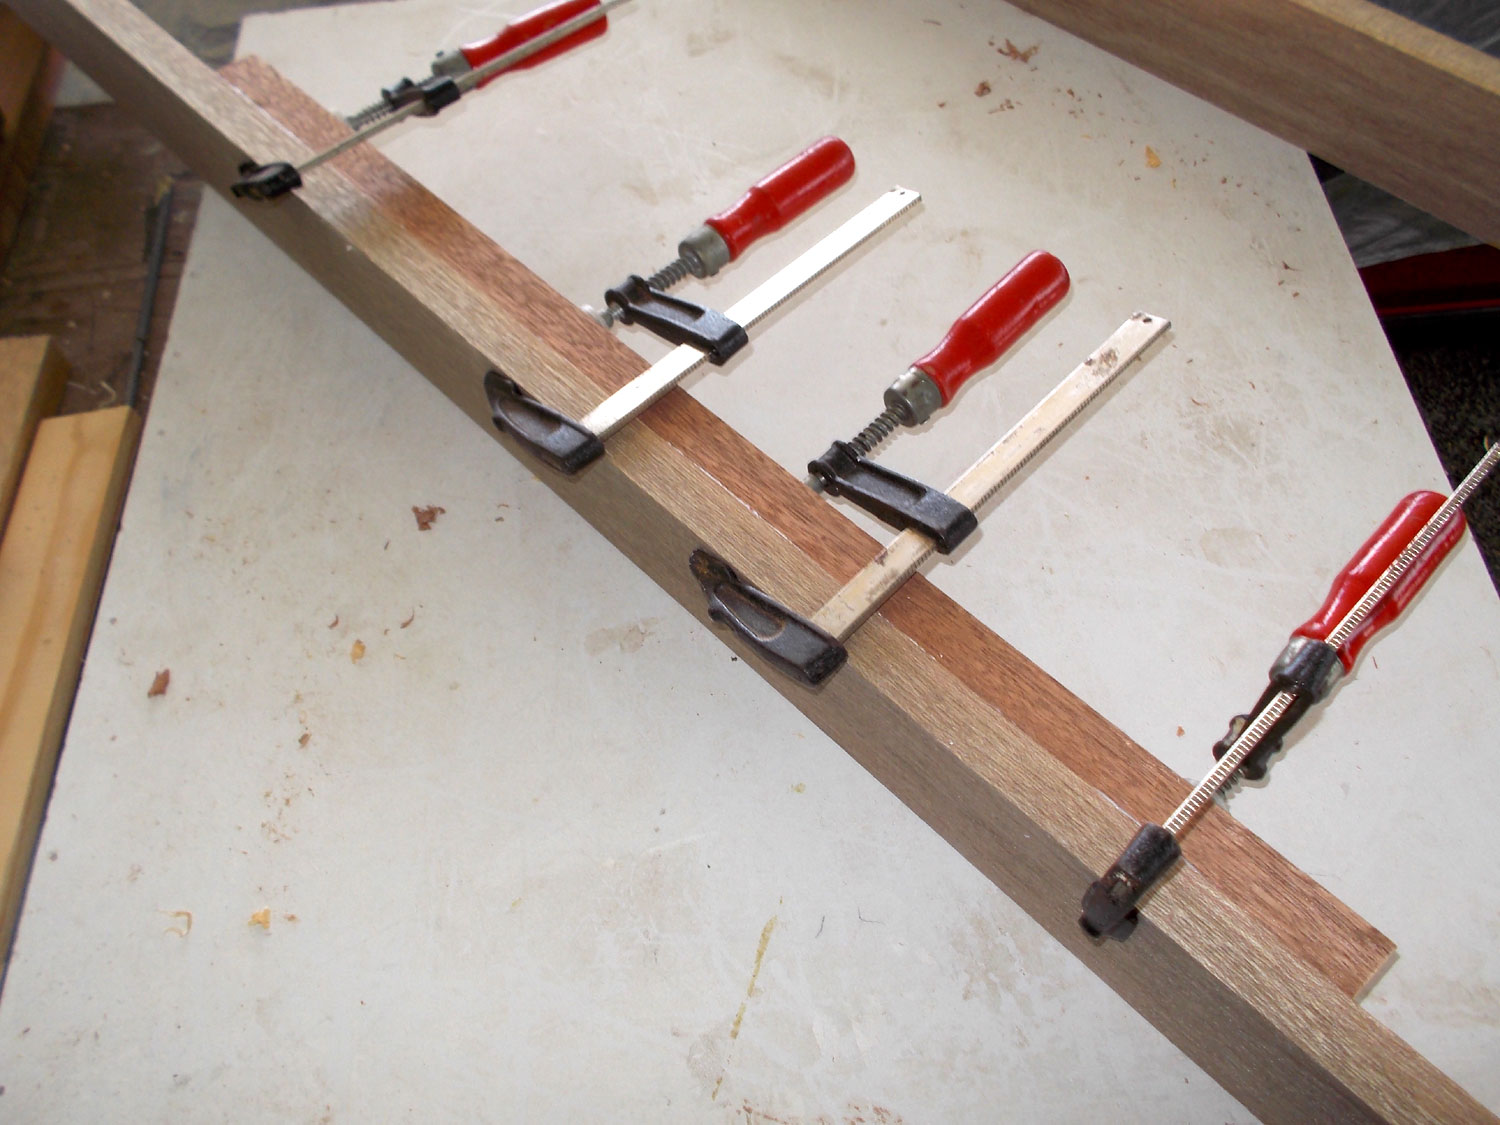
Secure the batten with four or five 40mm screws and then secure the frame sides to the underside of the tabletop, again using four or five 40mm screws… do not drive them in too far – you don’t want their tips coming through the top of the table.

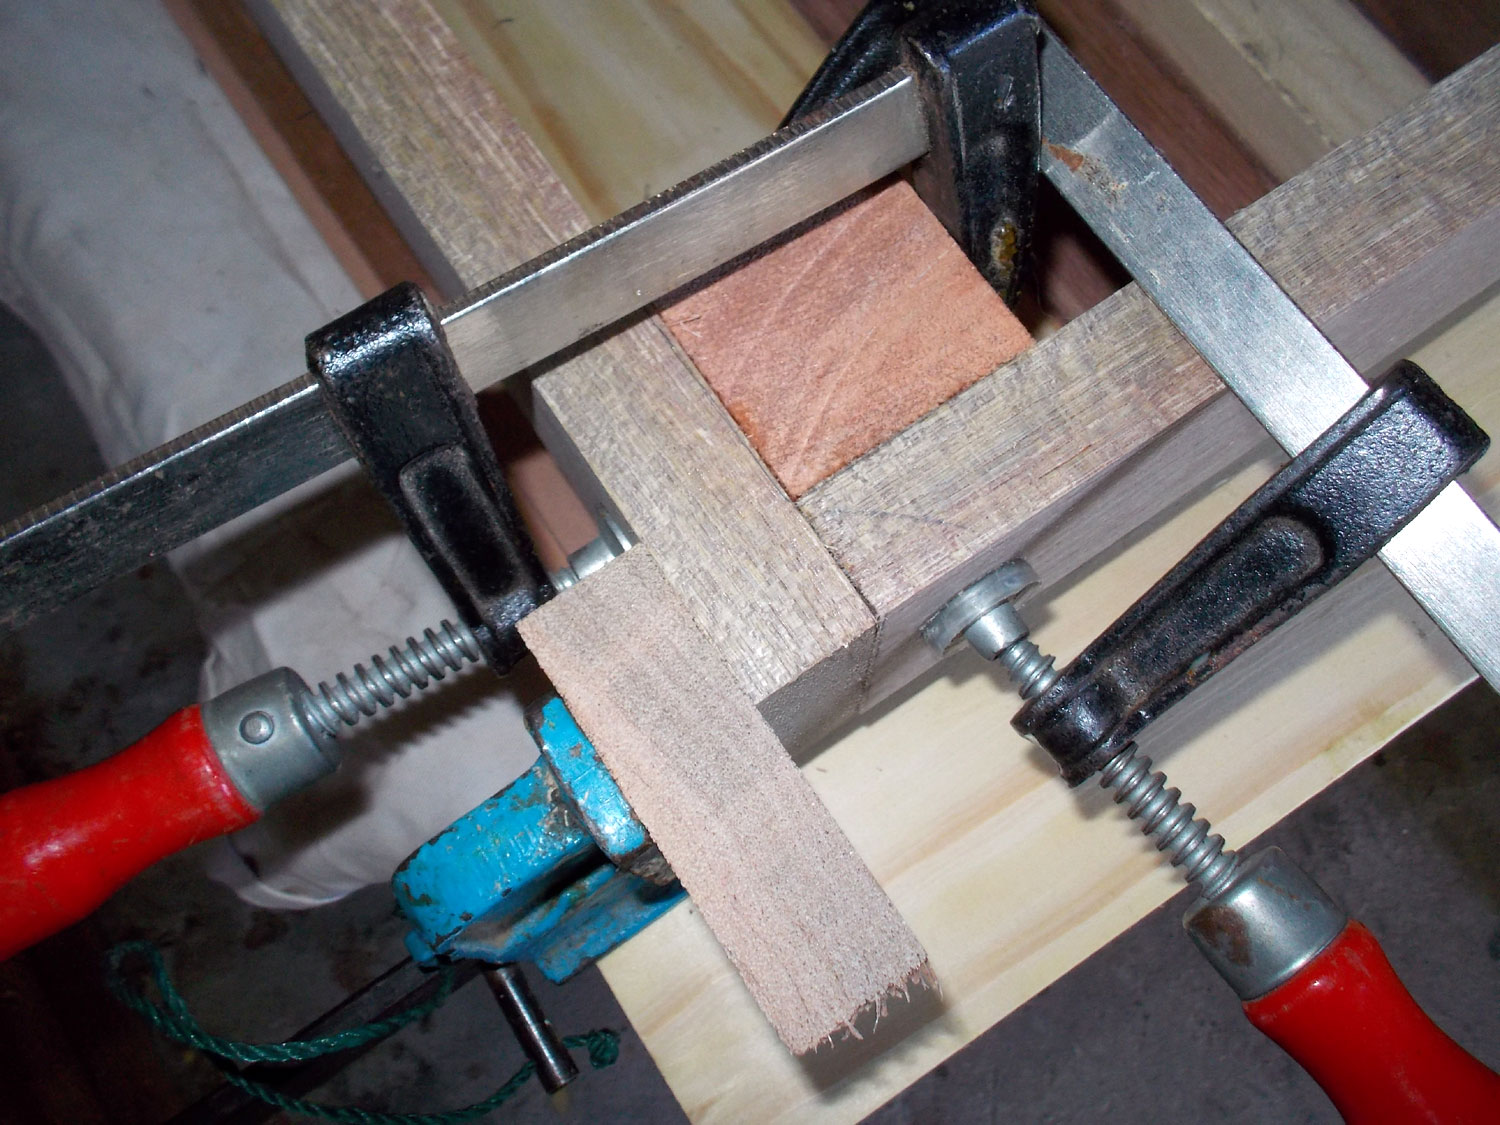
To reinforce the corners, mark off and cut the four tabletop frame corner reinforcement blocks 44x44x65mm and four leg side blocks 44x44x65mm.

Apply glue and clamp the corner blocks in position while the glue cures.
While that’s happening, cut the two 22mmØ dowel rod leg lateral braces to 1215mm – the easiest way to do this is trim the far end if it needs it – to smooth the factory cut, hold in against the inner surface of the frame end and mark off and cut the other end so that the dowel just fits – as shown here.

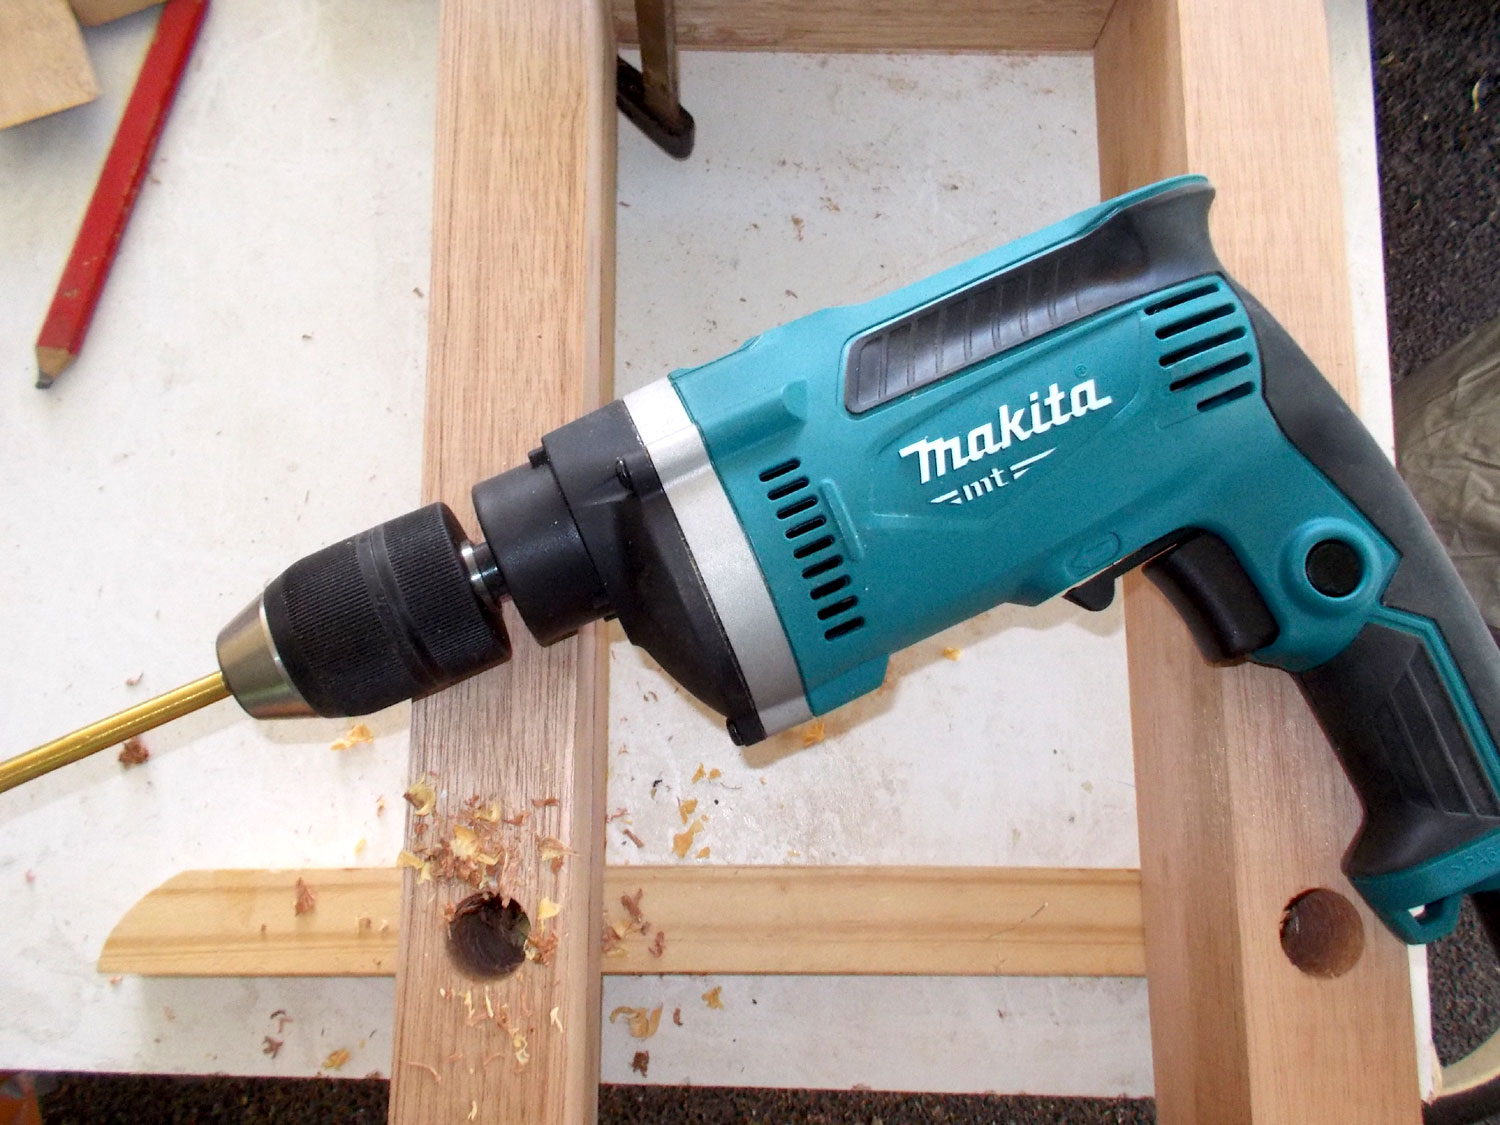
Then drill the 22mmØ holes for these dowels in the legs. The height at which you position them is up to you, but I positioned the dowels here at 150mm centred above the floor. Irrespective of the height at which you position them, it is absolutely essential that the holes drilled from them be aligned to the millimetre; if they are out be even a tiny amount, the dowels will not fit properly. Note: It is best to first assemble the leg assembly completely and then seat the legs simultaneously in their sockets in the underside of the tabletop.
Now position the legs in the frame, clamp there lightly and glue the 44x44x65mm leg side blocks into position. At the same time attach the two pieces of 22x44x355mm to reinforce the legs’ lateral bracing, using three screws as shown, driven into the central spine. Note also that I had to use a 9x44mm spacer on each side to ensure that the leg sockets would hold the leg ends securely and snugly. (It would have been better had I spaced the legs 18mm wider in the first place, but live and learn.)

I attached two pieces of 22x22x355mm to the 22x44x355mm lengths to further reinforce the legs’ lateral bracing and firmly attach the ends of the table frame to the underside of the tabletop I did this by securing the ends of the 22x22x355mm bracing to the corner blocks with glue and a 40mm screw in each end. Then with the legs fully seated, I drilled a hole through the 22x22mm timber into the leg, to a depth of about 50mm – i.e. about 30mm into the leg itself.
Into that I tapped a 100mm 8mmØ locking dowel. These are easily removed but ensure that the legs are locked to the underside of the table but can be removed if necessary to flat-pack the table. (The 22mmØ dowels used to reinforce lateral stability and inserted into the legs are not glued in place, but can be twisted out – with some effort – if the table has to be flat-packed.) Note: As the holes for the locking dowels in the legs might vary slightly in position, clearly mark each leg end and its socket A-A, B-B, C-C and D-D so that if disassembled and then reassembled, the locking dowel holes in each leg end match their corresponding holes in the bracing batten.

The finishing product we used requires rubbing down with the manufacturer’s bespoke steel wool after the first coat. I rubbed it down after the second coat as well, and then used a very light sanding using 220 grit sandpaper before applying two more coats, without sanding.

Ensure any residue is properly removed, and then apply subsequent coats as per the manufacturer’s guidelines. This image also shows the dowel inserted into the table end.
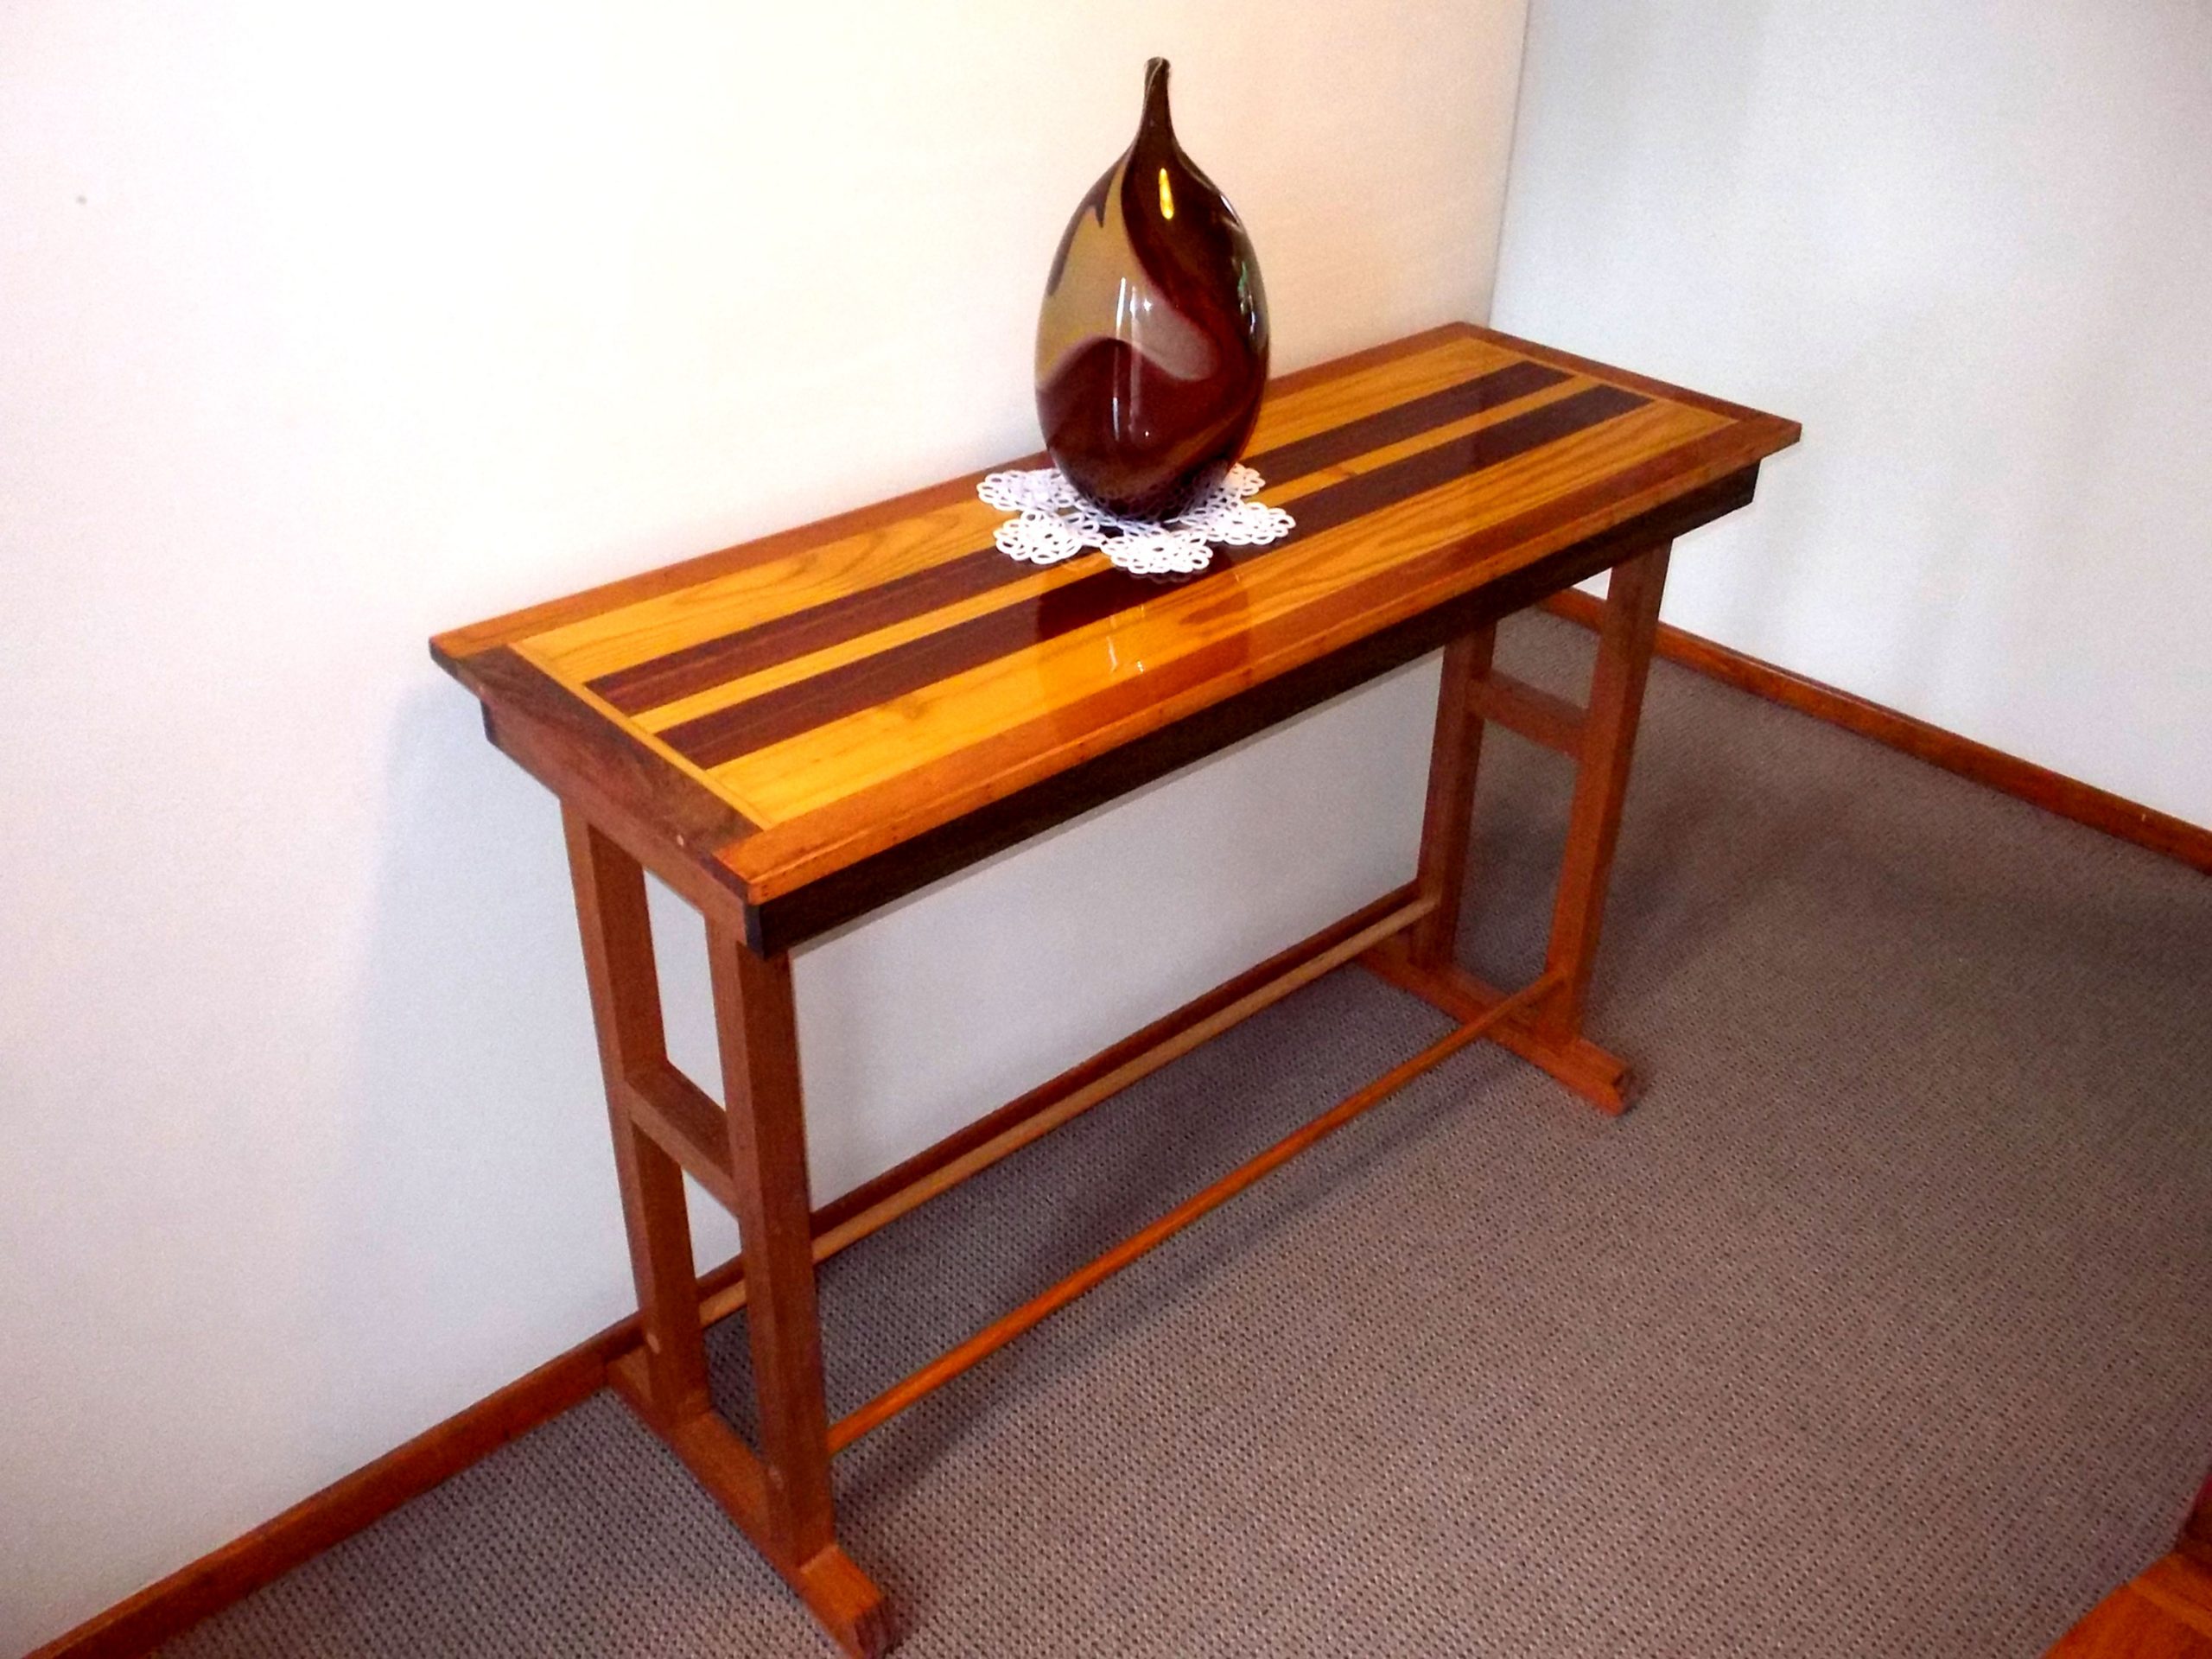
The completed table… a nice mix – we think – of meranti and SA pine, and the finish brings out the grain very nicely.
Project guide
Skill level: 5
Estimated time: 4-5 weekends
Cost: R2000
Assistant: No
Tools required:
Circular saw, drill/driver, wood planer, random orbital sander and/or orbital pad sander, router (optional, if rounding off any edges); hammer, punch.
Panel:
These materials are available at Selected Mica Stores. To find your closest Mica and whether or not they stock the items required, please go to www.mica.co.za, find your store and call them. If your local Mica does not stock exactly what you need they will be able to order it for you or suggest an alternative product or a reputable source.