07 June 2016

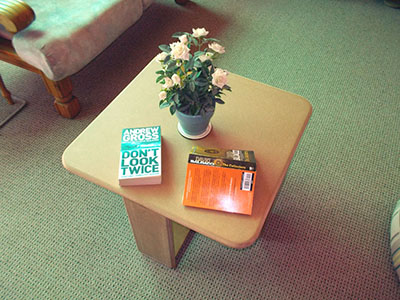
A handy Games Table
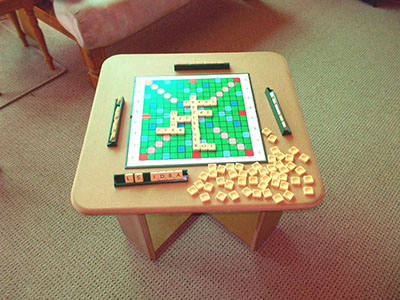
This handy table is about as easy to make as toast, and it doubles as a gaming table – a Scrabble set fits rather well, or, you can use it as a coffee table. The cost is minimal and simple woodworking skills will be sufficient to build this table.
Project Guide:
Skill level: 3
Estimated time: 1 day
Cost: R100
Assistant: No
Tools required:
- Jigsaw
- Cordless Screwdriver/Drill
- Sander
- Router
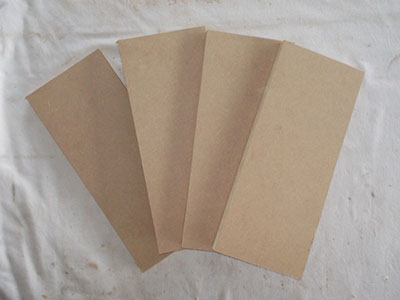
Materials:
- MDF 16mm
- Two 600×600 Sheets
- Eight Corner Blocks
- Wood Glue
- Finish of your Choice (We chose a Clear Matt Sealer)
**All materials are available at Selected Mica Stores. To find your nearest Mica and to enquire about availability, please go to www.mica.co.za, to use our store locator. If your local Mica does not stock exactly what you need they will be able to order or suggest an alternative product or a reputable source.
Method:
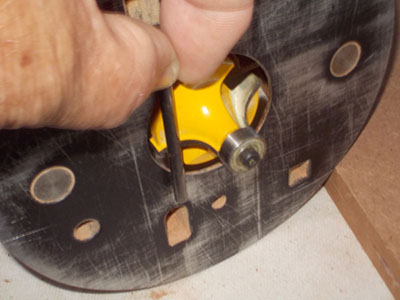
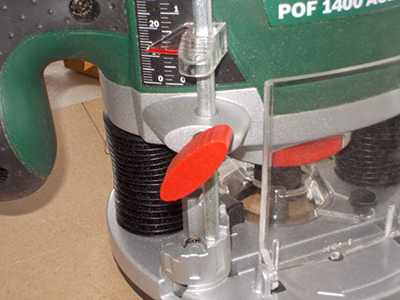
- Set a rounding-off router bit so that the top of the cutting edge is flush with the baseplate – so that you achieve a smooth curve with no lip.
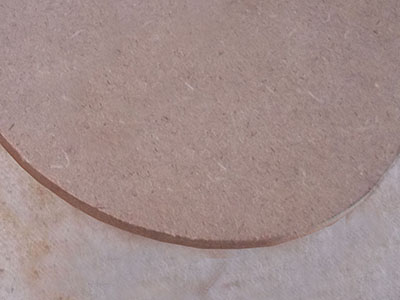
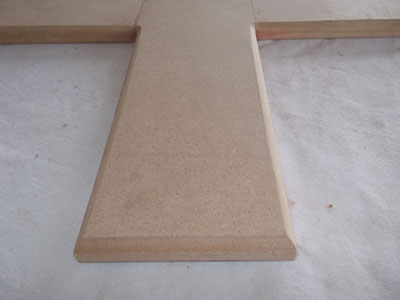
- Take one sheet (this will be your table top) of the 16mm MDF and round off the corners with a jigsaw and then tour the top edge, right around, to give the top a rounded edge.
- From the second sheet will come the legs and ‘X’ foot.
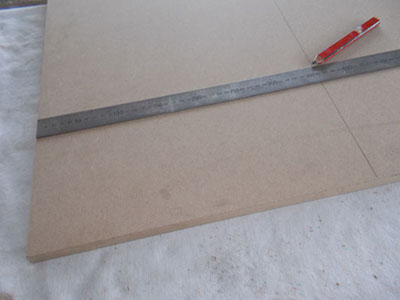
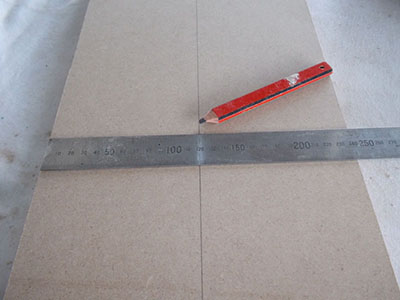
- The legs are each 355x144mm wide and the two pieces making up the ‘X’ foot are 600x112mm. Mark off the cut line to cut the sheet in half, 355mm from one edge.
- This section is then cut into four legs.
- The remaining piece of board is cut in half down its length to make up the two pieces for the ‘X’ foot.
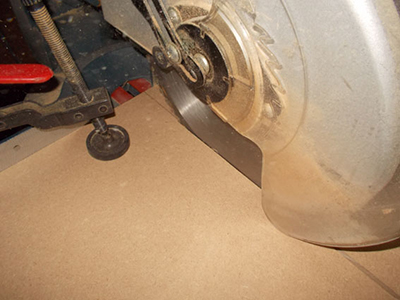
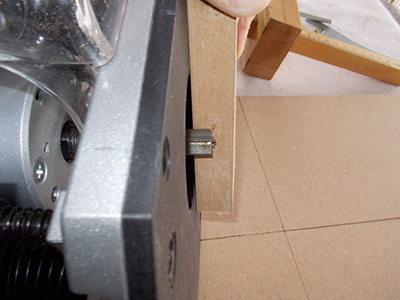
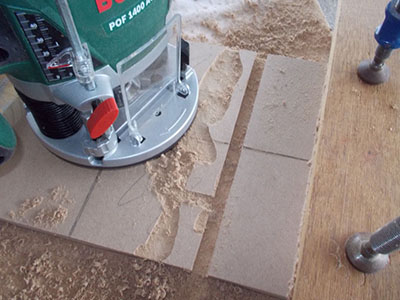
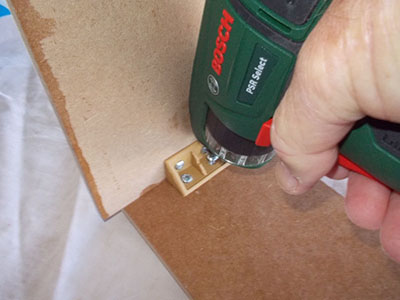
- To create the half-lap join for the ‘X’ foot, fit a straight-cut router bit to a depth of 8mm as shown here.
- When routing, it is one bite at a time, so set the depth-stop to the maximum dept of the cut, and then turn the rotating stop back. This will ensure that you can rout the first 3mm, then the following 3mm and the then the final 2mm.
- The routing in process – notice the fence we anchored in place on the right to ensure the routed channel has straight sides. The channel is, of course, 112mm wide.
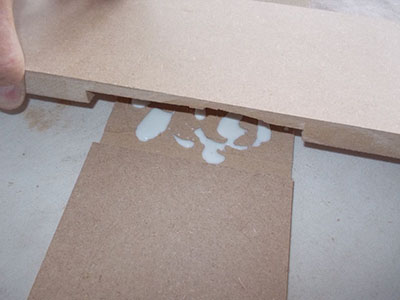
- With the rebates complete, clean them up if necessary with a flat chisel or sandpaper, apply glue and fit the two pieces together.
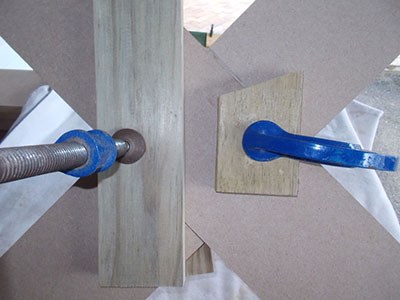
- Clamp them firmly together while the glue cures.
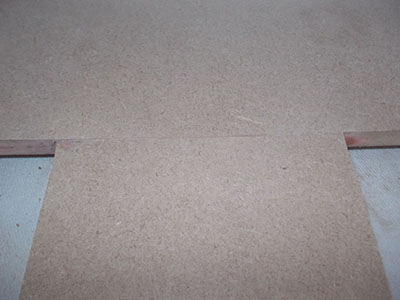
- The join should be as tight and as neat as possible.
- Refit the rounding off bit to the router and then rout the underside of the ‘X’ foot as shown. This will allow the table to be moved over carpeting with snagging the weave.
- We routed the sides of the legs as well, simply to make them ‘fit in’ better with the rounding of the other surfaces and the tabletop.
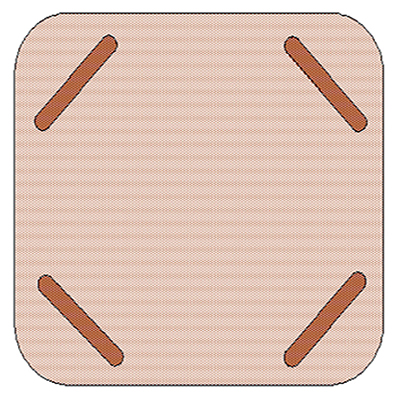
- The legs are attached to the ‘X’ foot ends using corner blocks. This is a very simple way to connect everything up and as the legs are at right angles to each other – see illustration – they brace each other. The legs are then attached to the underside of the tabletop.
- The leg plan… this shows the legs positioned at each corner, which is the most stable design, but you can turn the ‘X’ foot through 45º and attached the legs at the midpoint of each side for a different effect.
- You can use the table for games or as a coffee table. The total height from foot to tabletop is 387mm – a convenient height and on a par with the standard height of coffee tables and side tables in a sitting room.