14 January 2019

Don’t waste a drop – harness that overflow
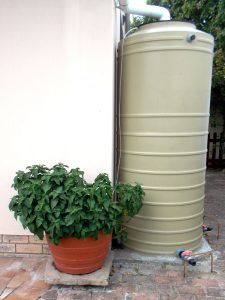
Here’s a way to save even more water in your rainwater tank, and make use of any overflow – in this case to keep a large pot plant watered.
We have had some good rains, but the fact remains that South Africa is drought-prone, so it makes sense to use water wisely and save every drop we can – and make sure that every drop we can possibly harness, is put to good use.
In this short feature, we show you how to not only get that bit of extra storage in your tank, but also make use of any overflow, which would otherwise go to waste.
In the case of this particular tank, it is fed not only by rainwater, but also by the hot water geyser overflow, which drips into the gutter. Hence, even when no rain falls for quite some time, the water from the geyser overflow is being collected.
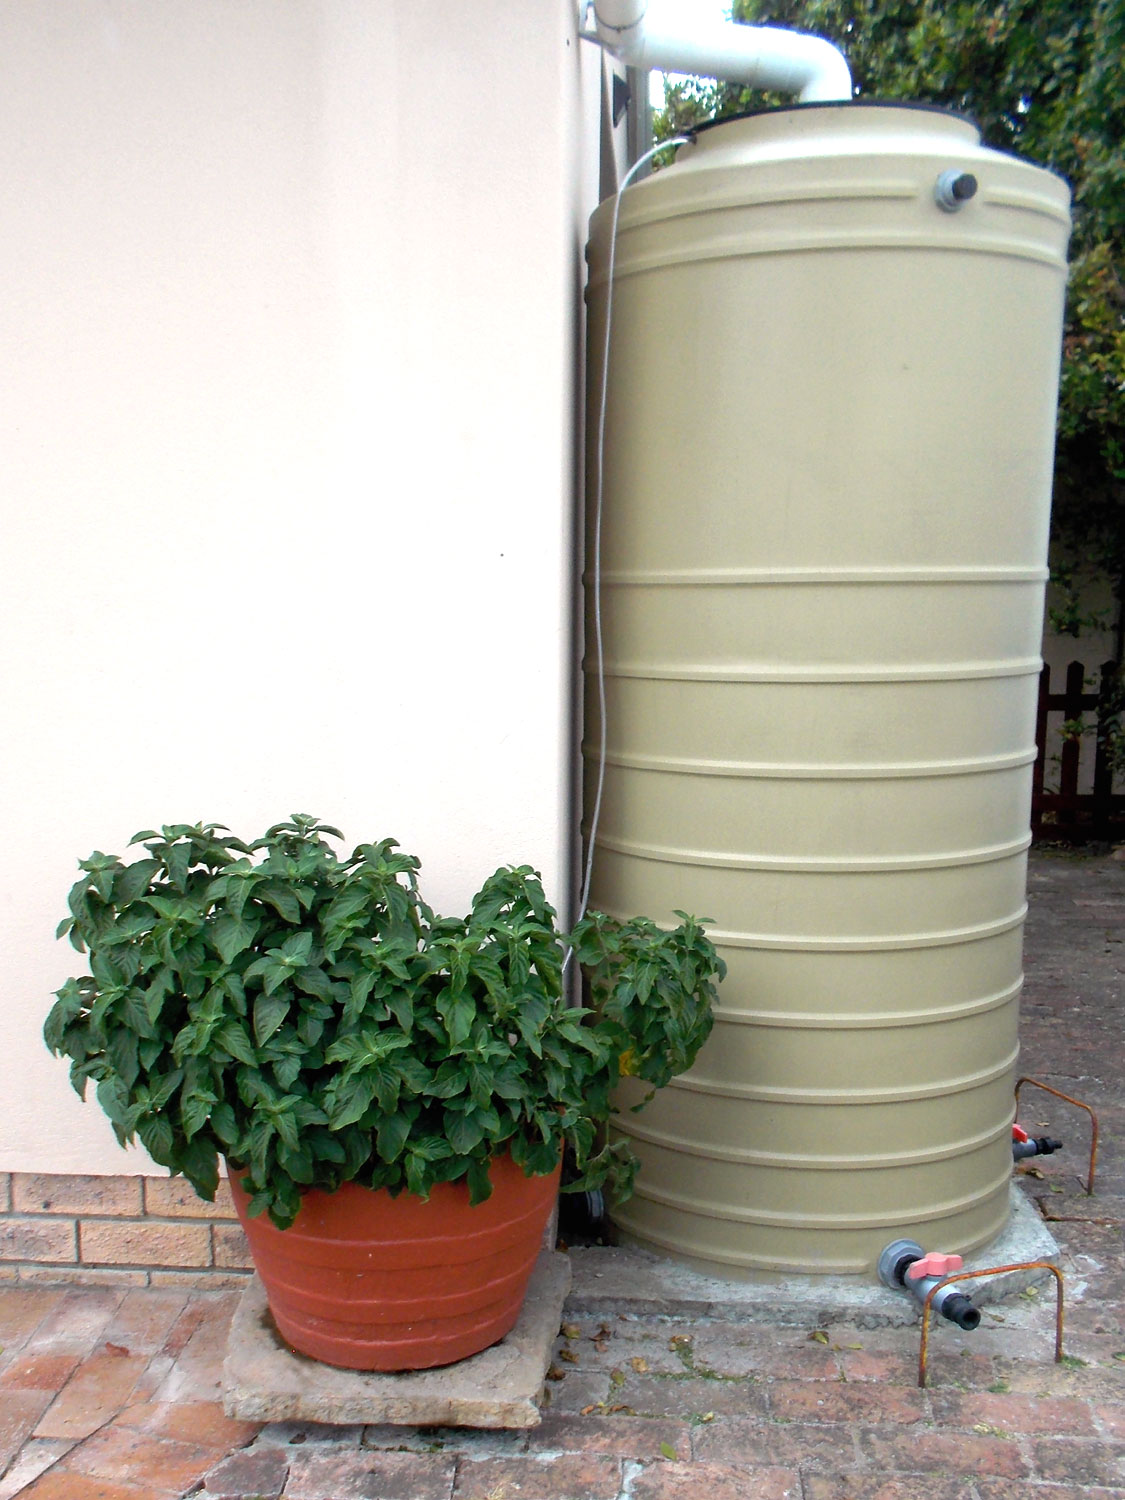
Obviously, when there is heavy rain, water will overflow from the tank as soon as it reaches the rim, as the 5mm tube will not be able to handle it, but if your tank is on a paved area, as is the one in this feature, excess water will flow on to adjacent plants, lawn and so on, and if it is not on a paved area, then the overflow will water surrounding plants.
Materials:
- Length of 5mm clear tubing – we used 3m.
- Three 5mm micro barbed T connectors.
- One 5mm double barb straight-through joint connector.
- Clear silicon sealer.
Method:
- First of all we had already blocked the top overflow fittings, so that we would be able to fill the tank right up to the lid. It is only a small portion of the tank, but it represents a good 20-25ℓ.
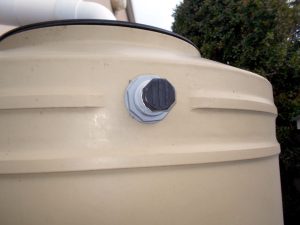
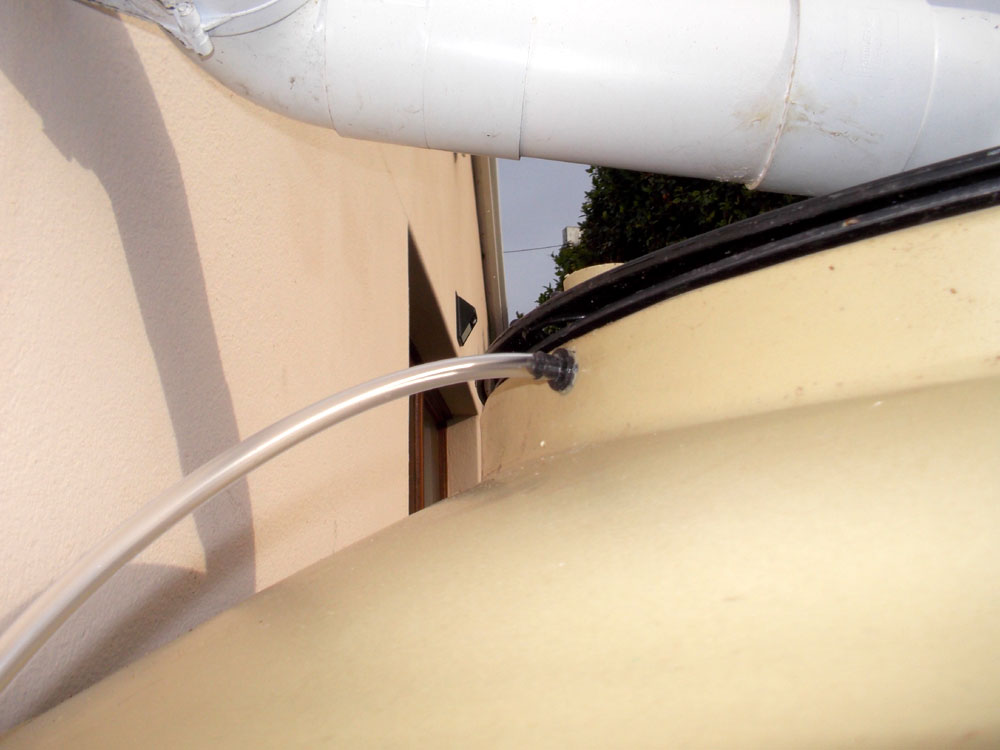
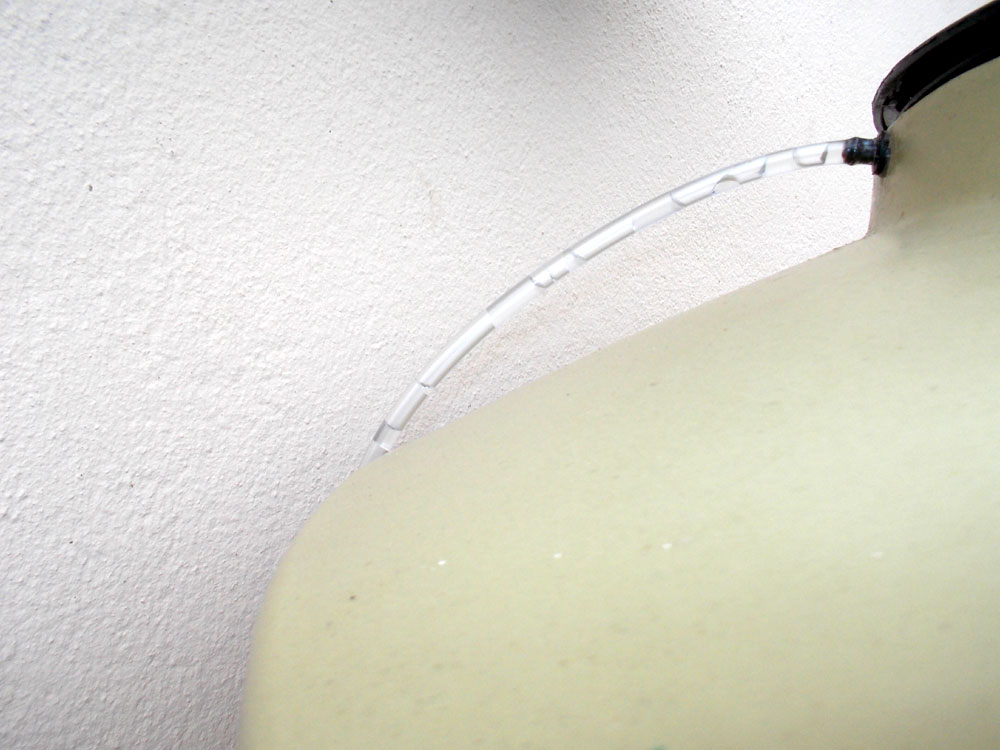
- A 4.5mm hole was drilled in the top of the tank about 10mm down from the rim and the 5mm double barb straight-through joint connector was forced into it and the join sealed with the clear silicon sealer, which also acts as an adhesive, securing the fitting in the hole. You might need to sand the ridge on the tank-side of the fitting a little to be able to lodge it very firmly in the hole. Then to that we fitted the clear tube.
- We cut the tubing at a suitable point so that it would easily reach the pot plant and cut the remaining tube into six equal lengths of about 150mm each. Then we connected them to the end of the tube as shown in the image. The idea is to be able to apply water to a wider area in the pot – in the case with four outlets – rather than simply placing the end in the pot, in which case only one area would be watered.

- Then we waited until we could see water overflowing from the tank – and that meant it was then time to finally arrange the outlets in the pot.

- One pair of outlets. To ensure that the water is delivered to all four areas, the 5mm micro barbed T connector from the single tube from the tank needs to be level and then in turn feed to the two other 5mm micro barbed T connectors, which also both need to be at the same level, but below that of the first 5mm micro barbed T connector. This is to ensure that even when there is only a very light overflow from the tank, it is delivered as evenly as possible to all four outlets. Adjust the 5mm micro barbed T connectors until you see the flow through each tube is the same.
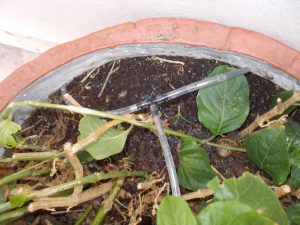
- This illustration further illustrates the outlet branches and how four of them distribute the overflow water to farm more of the root system than would a single outlet.

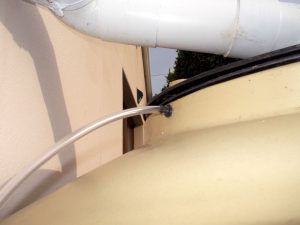
- The final result. If necessary the tube from the tank can be fastened to the wall using 6mm round cable clips.


Panel:
These materials are available at Selected Mica Stores. To find out which is your closest Mica and whether or not they stock the items required, please go to our store locator to find your nearest store and give them a call. If your local Mica does not stock exactly what you need they will be able to order it for you or suggest an alternative product or a reputable source.
Project guide
TIME: 15-30 minutes
COST:about R30
SKILL: 1
ASSISTANT: No
Tools required:
Cordless drill; craft knife.