08 November 2021
Anyone for tea?
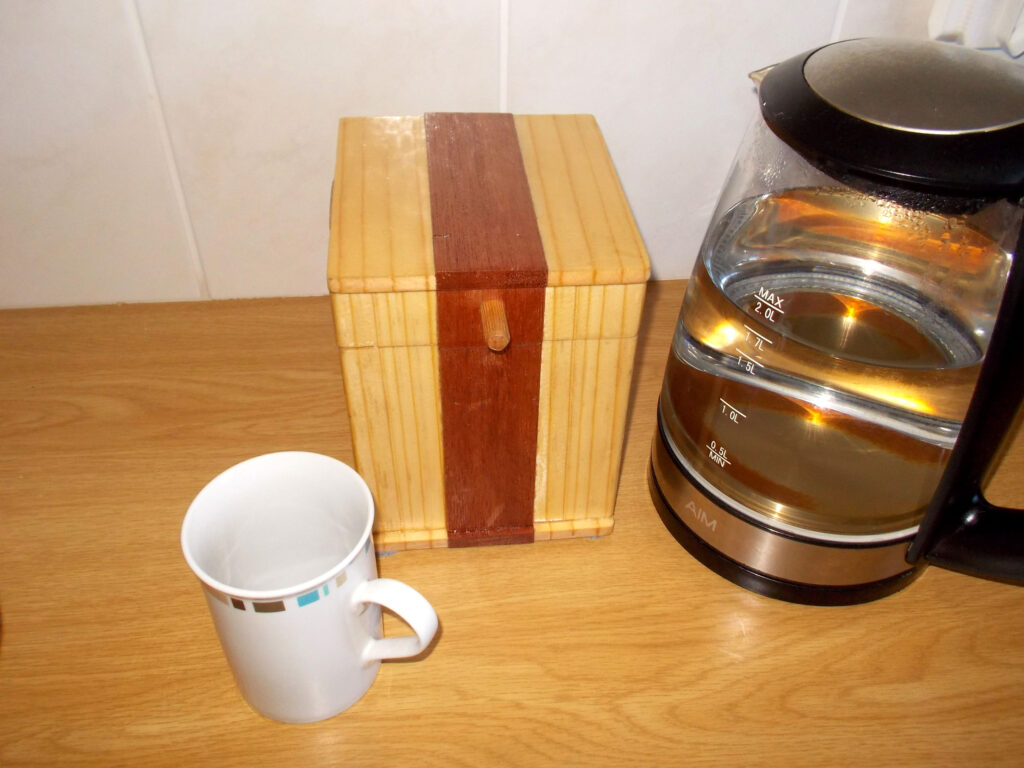
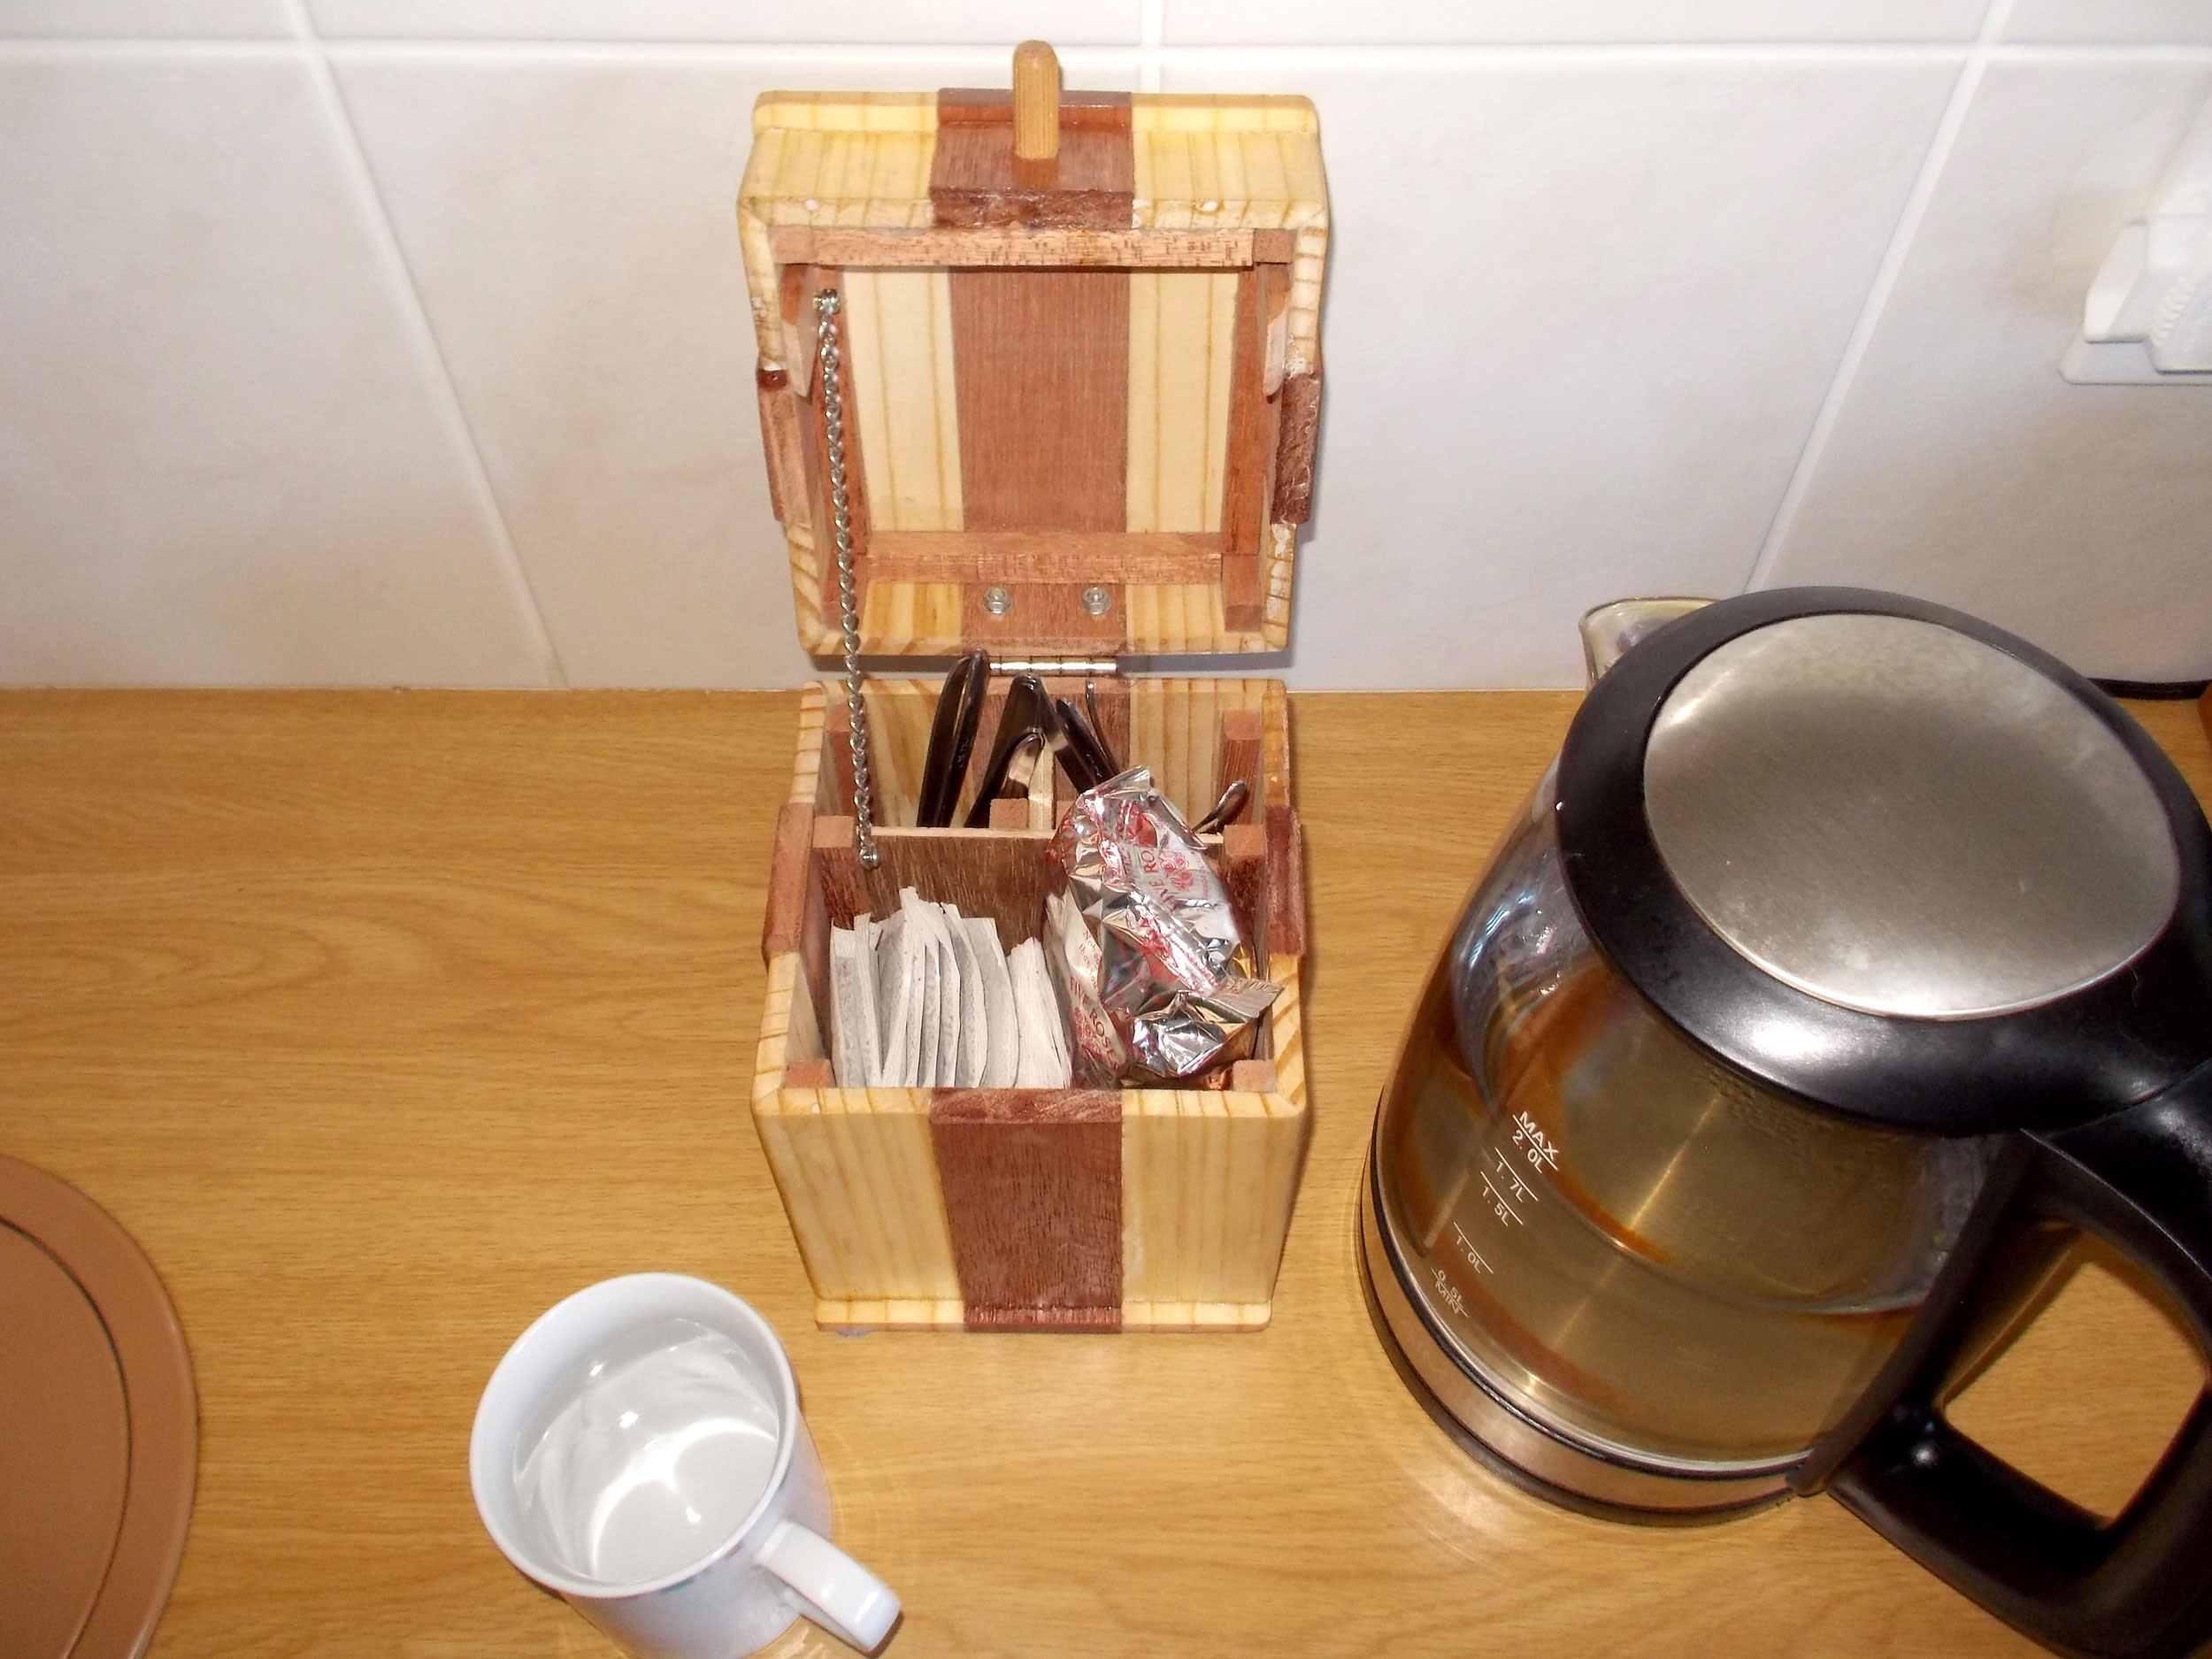
This tea caddy will hold about 40-50 teabags and as many as 10 or more teaspoons, just ready for you when you feel the need for tea. Or, if you like, you can use it to store coffee or hot chocolate sachets… whatever stirs you.
Naturally, if you decide not to have a section for teaspoons, then you will be able to store more teabags or whatever.
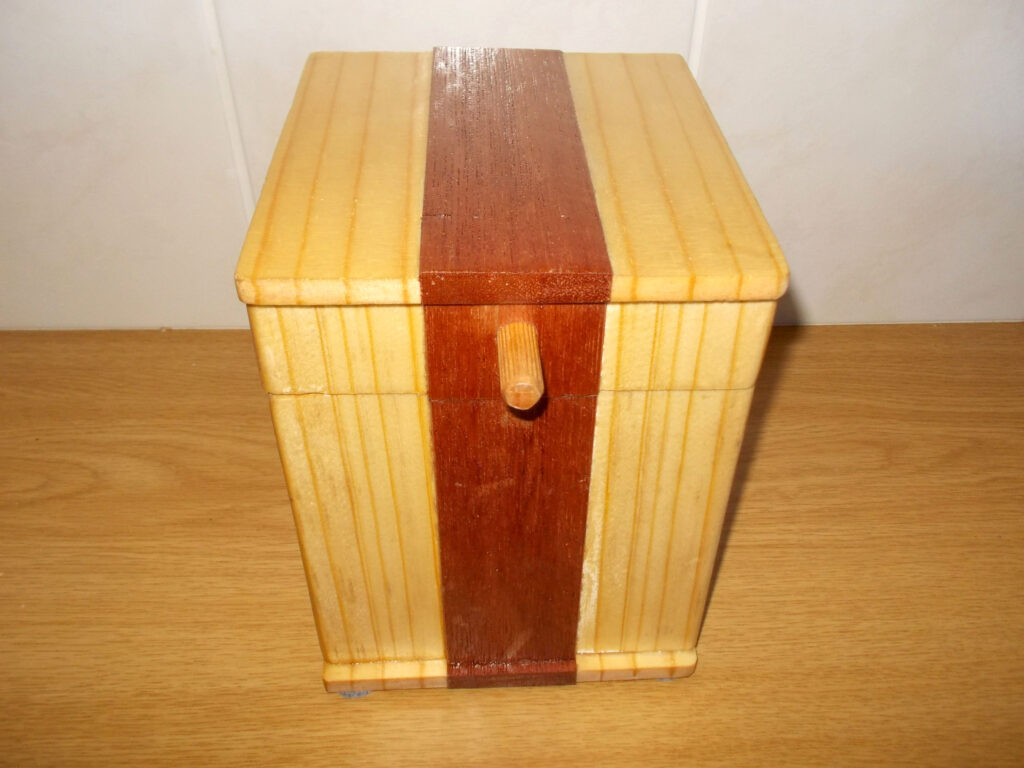
The dimensions of this caddy are 170mm high, excluding foot pads, (including them gives a total height of 172mm), and square box-section storage section 132mm on each side. The top and base are each 133mm wide by 145mm long – so they each overlap the main body and lid by 6mm front and back.
Materials:
- *Meranti cover strip: 9x44mm x 1.83m – one length –
- Cut to four side centre sections, each 155mm long, and two base and lid centre sections, each 145mm long
- Meranti 9x9mm x 1.83m batten – one length –
- Cut to fit as corner, and base and lid reinforcement sections, and as partition guides for the ply barrier sectioning off the spoon section
- One 10mmØ dowel as lid handle
- One hinge
- **Six 4mmØ x 12mm CSK (countersunk) set screws, washers and nuts
- Two 13mm 4 gauge screws and 150mm length of chain as lid stop
- Small piece of offcut 3mm ply cut to size as separators for spoon section
- Four felt foot pads 20mmØ
- Finish: of your choice; we chose clear gloss varnish
*Note: The meranti cover strip was 9mm thick, but the SA pine was closer to 7mm. I could have sanded the meranti down flush, but decided to leave it as is, as it gives a little contour to the surfaces.
** I used threaded screws with nuts rather than wood screws as the wood is thin and wood screws would either have required extra wood on the inside to secure them and/or prevent the tips protruding through the inner surface.
Hints:
- When securing the hinges with the 4mmØ set screws, try using a tiny drop of contact adhesive on the thread of each to lock the nut in place. You can always remove it any time you like if you need to, for whatever reason. But until then… it stays put!
- If you are right-handed, position the securing chain on the left, as shown here, as you would usually lift the lid with your left hand, and remove the spoon and teabag with your right. Obviously, if you are left-handed, then the opposite applies and the chain goes on the right.
Method:
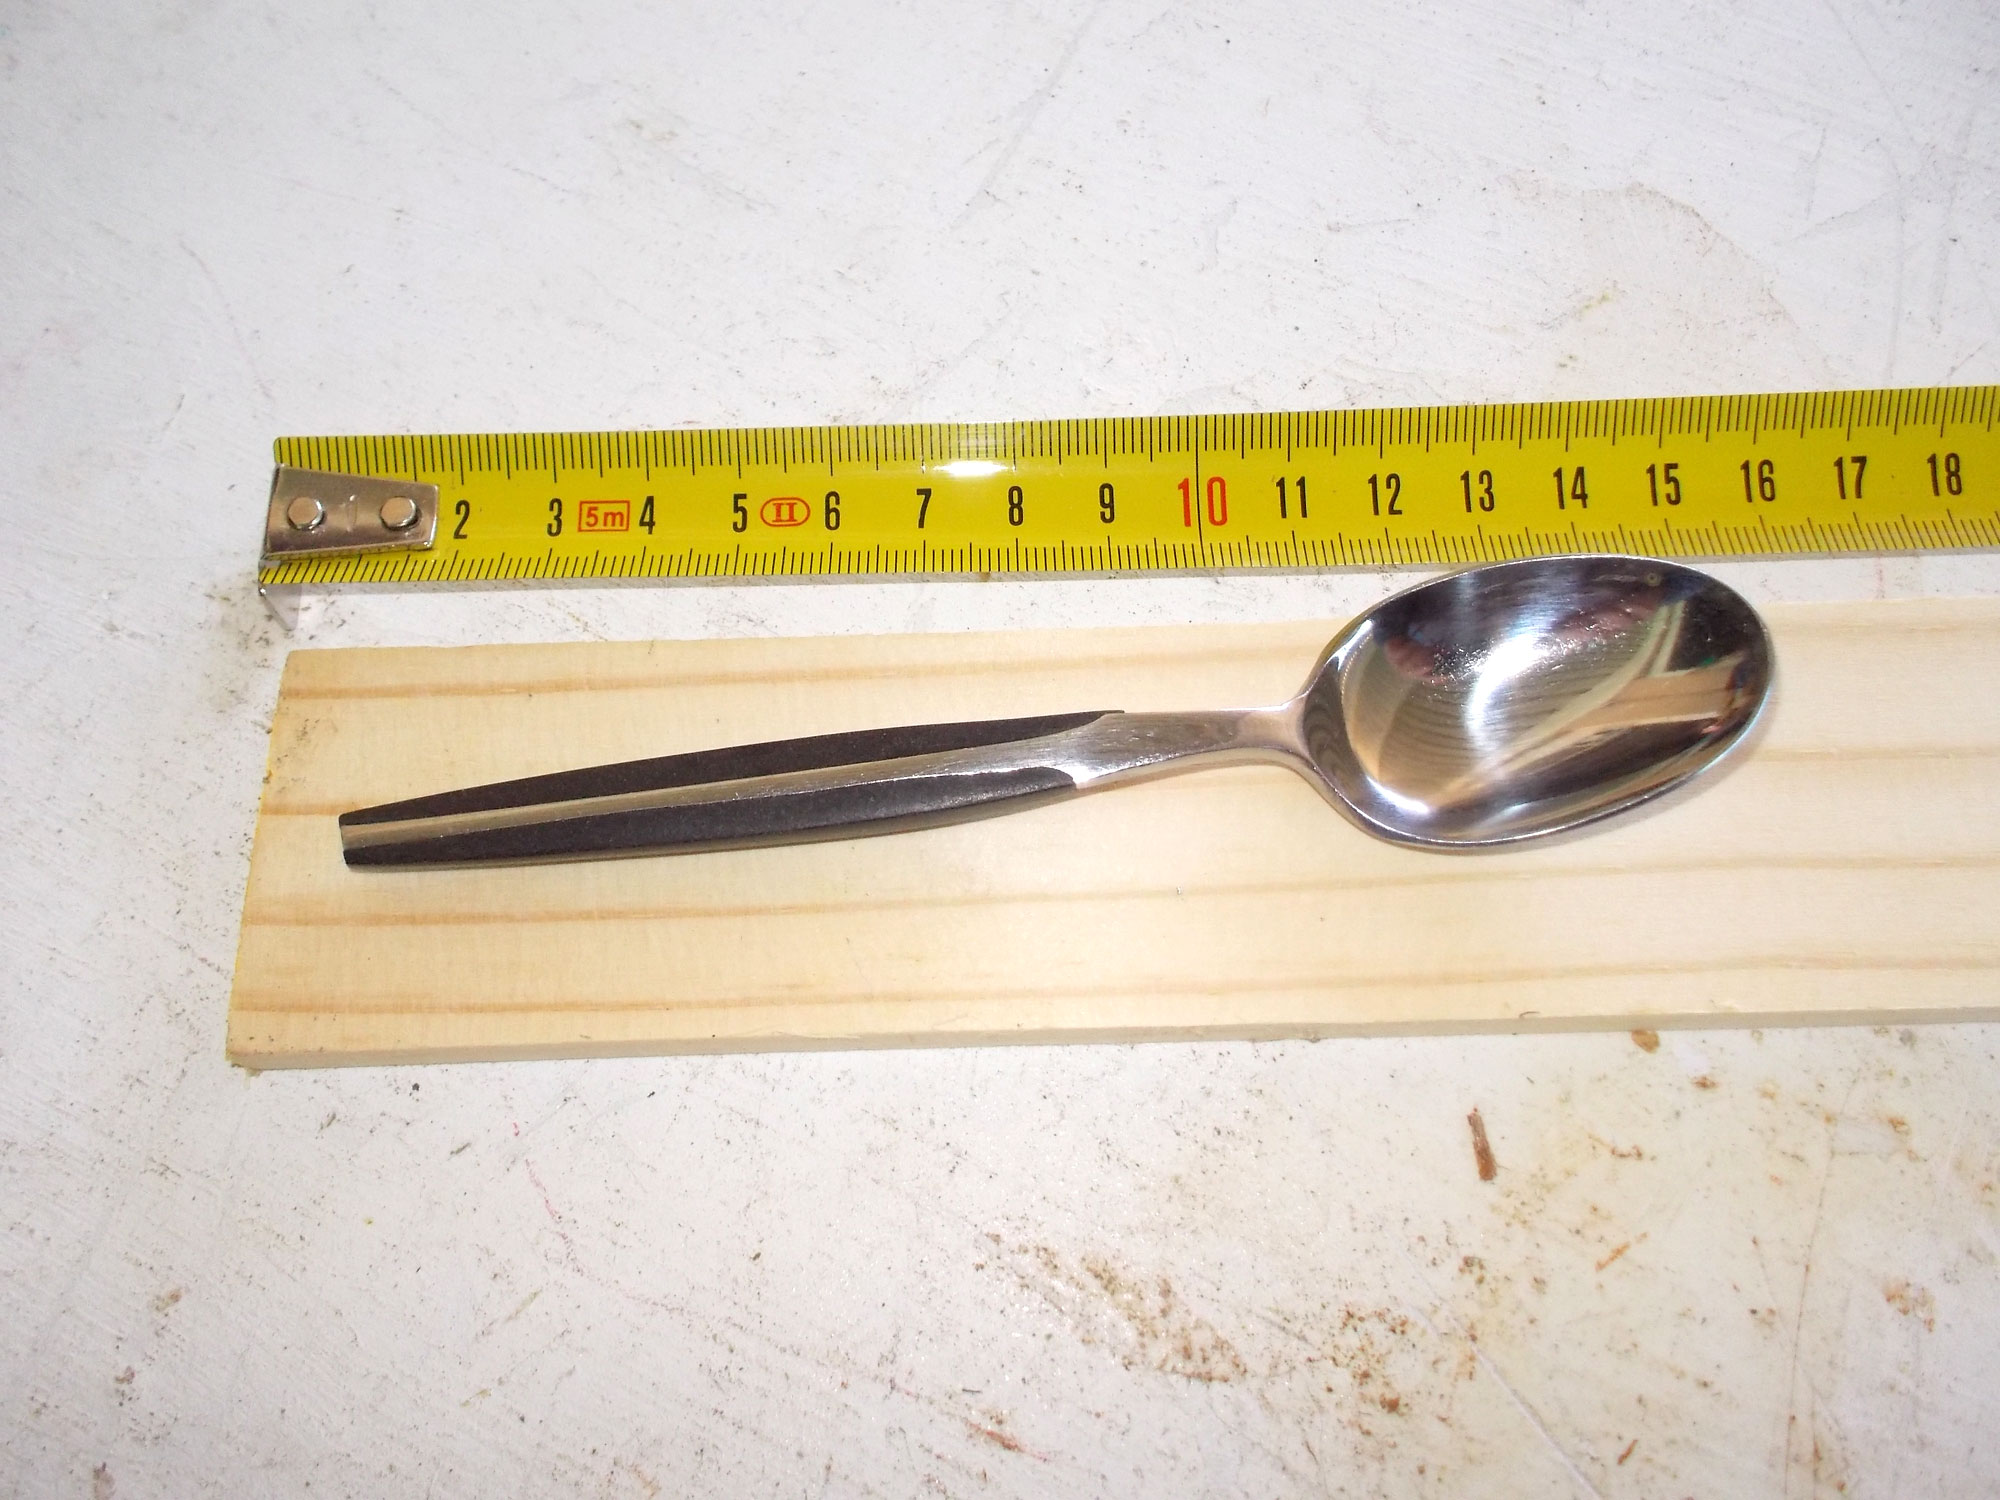
- Here are some of the materials. The spoon is included to ensure that the final result will actually be able to accommodate them. The spoon is 138mm long. The hinges are bought in pairs, but just one will be used.

- Using the spoon as your guide, decide on the total height of the sides and lid. In this case, I decided on 155mm, to allow ample space – rather a little too much than a little too little… that sort of thing leads to swearing. As an added insurance, I initially cut each length of 160mm… you will see why just below…
- I used a circular cut-off saw to cut the four meranti and eight SA pine lengths.
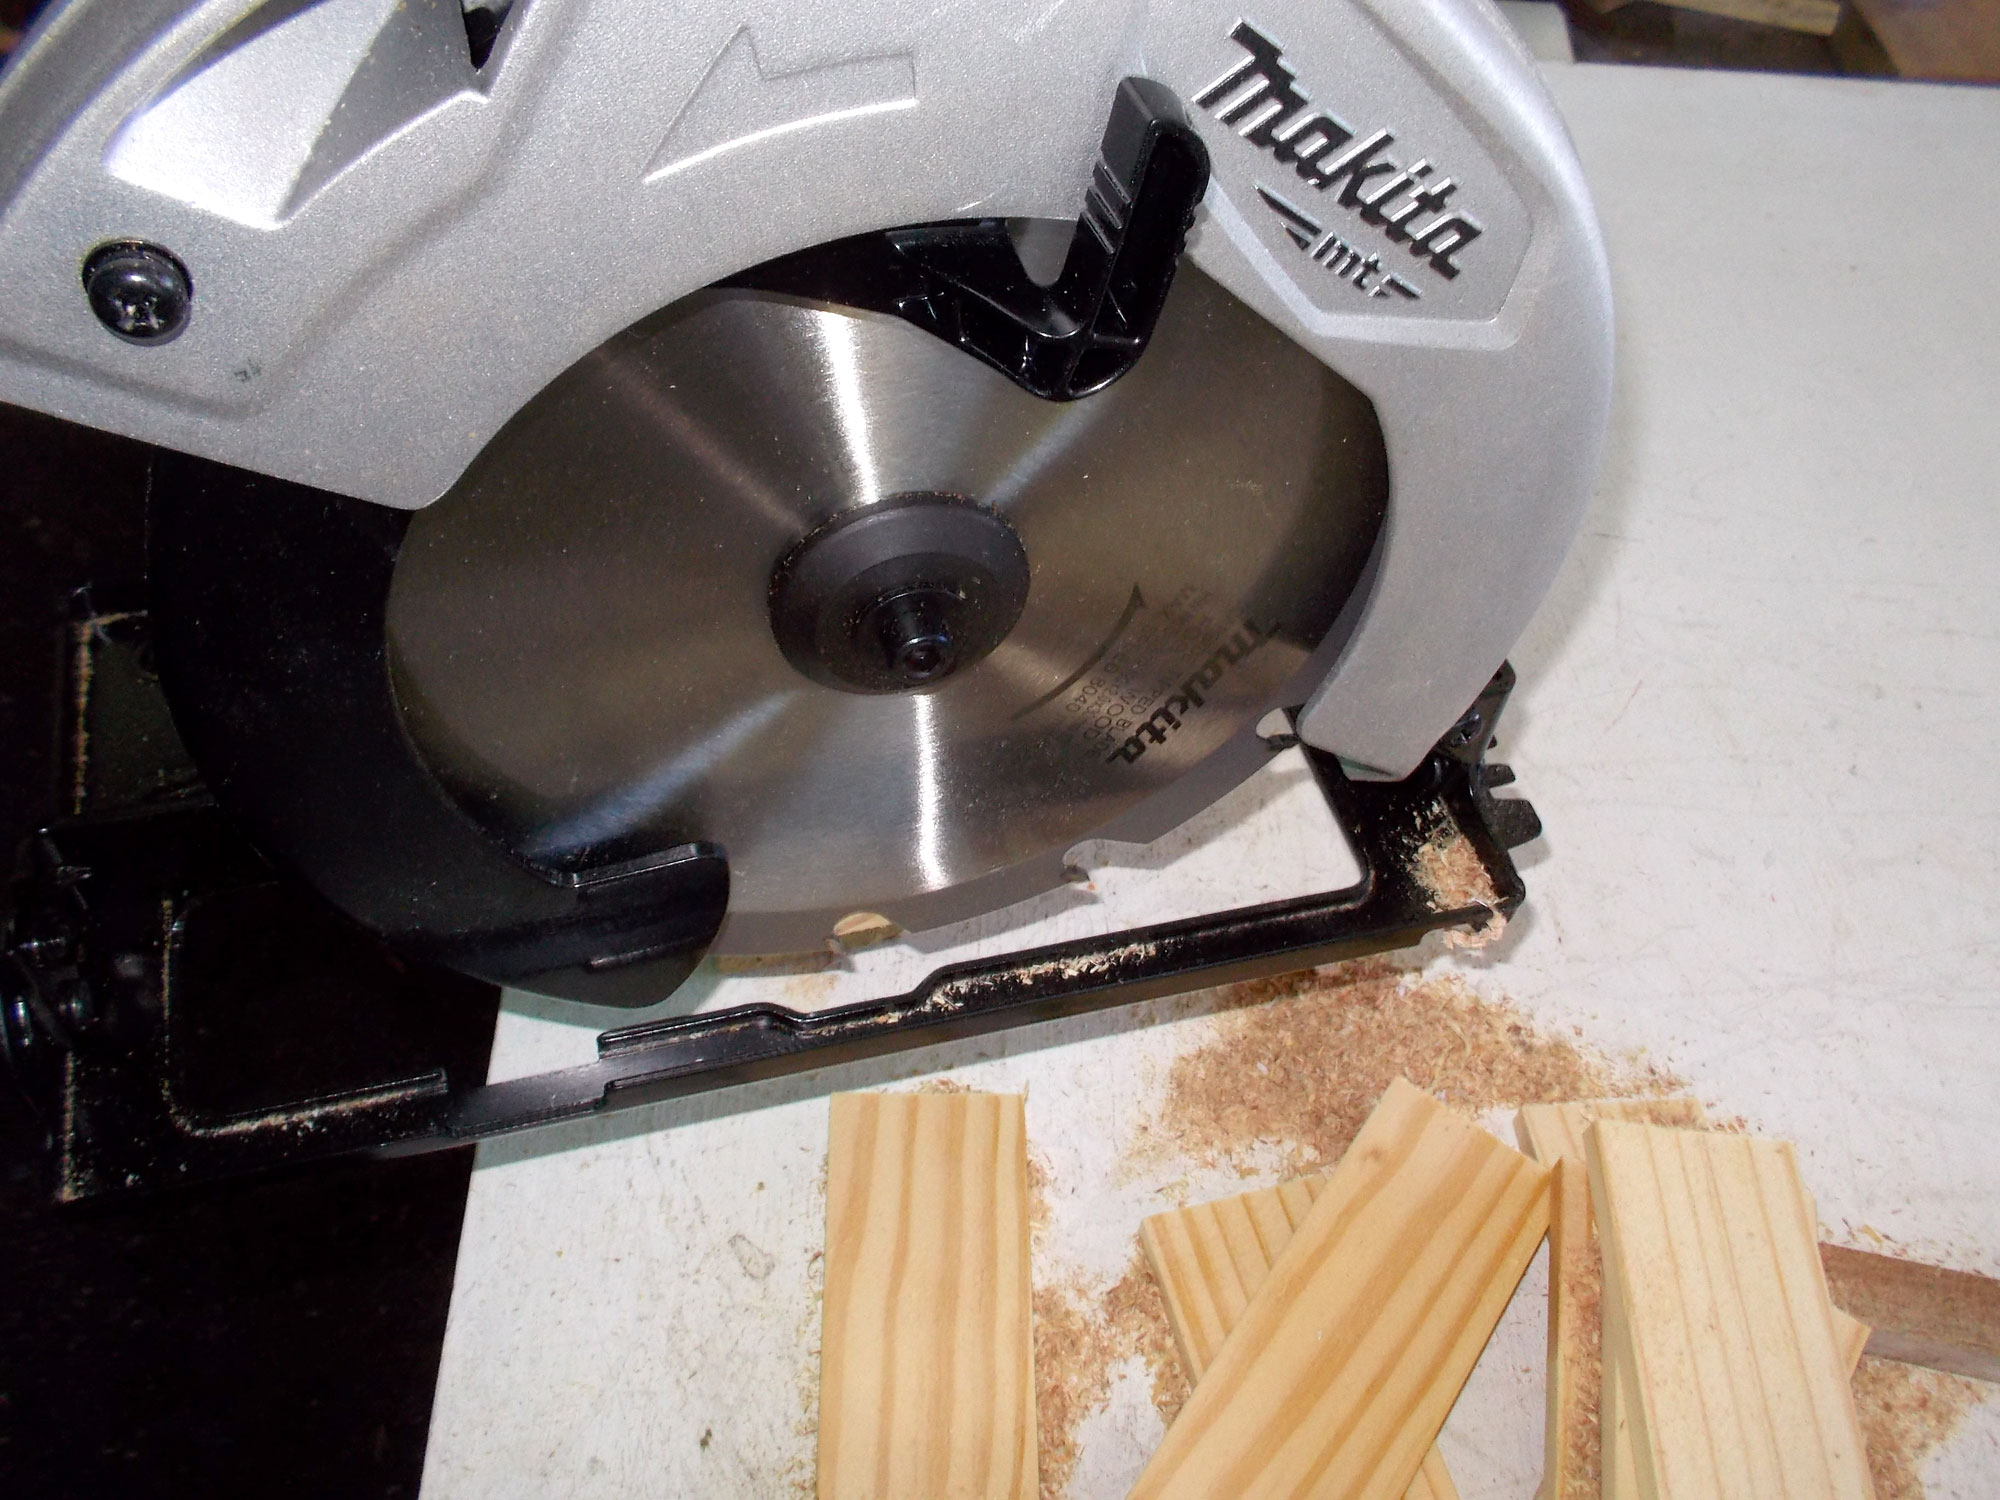
- Then I applied masking tape along the edges to be glued
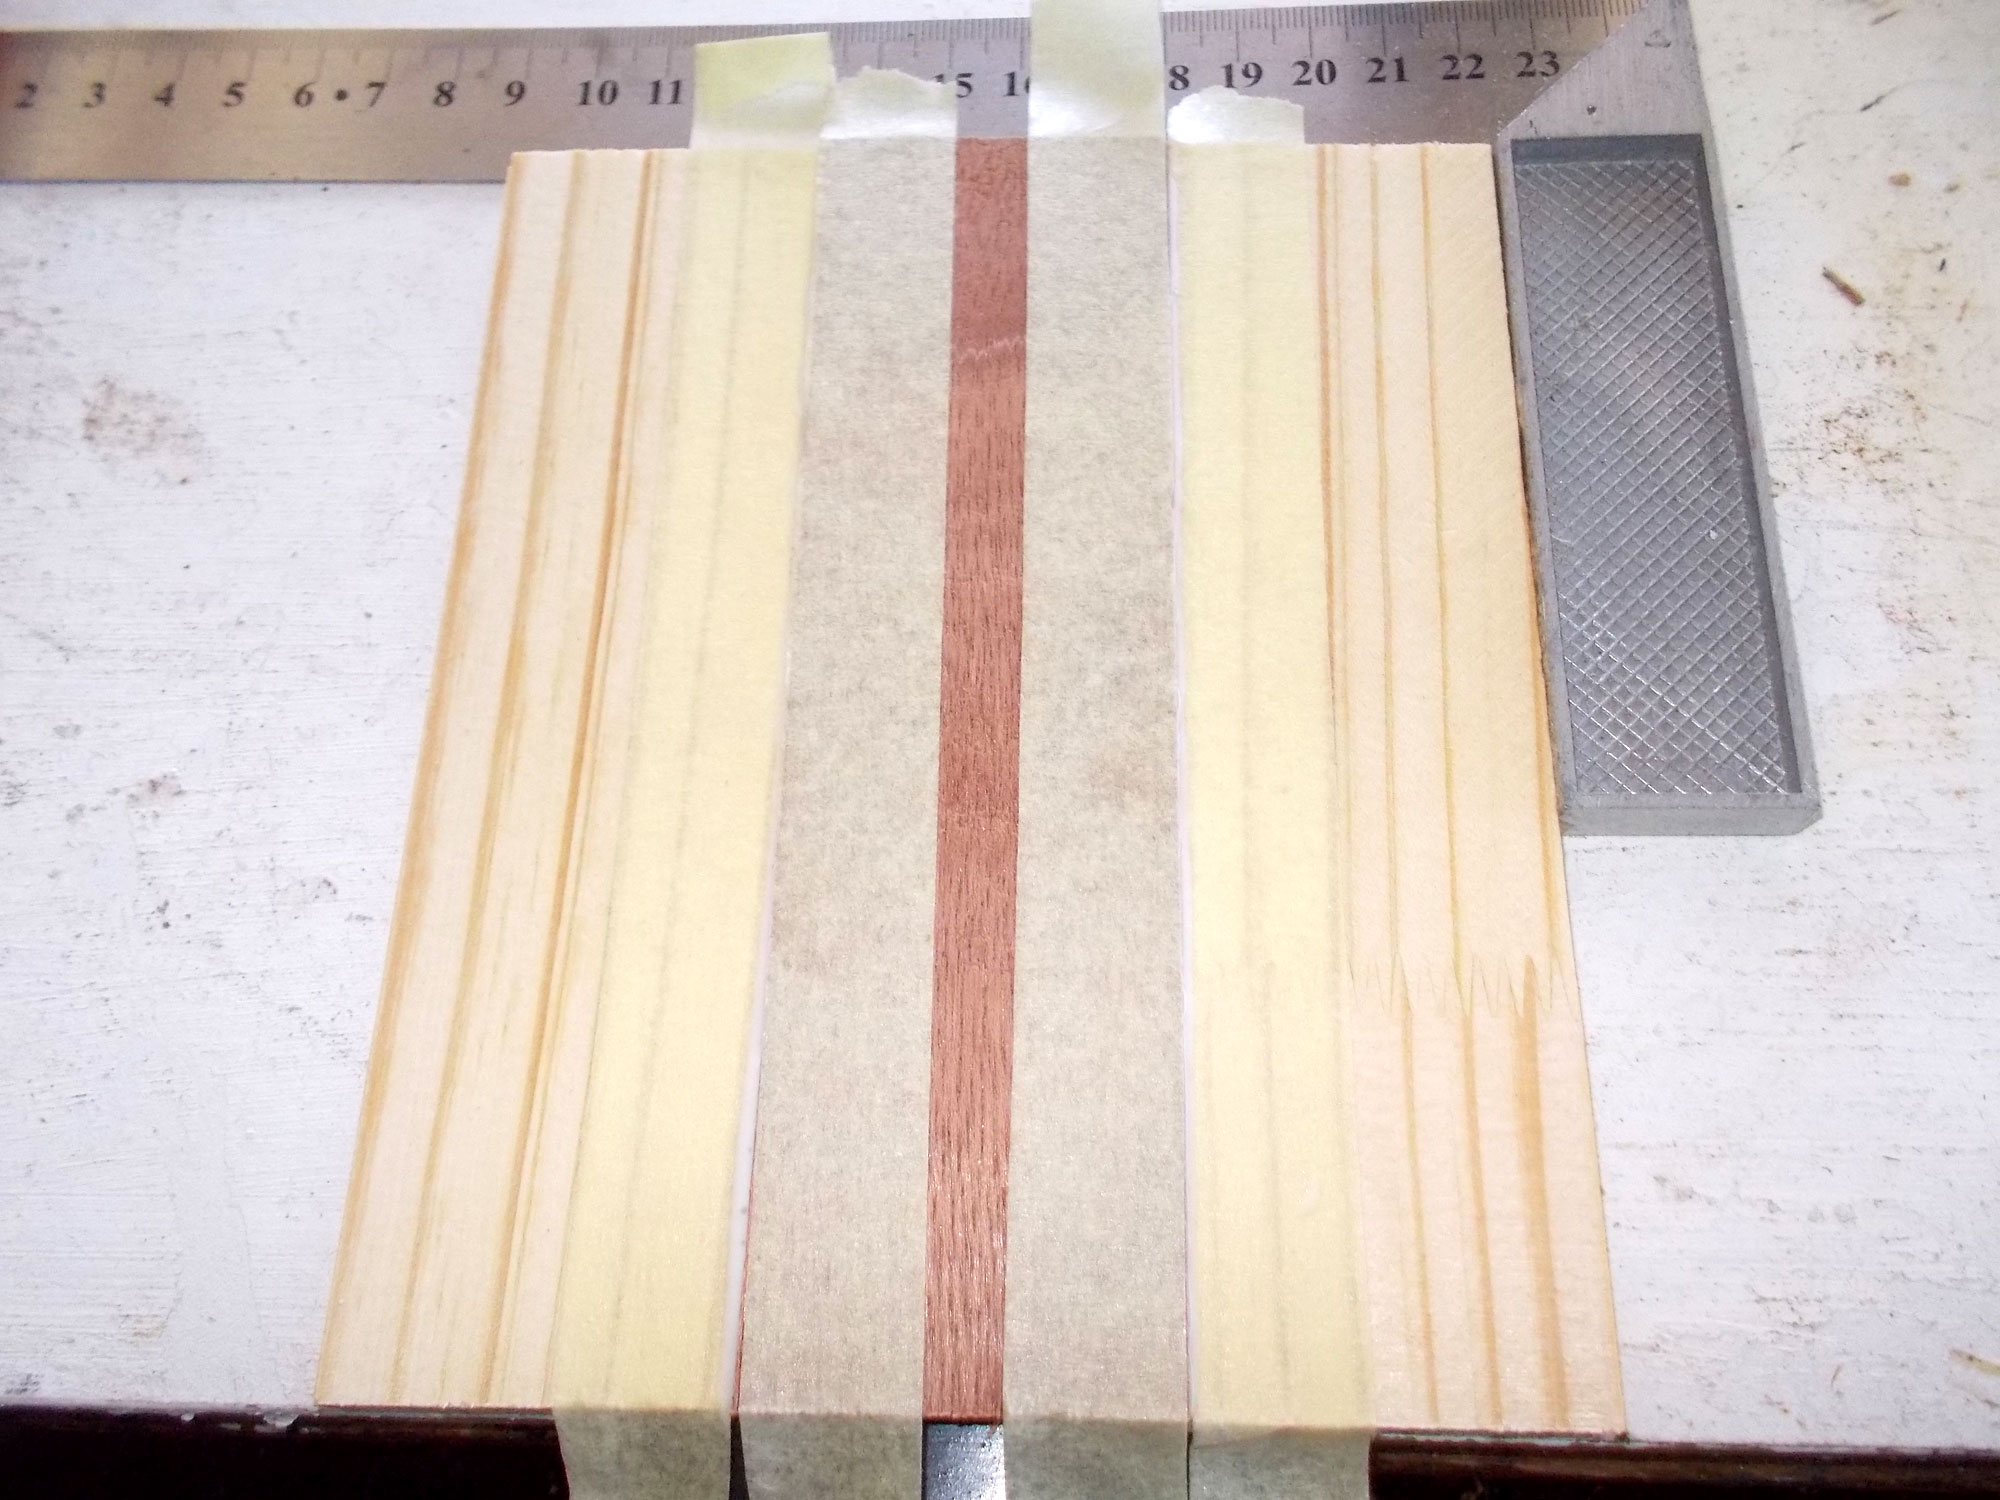
- Then I applied the glue and clamped each three-section side to a flat surface while the glue cured – note the use of some 250 micron black plastic to stop the sides sticking to the surface below.

- Once the glue had cured, I removed the tape – ‘Look, Ma – no marring or glue on the surface’.
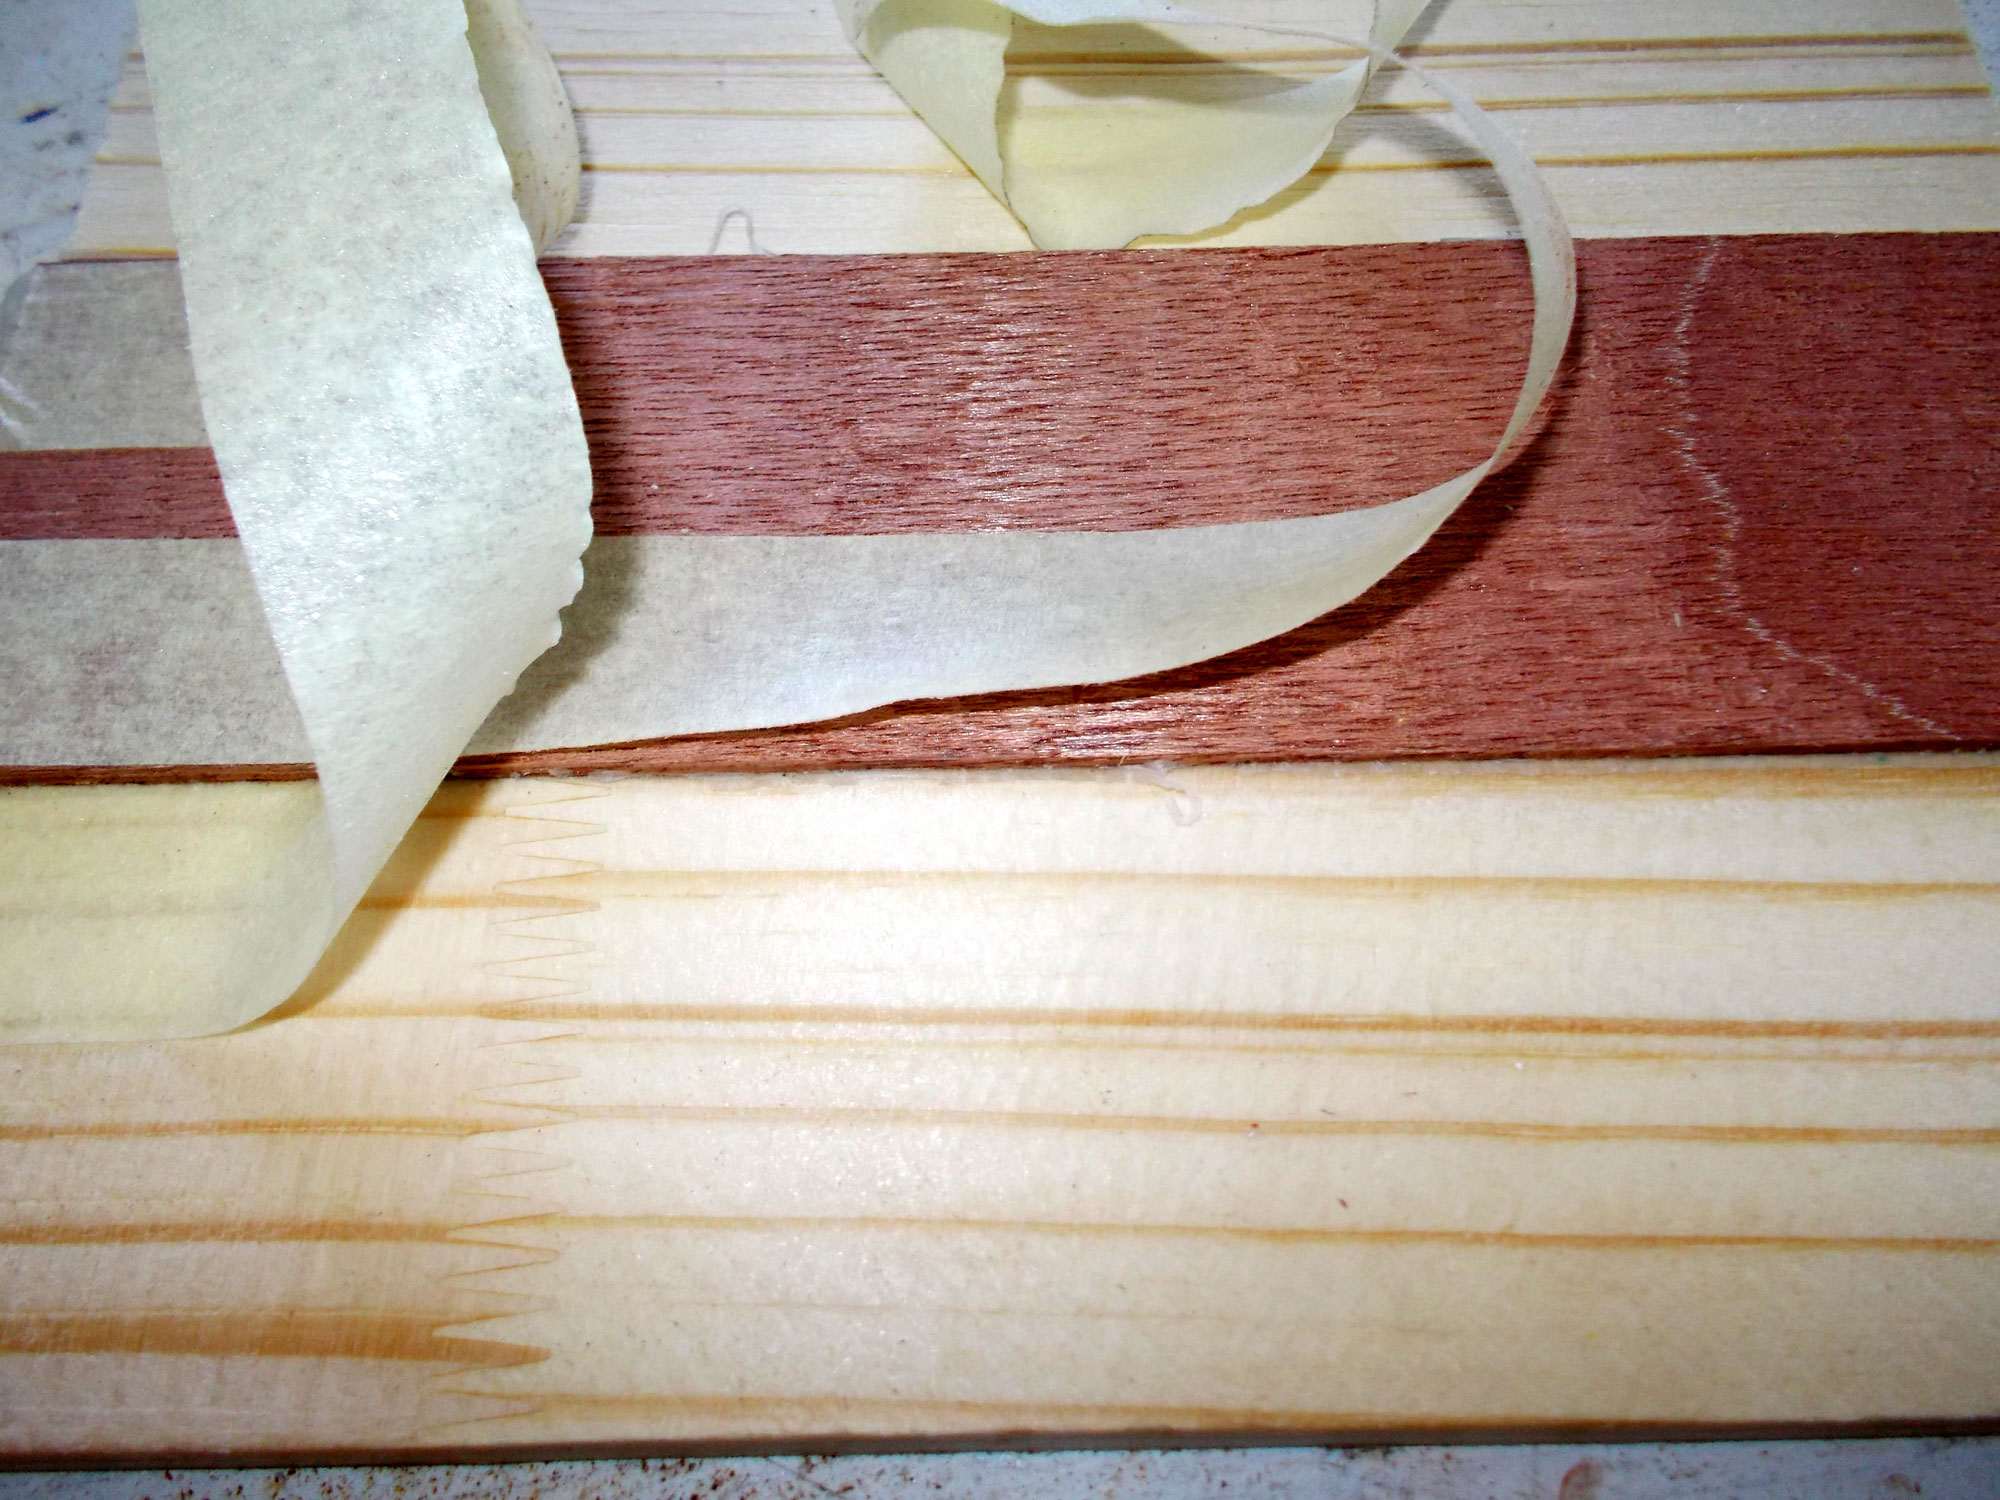
- The four sides completed. I clamped them firmly together and then used the saw to trim them all in one go to 155mm, taking a couple of millimetres off one end of the stack, and the remainder off the other end. This ensures that the ends of the three section of each side are absolutely flush.
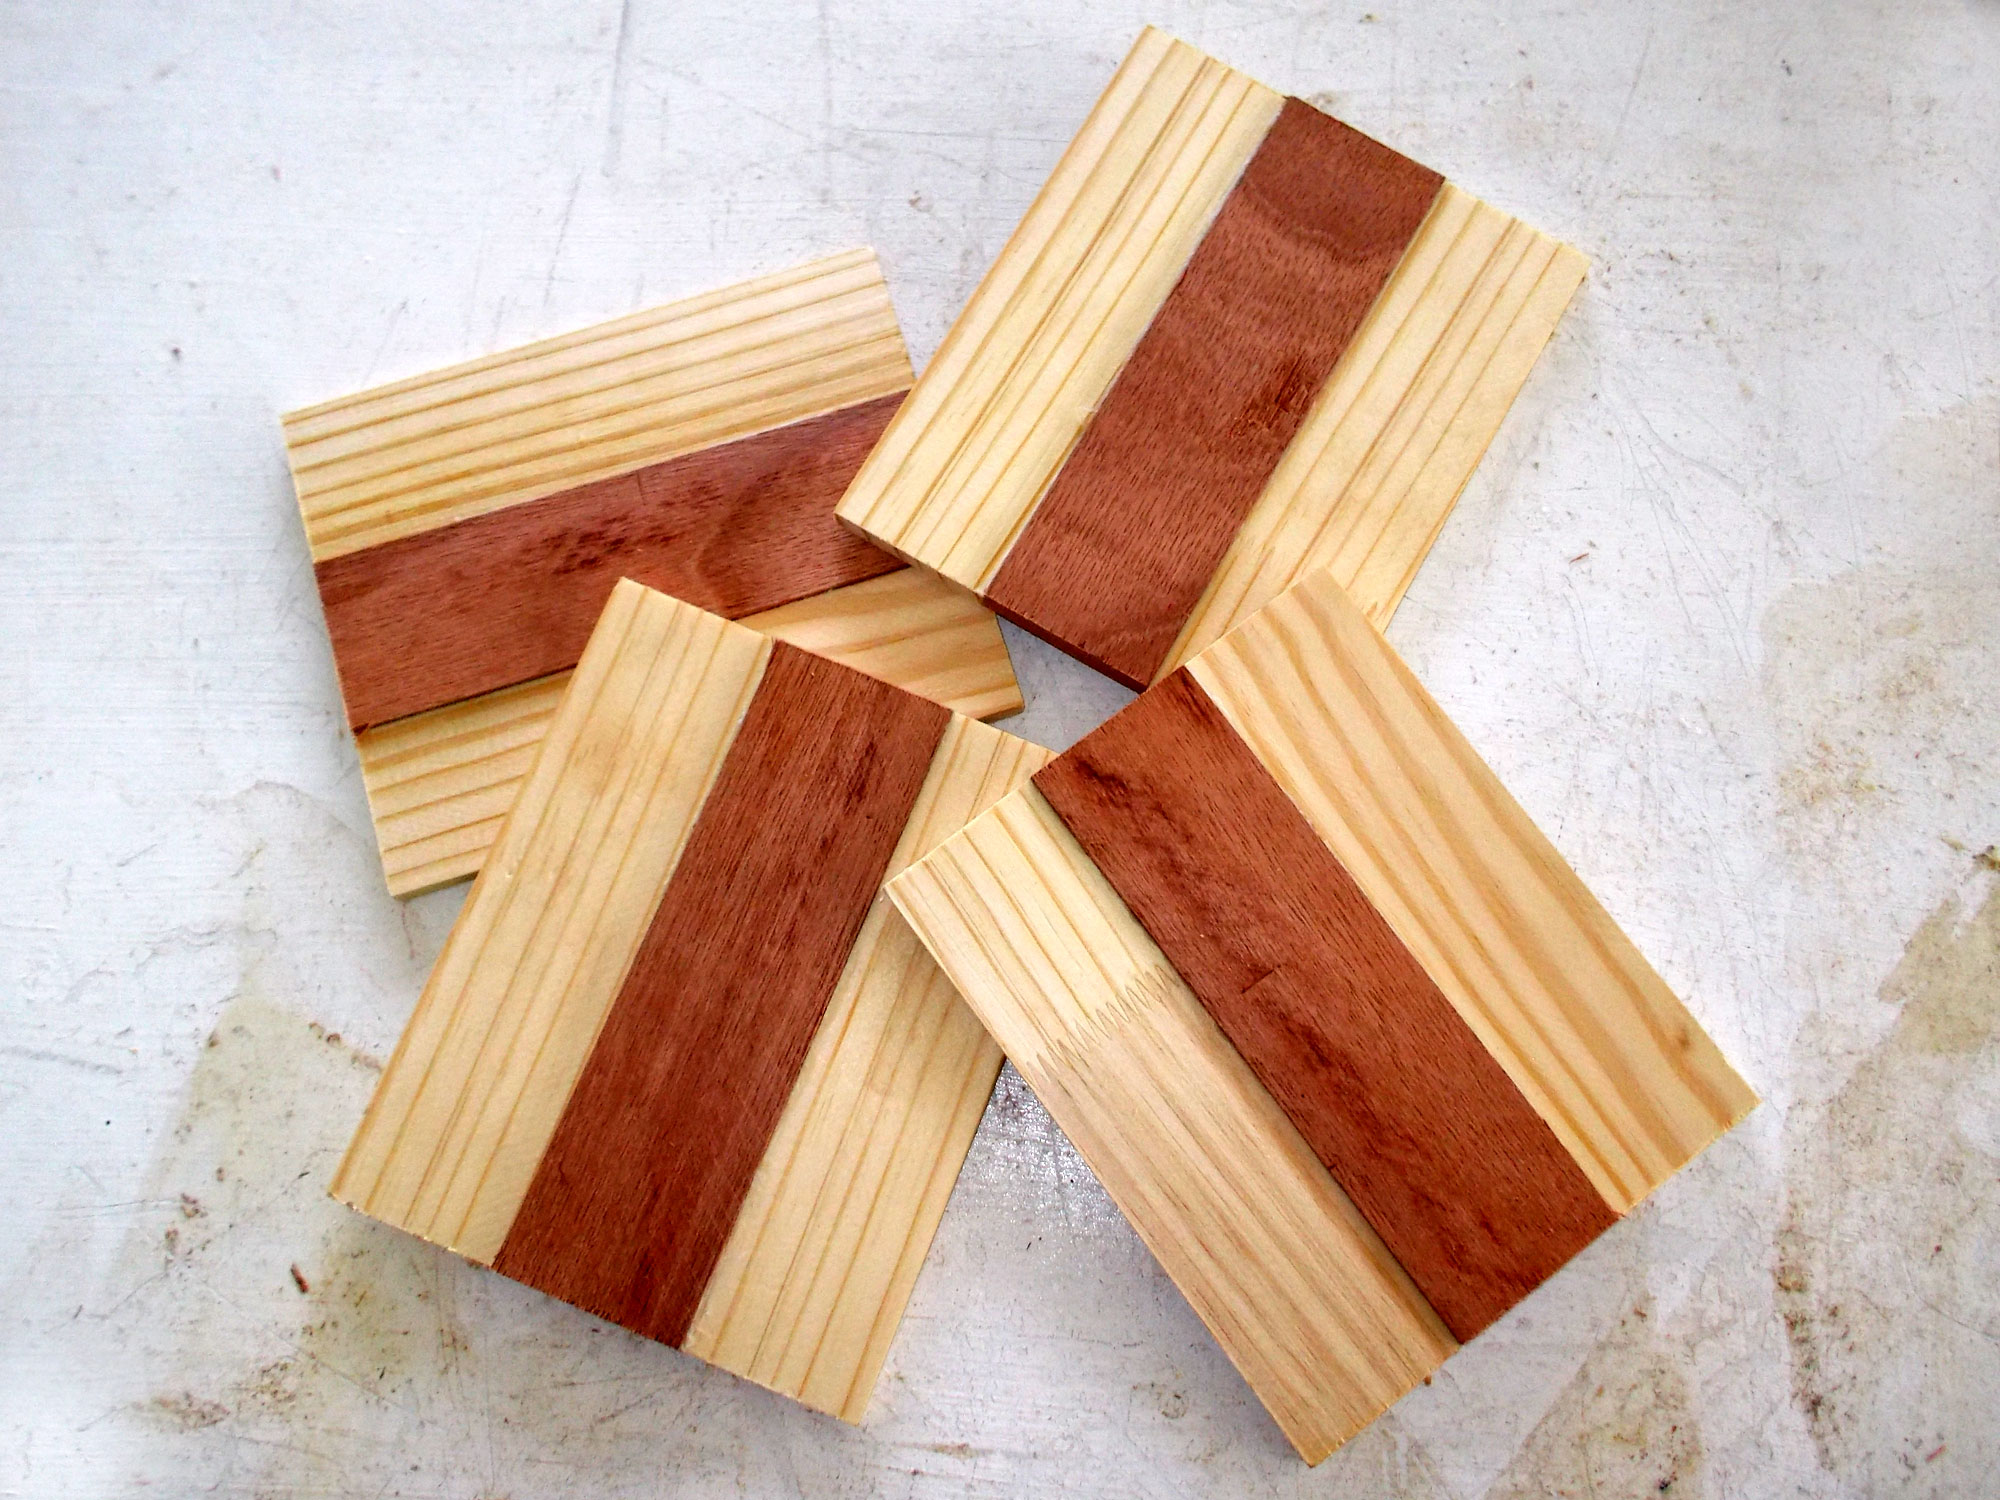
- Then I used the saw, set to an angle of 45° to mitre each side of each side and dry fitted them together, as shown here.

- Then I clamped them back together again, just as I had when trimming them, and cut 30mm in from one end – to create the sides of the lid. And now comes the important part. If you are going to paint the caddy, then you don’t need to do this, but if you are going to varnish or stain it, it is best to have the grain line up between each side and lid side meeting it. So I labelled each as shown using tape… ‘A’, ‘B’, ‘C’ and ‘D’, with an arrow on each showing which way to orientate each –positioned the sides as shown, simply to check that they were in the correct order, from ‘A’ through to ‘D’.

- It’s very easy to get this wrong, so I set out the sides as shown to ensure that they were oriented properly and in order.
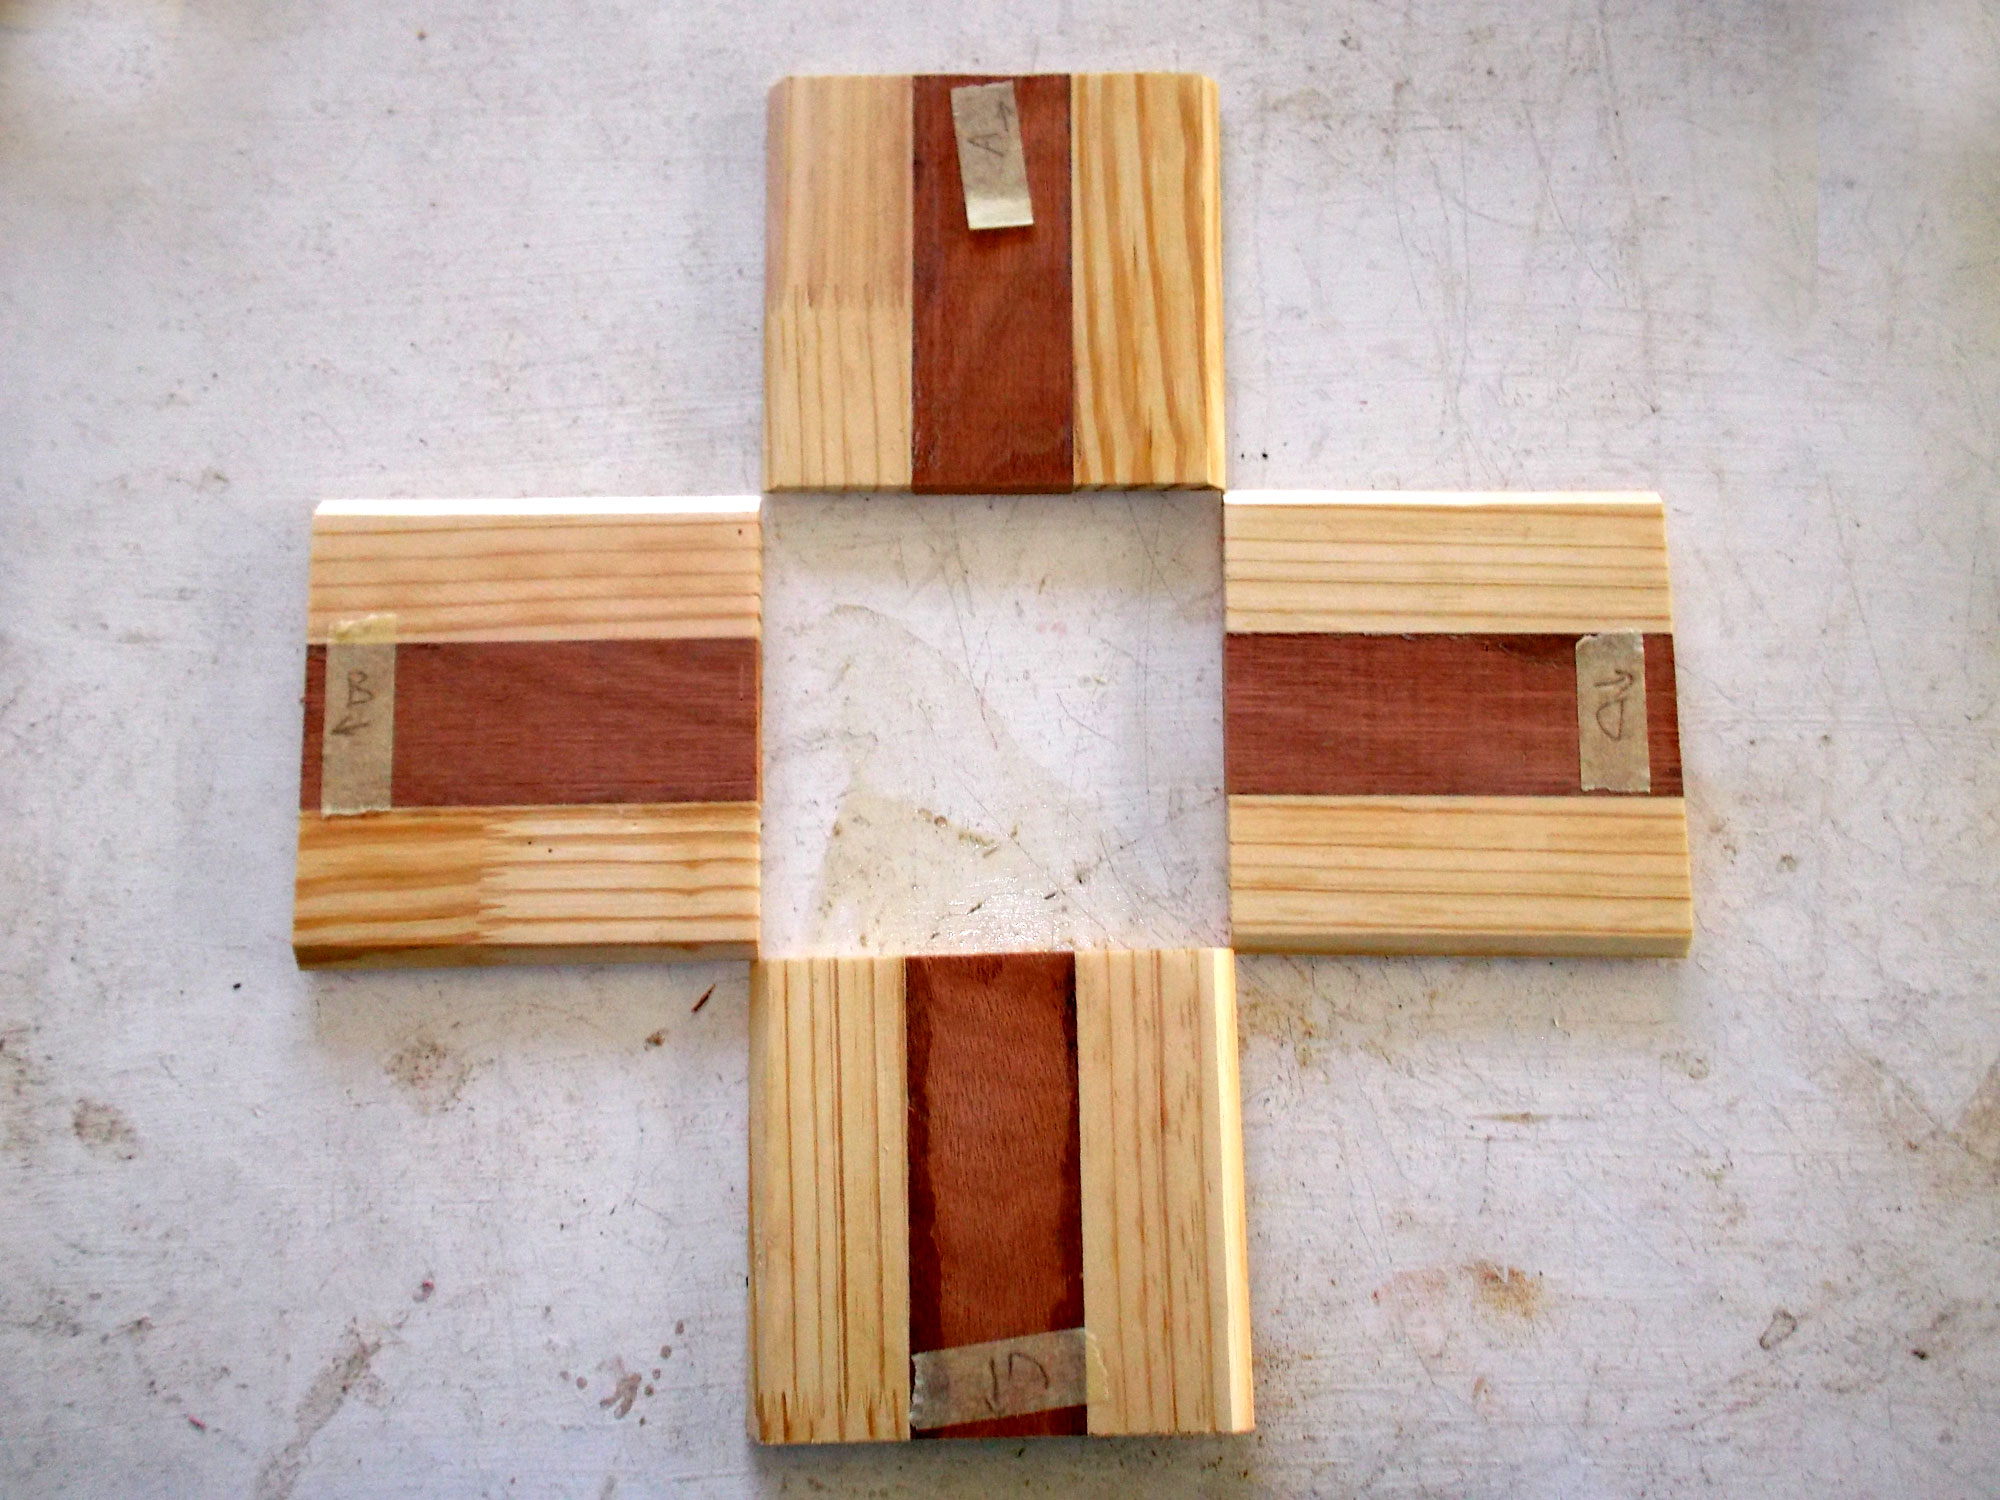
- Then I applied glue to the surfaces and clamped the sides together.

- I used a slightly different method with the lid… I ensured that the sides were in the correct order and alignment, and after applying glue, used tape to secure them in place, as shown here.
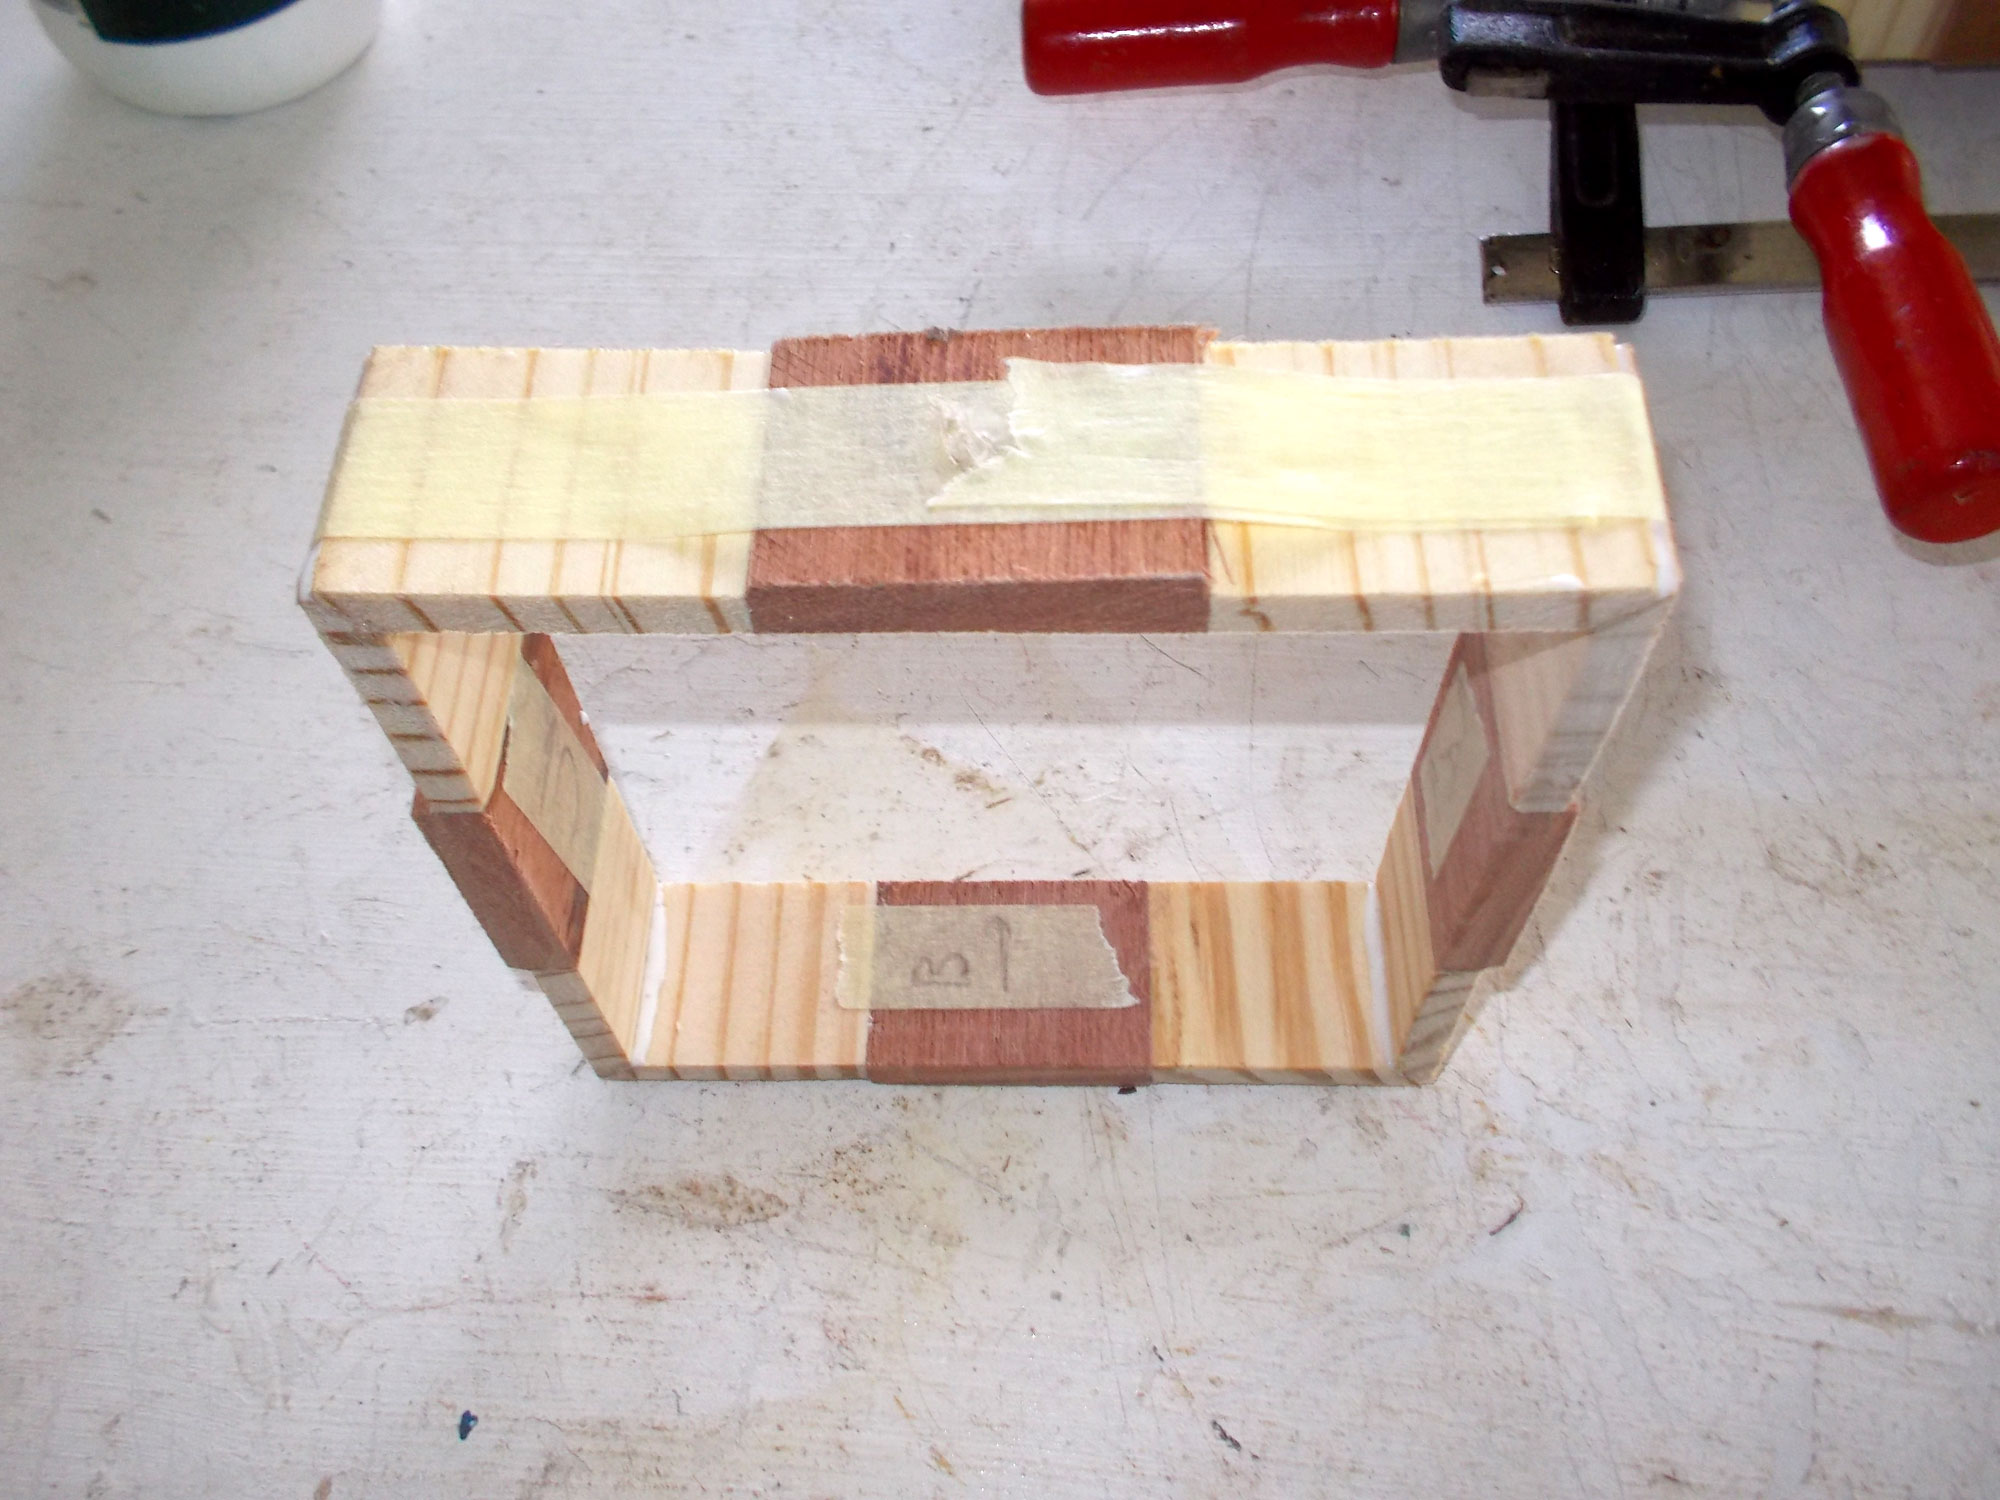
- I did, however, clamp the lid down firmly on a flat surface to ensure that it would be absolutely true.

- I cut the various pieces of 9x9mm meranti battens to the lengths required to reinforce the corners, the base and lid and for use as the partition guides.
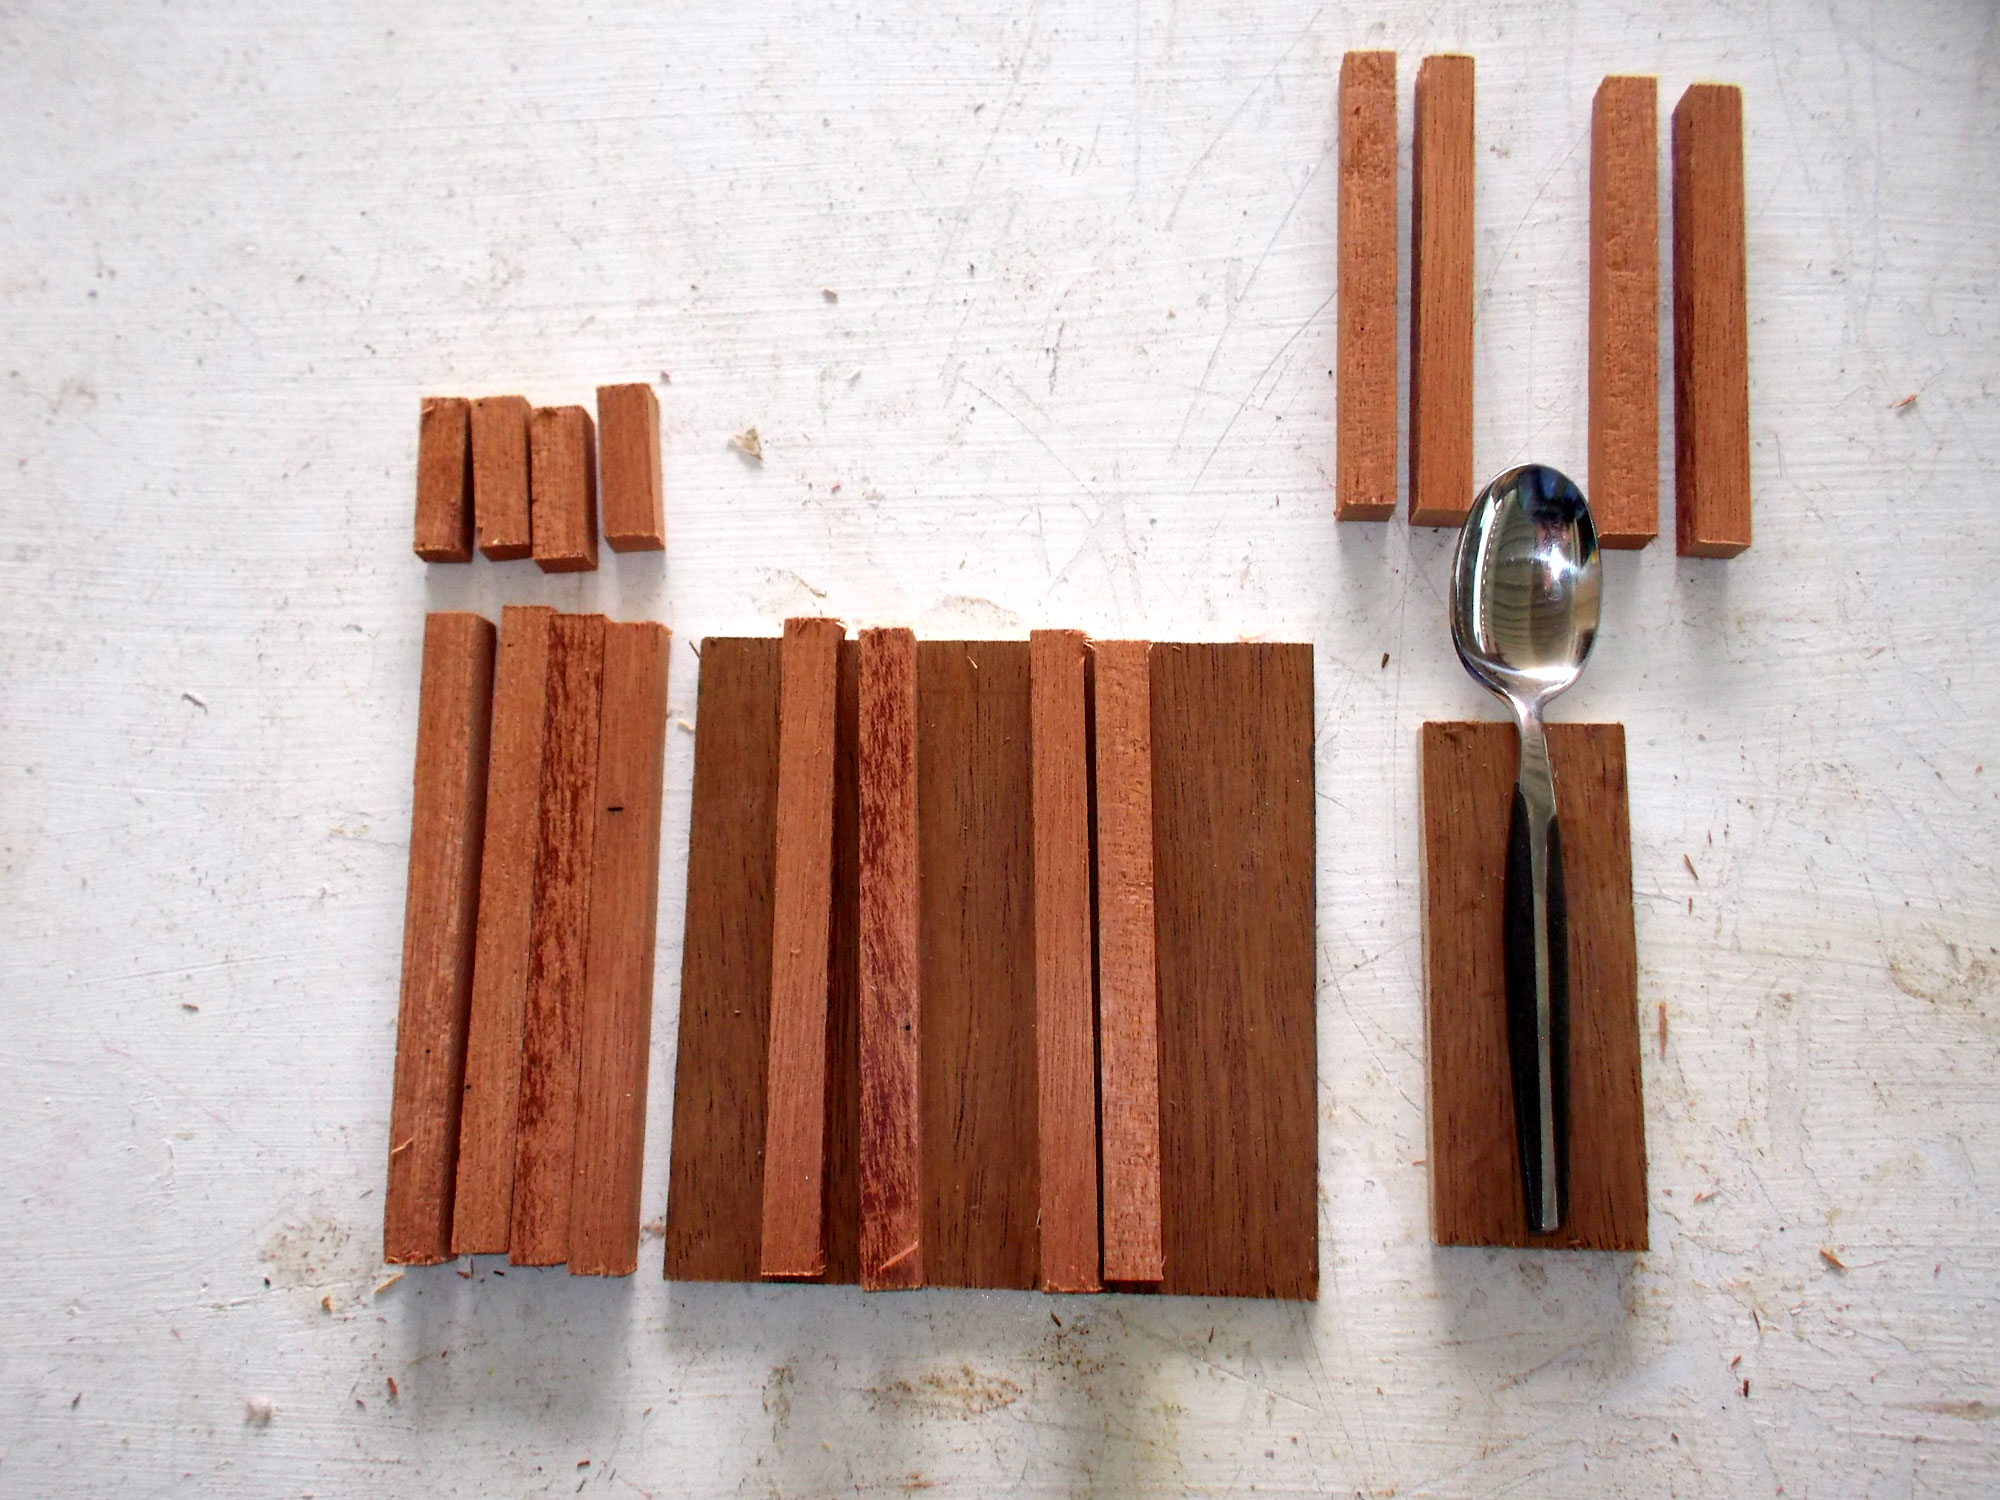
- While the glue on the main body and lid was curing, I cut the spoon partition and centre partition from some scrap 3mm play I had. Note that the centre divider has been doubled up. Set the battens so that they hold the centre partition snugly, but still allow it to be slid in and out as needed.

- While the glue for that was curing, I made up the lid and base exactly in the same way as I did the sides. Note the liberal use of clamps to ensure that they are absolutely flat – and the use of the black plastic to stop them sticking to the flat plank on which they are clamped.

- I did a dry fit of the lid and base resting respectively on the lid and main body.

- I used a large sanding pad I made up to remove excess glue from the underside of the lid and base.
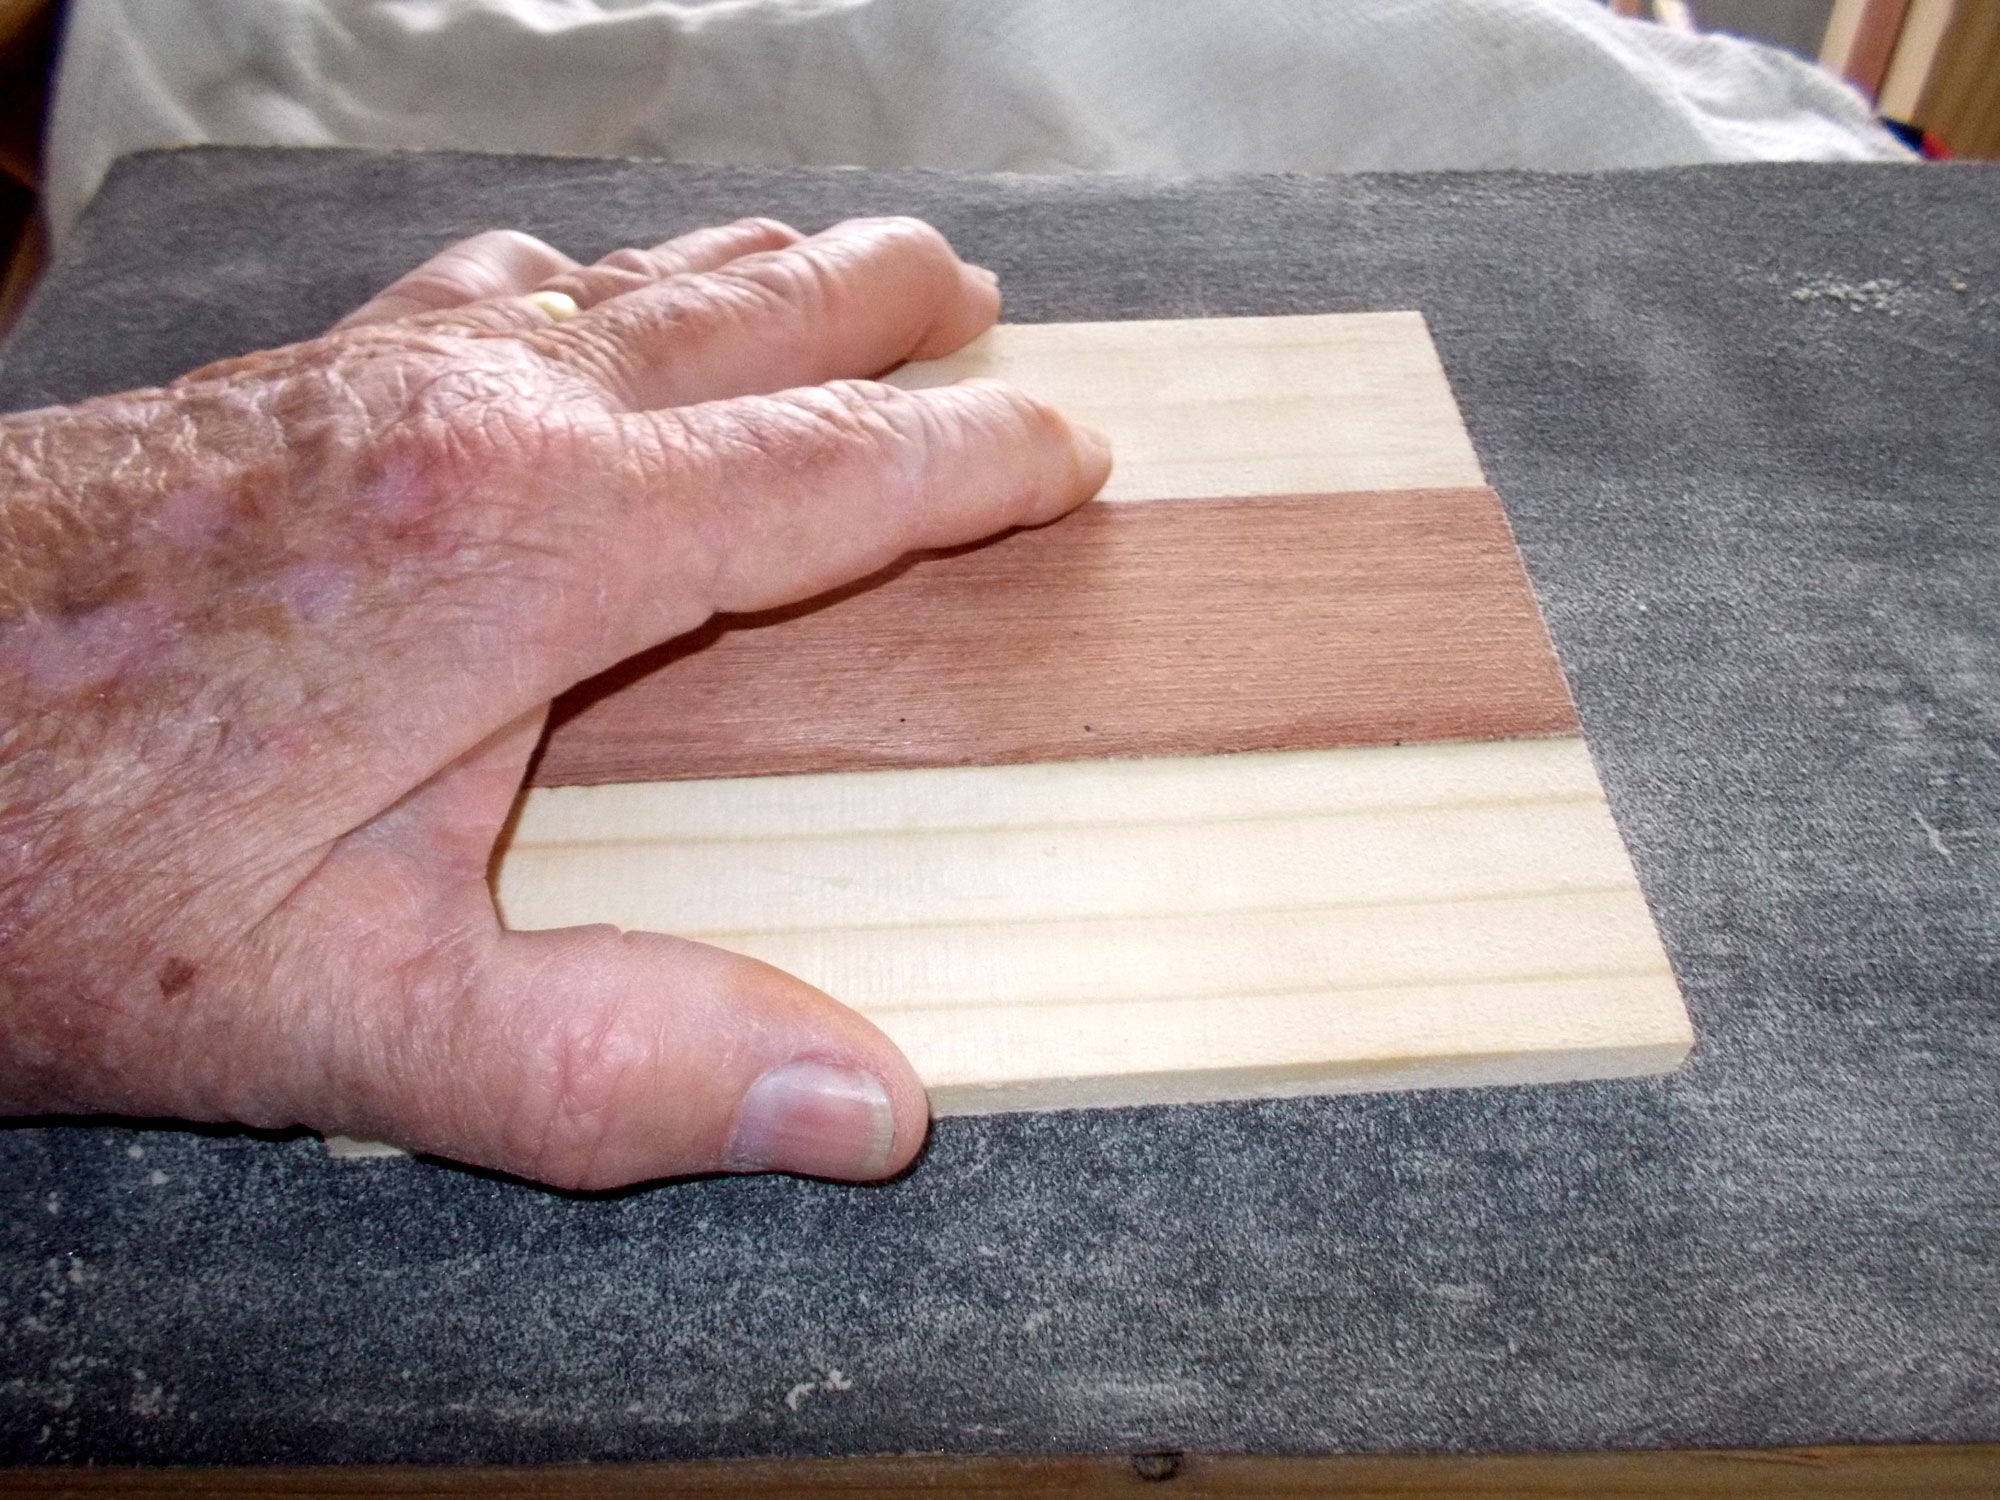
- I then sanded the top of the lid, and upper surface of the base.

- At this stage, as it would be easier than when the base was attached, I positioned the guide for the spoon partition and glued them into place. Again, they should be snug, but not flex the main partition as this would put the batten under pressure.

- Using a drill driver I drilled a 10mmØ hole for the dowel that would be the handle for the lid. Once that was done I glued the lid to the upper edges of the lid sides.
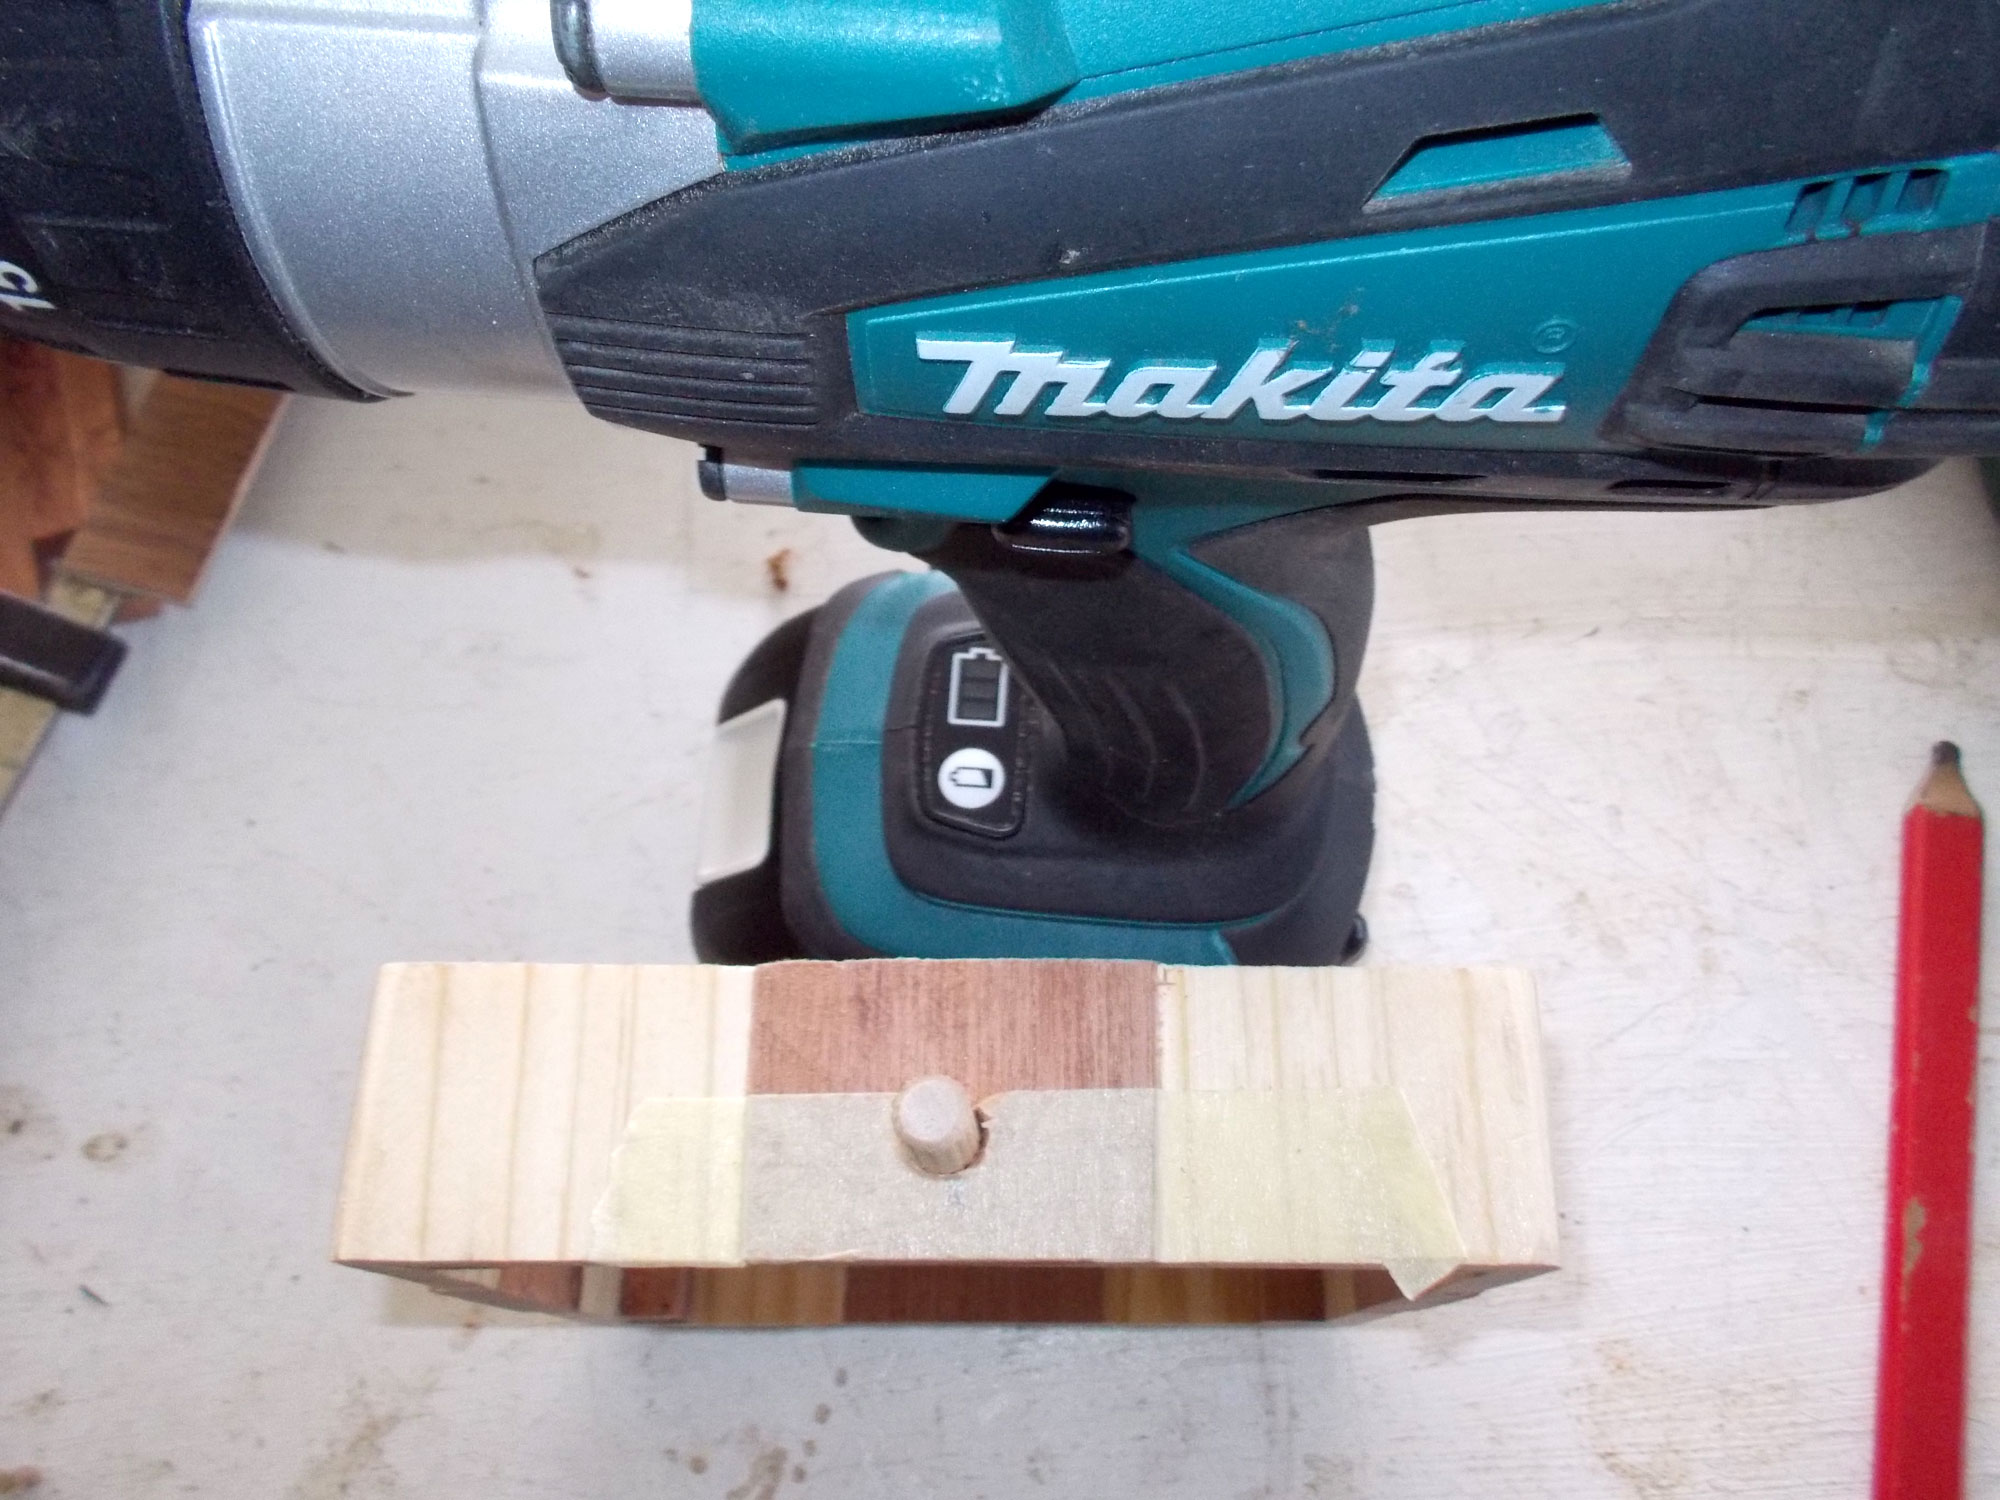
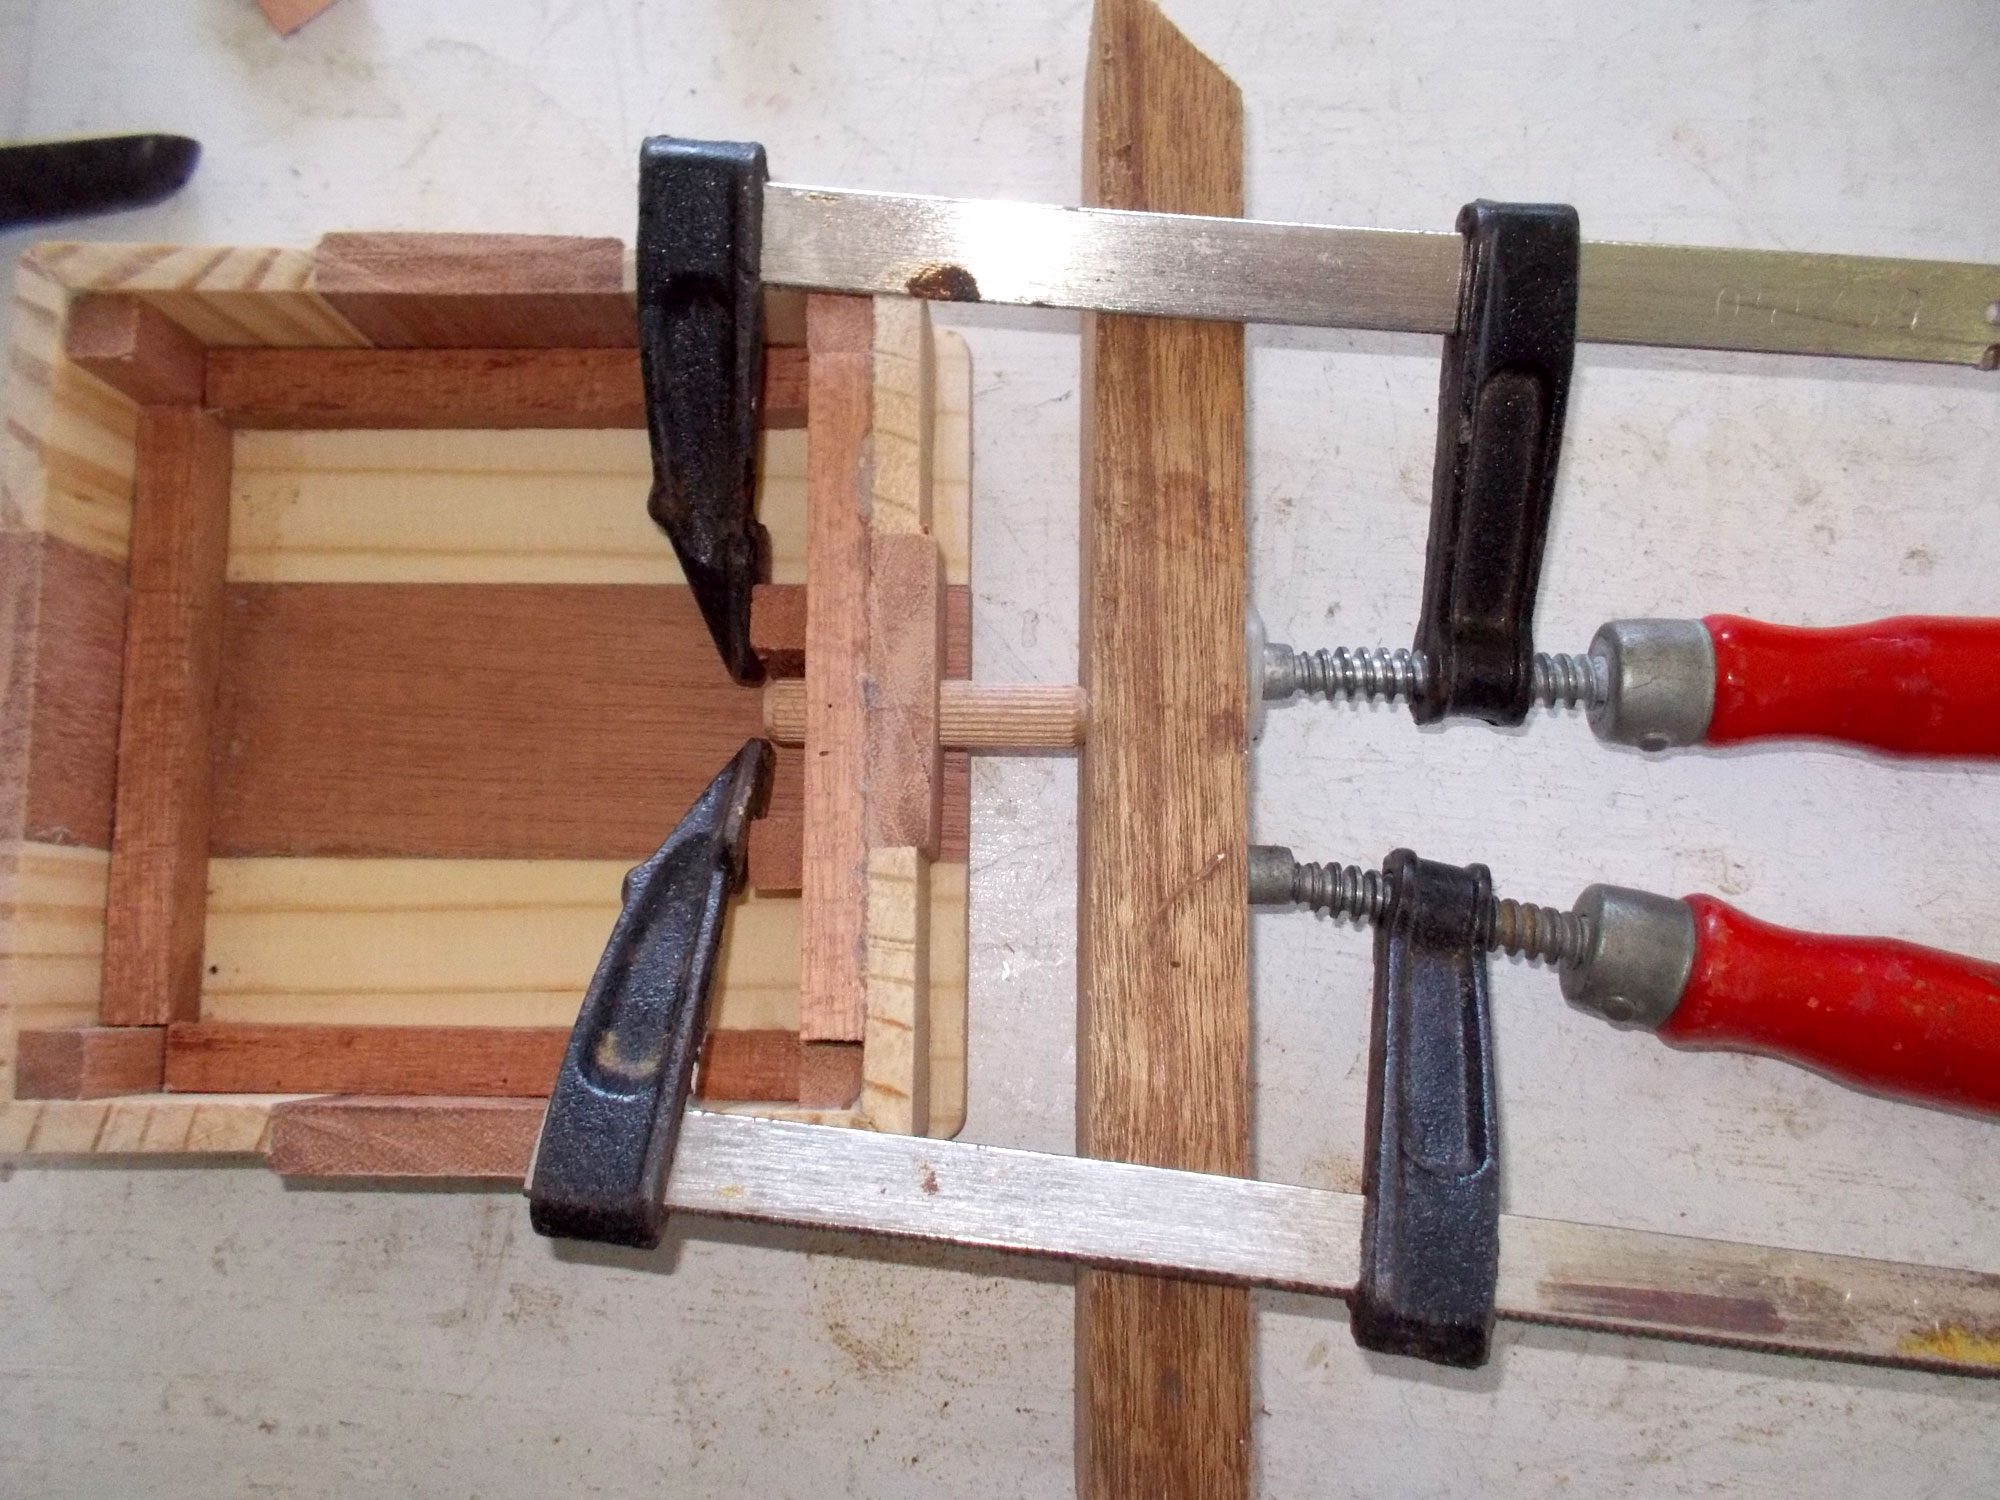
- I didn’t need to use any glue to secure the dowel in position… I had to use a couple of clamps to gentle push it home. Note that I also added a reinforcing strip of 9mm meranti cover strip, trimmed to the right width, to reinforce the front of the lid.
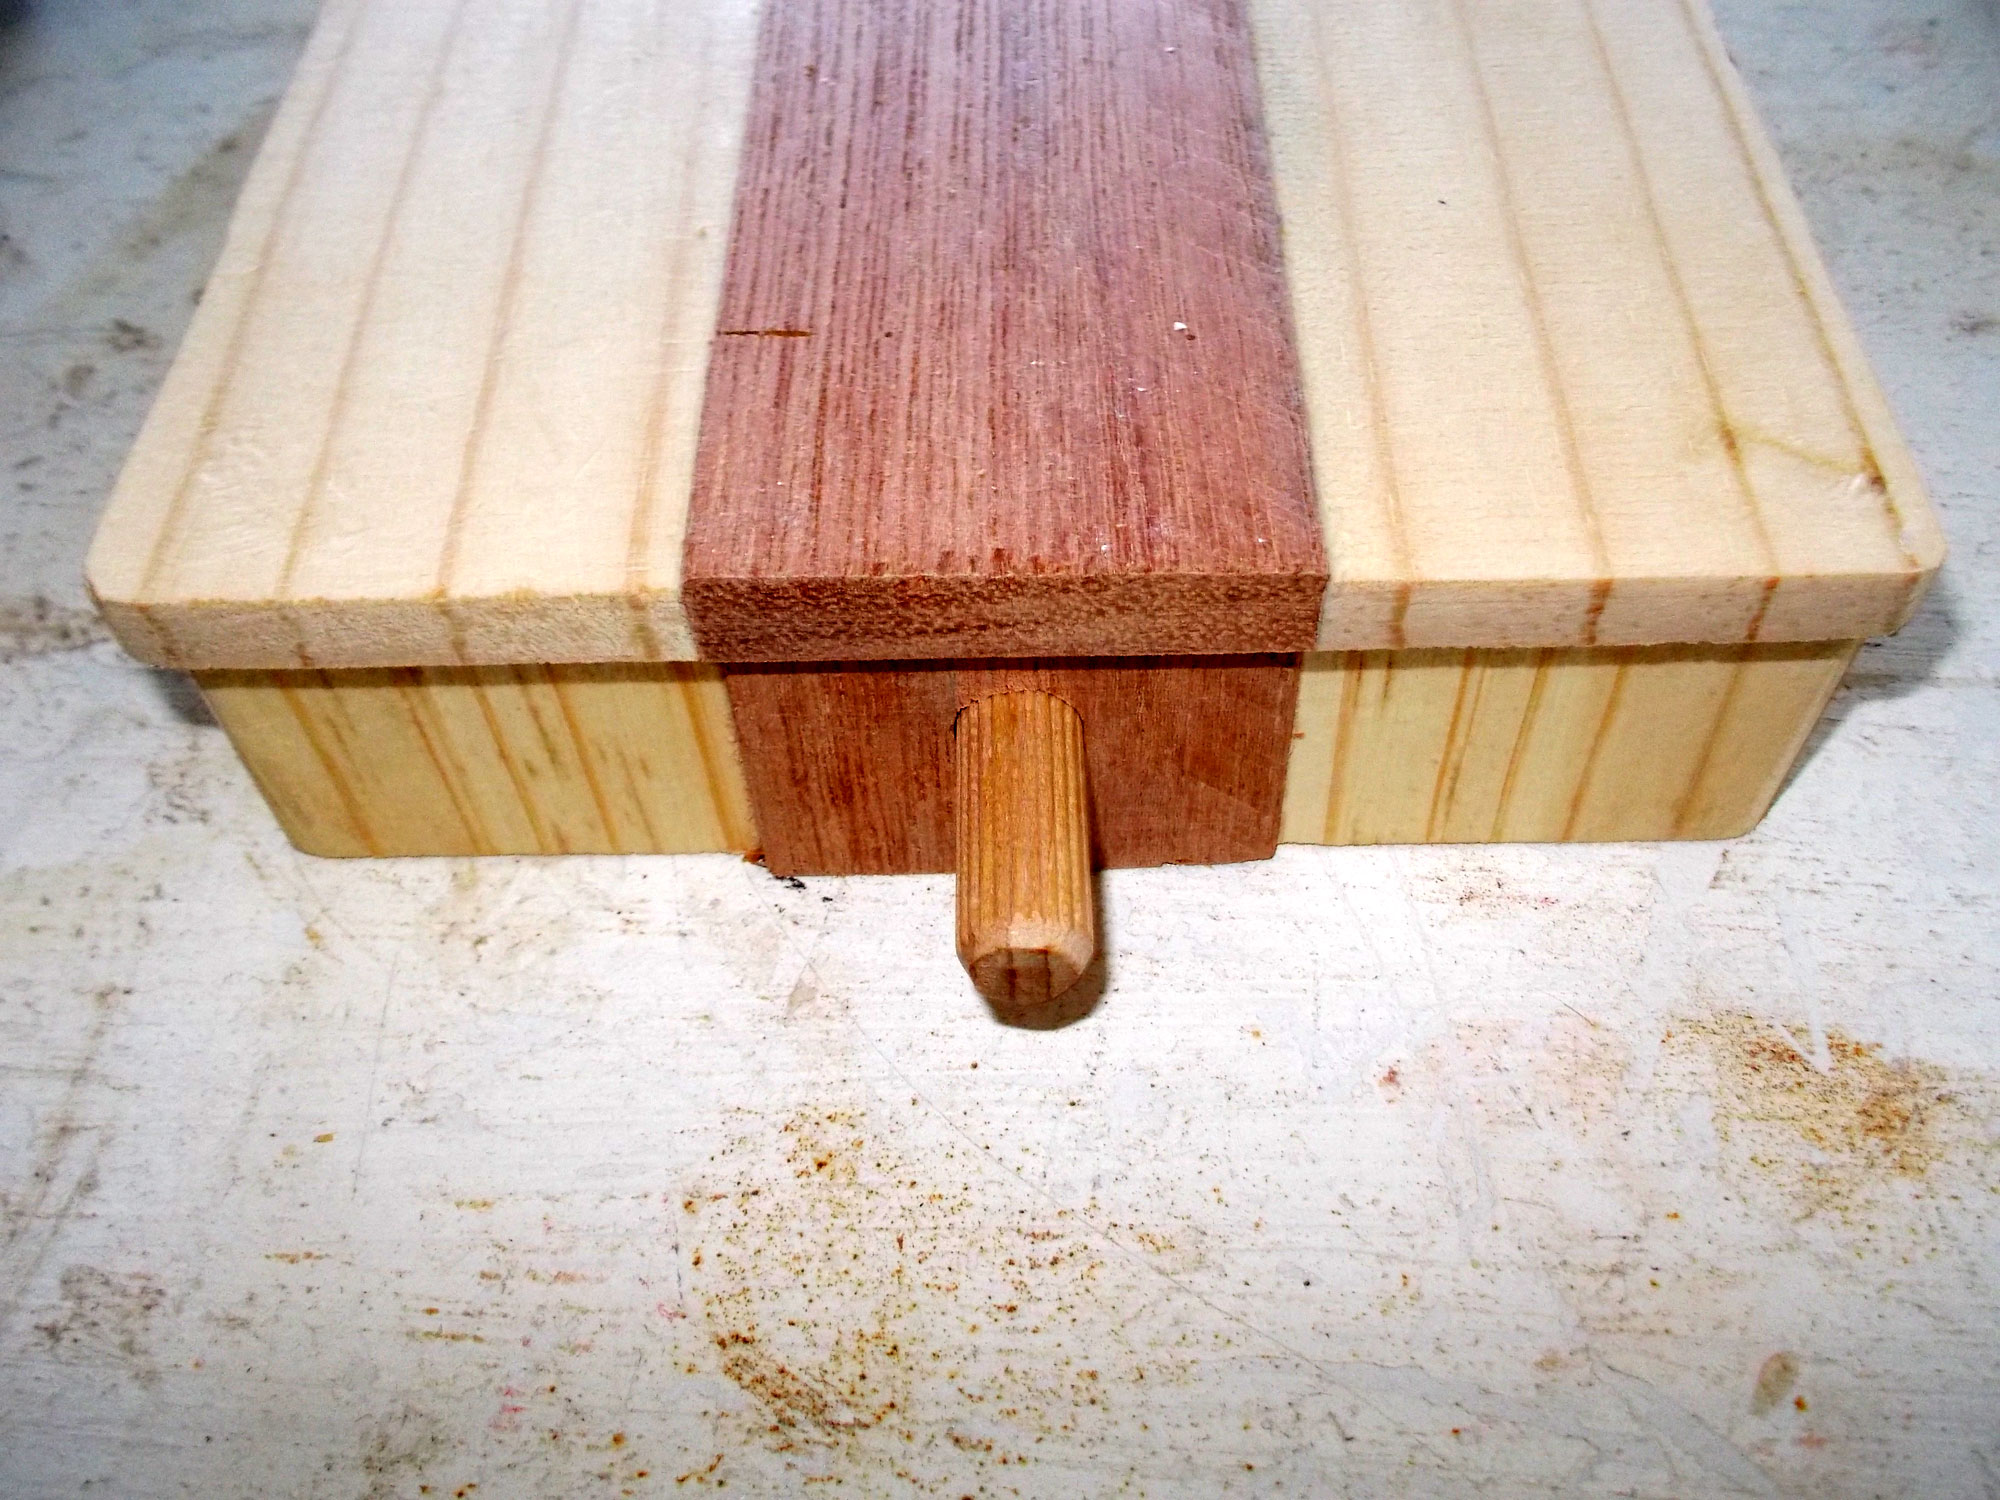
- The dowel seated in the front of the lid.
- Now for the hinge… to seat it properly, I needed to bevel the corners as shown at 45°. Do a dry fit a couple of times so that you bevel just enough and not so much that you waster energy or detract from the final result.

- With the lid and box clamped together to ensure that are properly aligned – note the matching grain on the lid and box sides – position the hinge and drill two holes for the securing screws and drop in the screws. This holds the hinge in a stable position while you drill the remaining holes… and ensures that everything lines up.

- As I used a single hinge and it has a little play in it, to ensure that the lid would sit squarely and neatly on the box section, I cut and glued two guides to the inner front of the lid – rather like the upper tusks of a hungry hippo. Note that they will need to be sanded down a little as the lid and box are exact fits, and you want to lid to be able to open and close without any jamming.
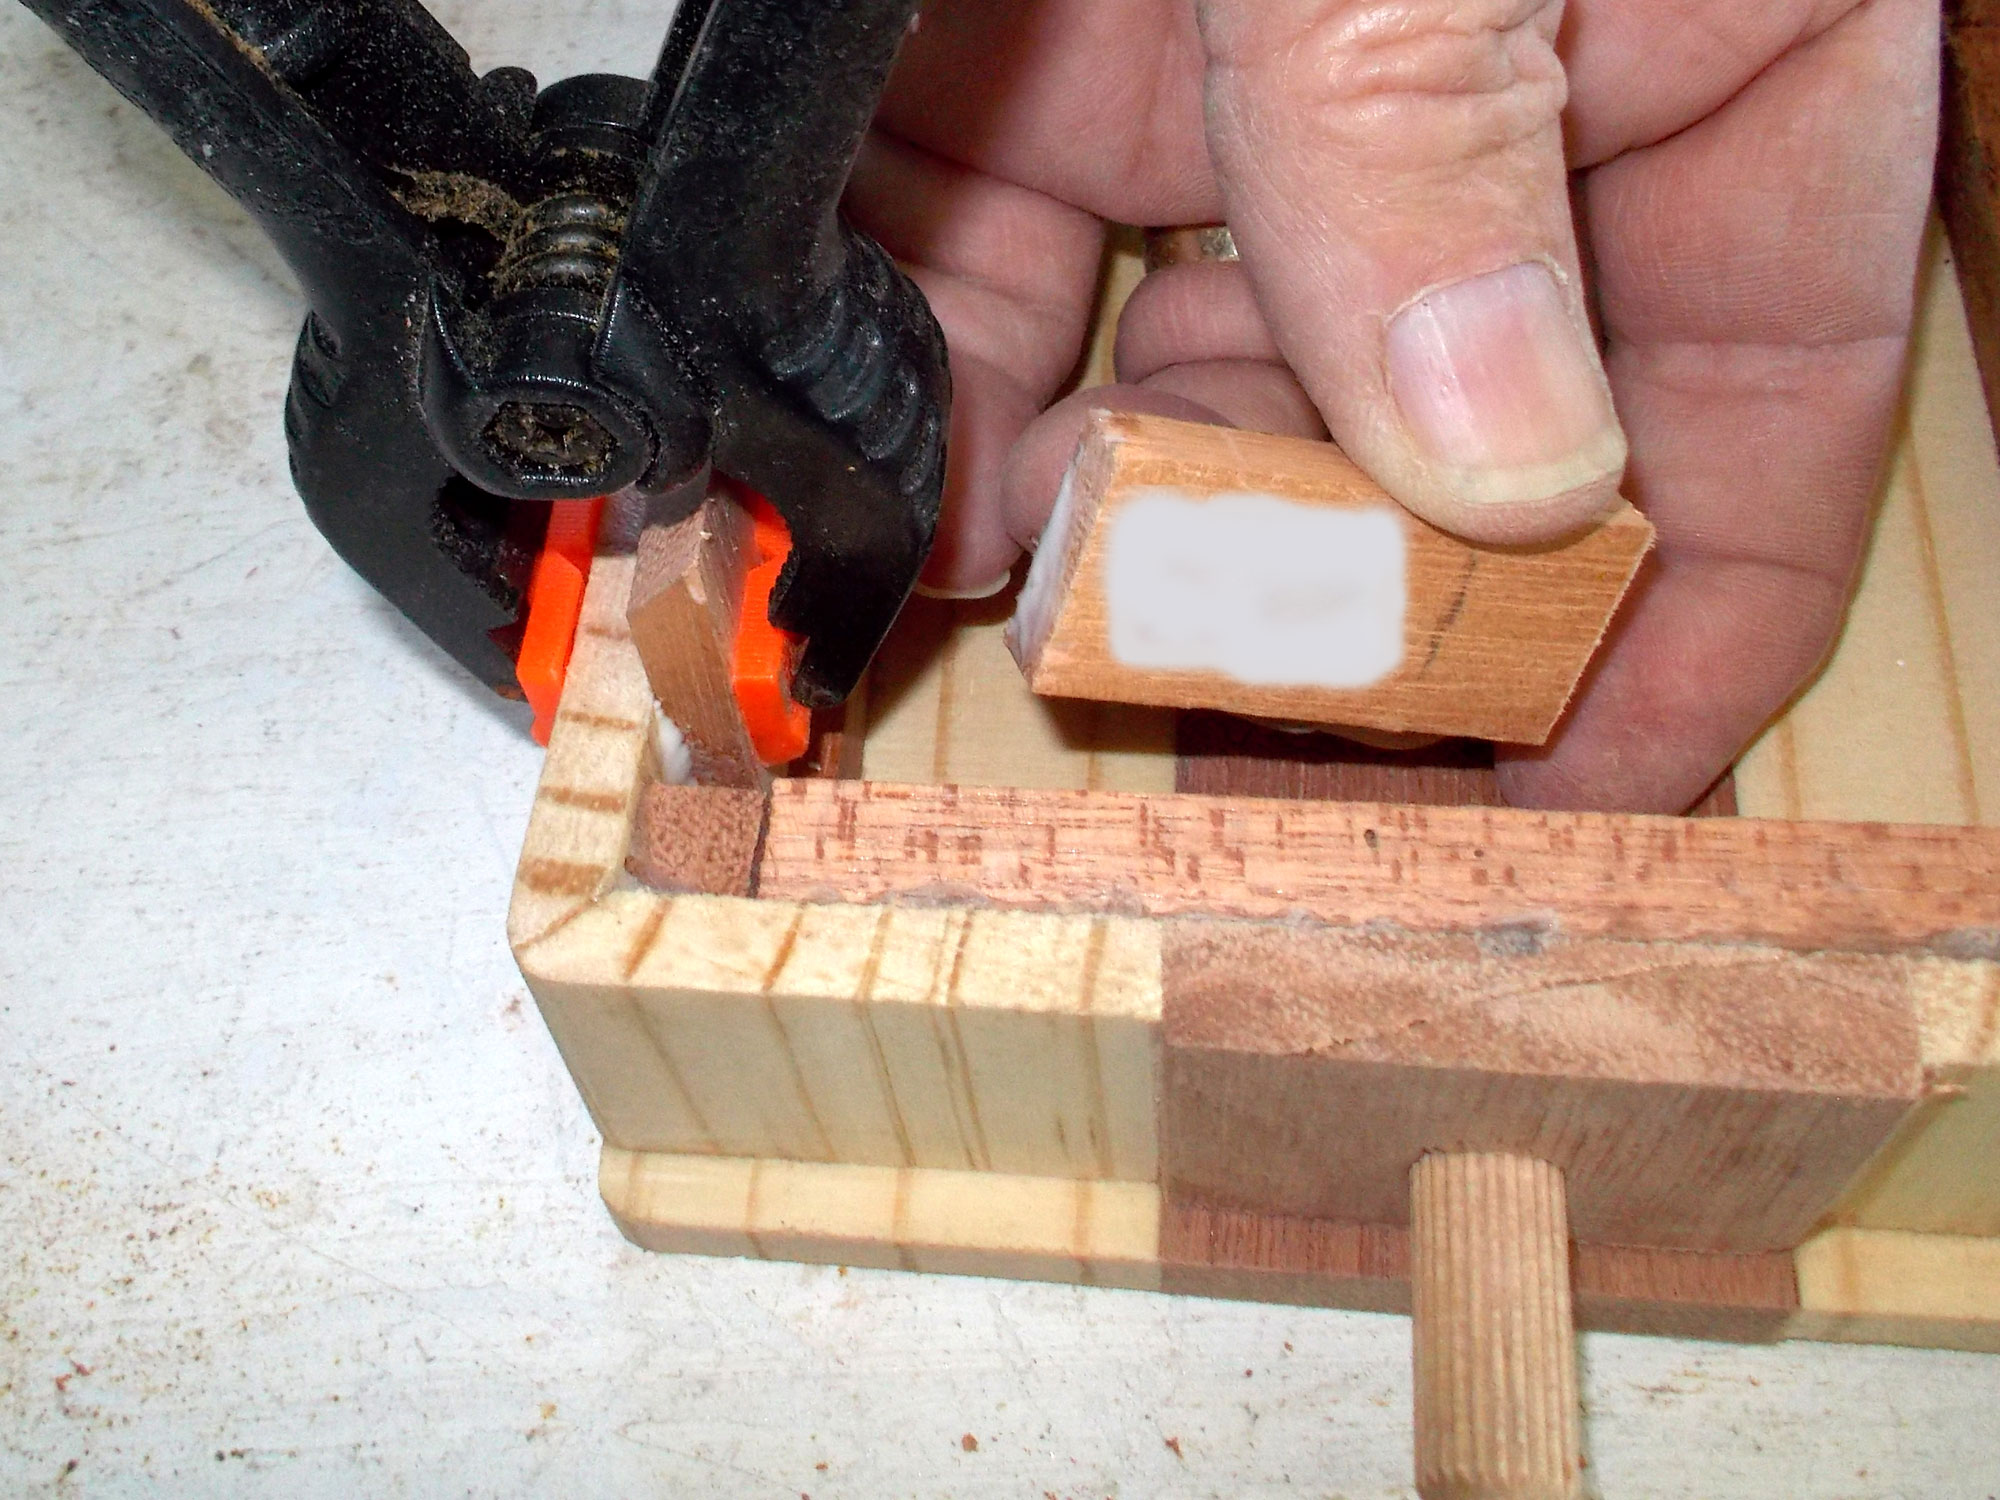
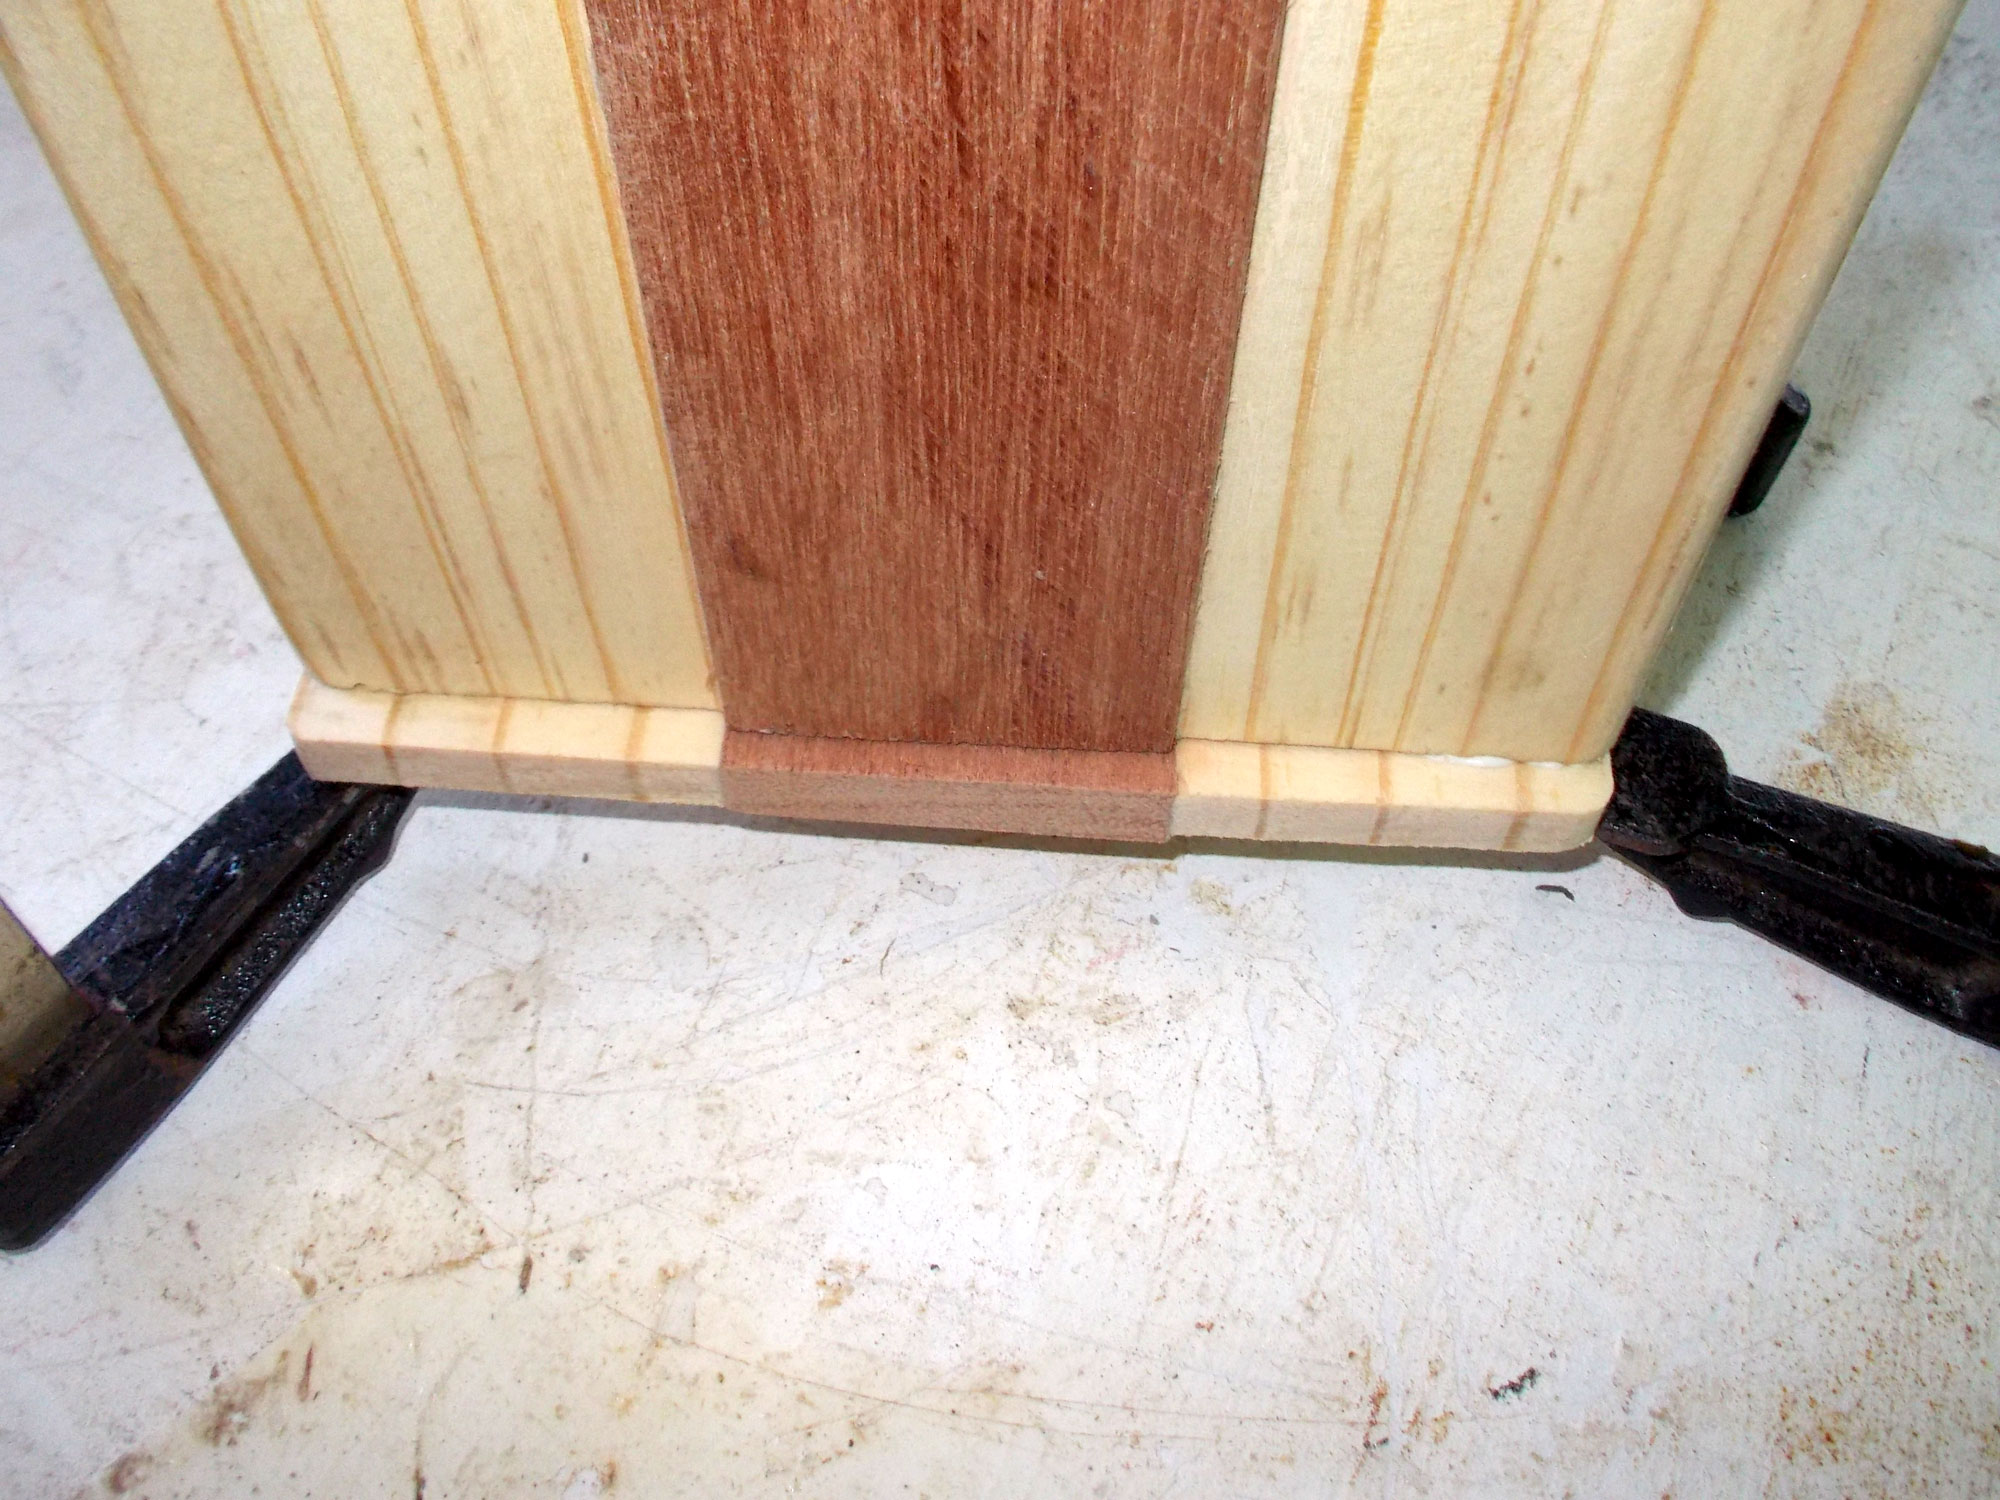
- Now I could finally glue the base to the box… note the 6mm lip.
- Almost there… I used a short length of chain and the two 13mm 4 gauge screws to secure it as a lid stay when the lid is open. (See the hint above.)
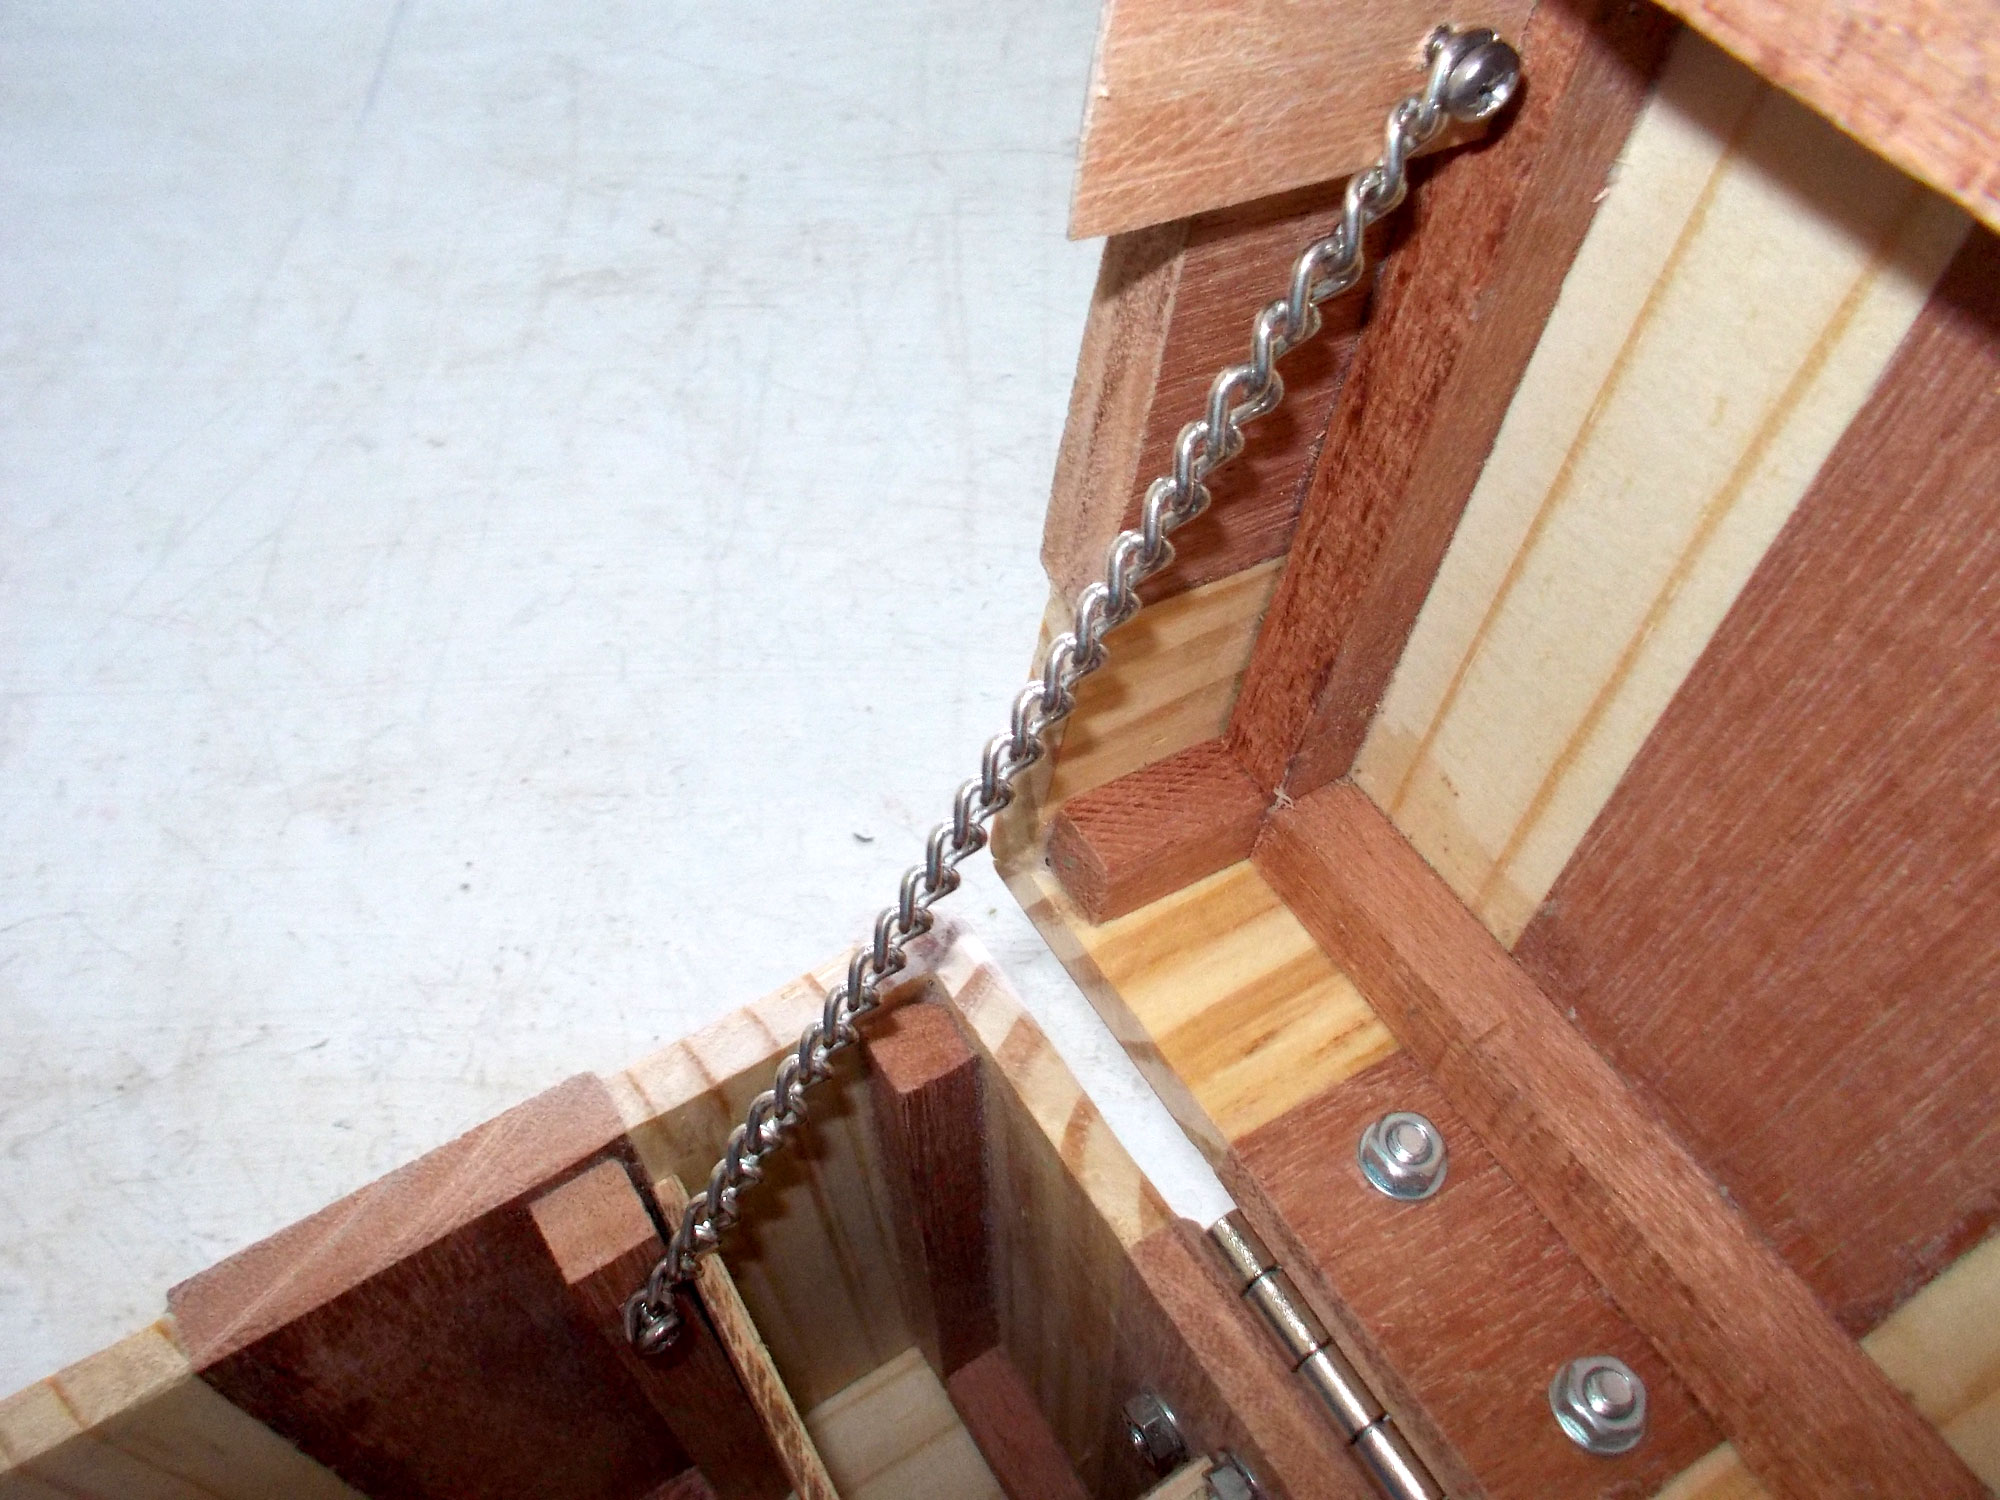
- This shows how the hinge fulcrum nestles in the bevel I made for it.

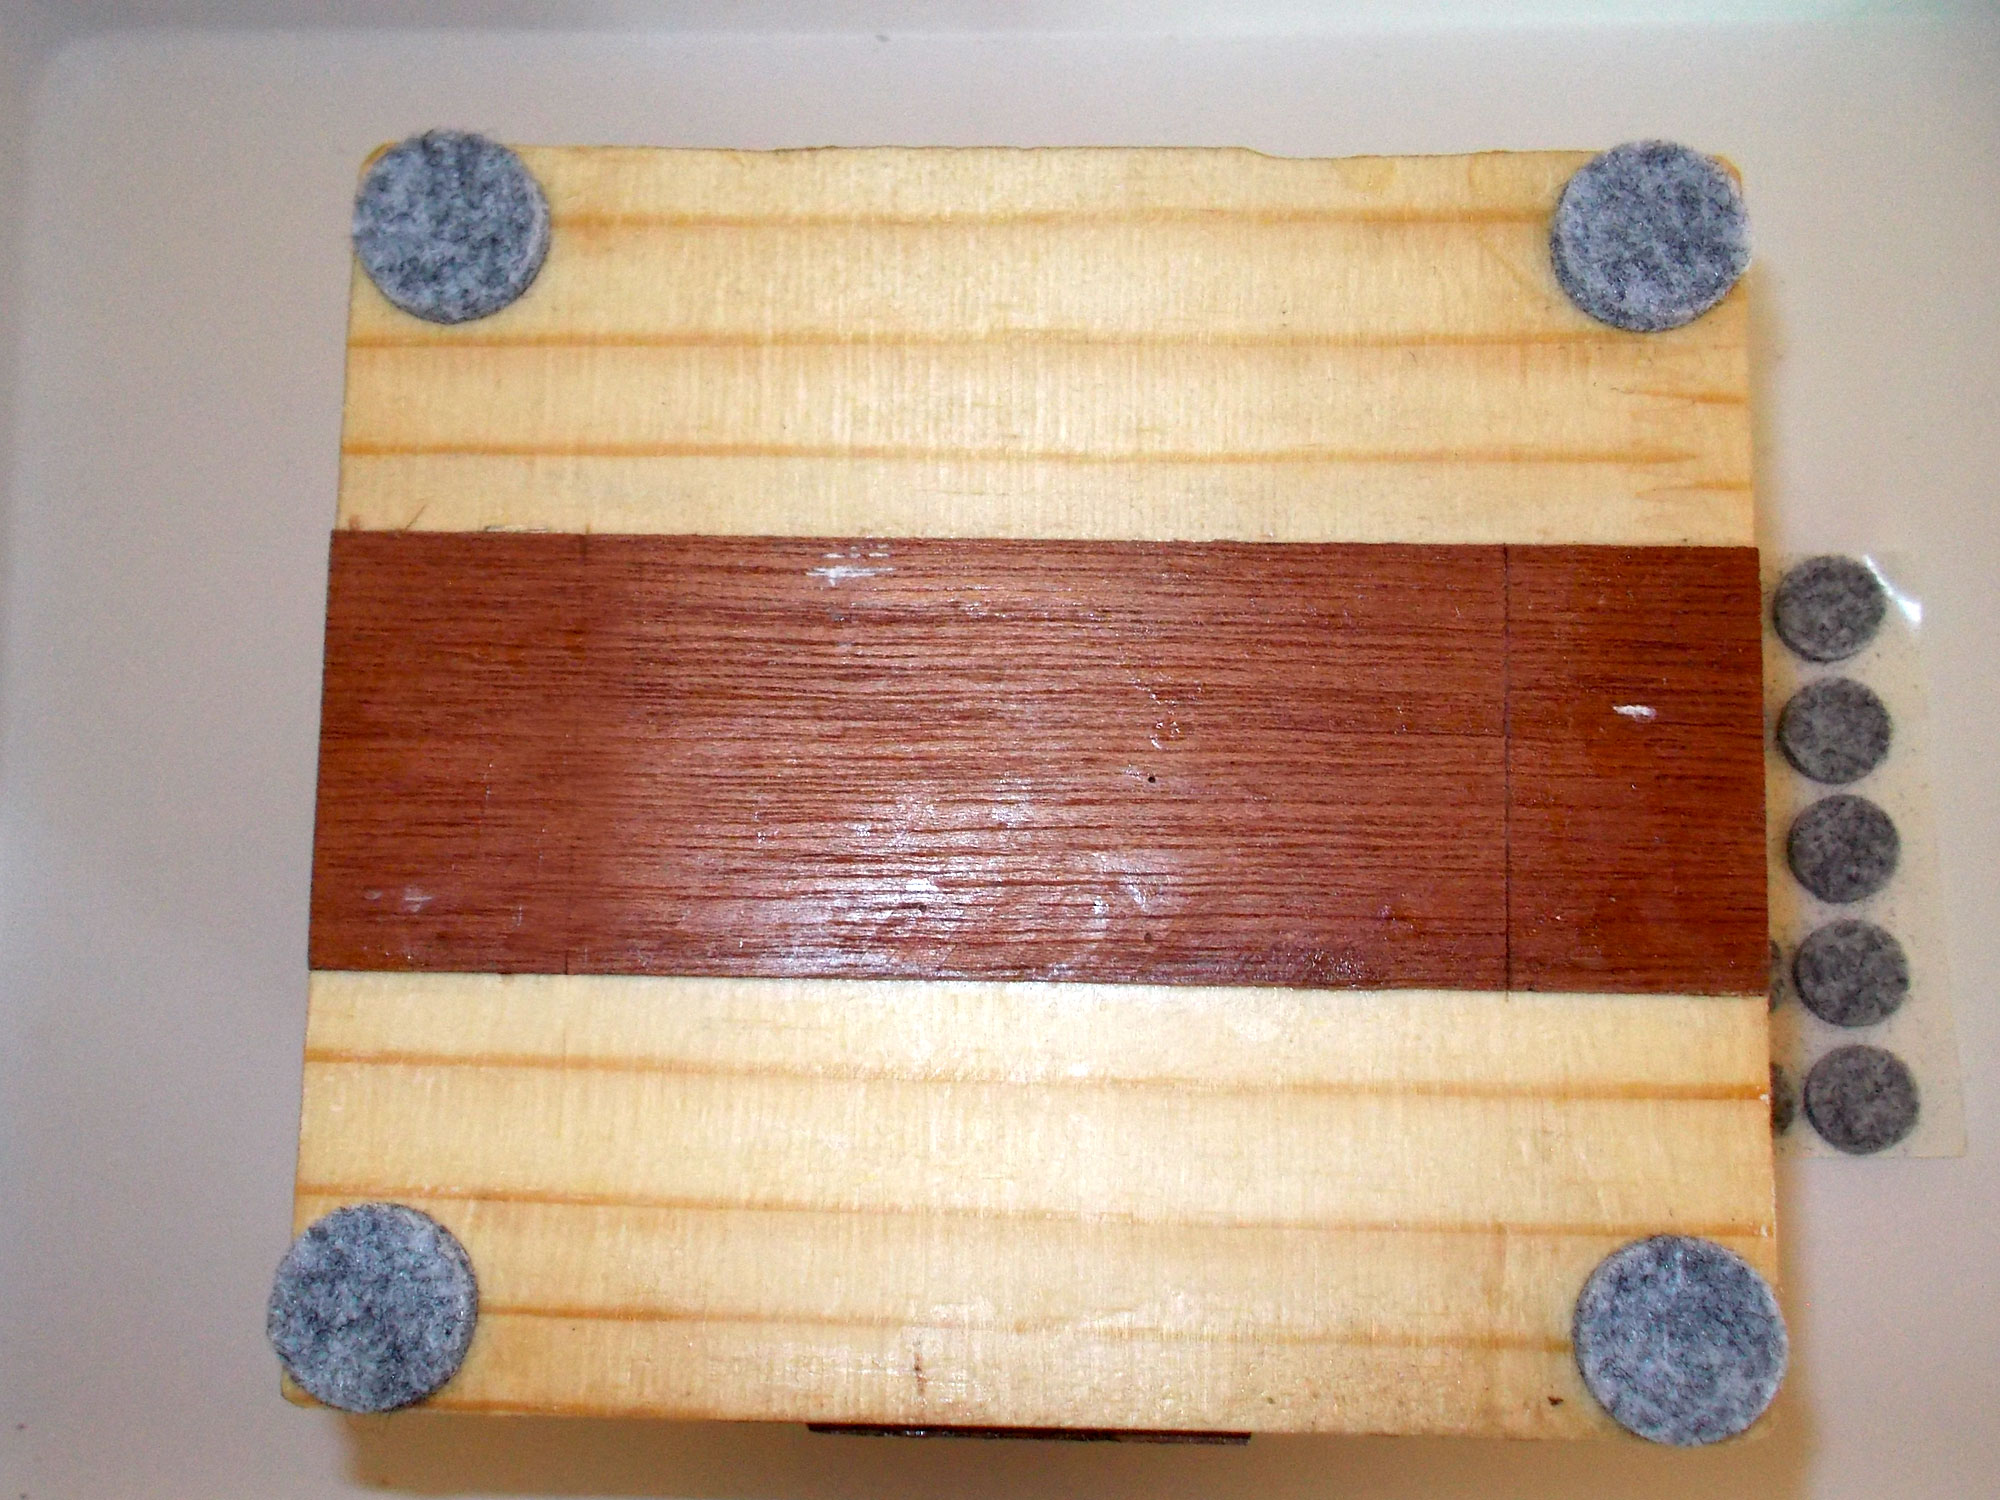
- I applied the finish – even a single coat to the underside of the base – and once it had fully dried, attached the four self-adhesive felt foot pads to the base as shown.
Tea… anyone?
Panel:
These materials are available at Selected Mica Stores. To find your closest Mica and whether or not they stock the items required, please go to www.mica.co.za, find your store and call them. If your local Mica does not stock exactly what you need they will be able to order it for you or suggest an alternative product or a reputable source.
Project guide
TIME: 2 days
COST: R150
Skill: 4
Assistant: No
Tools required:
Jigsaw or circular saw, drill/driver, clamps, orbital sander
