13 August 2018

A simple fix for a leaking pipe
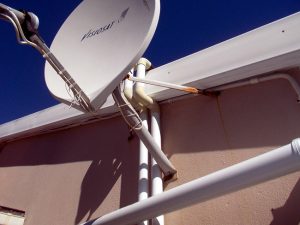
In this case, the pipe in question is the inlet from the pool directing water to the solar heater on the roof.
Materials:
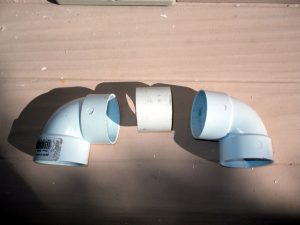
A 500mm length of pipe of the correct diameter – in this case: 50mmØ; 4 x 50mm 90° elbows; 1 x tube of PVC adhesive.
Rules:
First of all, cut off the water supply.
Golden Rules:
- Always dry fit each part and trim or replace what’s necessary, before applying the adhesive.
- When you apply the adhesive and fit the parts together, you have to work very quickly as the adhesive effectively welds the parts together; after that they are fixed for good. If unsure, set the parts up accurately first, apply the glue, fit them and quickly make the final, small adjustments to ensure everything is aligned as it should be.
Method:
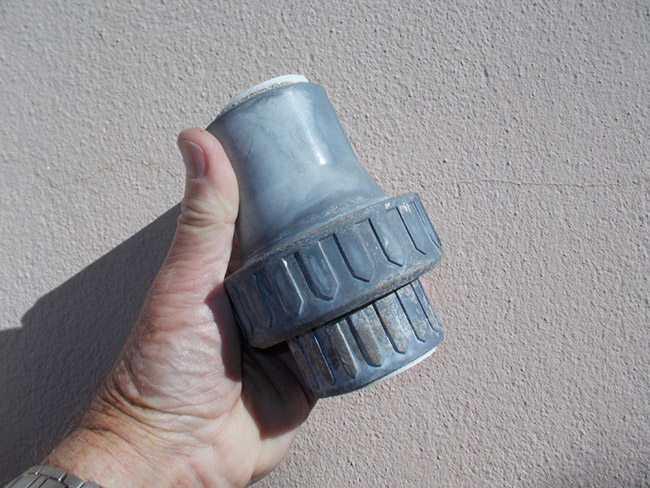
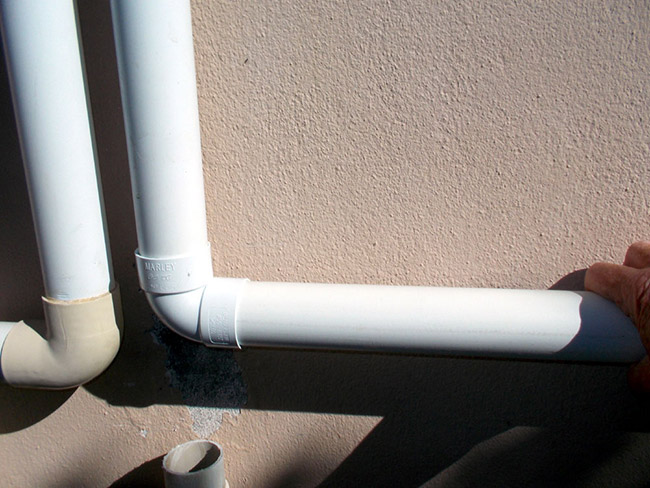
- Remove the faulty valve with a hacksaw.
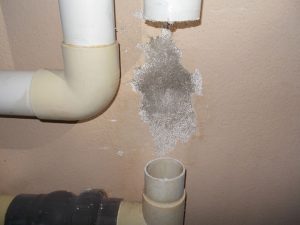
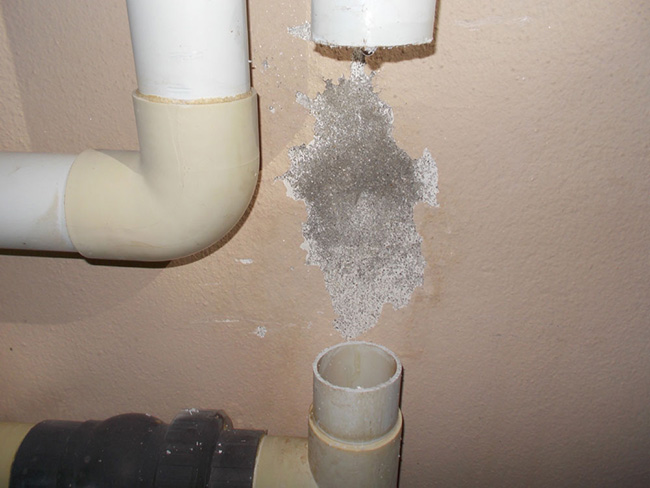
- This is the damage to the paint on the wall next to the leaking valve – the first indication that there was a leak.
- Look for clearance at roof level to push the pipe upwards, even a couple of centimetres.
- If not, check for clearance at ground level. If you still have no luck, install a little extra piping like the letter ‘U’ laid on its side.

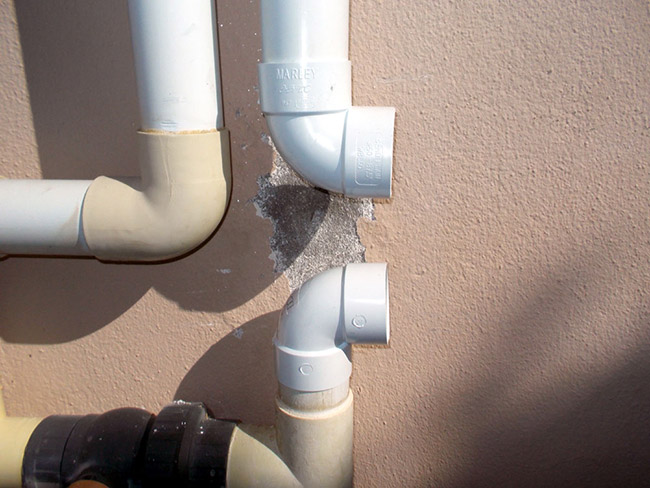
- Ensure that the pipe surfaces are completely dry, slip a length of the pipe on to one elbow, coat the inner surface of the vertical opening with adhesive and push it on to the bottom of the pipe leading to the heater, using the loosely-connected length of pipe to align the elbow precisely with the wall.
- Repeat the procedure on the cut-off end of the pipe from the pool pump, so that both elbows are aligned. This is very important otherwise you will not achieve a properly seated join.

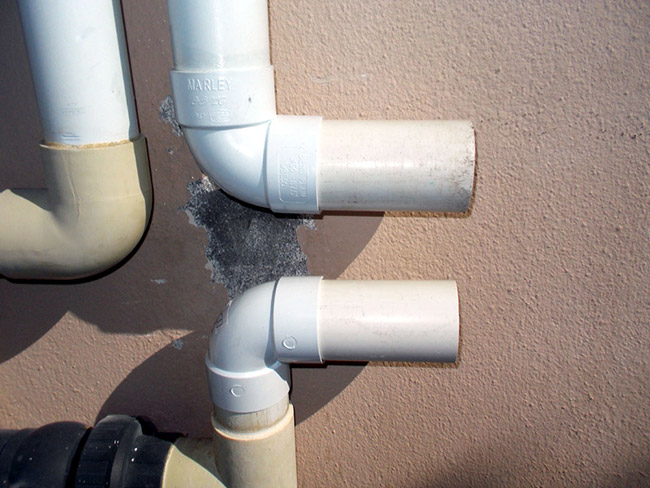
- Then cut two identical lengths of 50mmØ pipe.
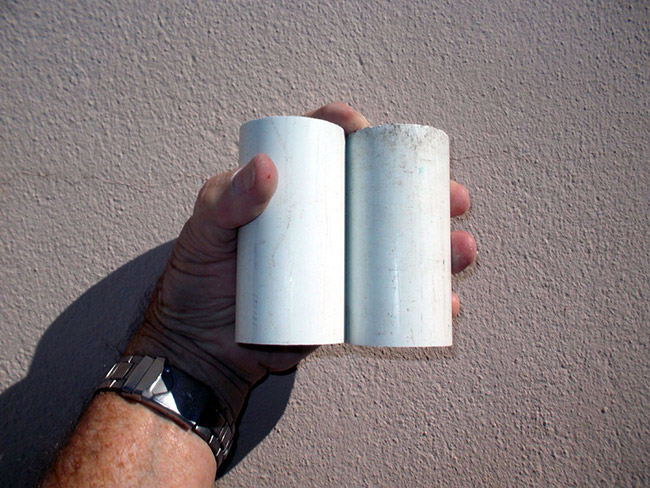
- Fix them permanently on to the two elbow joints as shown here.

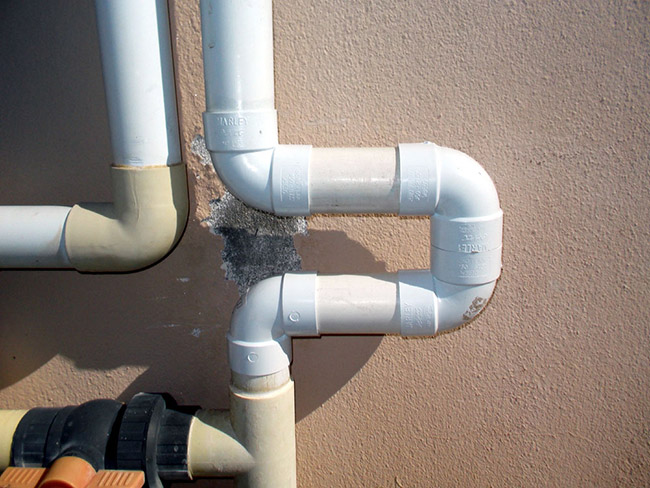
- Then carefully measure a short length of 50mmØ pipe, cut it to length and use it to join the other two elbows; again, it is very important that both elbows are exactly aligned and the pipe insert is of exactly the correct length. When this part is complete it resembles a very flat ‘U’. Apply adhesive to the inner surfaces of the ends of the elbows and push the whole unit on to the ends of the pipes previously attached to the pipe where the valve or leak used to be.
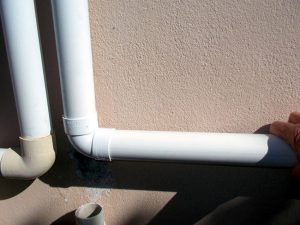
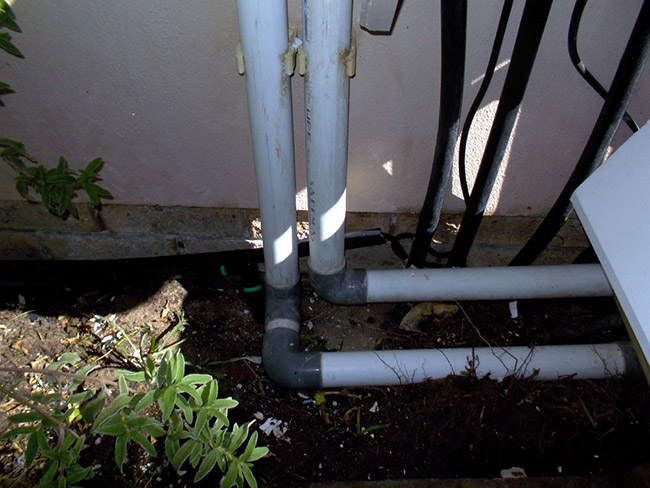
- The completed fix. This method will work on any pipe installation where the leak or fault position means that the ends of the pipes cannot be separated, but it is important to do it in the sequence as shown here – with the flat ‘U’ going on last; if you make up the whole unit with all four elbows and then try to fit it on to the cut ends of the existing pipes, you will be back to square 1.


Project guide
Difficulty: Novice/
Estimated time: One hour
Cost: R40 or less
These materials are available at Selected Mica Stores. To find your closest Mica and whether or not they stock the items required, please go to our store locator, find your store and call them. If your local Mica does not stock exactly what you need they will be able to order it for you or suggest an alternative product or a reputable source.