11 April 2025

A Pigeon Pair of Bedside Cabinets
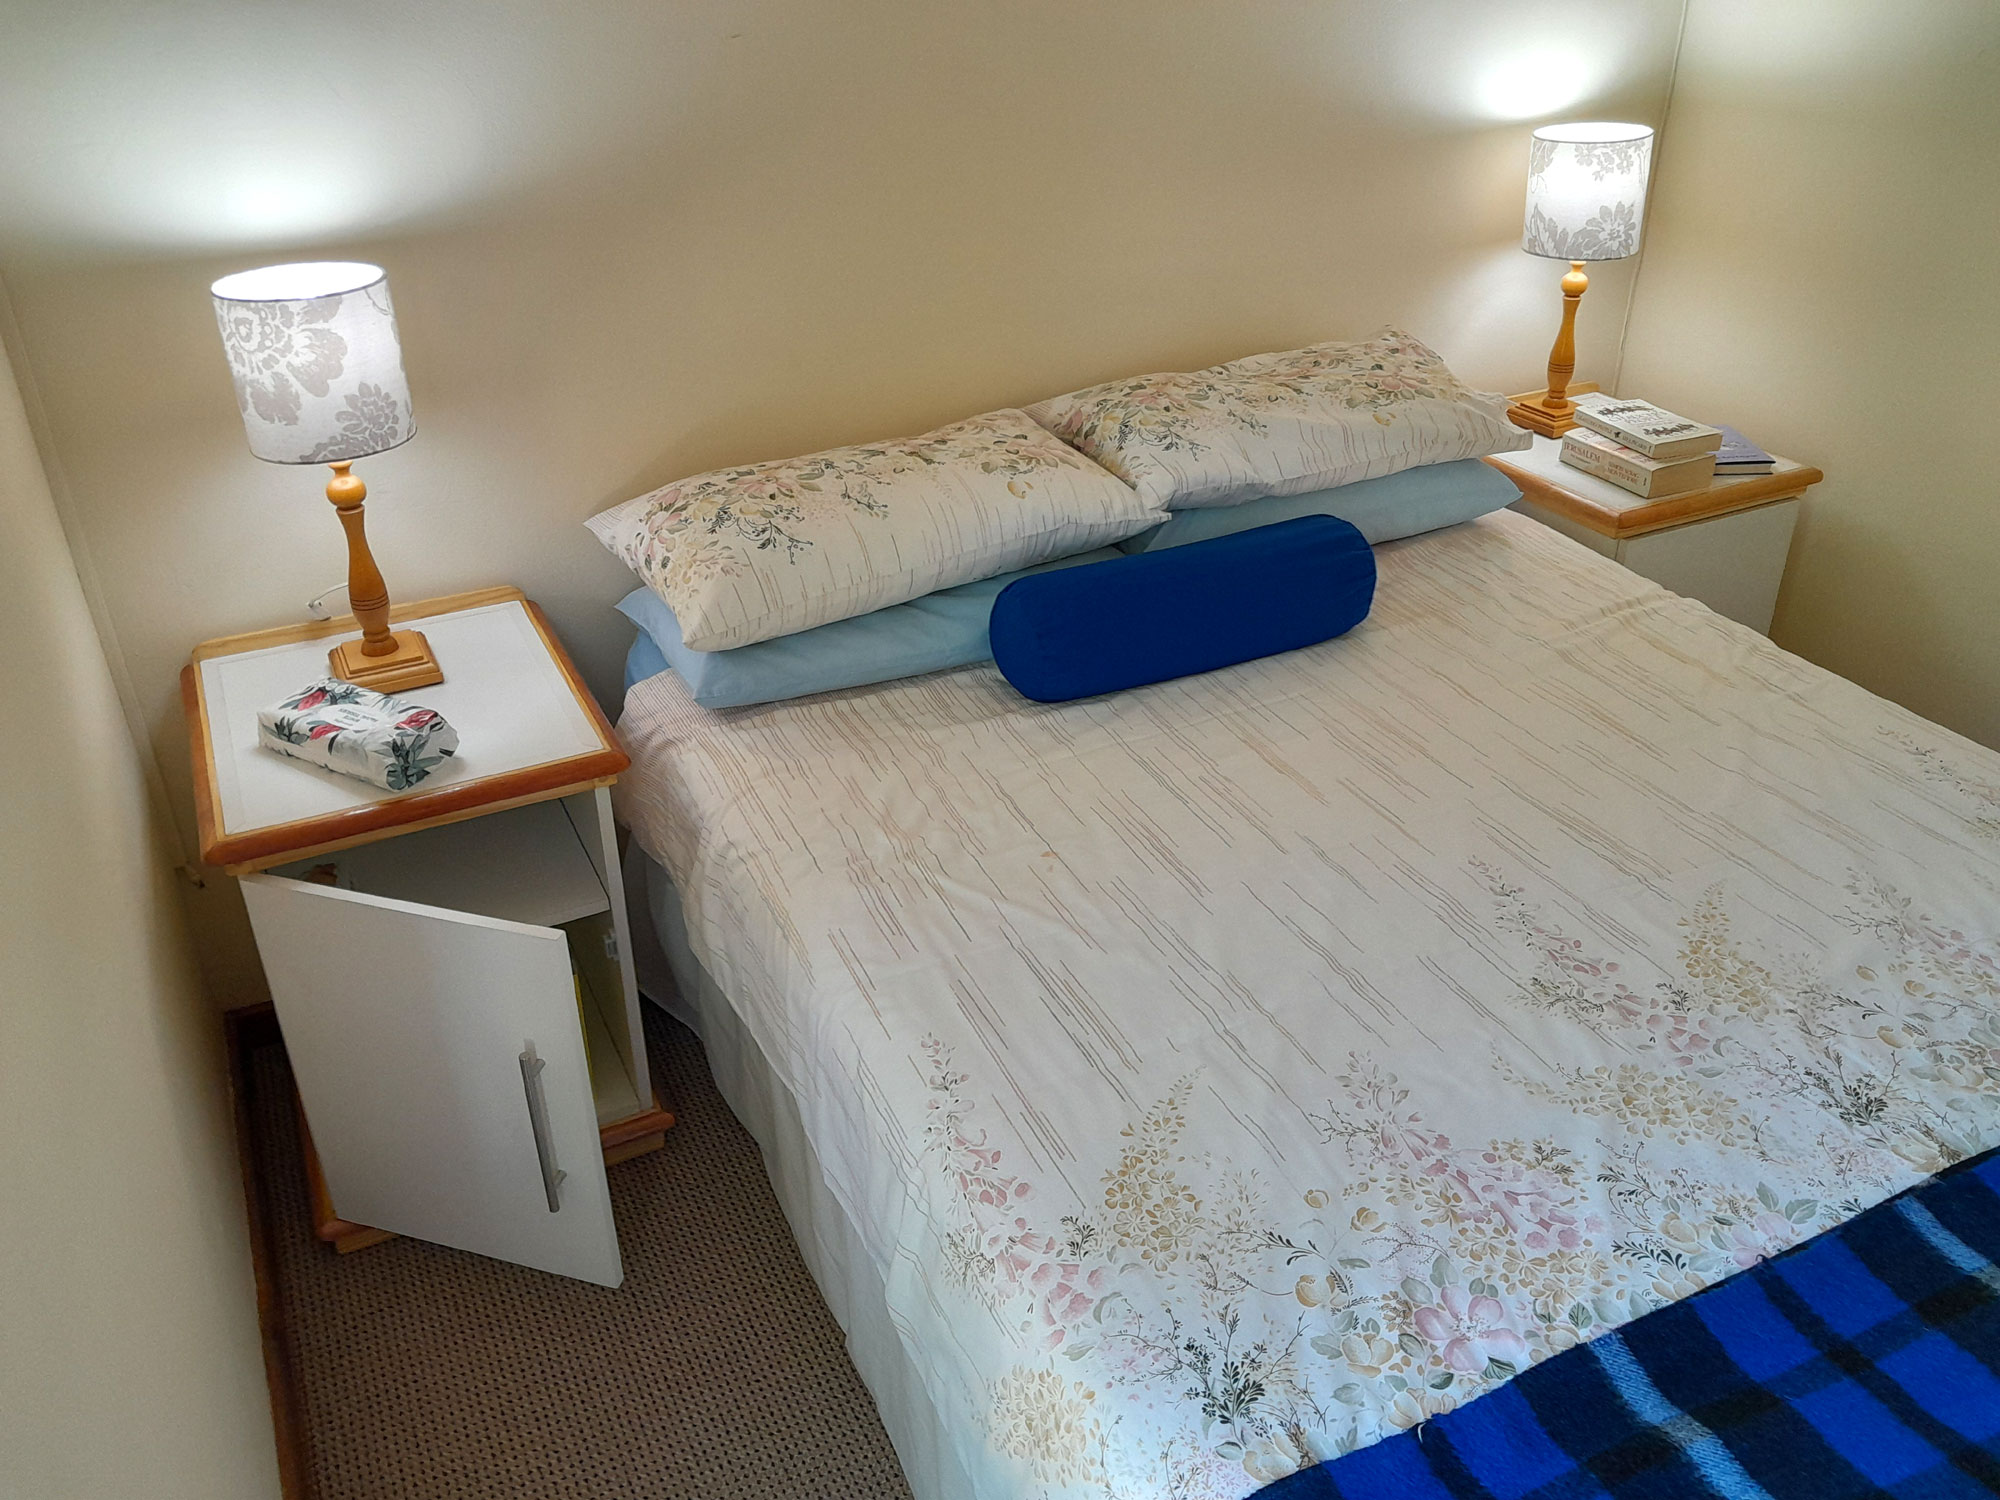
This pair of cabinets was made to accommodate a host of items and provide a large surface for all those bits and pieces we somehow cannot do without when we hop into bed… of in the case of the writer… hobble. But enough on that!
Each cabinet is a mix of white-painted 16mm chipboard, and varnished SA pine and meranti.
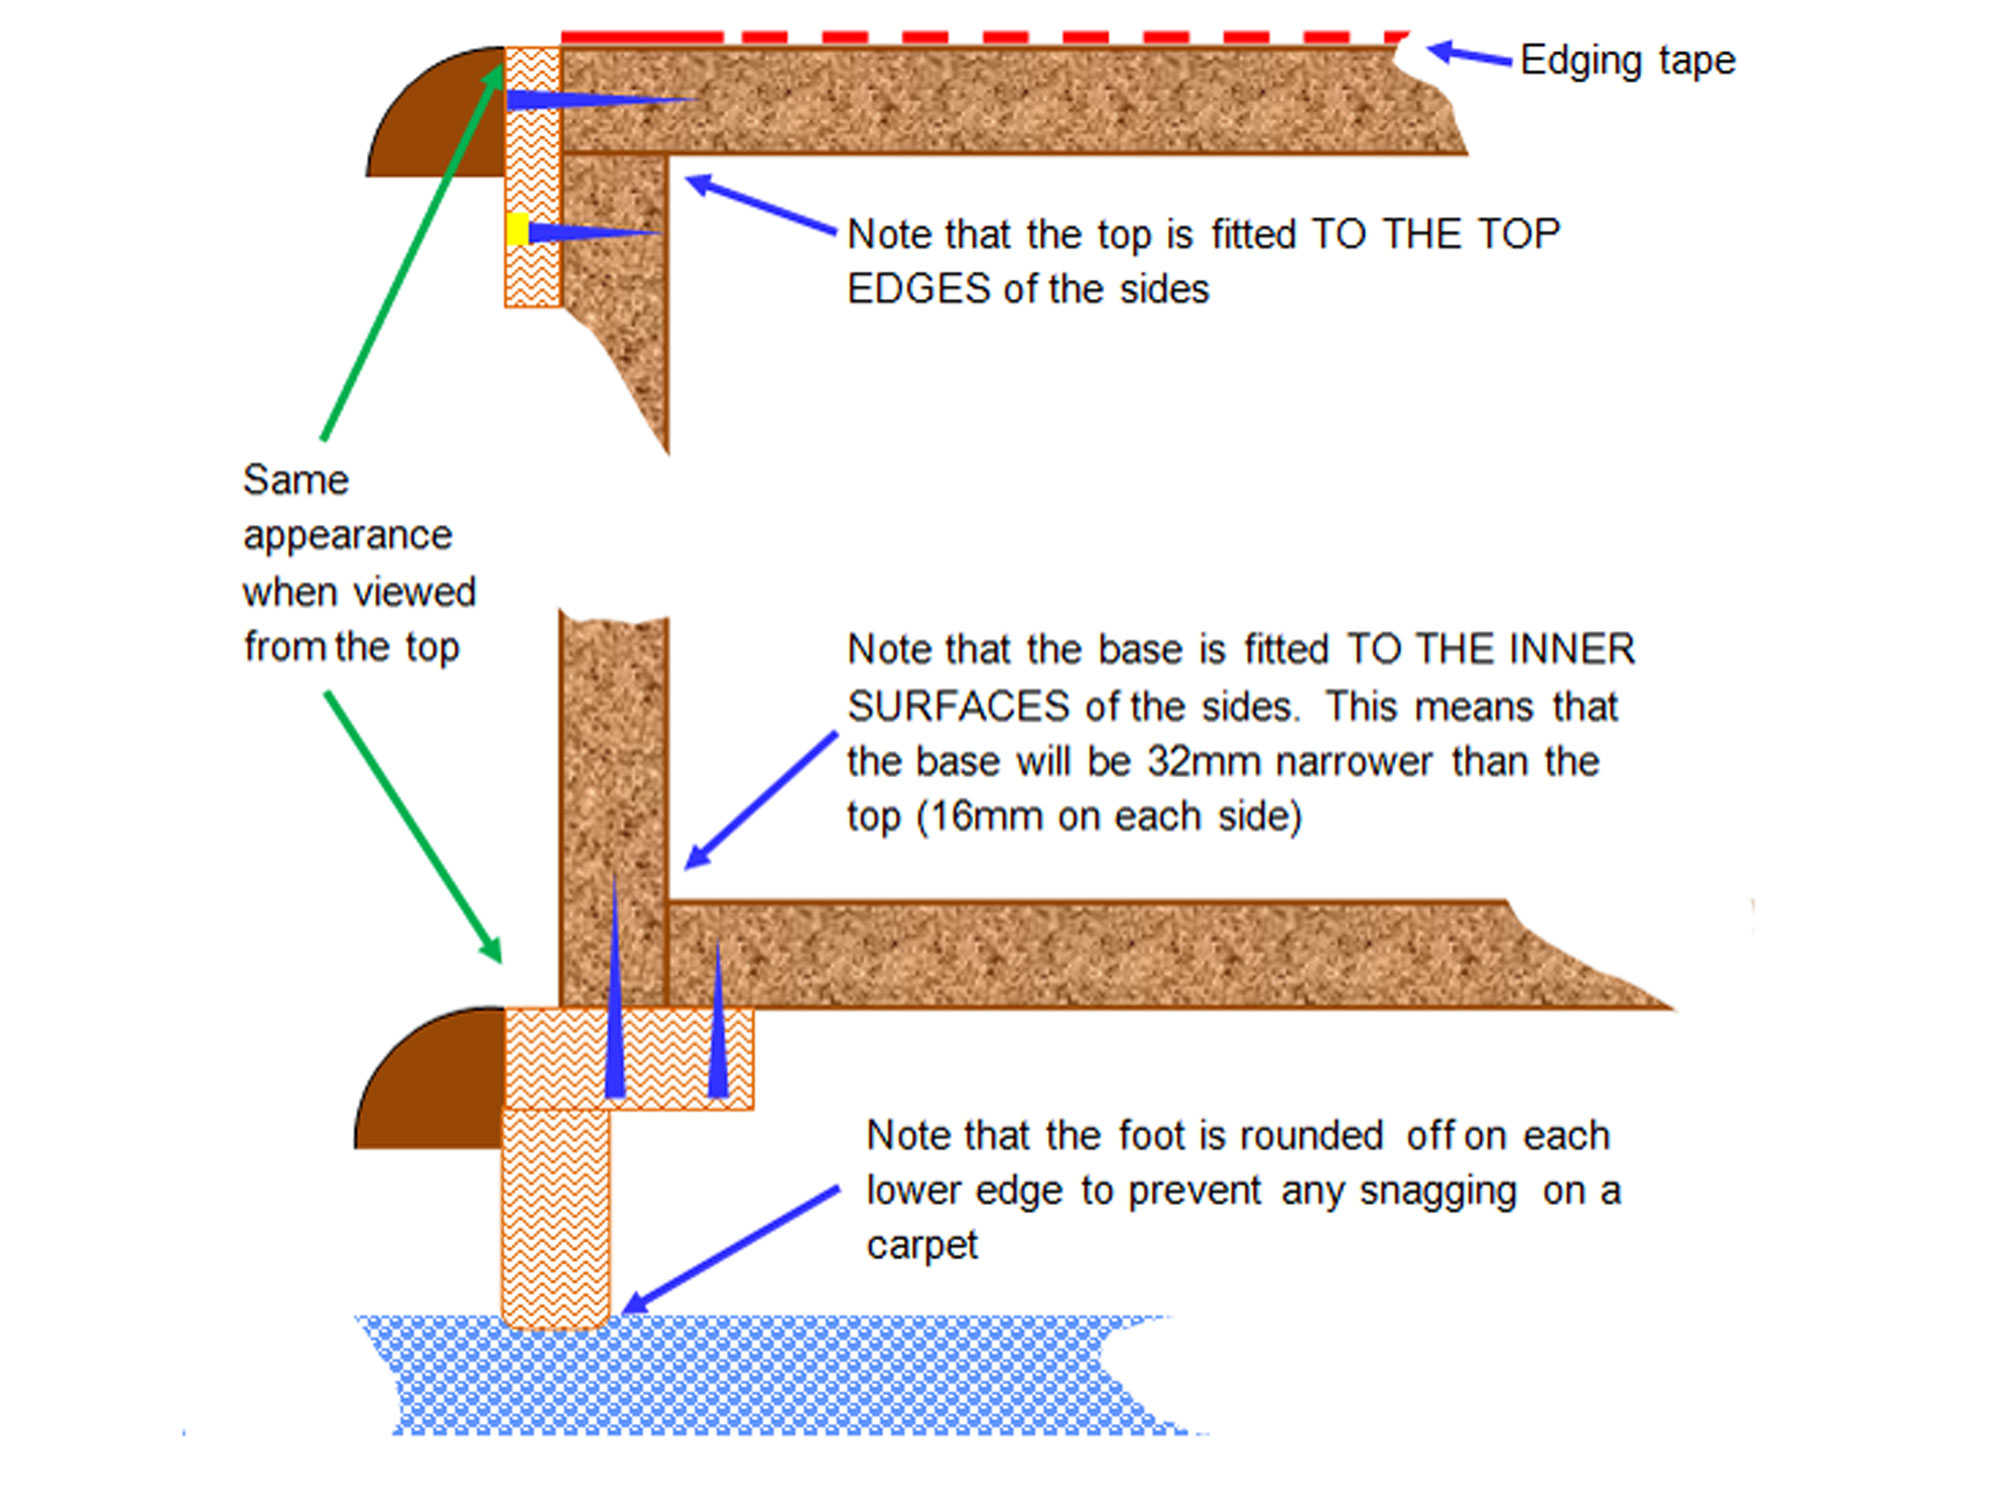
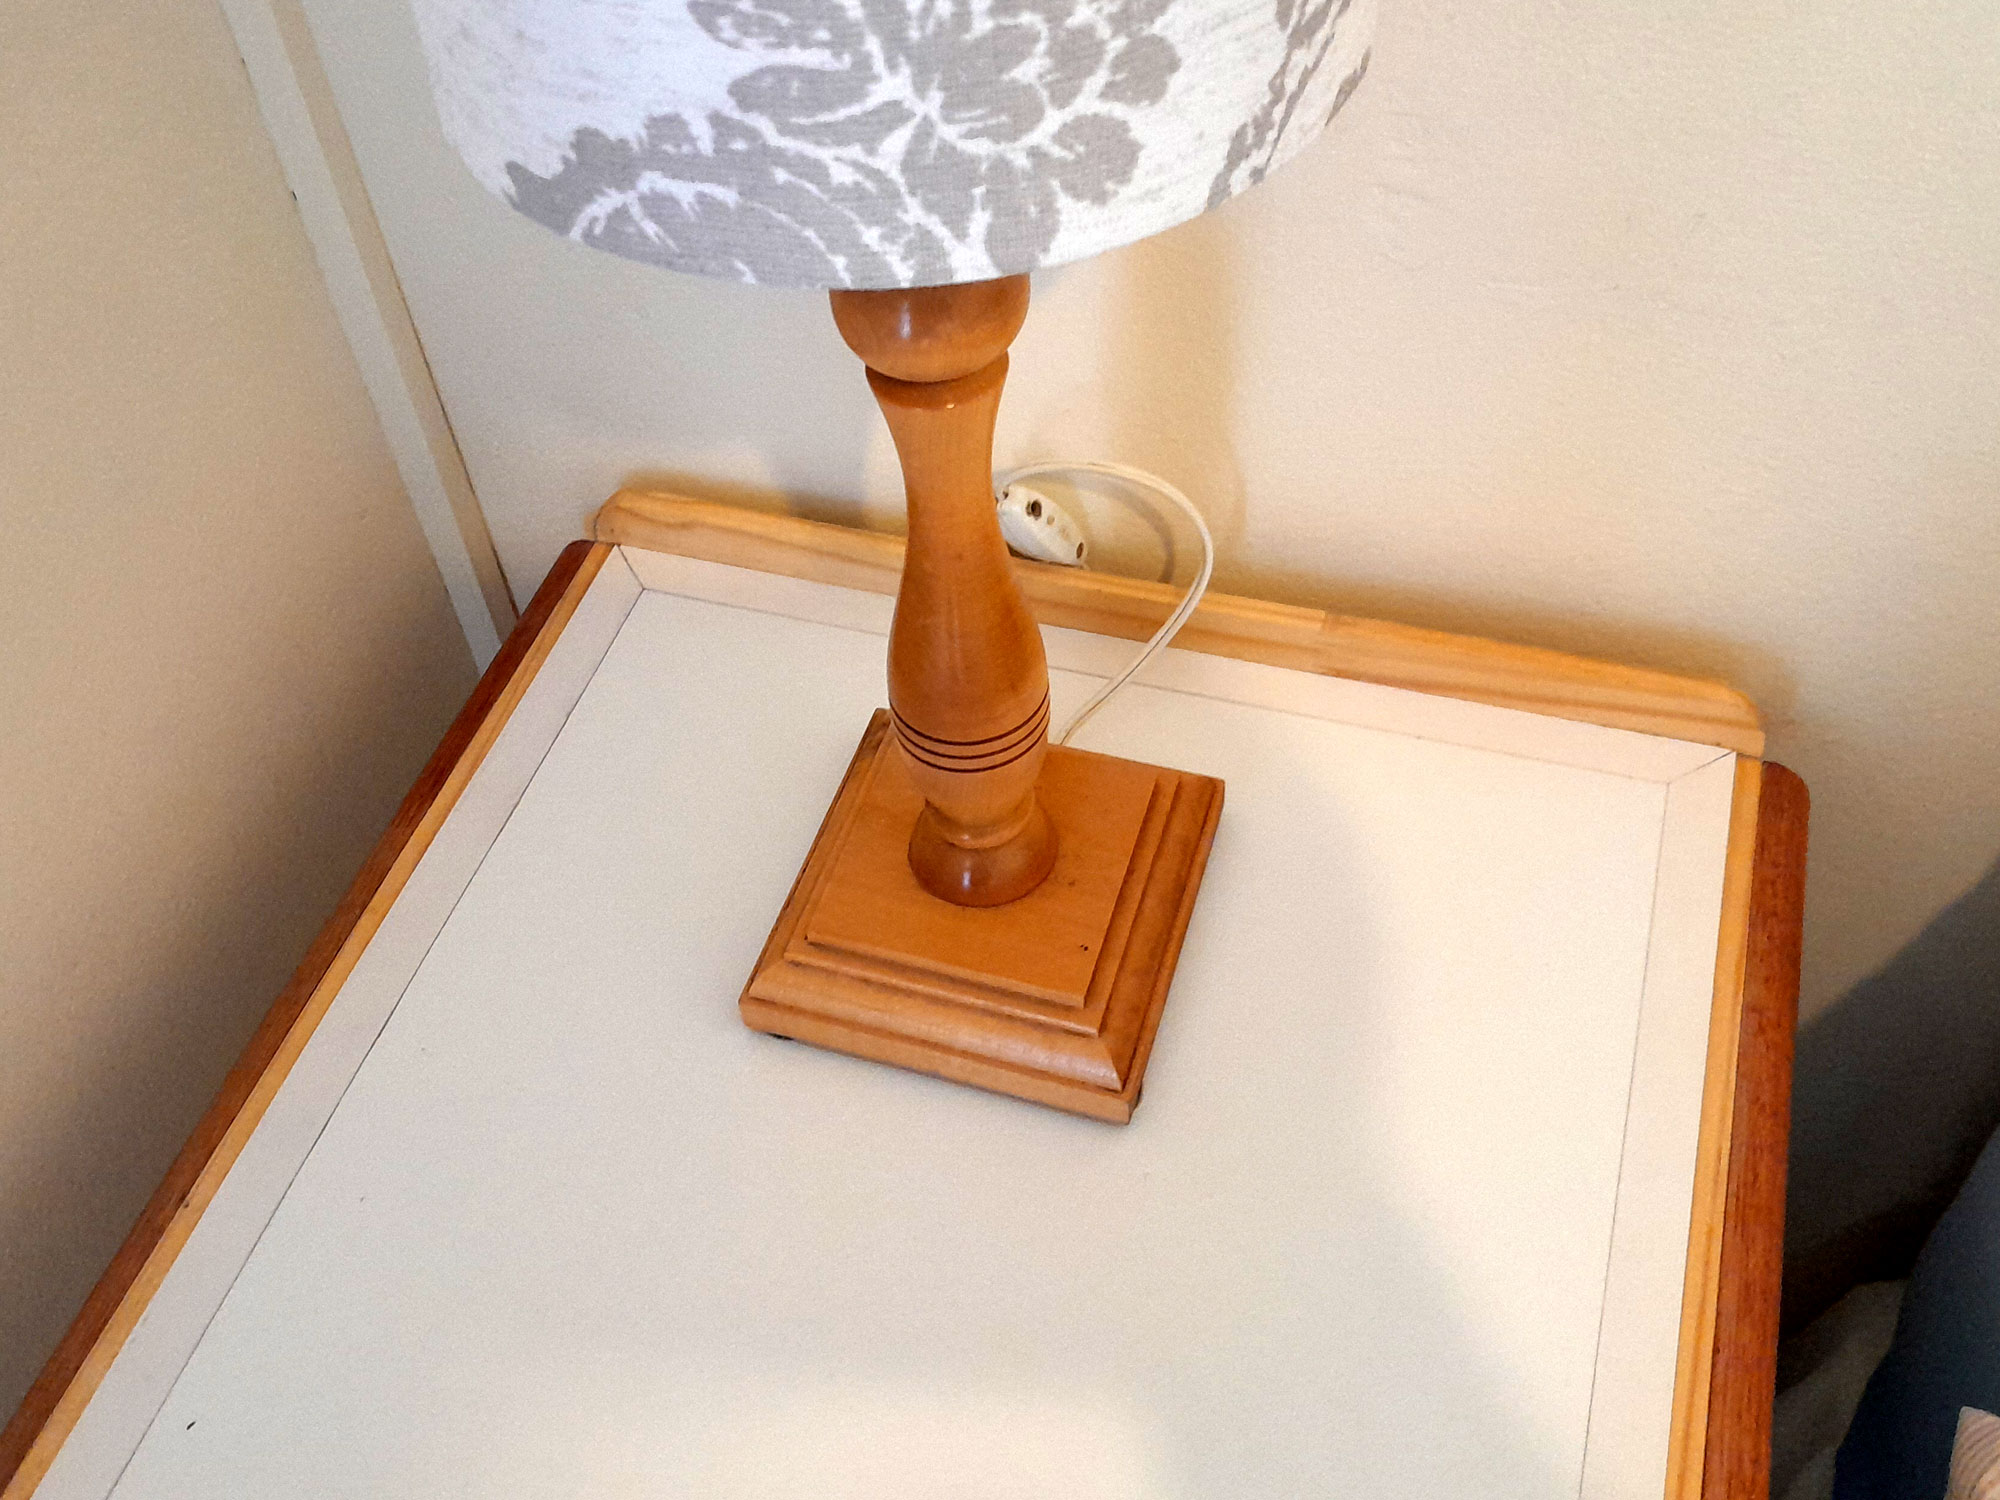
Each stands 615mm high and the tops are each 490mm front-to-back and 460mm wide (both latter dimensions include the 9mm SA pine cover strip surround (left and right-hand sides, plus the meranti quadrant (left and right-hand sides and front, in addition to the 9x44mm backstop when measuring from front to rear; they were made to fit into the specific spaces of either side of the double bed featured here.
Materials*:
- Please note that mitred corners were used for all embellishment and feet corners, and the edging tape used on the tops.
- Also please note that this materials list refers to a pair of cabinets, not just the one. Hence, obviously, but it needs to be said, if making one, then the materials list is cut by half, where applicable (naturally, you cannot buy half a pack of screws, for example).
- The purpose of the cover strip at the top is to provide a secure bond between the top and sides, but also to provide a bare wood surface to which the quadrant surround can be glued.
- Pay particular attention to ensuring that when measuring pieces to fit within two other pieces, or be fitted flush with them, that you take into account the thickness of the material you are using.
- White-coated chipboard – 2 lengths of 2750x450x16mm, cut as per cutting list:
- 2 tops – 400mm wide
- 4 sides – 530mm high
- 2 bases – 368mm wide
- 2 shelves – 366mm wide
- 2 doors – 384mm wide x 475mm high
- SA pine p.a.r. – 22x69mm two lengths of 1.8m, cut to:
- Lower embellishment:
- 2 front pieces – 418mm
- 4 side pieces – 459mm
- Feet:
- 2 front pieces – 400mm
- 4 side pieces – 450mm
- Lower embellishment:
- SA pine cover strip – 9x44mm – 2 lengths of 1.8m, cut to:
- Top embellishment:
- 2 front pieces 400mm
- 4 side pieces – 450mm
- Backstops:
- 2 lengths of 418mm
- Top embellishment:
- Meranti quadrant – 19x19mm – 18mmm, cut to:
- 4 front pieces – 418mm
- 8 side pieces – 459mm
- Backing – 3.2mm tempered hardboard, white coated – one quarter sheet cut to fit
- Hinges of your choice – 2 pairs; I chose kitchen flat nickel plated hinges as shown in the images
- Magnetic catches – 2 white
- Nickel-plated 5mmØ shelf brackets – 1 pack of 20… used 8
- Handles – stainless steel, hollow, 220mm
- Edging tape, white melamine, iron-on – 20mm x 8m for edging cut chipboard ends, and also for top surround (with mitred corners) and down rear sides (square ends)
- Wood glue
- 30mm panel pins – 1 pack, for reinforcing the glued join between the cabinet body and the backing sheet
- Chipboard screws:
- 6 gauge x 25mm – 2 packs of 20-25 (depending on the pack sizes)
- 6 gauge x 30mm – 1 pack of 20-25 (depending on the pack sizes)
- 6 gauge x 50mm – 2 packs of 20-25 (depending on the pack sizes)
- Finish of your choice – I chose gloss clear varnish
*As always, note that the materials and cutting etc that you may need will differ depending on the specific materials and dimensions you decide upon for your particular project. Hence the cutting list shown here refers only to the cabinets featured here.
Method:
First of all, many Mica stores offer a cutting service, either free, or for a nominal fee, and making use of this service will eliminate much of your cutting chores – and cutting expletives when you get it wrong.
However, this comes with a caveat: Once the wood has been cut, it is yours, right or wrong, so you MUST ensure that every cutting instruction you give is precise. That means … forget measuring twice… measure 3 or even 4 times to confirm 100% that what you are asking for is correct.
If any of your measures are slightly over, that is not a catastrophe… the wood can still be trimmed. But if it is short, you will have to replace it and keep what you have for some future project.
Hence, it is a good idea, if you are making a matching pair, to first make just the one cabinet, and then use that as your template/correction means to get the materials cut for your second cabinet.
I would advise that you have only the chipboard/MDF or whatever material you are using for the cabinet body cut; do the fitting and mitring of the embellishments etc yourself.
Now to the nitty-gritty…
- First, make a plan… design your cabinet, checking and double-checking that you have got all your measurements correct, such as taking into account the thickness of the chipboard/MDF or whatever you are using.
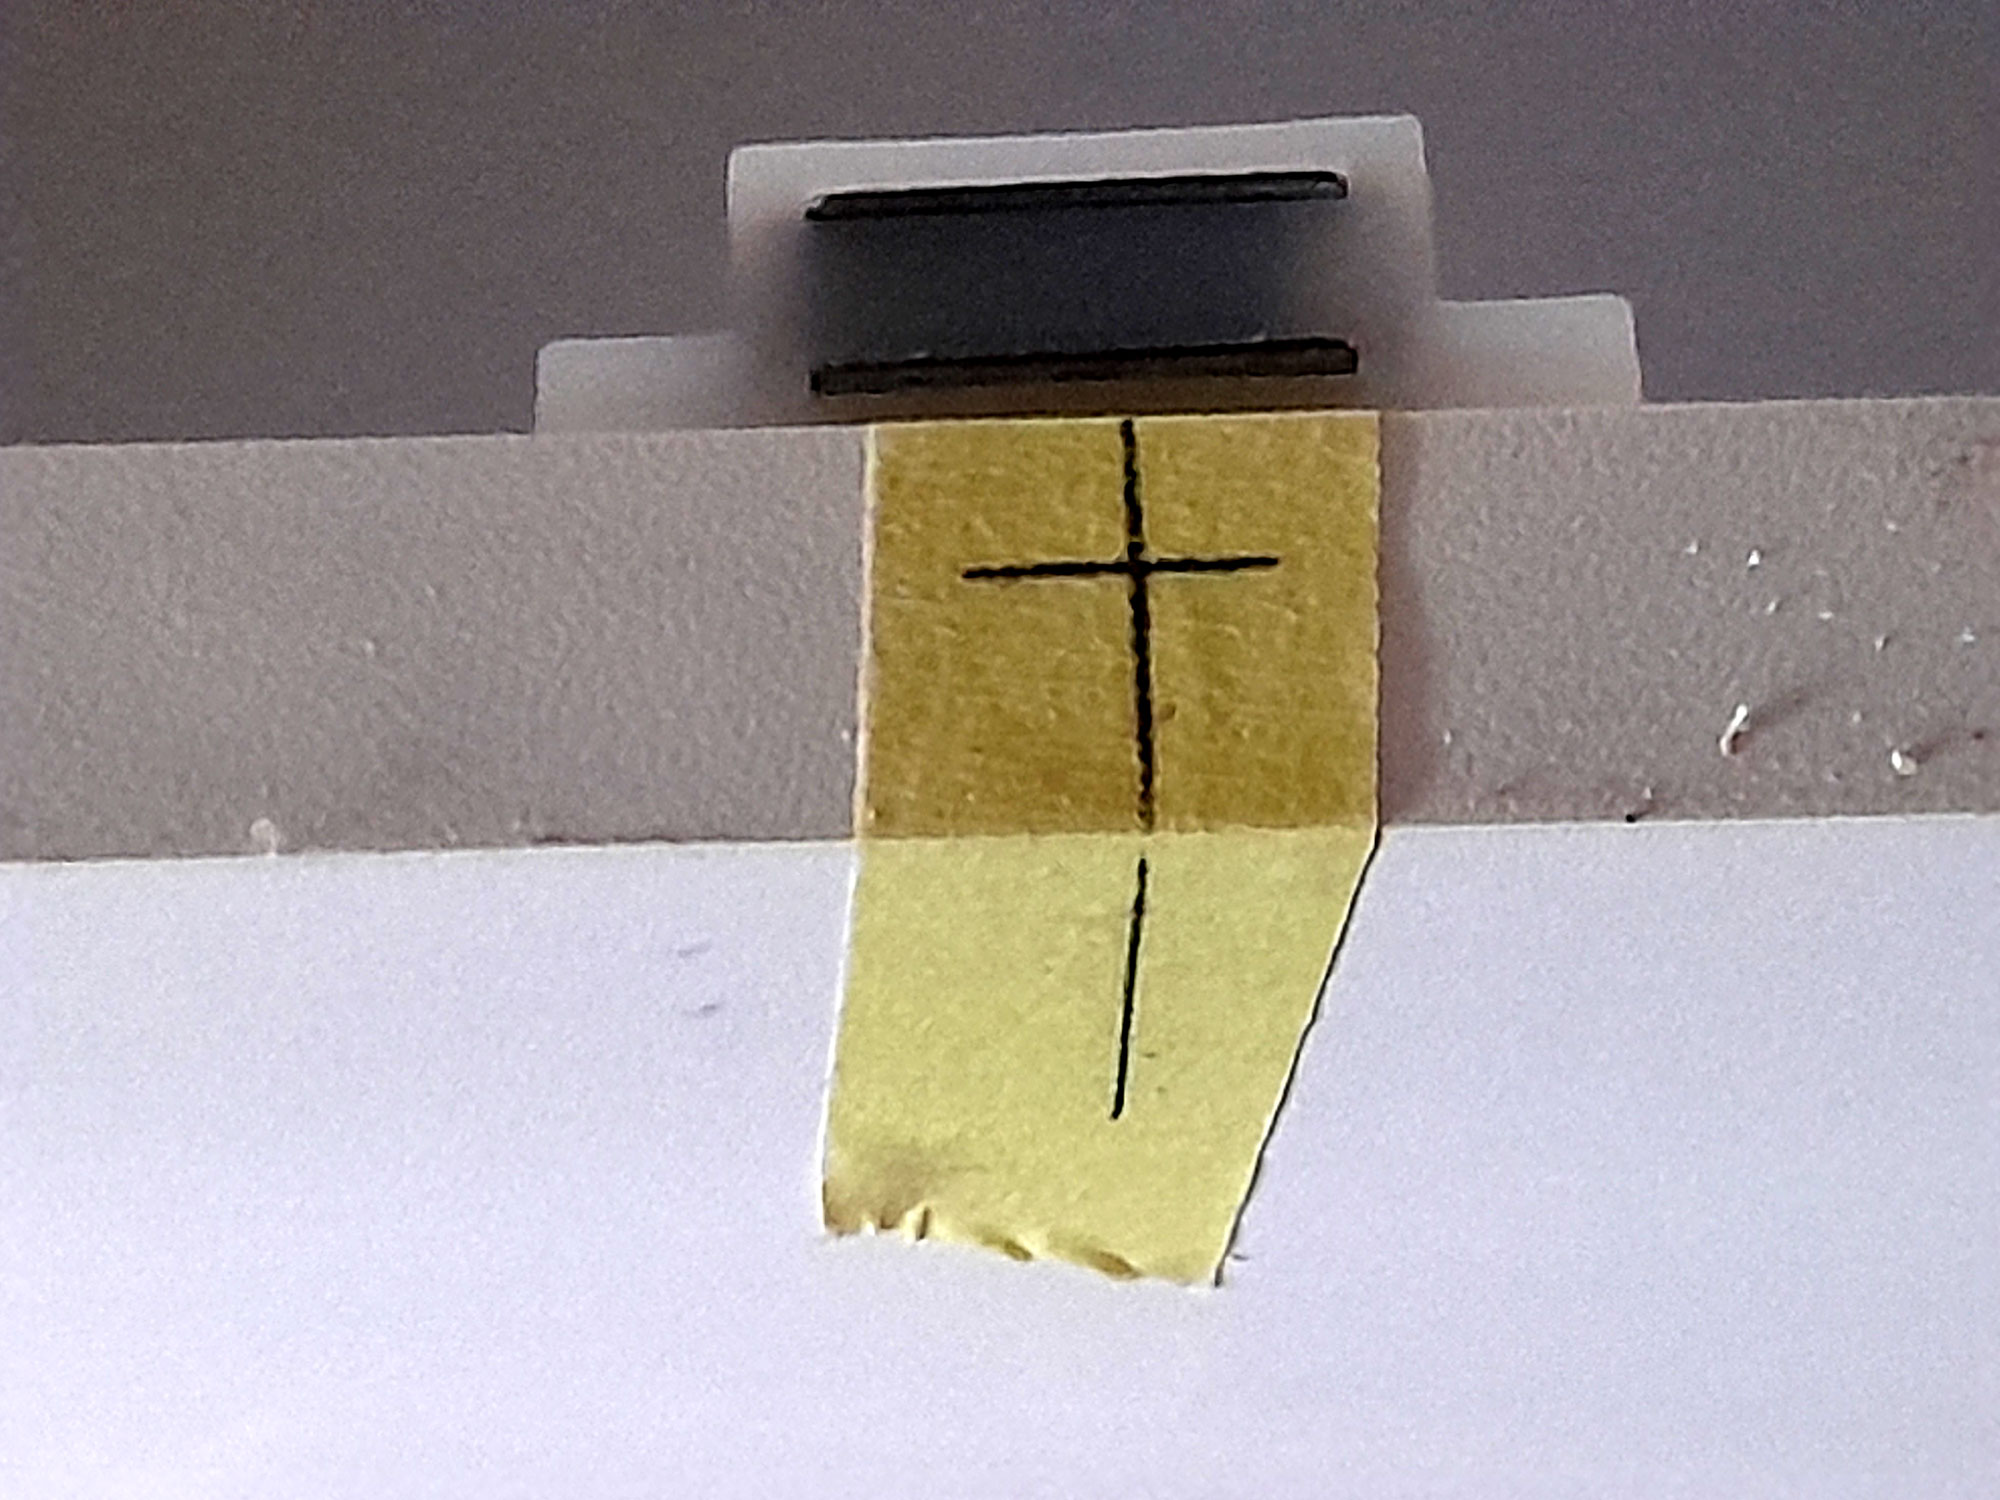
- As I was using wood glue and it would not make a solid bond on a coated surface, I used a scrap length of 16mm chipboard as my guide to mark off the strip away any paint on each surface when the top, sides and base would meet. This so that the glue could bond directly with the wood surfaces.
- There’s my cut marking.
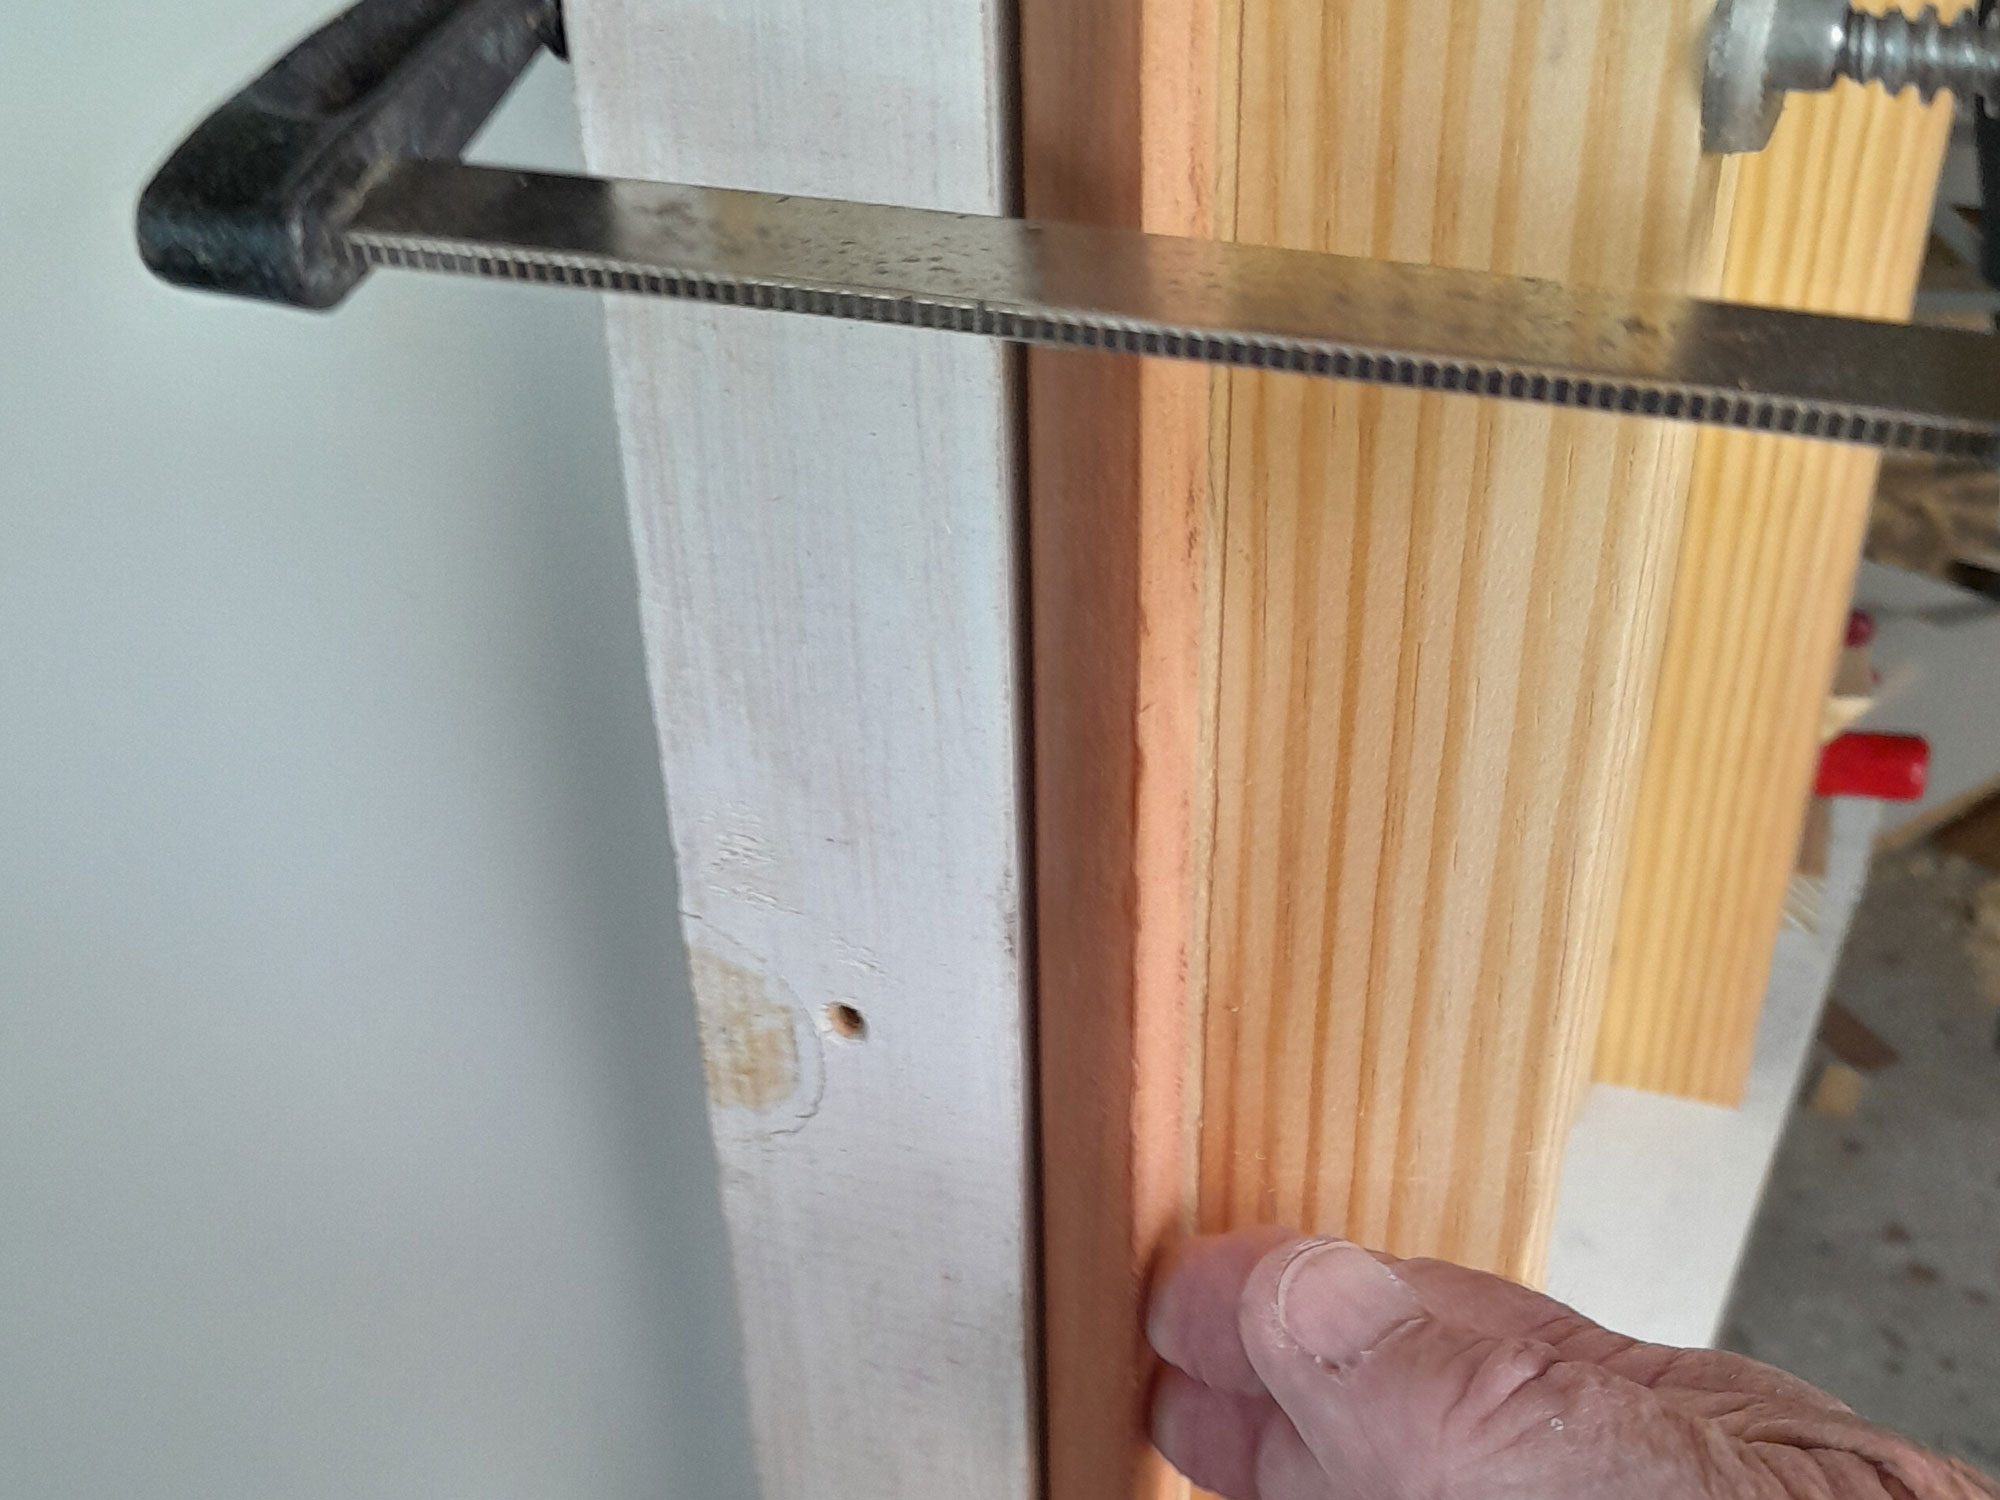
- So that I would not go over the marked line and mar the visible surface, I clamped the same length of scrap chipboard to the workpiece, but slightly within the marked-off strip.
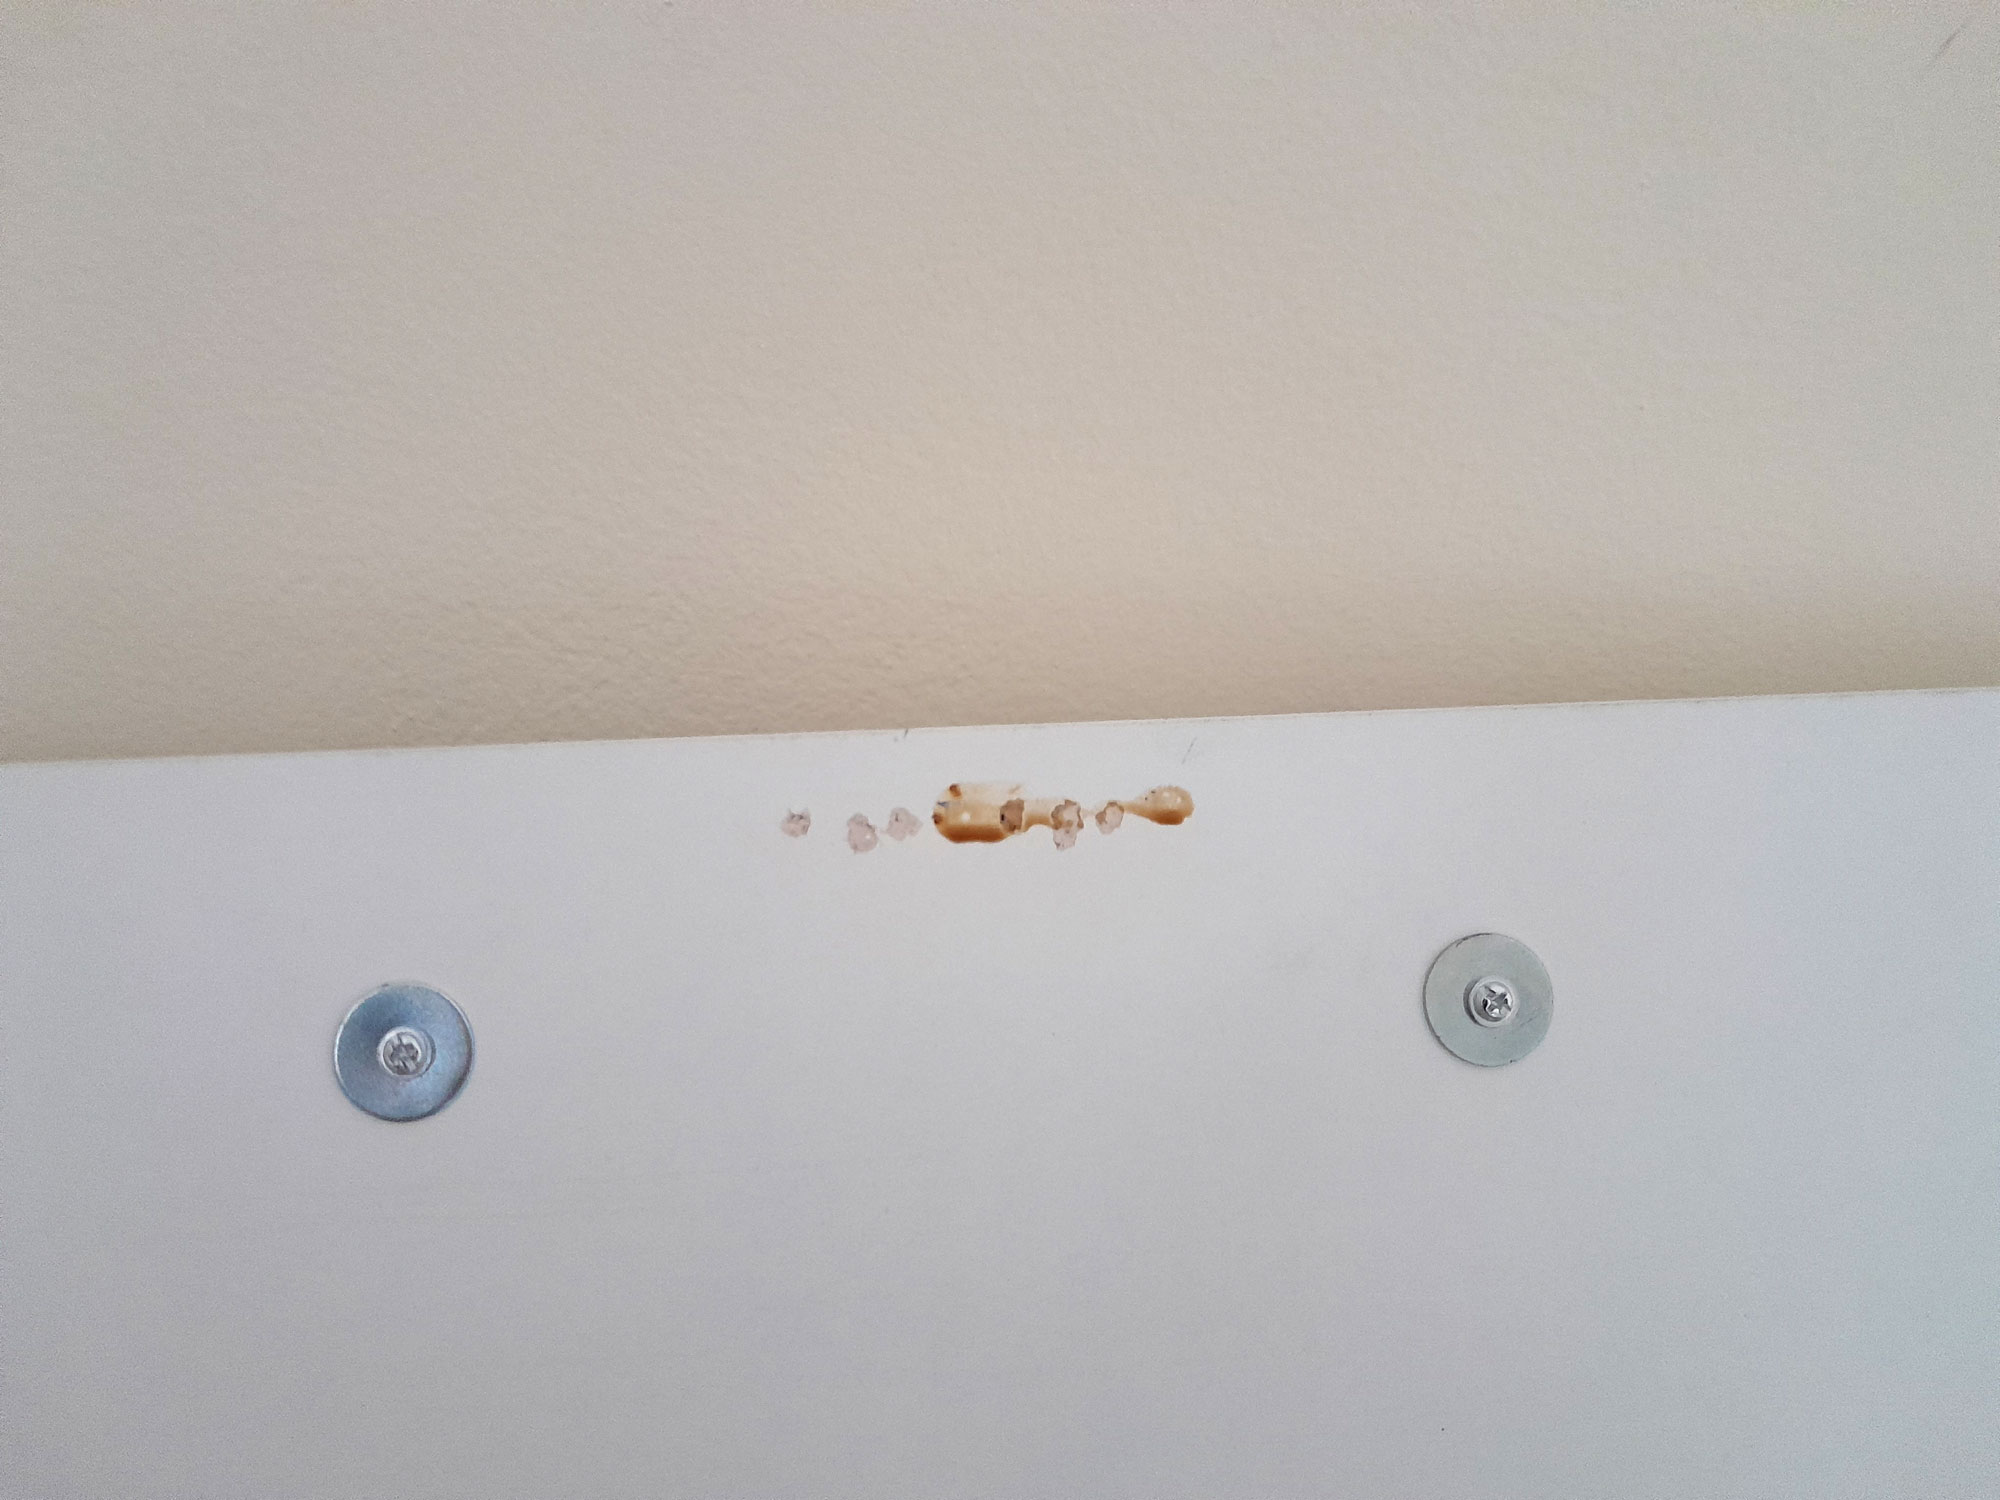
- Using coarse (36 grit) sandpaper and a scraper, I removed the coating along the surfaces to be glued; this is the backing sheet shown here, incidentally, but the principle applies to other joins.

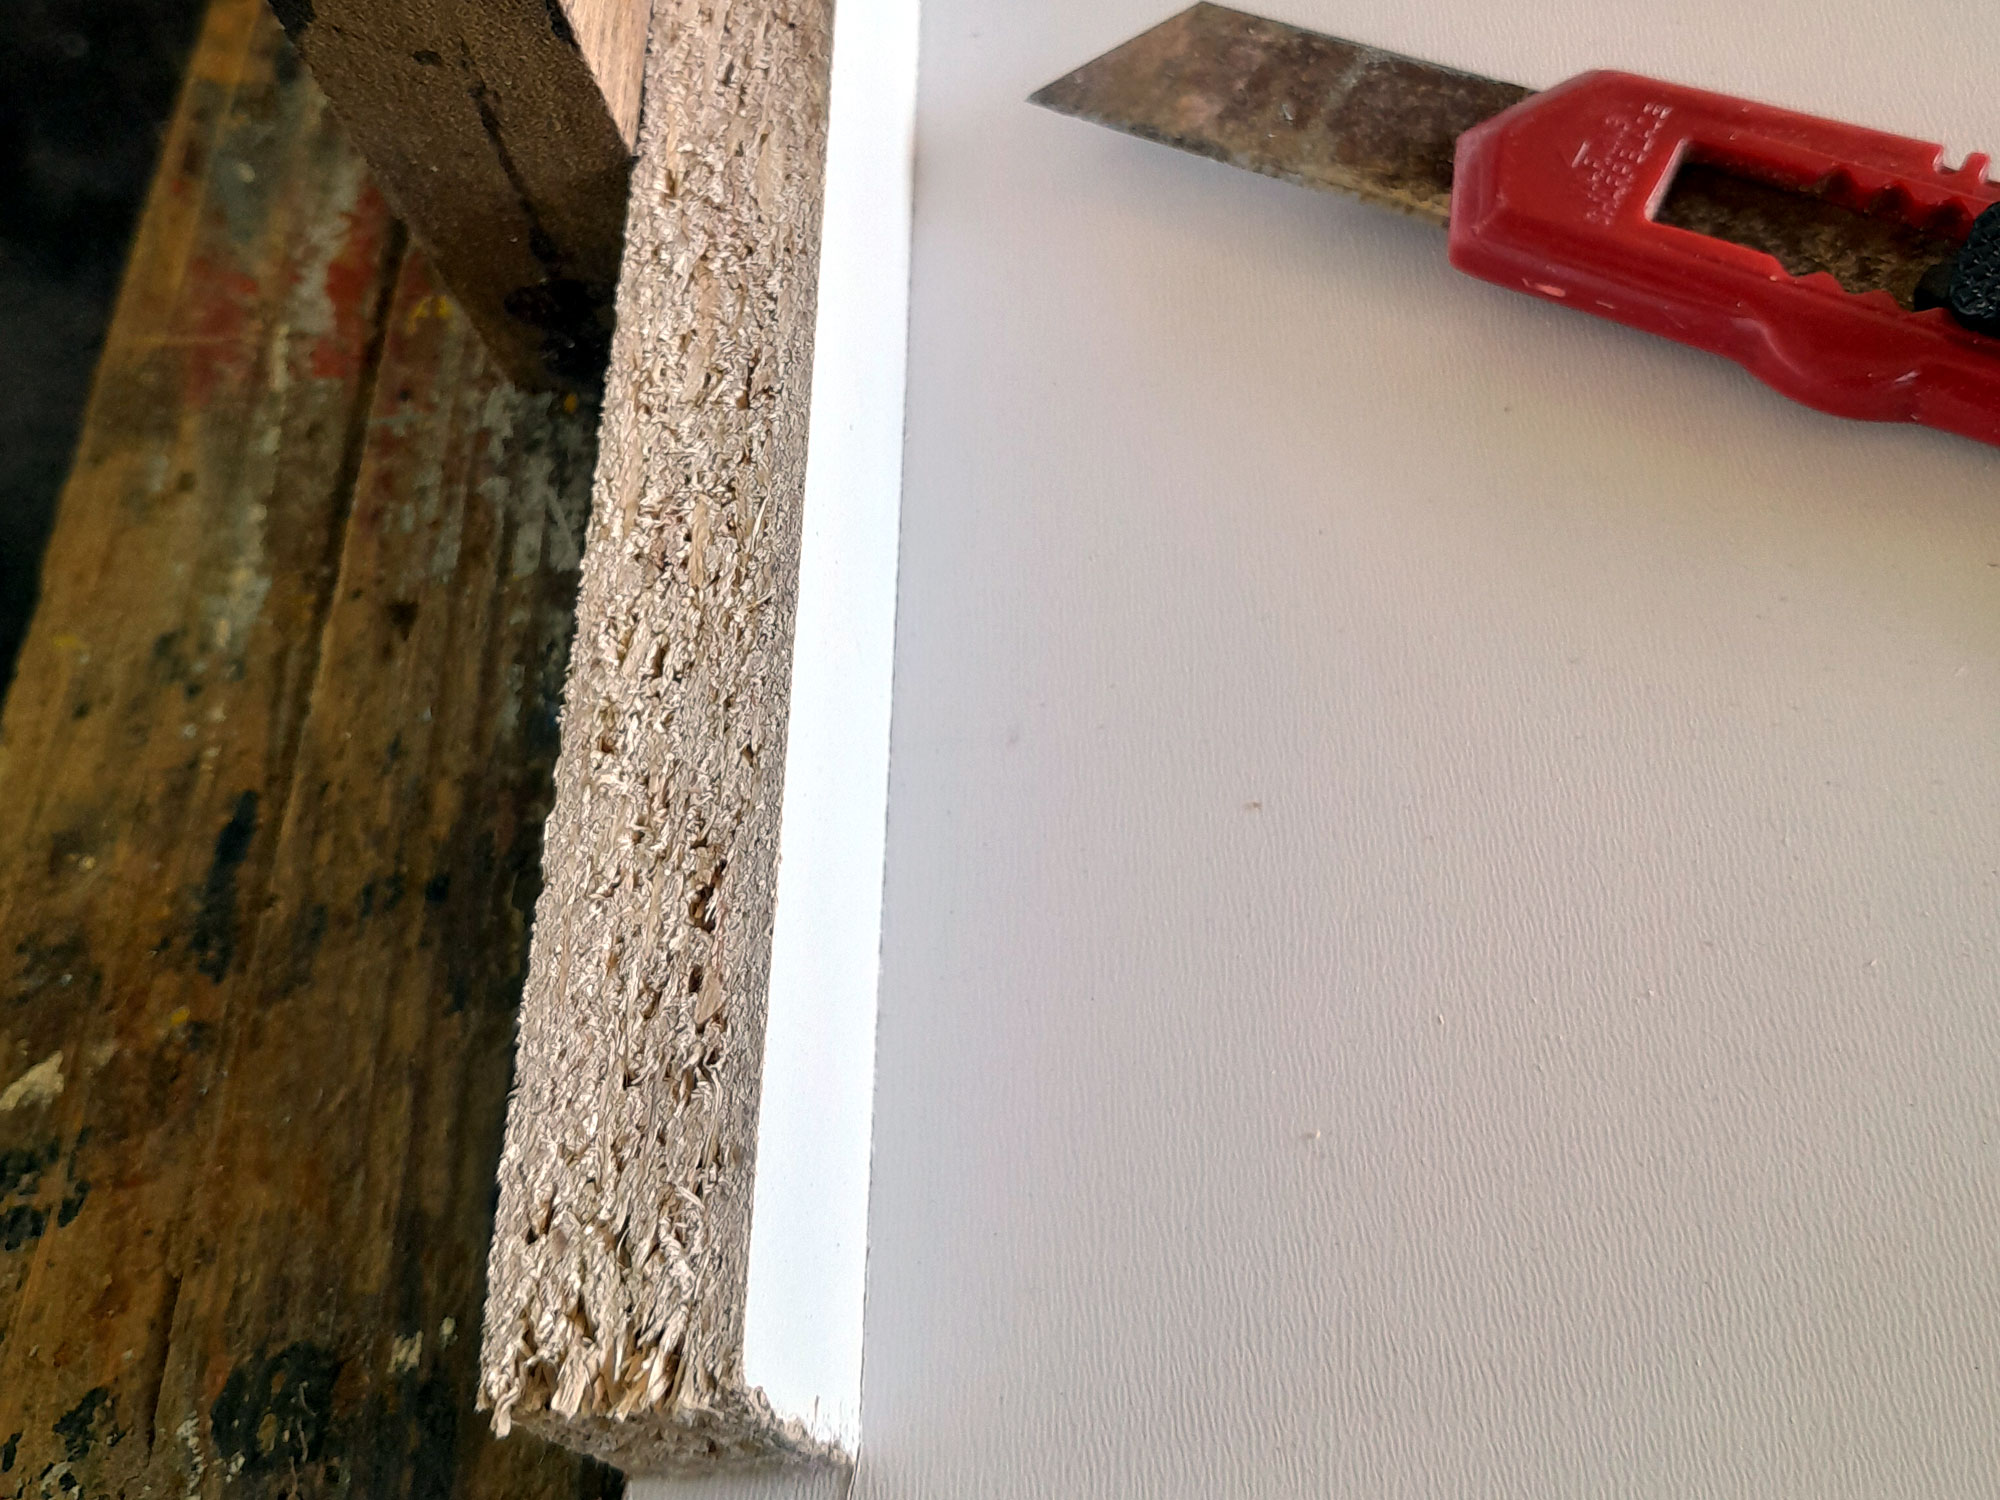
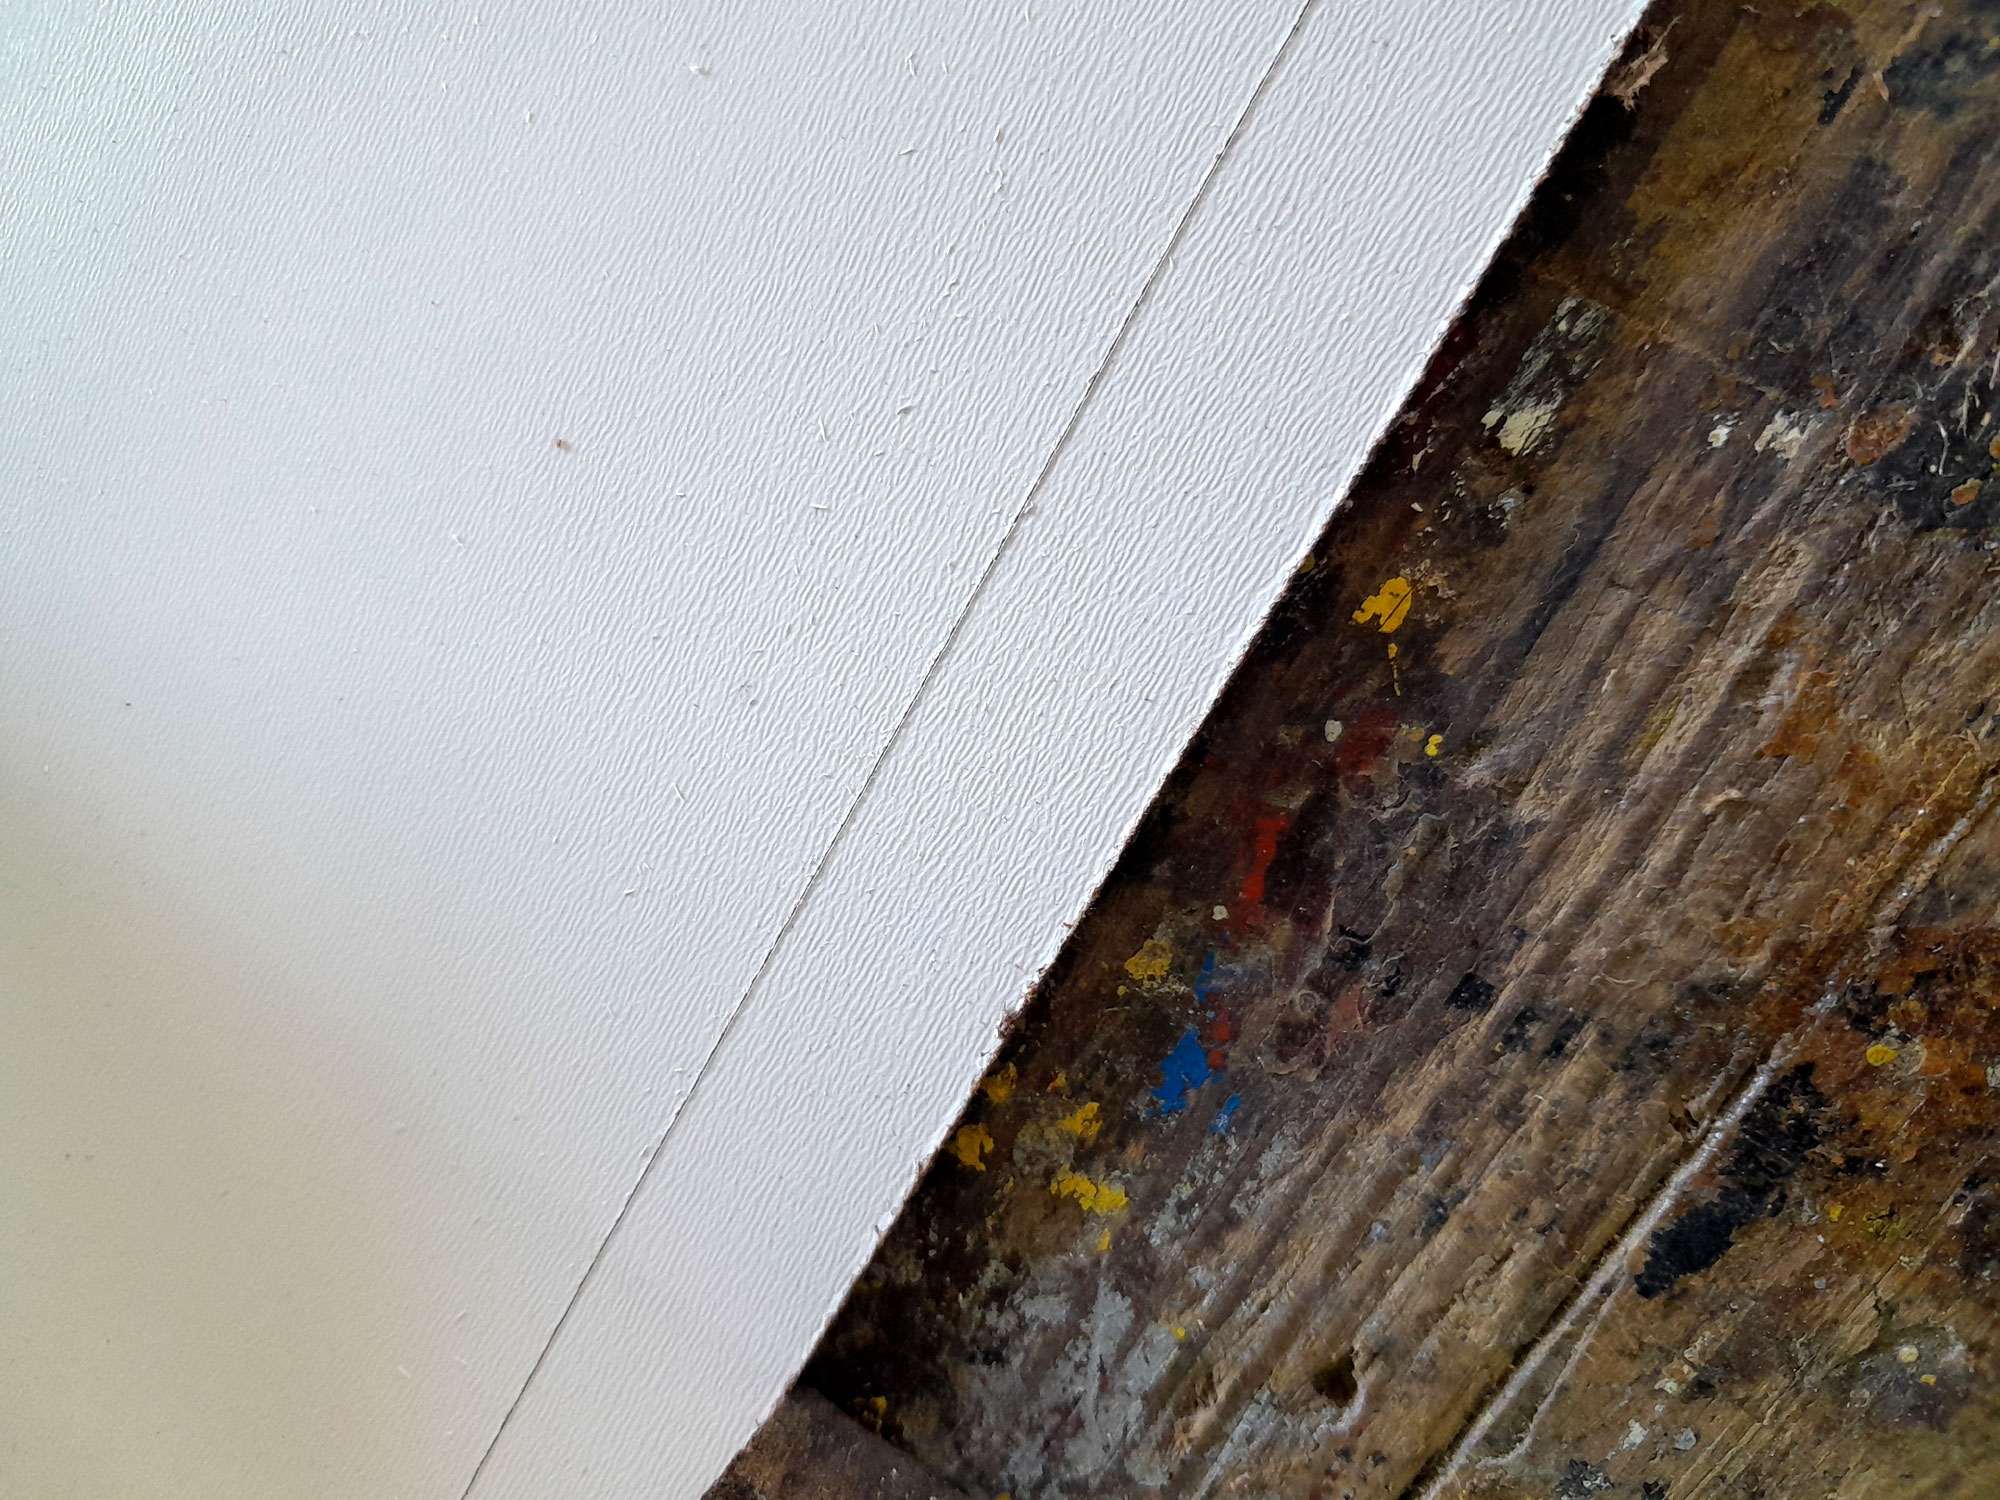

- Note that nowhere is any part of what surface will be visible has had the coating scraped off.
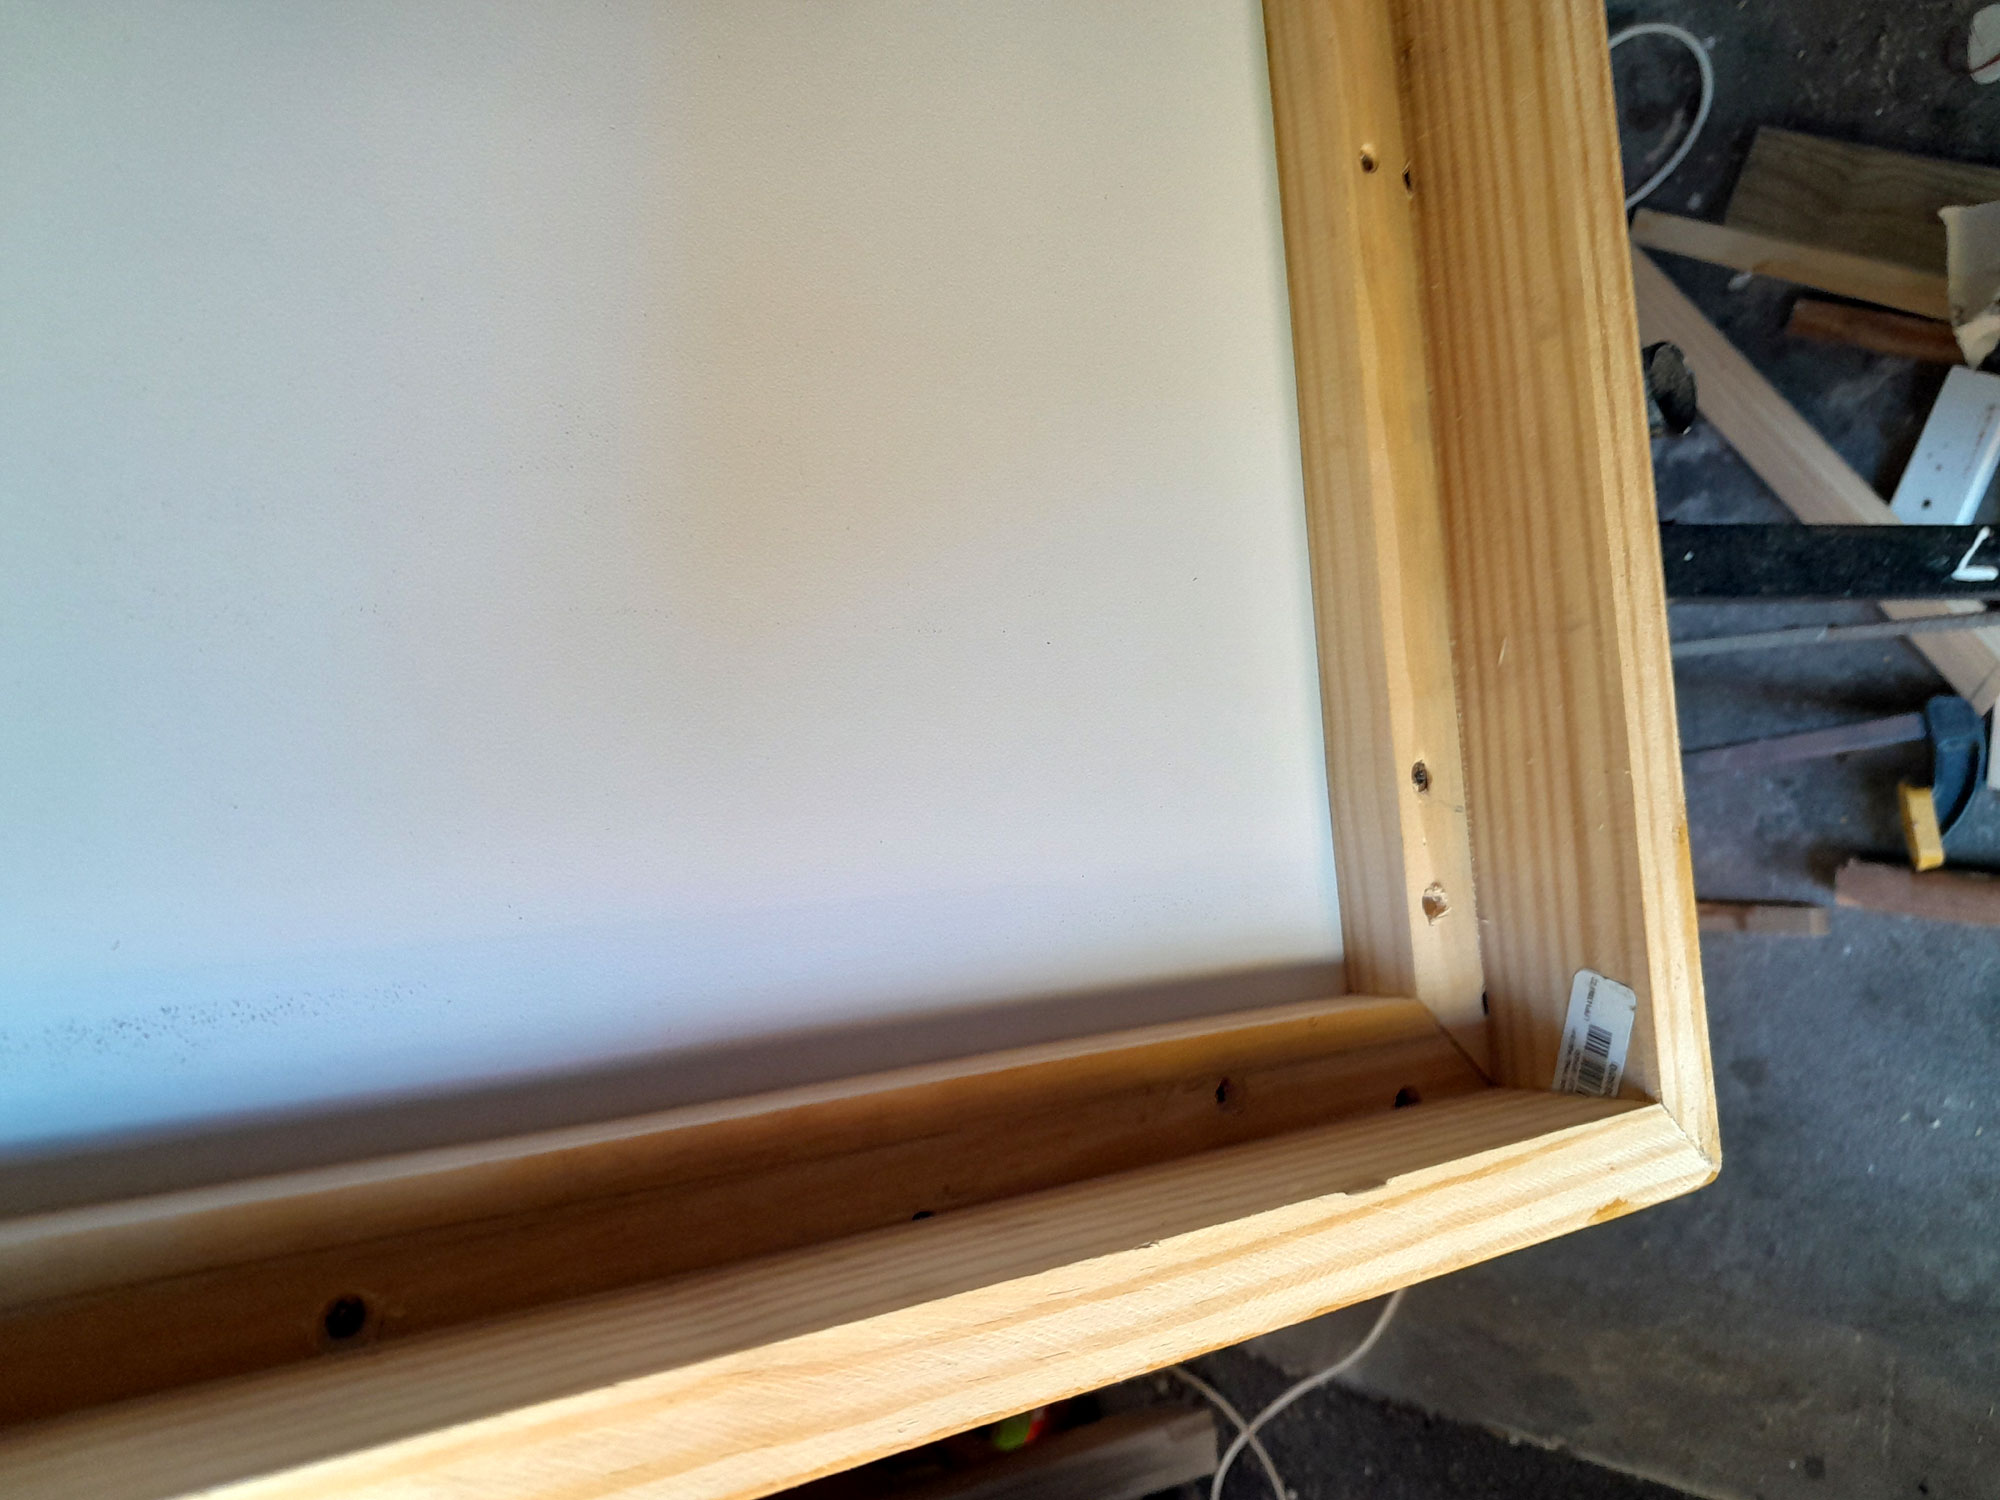
- I attached the top and backing to the sides, using scrap wood to ensure that the edge of the top and sides were precisely flush.
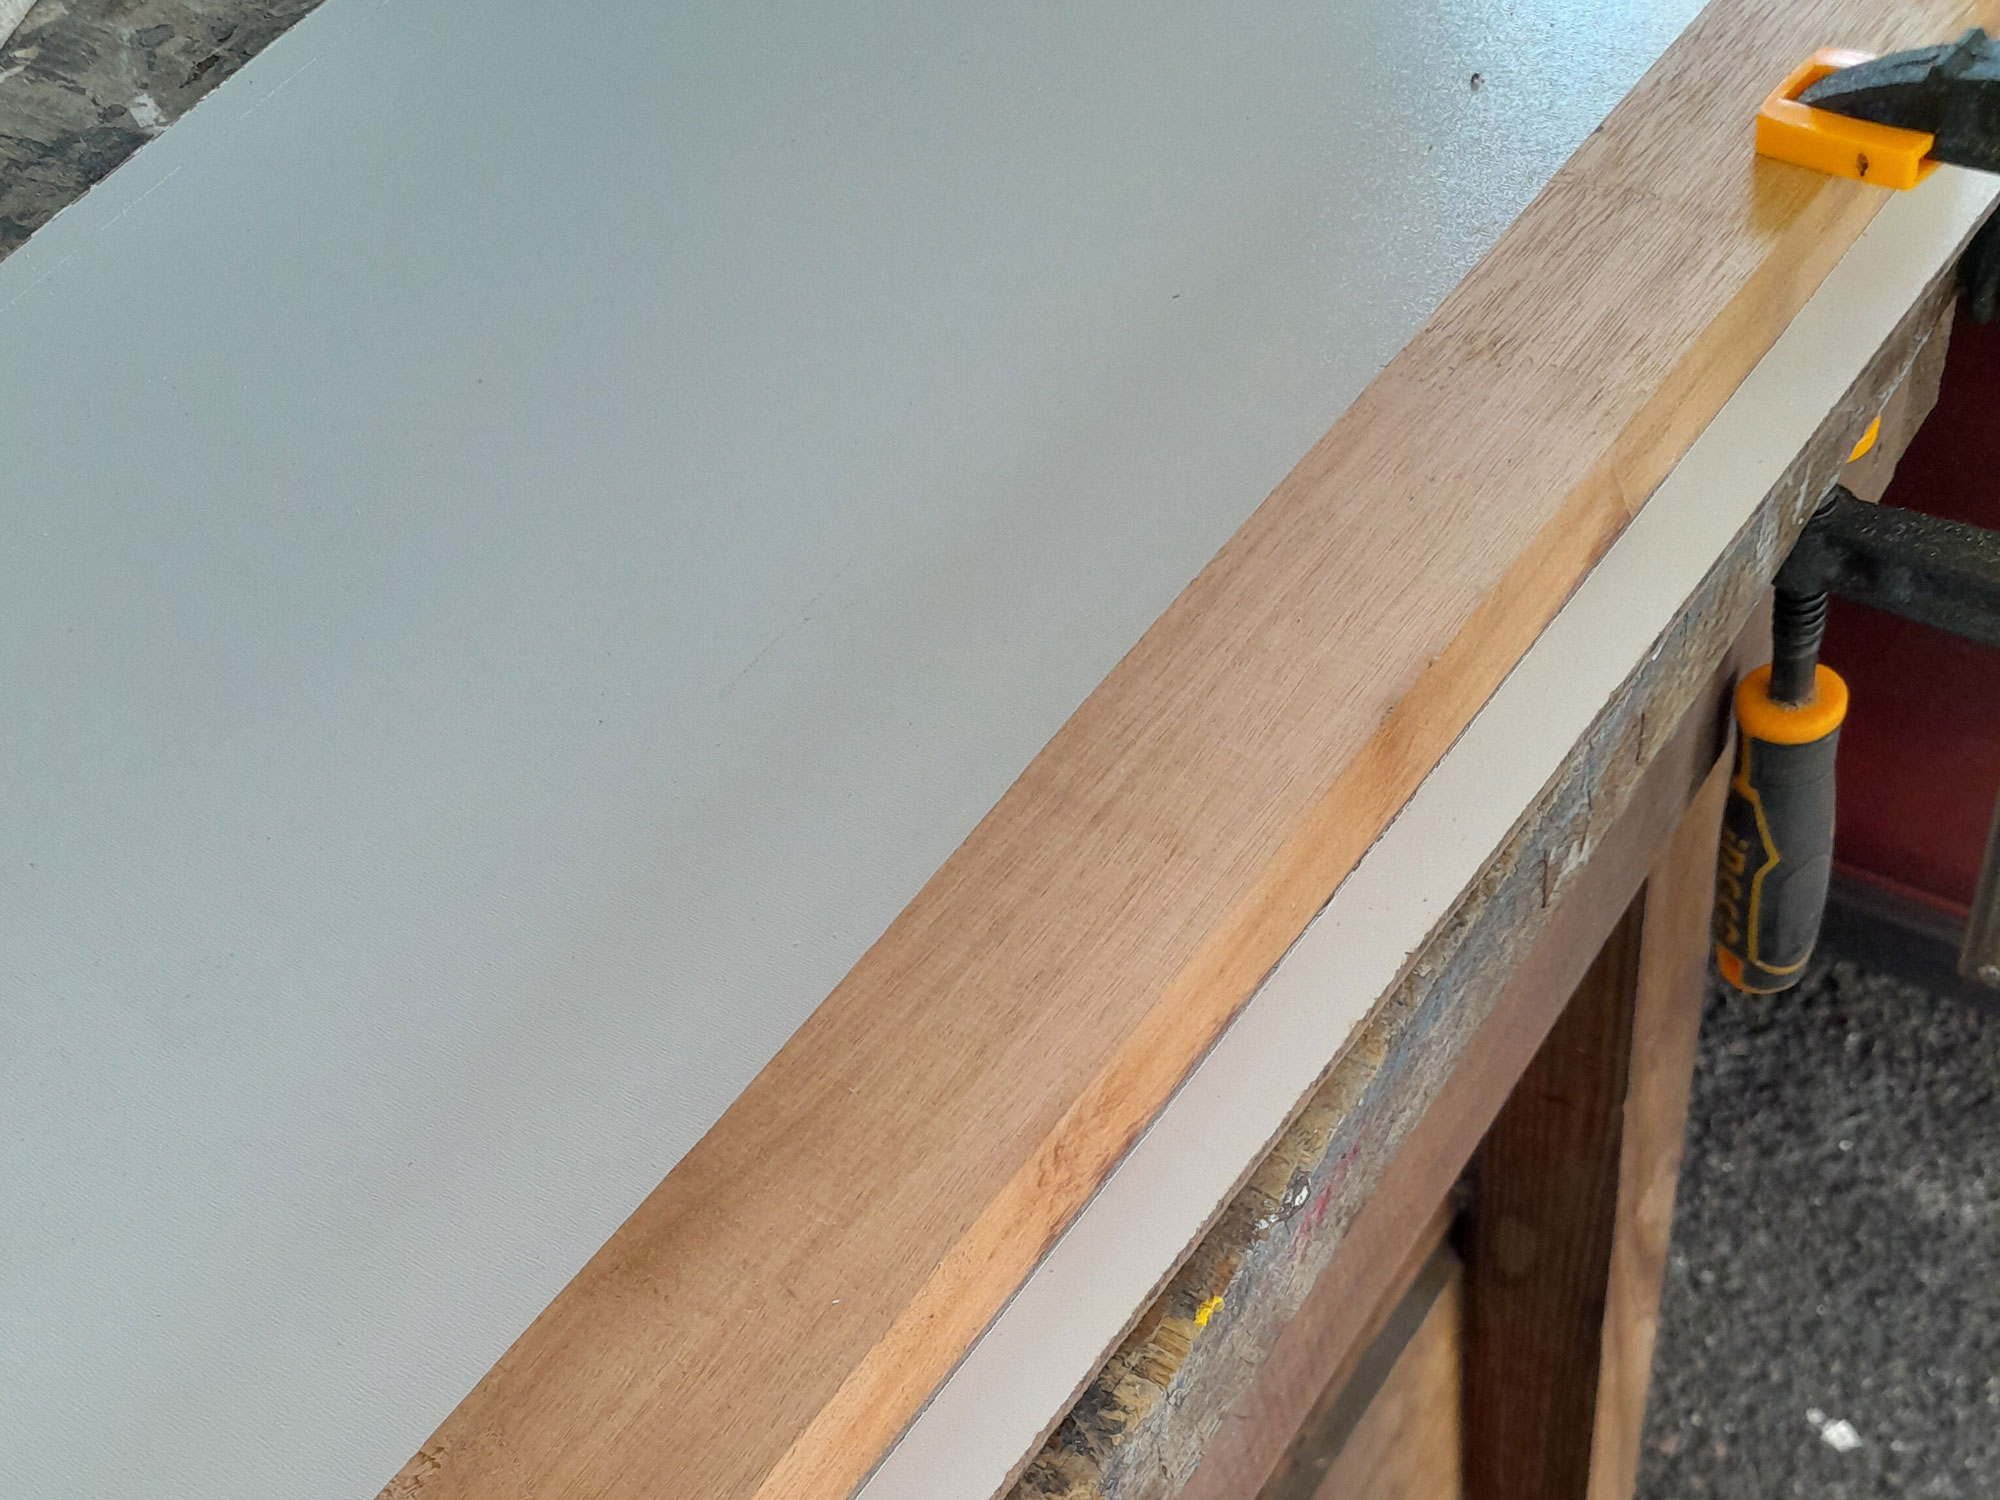
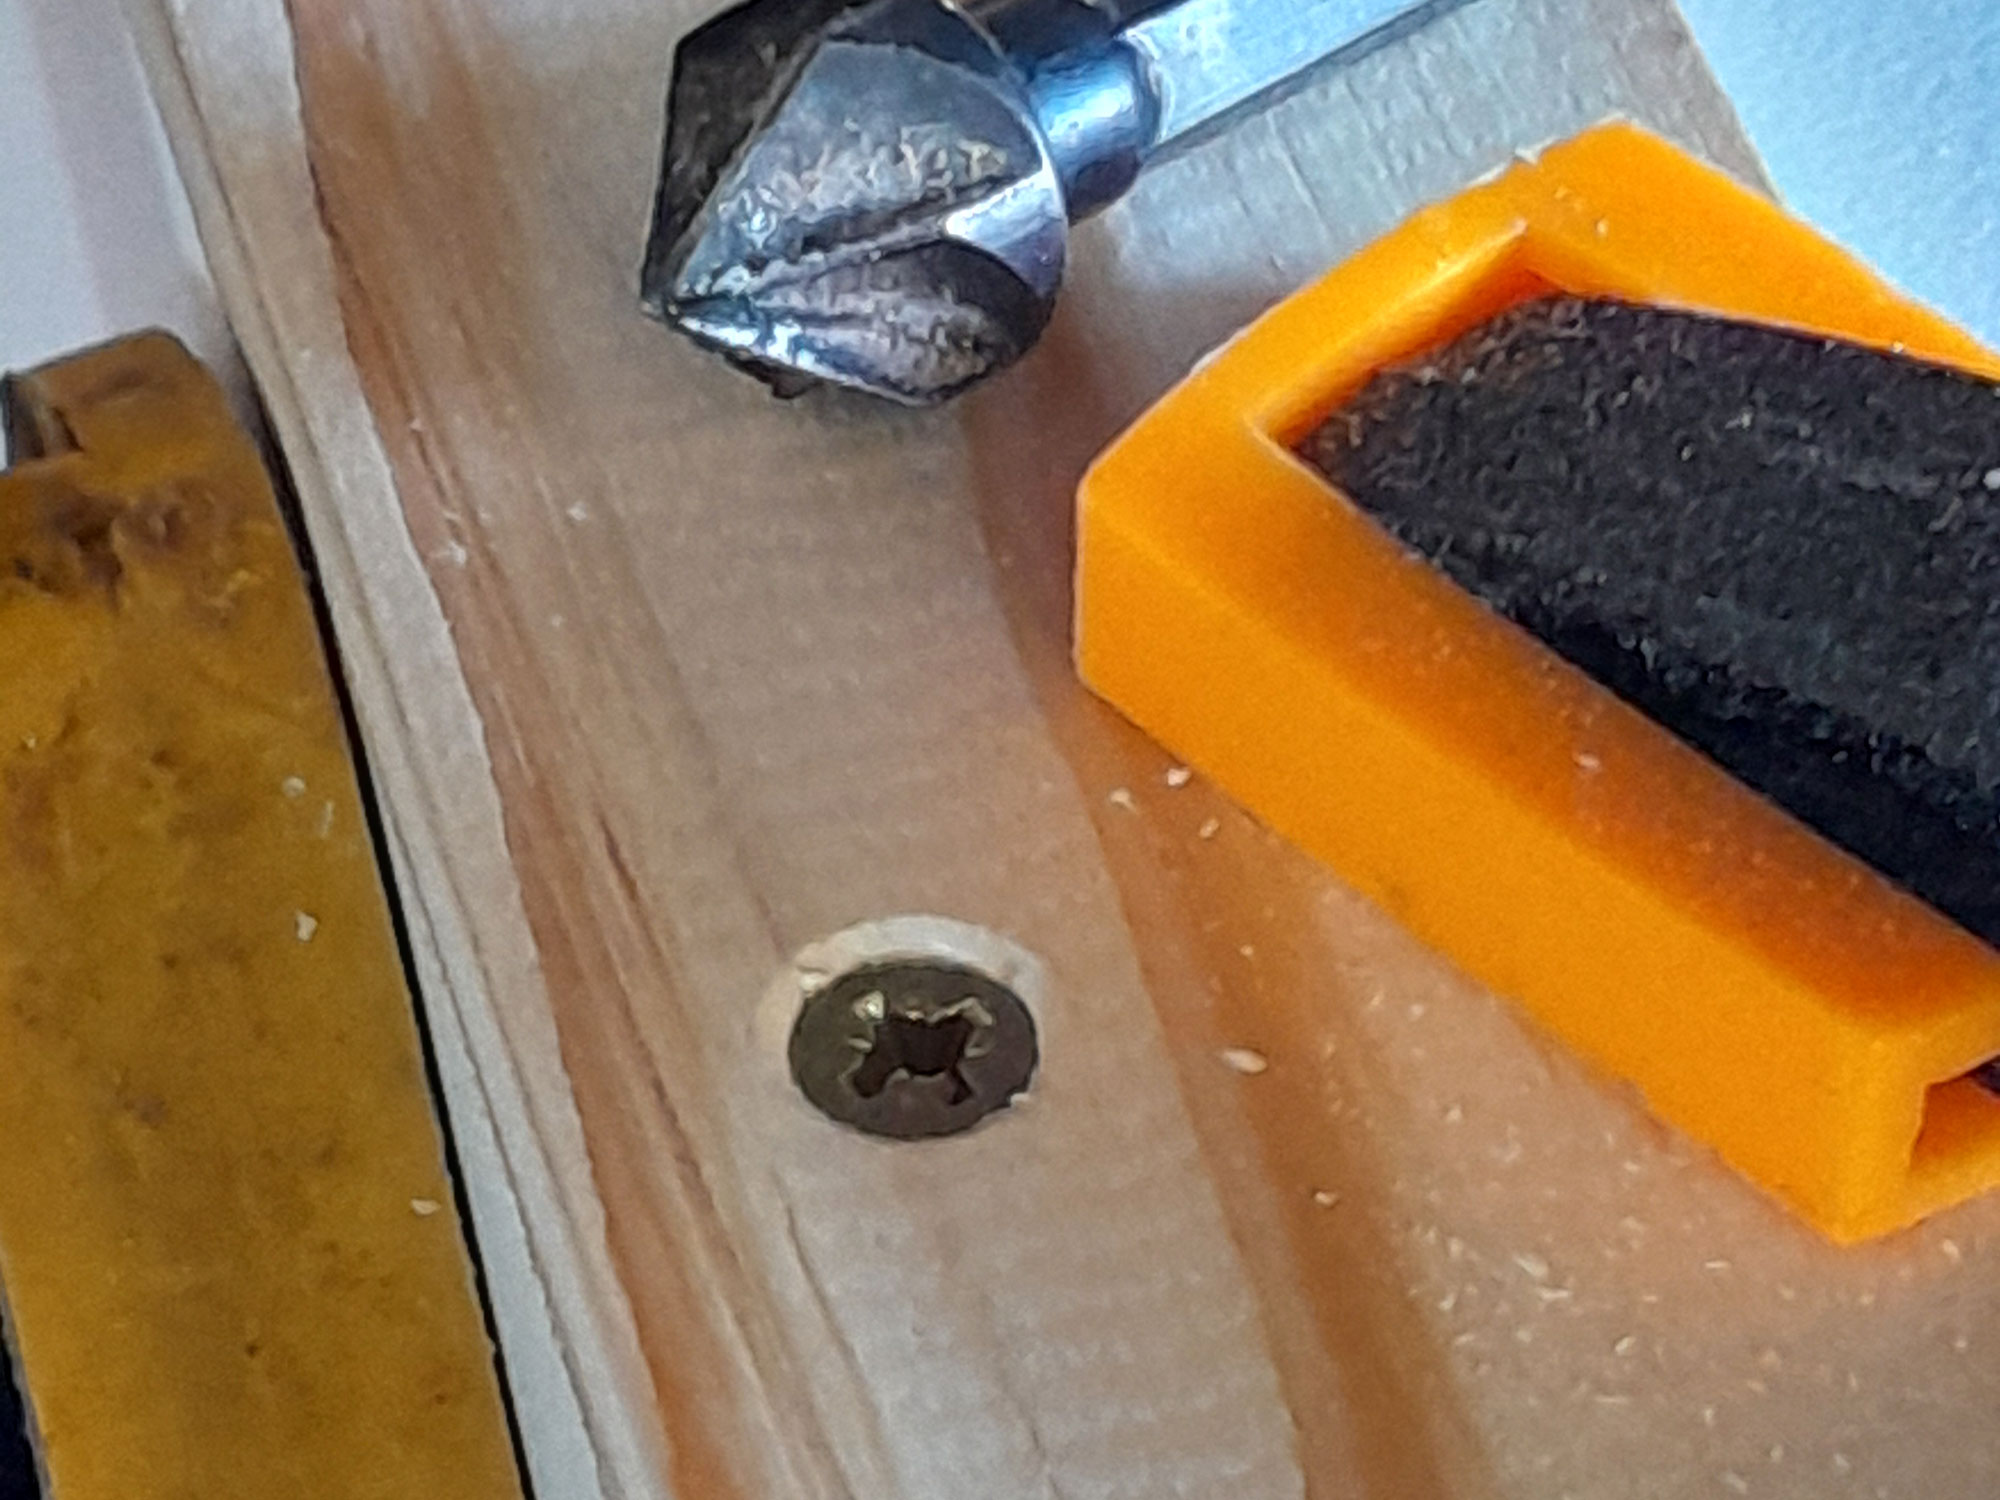
- Then I turned the assembly on its side, and cut and clamped into position the 9x44mm SA pine embellishment – having mitred what would be the front end. Then I drilled a 1.5mmØ pilot for each of 5 attachment screws and countersunk them as well,
- This is a 50mm chipboard securing screw driven in to secure the join. When countersinking the hole, ensure that it is just sufficient to allow the screw head to be slightly below the surrounding surface, but not so countersunk as to have no purchase at all on the cover strip.
- Then, to fully secure the top to the sides, I repeated the process, but this time with the 25 mm chipboard screws, thus securing the top very securely to the sides. I did it like that because when the cabinet is picked up to move it about, the entire weight of the unit and its contents will be borne by the cover strip and quadrant – because your fingers will be curled around those pieces, right?


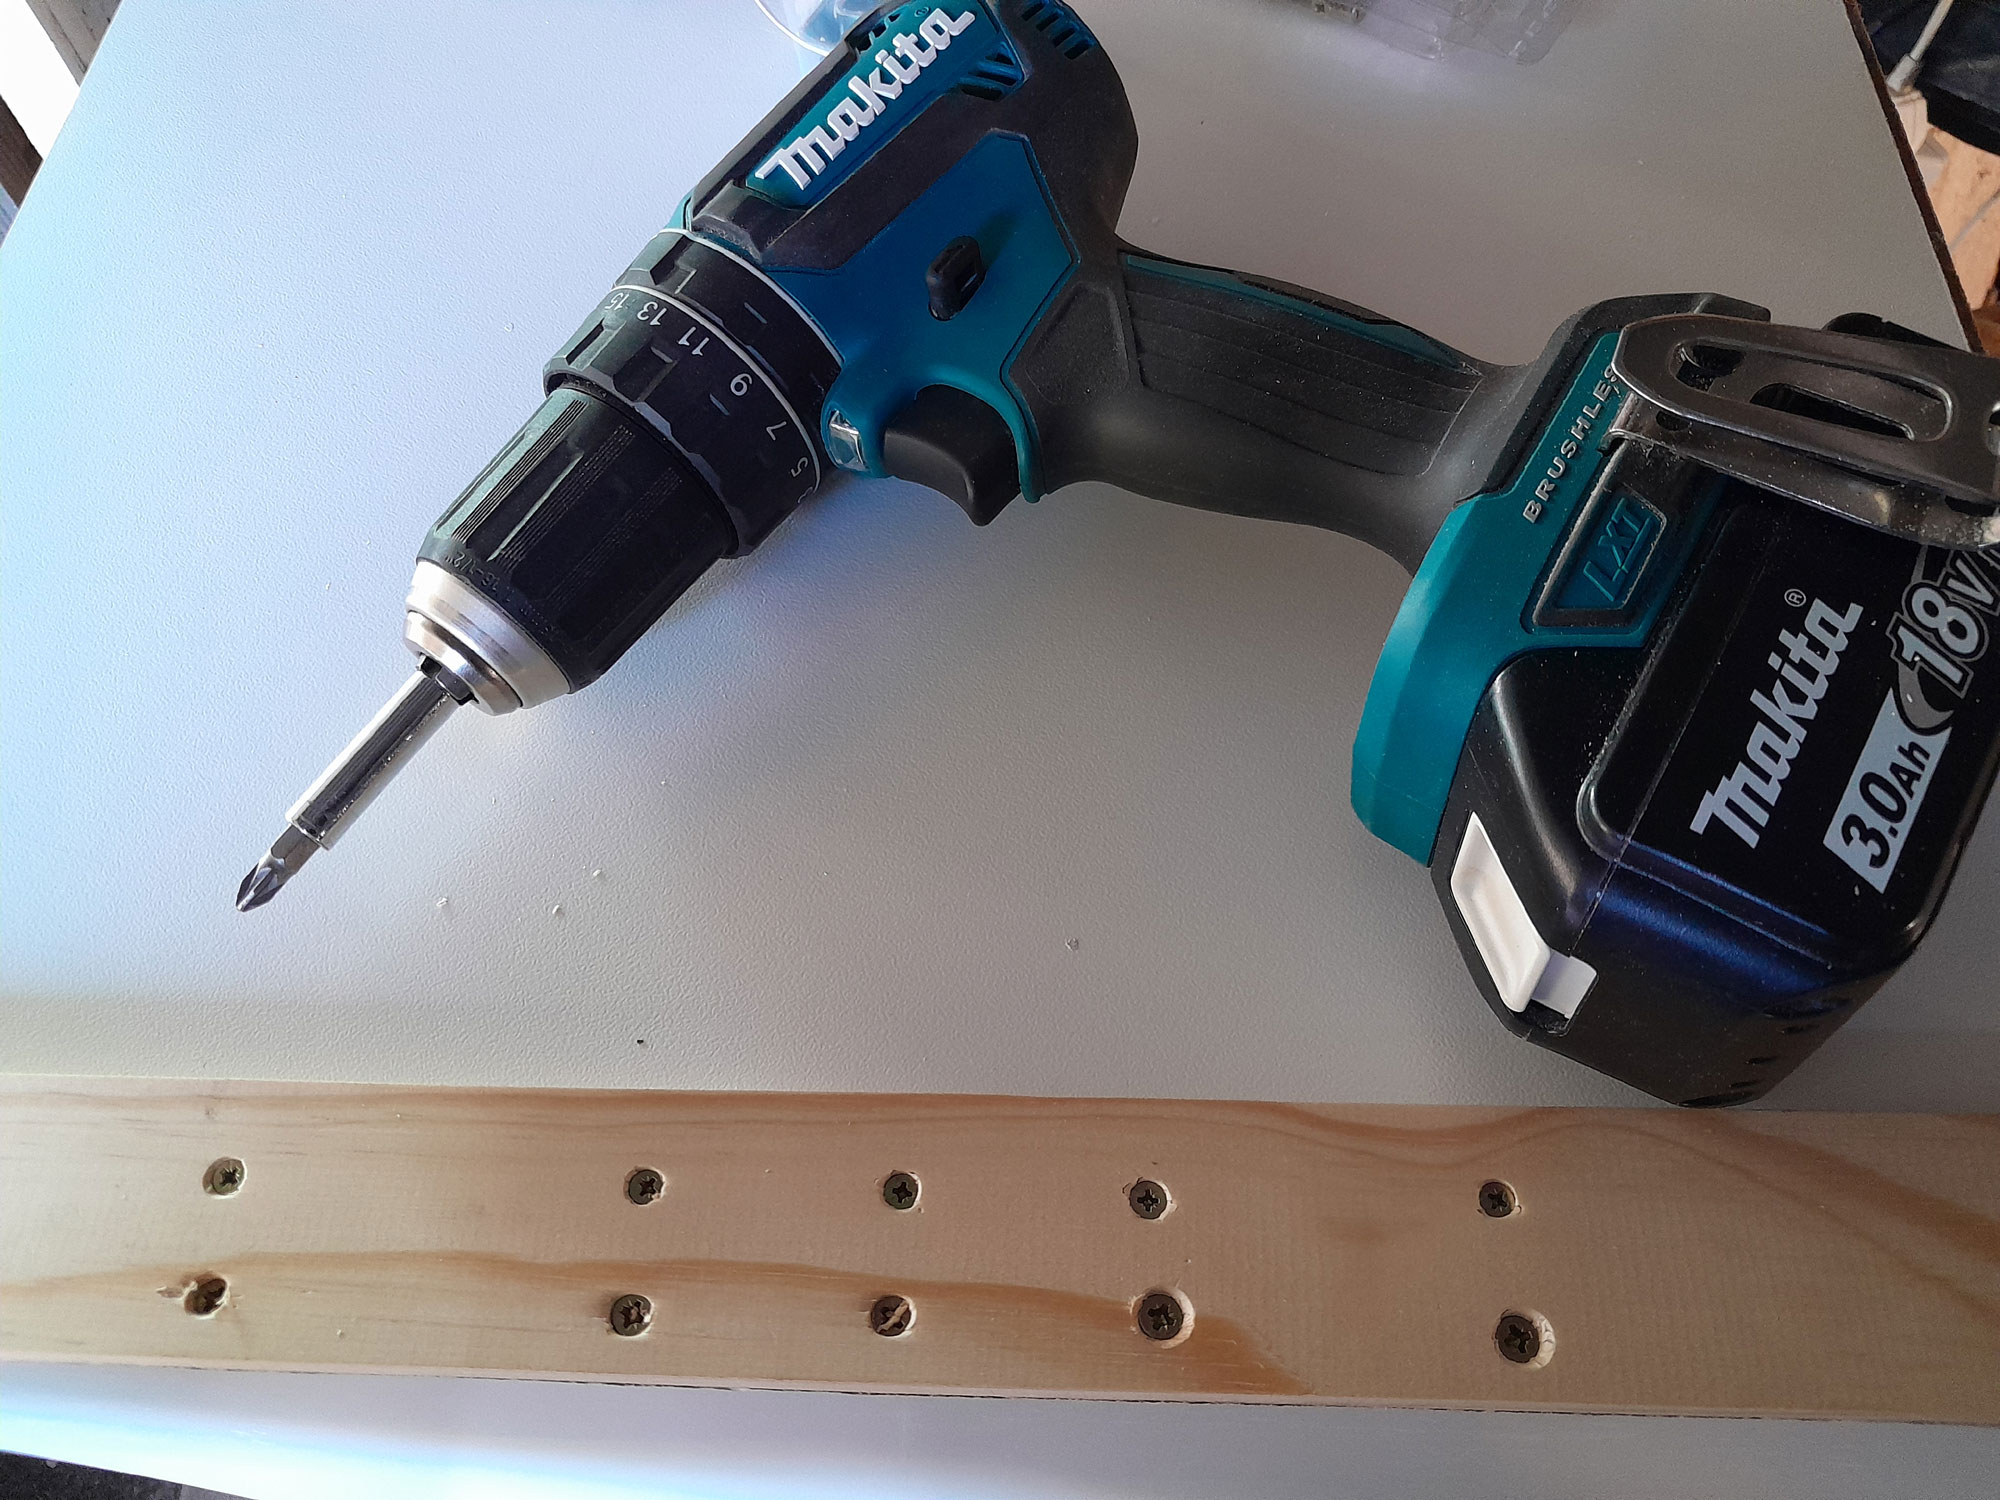
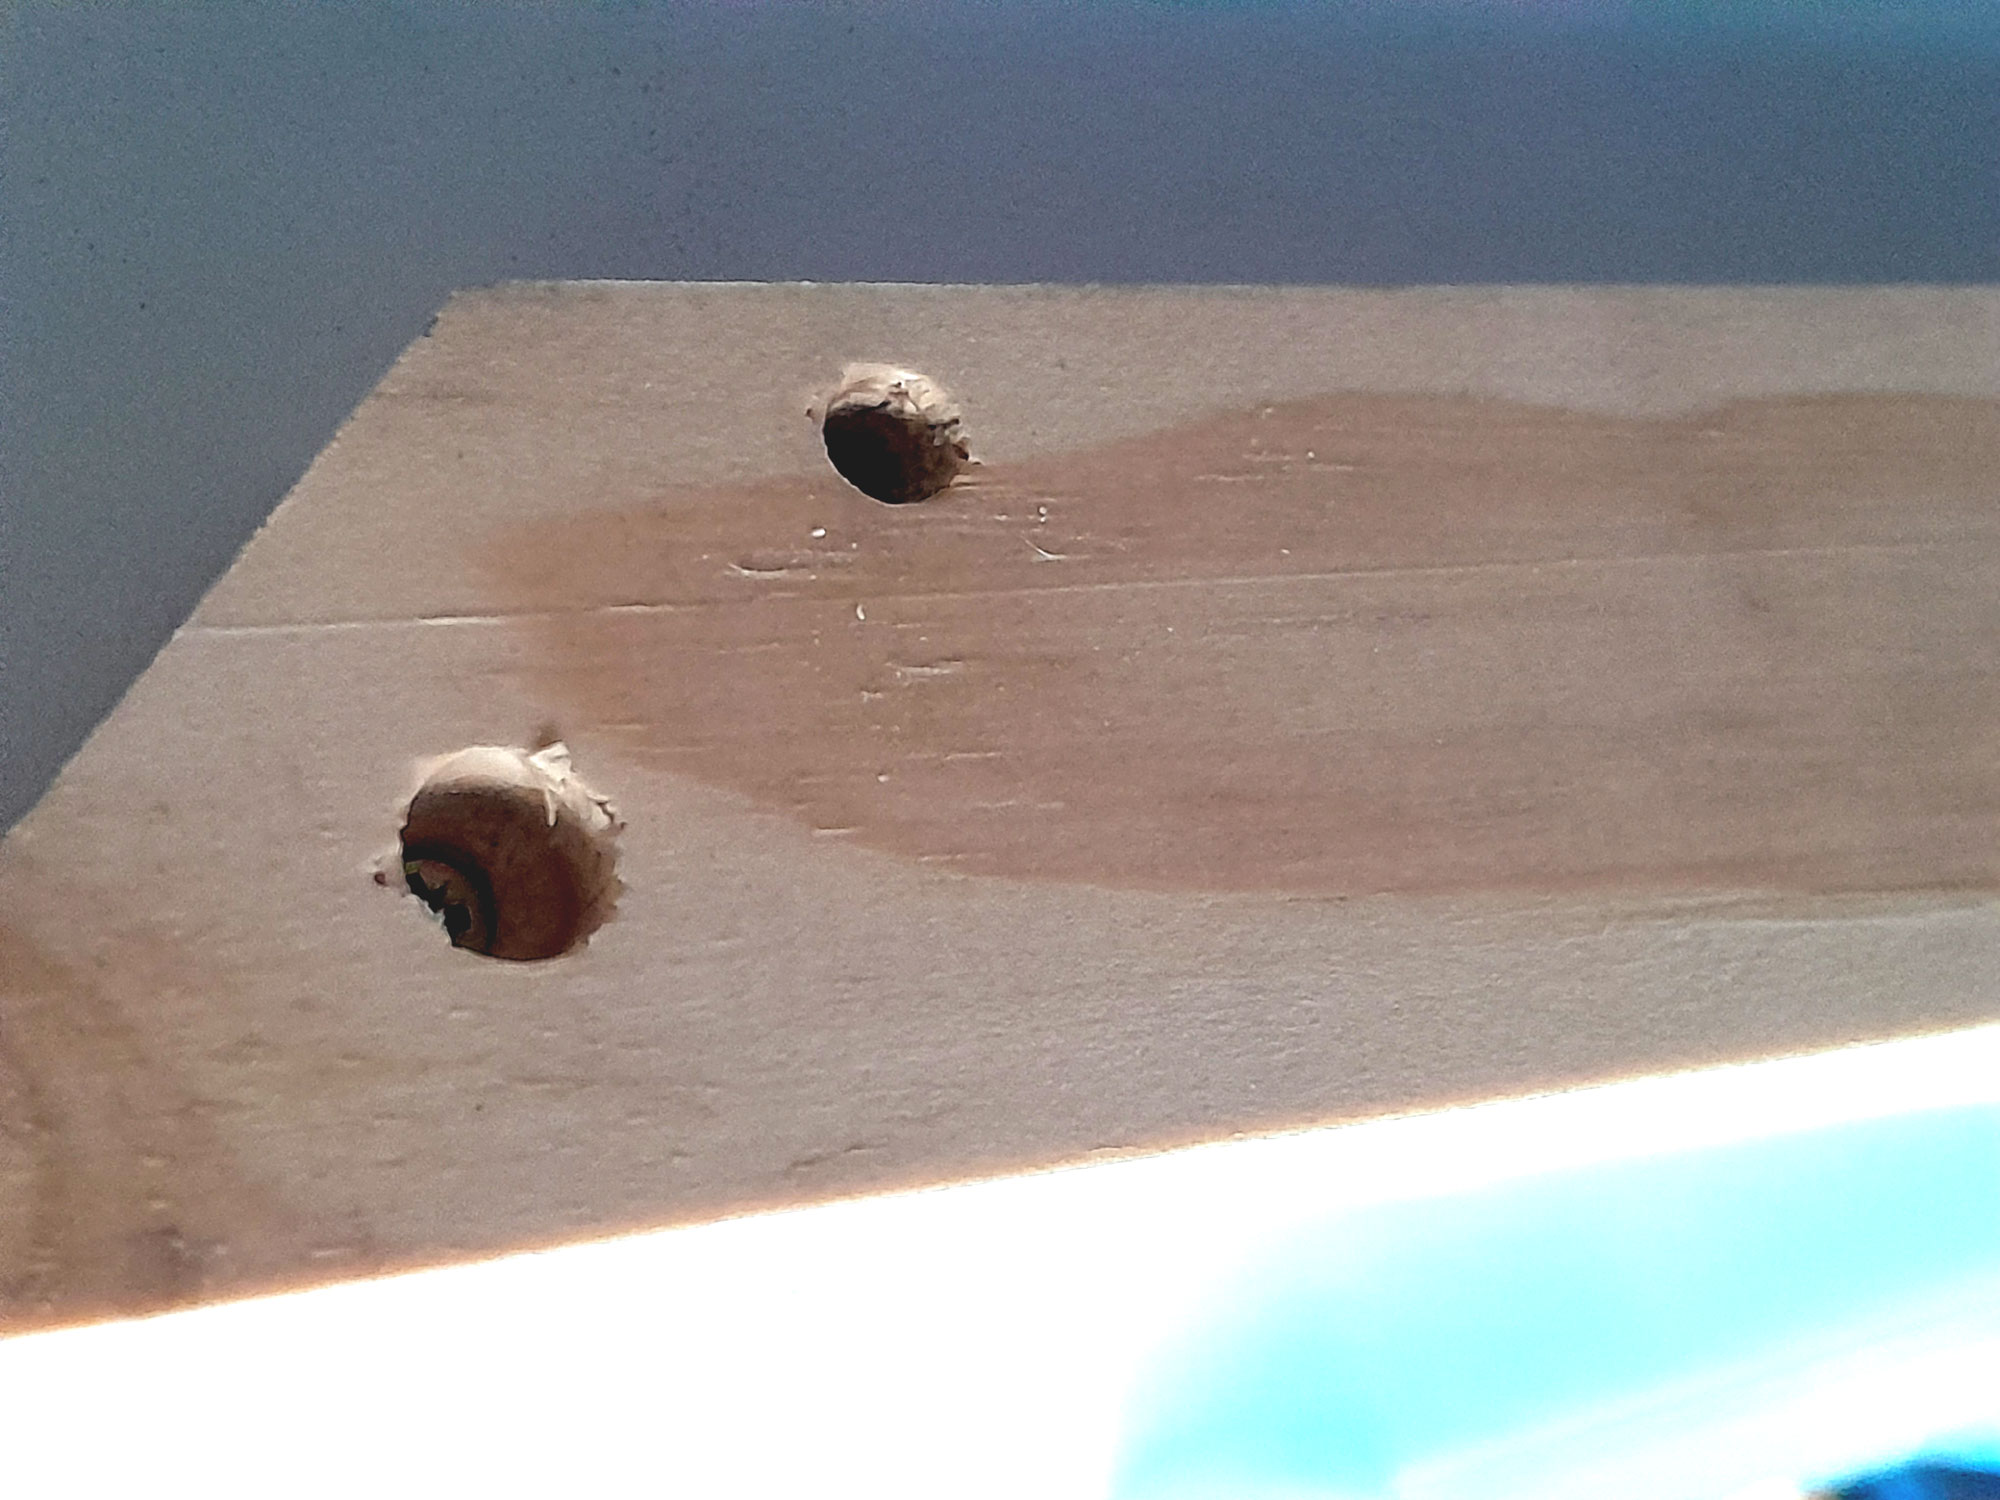
- Using pine filler, I filled the countersunk 25mm chipboard screw holes as shown here – but NOT those of the 50mm screws, as these would be hidden by the meranti quadrant. Naturally, the filled and sanded lower row of screw positions will be visible, but will be largely obscured by the quadrant just above, and anyway, you can’t have everything, can you! Once the filler had dried completes, I sanded it down flush with the surrounding surface, which provided a neat finish. What will also enhance the final appearance is to ensure that you space these screws equally along the length, so that at least their filled spots are in a neat, evenly spaced line and not all over the place. (Those that will be hidden under the meranti quadrant can be spaced with less regularity, but must be along the centreline of the chipboard top, obviously.)
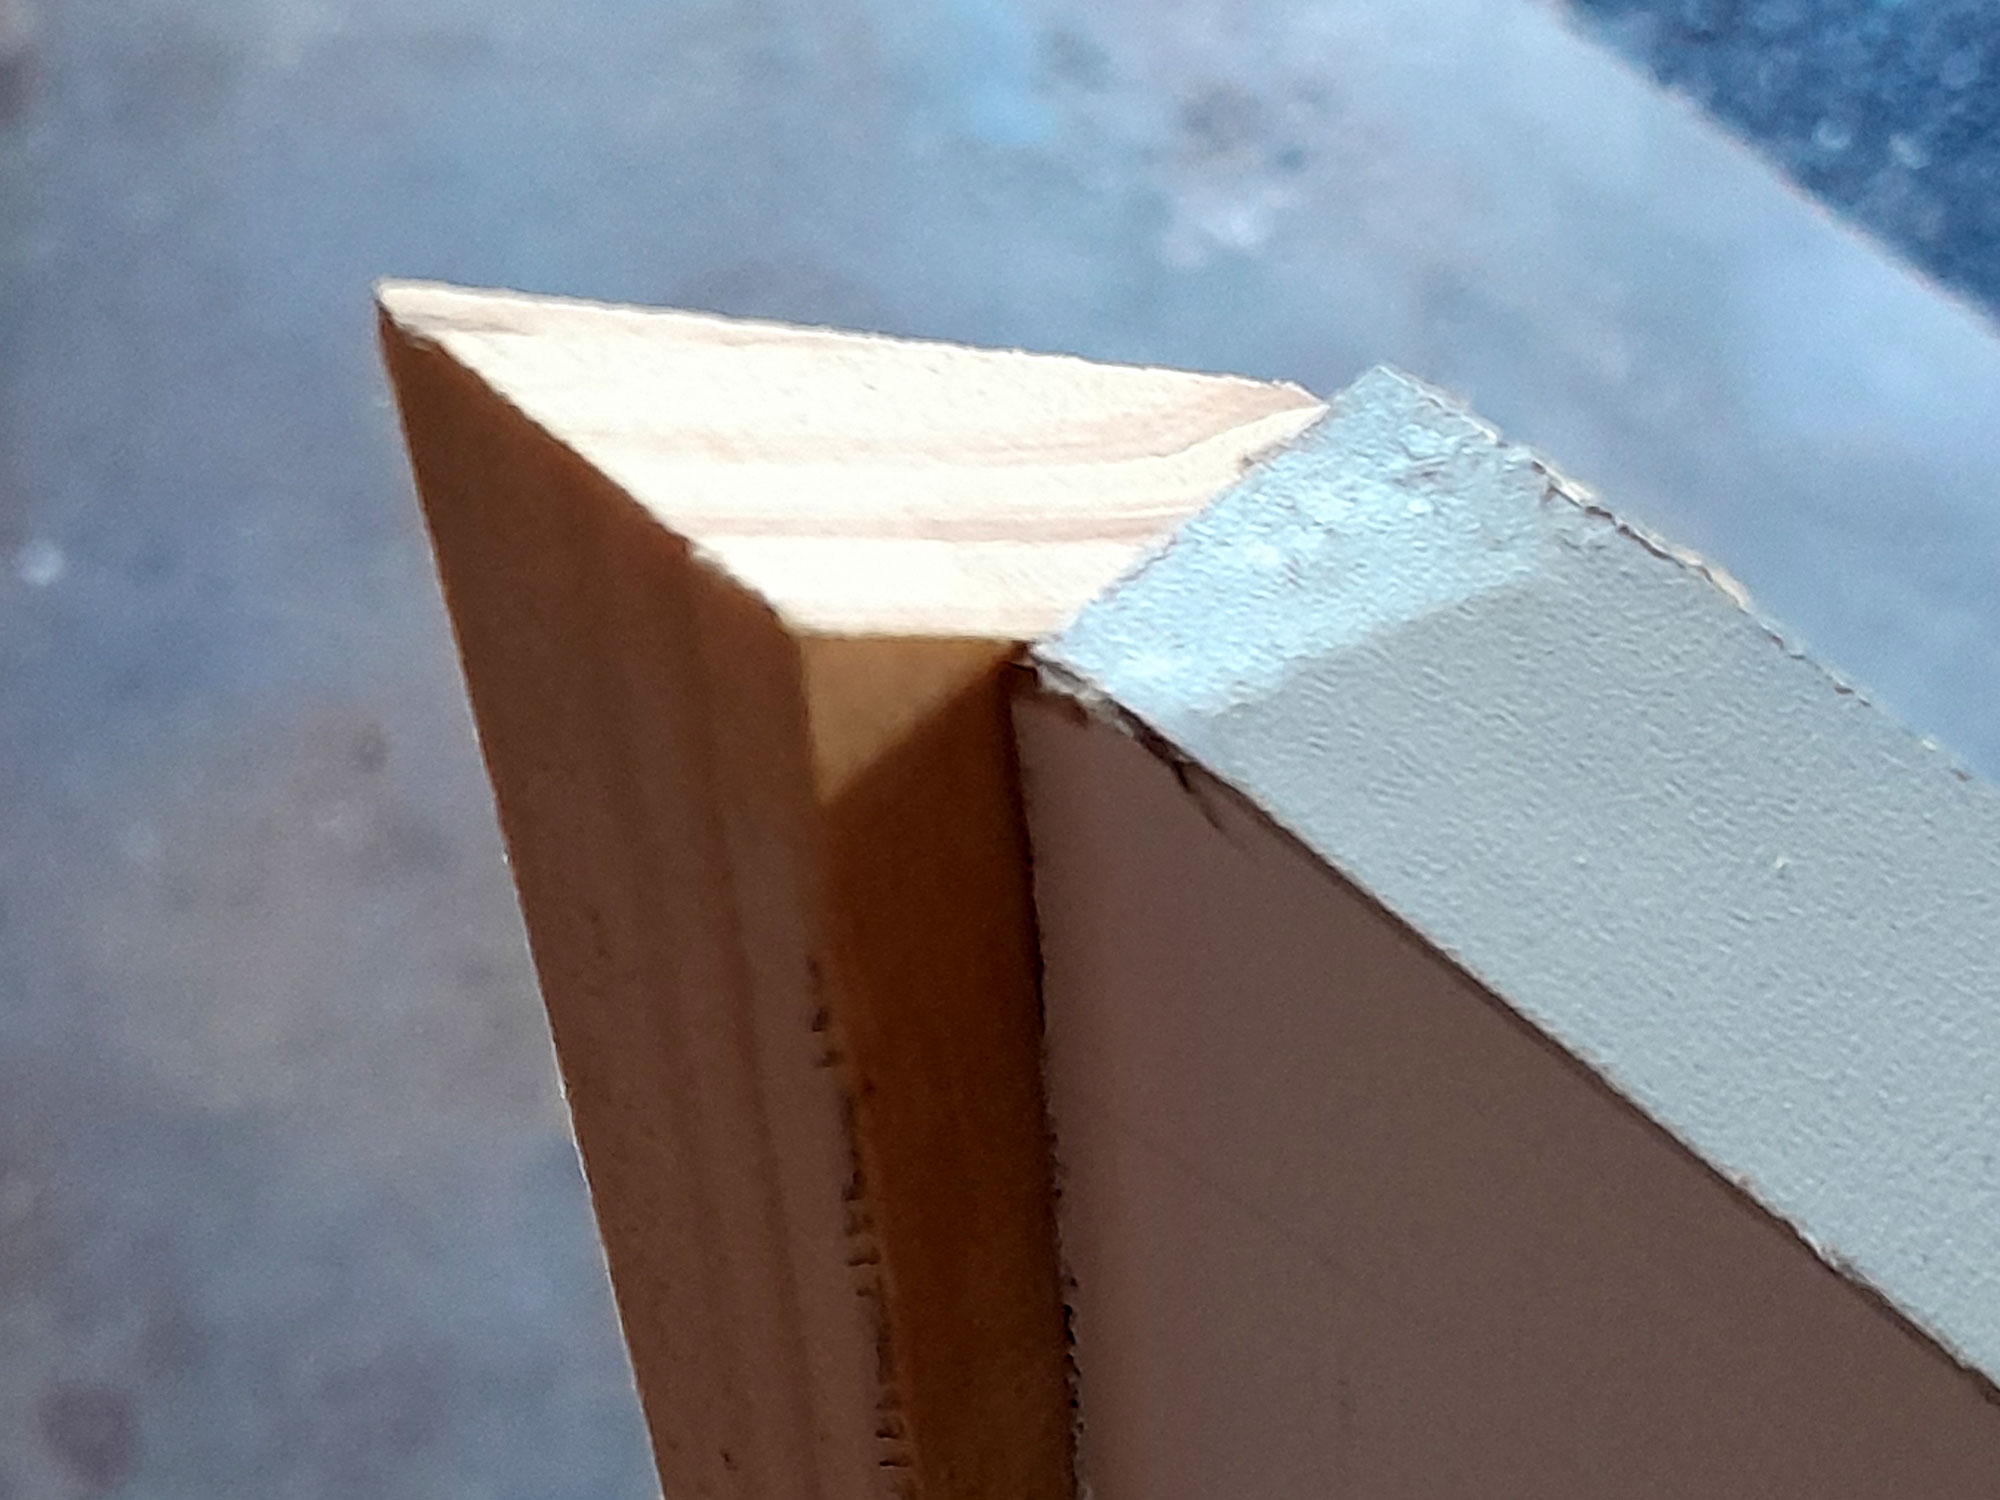
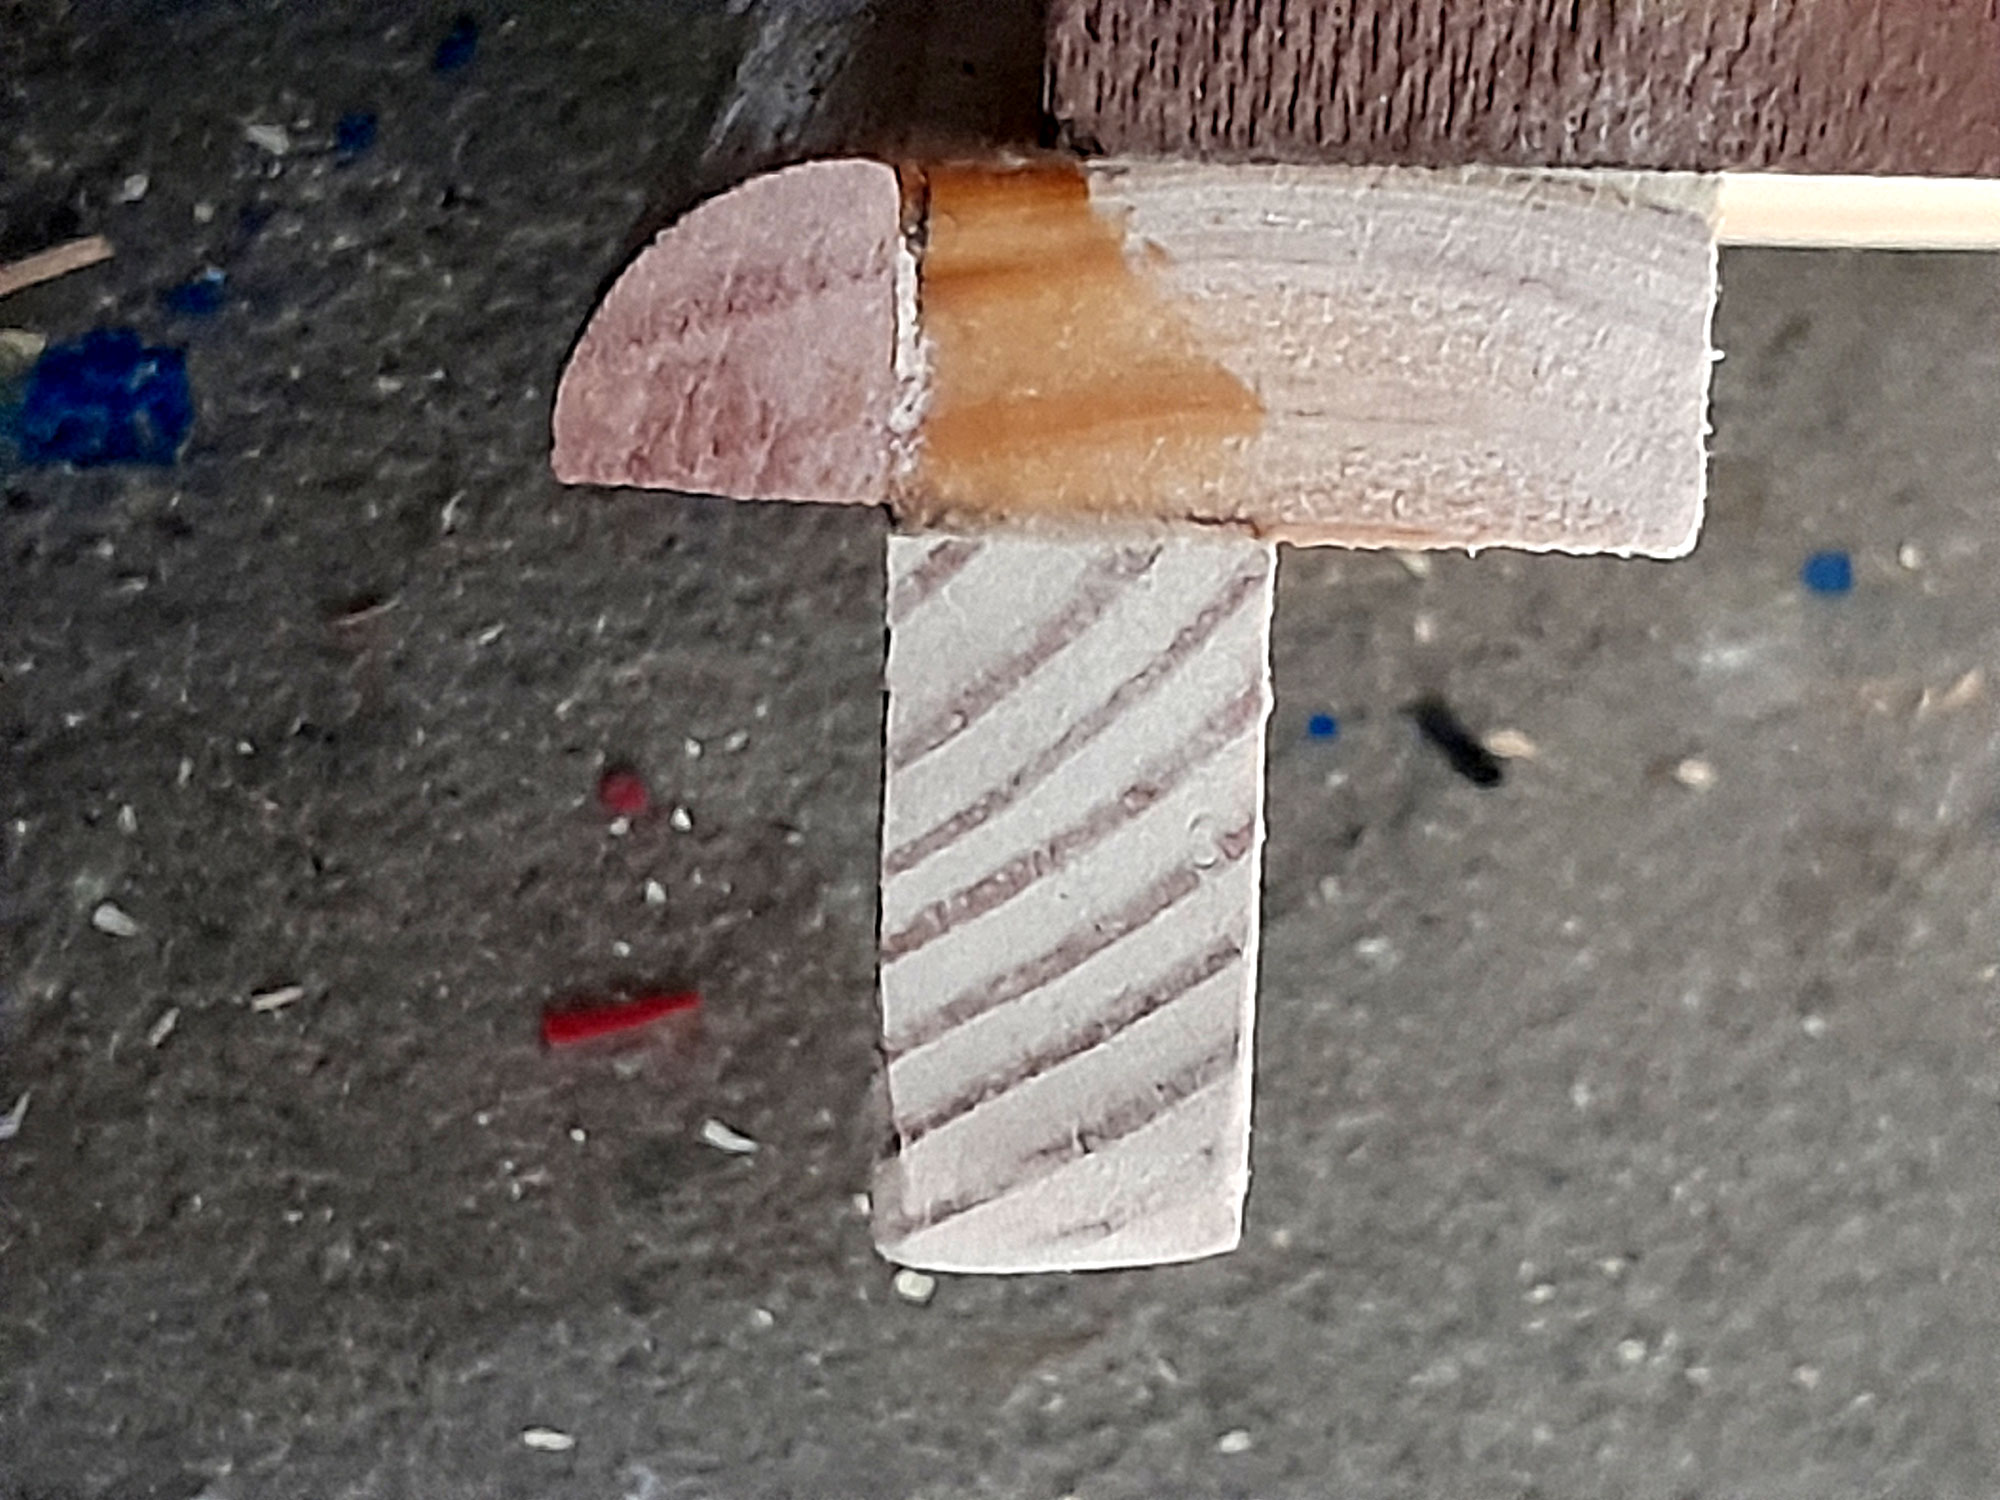
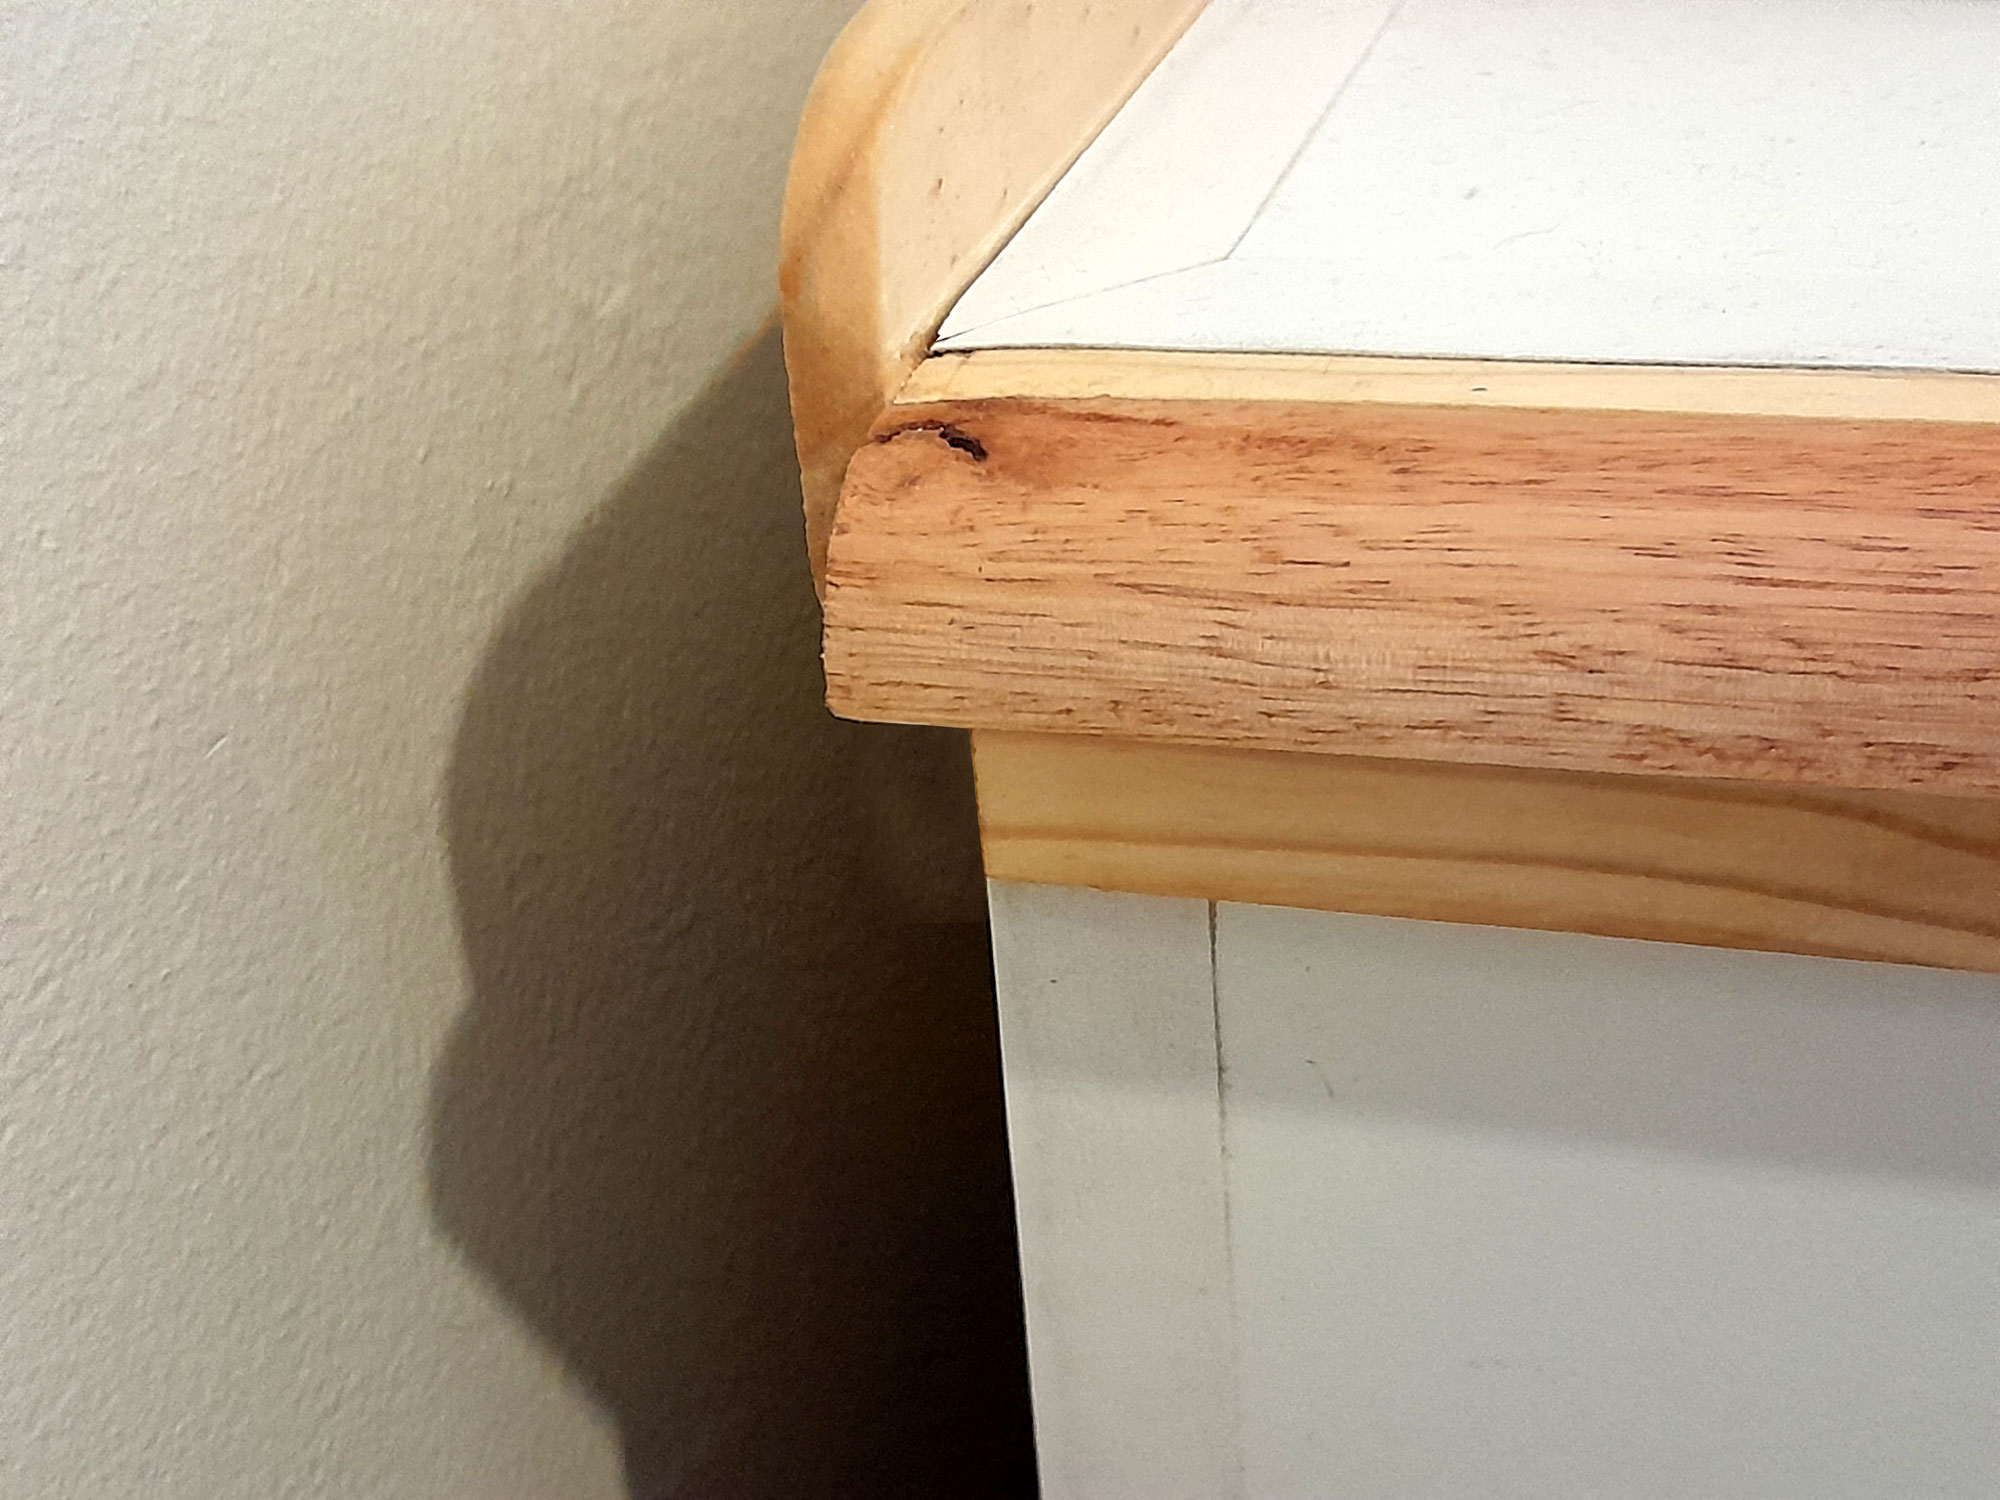
- This shows how the front ends of the cover strip embellishment are mitred.
- This illustration shows clearly the positions of the attachment screws at the cabinet top, and also how the base is attached to the sides. Note how the quadrant around the top hides the 50mm screws securing the sides to the top and cover strip.
- I cut and secured the quadrant around the top, using clamps to hold it in position while the glue set.
- Alternatively, use masking tape to hold the piece in position while the glue cures.


- Then I secured the base to the sides. Note that the base fits WITHIN the sides, also note that the 22x44mm SA pine base embellishment stands proud of the sides and front by 9mm. This is so that the appearance of the base and feet attachment will mimic that of the top embellishment. (Again, refer to the illustration, above.)
- This shows how we again have two rows of screws, the longer 50mm ones securing the base embellishment to the sides, and then the 30mm screws, countersunk to a depth of about 10mm, secure the base to the base embellishment. This effectively secures the base to the sides. Again, refer to the illustration.
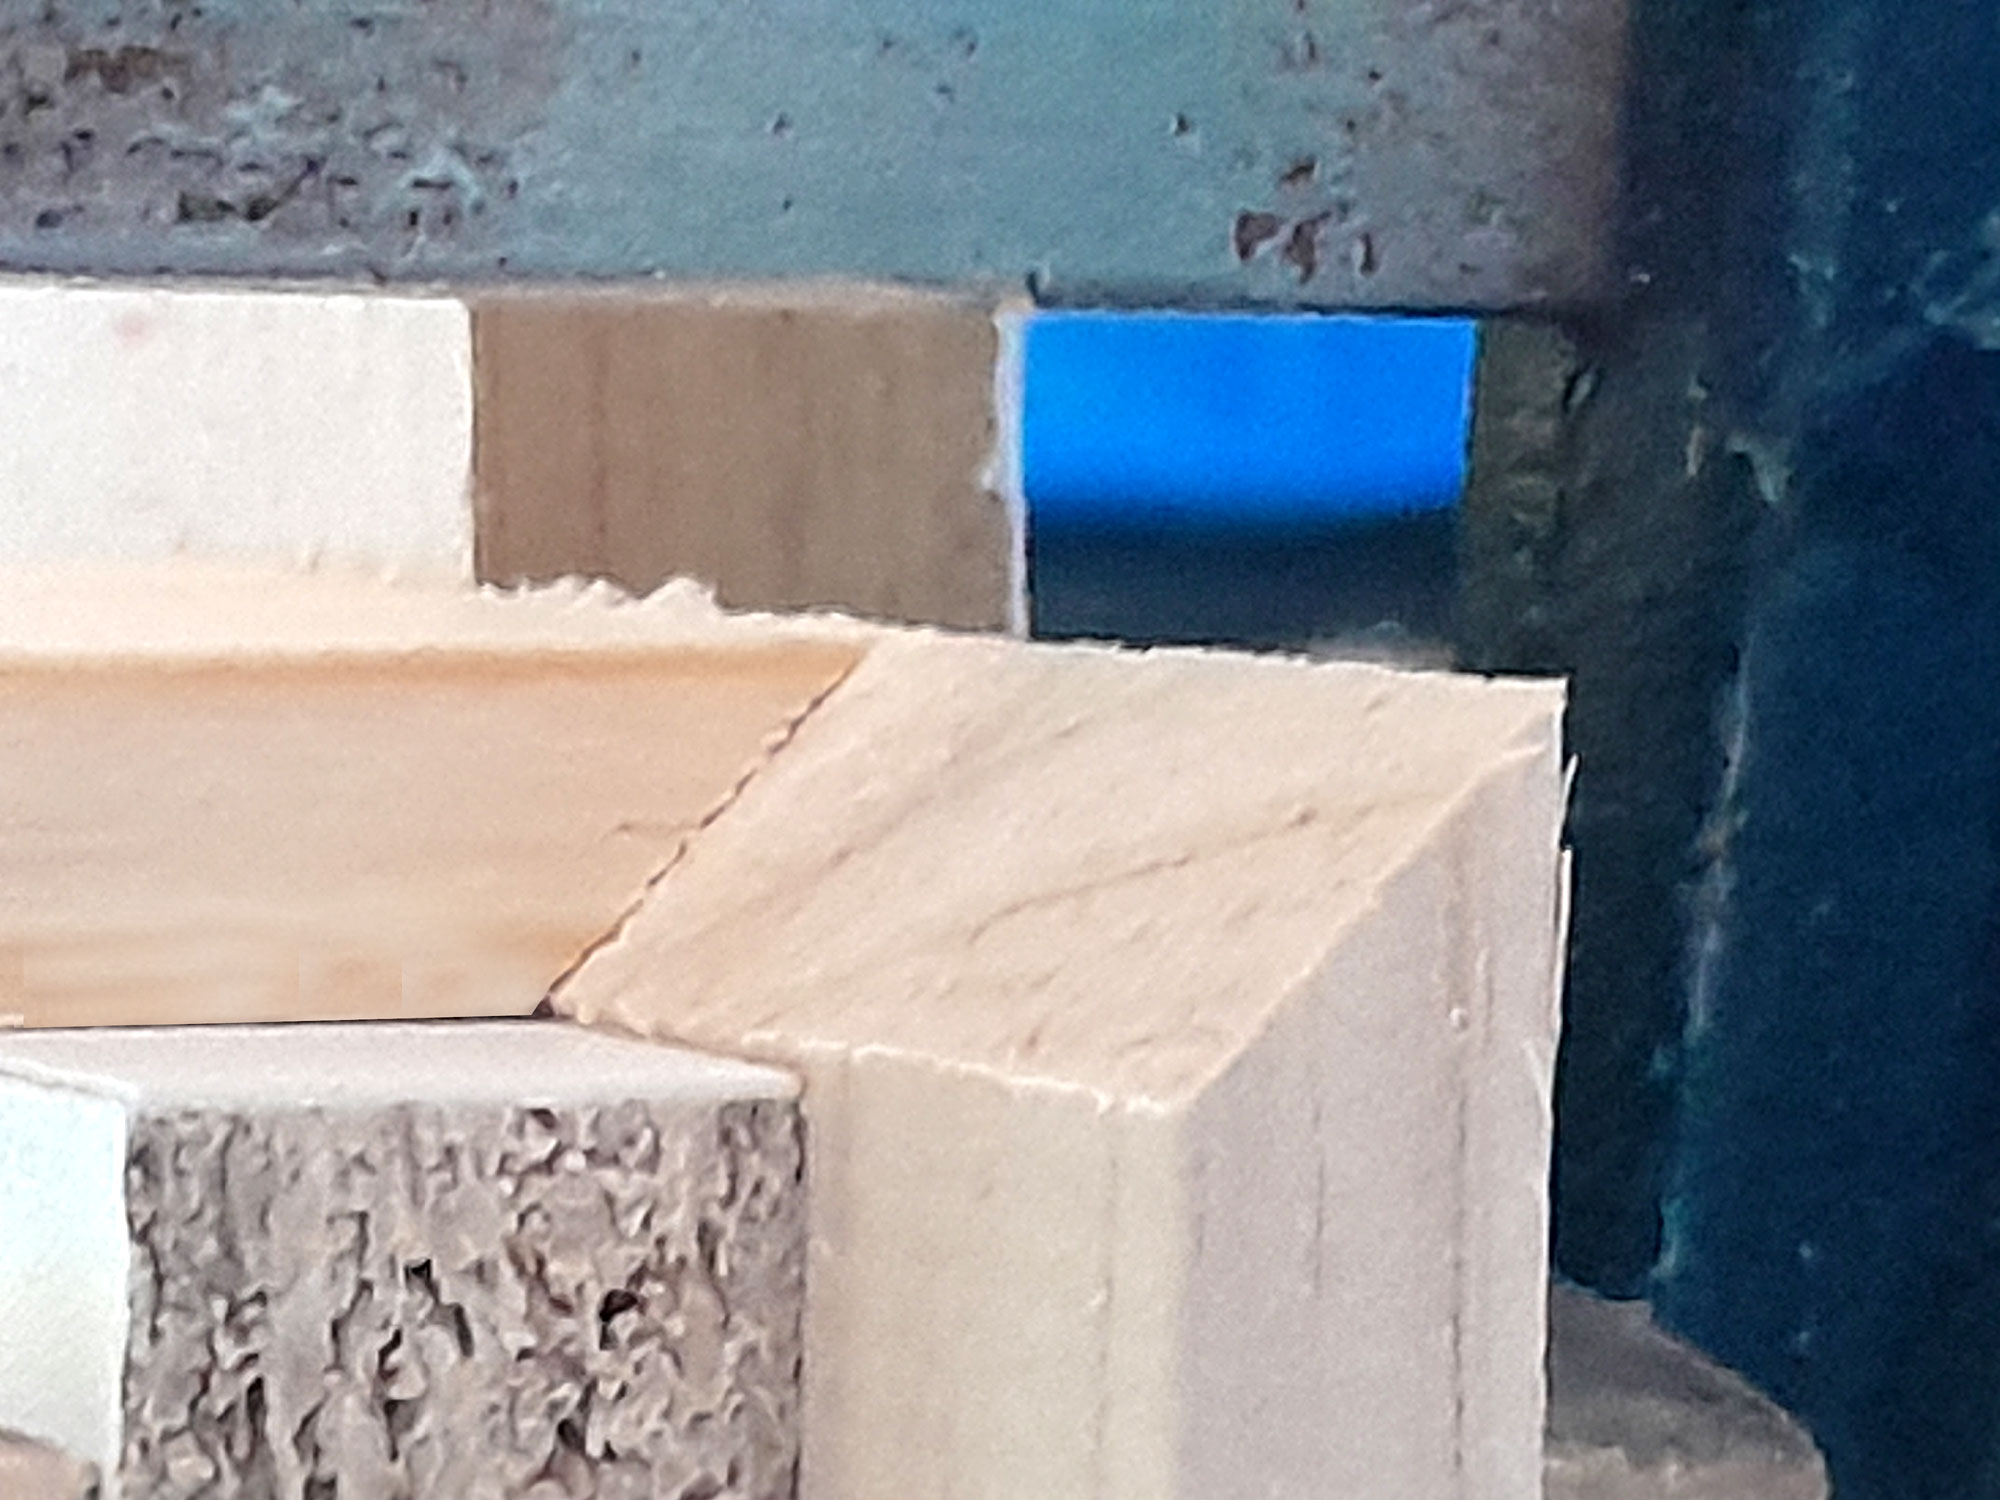
- This shows the underside view of the complete fitting.
- I then cut and glued the feet to the base embellishment, and followed that by cutting and gluing the meranti quadrant around it, to mirror the top’s appearance.
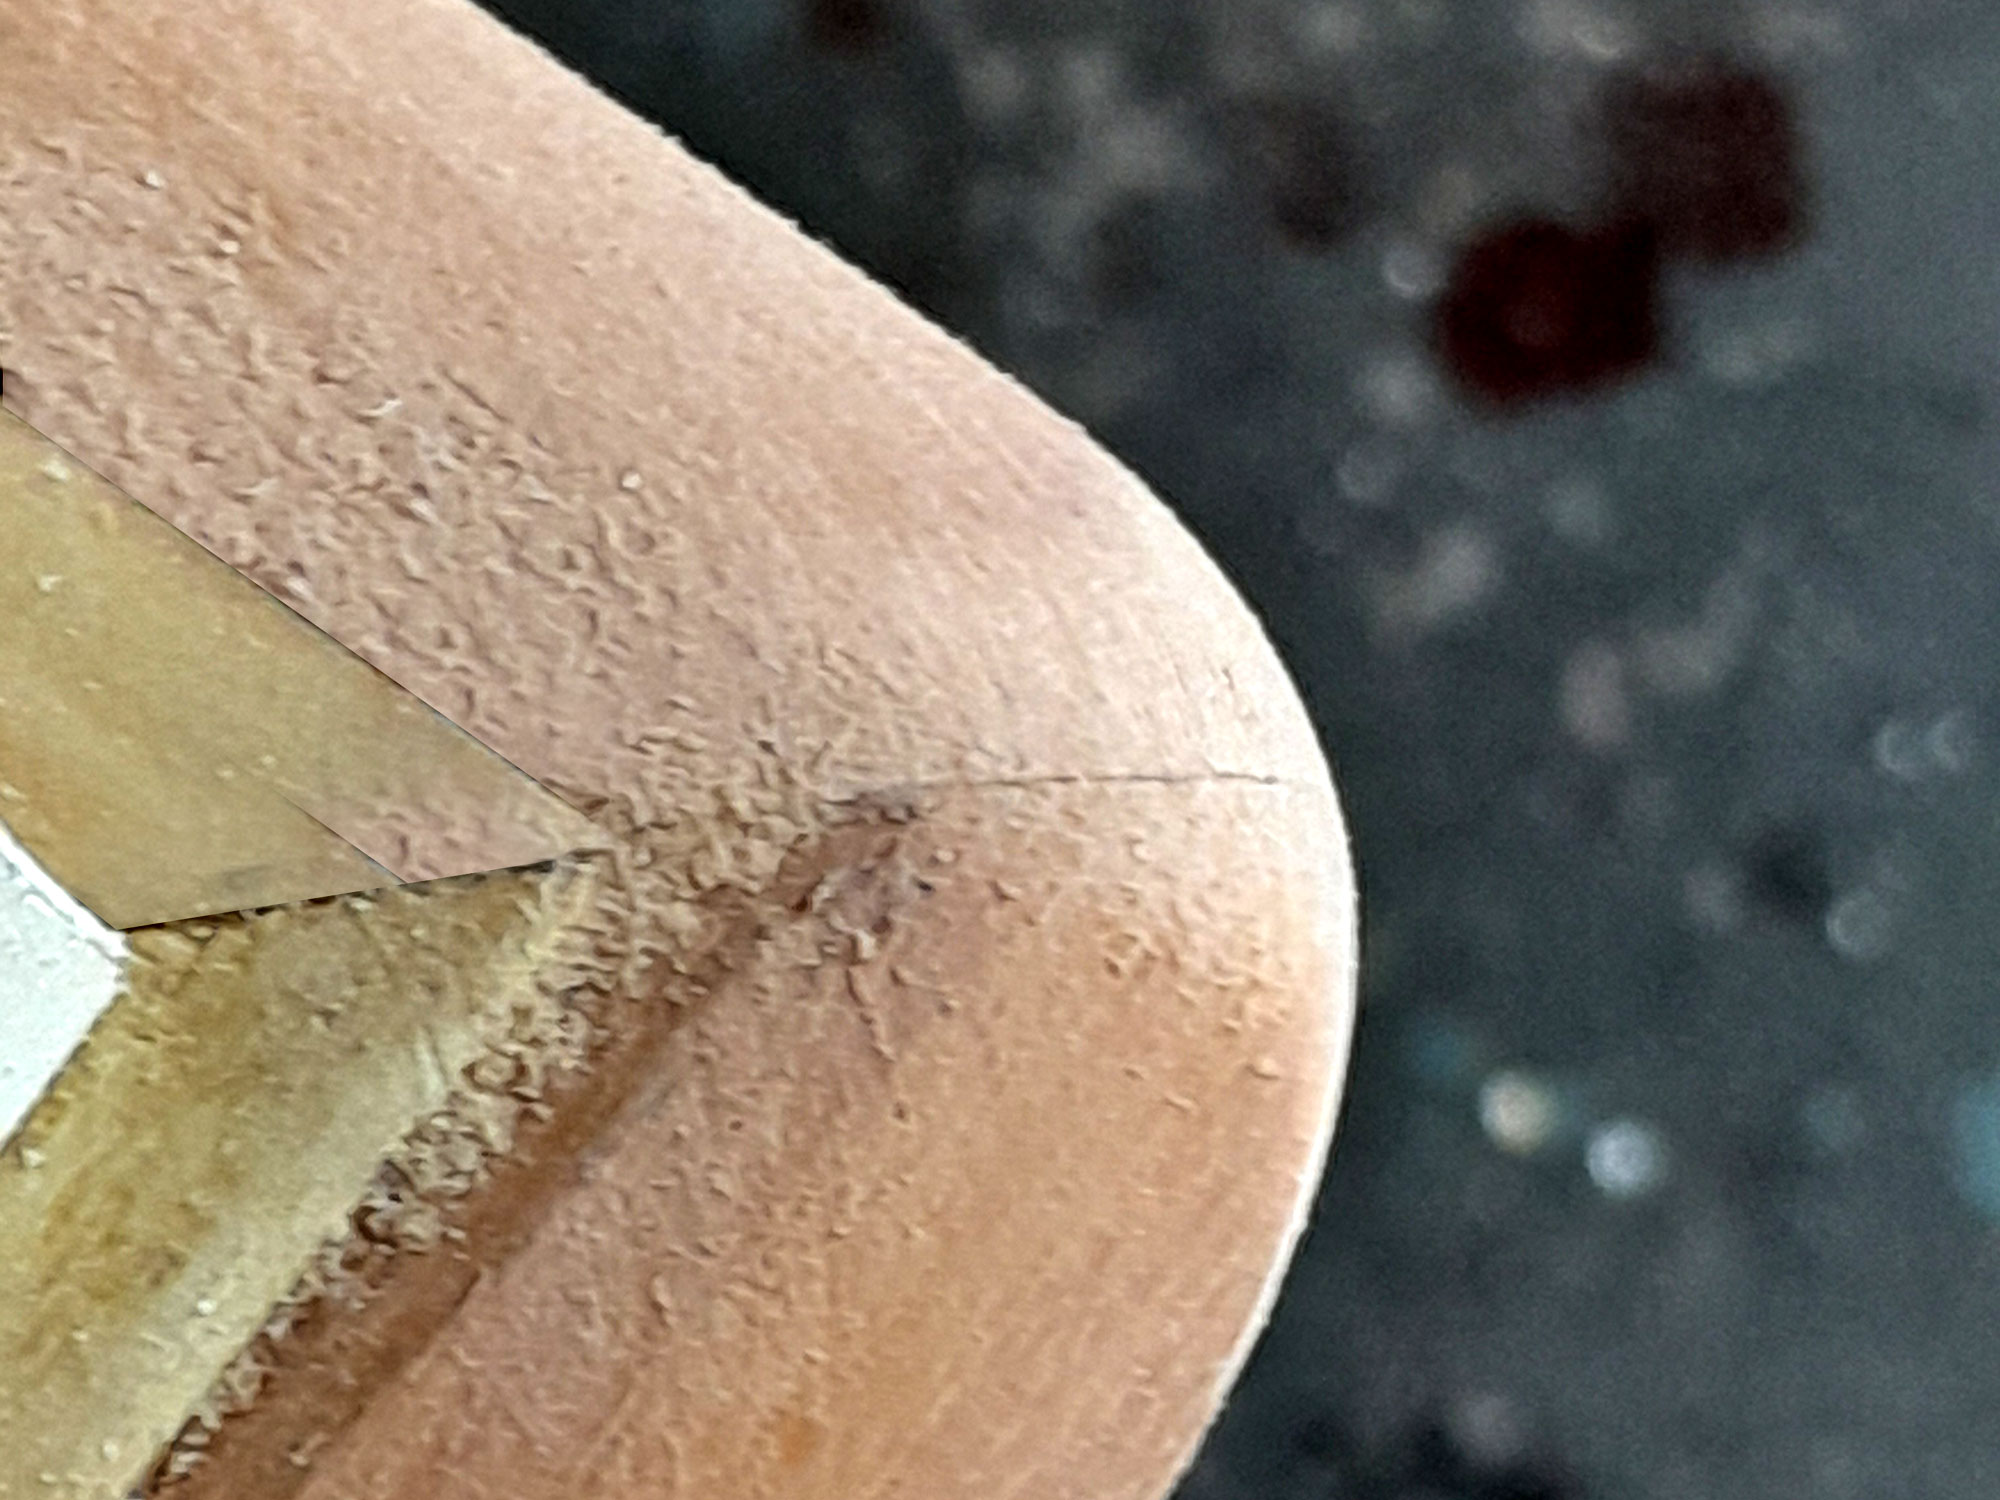
- Nothing gets the attention like hitting your head on a sharp corner in the middle of the night, so I rounded off the top and base quadrant corners, as shown here.

- This shows how the feet have been attached to the base embellishment. The foot sections are on each side and across the front.
- This (a view of the rear of the cabinet) shows how the whole assembly comes together. Note that I rounded off the bottom edges of the foot sections so that they could be moved over any carpet without any snagging.
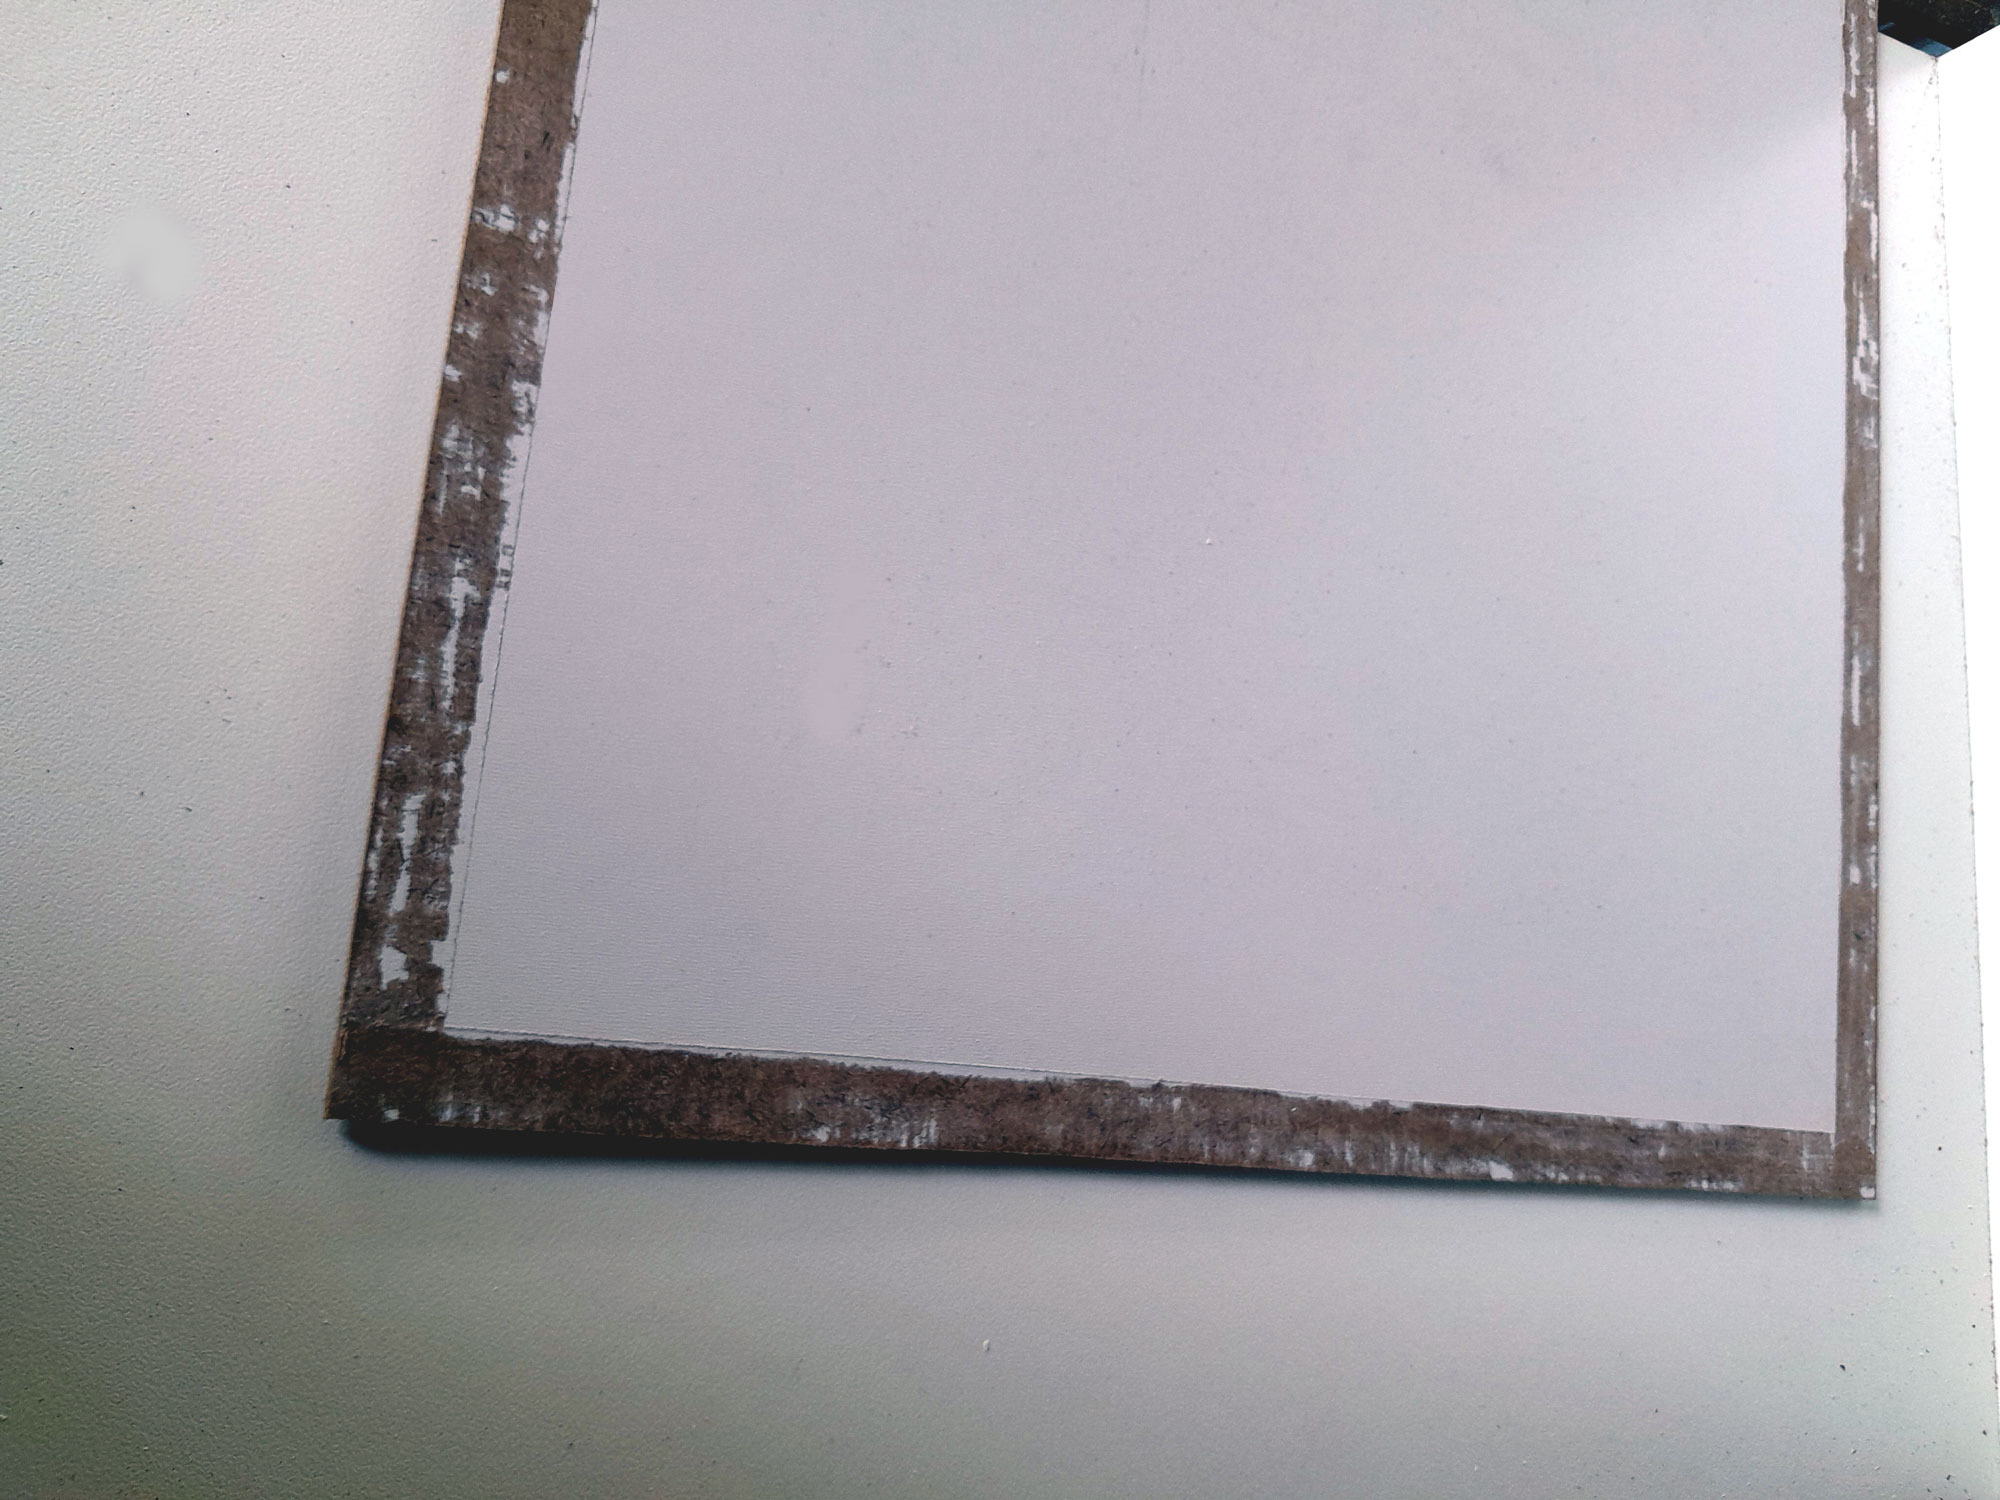
- When cutting coated chipboard, the cut, no matter how carefully done, can chip the white coating, so I used iron-on melamine edging tape to mask the chipping, which though minimal, was still too noticeable. Naturally, you can fill the chipped areas, mask off the surfaces and paint them, but I decided on this method.
- I also edged the cut edges of the chipboard.
- Now for the door… I chose kitchen nickel plated flat hinges, but though the door is not heavy, decided to reinforce the fitting by drilling a hole for a third 16mm securing screw, as shown here.

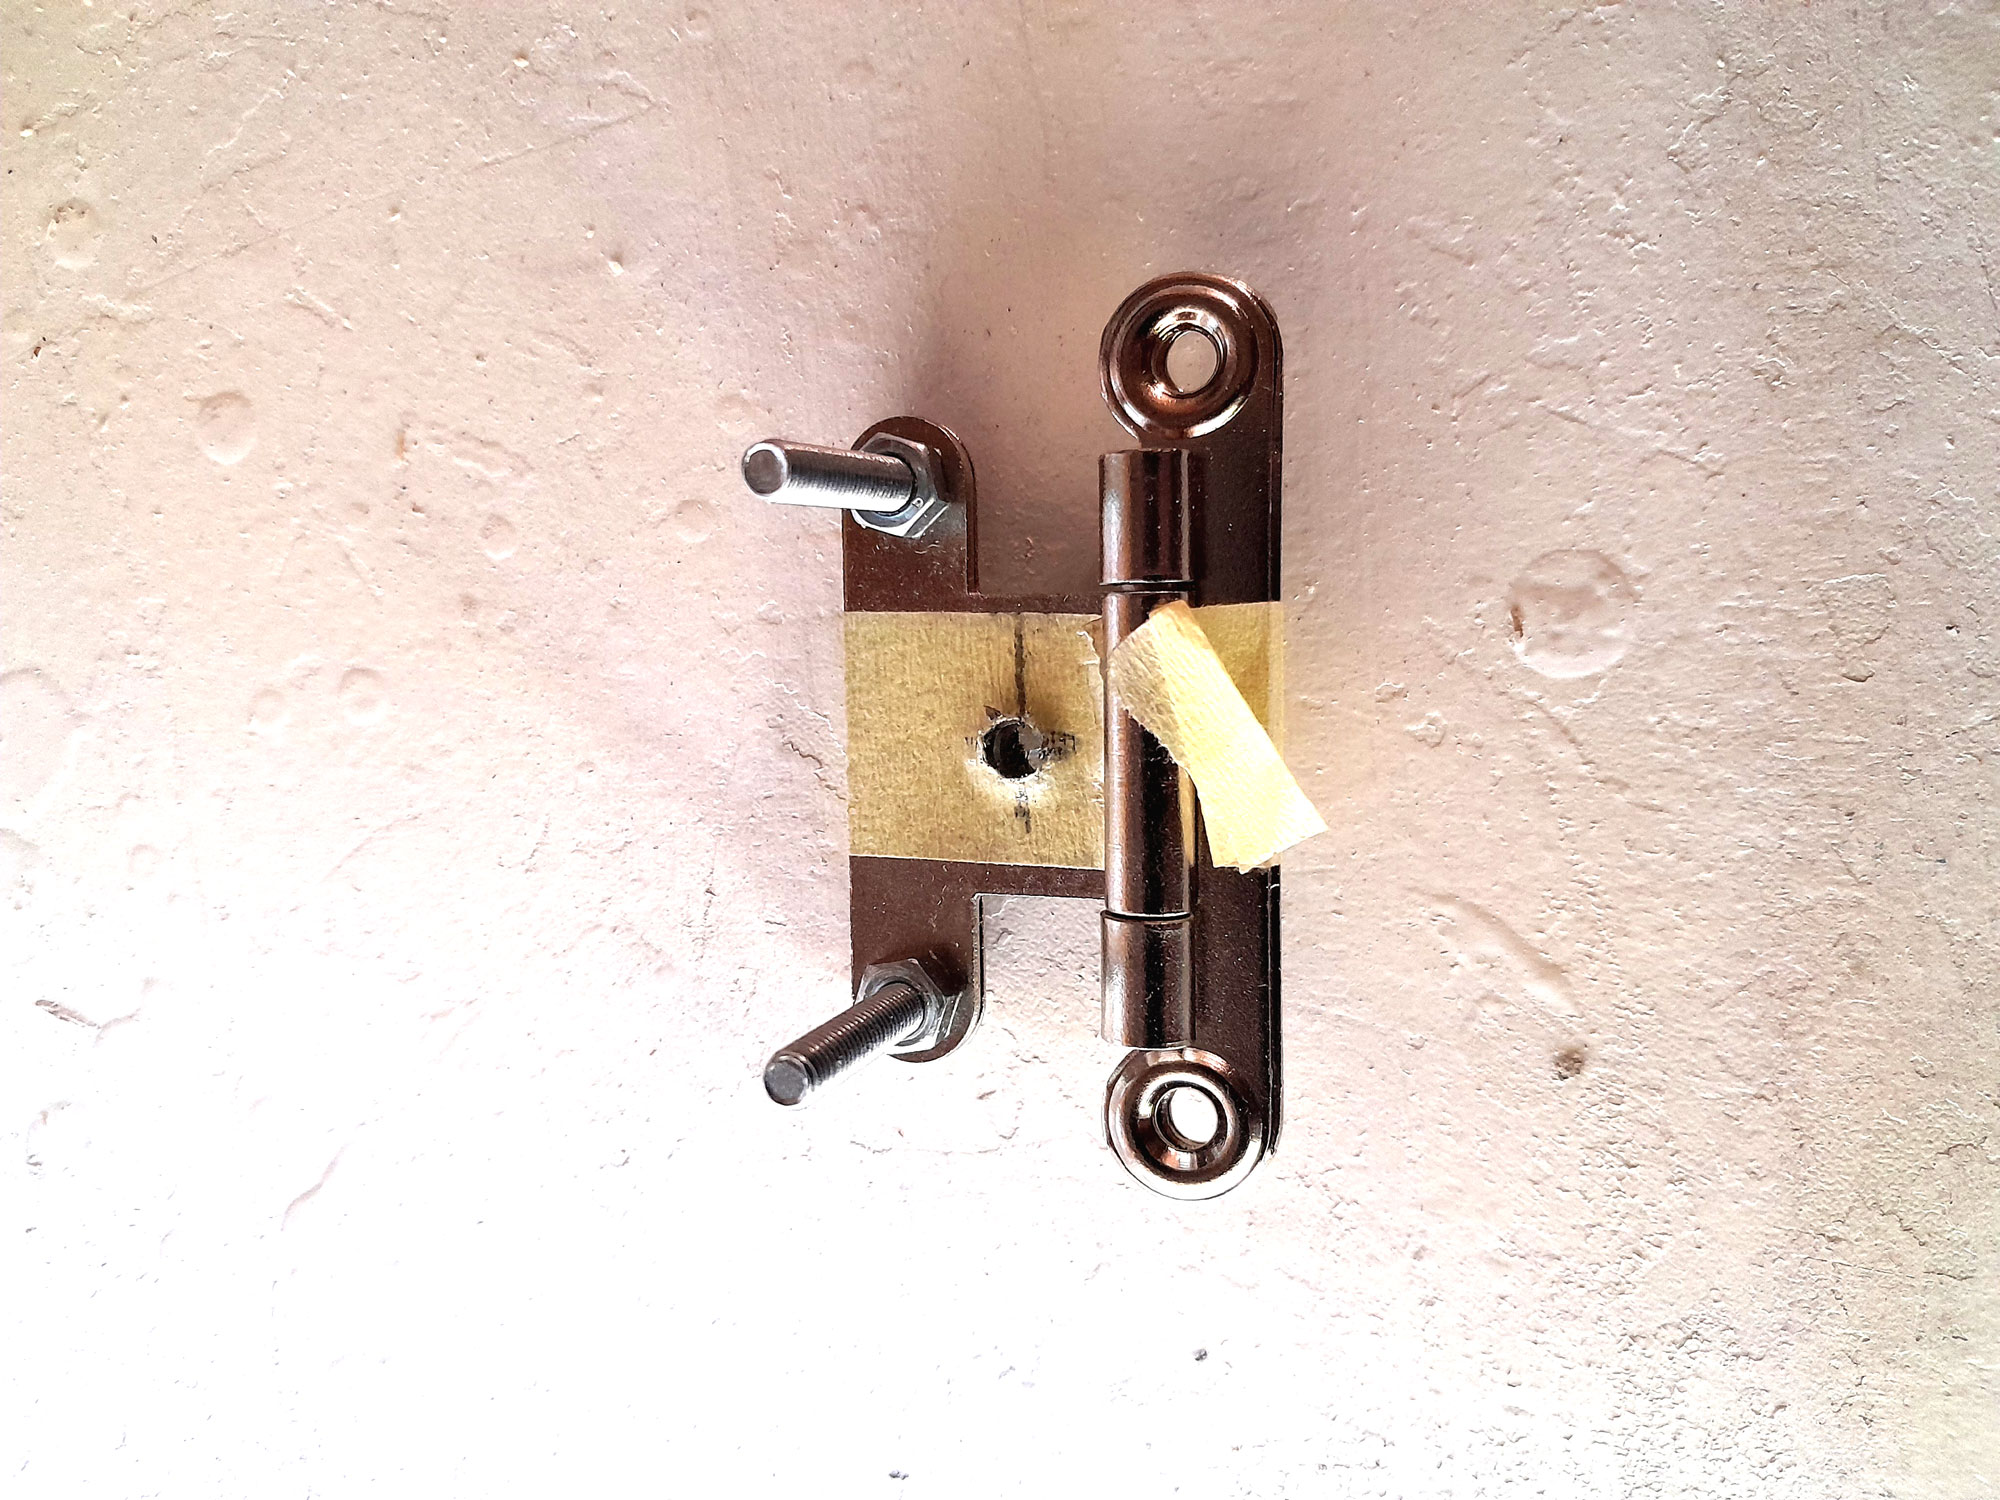
- And here it is, countersunk.
- I used the supplied 15mm screws to secure the hinge flap to the door itself, and then 50mm screws to secure the hinge body to the side. I applied a little glue to the screw thread to reinforce the bond between the screw’s thread and the chipboard.
NOTE: As I made a matching pair, I had one door opening left, and the other opening right. This is so that when in bed, one opens the door AWAY from yourself, moving any of the door’s sharp edges away from you, and fully exposing the cabinet’s interior and making items accessible. - Then I positioned and drilled the holes for the hollow stainless-steel 220mm handle.
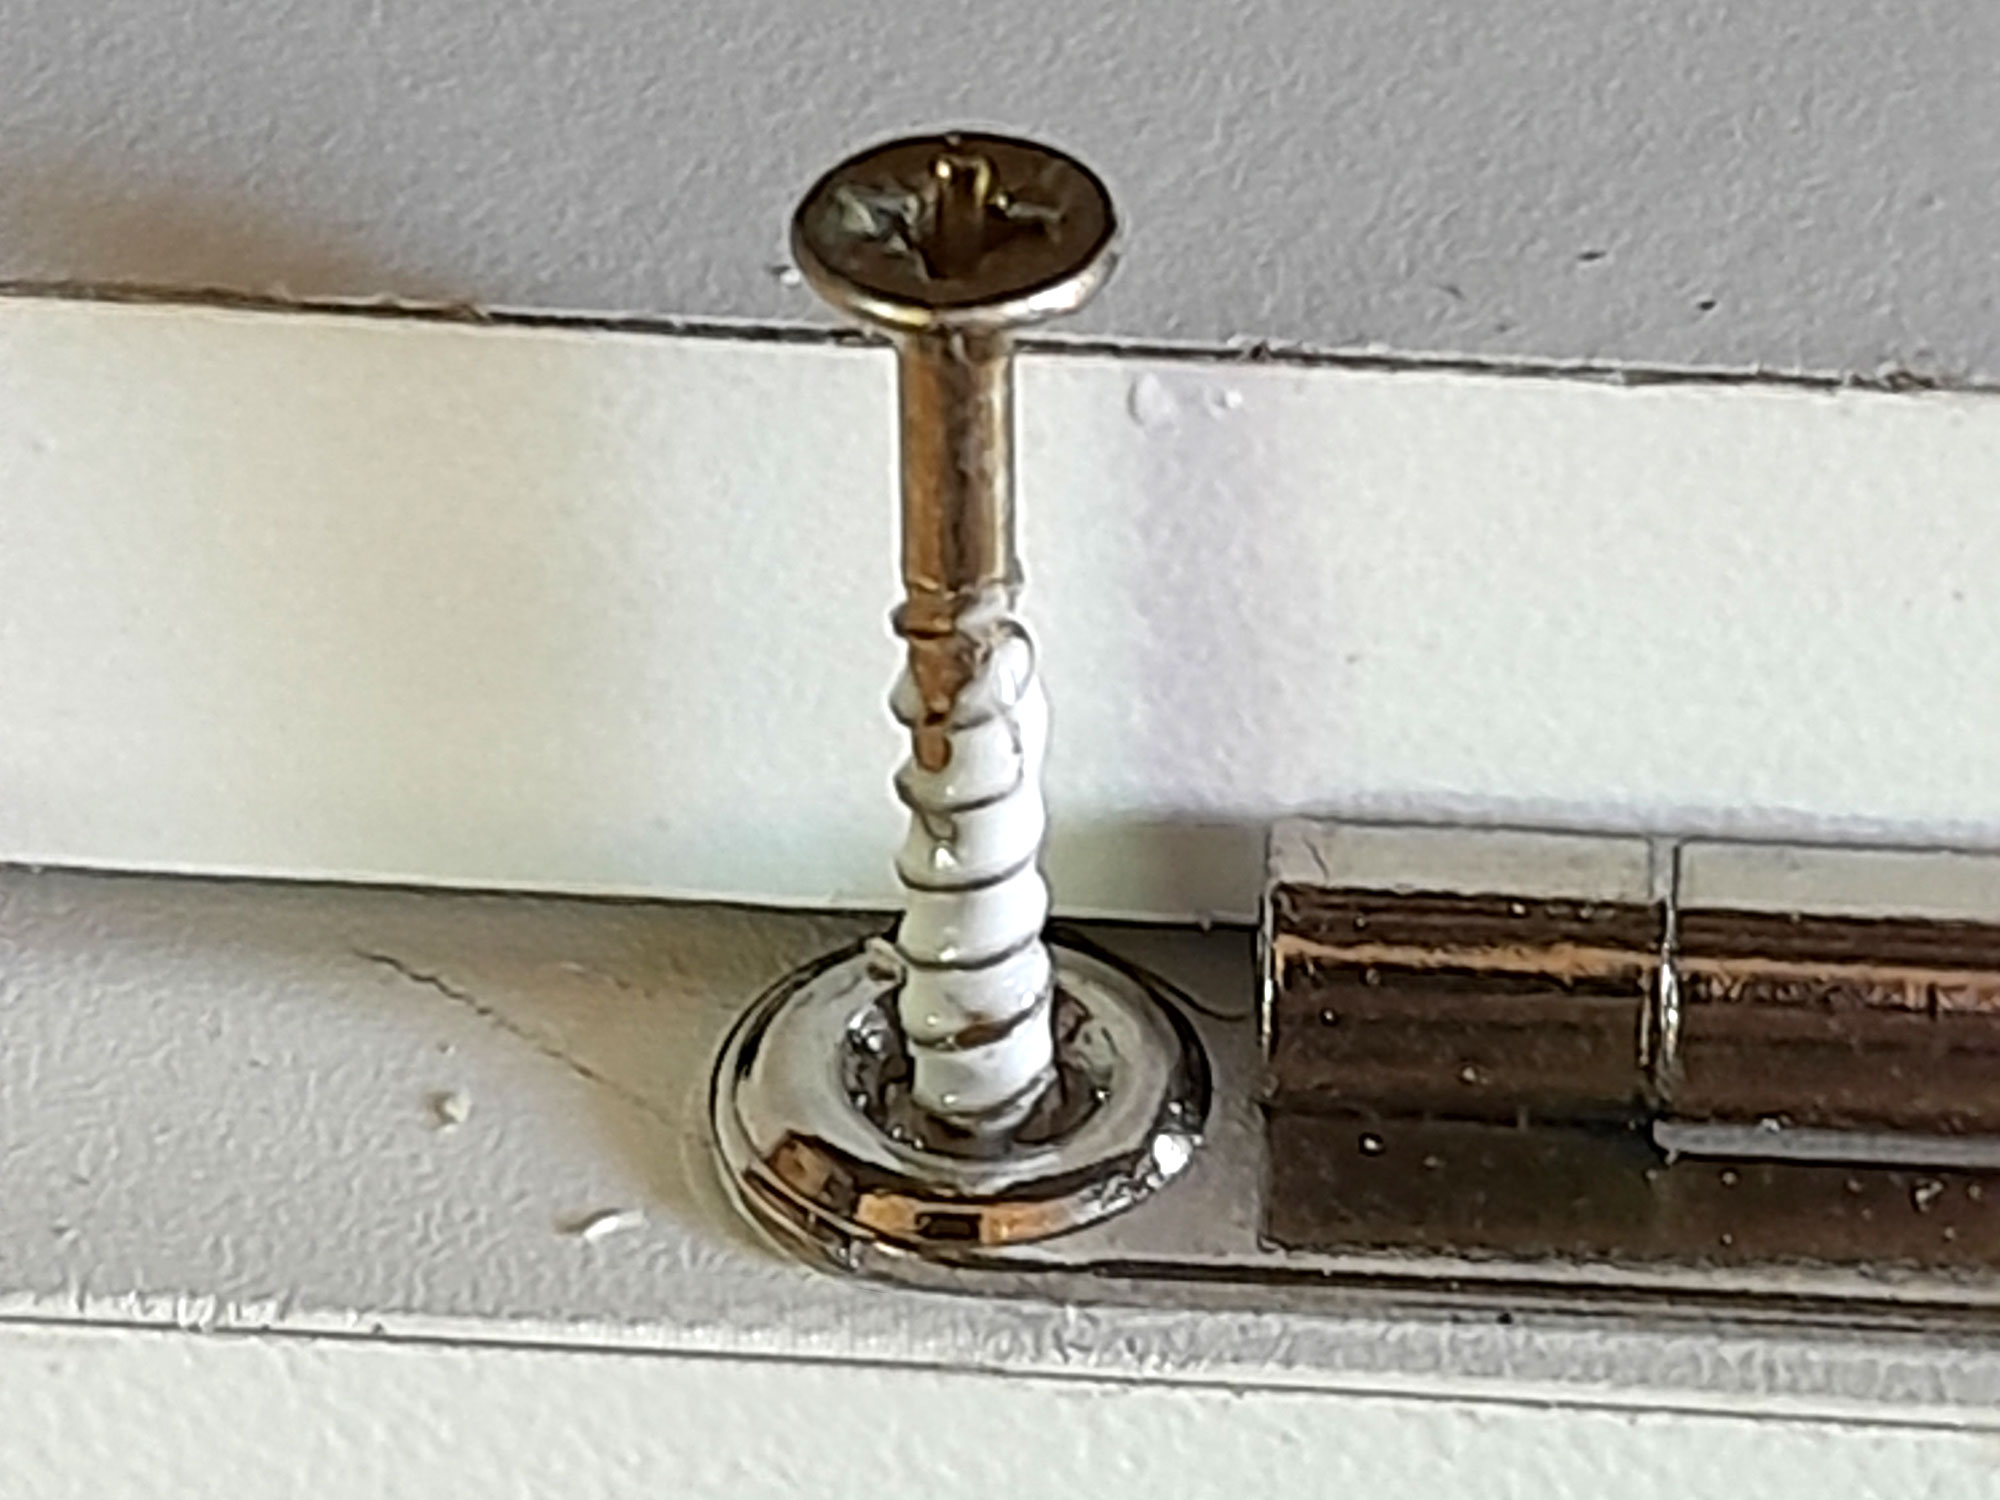
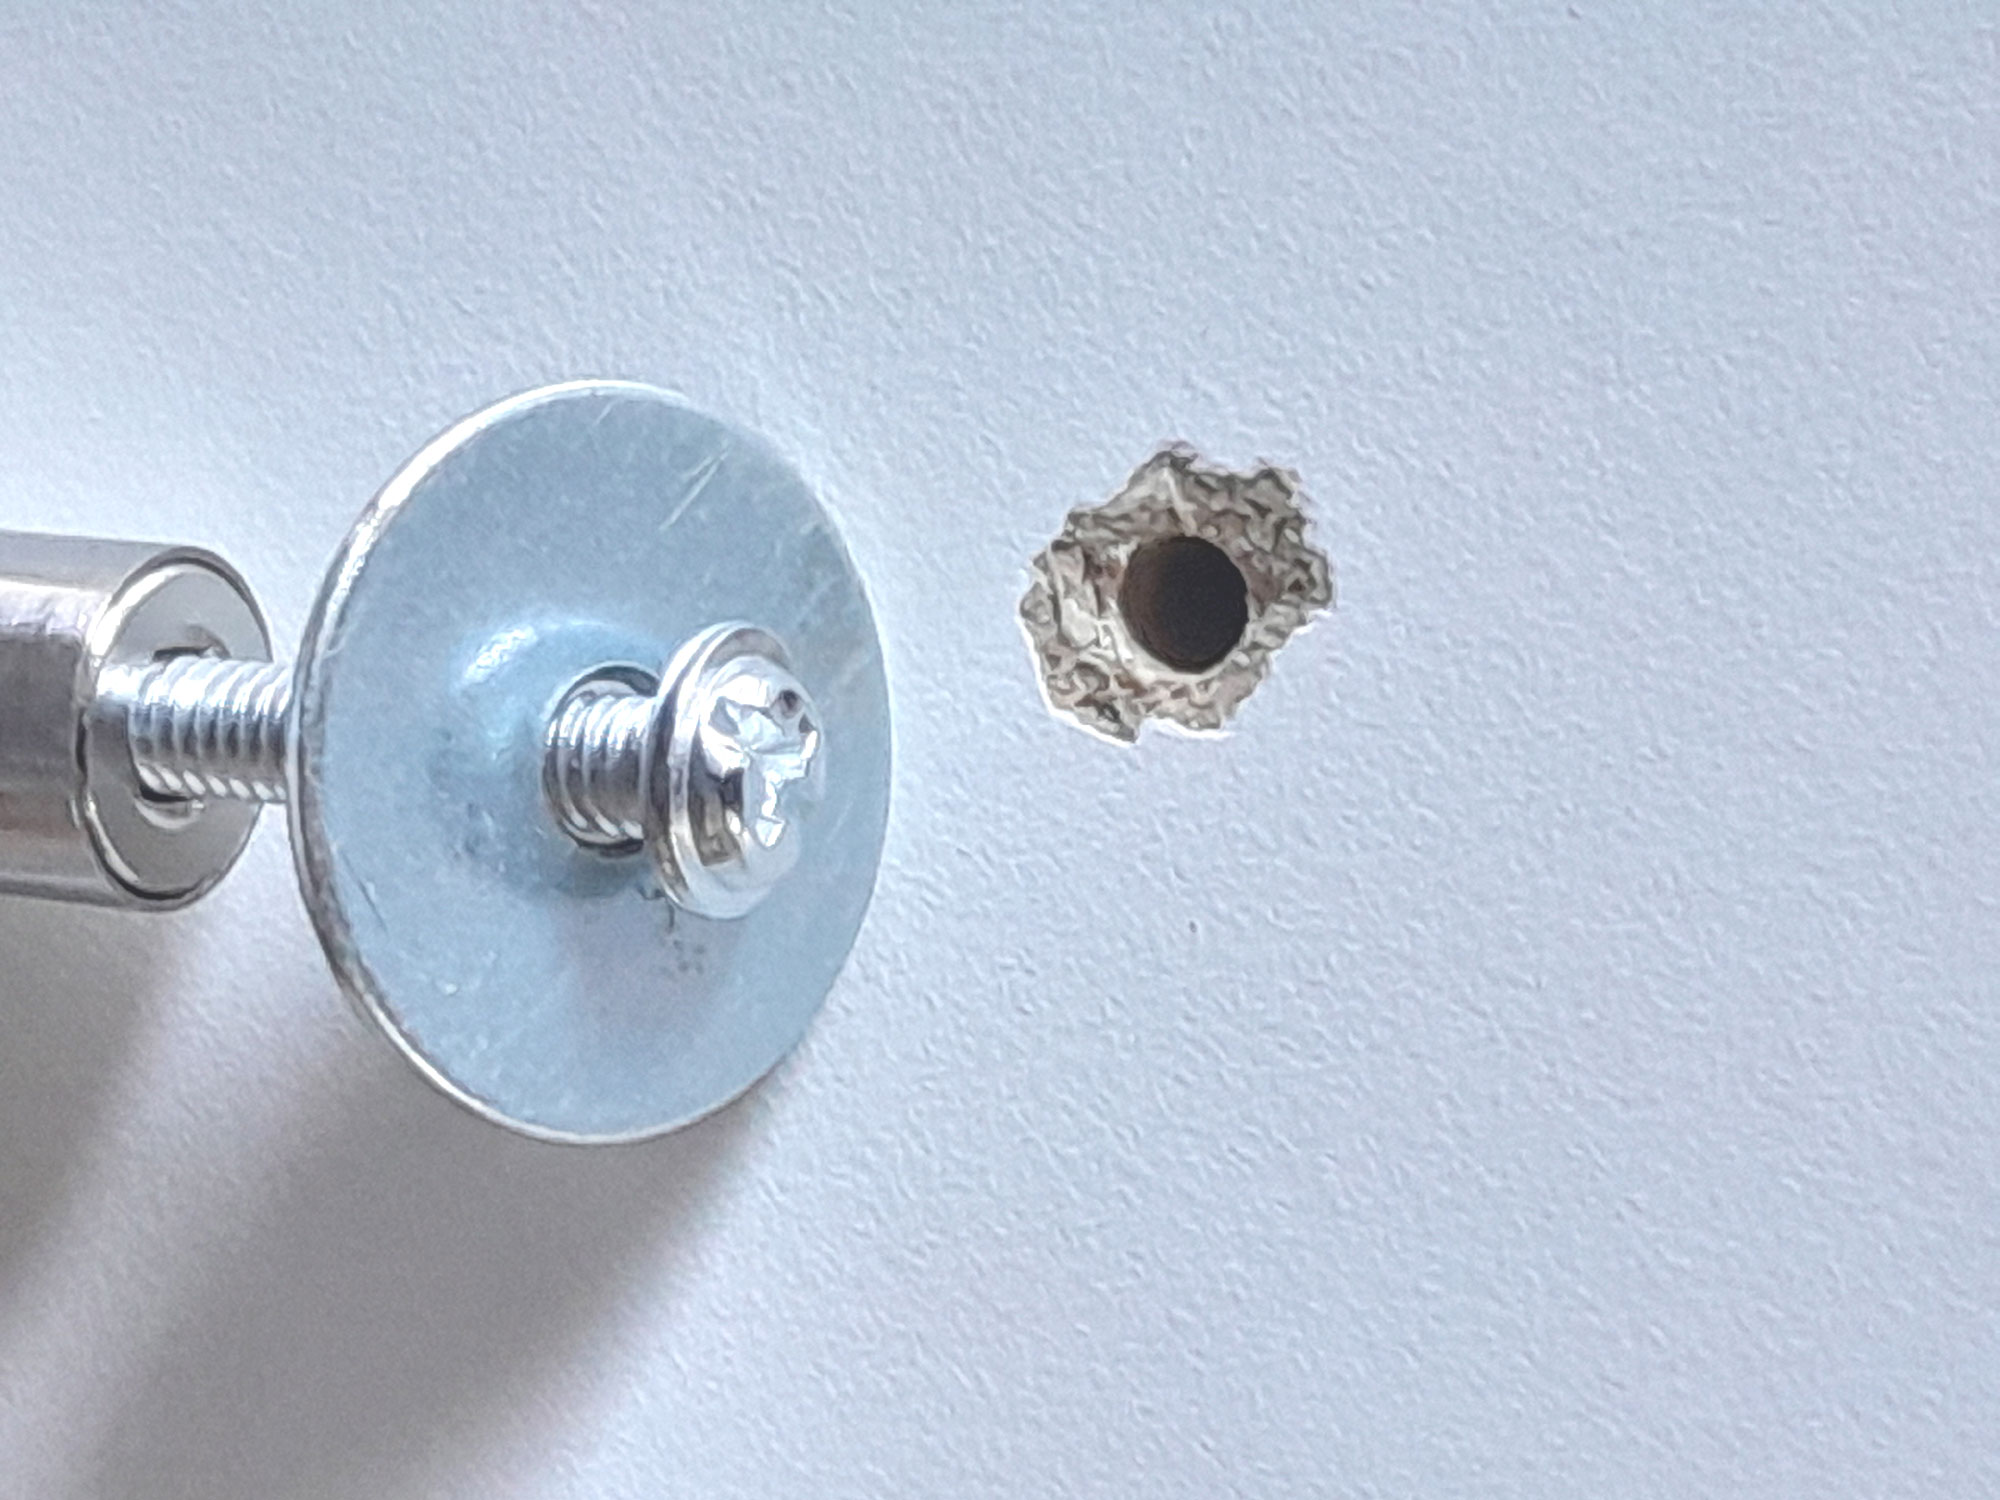
- Though I put a piece of scrap wood against the underside of the door, there was still a little chipping on the exit side of the hole, but no problem…
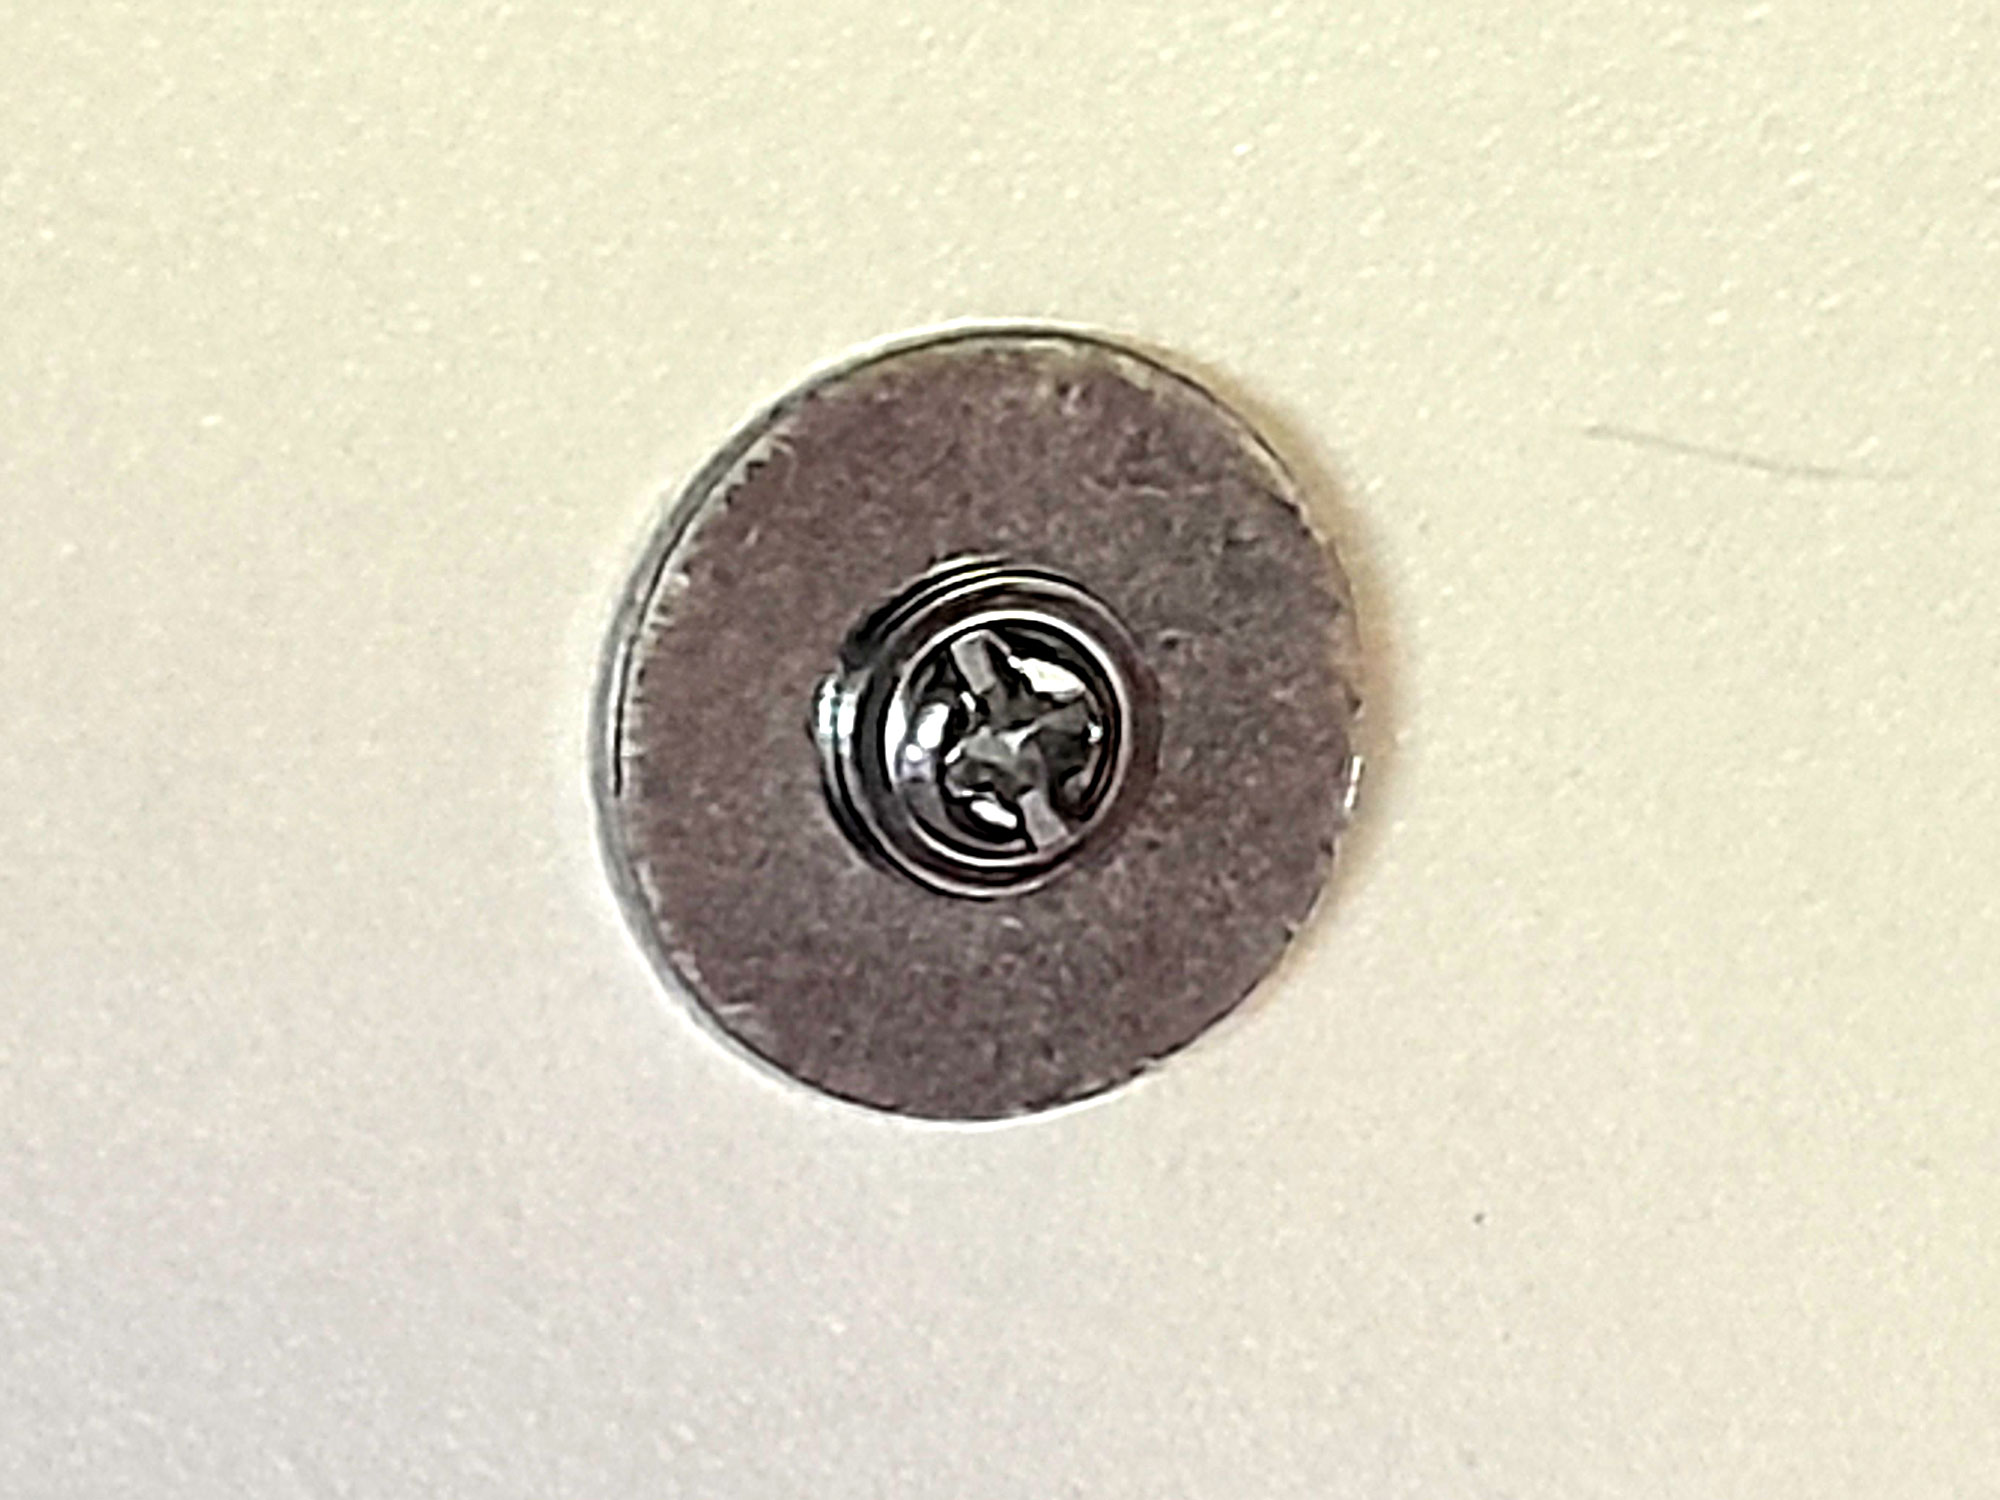
- I used a 4x25mmØ fender washer with each securing screw. This not only hides the chipping, but provides a far larger surface to take the force of pulling the door open.


- I used a magnetic catch for the door. I fitted the magnet body assembly to the inside of the cabinet side, at the door’s midpoint, and used masking tape to help me see what was what.
- Here’s a hint… for best attachment between the strike plate and the magnet, you need to position the former very accurately. So with the door catch magnet body fixed in place, I positioned the strike plate on it, bang in the middle – the best position. And then I made up a tiny amount of coffee paste and applied it to the strike plate.
- Then I closed the door, and viola! The position of the strike plate was marked on the door… and from there it was a work of a few seconds to attach the strike plate in exactly the right spot.
- And there it is! In passing, bear in mind that the magnetic body of the catch is secured with 2 screws and can be moved a little in or out and then secured finally so that the door rests snugly against the side when closed.
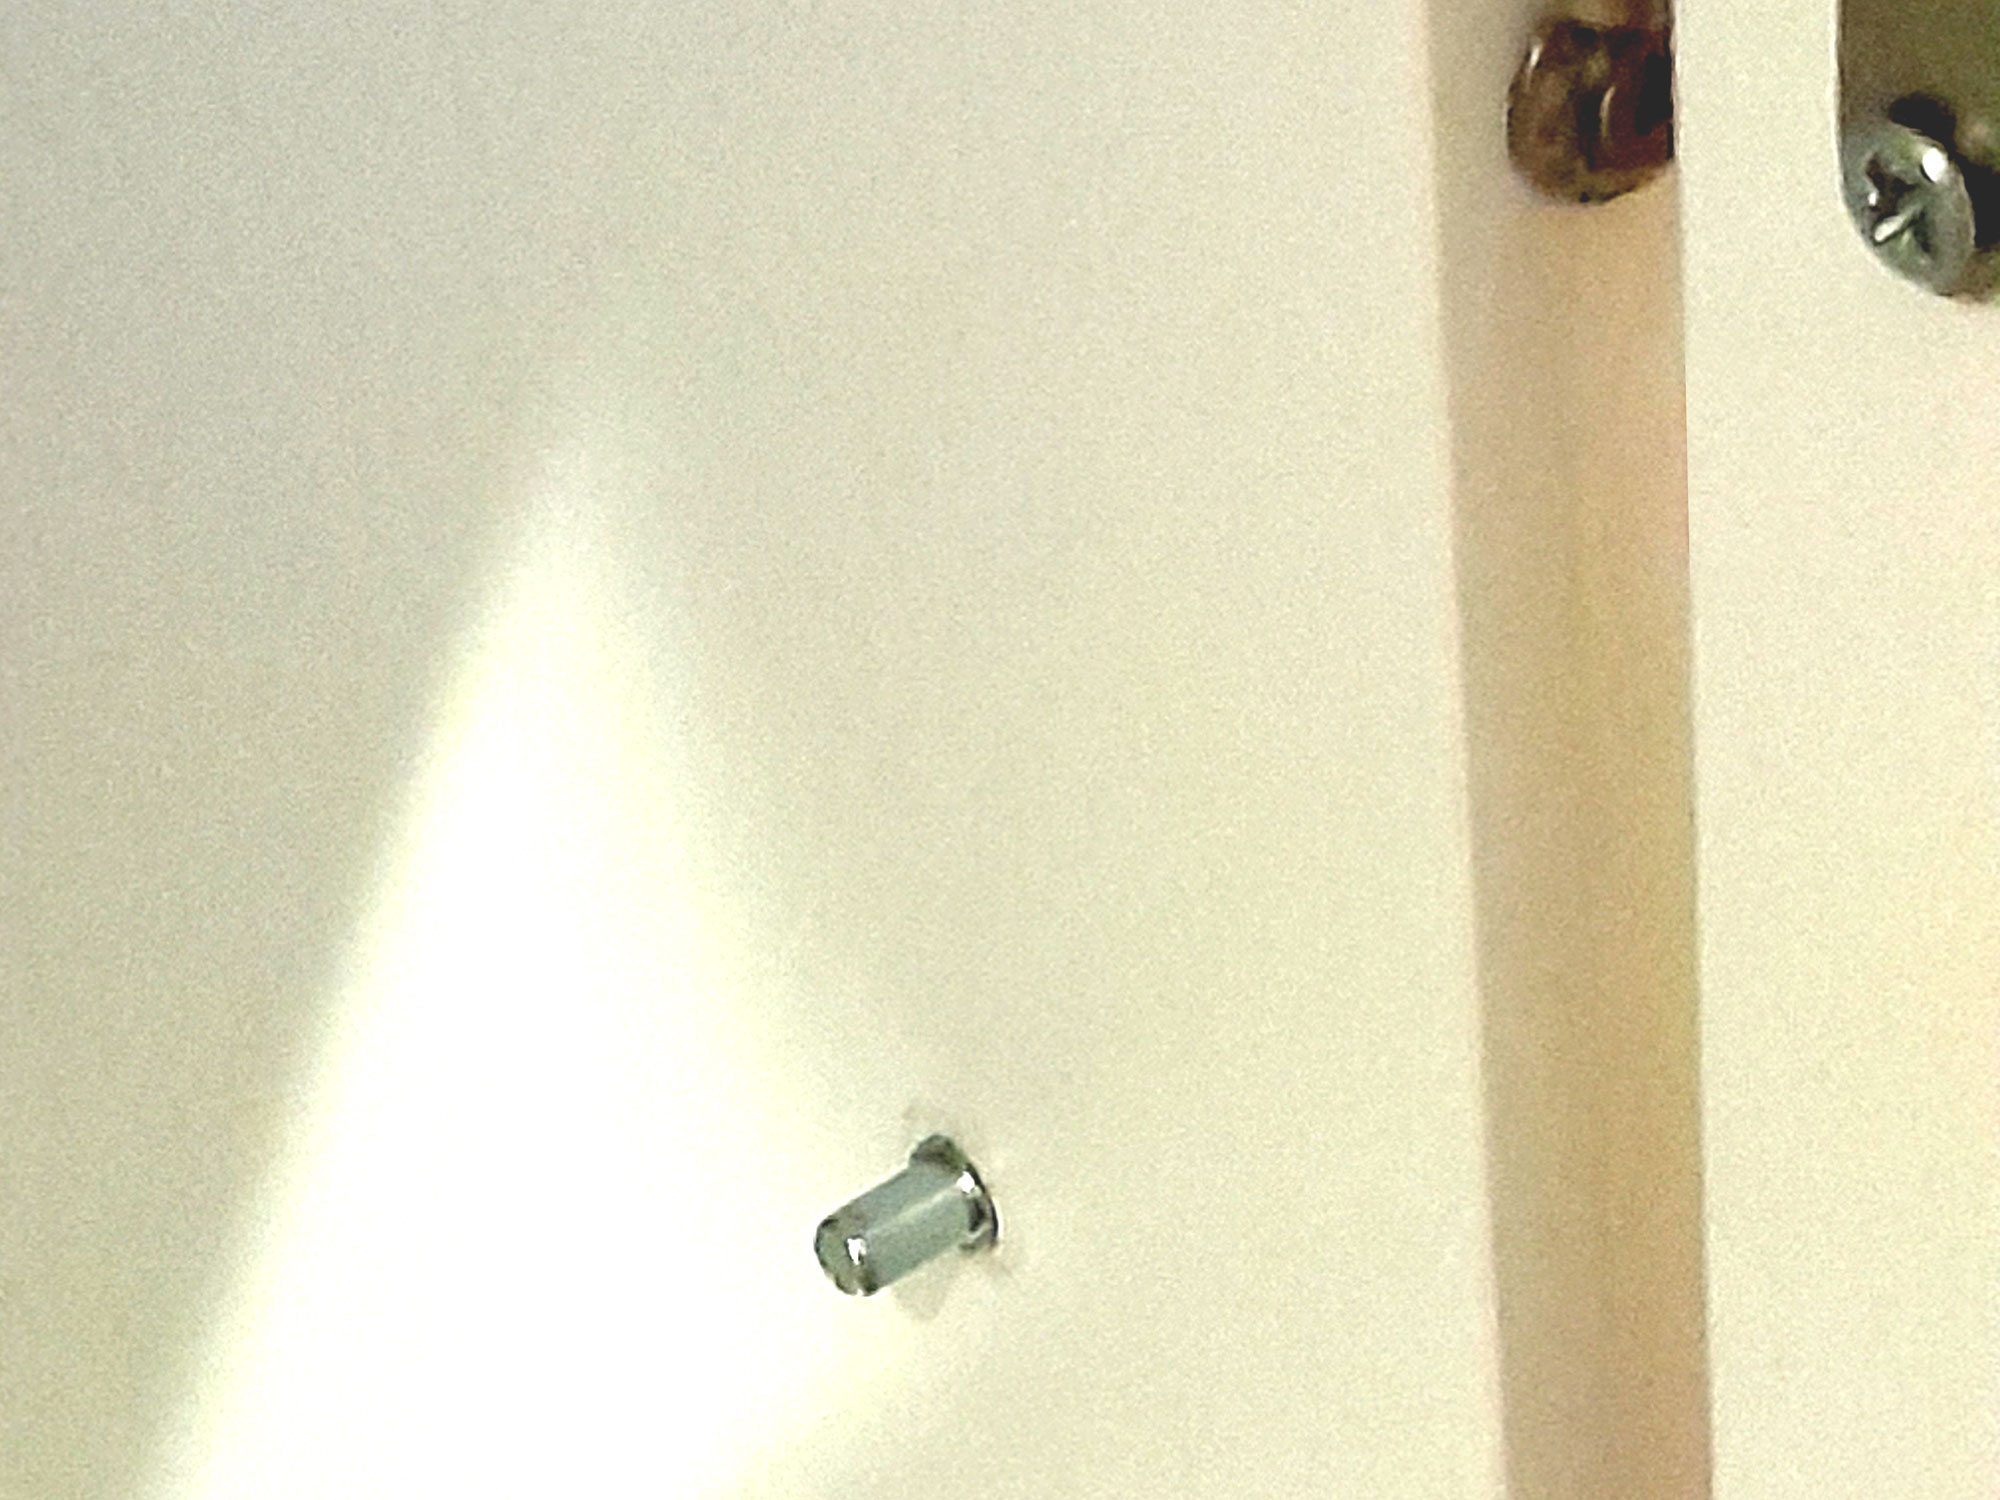
- Where you position the shelf is up to you, but I placed it about 2/3s up from the base, giving ample space for, and easy accessibility to, items stored on it, and any others stored in the bottom section of the cabinet. Drilling the holes and tapping in the nickel-plated 5mmØ shelf brackets takes a few minutes, the main criteria being to ensure that they are all at exactly the same level, and that you use tape around the drill bit, or a stop on the bit, to ensure you drill no deeper than 10mm… drilling right through the side will detract from all the good work you have done. (The brackets are approximately 16mm long, with a ridge at their midpoint, allowing them to be driven in 8mm, with the remaining 8mm protruding to support the shelf.)


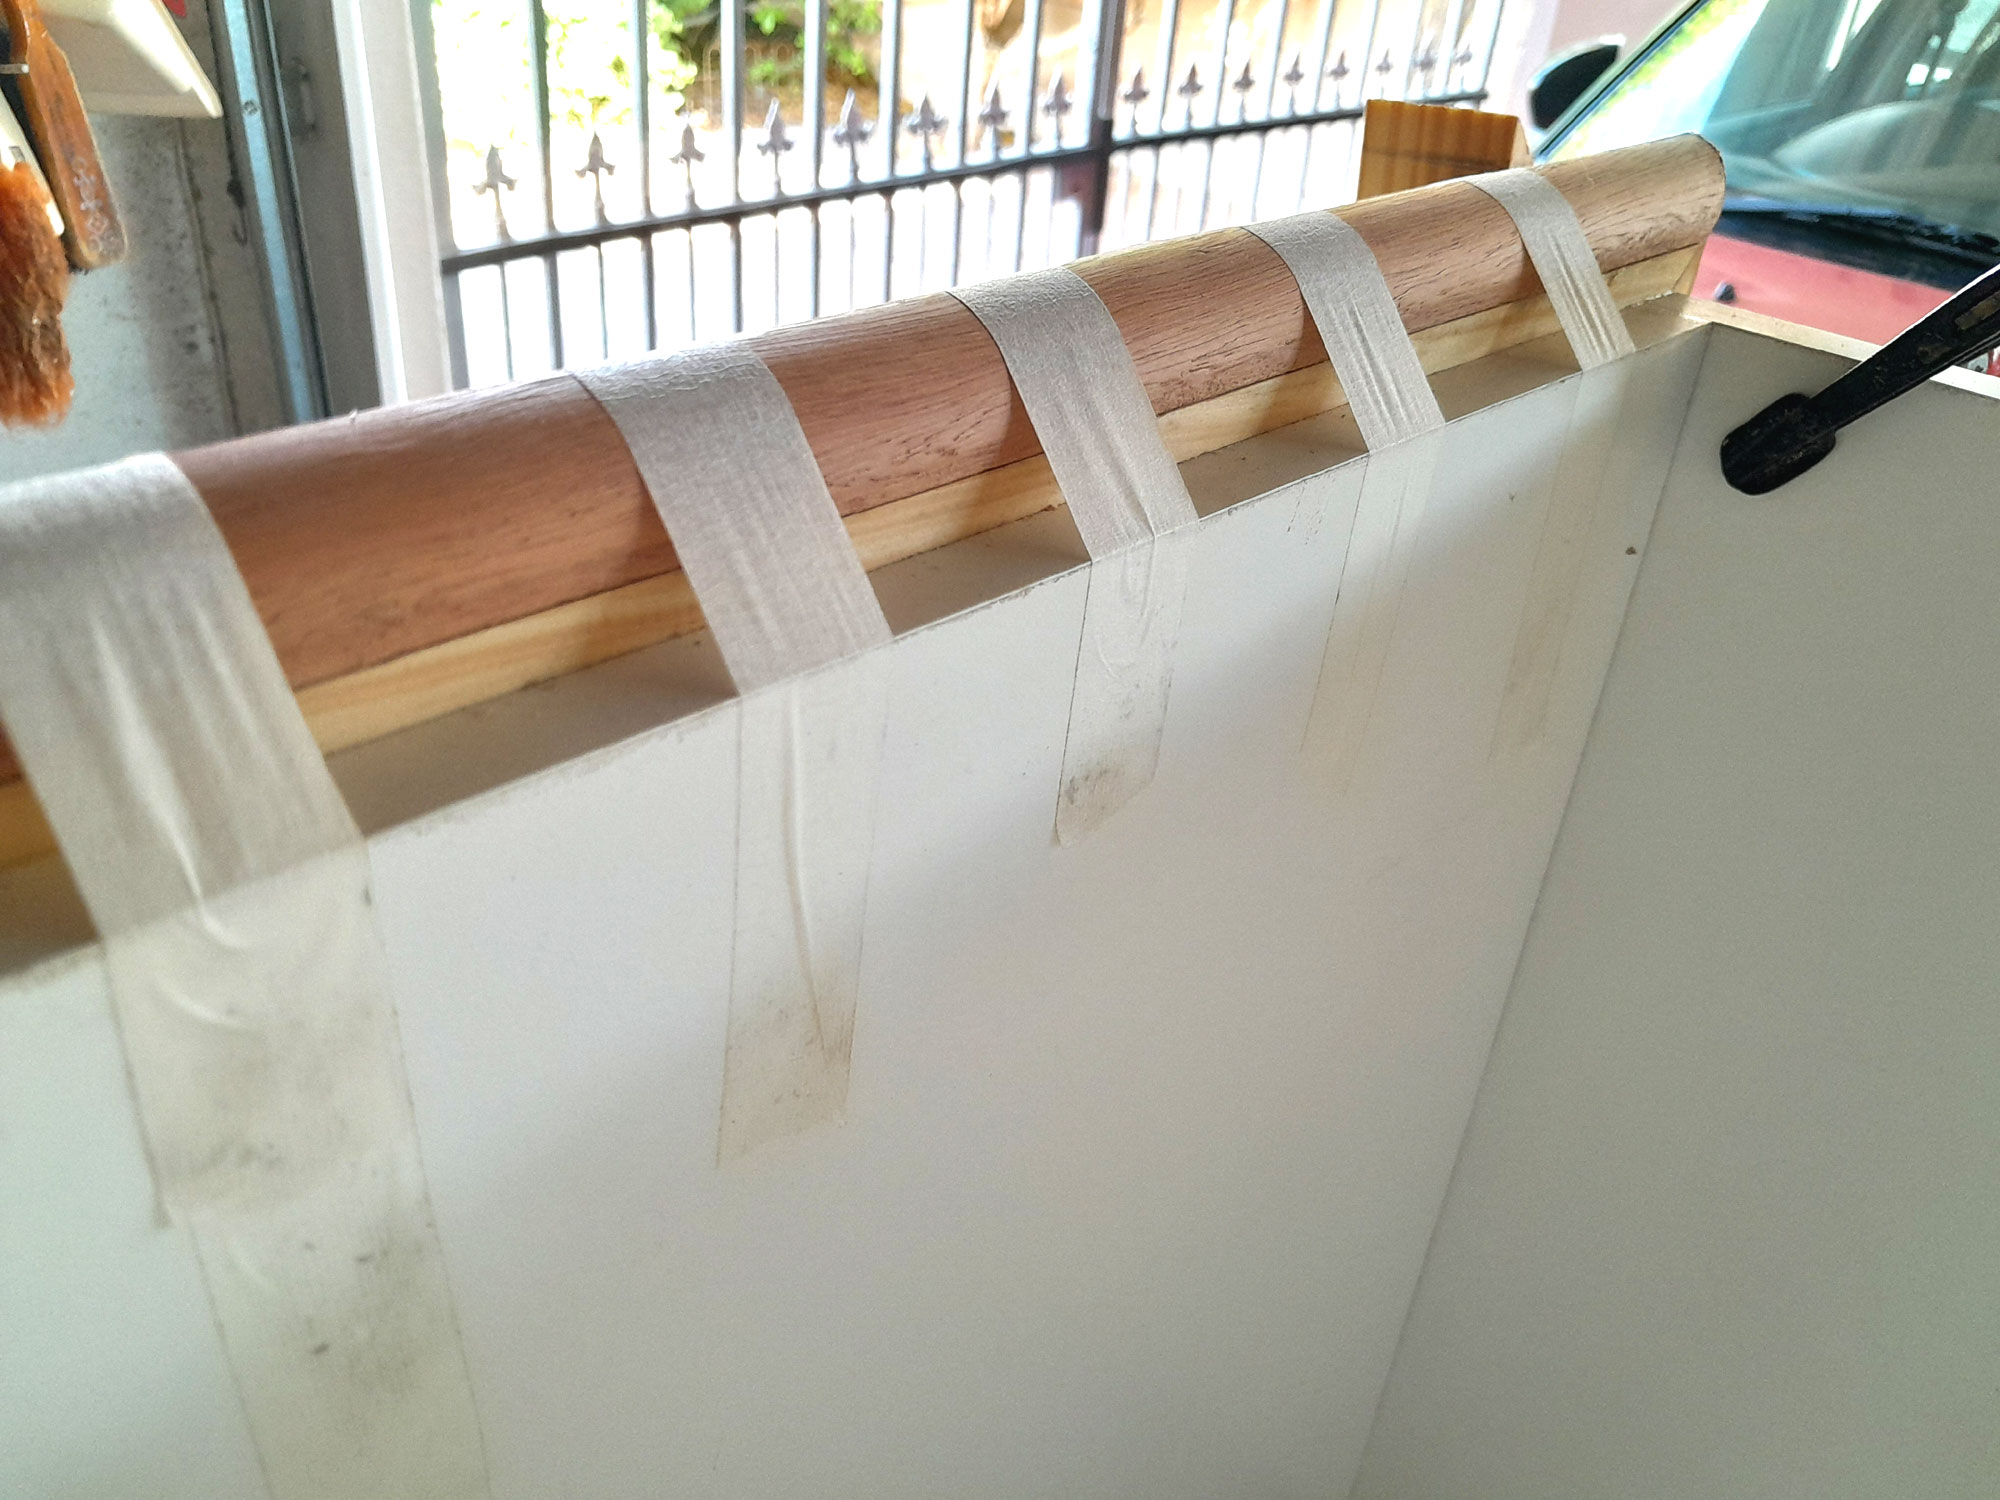
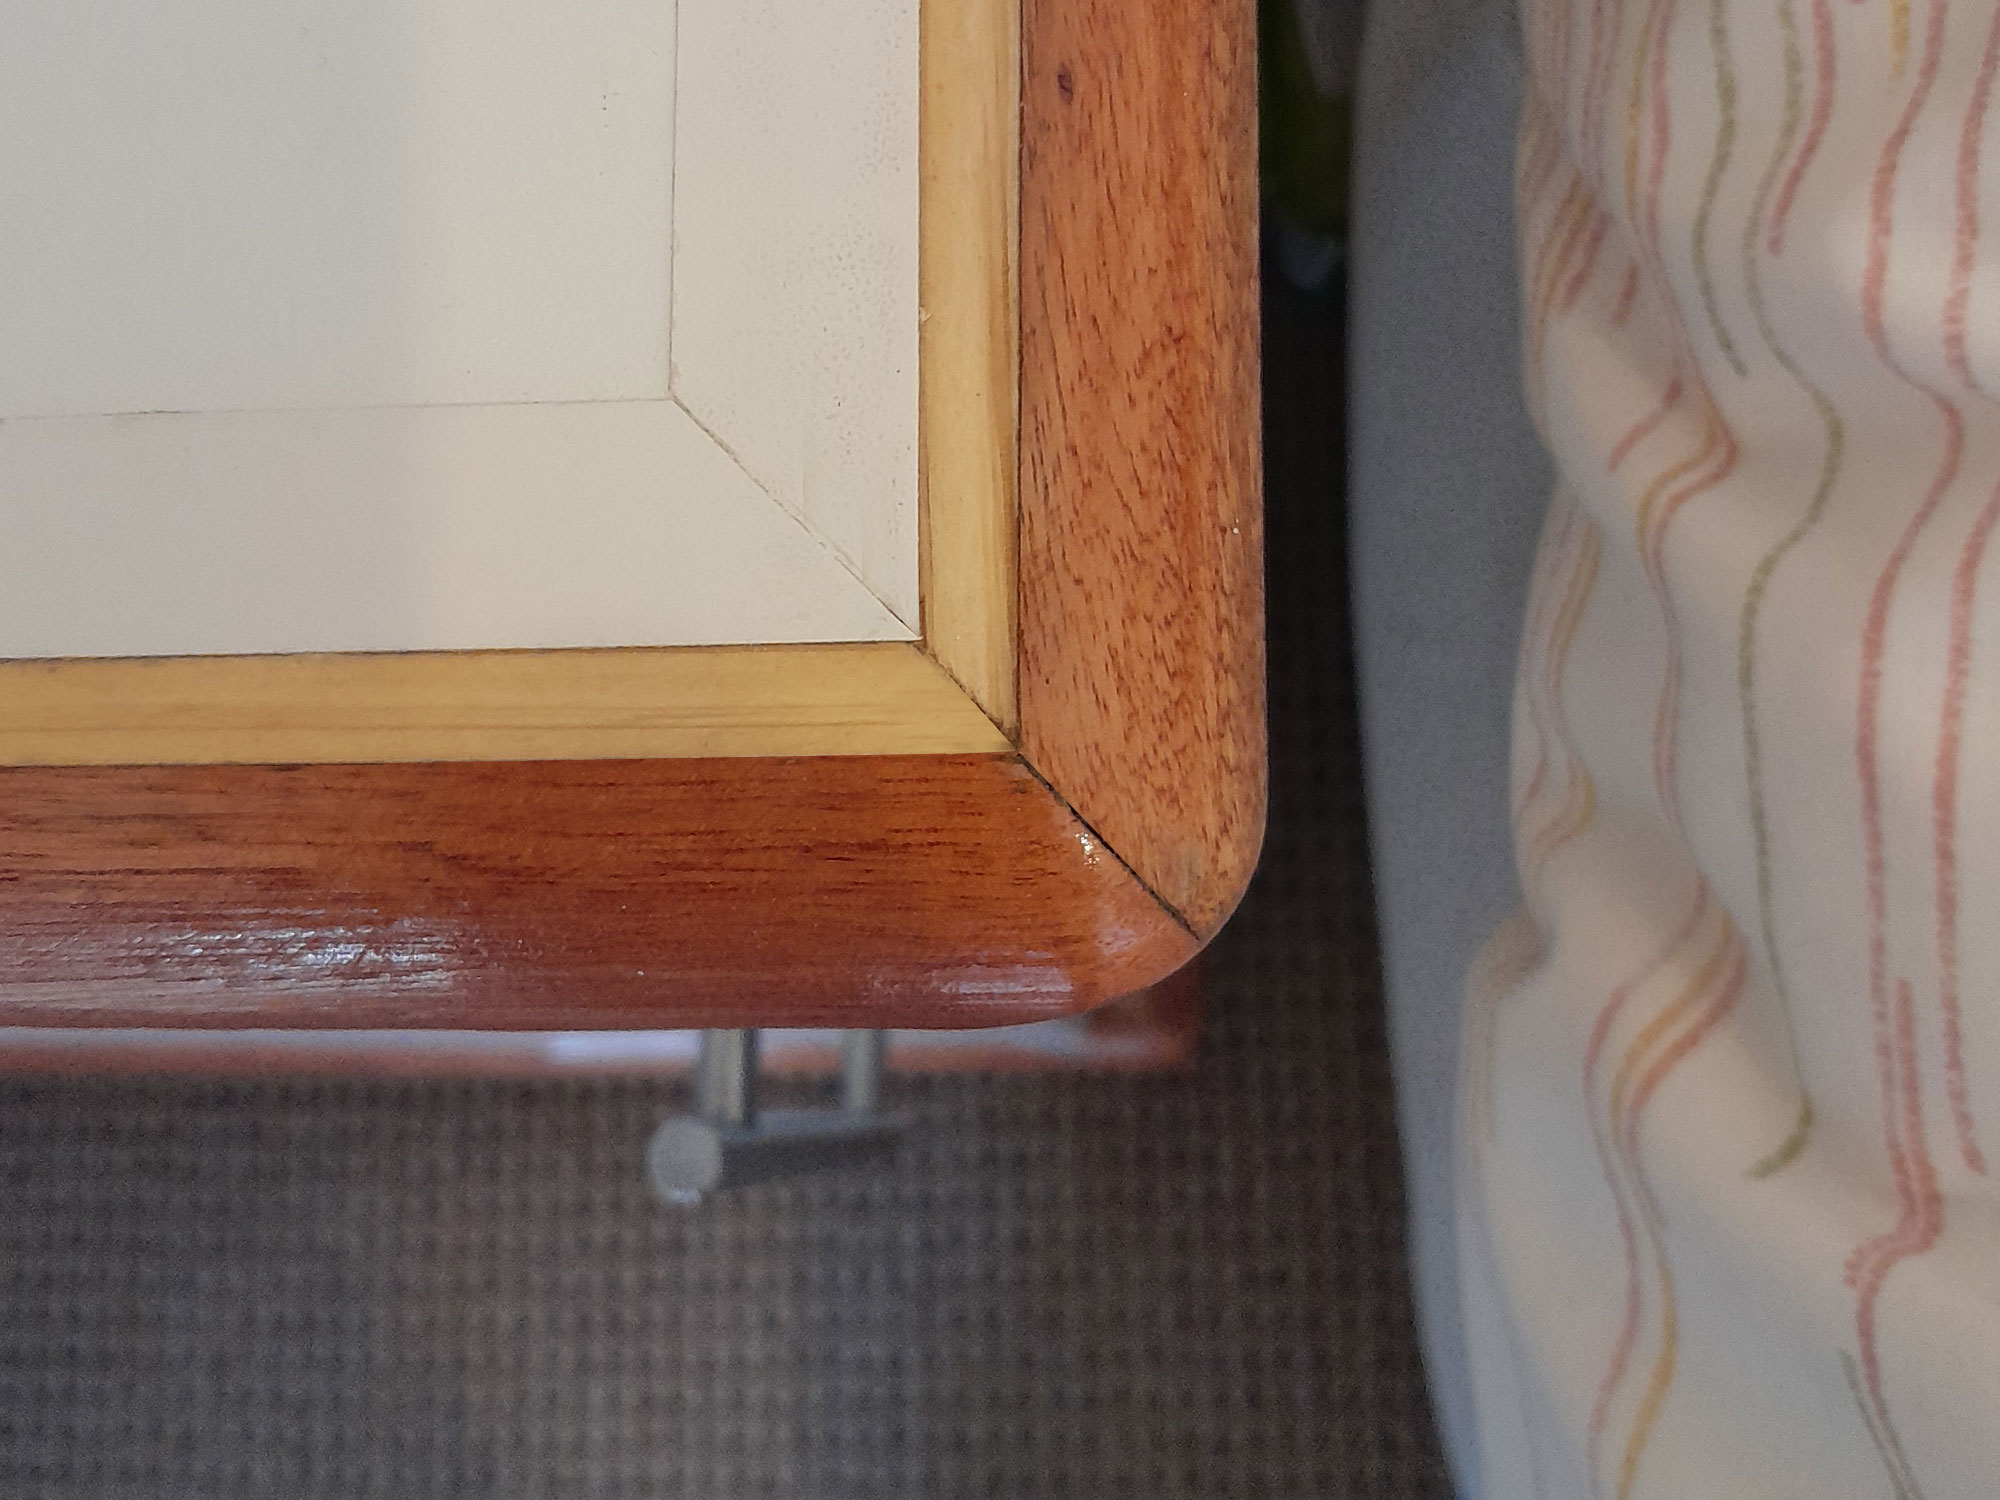
- This shows how the iron-on tape, and top SA pine and meranti quadrant all come together at the top.
- And this is how the iron-on tape is applied down the rear edges of the sides, hiding the backing sheet, which has been attached to the rear edges of the top, sides and base using glue and panel pins spaced at 75-80mm intervals.
- The final touch was to fit the backstop to the rear of the top. I used 4 50mm screws for this, the outer pair about 30mm in from the ends, and the other pair equally spaced between them, and all being driven in along the top centreline. The backstop stands proud 25mm and is there simply to stop small items falling down the back of the cabinet.
- – 41 And here are both cabinets complete and in position, the one of the left, opening left, and one on the right… opening right. They provide plenty of storage space and a lot of area on top on which to rest books, a phone, spectacles, coffee mug, and a picture of the family pooch or whatever.
Project guide
- Skill level: 4
- Estimated time: 1-2 weeks
- Cost: Around R1200, depending on what woods you use, and whether you make just one cabinet or both
- Assistant: No
Tools required:
Drill/driver, jigsaw or circular saw, sander.
Panel:
These materials are available at Selected Mica Stores. To find your closest Mica and whether or not they stock the items required, please go to www.mica.co.za, find your store and call them. If your local Mica does not stock exactly what you need they will be able to order it for you or suggest an alternative product or a reputable source.