16 September 2024

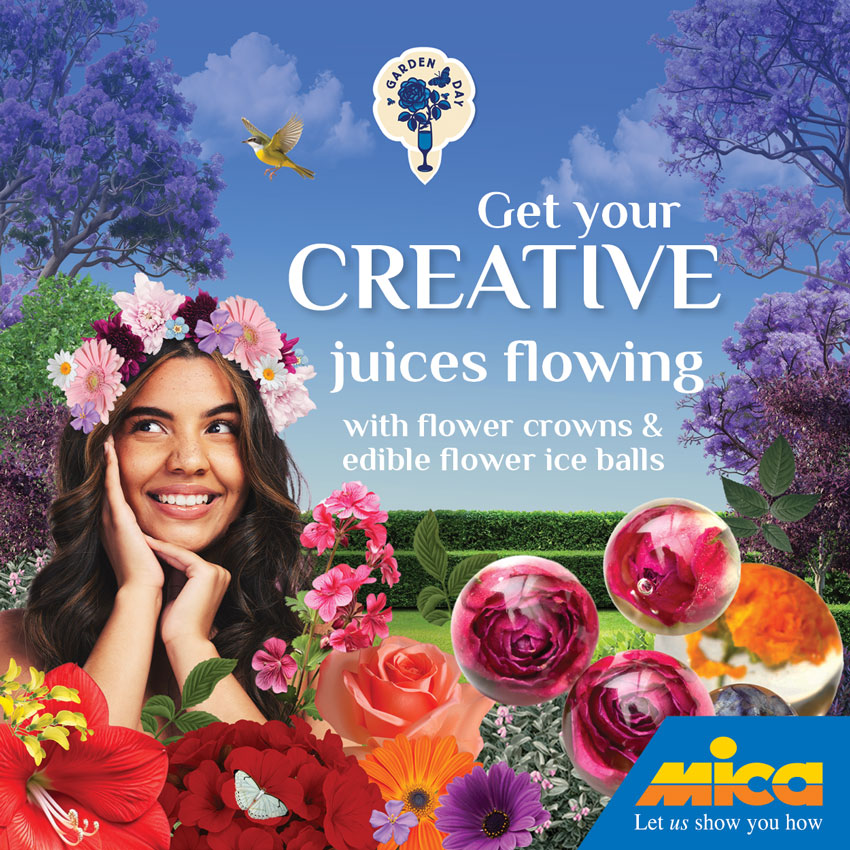
Garden Day – Flower Crowns & Edible Ice Balls
Get those creative juices flowing
Flower Crowns
What You’ll Need:
- Fresh or artificial flowers (such as roses, daisies, baby’s breath, or any flowers of your choice)
- Floral wire (for the base)
- Floral tape (to secure flowers and cover the wire)
- Floral scissors or wire cutters (to trim flowers and wire)
- Green floral stem wire (optional, for additional support)
- Hot glue gun and glue sticks (optional, for extra hold)
- Ribbons (optional, for decoration and tying the crown)
Instructions:
- Choose and Prepare Your Flowers:
- Select your flowers and greenery. Fresh flowers work well if you’re making the crown for a short-term event, while artificial flowers are great for a longer-lasting crown.
- Trim the flowers to about 2-3 inches in length, leaving enough stem to attach them to the wire.
- Create the Base:
- Measure the circumference of your head with a measuring tape or by using a piece of string. Add about 2-3 inches to this measurement for overlap and adjustments.
- Cut a piece of floral wire to the length you measured. Shape it into a circle that fits comfortably on your head, and twist the ends together to secure it.
- Wrap the Wire Base:
- Wrap the floral wire with floral tape to cover it and provide a base for attaching the flowers. Start at one end and work your way around, overlapping the tape slightly as you go.
- Attach the Flowers:
- Begin attaching the flowers by positioning them around the wire base. You can start from one side and work your way around, or create clusters of flowers.
- For each flower, trim the stem to about 1-2 inches. Place the flower on the wire and secure it with floral tape. You can also use a hot glue gun for extra hold if needed.
- Add greenery or filler flowers as desired, making sure to fill in any gaps and create a balanced look.
- Secure Everything:
- Continue adding flowers and securing them until the entire wire base is covered. Use floral tape to wrap around the base of each flower and ensure everything is securely attached.
- If the crown feels loose or if additional support is needed, you can use green floral stem wire to reinforce the flowers or create extra loops for better fit.
- Add Ribbons (Optional):
- If you want to add ribbons for decoration or to help tie the crown in place, attach them to the ends of the wire base. You can tie a bow or let the ribbons hang loose for a whimsical touch.
- Adjust and Finalize:
- Try the crown on to make sure it fits comfortably and adjust as necessary. Make sure all flowers are securely attached and that the crown feels balanced.
- Store and Care:
- If you’ve used fresh flowers, keep your flower crown in a cool place until you’re ready to wear it. Spritz with water occasionally to keep the flowers fresh.
- For artificial flower crowns, simply store them in a safe place to prevent any damage.
Tips:
- Mix and Match: Combine different types of flowers and greenery for a more dynamic look.
- Color Scheme: Consider your outfit and the event when choosing flower colors to ensure everything complements each other.
- Practice: Don’t be afraid to practice with a few flowers before creating your final crown to get a feel for the arrangement and technique.
Enjoy creating your beautiful flower crown! Whether for a special occasion or just for fun, it’s sure to be a stunning accessory.
Edible Flower Ice Balls
What You’ll Need:
- Small balloons (preferably latex balloons, as they’re flexible and can handle the expansion)
- Edible flowers (such as pansies, violets, or marigolds; ensure they are pesticide-free and safe to eat)
- Water (distilled or filtered for clarity)
- A funnel (optional, but helpful for pouring water into the balloons)
- A container (for holding the balloons while freezing)
Instructions:
- Prepare the Flowers:
- Wash the edible flowers gently and pat them dry with a paper towel.
- Trim larger flowers if needed to fit inside the balloons.
- Prepare the Balloons:
- Stretch each balloon a bit before use to make them easier to work with.
- If using a funnel, place it into the balloon’s opening to help with pouring water.
- Add Flowers to Balloons:
- Insert the flowers into the balloon through the opening. You can do this with your fingers or use a small tool to help if needed.
- Add Water:
- Fill each balloon with distilled or filtered water. Pour gently to avoid disturbing the flowers too much.
- Fill the balloons to the desired size but be careful not to overfill them.
- Tie the Balloons:
- Carefully tie the balloons closed, ensuring they are sealed tightly.
- Freeze:
- Place the tied balloons into a container or a tray to keep them from touching other items in the freezer. This will help them freeze in a round shape.
- Freeze the balloons for at least 4-6 hours, or overnight for best results.
- Remove the Ice Balls:
- Once the ice balls are fully frozen, cut away the balloons carefully. You can use scissors or a knife to help with this.
- Peel the balloon off the ice ball, revealing the frozen flower inside.
- Serve:
- Place the ice balls in your drinks or on a decorative tray.
- They’re perfect for cocktails, sparkling water, or any special beverage.
- Storage (Optional):
- If you’re not using the ice balls right away, store them in a sealed container or plastic bag in the freezer to keep them fresh.
Using balloons is a clever way to make ice balls, and it can yield some unique shapes and sizes. Enjoy your beautiful, floral ice creations!