22 March 2022

Now look here!
This noticeboard was made from leftovers from previous projects and the time and cost was minimal. We suggest that if you decide to make a larger noticeboard, then attach a second magnet pad to the back of the board, just to help support its weight.
The cost of plastic board in this case was nil as it was left over from a kitchen cupboard project, the cup hooks doing duty as pen hooks were also left overs, but if bought new a pair costs R10 or less. Mirror tape was on hand, and the self-adhesive fridge door magnet cost R25.
And that all works out as a very low cost for a very useful addition to your fridge door.
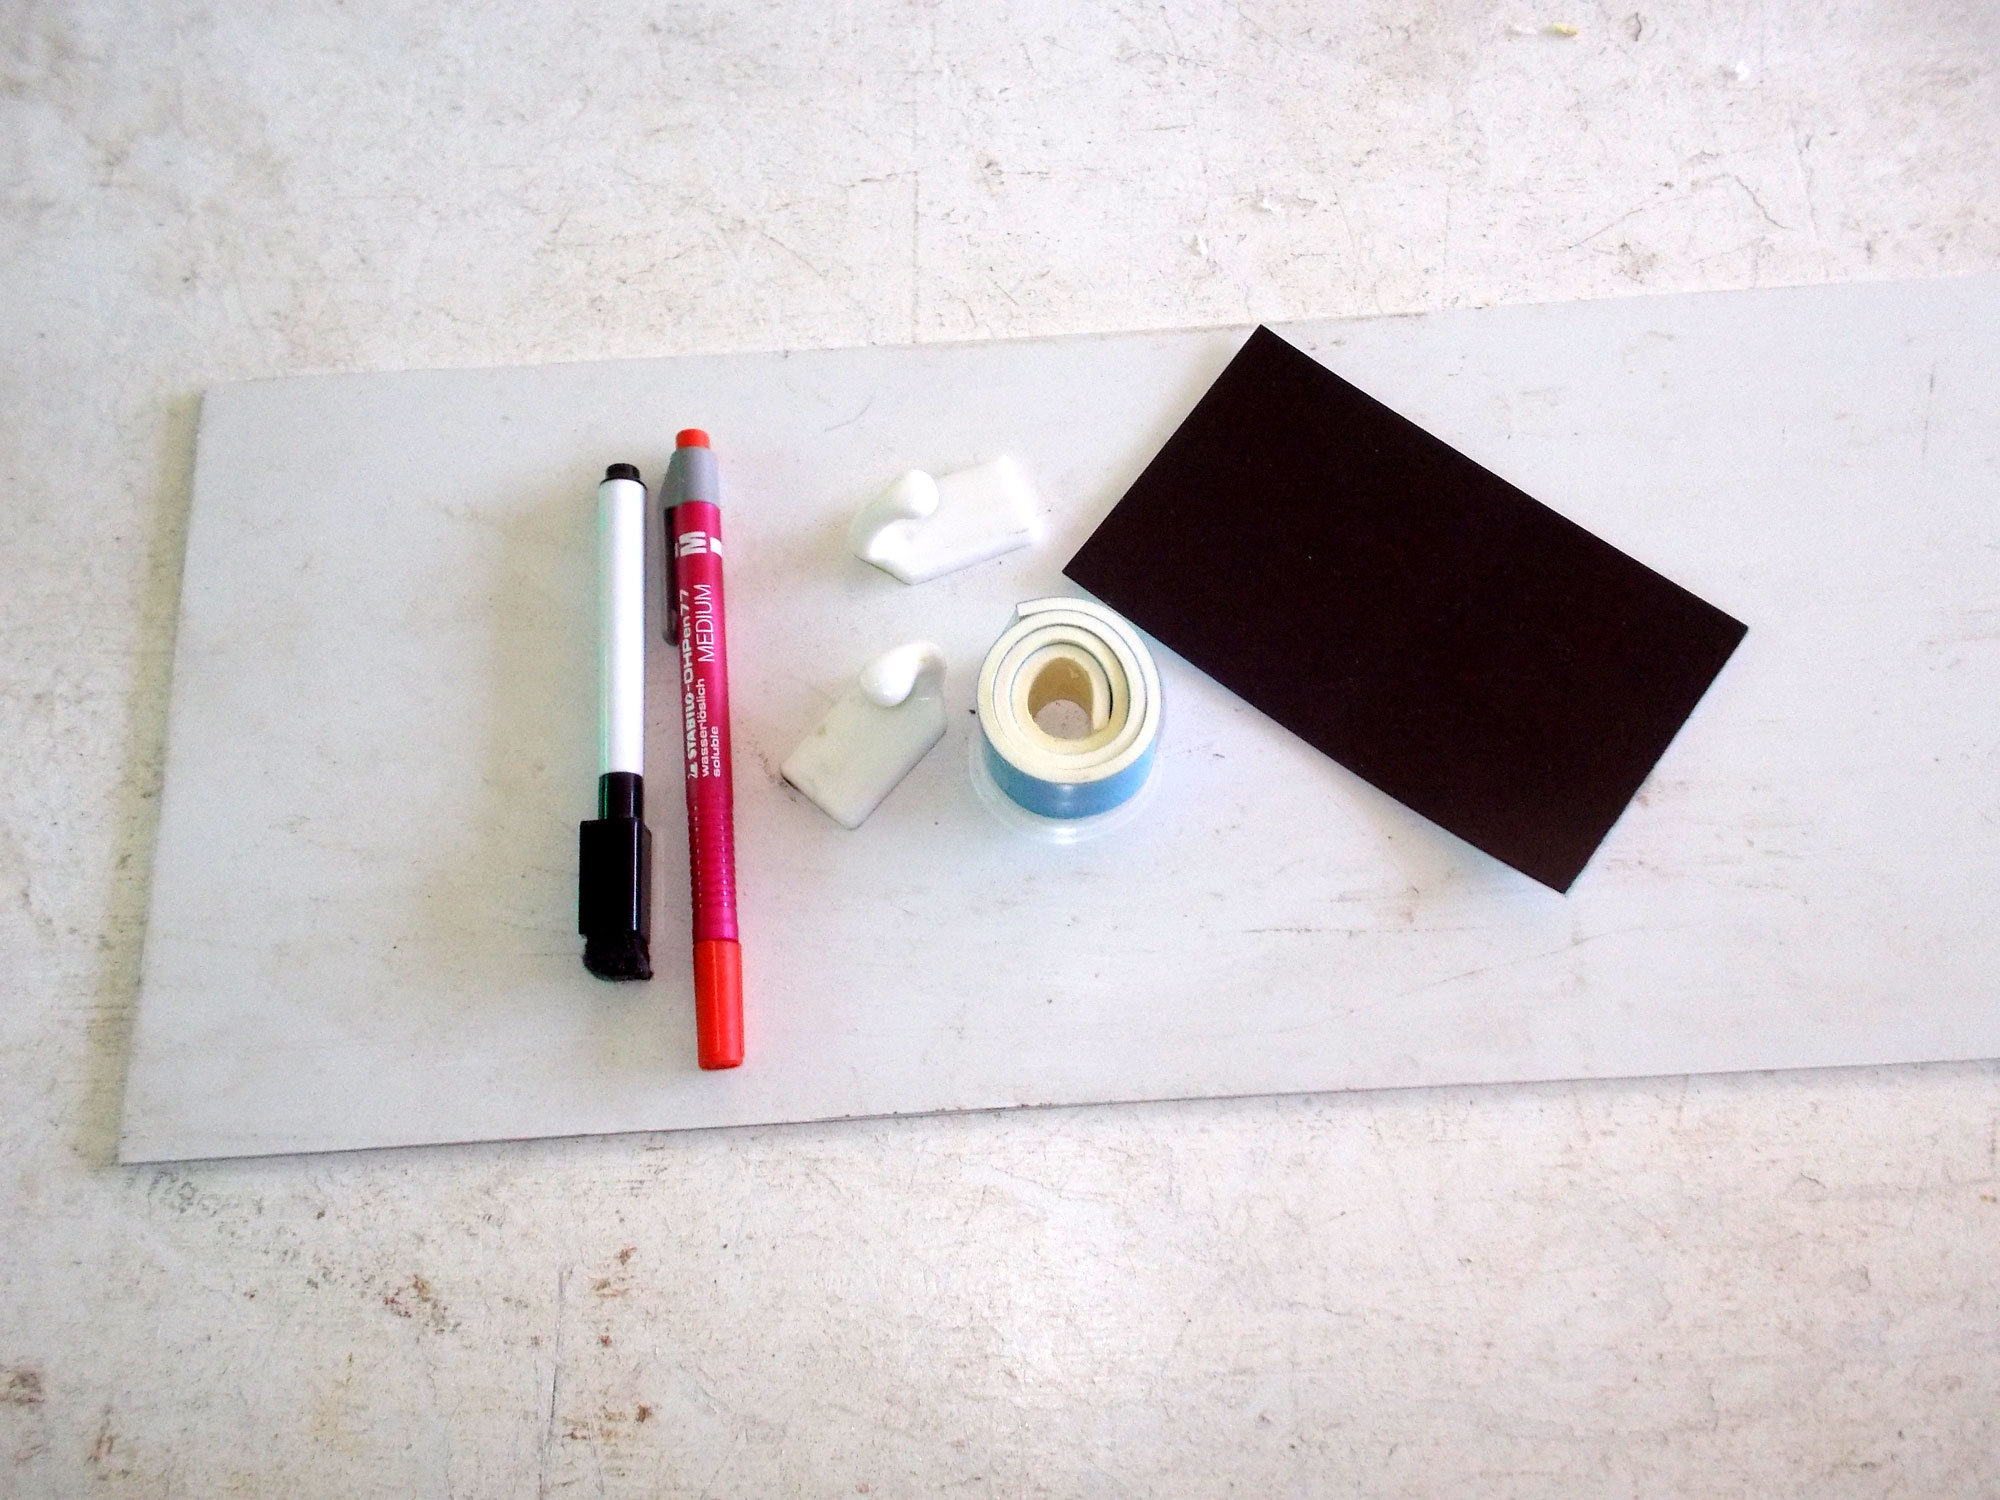
Materials:
- Whiteboard plastic or plastic – 1 sheet – 26.5mm x 17.5mm (size is very arbitrary; this seemed about right for our needs, but the noticeboard can be pretty much what you decide – subject to the caveat that the bigger it is, perhaps more than one fridge door magnet pad may be required)
- Cup hooks – 2
- Mirror tape – 60mm length
Method:
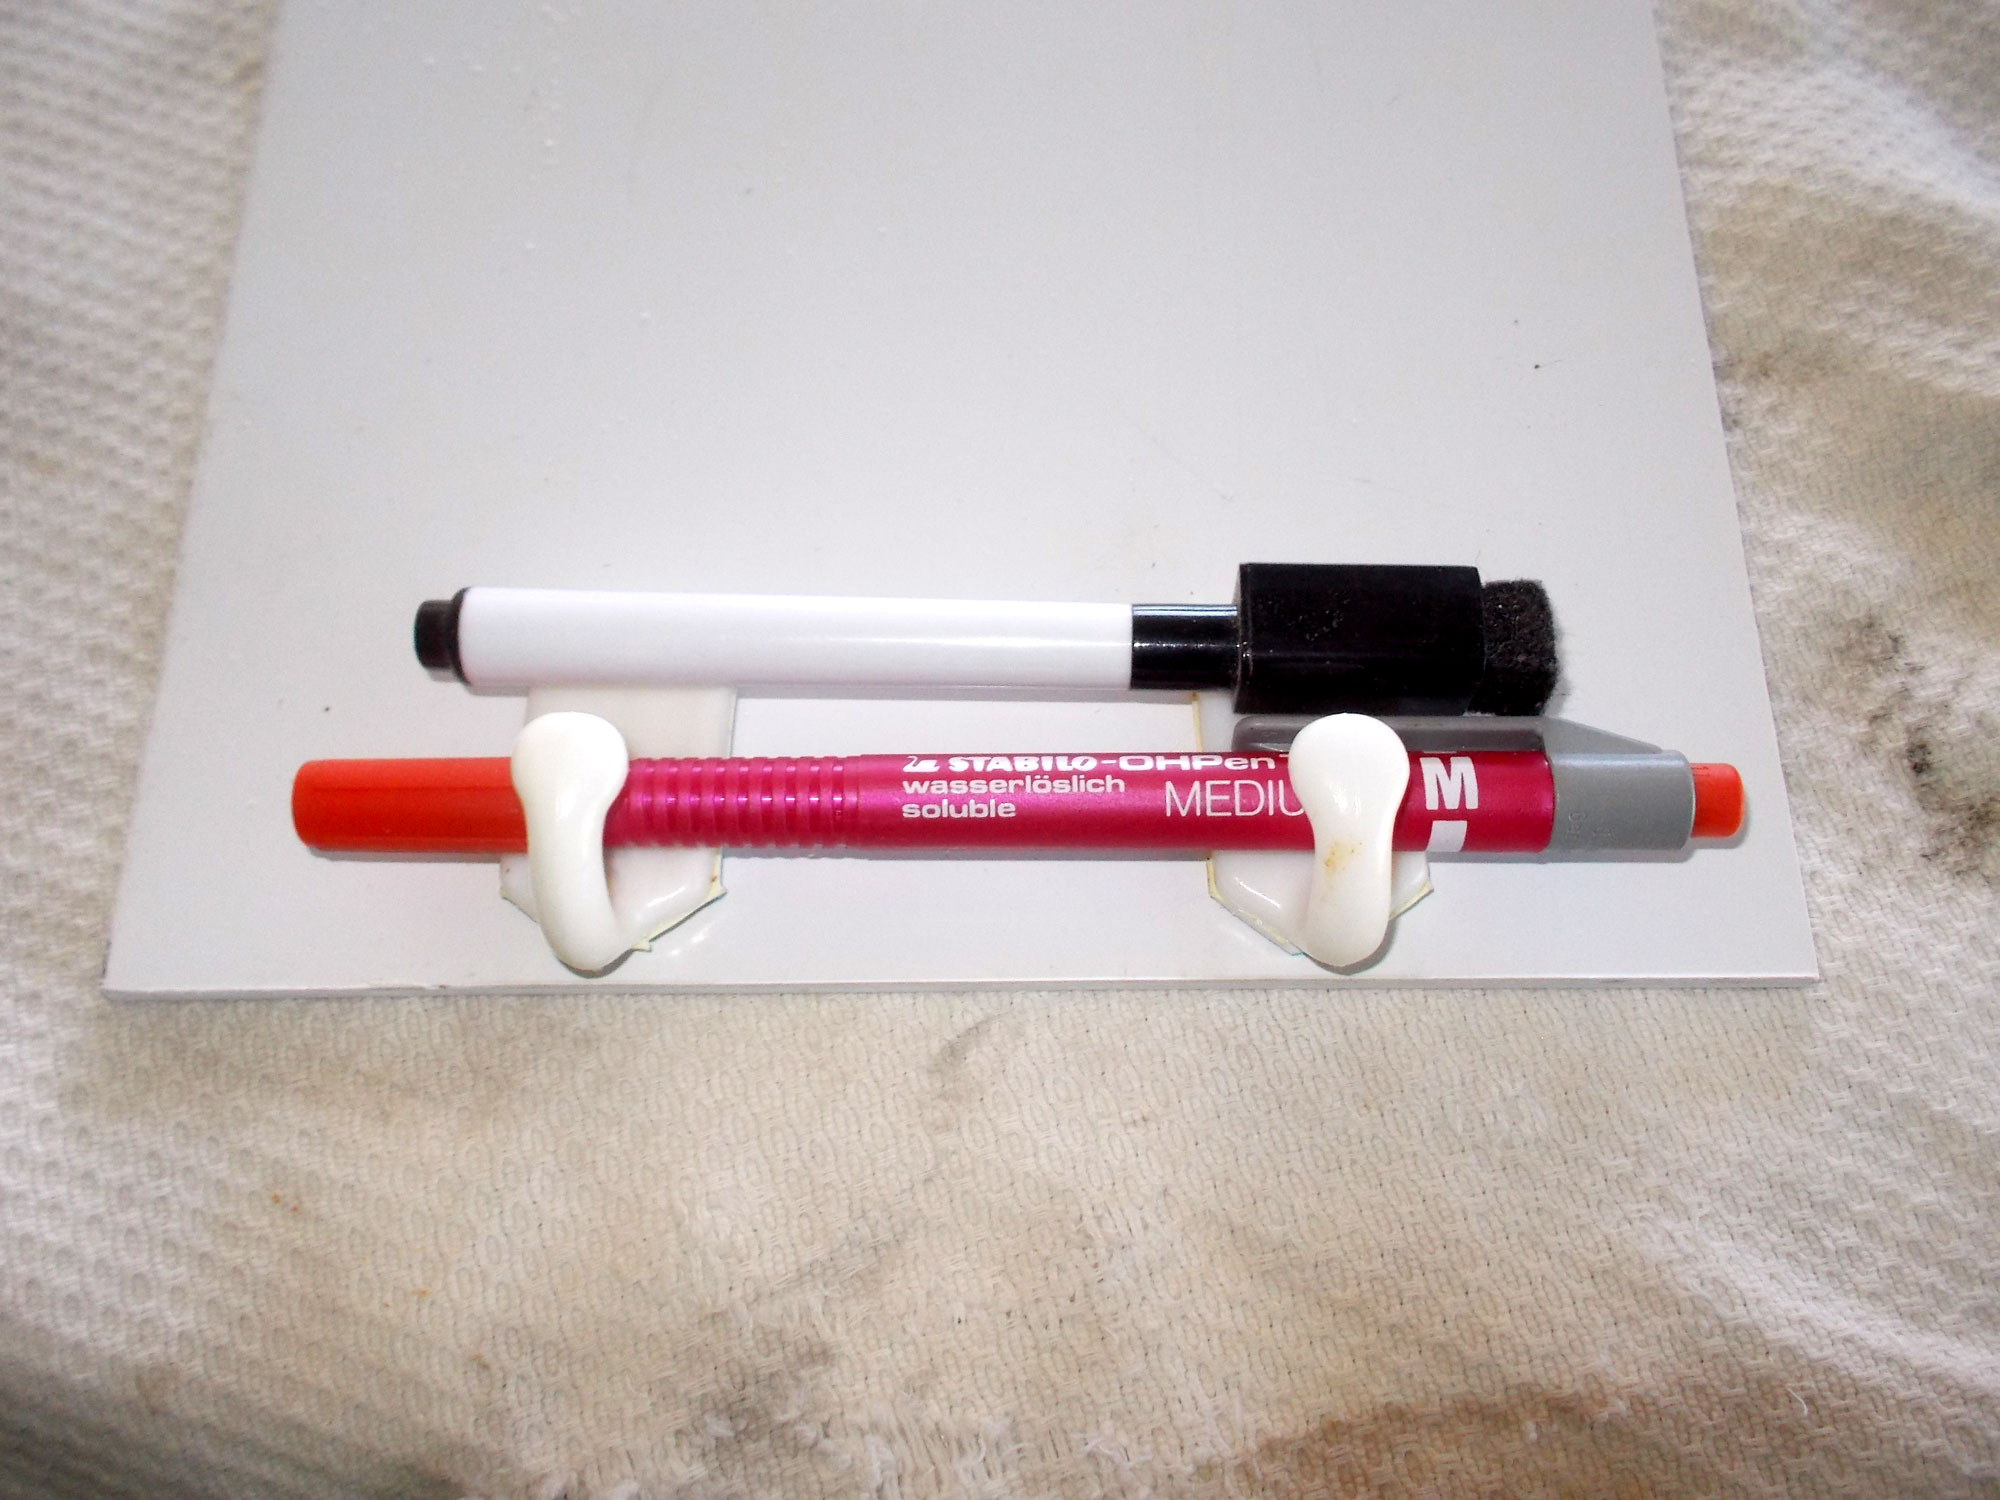
- There’s what you need; ensure that the pen/s you use are marked ‘soluble’ or ‘water-soluble’ so that you can remove any list at any time. Using a permanent marker tends to ruin your day. Hint: If you do inadvertently use a permanent marker, scribble over its marks using a water-soluble pen and immediately wipe the marks off… white the latter is still wet, it can help remove the permanent marking beneath it.
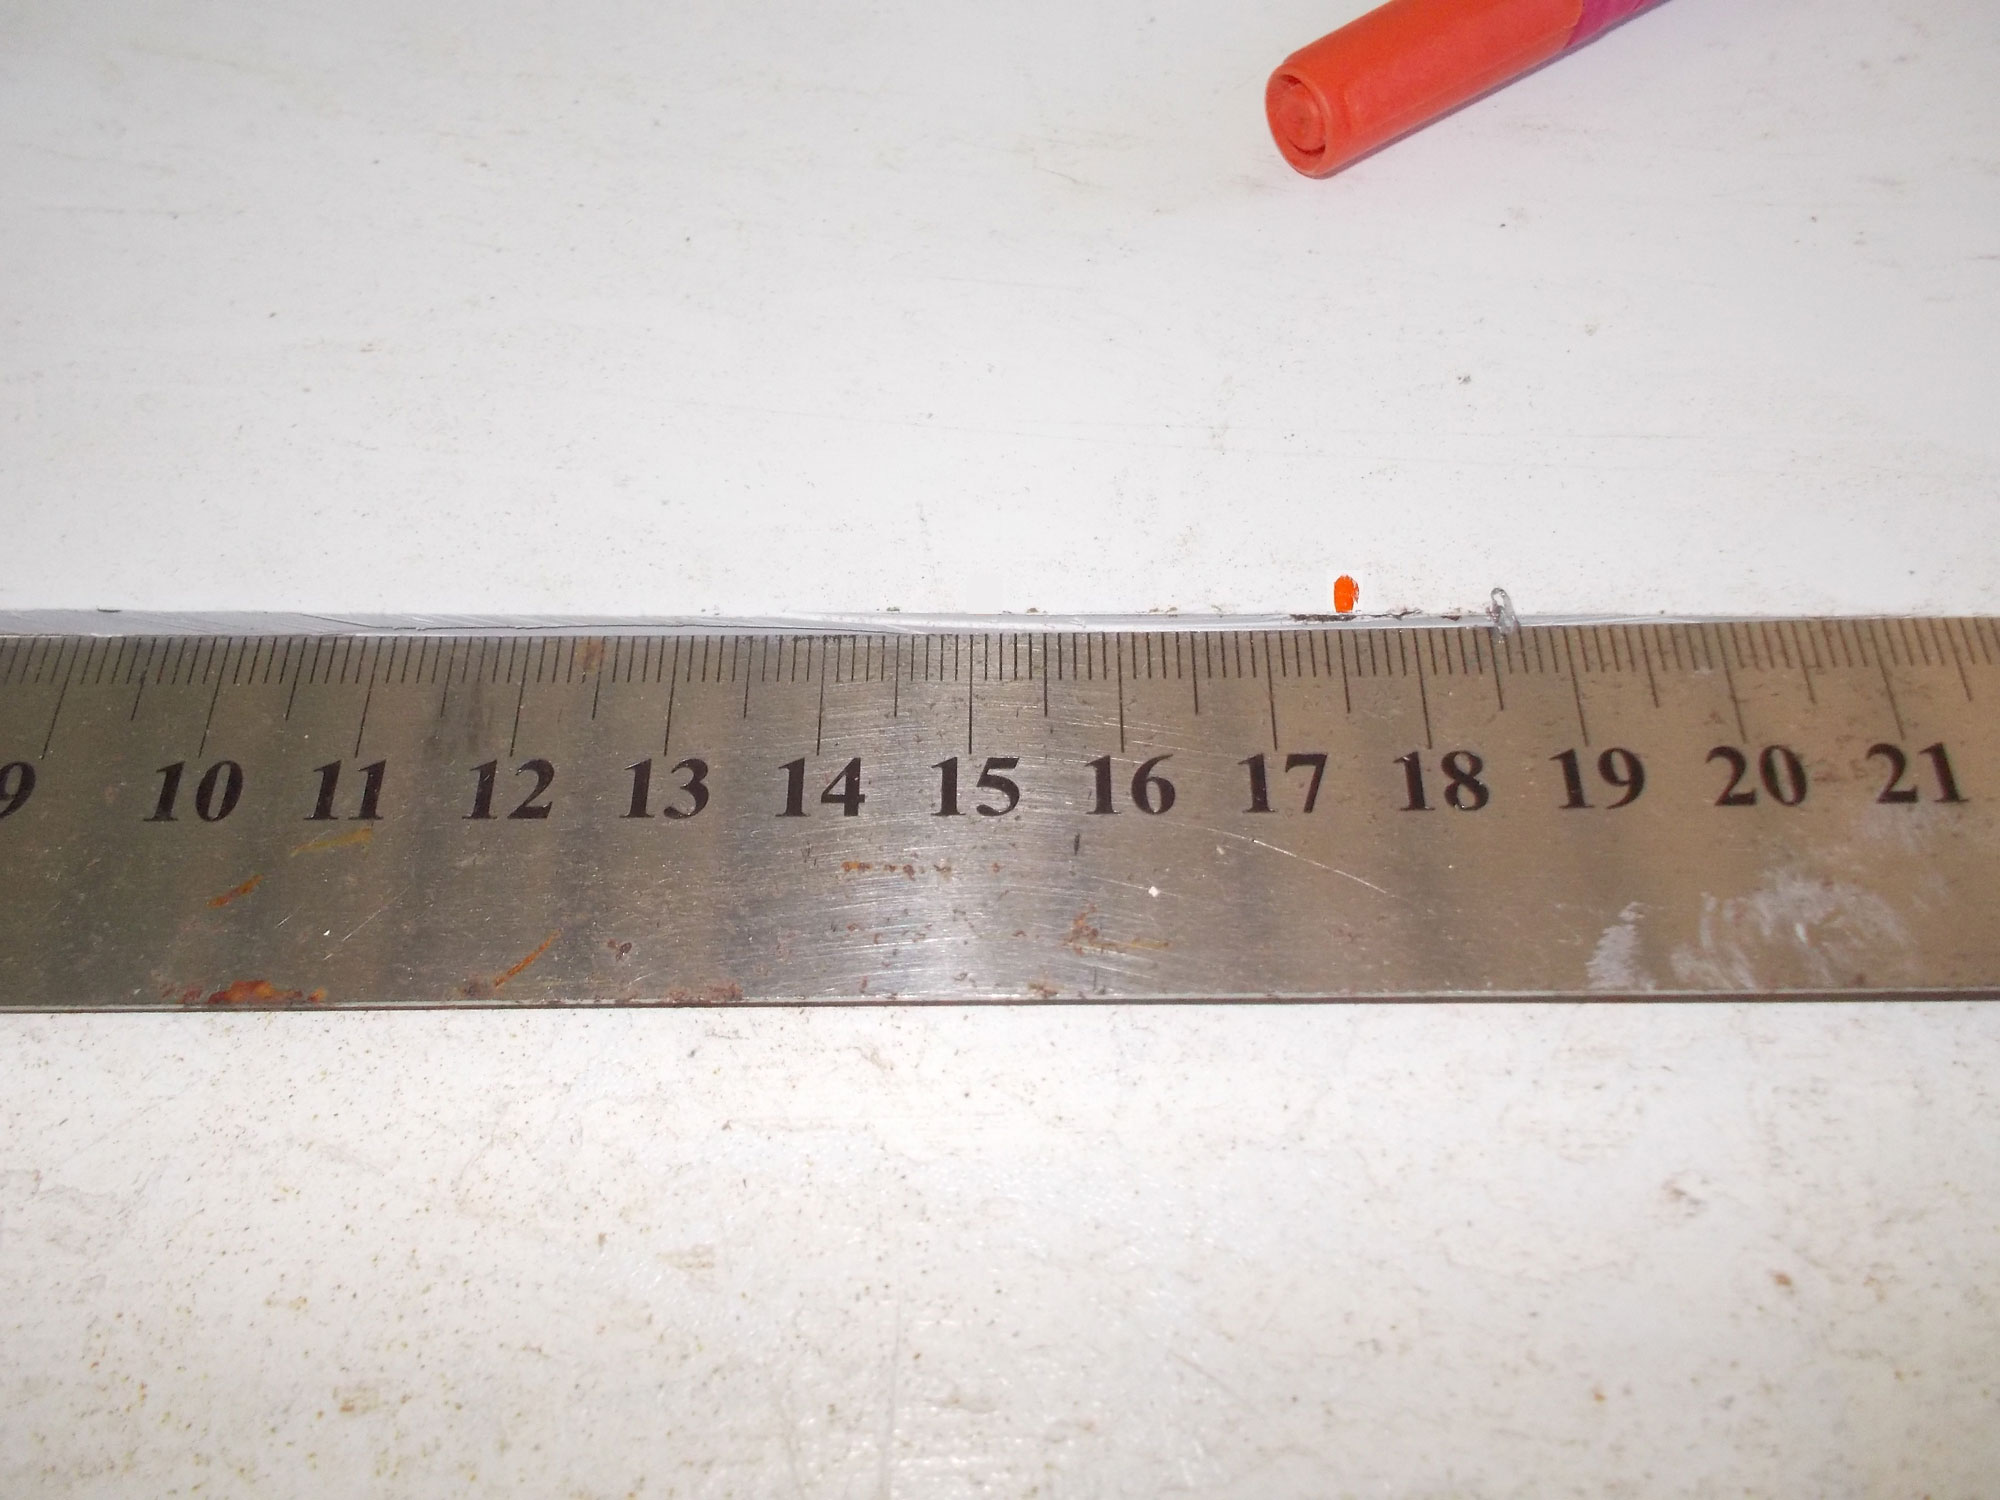
- Mark off the required dimensions of your board and cut it using the craft knife, scoring a board as deeply as you can on both surfaces and then breaking it along the cut line. A little light sanding will smooth the cut edges.
- Stick the cup hooks on to the mirror tape.
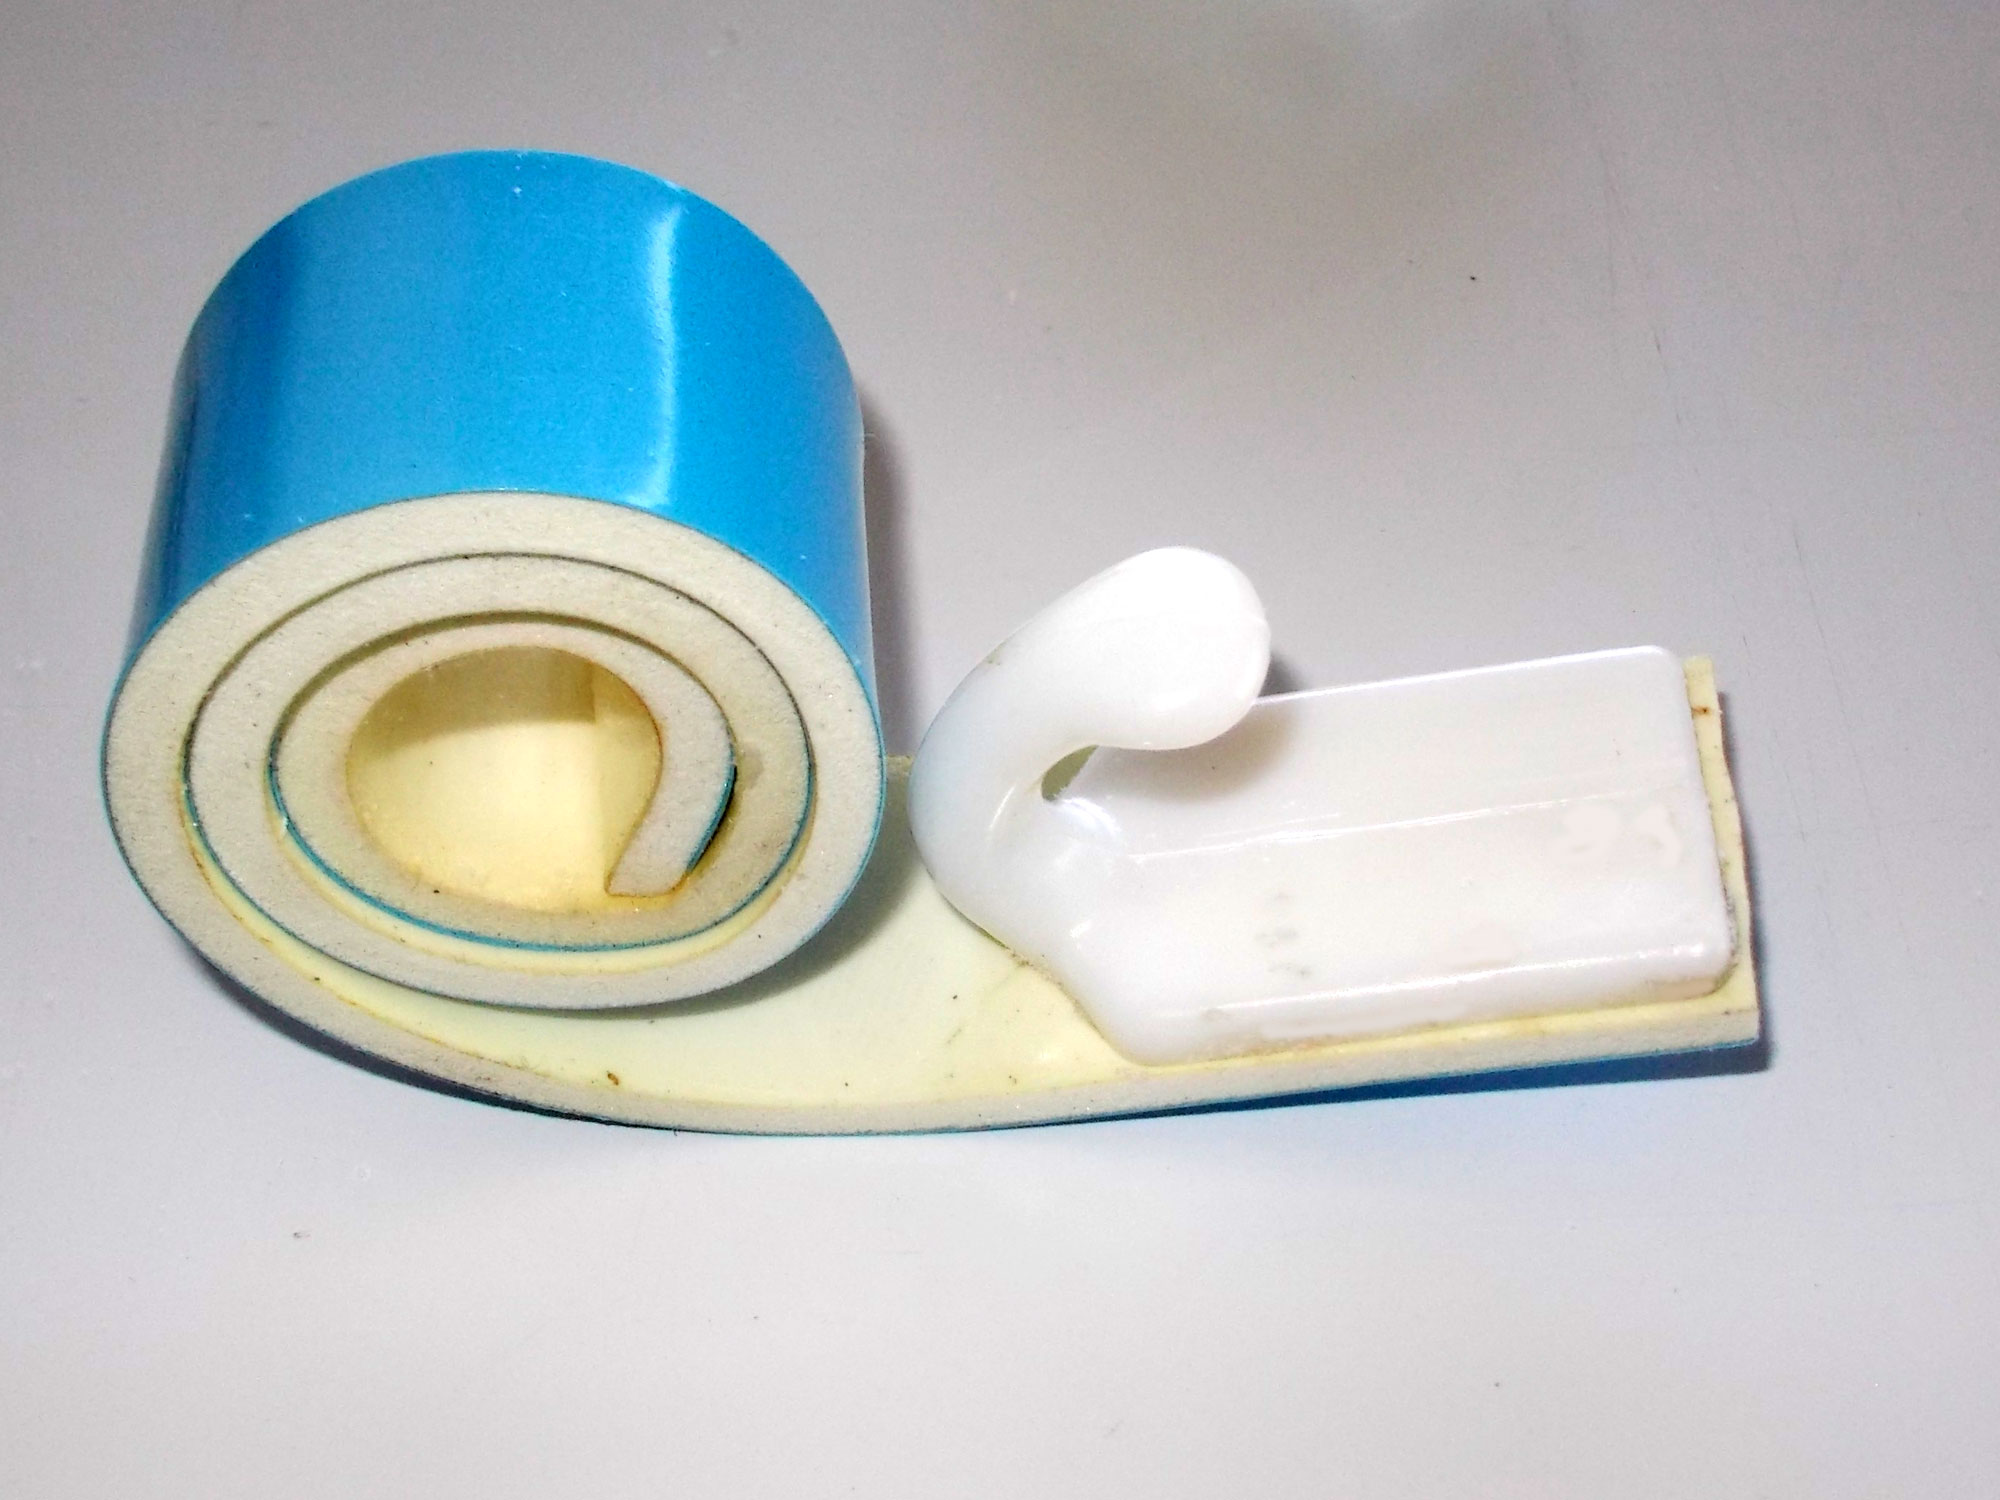
- I trimmed around the edges to hide the mirror tape as much as possible and also neaten the final result.
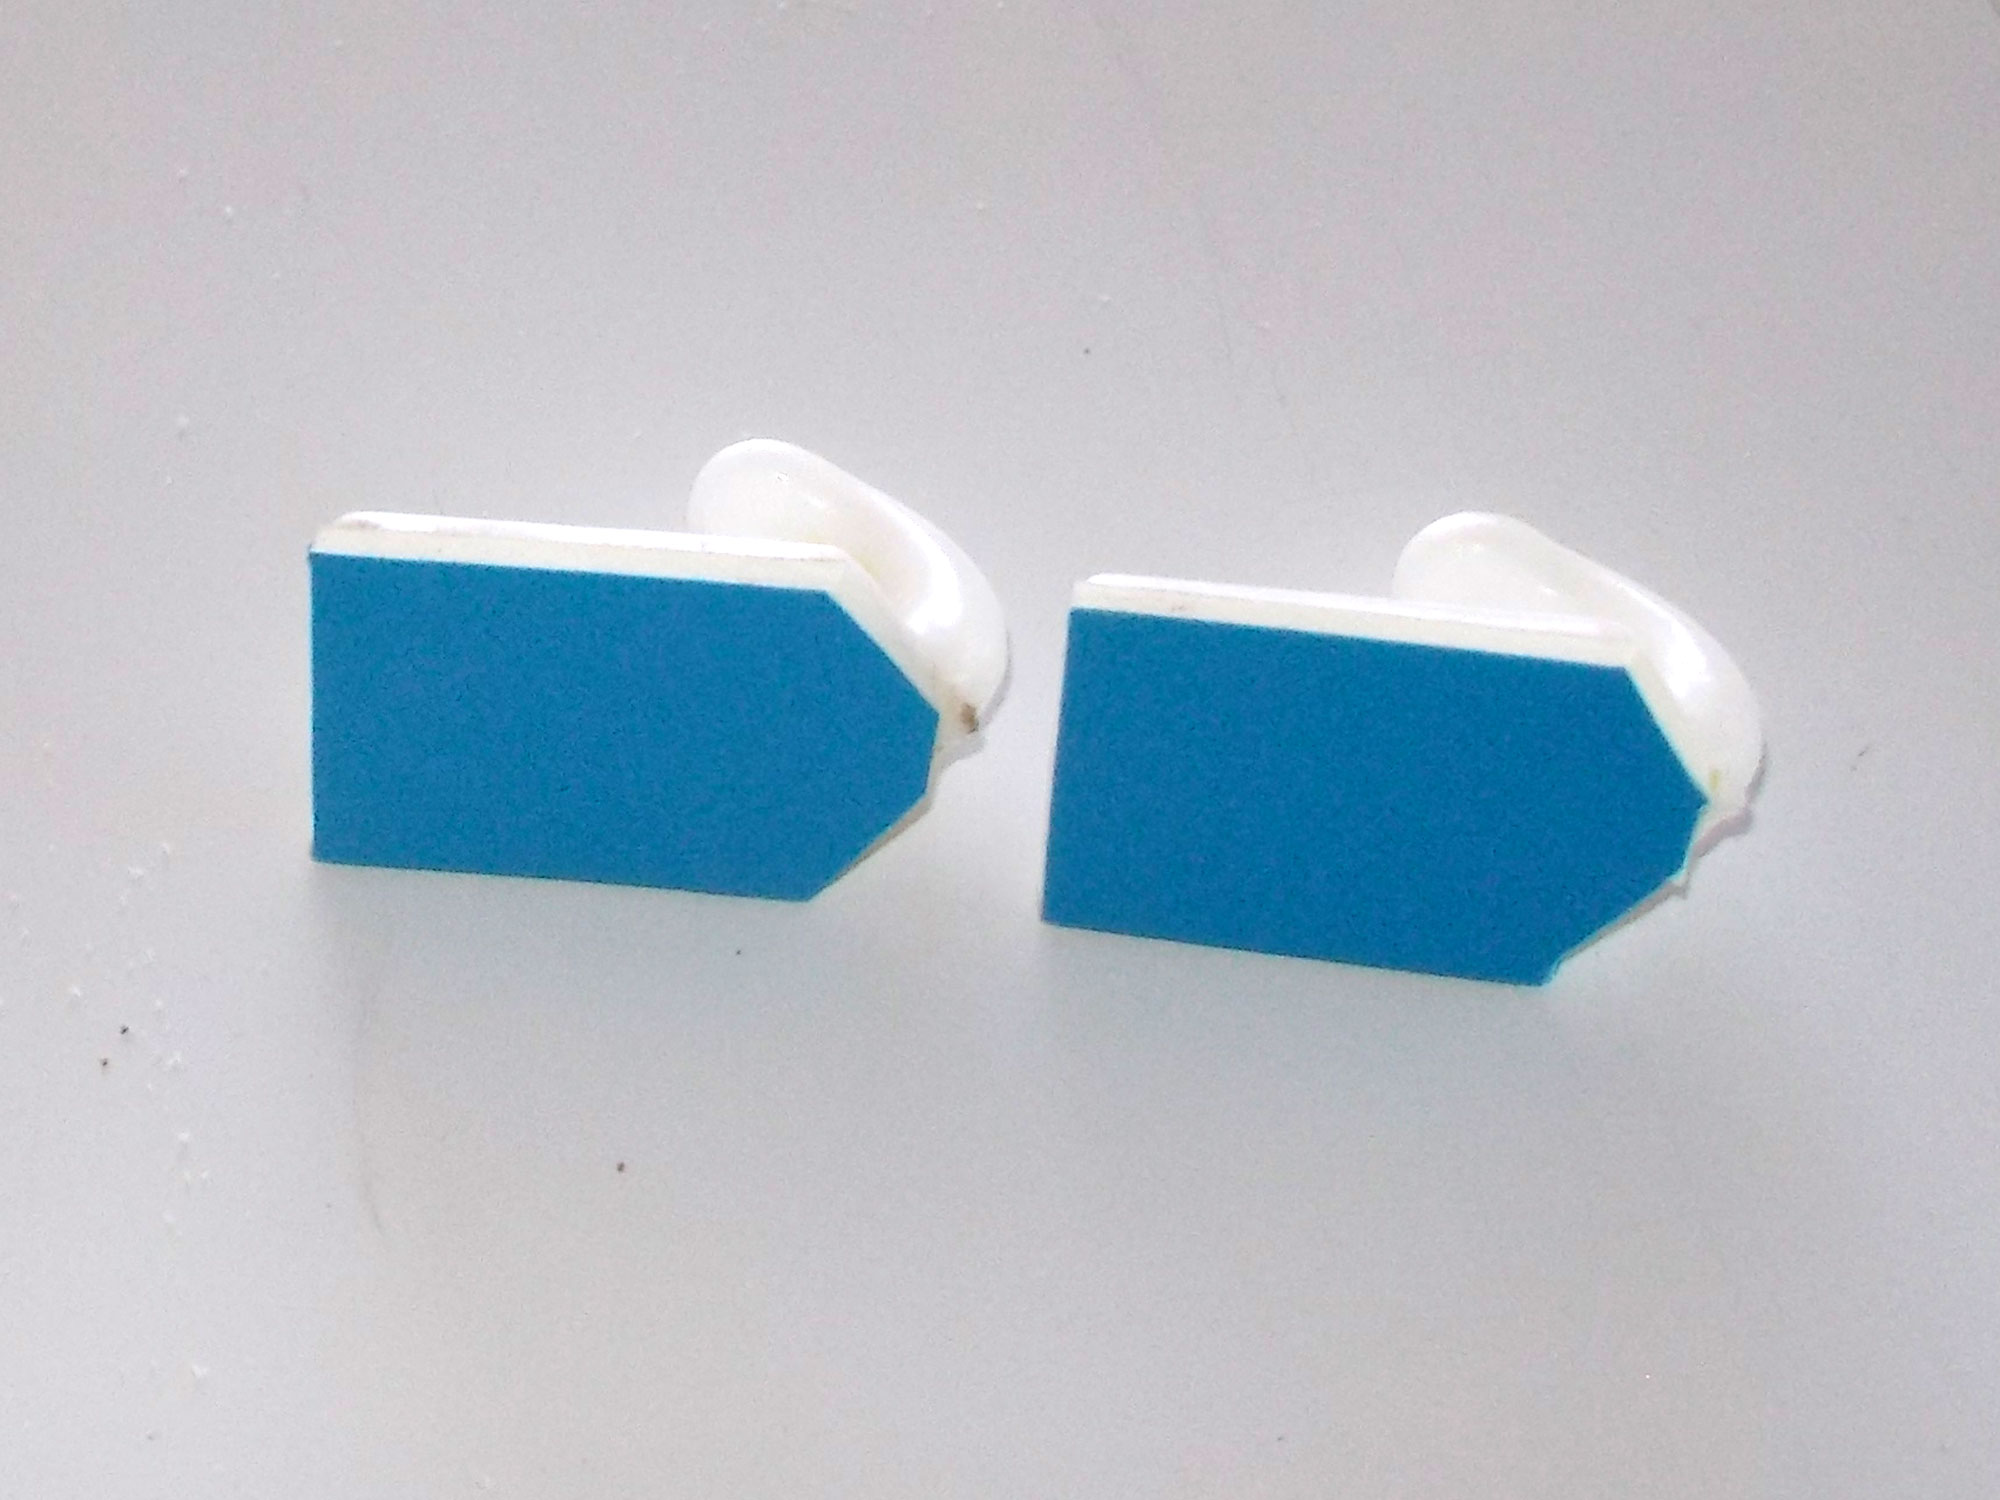
- Do a dry fit when positioning the hooks… these ended up being spaced 90mm apart.
- I used some 22x44mm wood clamped to the top of the board to inset the hooks 44mm, and
another piece held against the bottom edge to align the hooks. A bit of overkill, but the result was neat.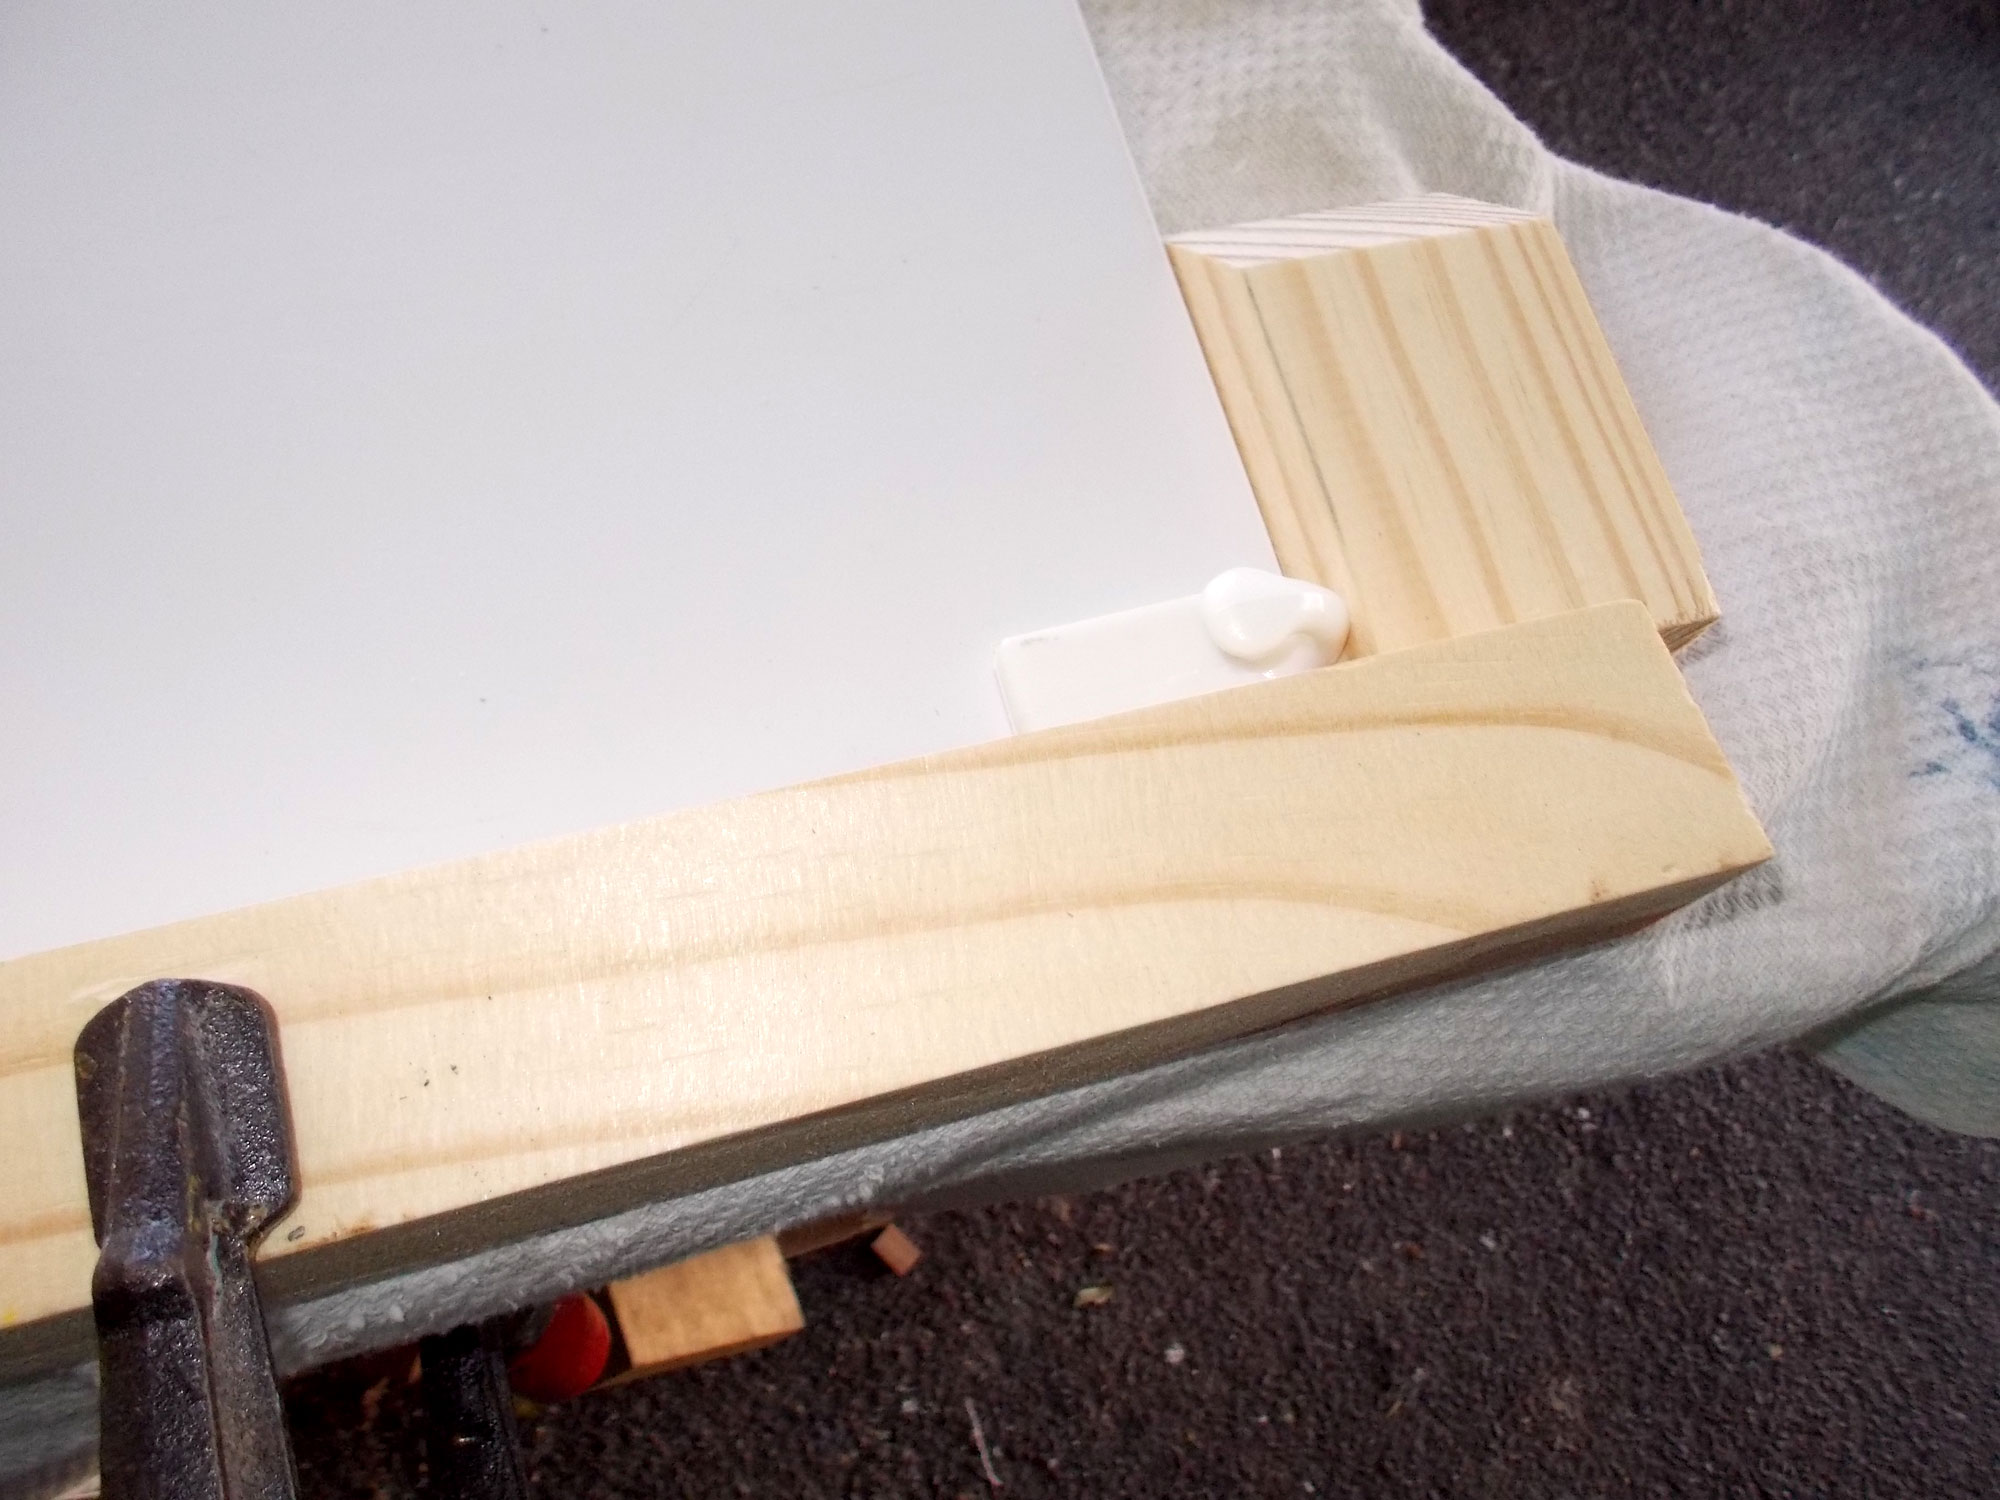
- Use methylated spirits or good household cleaner to clean the board’s lower surface and ensure that it is absolutely dry and clean before peeling off the magnet’s adhesive backing protective sheet.

- Job done – just remember though, the advice above… the bigger the board, possibly the bigger the need for a second magnet.
Hint: It’s an idea to consider putting the pen hooks at the top of the board, rather than at the base, as we did. Why? Because we write from top to bottom and the heel of our writing hand is close to the surface on which we are writing. So as your list gets closer to the bottom of the board, so the pen hooks might interfere. Putting them at the top of the board avoids that. Crafty, eh!
If it’s on the list, it won’t be missed…
And there we are… a quick and easy noticeboard for your fridge. Here we have used 2 pens for different lists… but one pen should be enough for just about all eventualities.
Project guide
Skill level: 1
Estimated time: 30 minutes or 1 hour if you’re on a go-slow
Cost: R25-R50
Assistant: No
Tools required:
Craft knife
Panel:
These materials are available at Selected Mica Stores. To find your closest Mica and whether or not they stock the items required, please go to www.mica.co.za, find your store and call them. If your local Mica does not stock exactly what you need they will be able to order it for you or suggest an alternative product or a reputable source.