23 April 2015

Make a convenient folding table
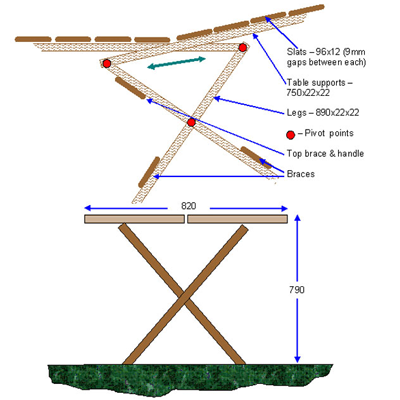
This table weighs in at only 5.5kg, fits easily into a car boot or on a back seat, and is only 46mm thick when fully folded, but opens out into a table 600mm wide, 820mm long and 790mm from ground to tabletop.
Project Guide:
Skill level: 2
Estimated time: a weekend
Cost: R350-R450
Assistant: No
Materials:
- Meranti: 96×12 – 6.6m; 22×22 – 7.2m;
- brass nuts and bolts, plus washers – four 5mm diameter x 50mm long (plus two 5mm gutter washers for the legs’ pivot points);
- 30mm wood screws – 48; wood gluefinish of your choice.
Tools:
- Jigsaw
- Sander
- Drill
- Saw
- Punch
- Hammer
*All materials are available at Selected Mica Stores. To find your nearest Mica and to enquire about availability, please go to www.mica.co.za, to use our store locator. If your local Mica does not stock exactly what you need they will be able to order or suggest an alternative product or a reputable source.
Method:
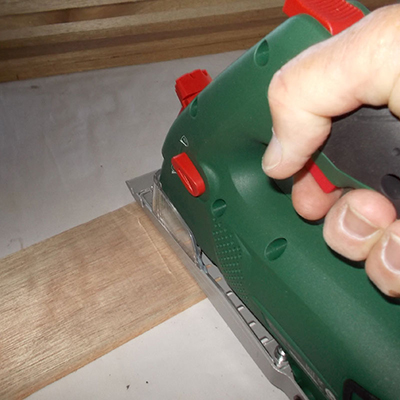
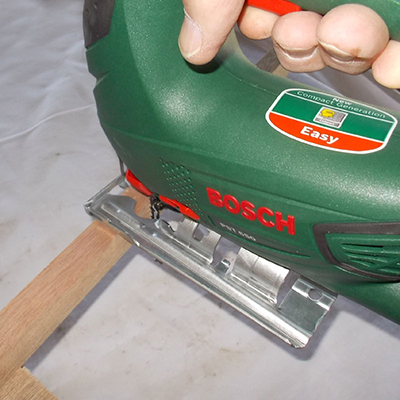
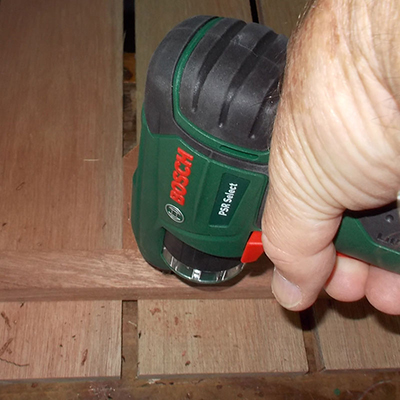
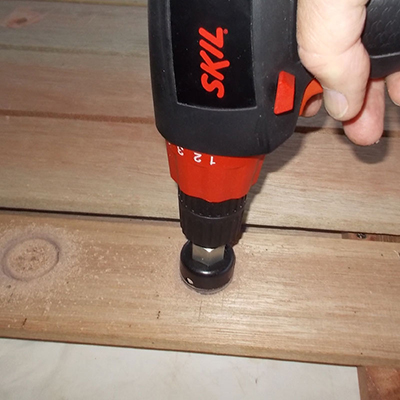
- This cutter is ideal for this sort of job as you can set it very precisely to any depth up to 16mm. We wanted to use it to cut the slats (12mm thick) so we set it 10 11.5mm.
- Line up the saw and cut the slats to 600mm long, ensuring that you cut as accurately as you can to achieve an even edge to the table. The remaining wood will be only 0.5mm thick, and each slat should be broken off and the edges gently sanded.
- Use a jigsaw to cut the legs and the table supports.
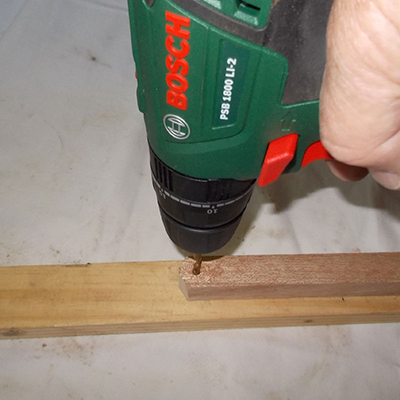
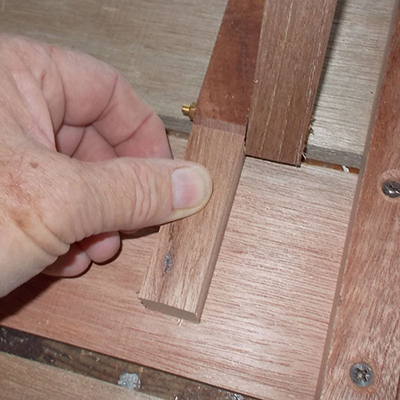
- Trim the pivot ends and then used a gauge to mark off the positions for the bolts’ holes.
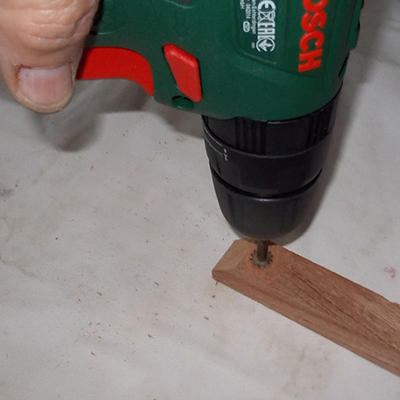
- Drill through into a piece of scrap wood so that you achieve a neat finish on the lower surface.
- As the fit is quite tight, the bolt heads and nuts have to be fully recessed into the pivot points, so use a countersink bit to make the necessary housing for the bolt heads and the nuts.
- Now attach the table supports to the underside of the slats. Angle the ends of each on the outer end (where unwary legs might encounter them) at 45º and the supports on one half of the table are 520mm apart (outer edges) and the other half’s supports are 380mm apart (outer edges). This allows space for the legs to fit between them.
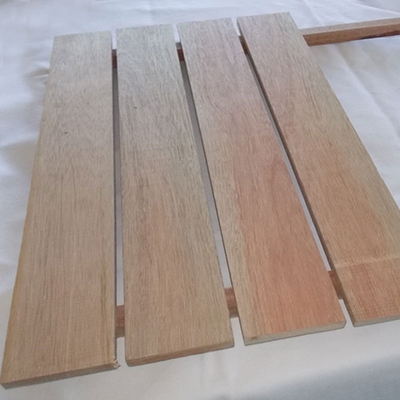
- The top view of one of the halves…
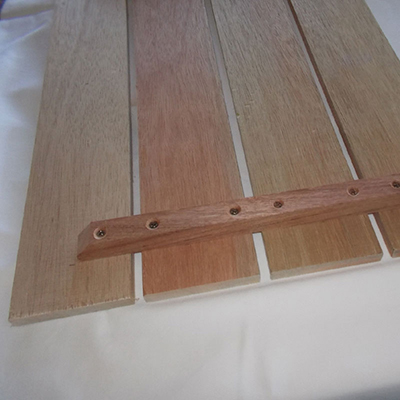
- And the bottom view – notice how the ends of the support are cut at 45º and two screws per slat (apart from the end one) to prevent the slats pivoting on the supports.
- The pivot points for the legs – the 5mm gutter washer provides a large, low-friction surface on which the legs can pivot.
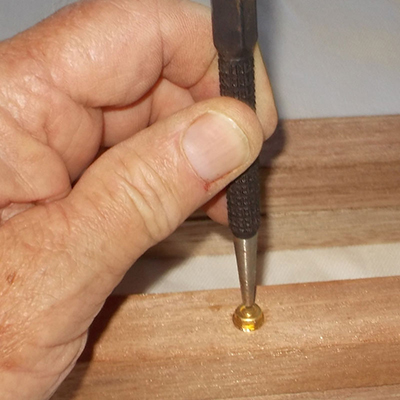
- You can use a nut-locking product or simply do as it did, use a punch to lock the thread. Note: you will need to trim the bolts to length. Hint: before cutting the bolt to length, turn a nut on to it, beyond the cutting point. Make the cut and then turn the nut off – doing so realigns the threads.
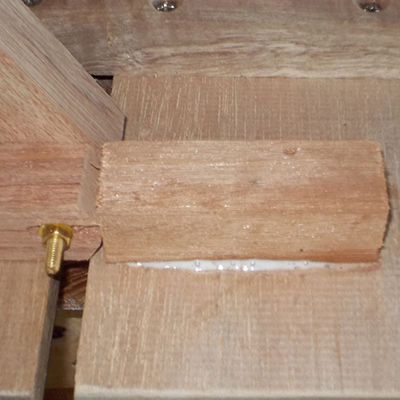
- In order to maintain a gap between the two halves when the table is in use, set the gap to 9mm and then positioned a ‘stop’ as shown. You only need to stop the inner supports meeting – this of course takes care of the outer supports as well, so they do not need stops (and adding them would prevent the table folding absolutely flat.
- Use glue to secure the stops in position.
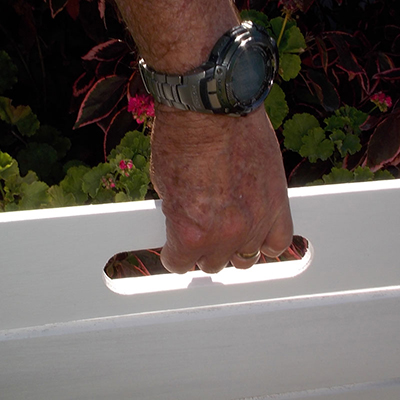
- The top cross-brace very easily doubles as a handle… Use a 38mm holesaw to cut out both ends, but do it like this… cut through about halfway, then flip the unit over and complete the holes – for a neat finish.
- Cut out between the holes and sand down for a comfortable grip… once the unit is painted, this is how the handle works.
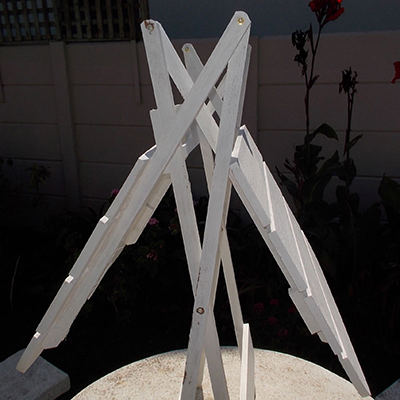
- The table half open/half folded.
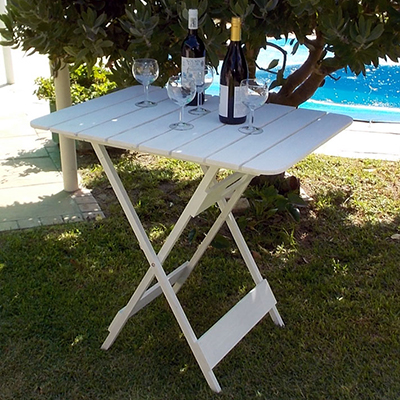
- The completed Table.
- The Illustration.