06 July 2021

Just what you need for sanding large areas… a large sanding pad
Materials:
Offcuts of timber from previous projects. In this case a base of 220x300mm SA pine, two locking bars of 22x44mm – each 220mm long; two 32x32mm handle spacer blocks each of 40mm and a 22mmØ length of dowel for the handle.
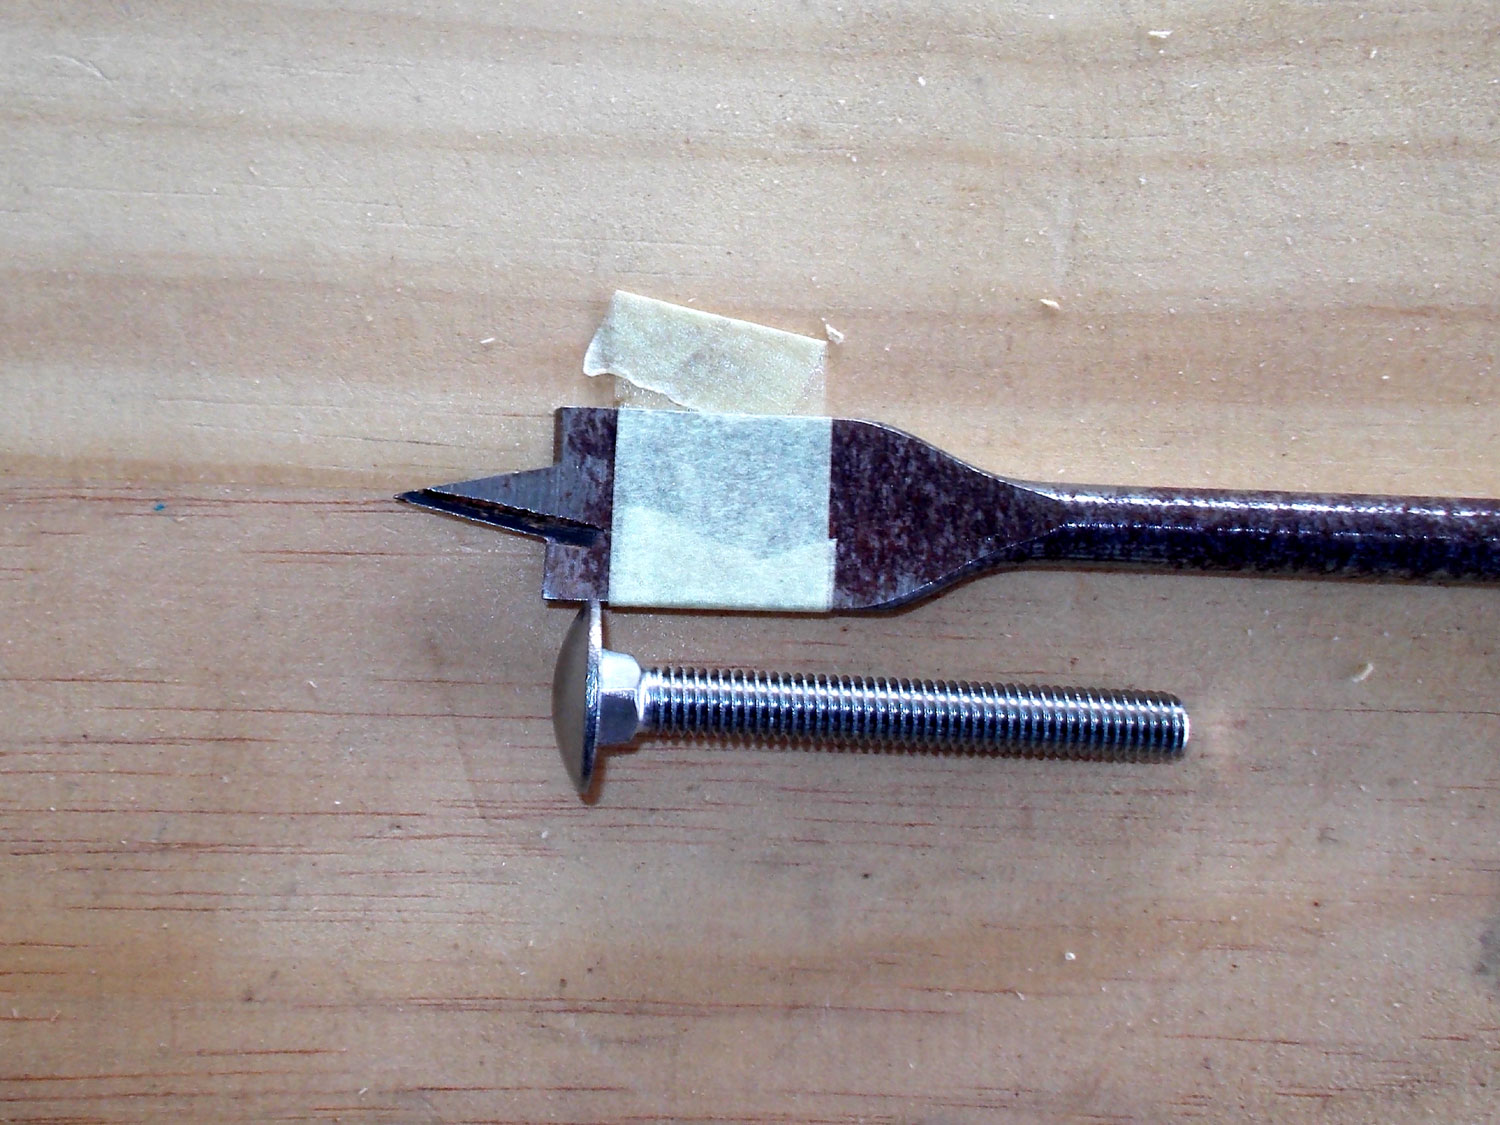
Four 5mmØ 60mm dome-head coach bolts with square shanks; four fender washers; four wing-nuts; 40mm securing screws.
Rolls of sandpaper used for sanding floors – paper grits as you decide.
Method:
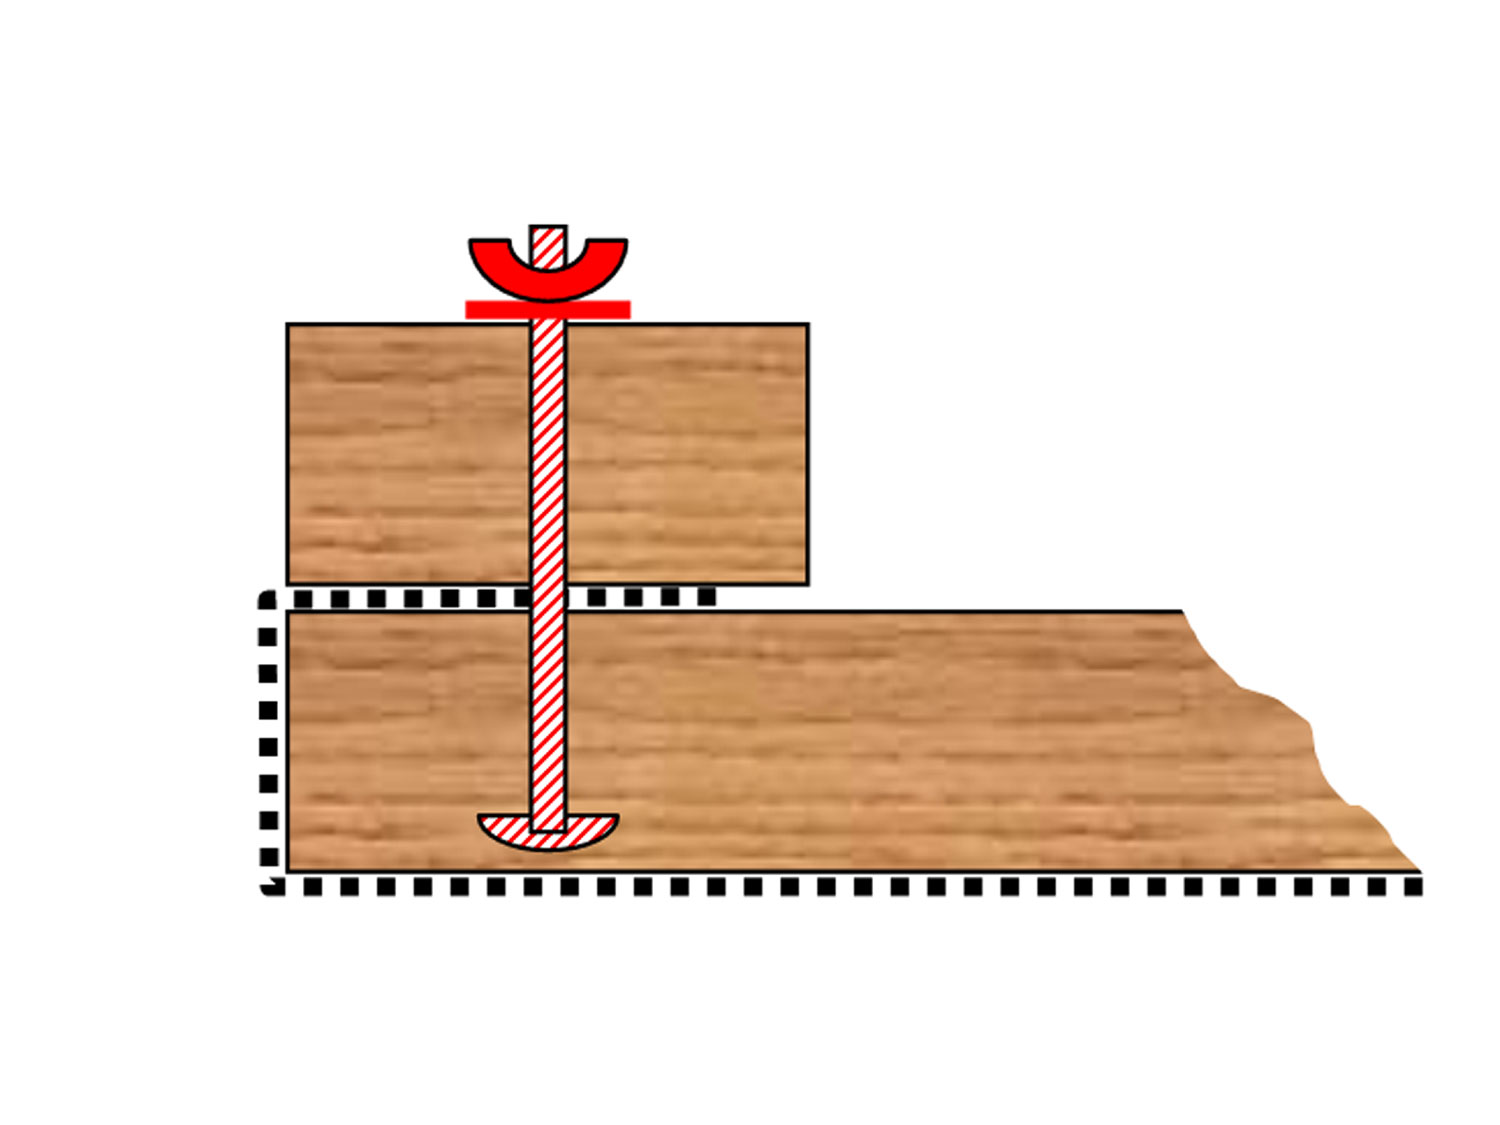
This illustration shows how the bolt head is completely countersunk and the paper passes beyond the bolt shaft for a very secure fixing in position. Note that you need to ensure that the paper if as tight as you can make it on the base so that as you sand back and forth, the paper does not wear against the base where it meets it on the end corners. If this happens the paper will tend to tear at those points at some stage.
As regards this aspect, as an added refinement, you could use a router to round off each end so that the paper can be really snugly secured to the base.
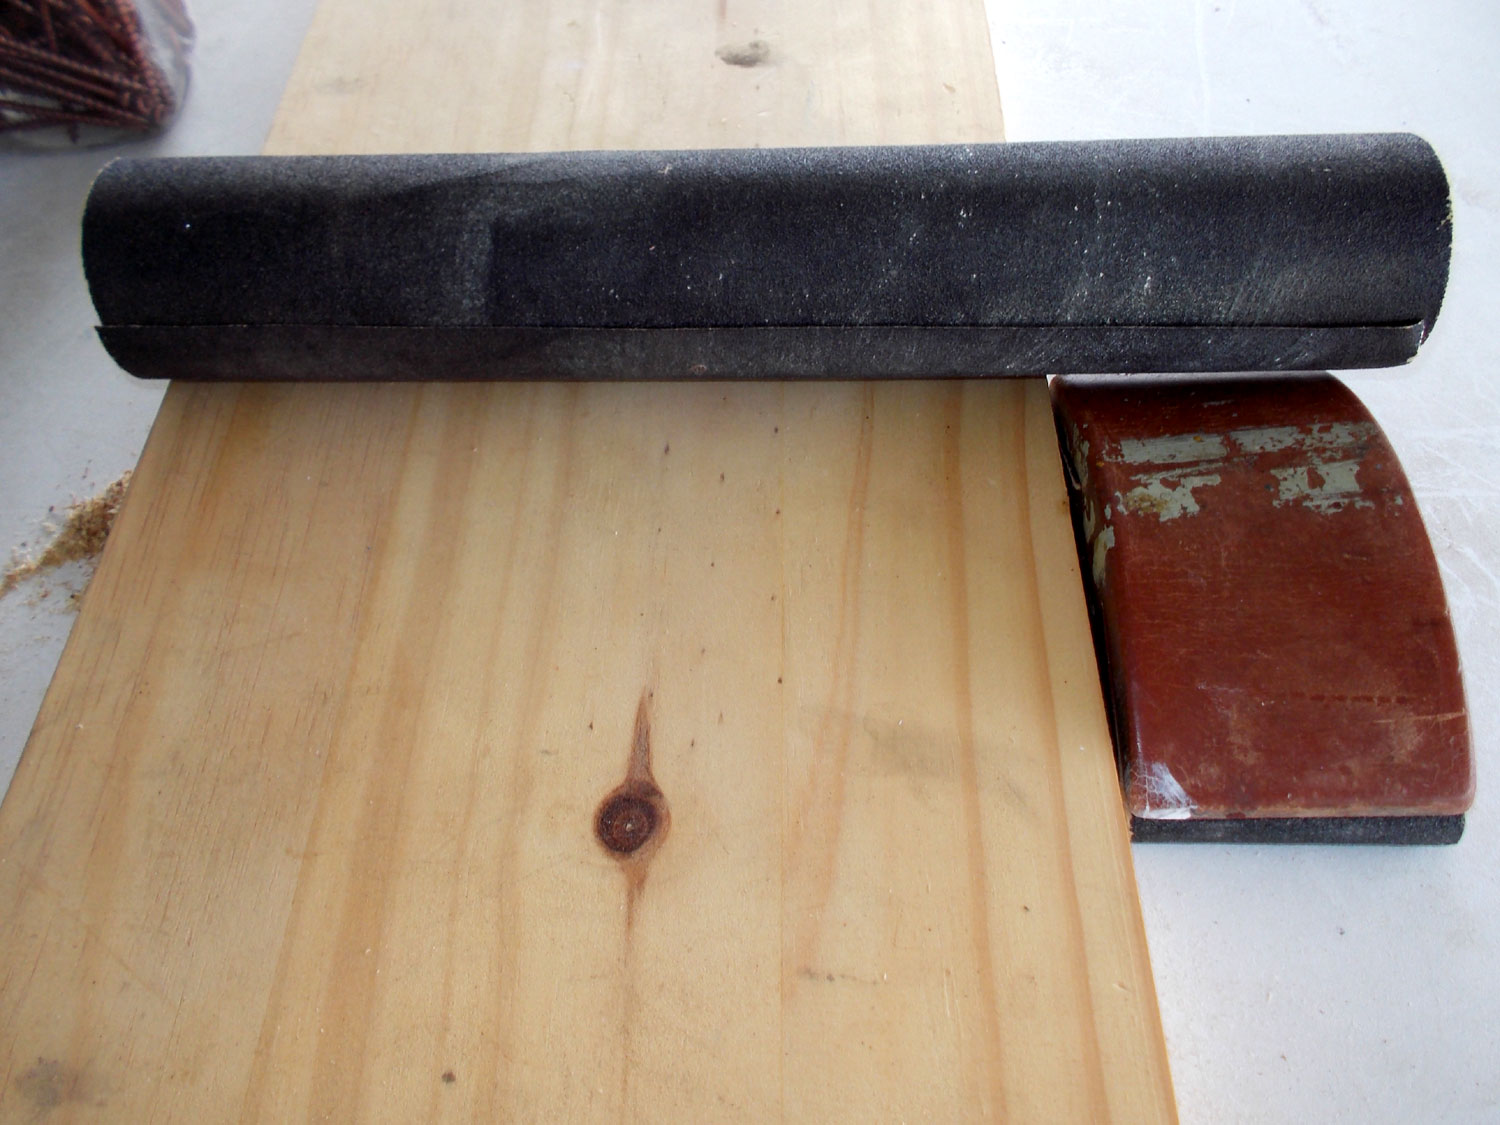
- The sanding page with its roll of sandpaper and a sanding block next to is for comparison.
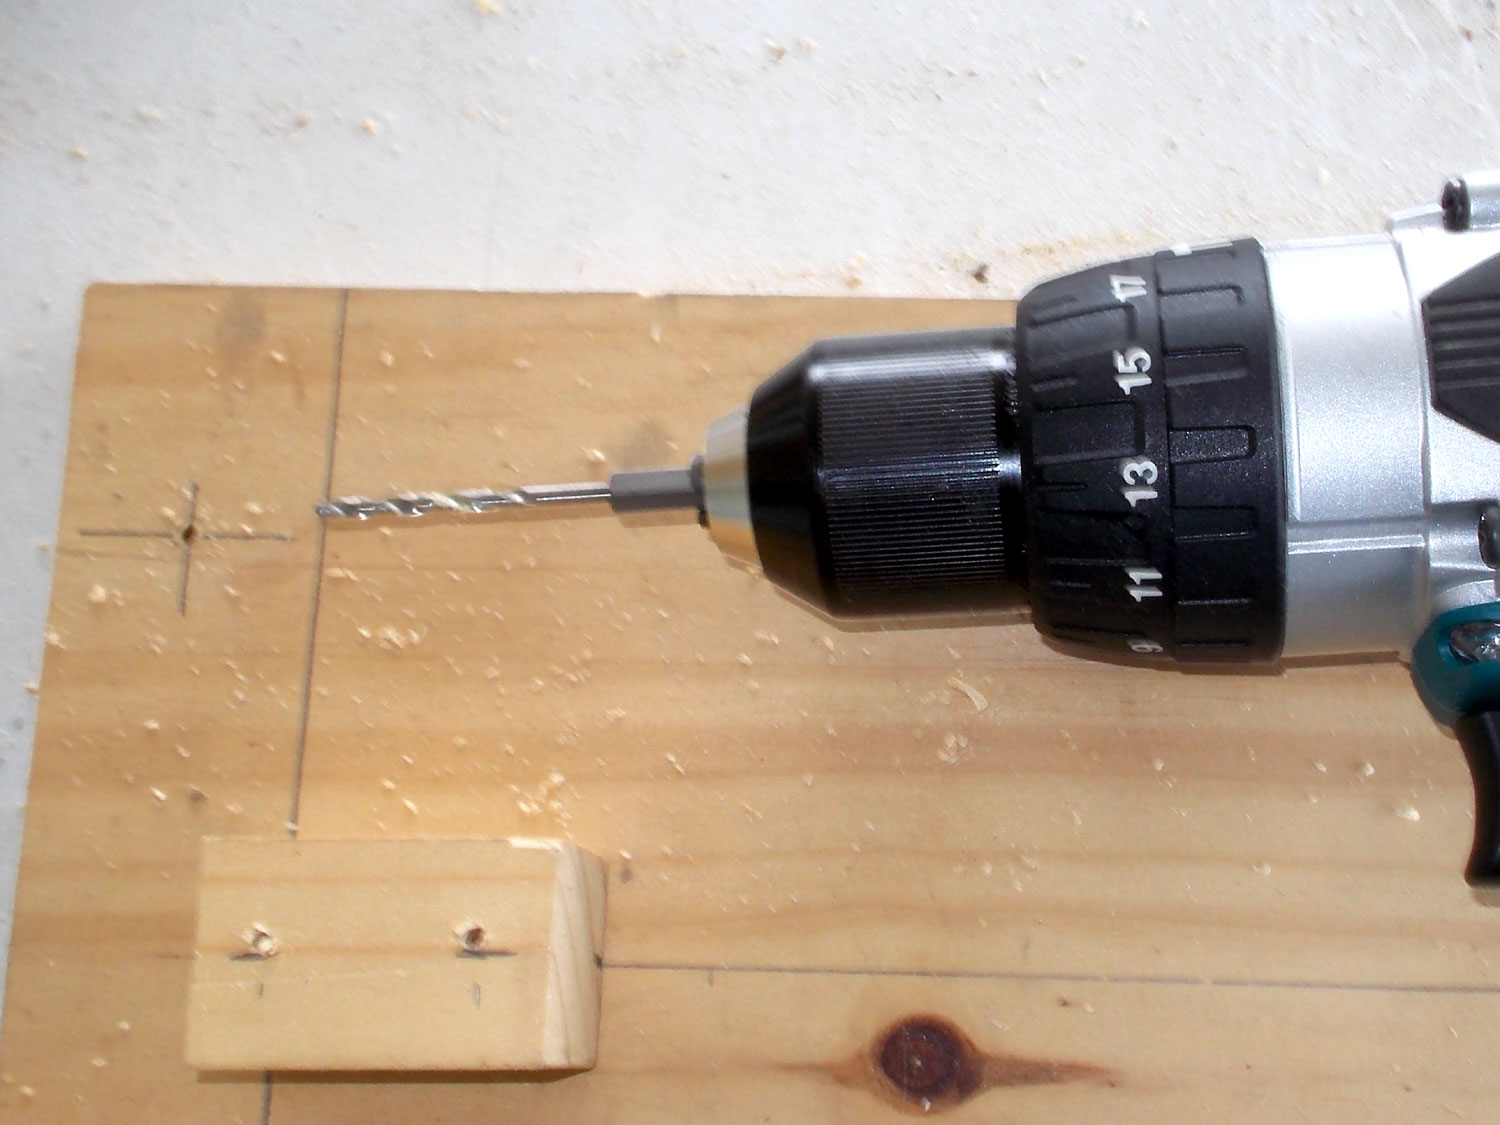
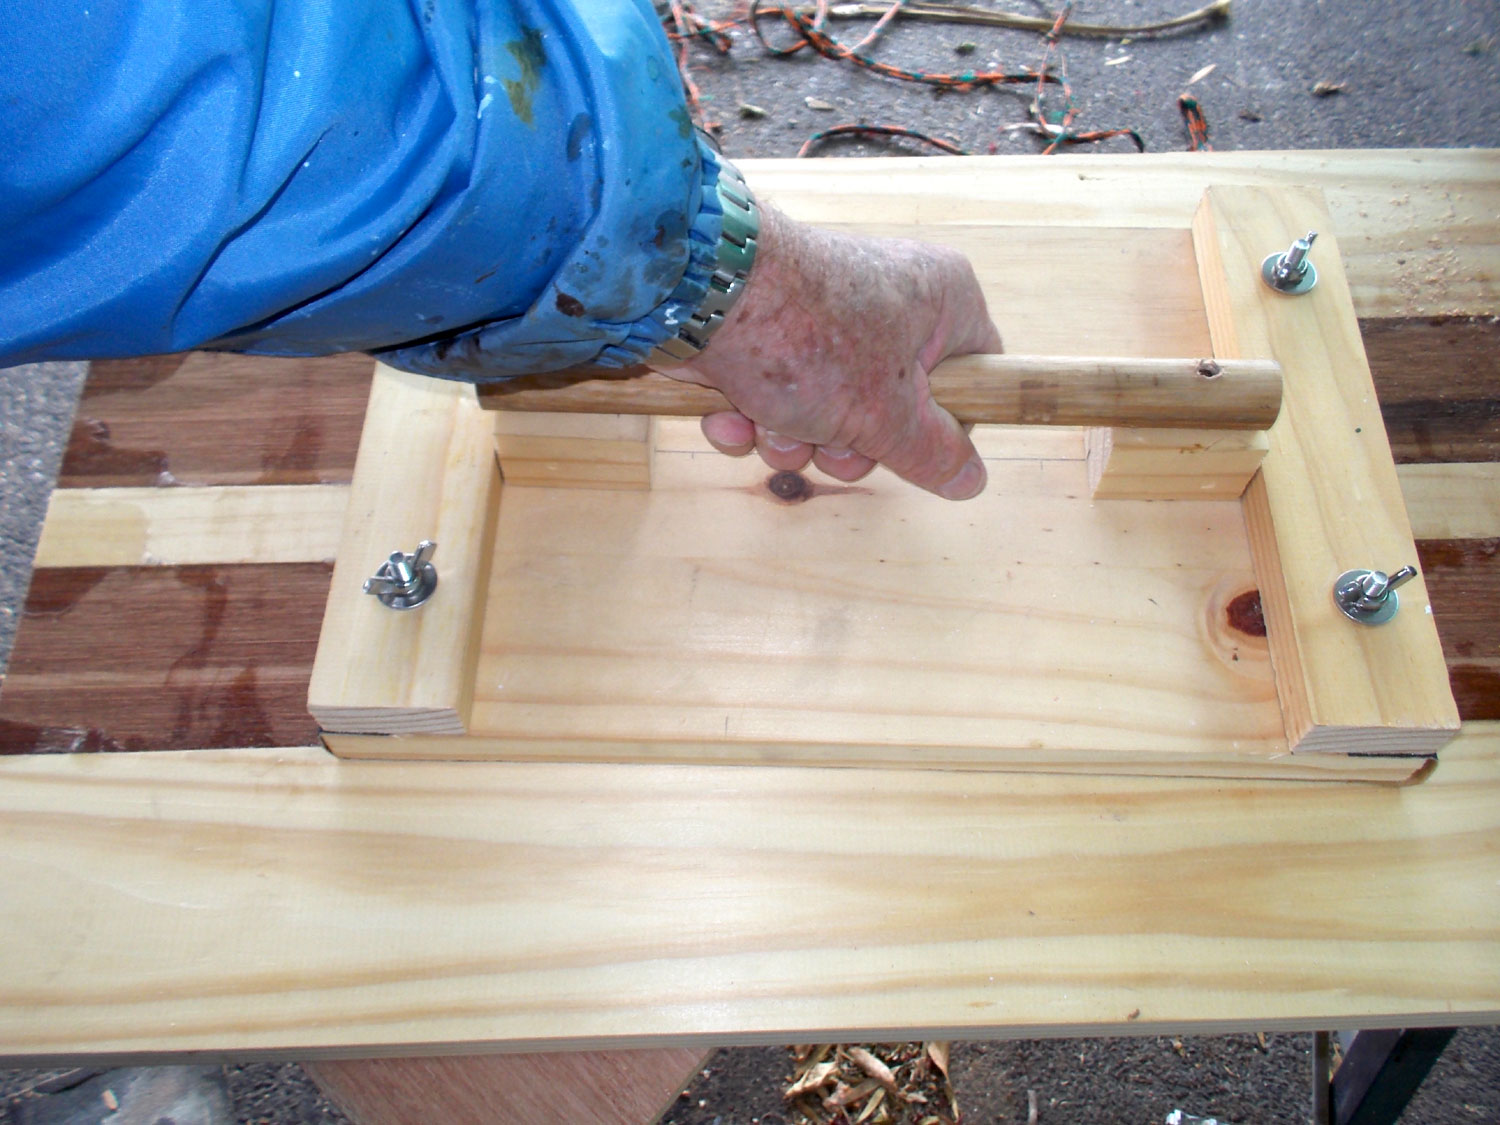
- Place the 22x44mm paper-locking bars on the ends of the base and mark off their midpoints about 44mm in from the sides and 22mm in from the end.

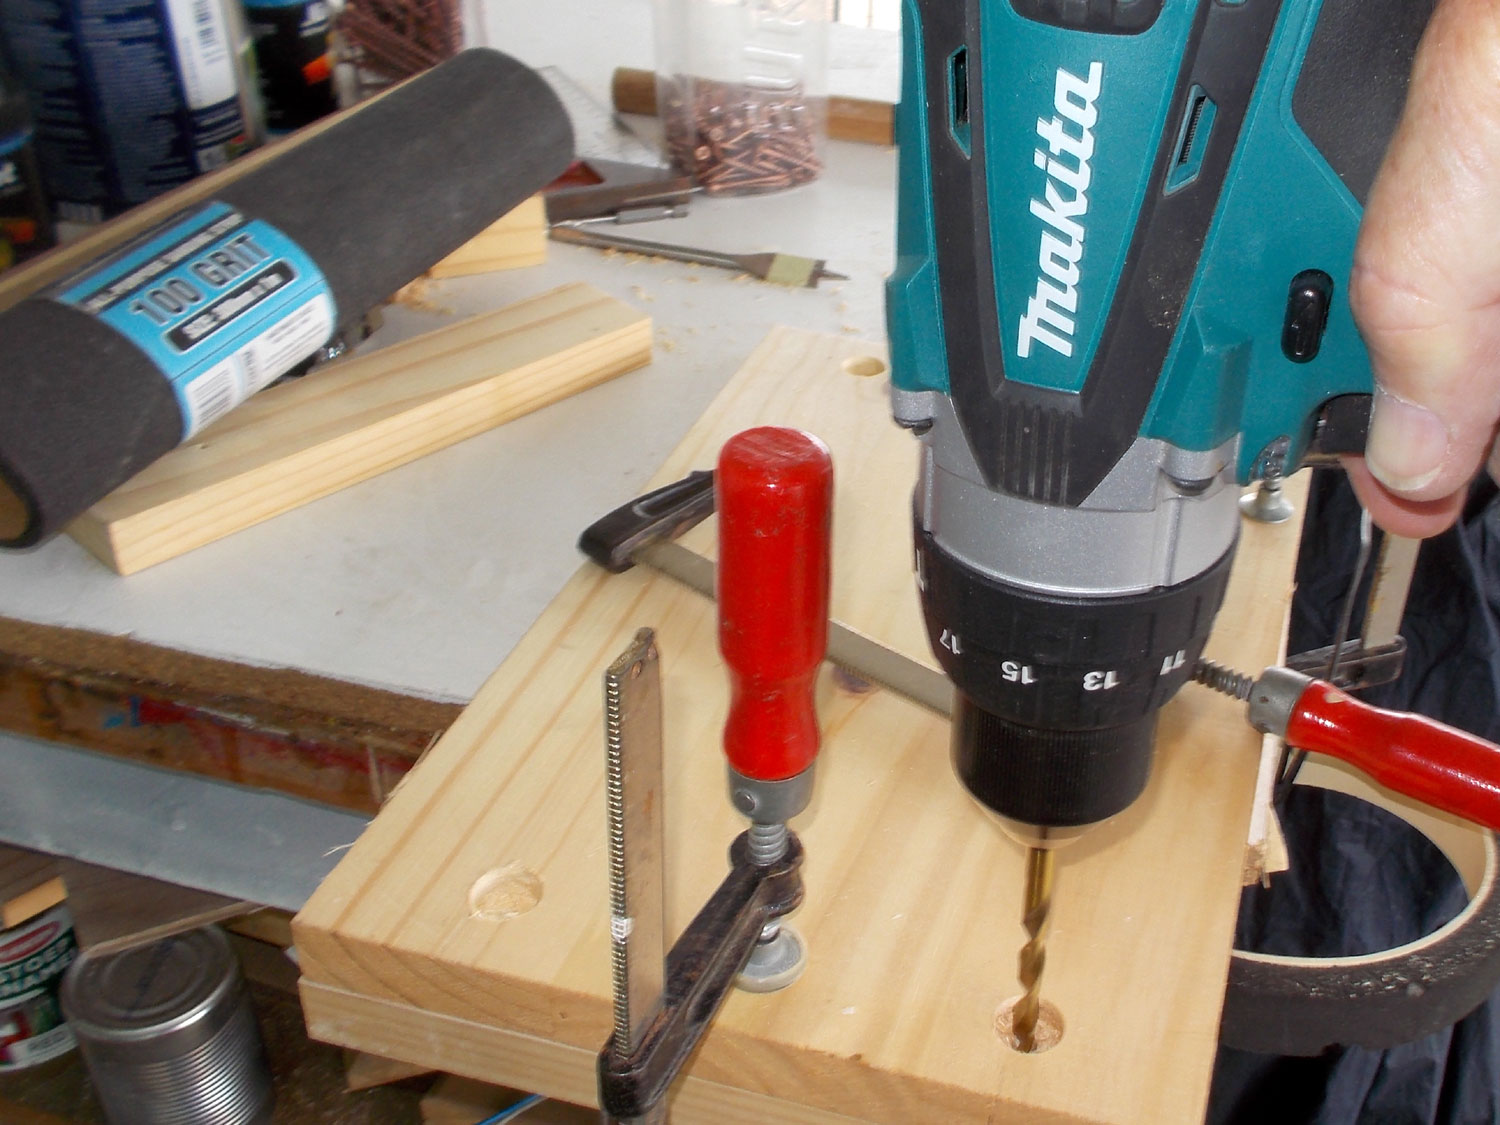
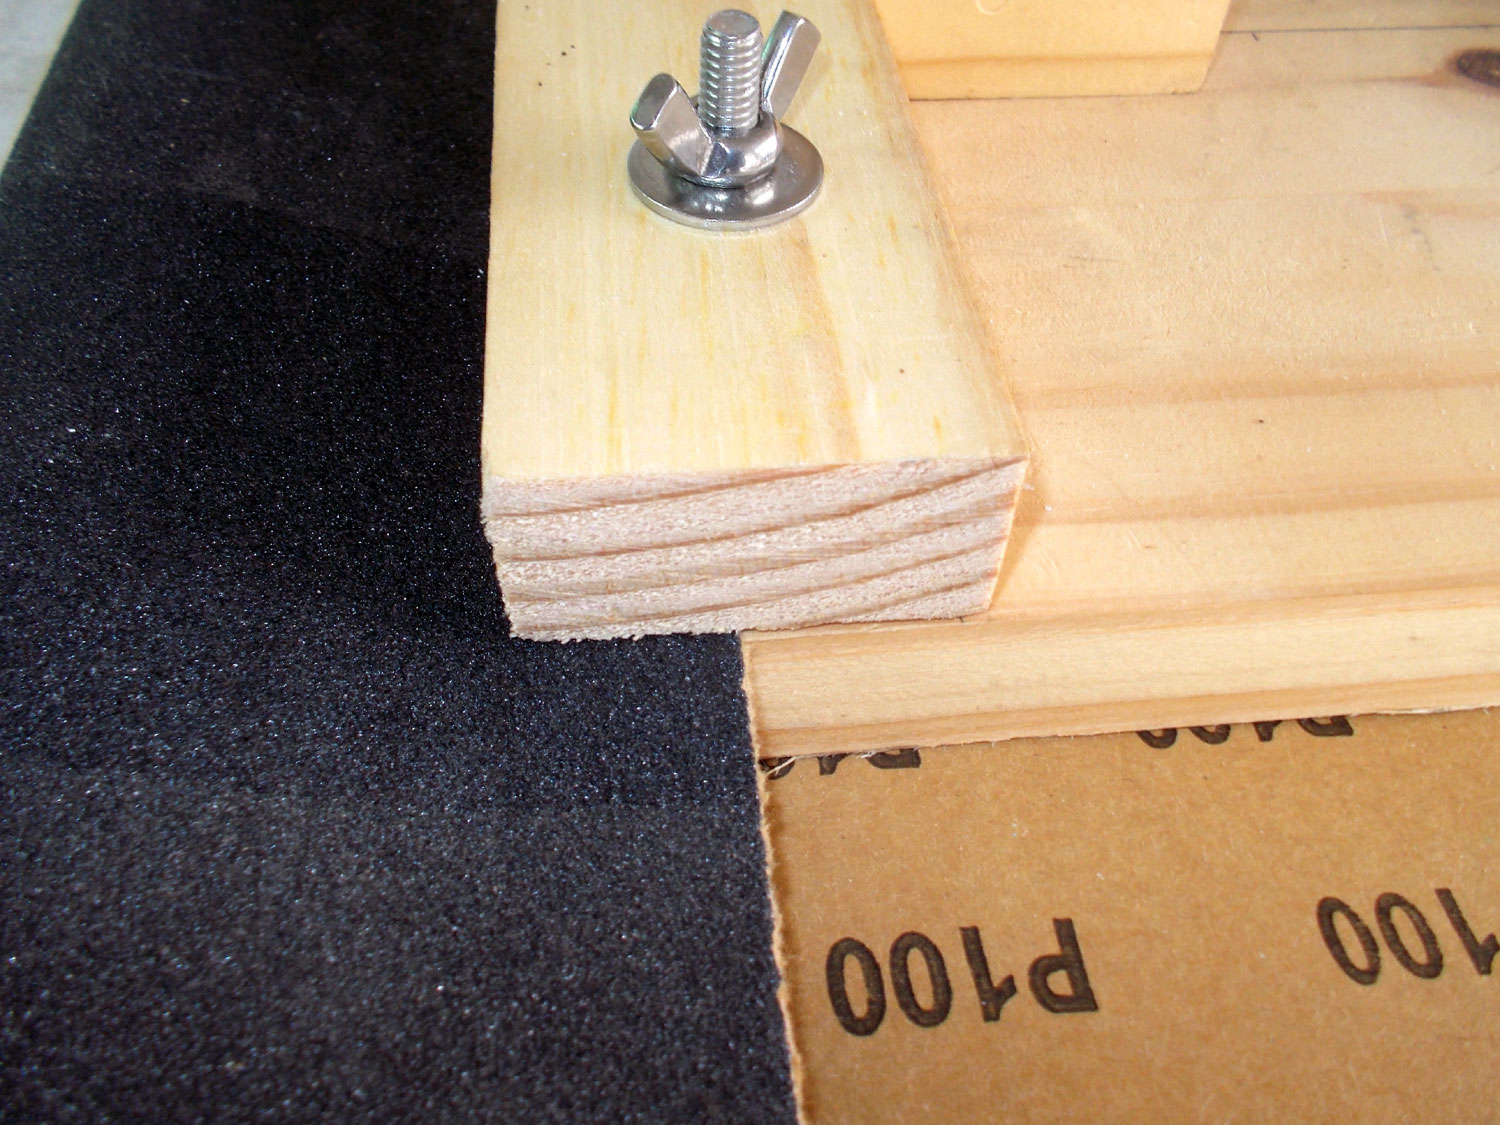
- Select a spade bit of sufficient diameter to allow the bolt head to be fully countersunk in the underside of the base. This is important; the base must have a completely flat surface… any high spot from an insufficiently countersunk bolt head will cause shallow grooves to be made in the surfaces being sanded – and wear out that particular spot of sandpaper very quickly… possibly right through it exposing the bolt head and hence marring the surface being sanded.

- I used masking tape to set the drilling depth, and also checked that the bolt head would be fully countersunk.
- I drilled the holes with the spade bit, clamped the paper-locking bars in position and drilled through the base using a 5mmØ bit. Doing it like this will ensure that the holes for the bolts securing the paper-locking bars line up with those in the base.
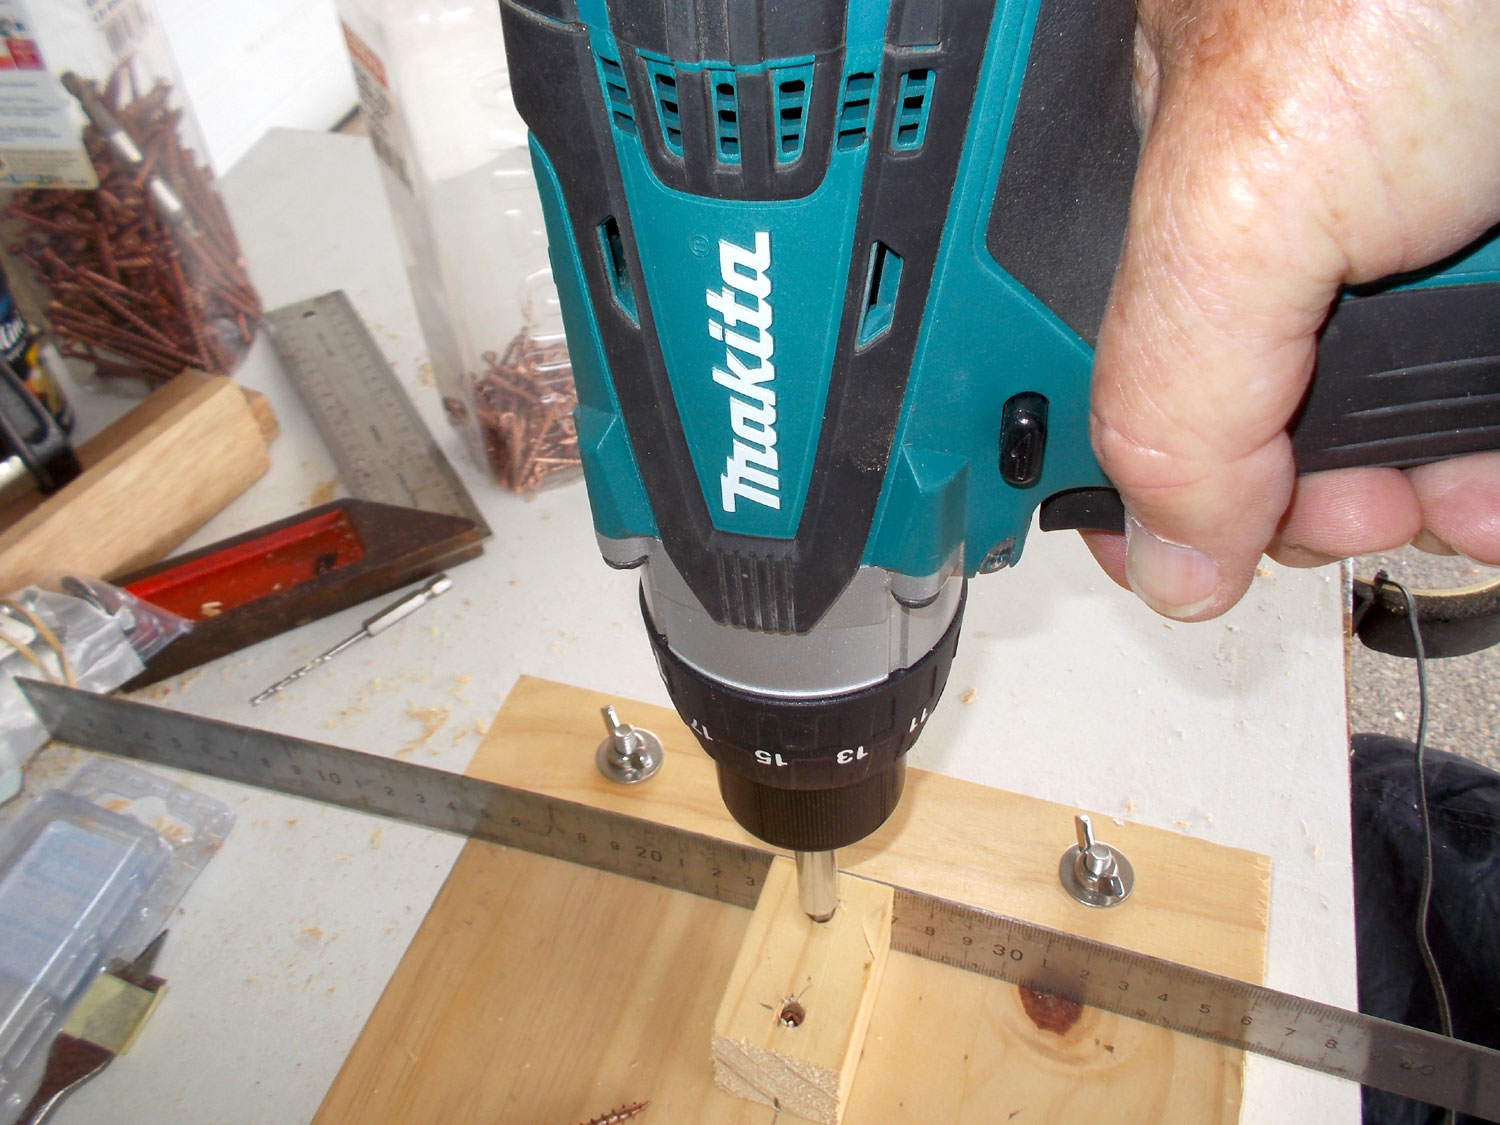
- With one locking bar in position, I repeated the procedure on the other side.

- Then I predrilled pilot holes in the handle spacer blocks.
- I secured them to the base using two 40mm screws and glue. The steel rule is simply there as a spacer so that the handle blocks are as far apart as possible without impeding the paper-locking bars from be properly fastened.
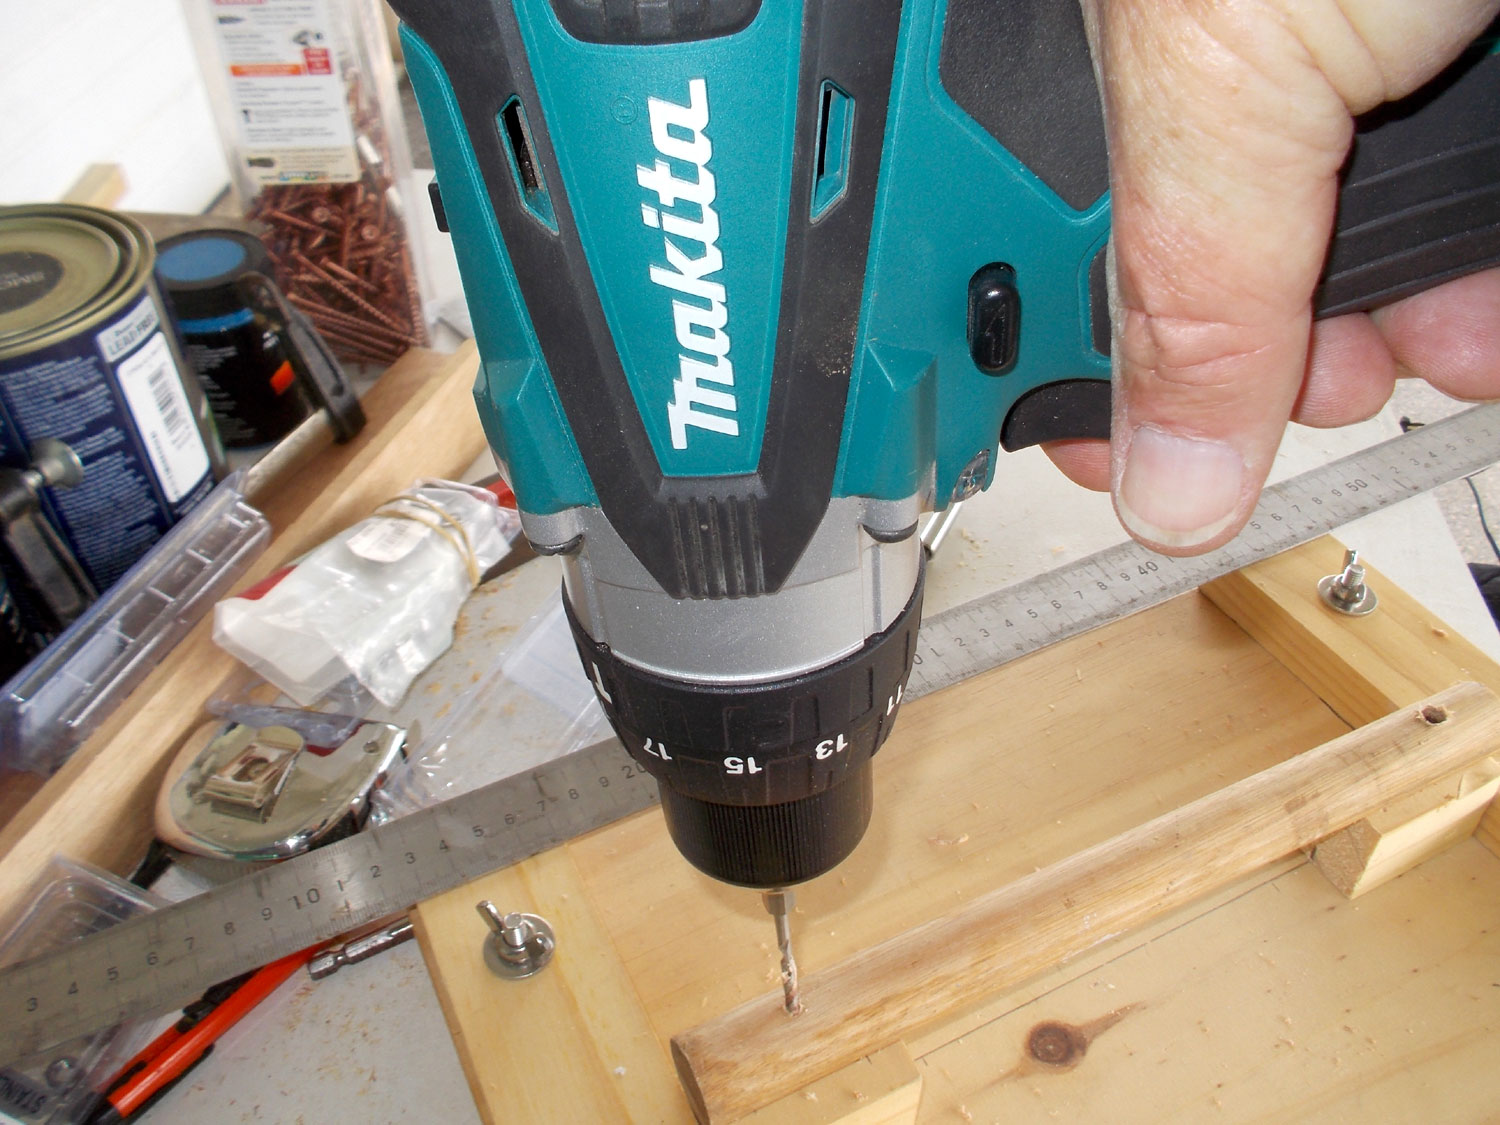
- I cut and secured the 22mmØ handle to the blocks using a single screw on each end.
- The completed sanding pad.
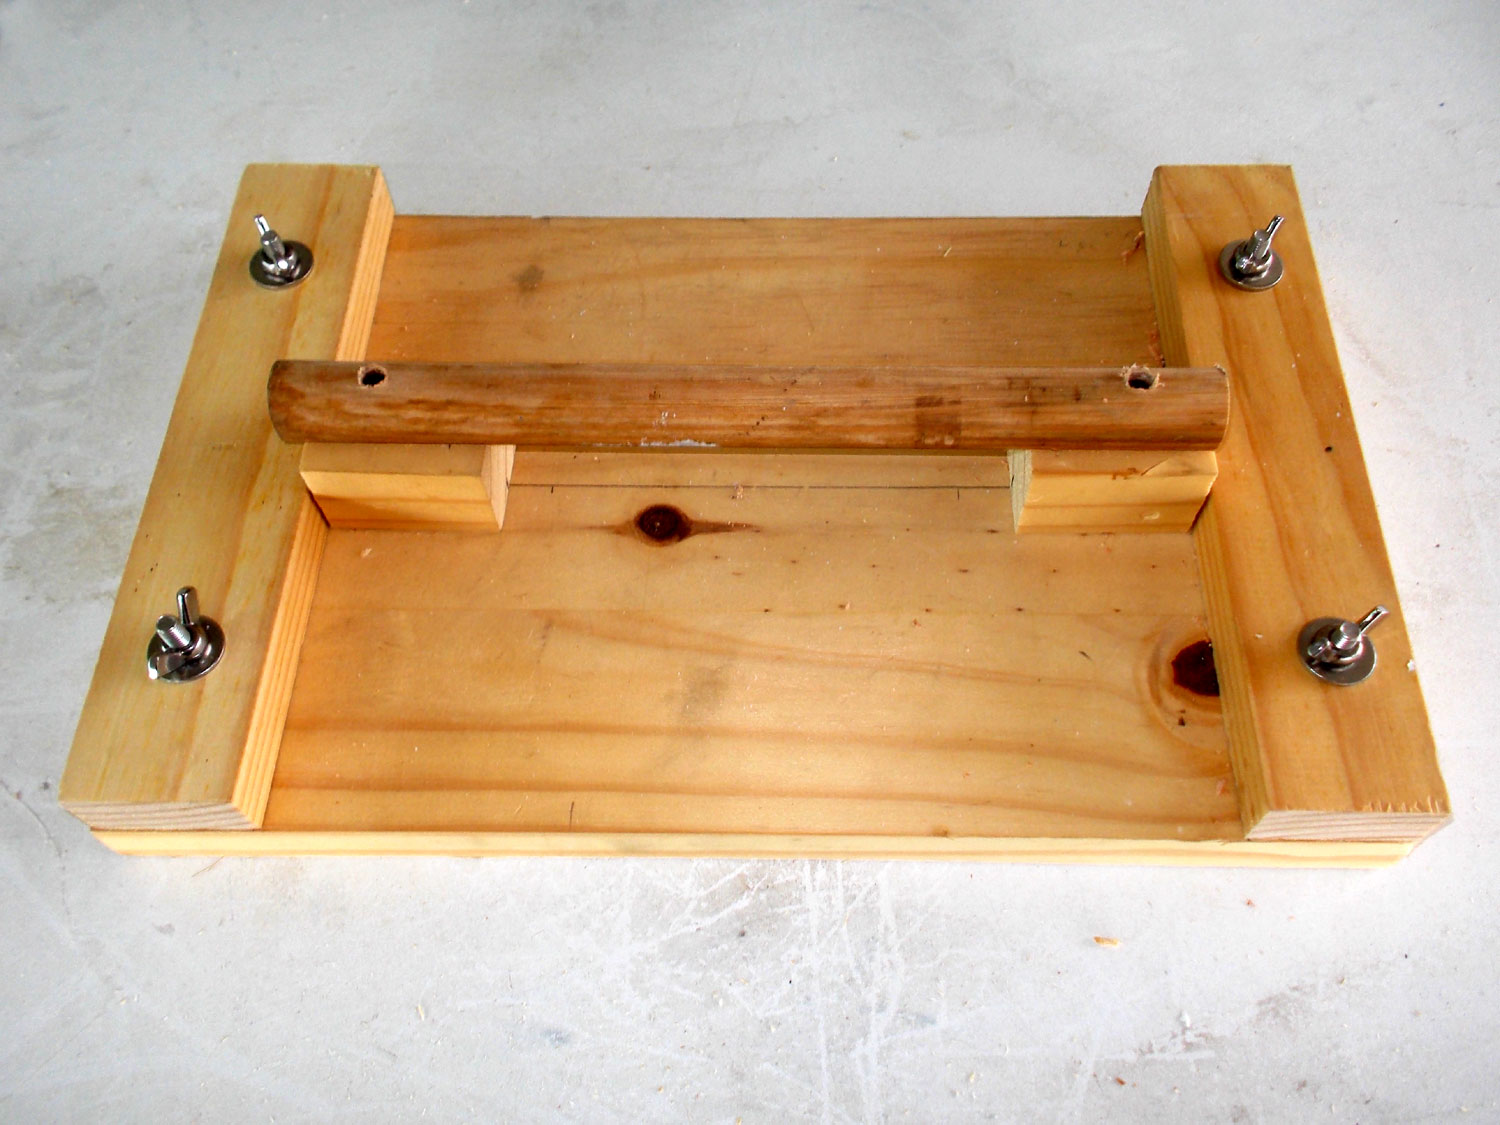
- An end view of the handle, paper-locking bars and sandpaper.
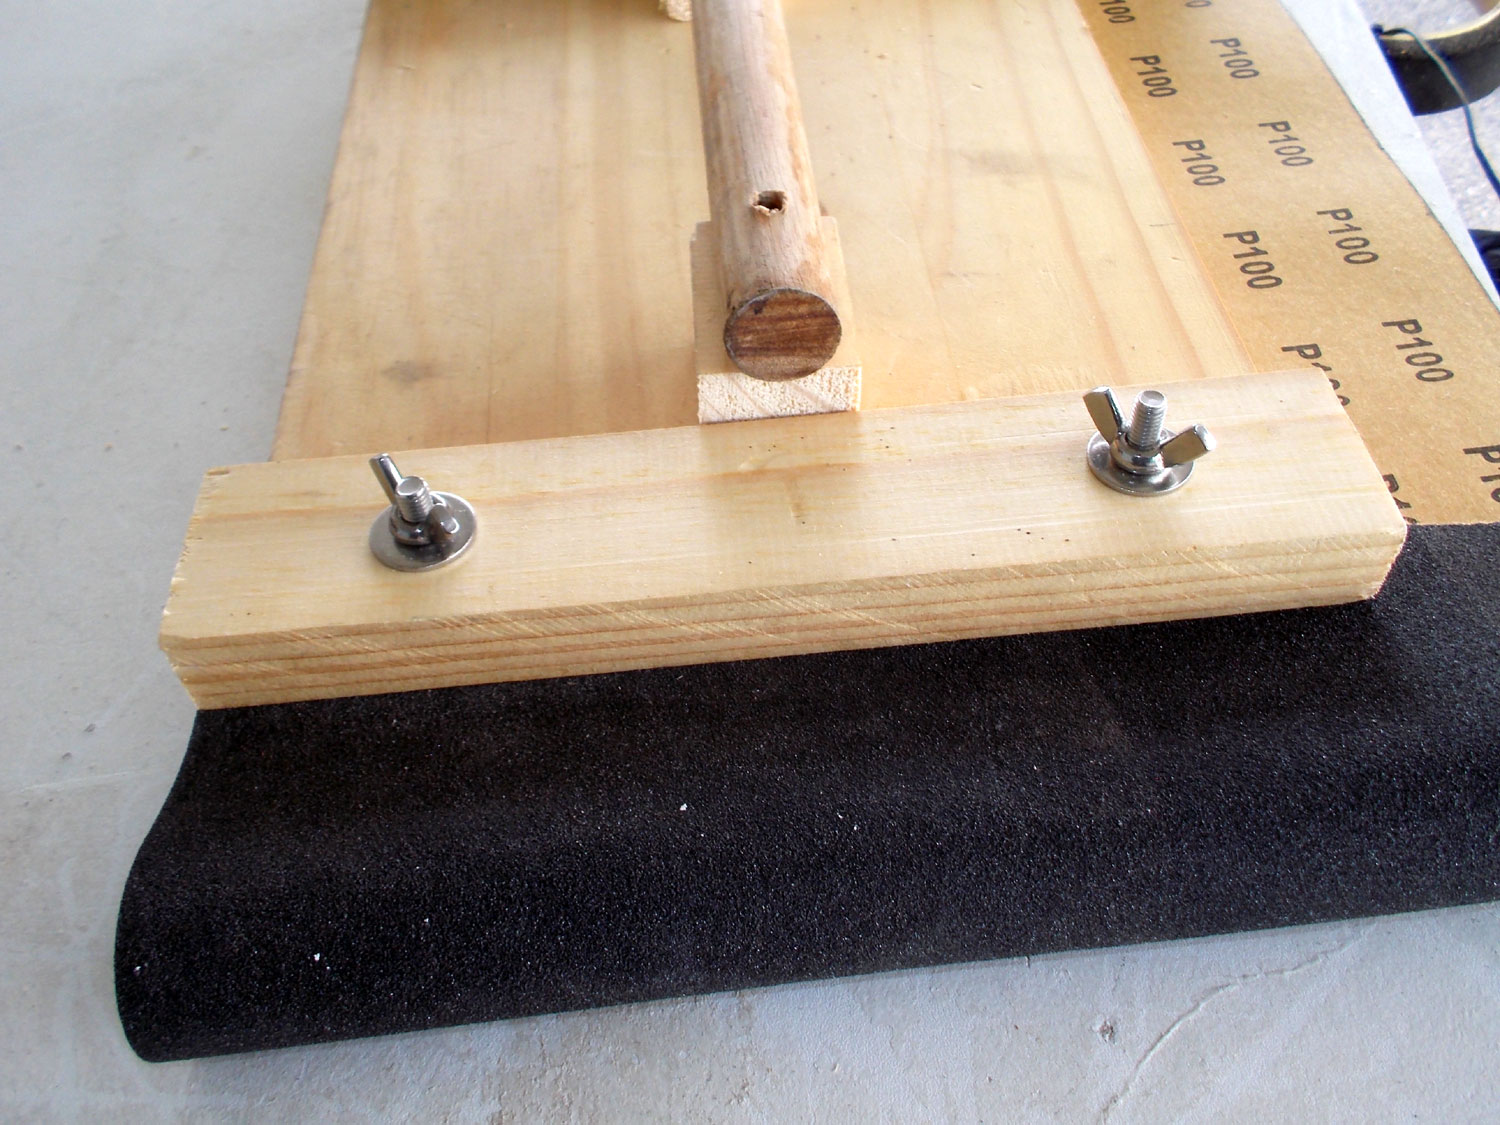
- The sandpaper inserted under the locking bar.
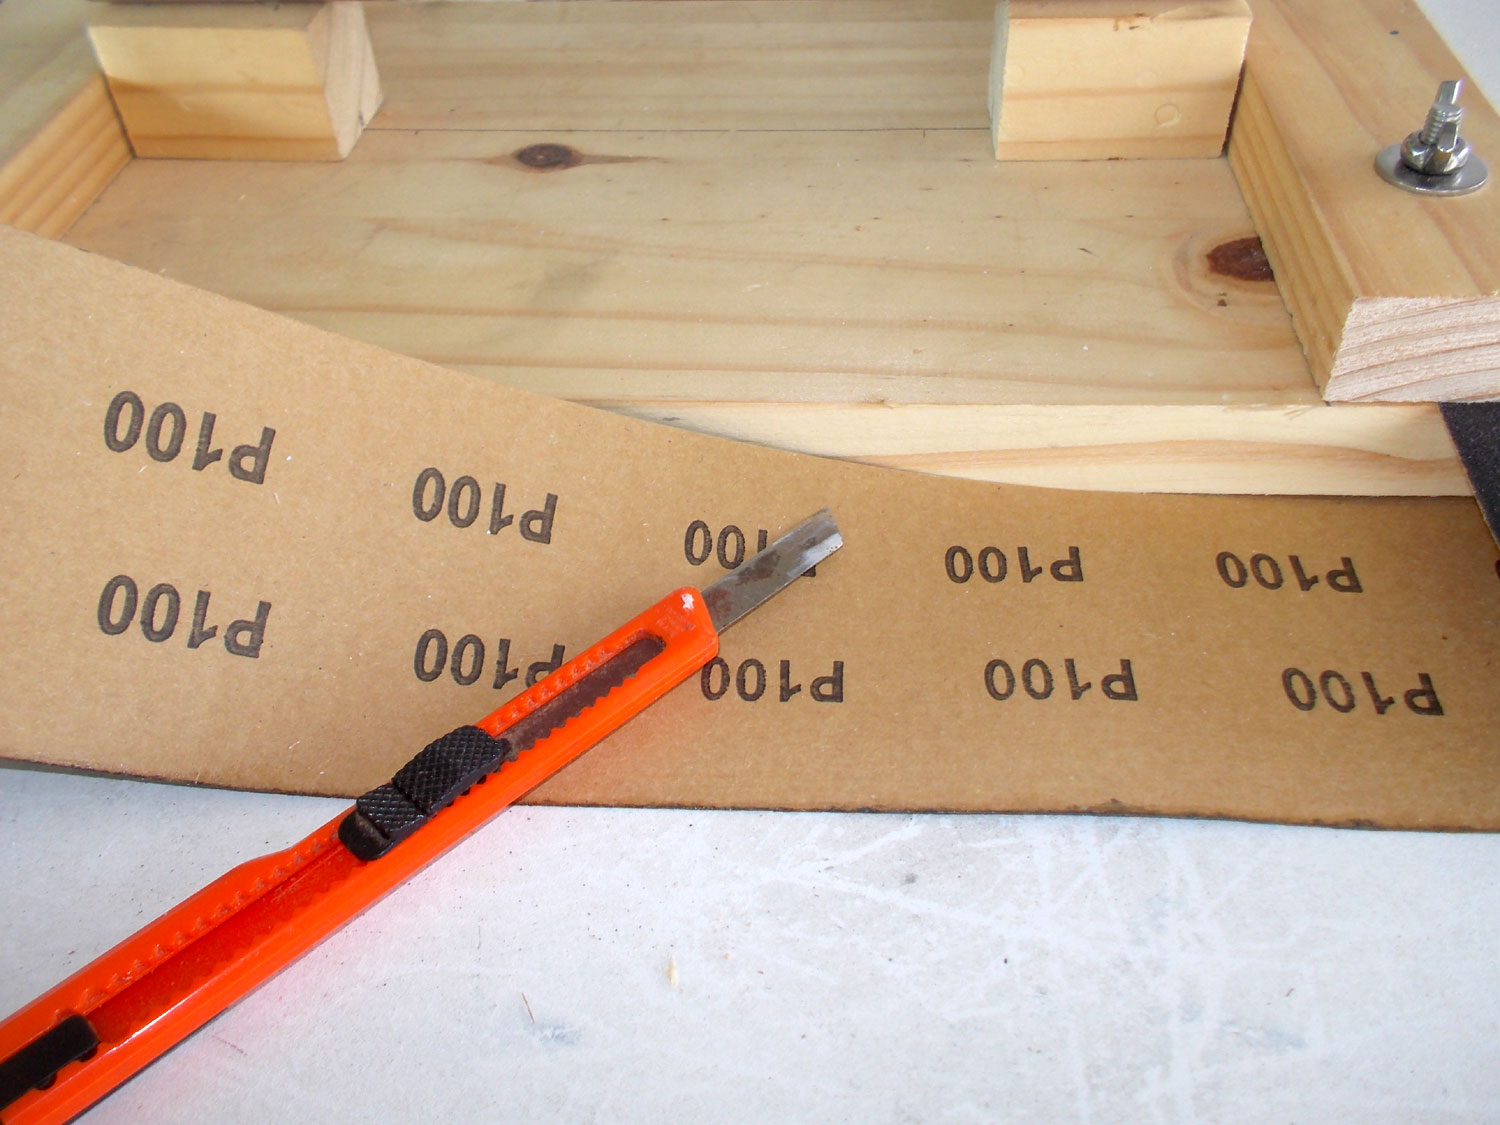
- I decided that I wanted more paper under the locking bar so I made small cut-outs as shown, in line with the locking bolts.
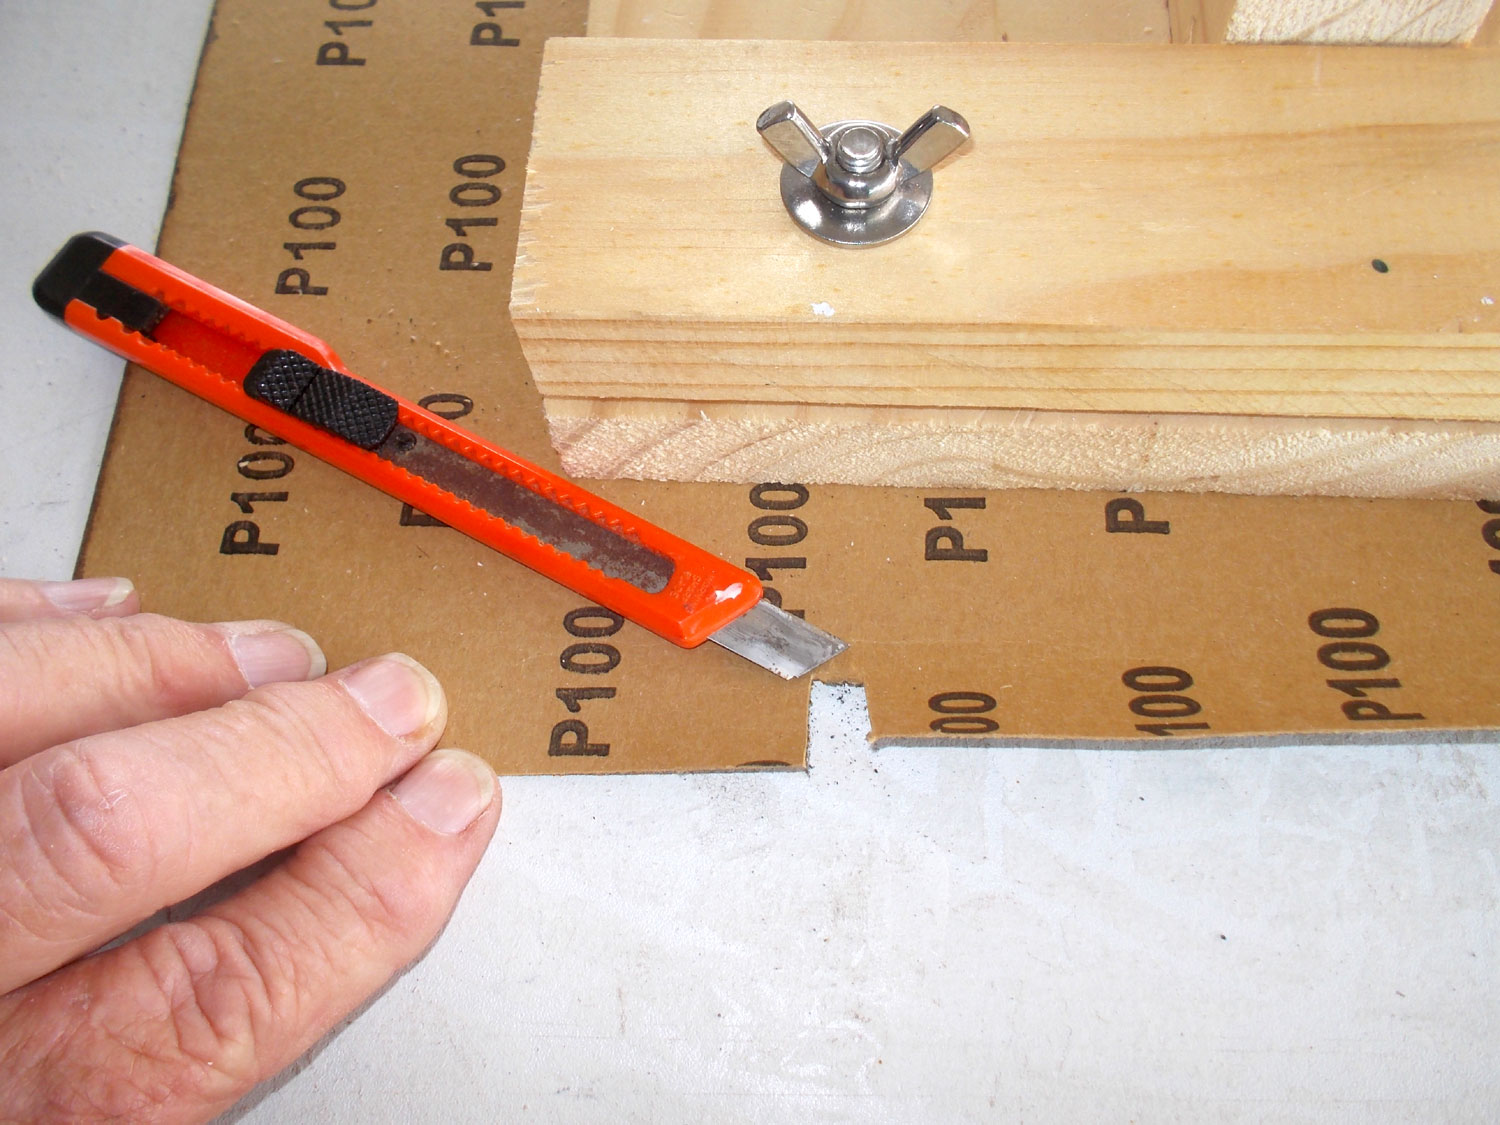
- I should have done this earlier, but I chose to trim the paper to the correct width at this stage.
- In action!
Project guide
Skill level: 1
Estimated time: 45-90 minutes
Cost: R100
Assistant: No
Tools required:
Drill/driver, jigsaw or circular saw.
Panel:
These materials are available at Selected Mica Stores. To find your closest Mica and whether or not they stock the items required, please go to www.mica.co.za, find your store and call them. If your local Mica does not stock exactly what you need they will be able to order it for you or suggest an alternative product or a reputable source.