06 May 2021

It’s true! There can be a highlight to every blackout!
If news reports and Eskom statements are to be believed, we are going to have to live with blackouts for quite a while. So it’s time to invest in cordless tools from Mica so you can still do those repairs and shelf installations etc, even when there’s no mains power.
It is also time also check your local Mica for rechargeable lamps that go on automatically as Eskom power cuts off. Not only will they make your home safer – you are less likely to trip over Tiddles the cat – but it’s also just so much more convenient than having to scrabble around for torches and other light sources in the gloom.
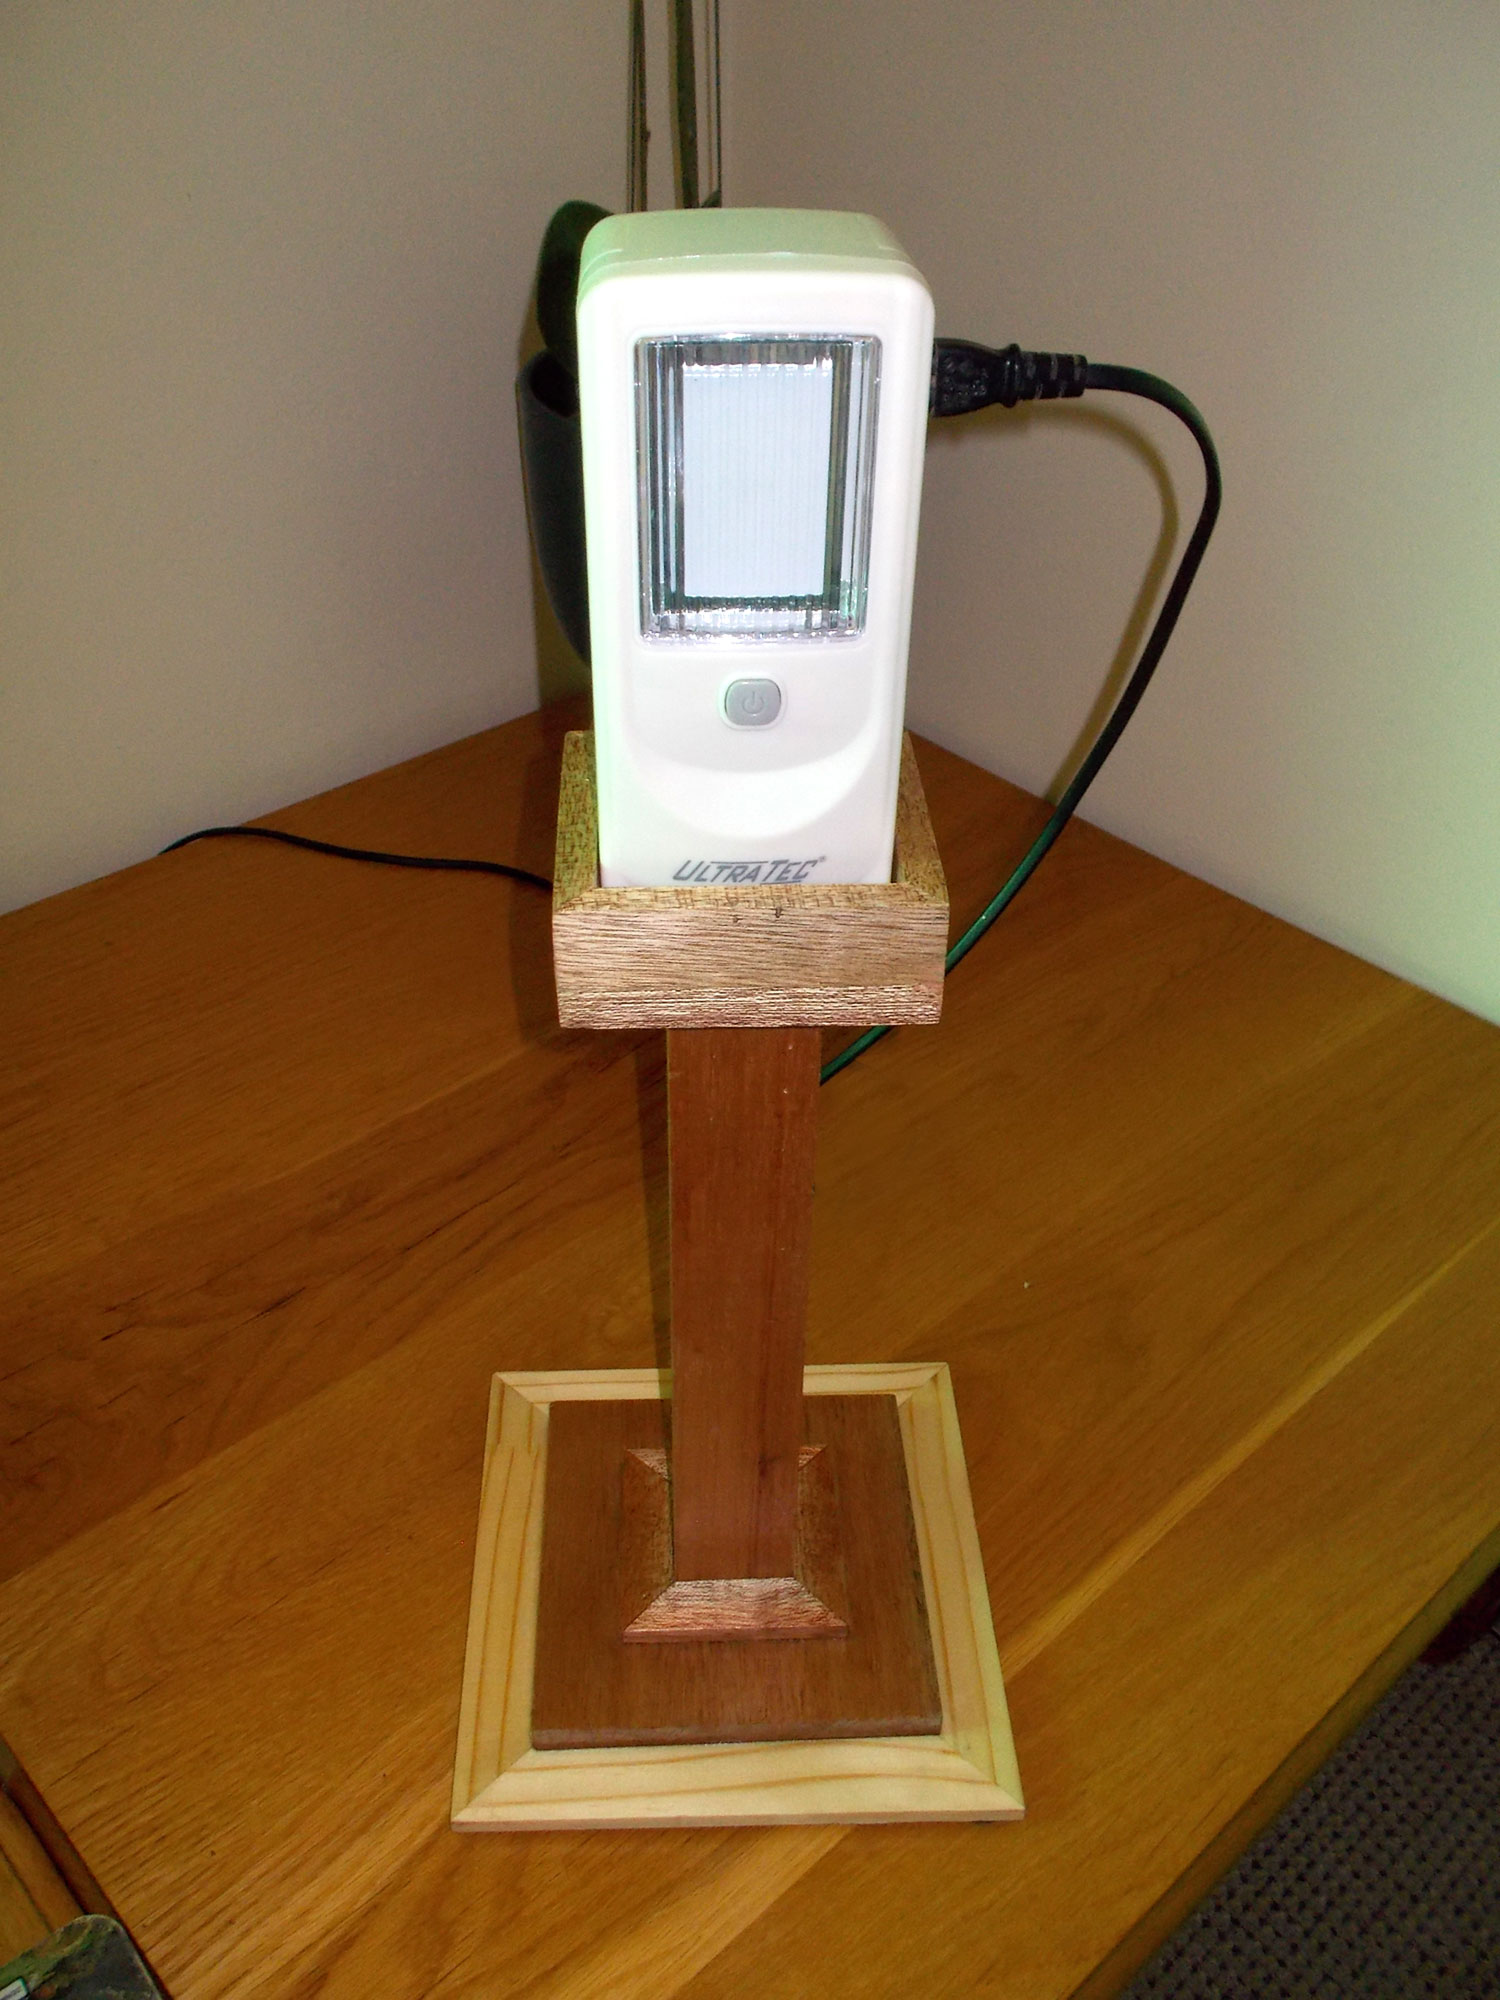
Naturally, the light needs to be in a position that illuminates what you need it to – so in this feature we show you how to make a little item that will raise your reading lamp, for instance, to new levels.
In passing, the lamp platform in this case is dead level, but if the lamp/s you have a more direct field of illumination, you can angle the platform for a more directed light. However, if you do, adapt the platform sides or use a strap or similar to ensure that the lamp will not topple off the platform. Also ensure that the centre of gravity remains within the dimensions of the base (these lamps are quite heavy due to their battery and if you set it at too acute an angle, it could make the stand less stable).
Materials:

It is difficult to suggest material as the stand featured here was made solely from offcuts, with a little glue and four screws… (other than the feet – Teflon sliders), so check out what you have in the workshop/garage, and off you go – adapting the stand shown here for the height and position that suits you, the dimensions of your rechargeable lamp base and so on.
Method:

Boxing clever I used a cardboard box as a temporary stand to establish the optimum height for the lamp. When the lamp was on the table itself, my armrest was bathed in beautiful light. My book was bathed in stygian gloom – making me as gloomy in the process.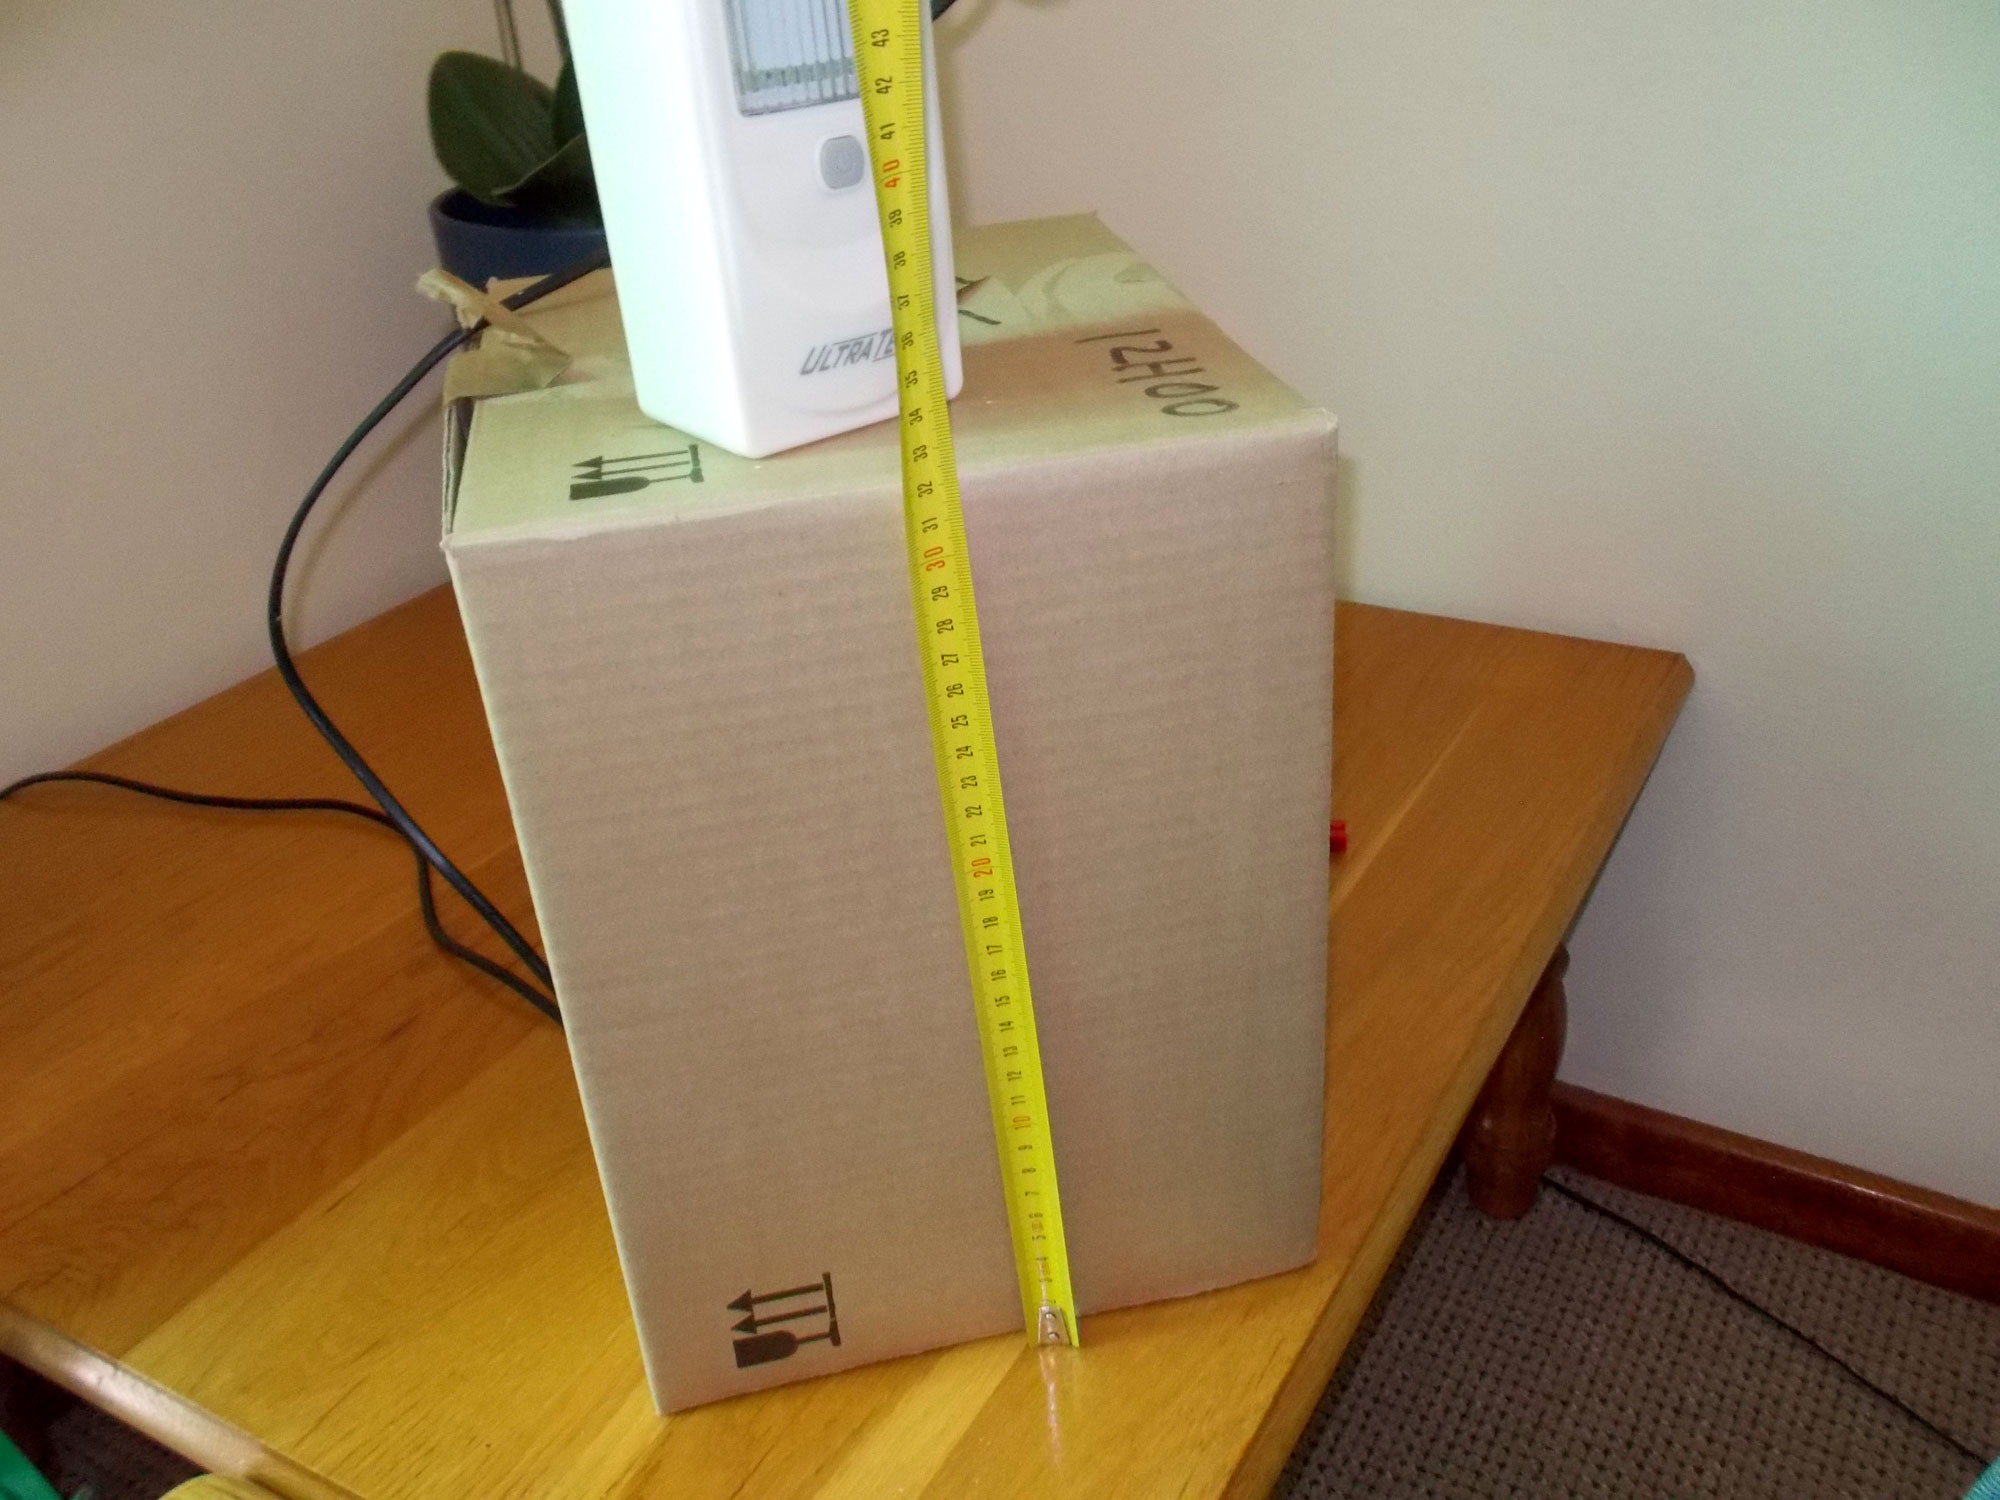
It worked out at about 320mm, give or take… as the light produces a general area or light, a precise height is not essential. All you have to ensure is that it will cover the area you wish it to cover.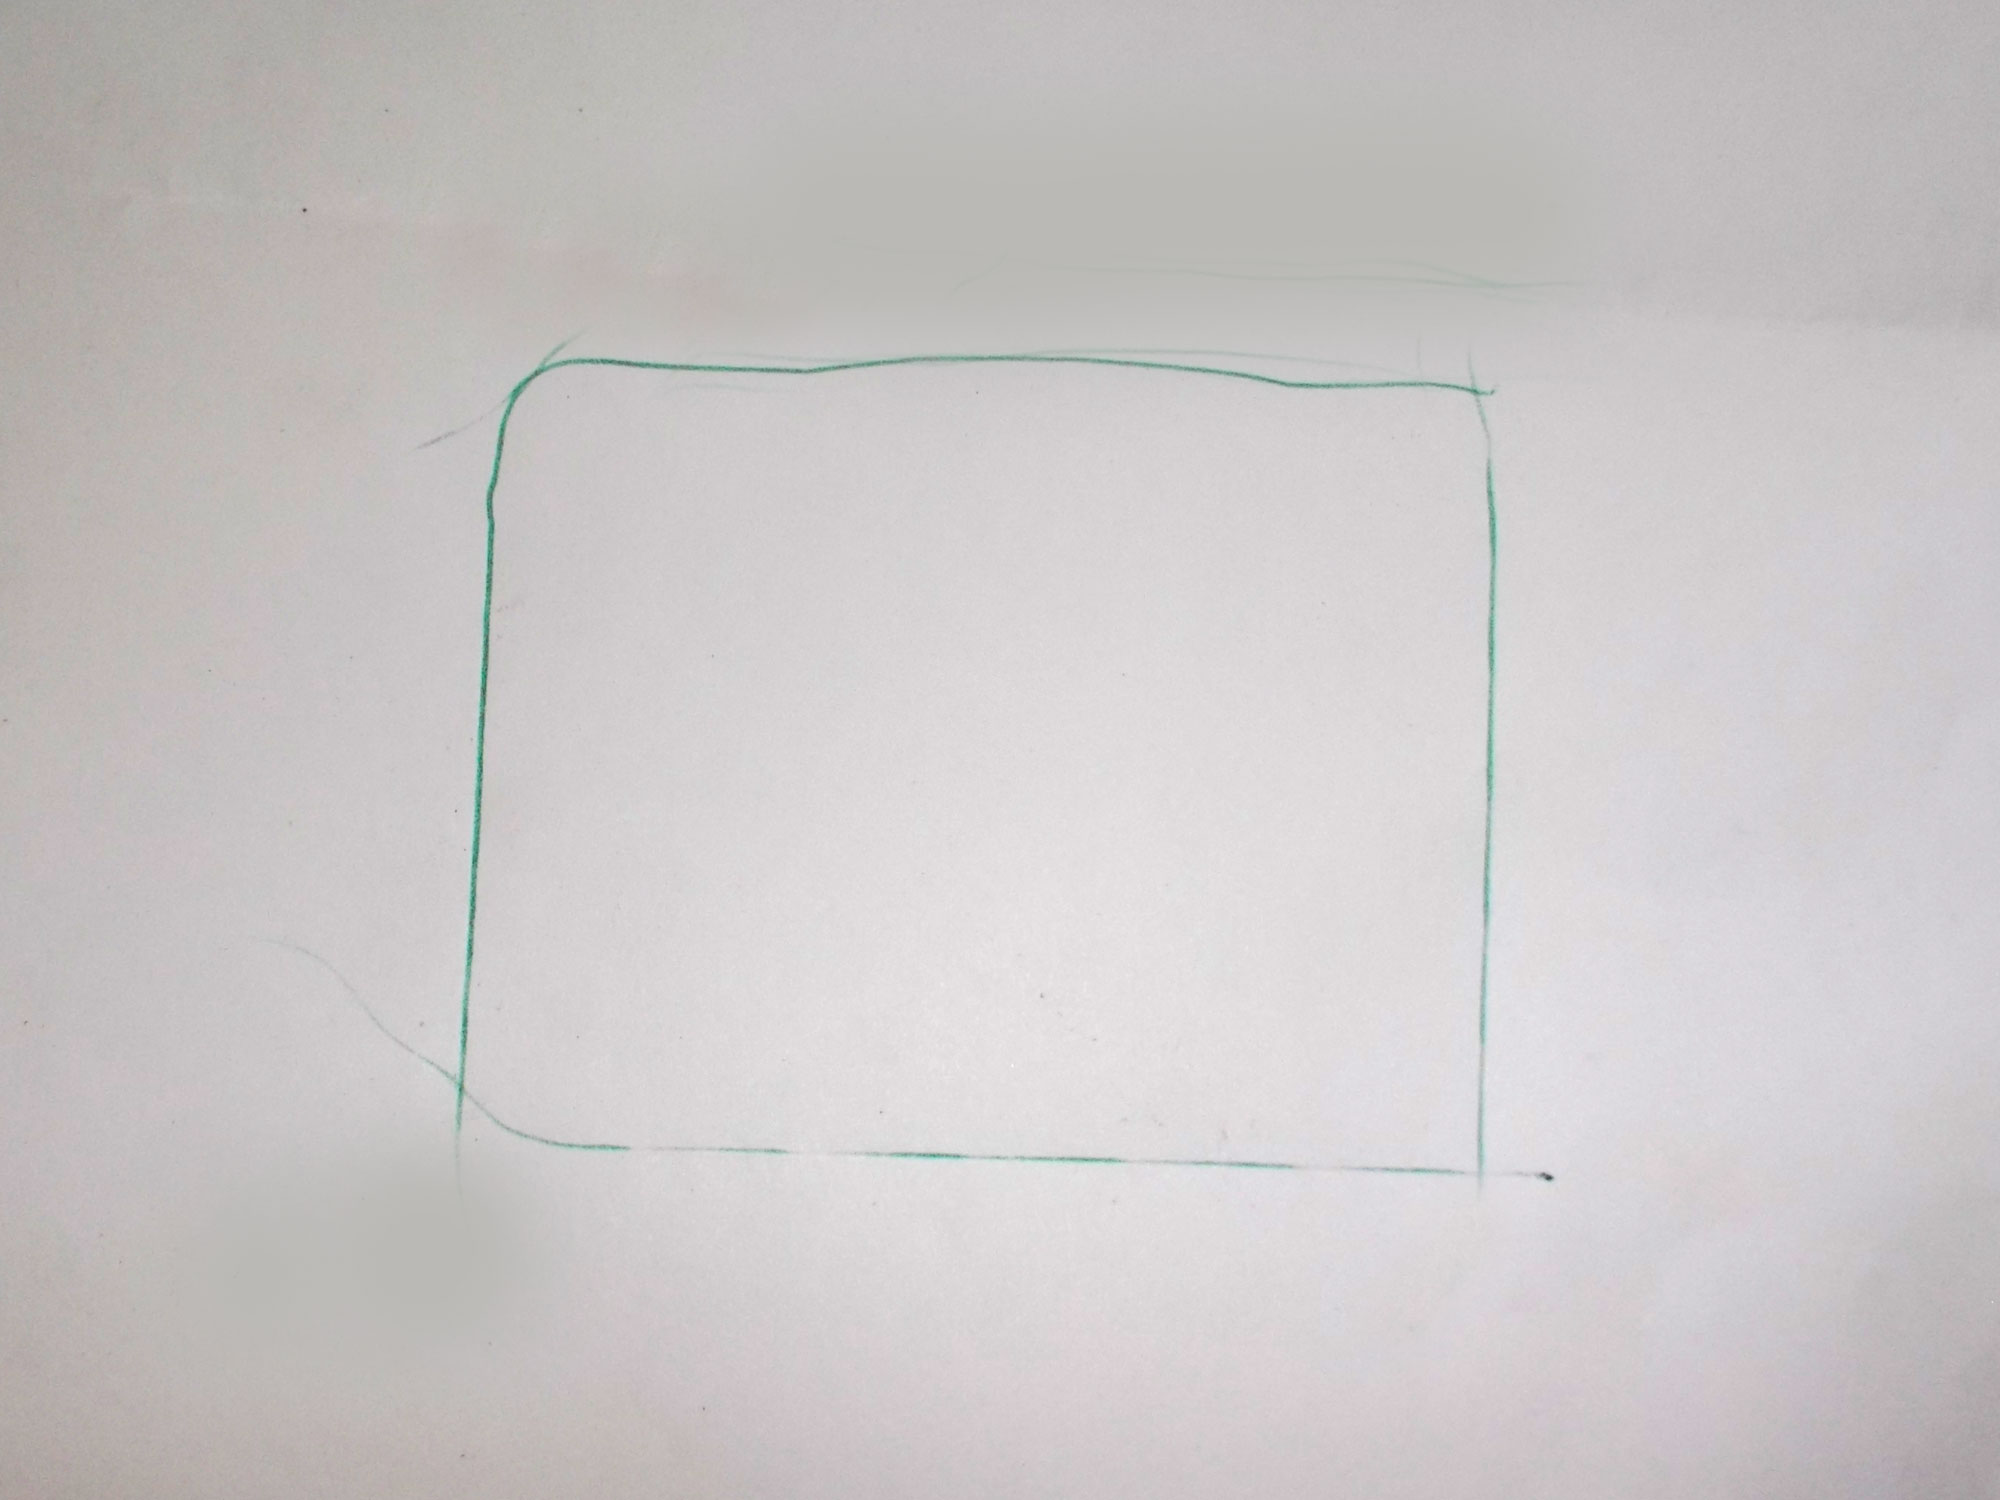
You can trace out the base of the light or measure it… but more on this just below.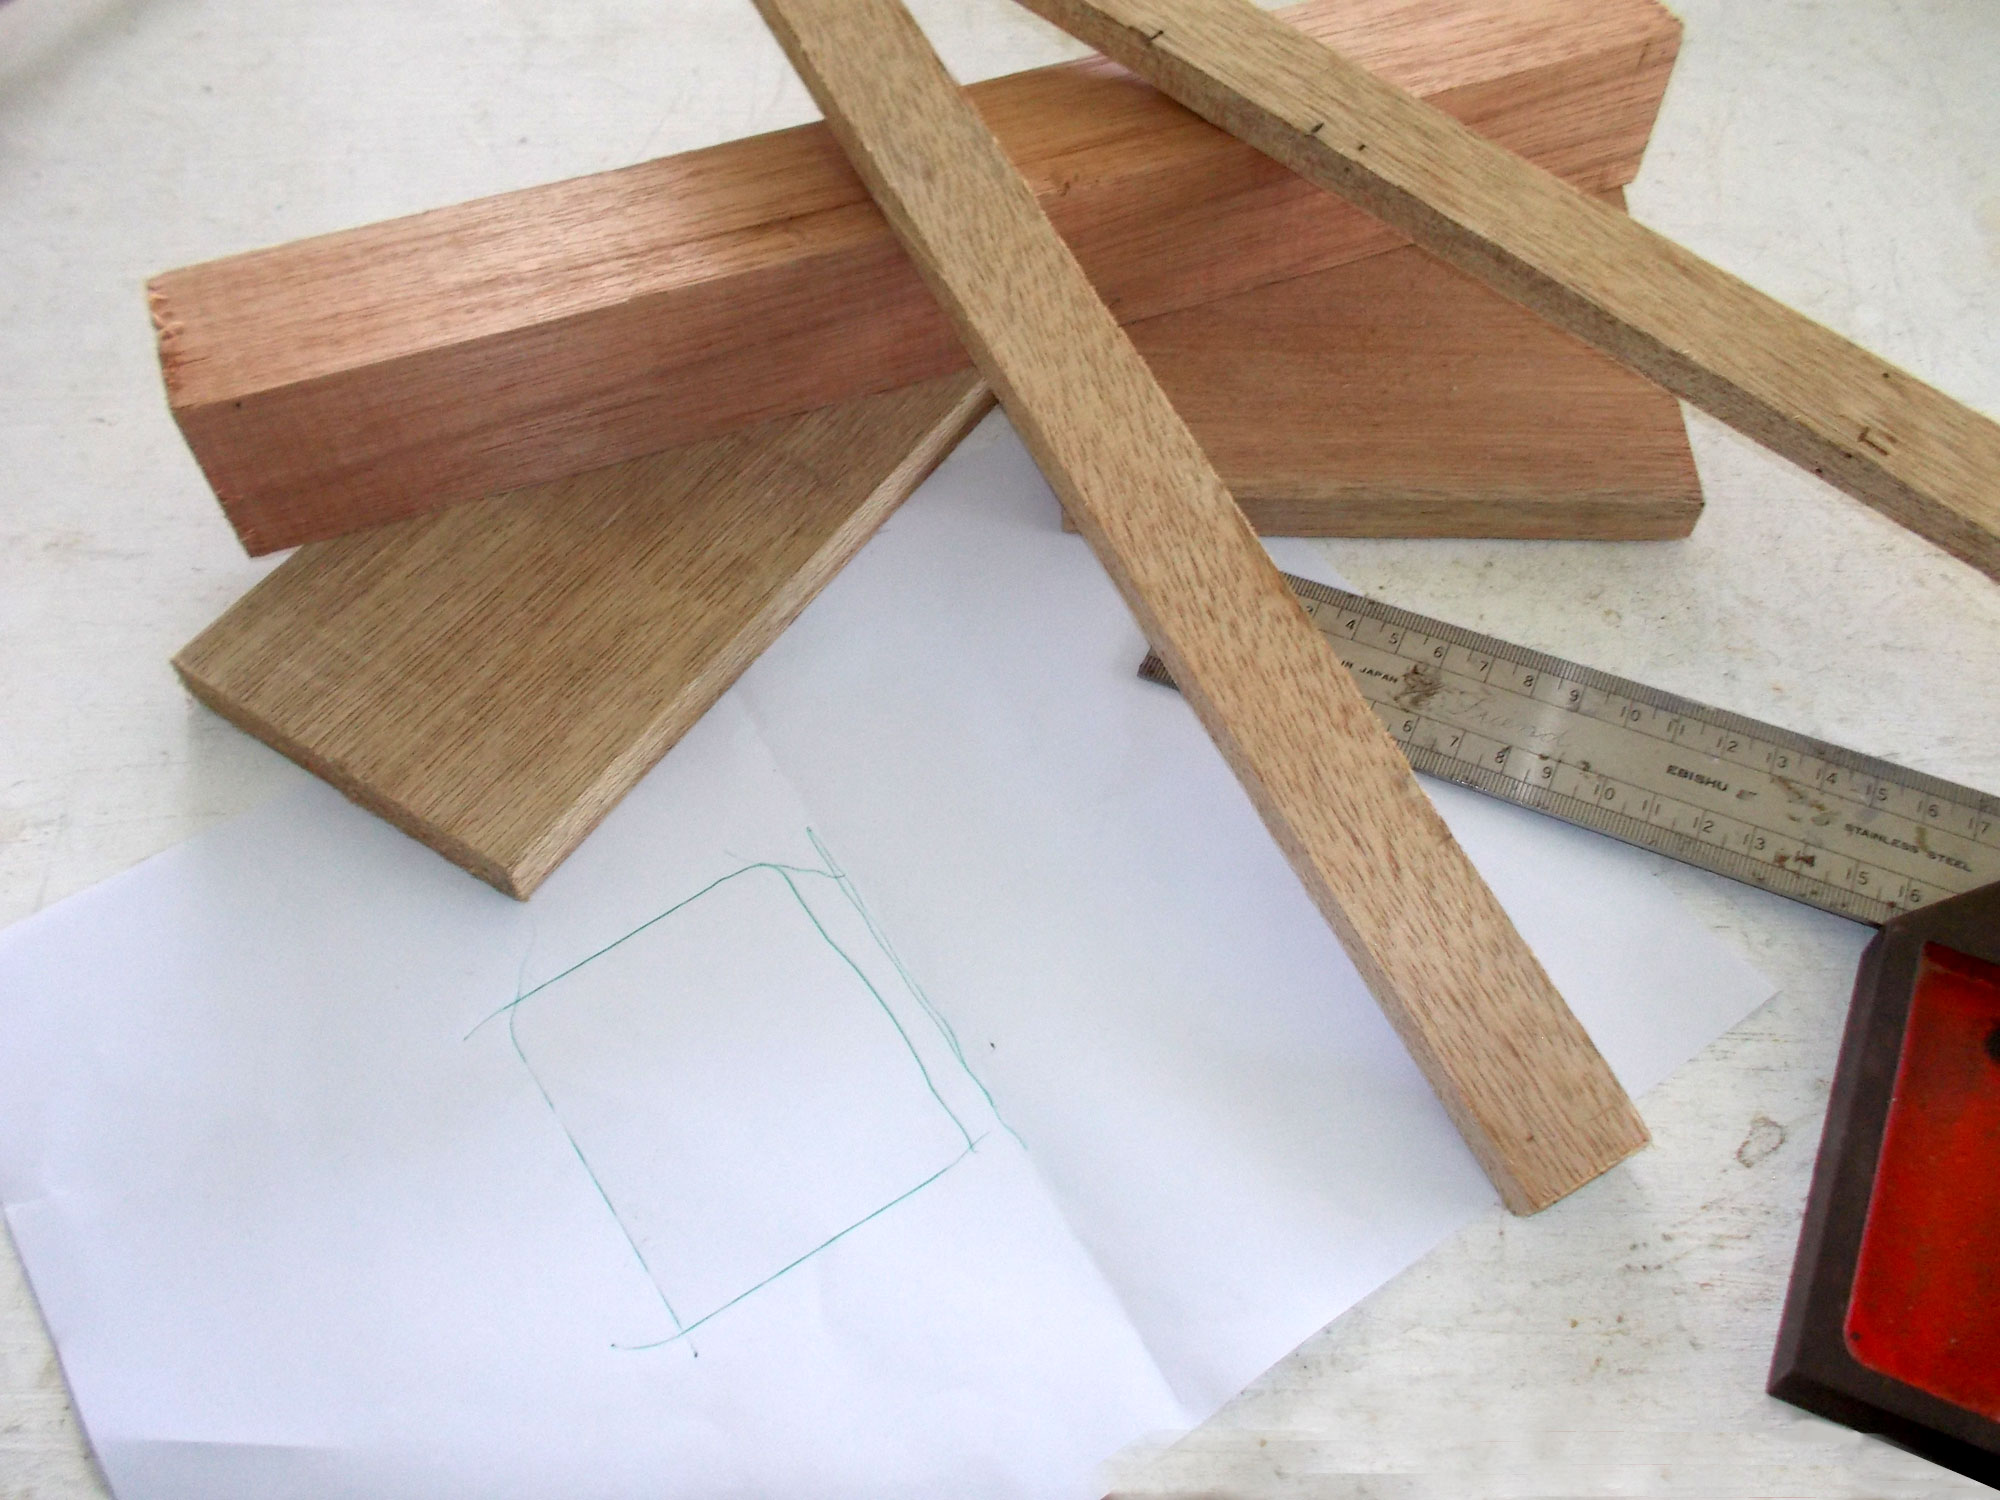
These are the materials I used… all meranti… 44x44mm for the column, 12×144 for the base and lamp platform, and 12mm offcuts as sides for the base platform.
Back to sizing… the best way to establish the tray dimensions is with the actual lamp itself… allow a millimetre or so on each side so that it fits, but is not jammed into the tray – possibly damaging itself or the latter.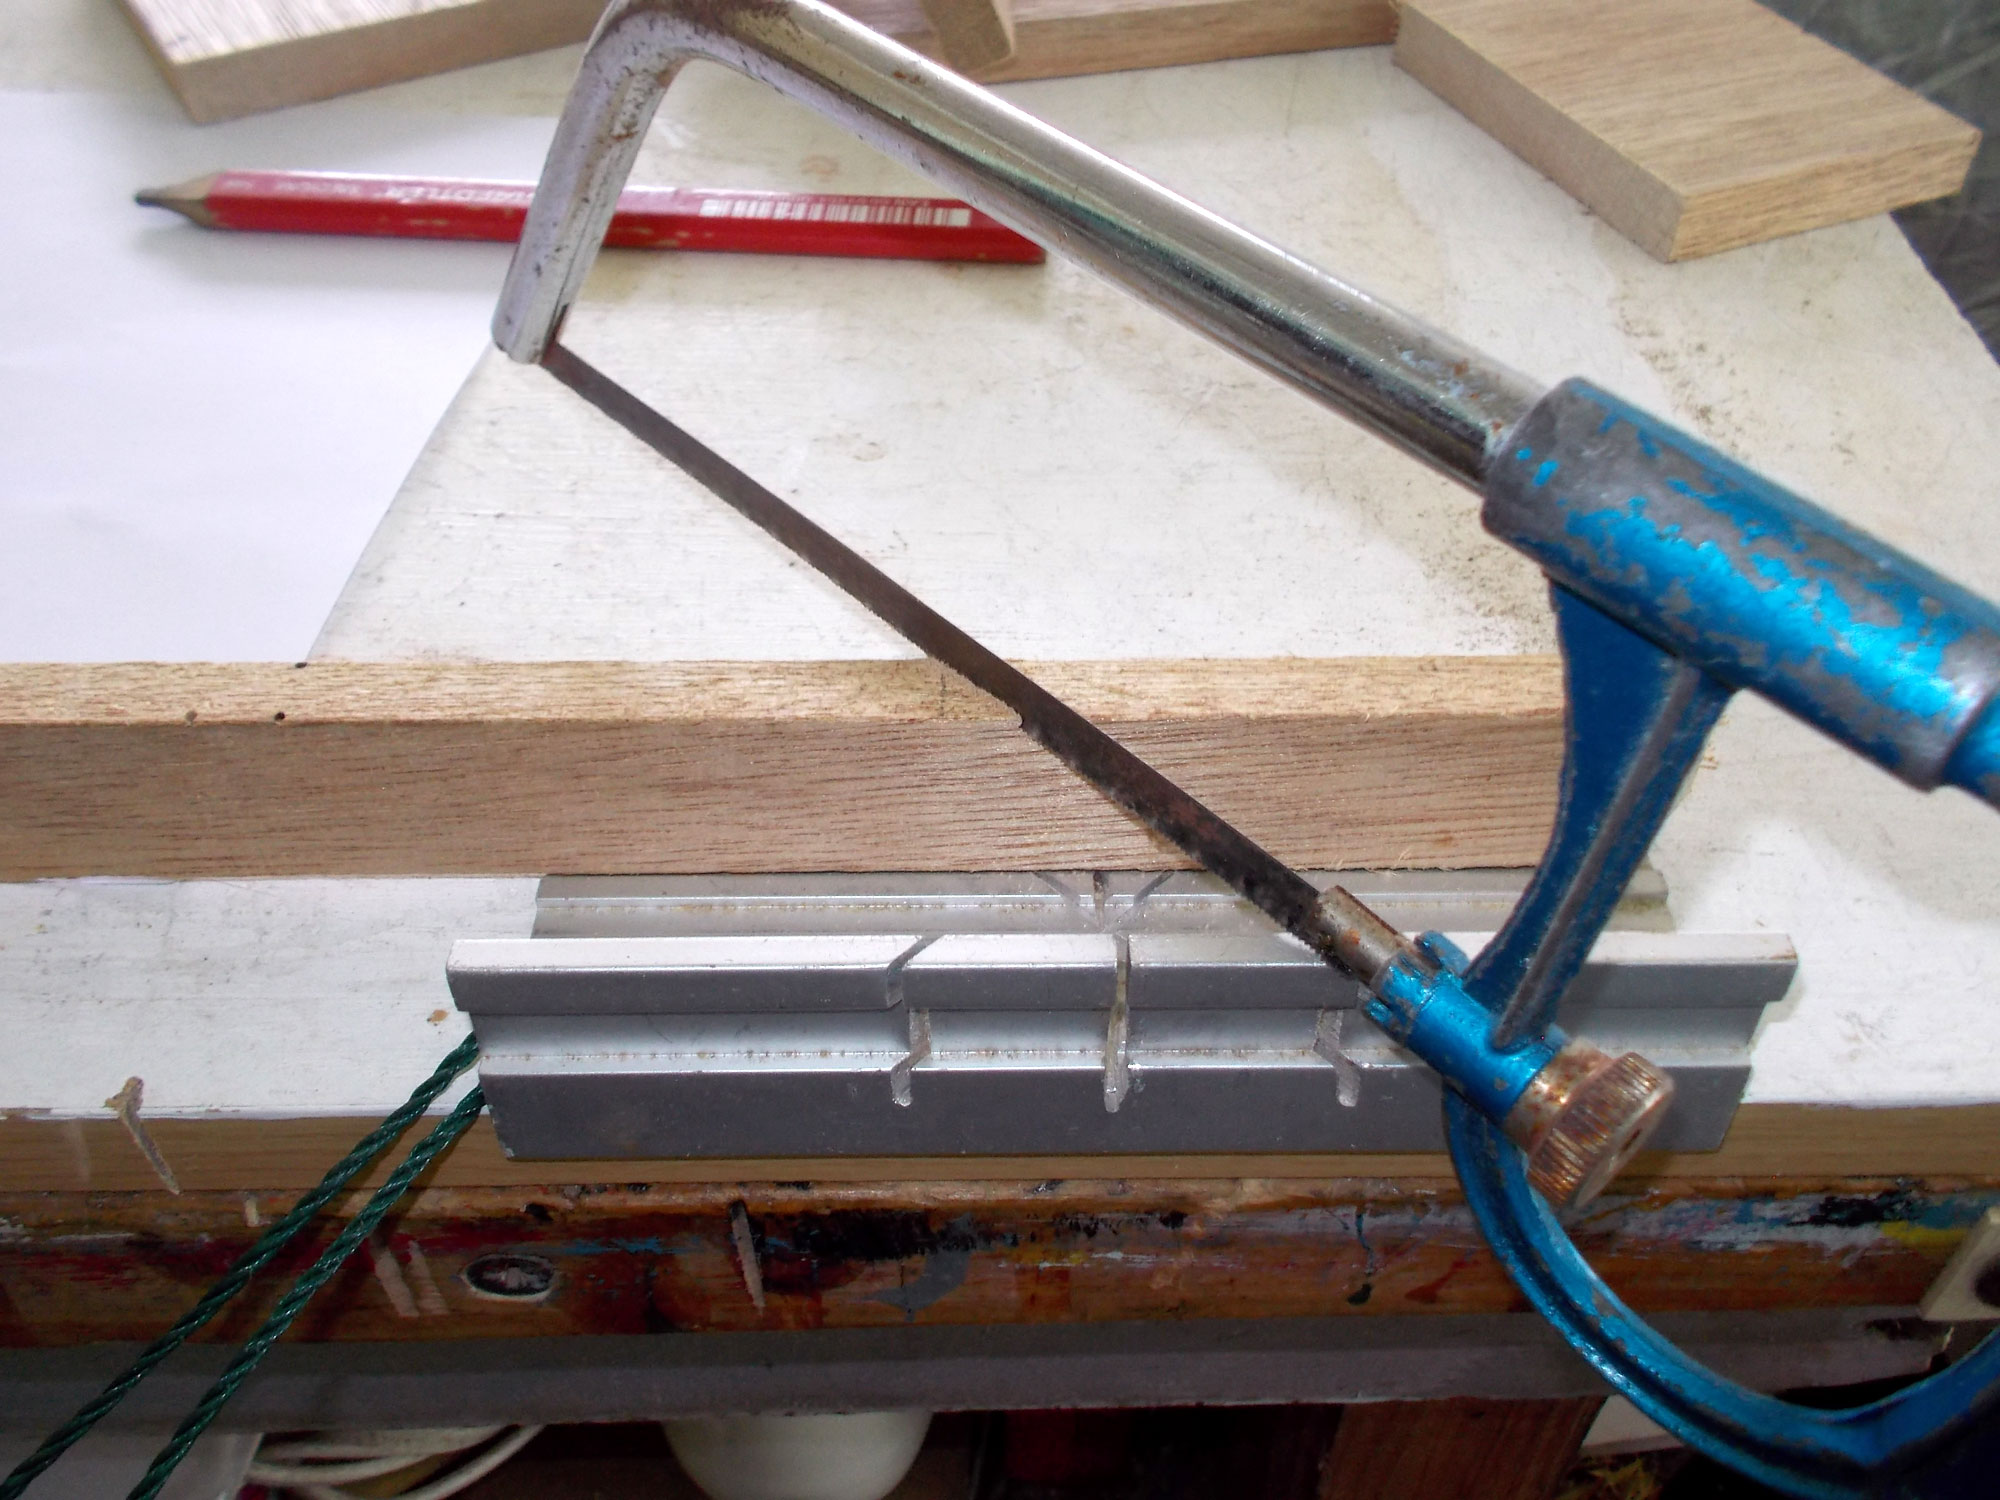
The tray sides are cut from the 12mm offcuts, which are rather small, so rather than a jigsaw or circular cut-off saw, I used a junior hacksaw and mitre box to cut the mitres.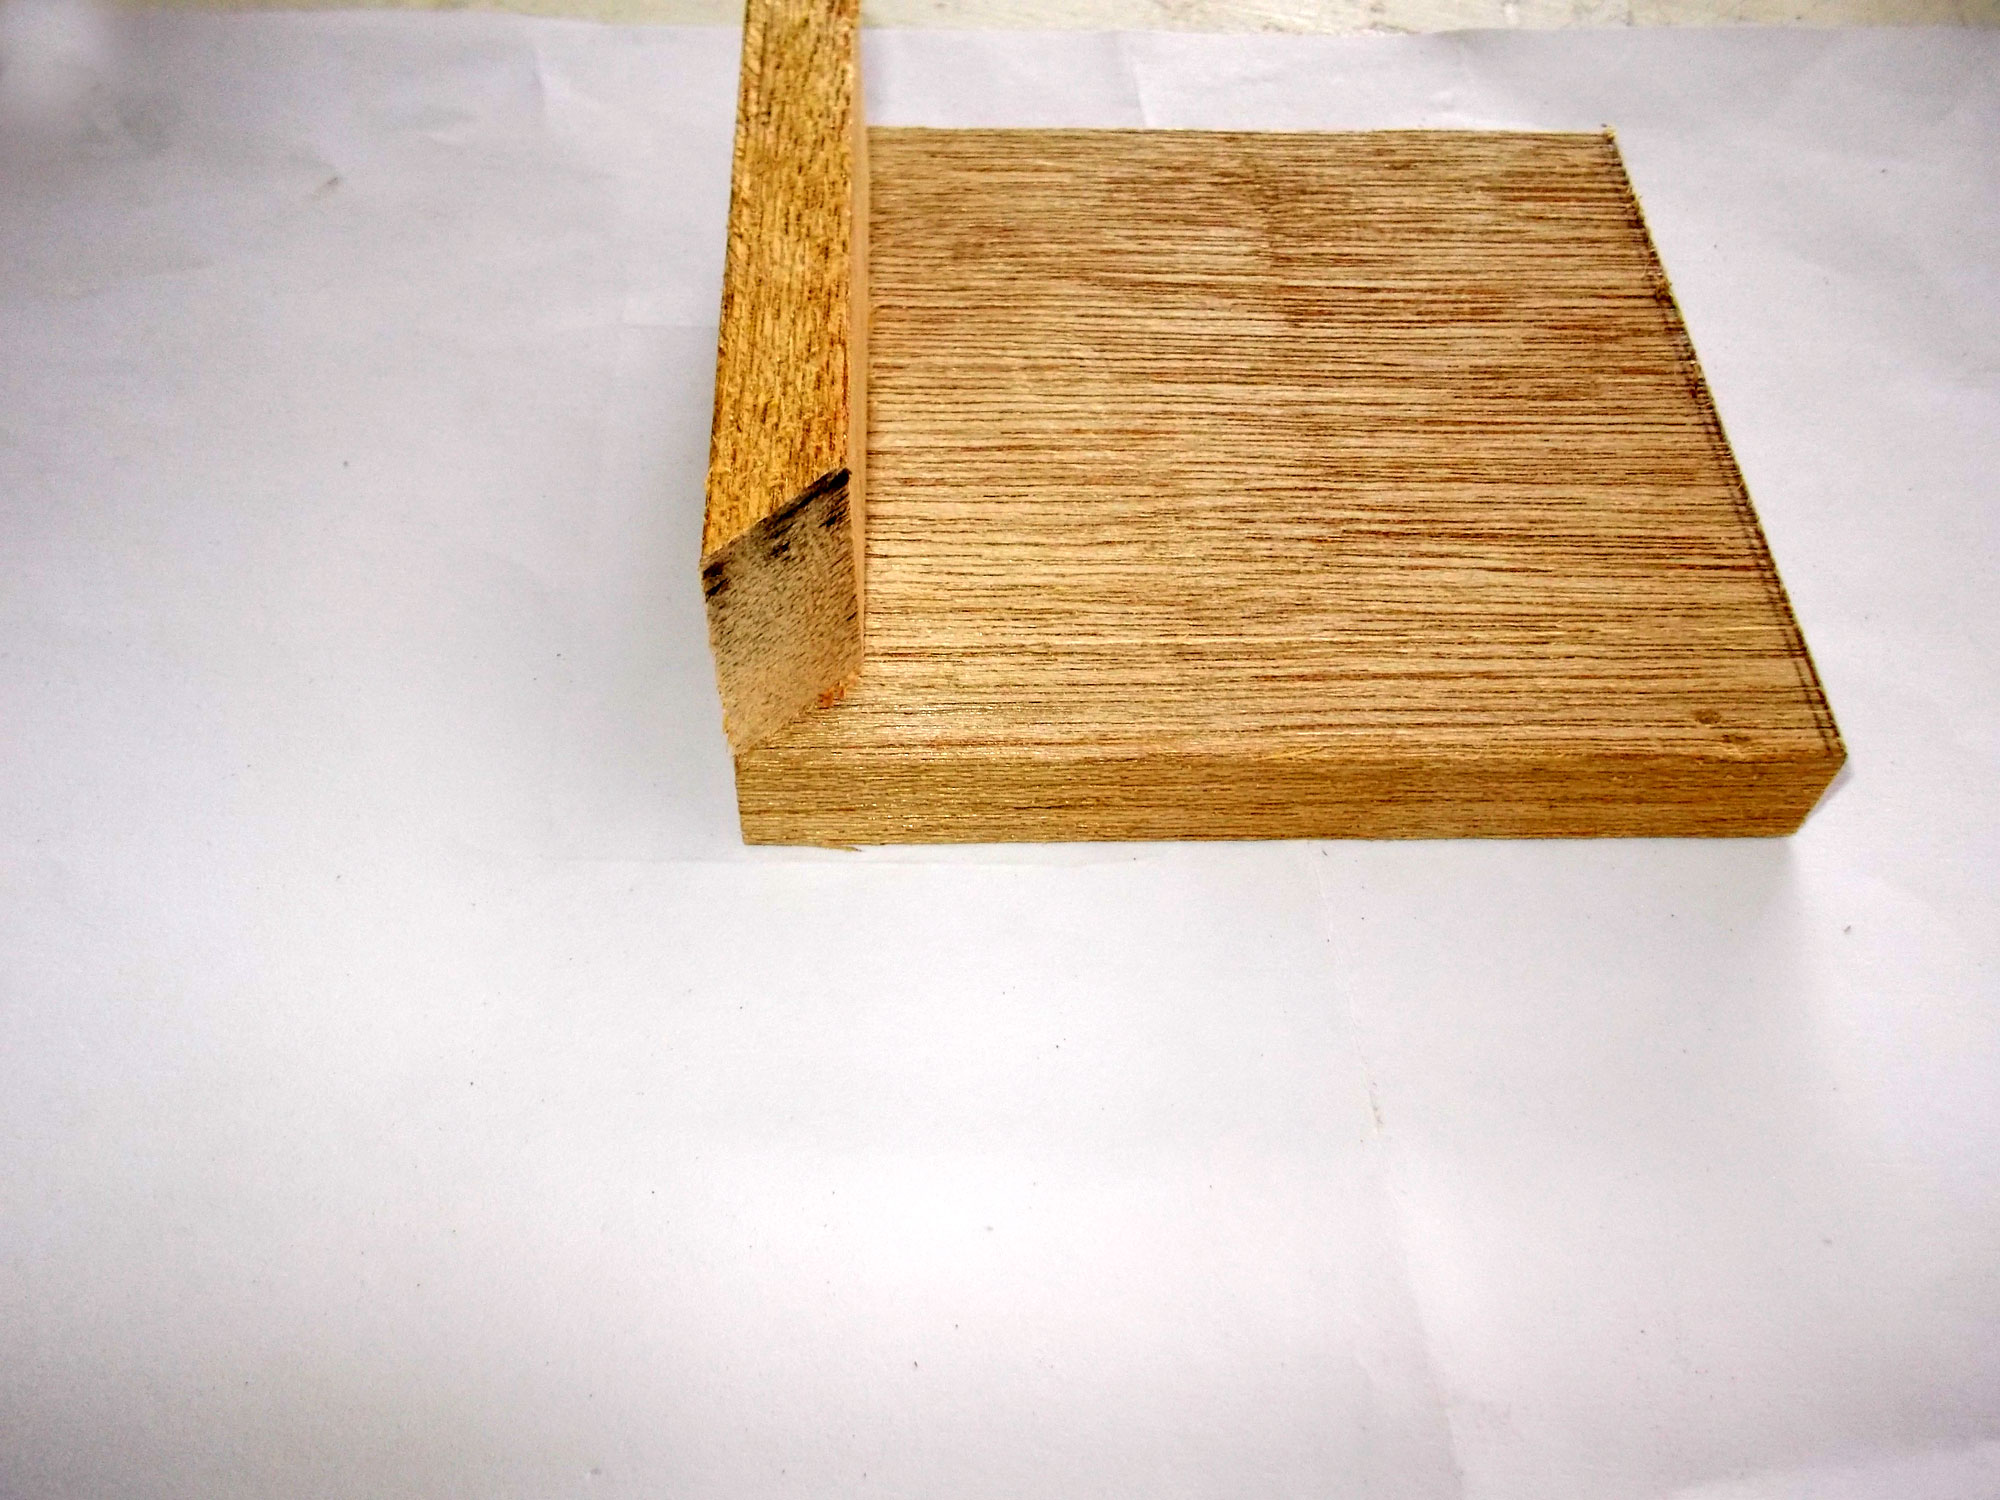
The tray with one side in position; the sides ensure that the lamp cannot fall off its platform. I glued and clamped all four sides to the platform and set it aside.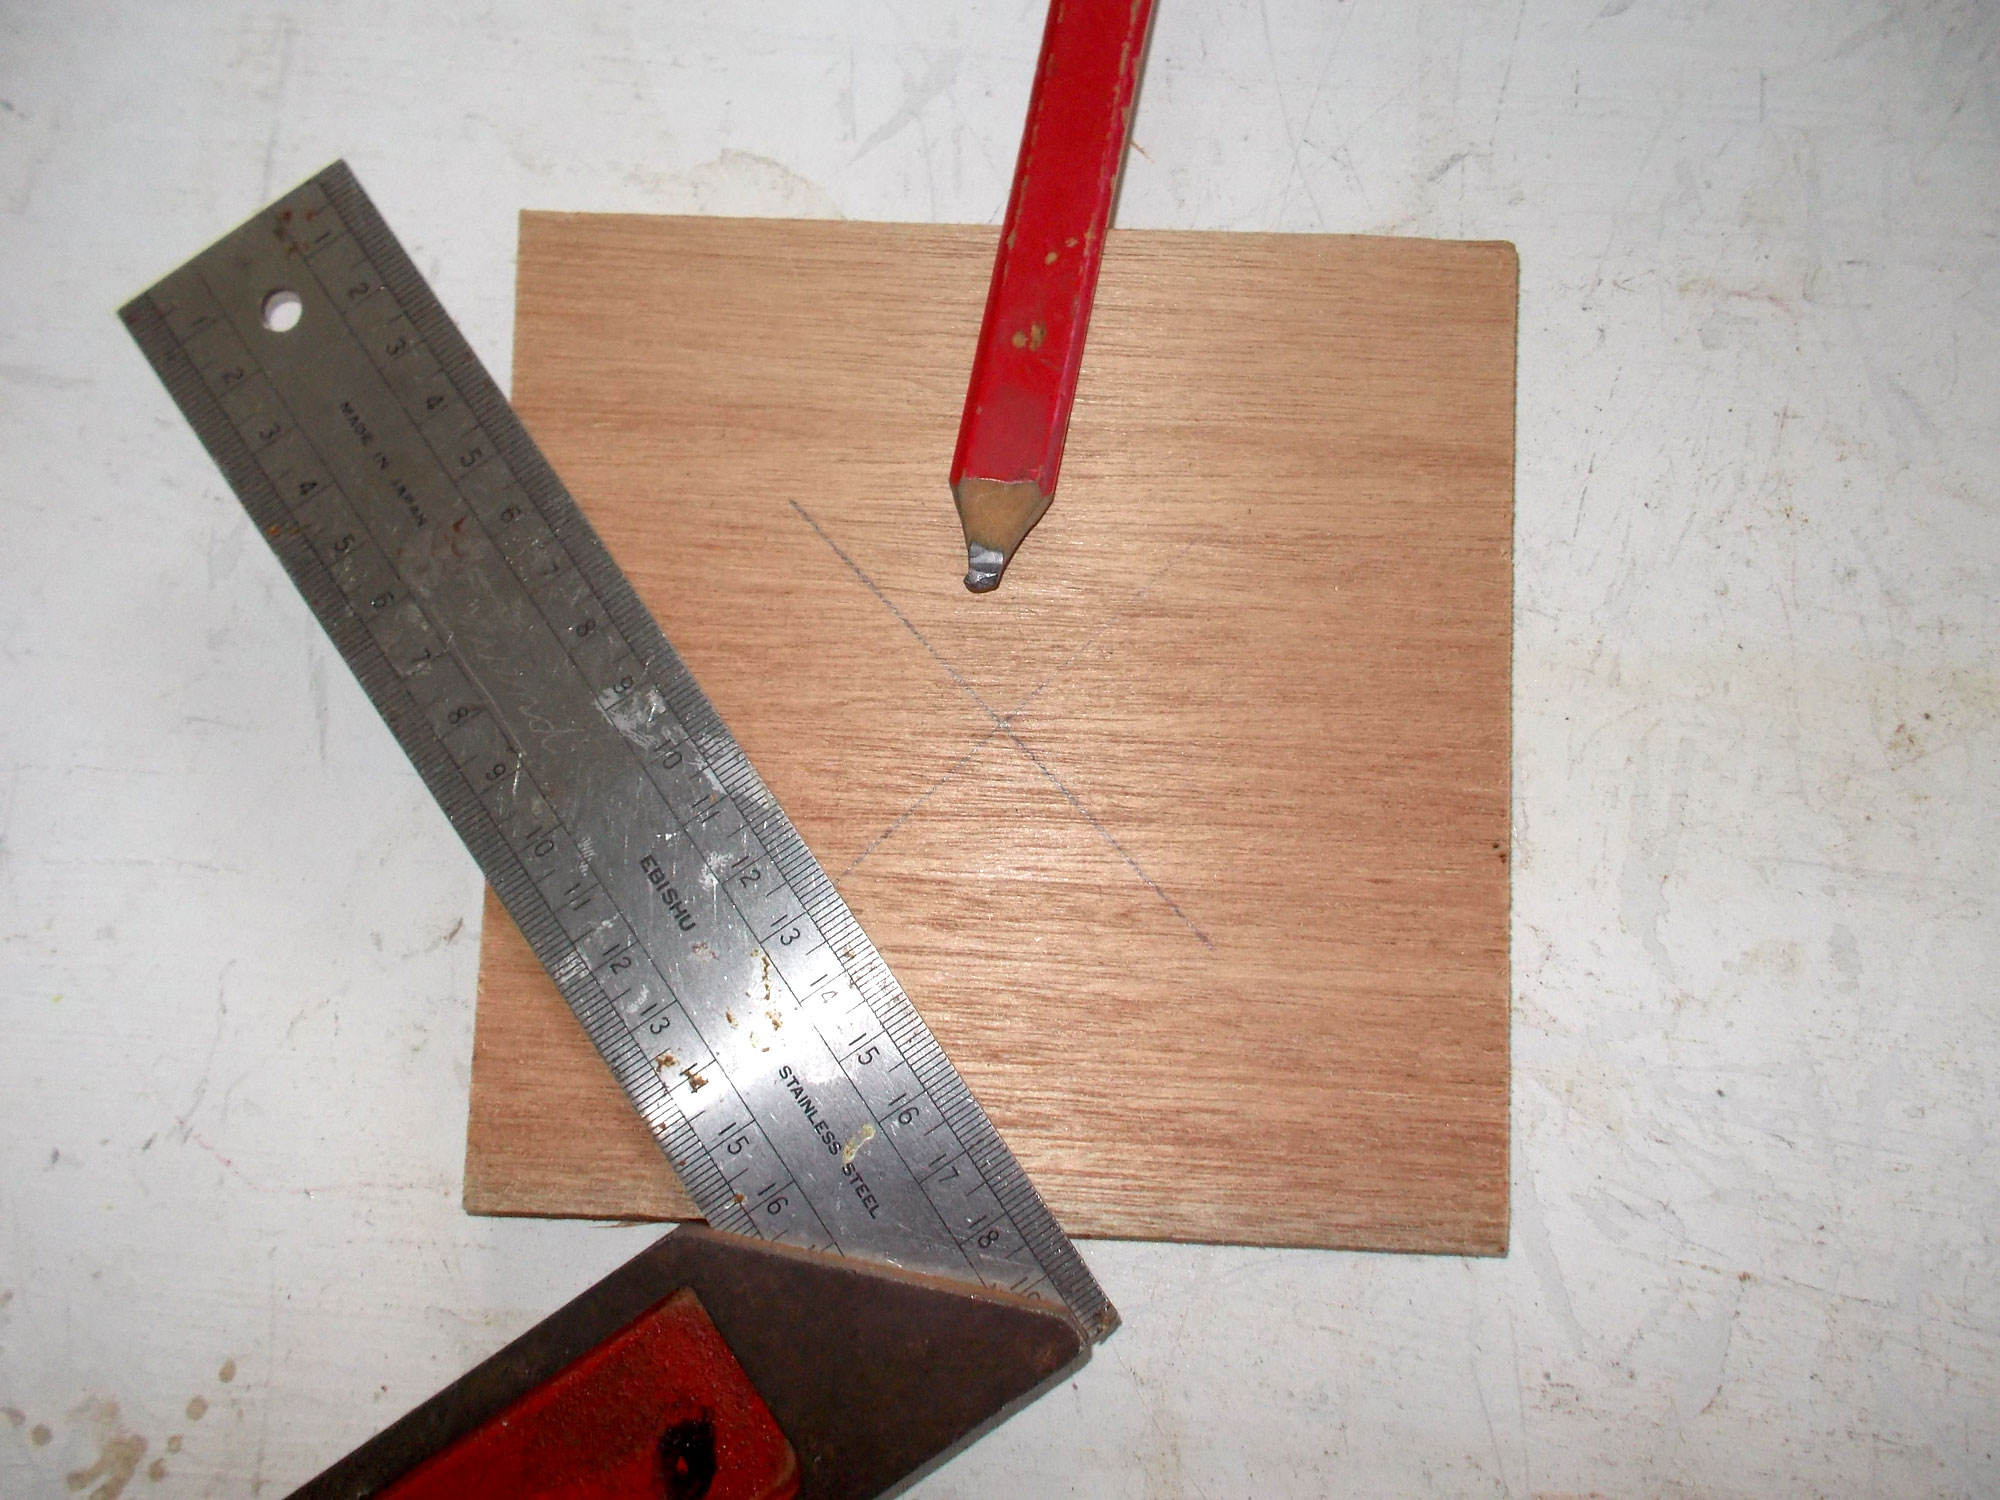
While the platform was curing, I got on with the main base. It is 144x144mm, and centring the main column is simply a matter of lightly drawing diagonals from corner to corner… but it’s only necessary to make them long enough towards their meeting point so that you align the column’s corners with them. They do not need to go right across the entire base, and nor should they be heavy… the light the better means less sanding to remove them where they will be visible.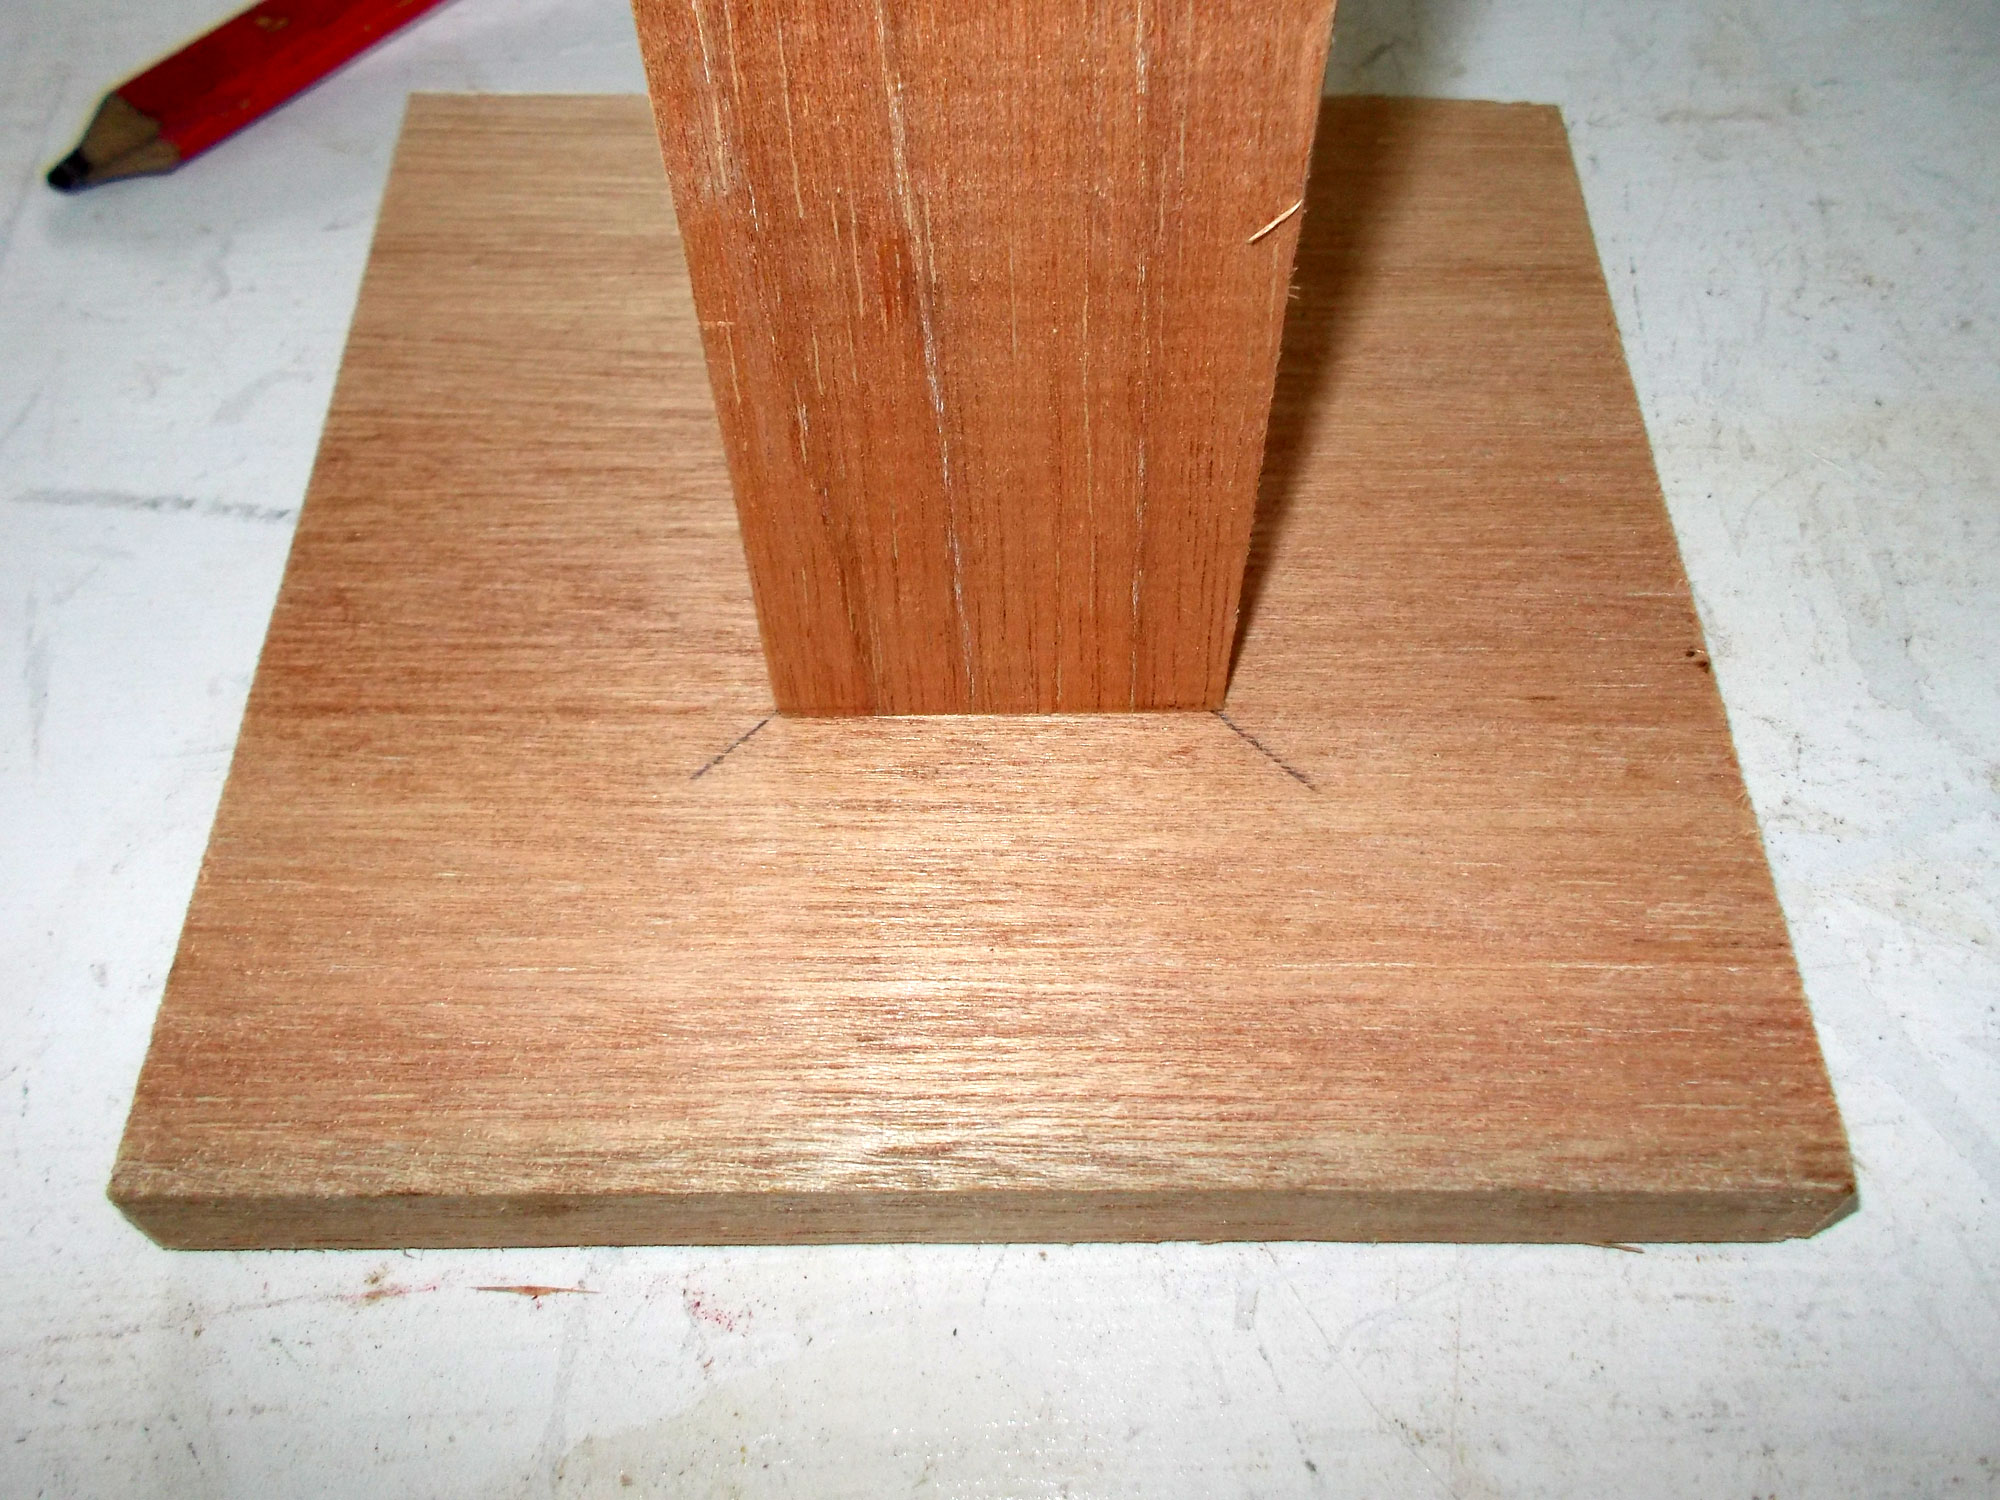
Now you can position the column precisely.
I used glue and two 50mm chipboard screws to secure the column to the base, ensuring that the heads of the screws were driven in slightly below the surface.
I had already sanded the column and now sanded the base, removing what was still visible of the very light diagonals I had made.
Around about now I decided that the base would be a little small and the stand’s stability would be greatly enhanced by making it larger. So I made up a base from some leftover 9x44mm SA pine cover strip (sorry, no meranti leftovers).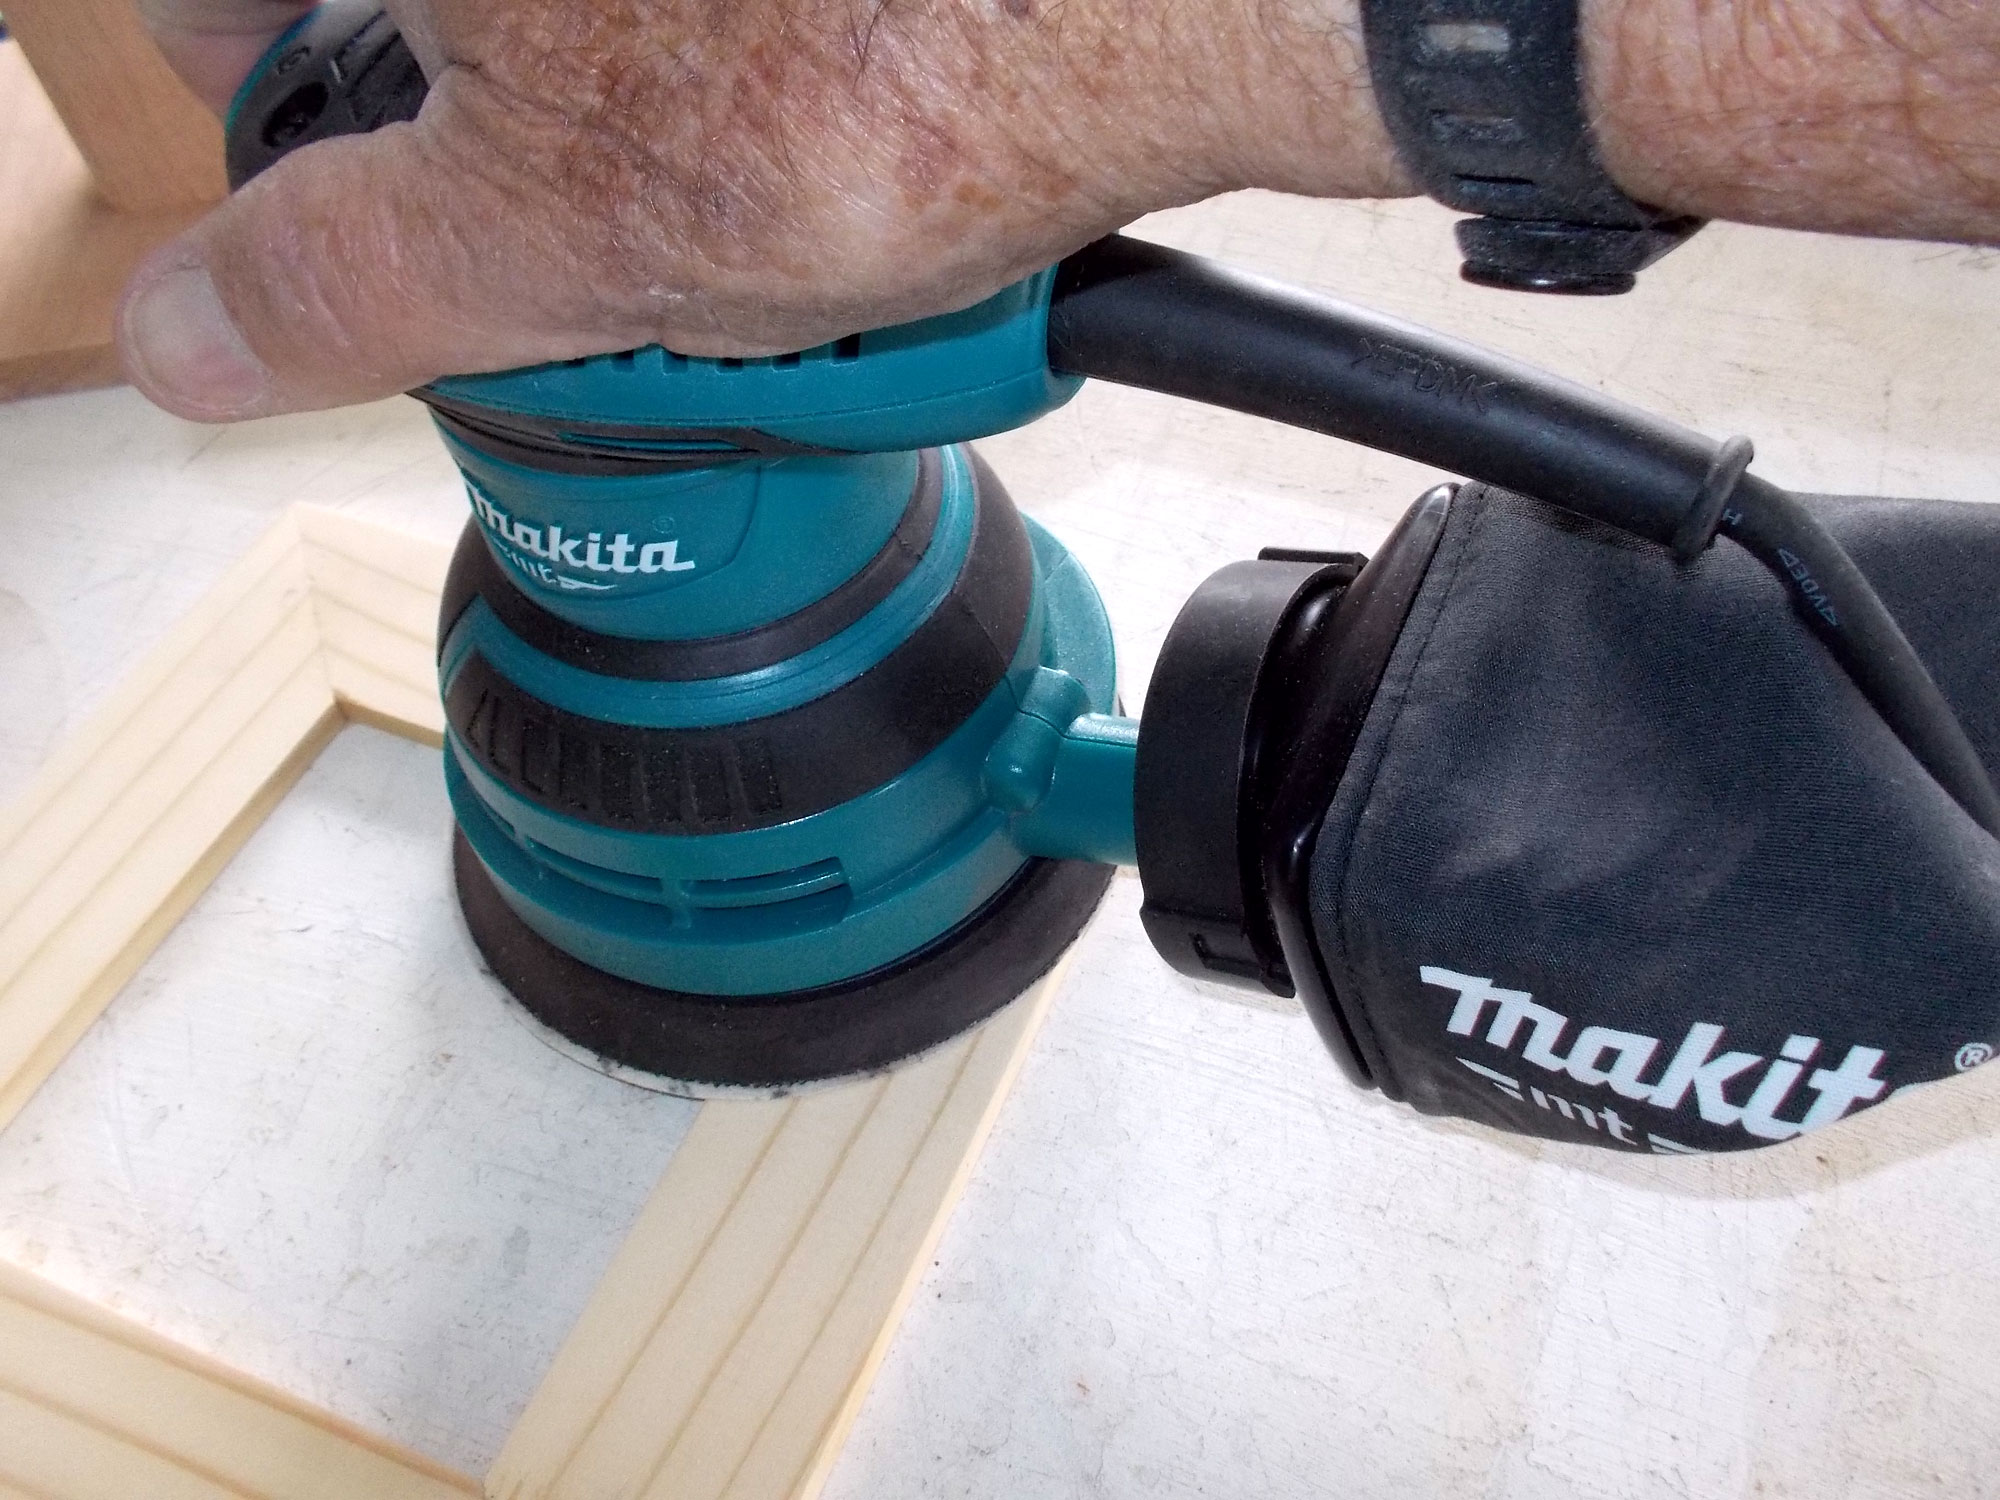
I sanded it after the glue had cured. This part of the base is 200mm on each edge, which enhances the stand’s stability a lot.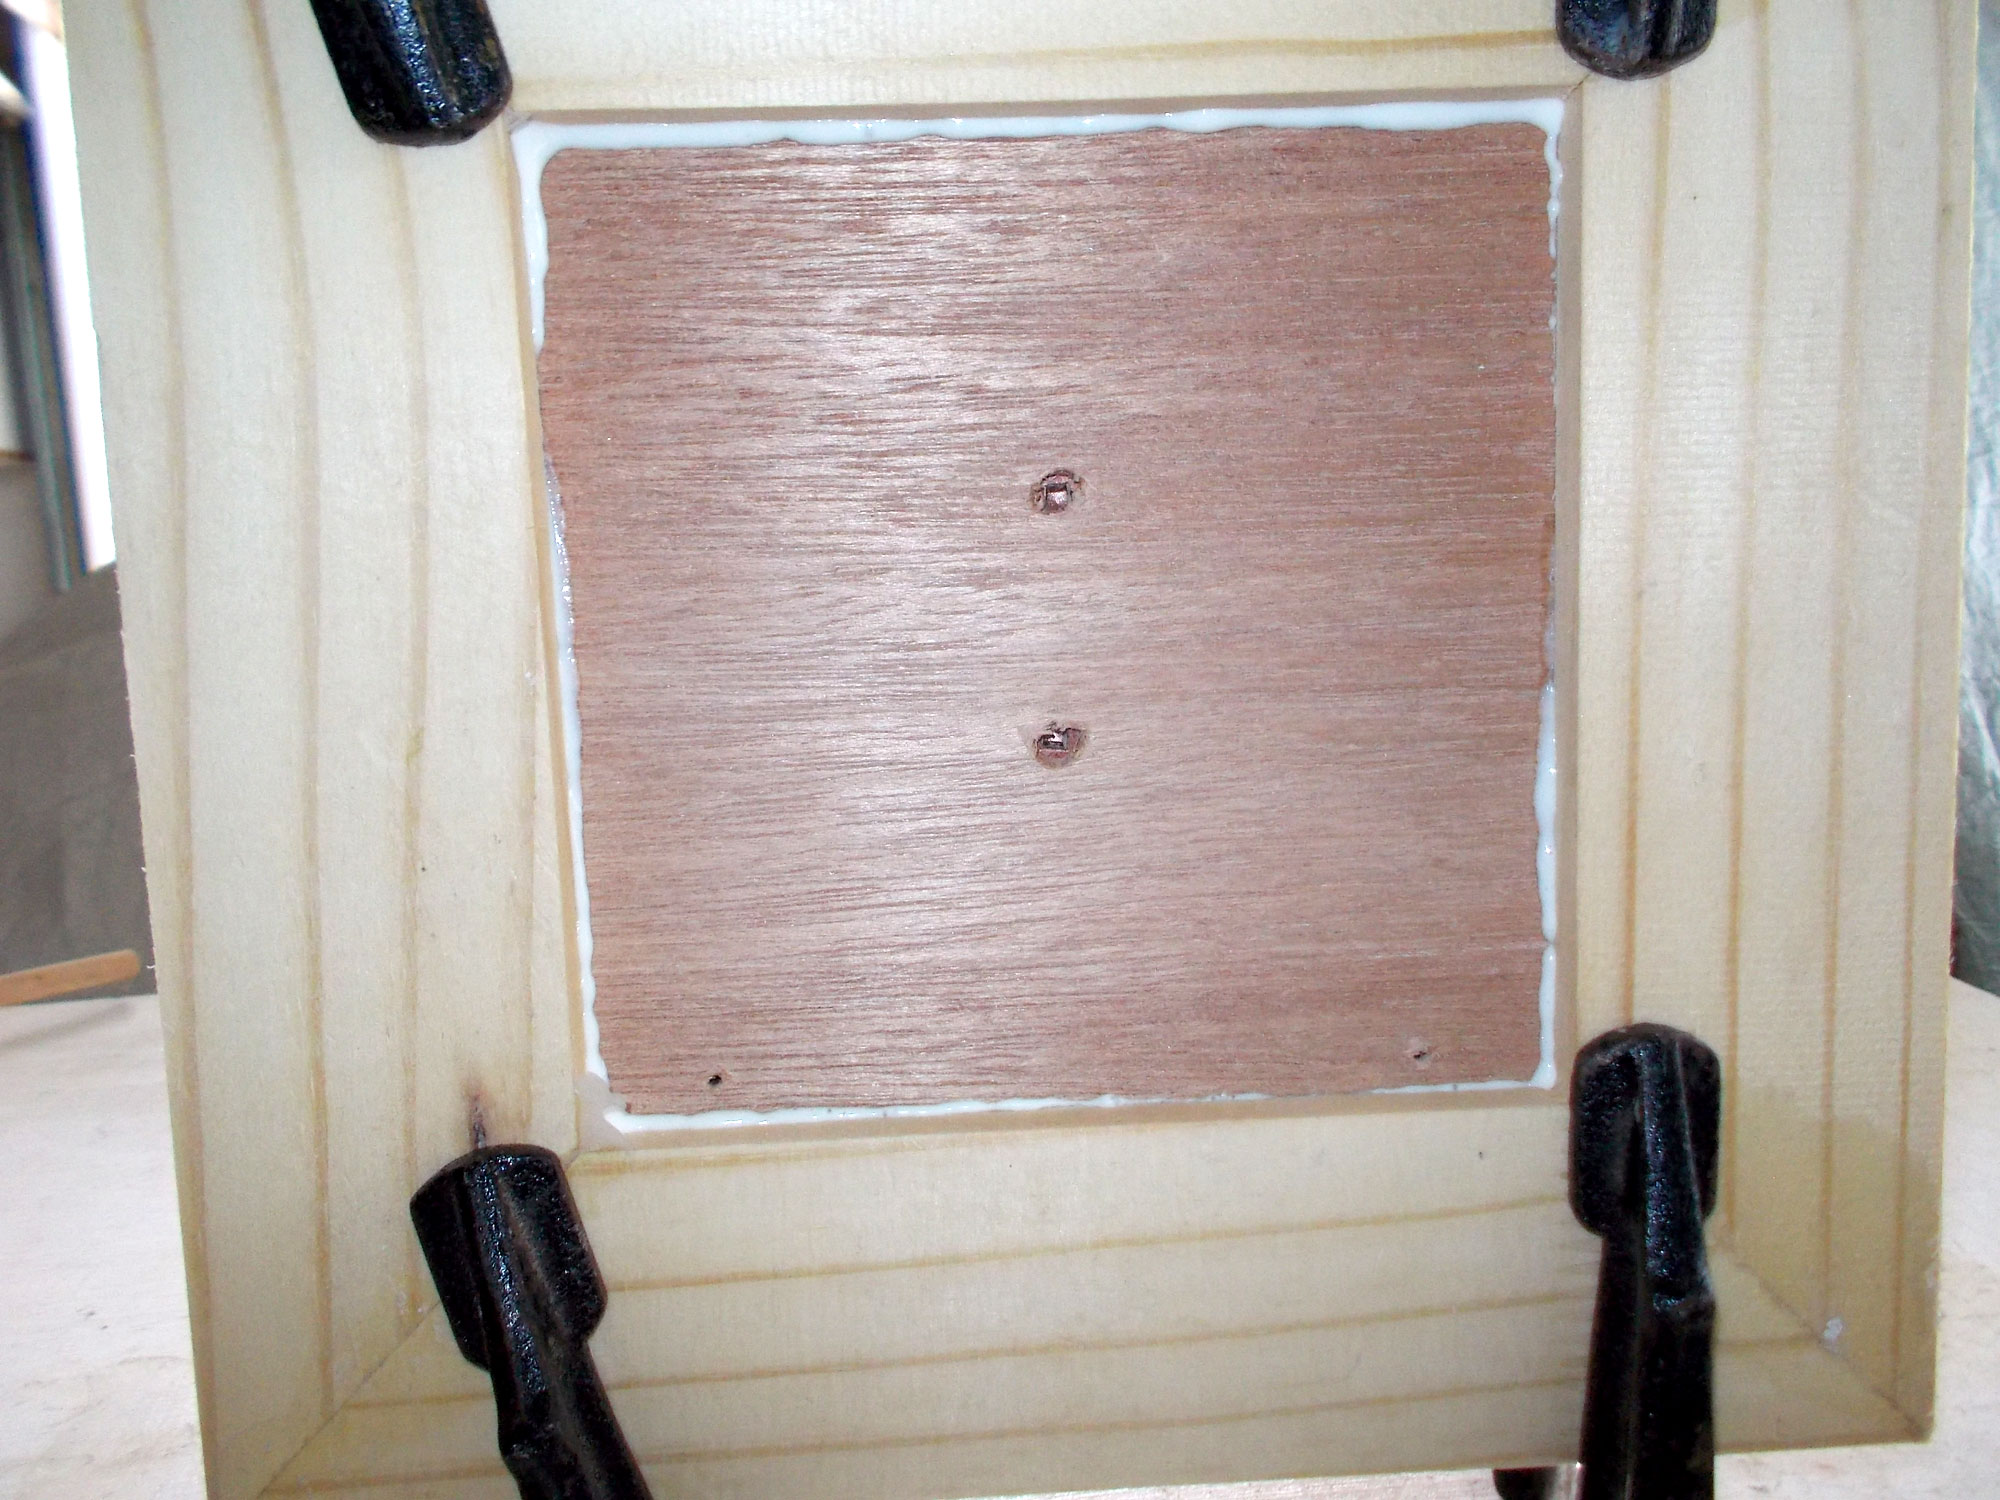
Then I glued it to the underside of the base… this is the view from underneath showing some glue has oozed out of the join. This is fine… it will be hidden – the important thing is to ensure the top, visible surfaces are cleaned of excess glue.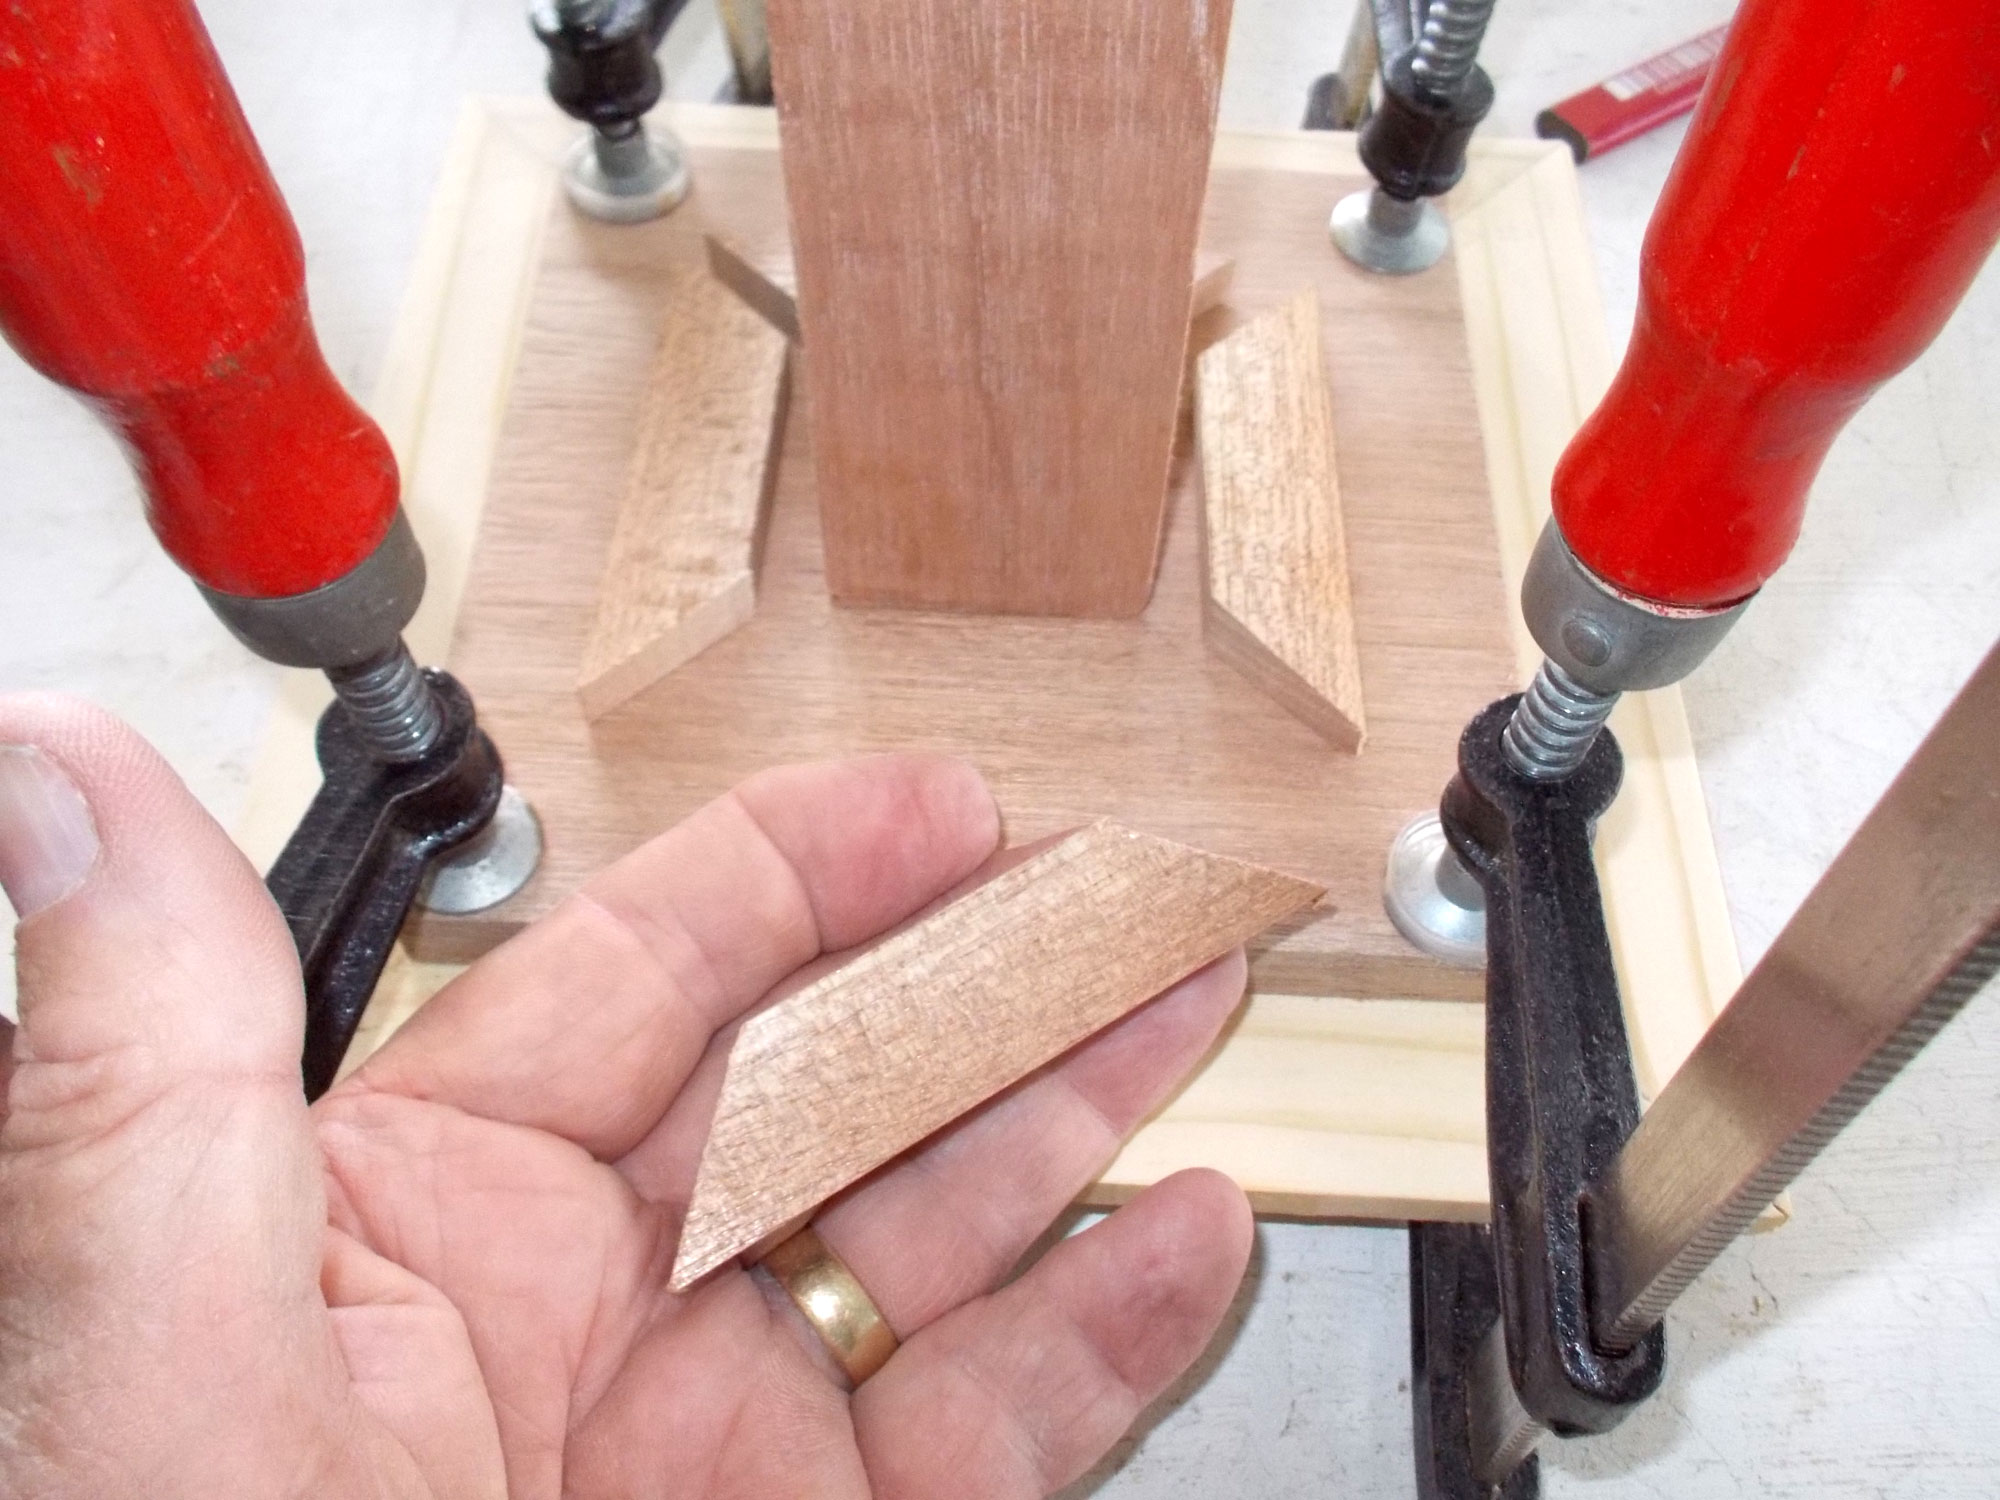
I also wanted to embellish the top of the base just a little and so I used some beading usually used to anchor windowpanes in their wooden frames. I cut four lengths as shown here.
Note that beading, as this image shows, is 19mm wide and 9mm on one side and 6mm on the other – this is to shed rain. But it means that you must make the mitre cut from the top, with the 90° base resting on the work surface. If you make the cut from what is the bottom of the beading, you will create a compound mitre, which will leave a gap on each corner and up against the column. This illustration shows what I mean… the left hand position is correct; the right hand version will have you saying ‘Gosh!’ (Note to designer – please insert MICA—HIGHLIGHT-illi here)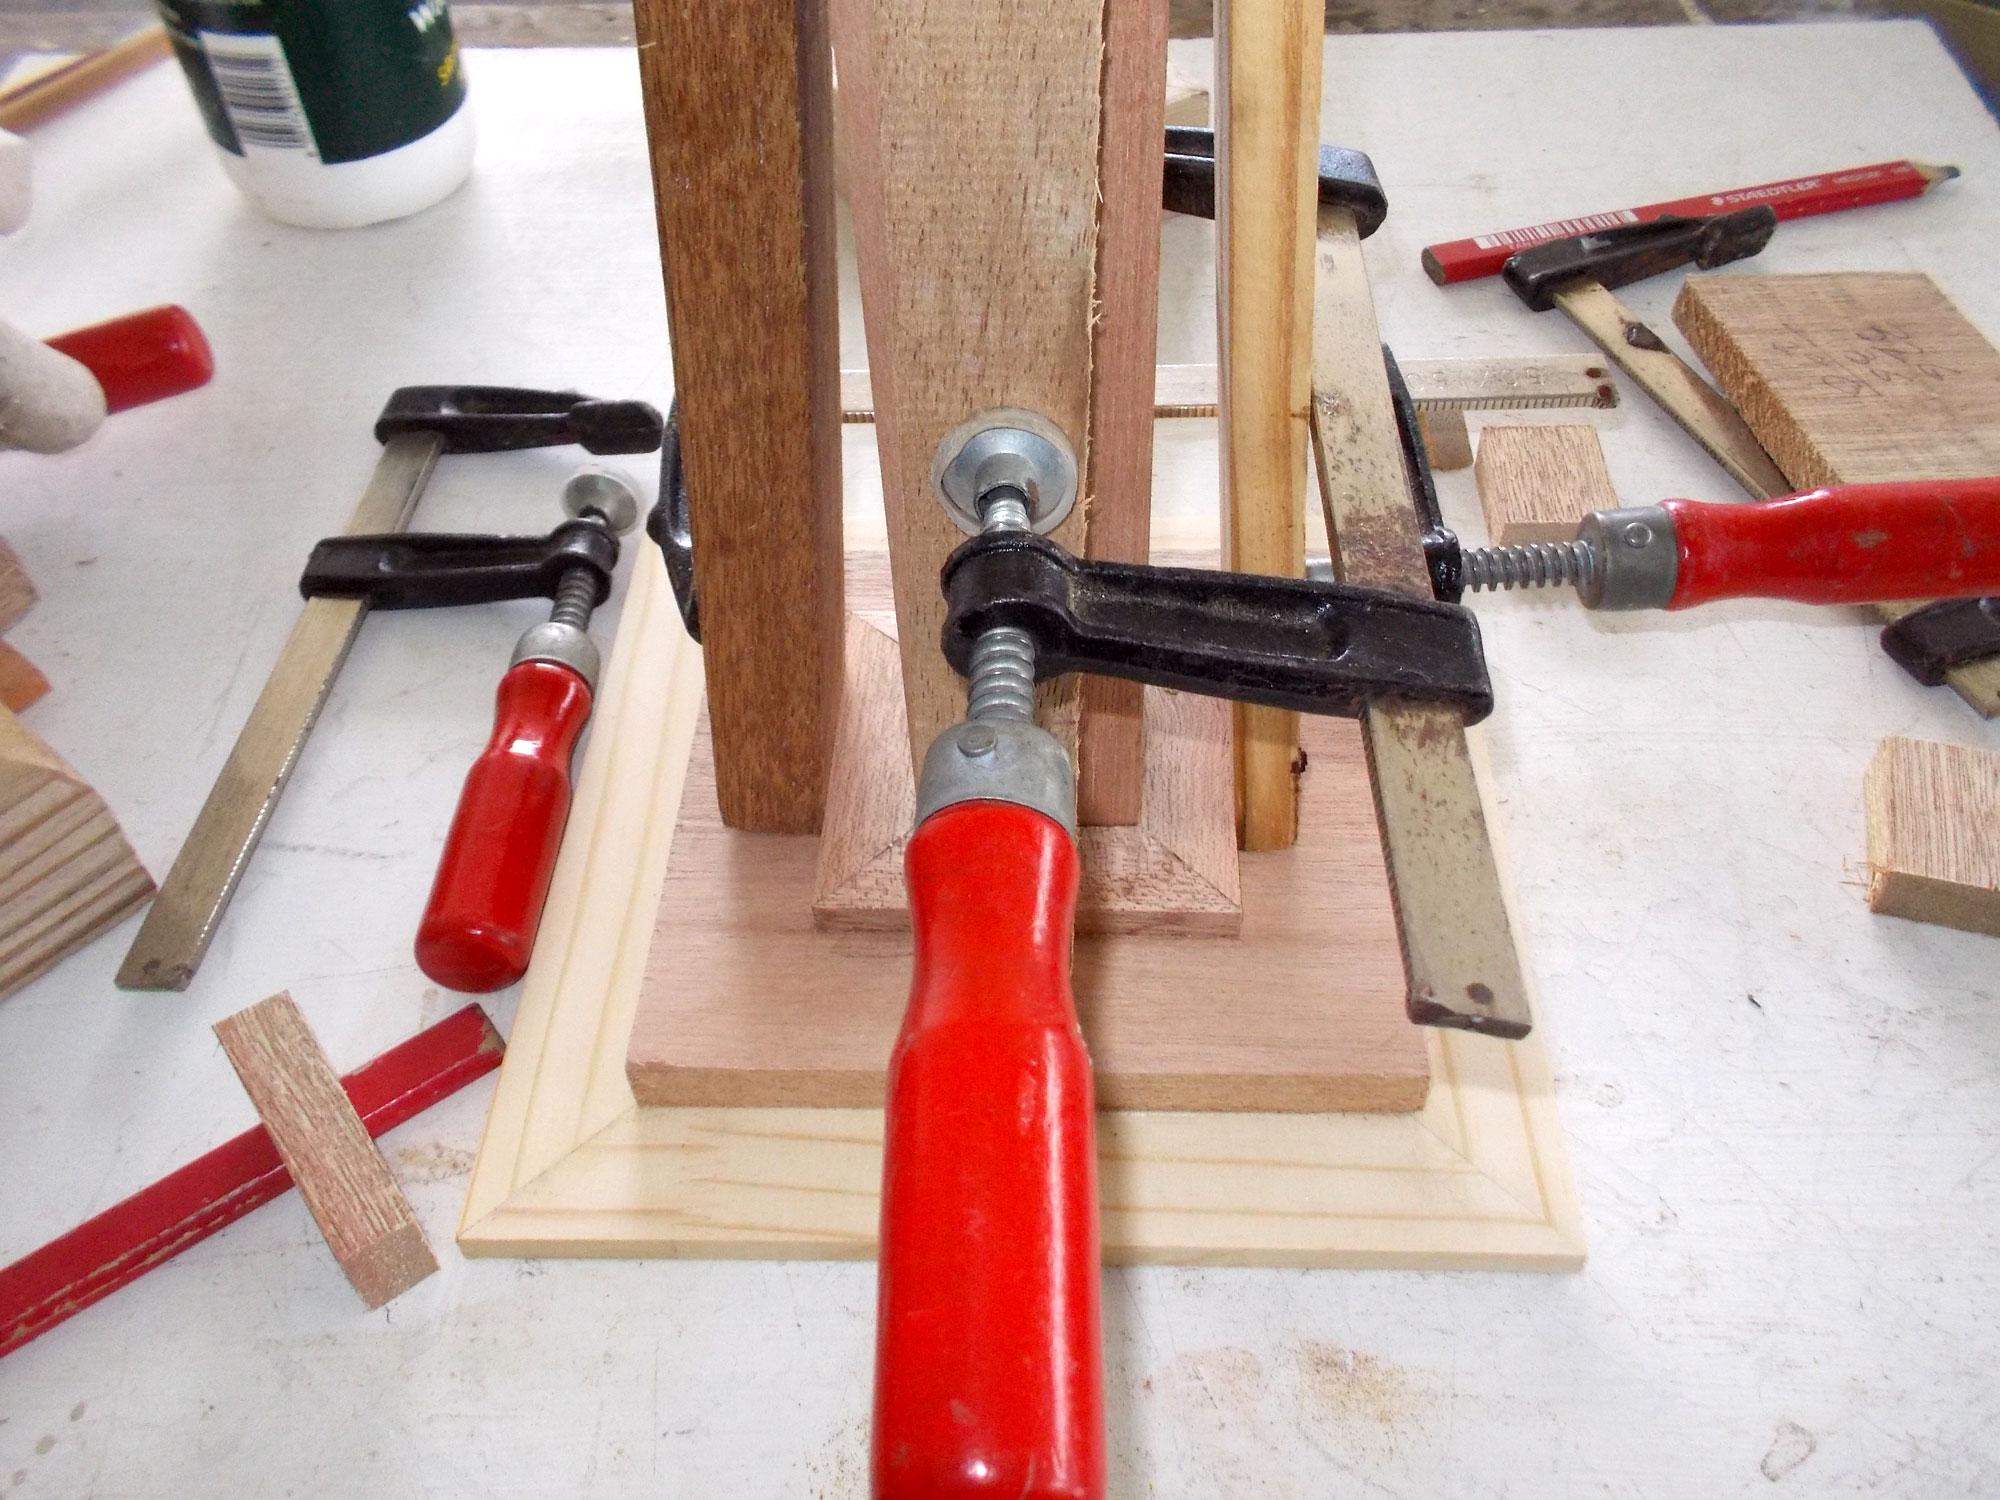
I used lengths of scrap wood and clamps to hold the column surround in place hard up against it and on the surface of the base while the glue cured.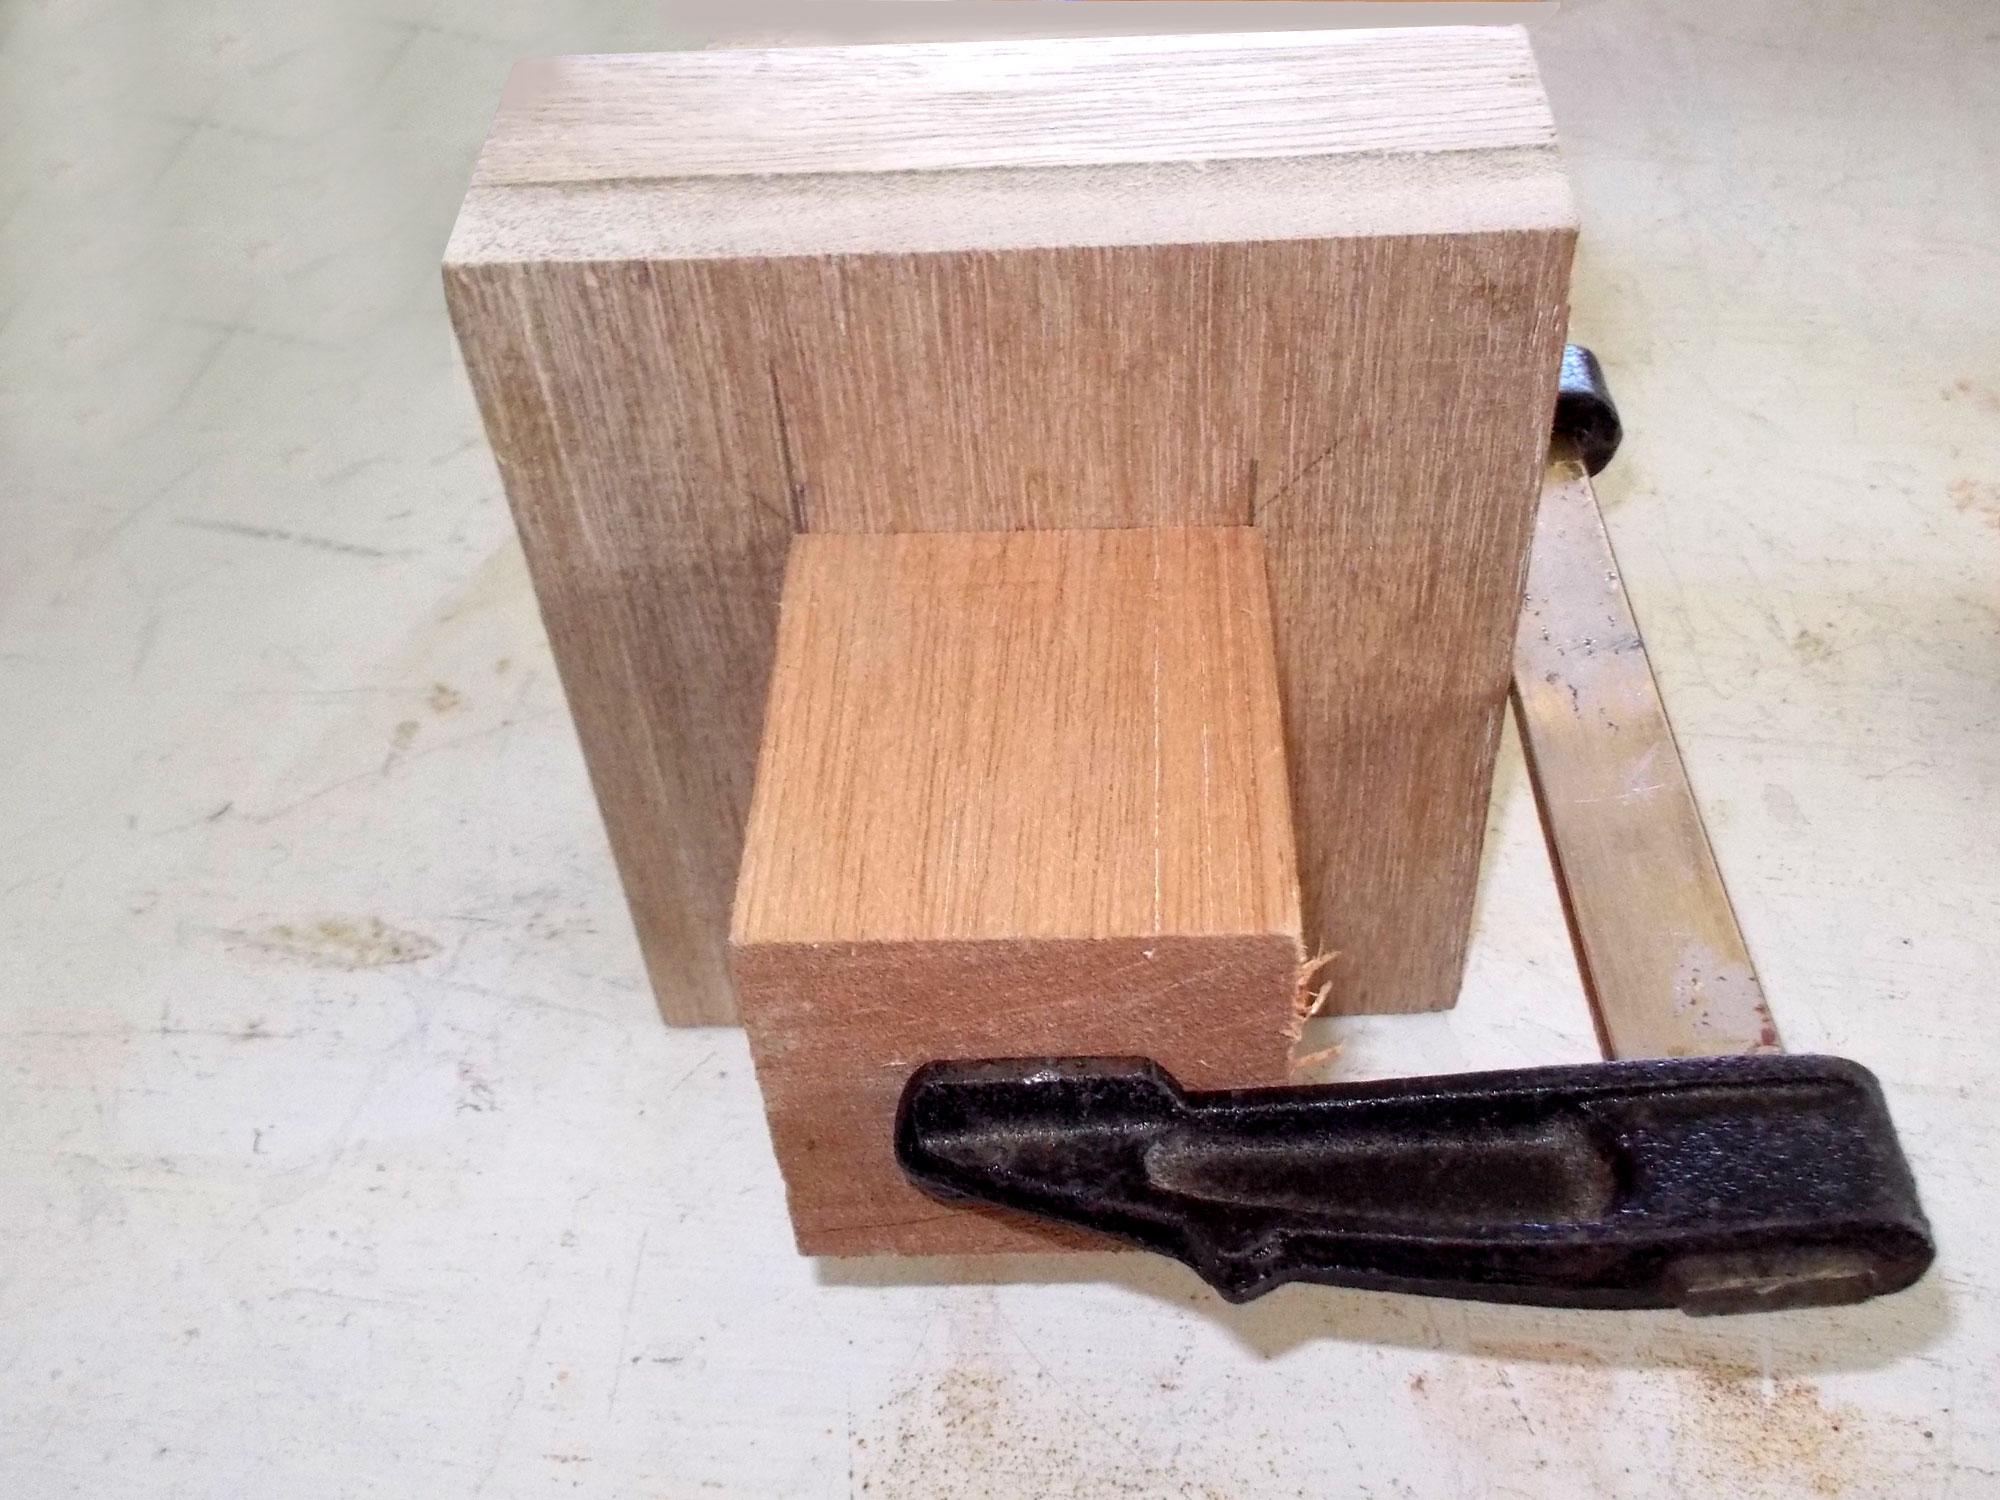
Now to get ready to attach the lamp platform to the top of the column. I used the offcut from the column and the same diagonals procedure to centre the offcut on the underside of the platform and clamped it securely in position.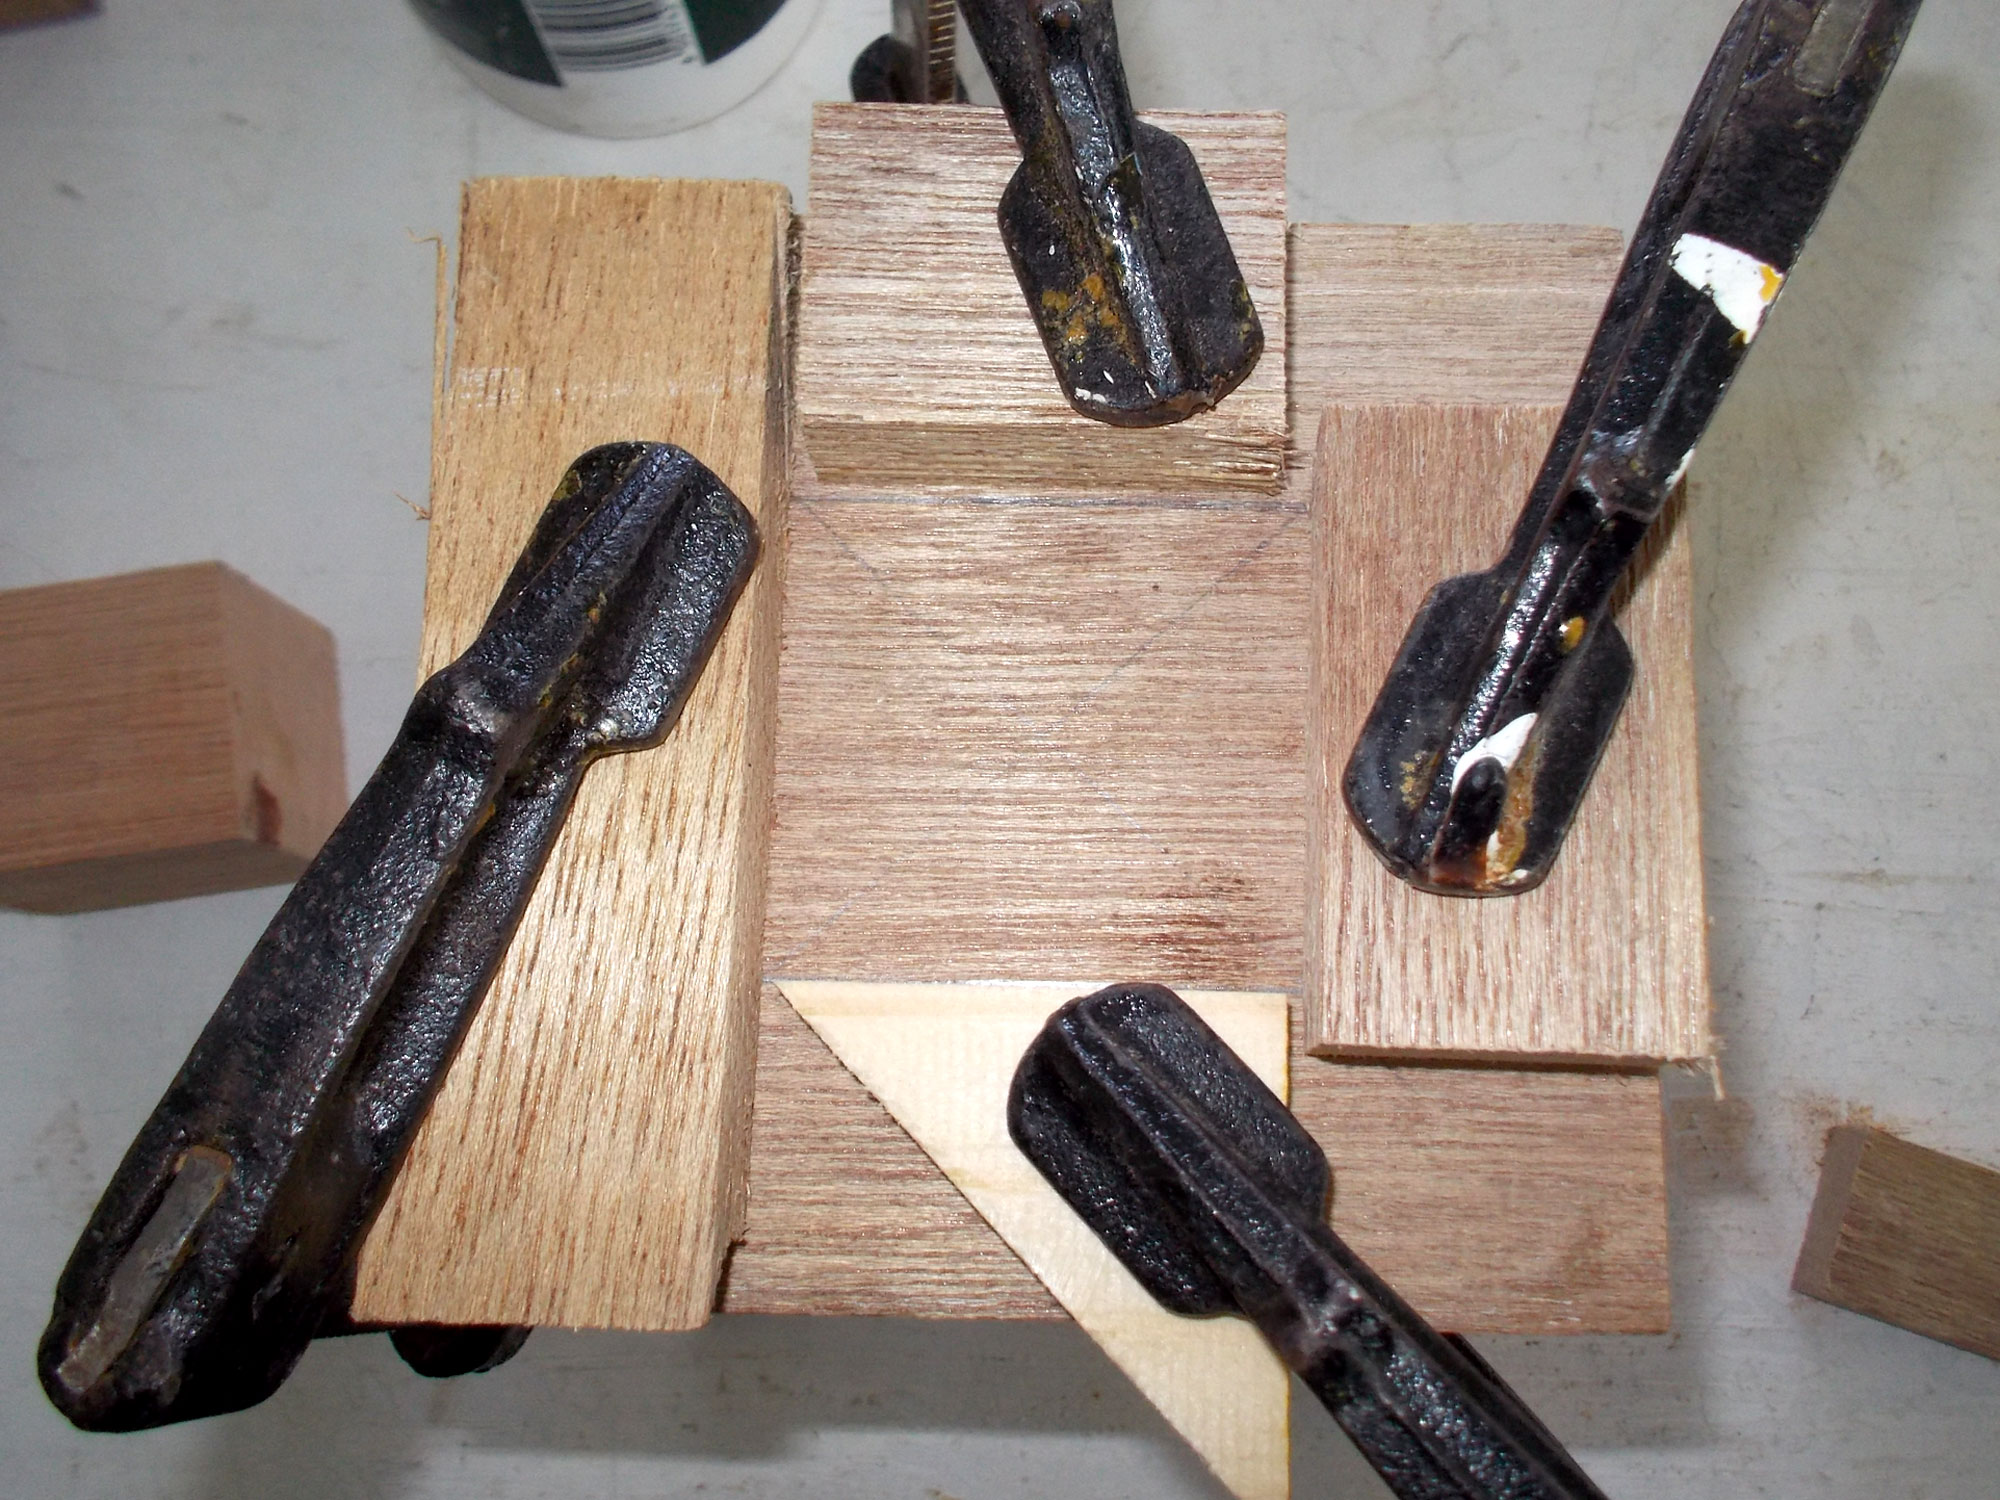
Then I clamped four scraps around the column offcut, and then released it. This makes positioning the platform on the top of the column very easy and accurate.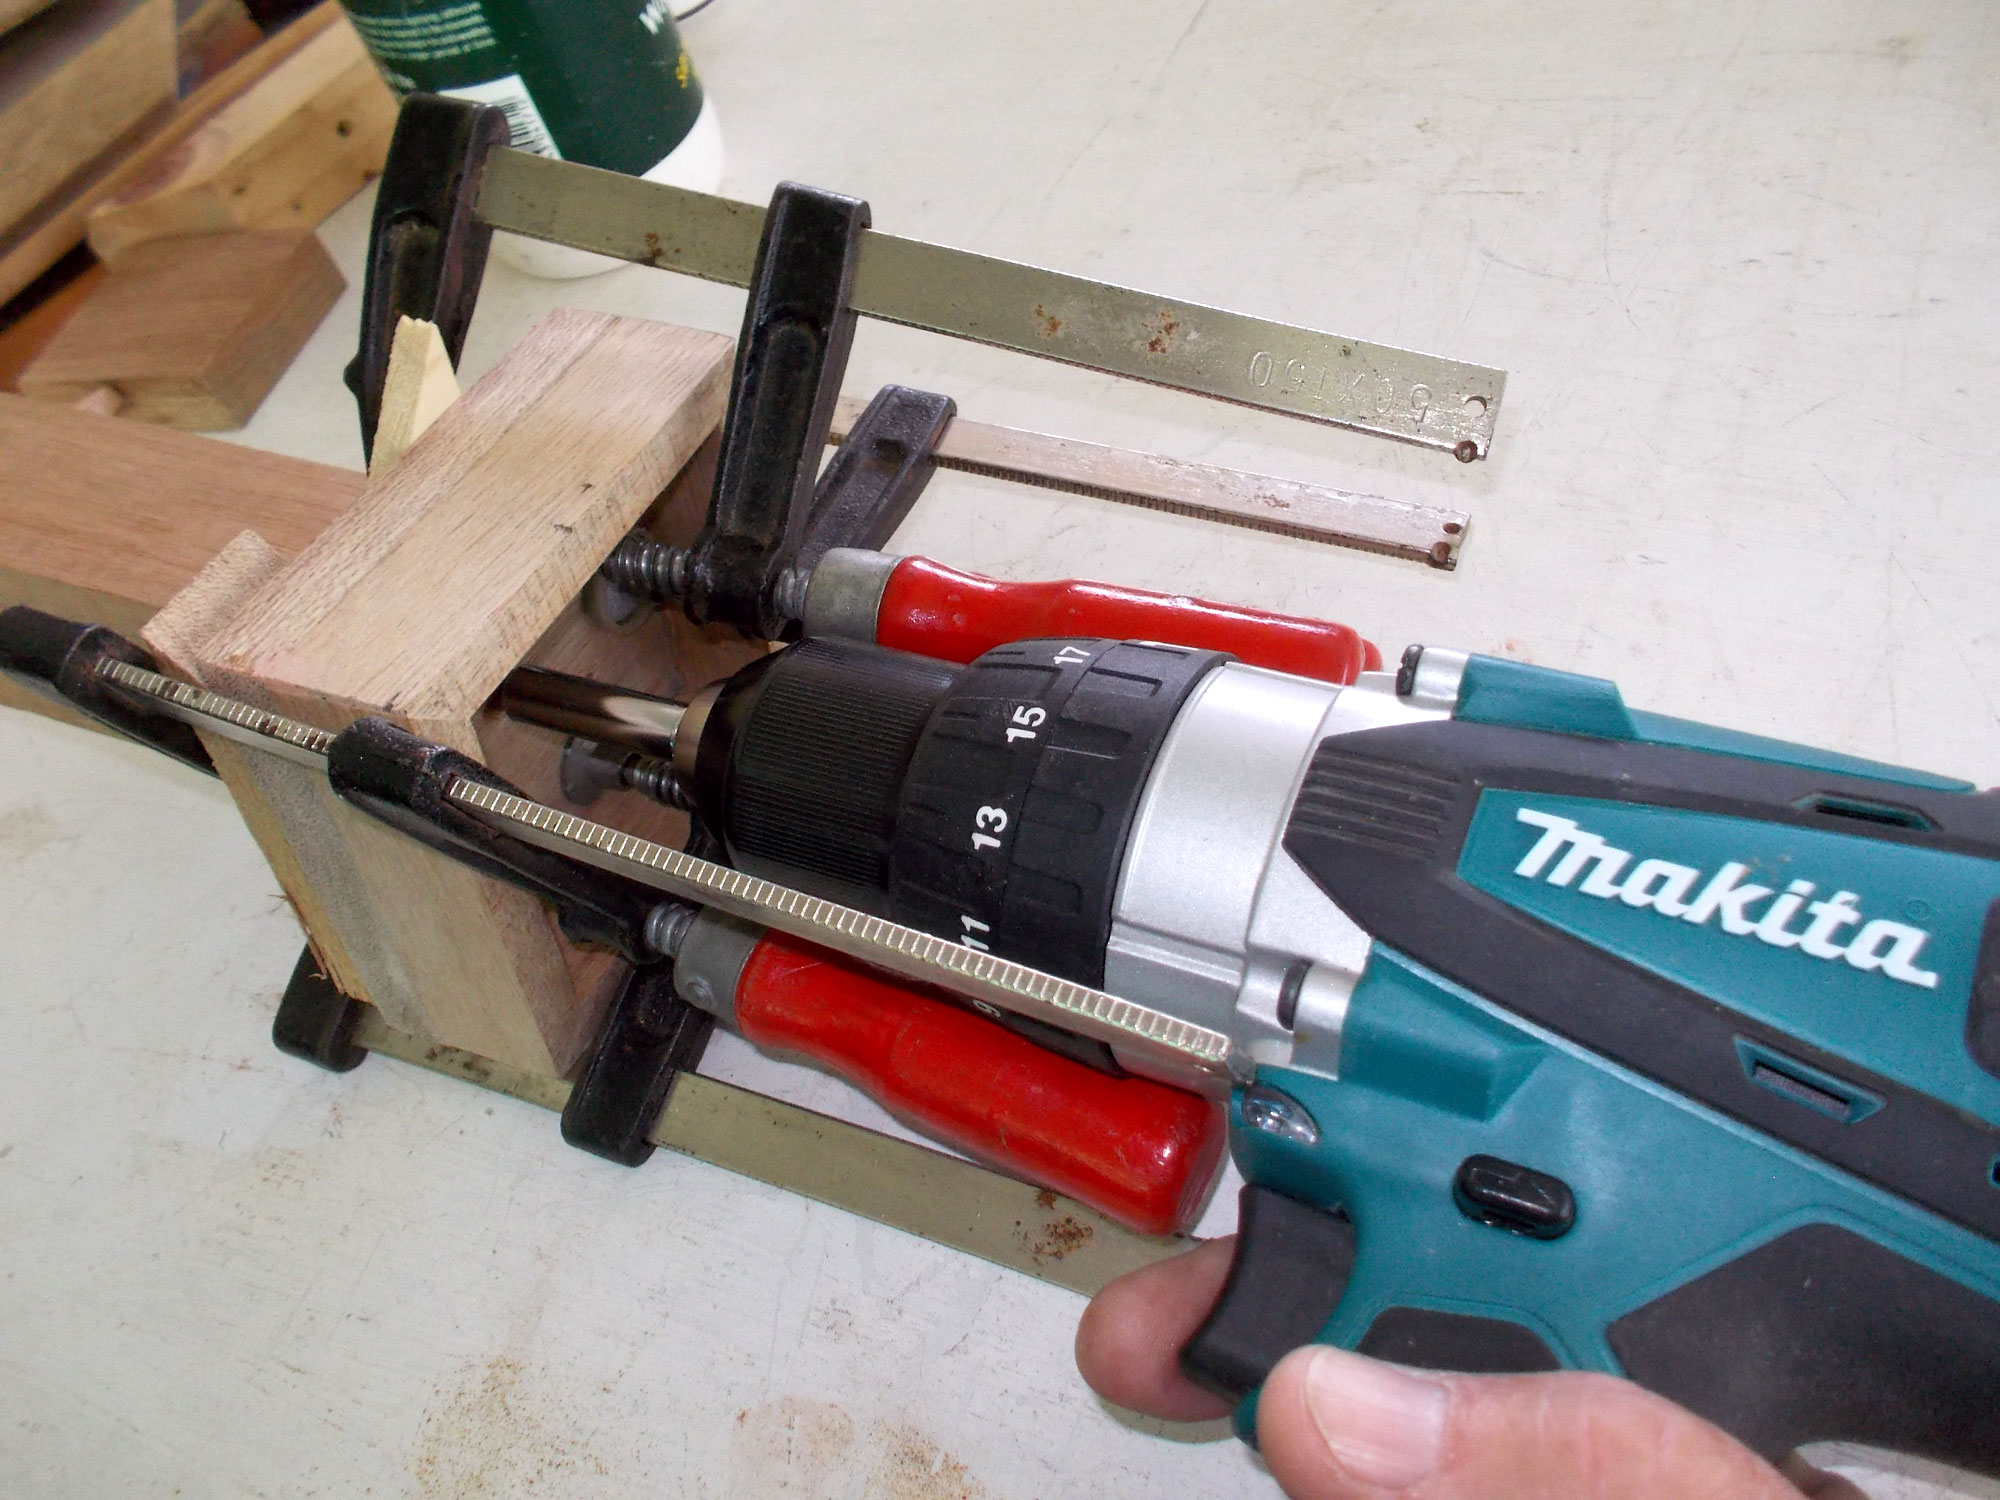
I used two screws, slightly countersinking their heads, to secure the platform to the top of the column. Note: I did not glue the platform in position. Why? I hear you ask? Simple! The stand will last for years, but even the best lamps can eventually fail, get broken or whatever – and then you have to buy a replacement. Murphy’s Law dictates that what you have now might well be out of production/redesigned or whatever so the replacement won’t fit. No problem. That’s when you can simply detach the platform and replace it with your new version. I told you it was simple!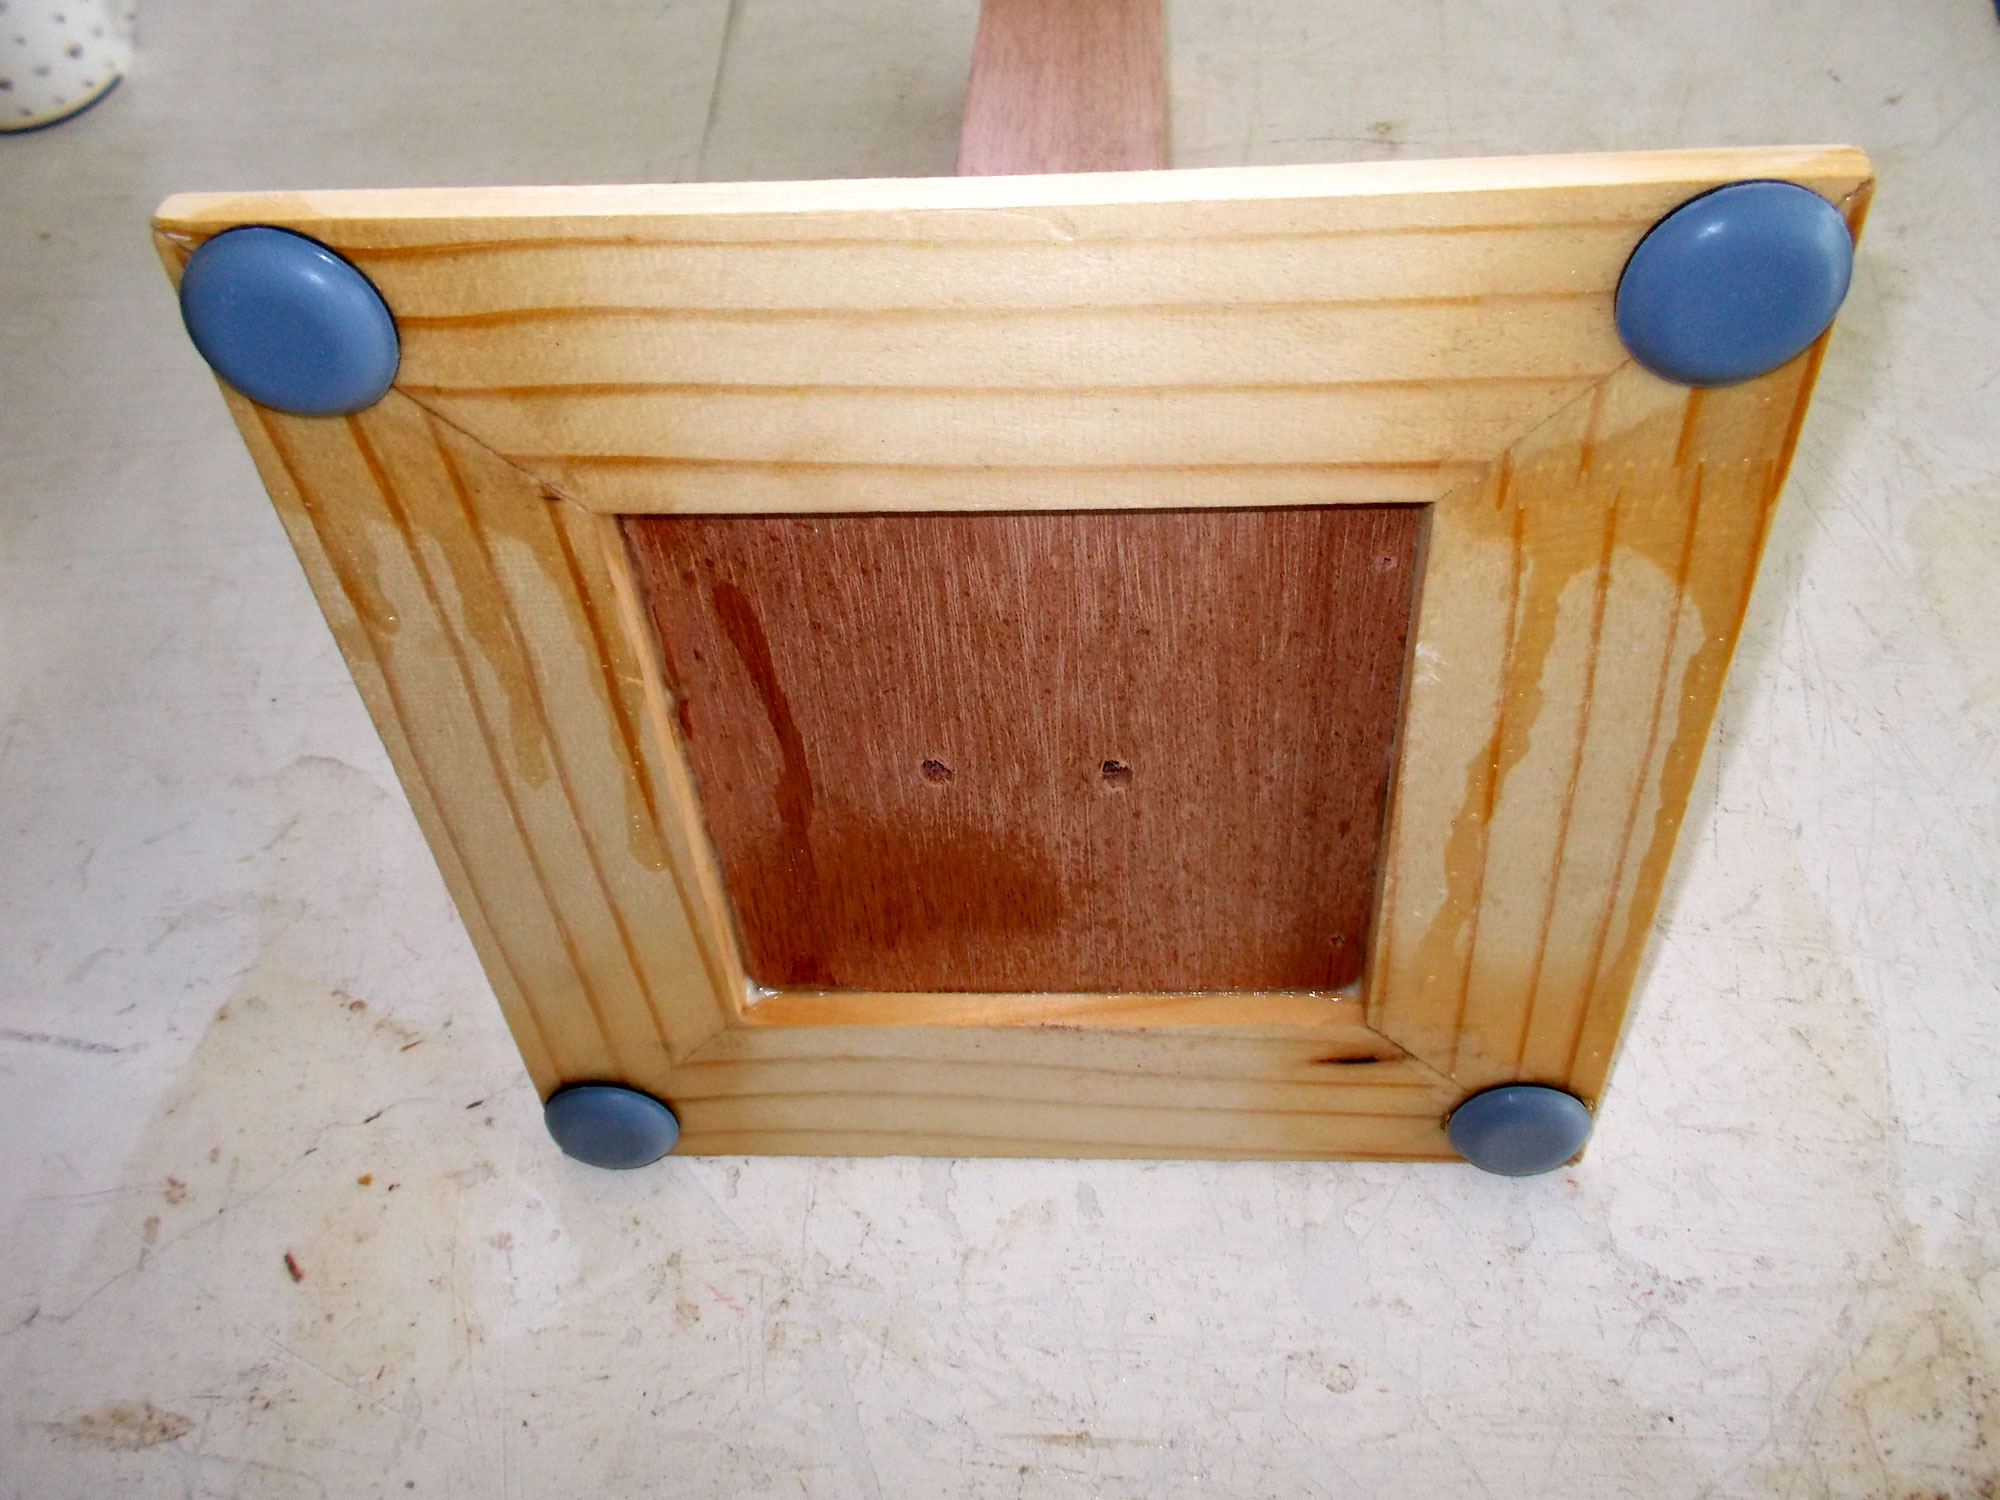
The final step was adding feet to the base to ensure table surfaces would not be scratched in any way.
From boxing clever, to my highlight of every blackout.
Panel:
These materials are available at Selected Mica Stores. To find your closest Mica and whether or not they stock the items required, please go to www.mica.co.za, find your store and call them. If your local Mica does not stock exactly what you need they will be able to order it for you or suggest an alternative product or a reputable source.
Project guide
TIME: one day
COST: R00 to R36 (the former, what you already have lying around, the latter for the feet).
Skill: 1
Assistant: No
Tools required:
Jigsaw and/or circular cut-off saw, drill/driver, sander.