01 April 2021

In the centre… Mr Venter – every time!
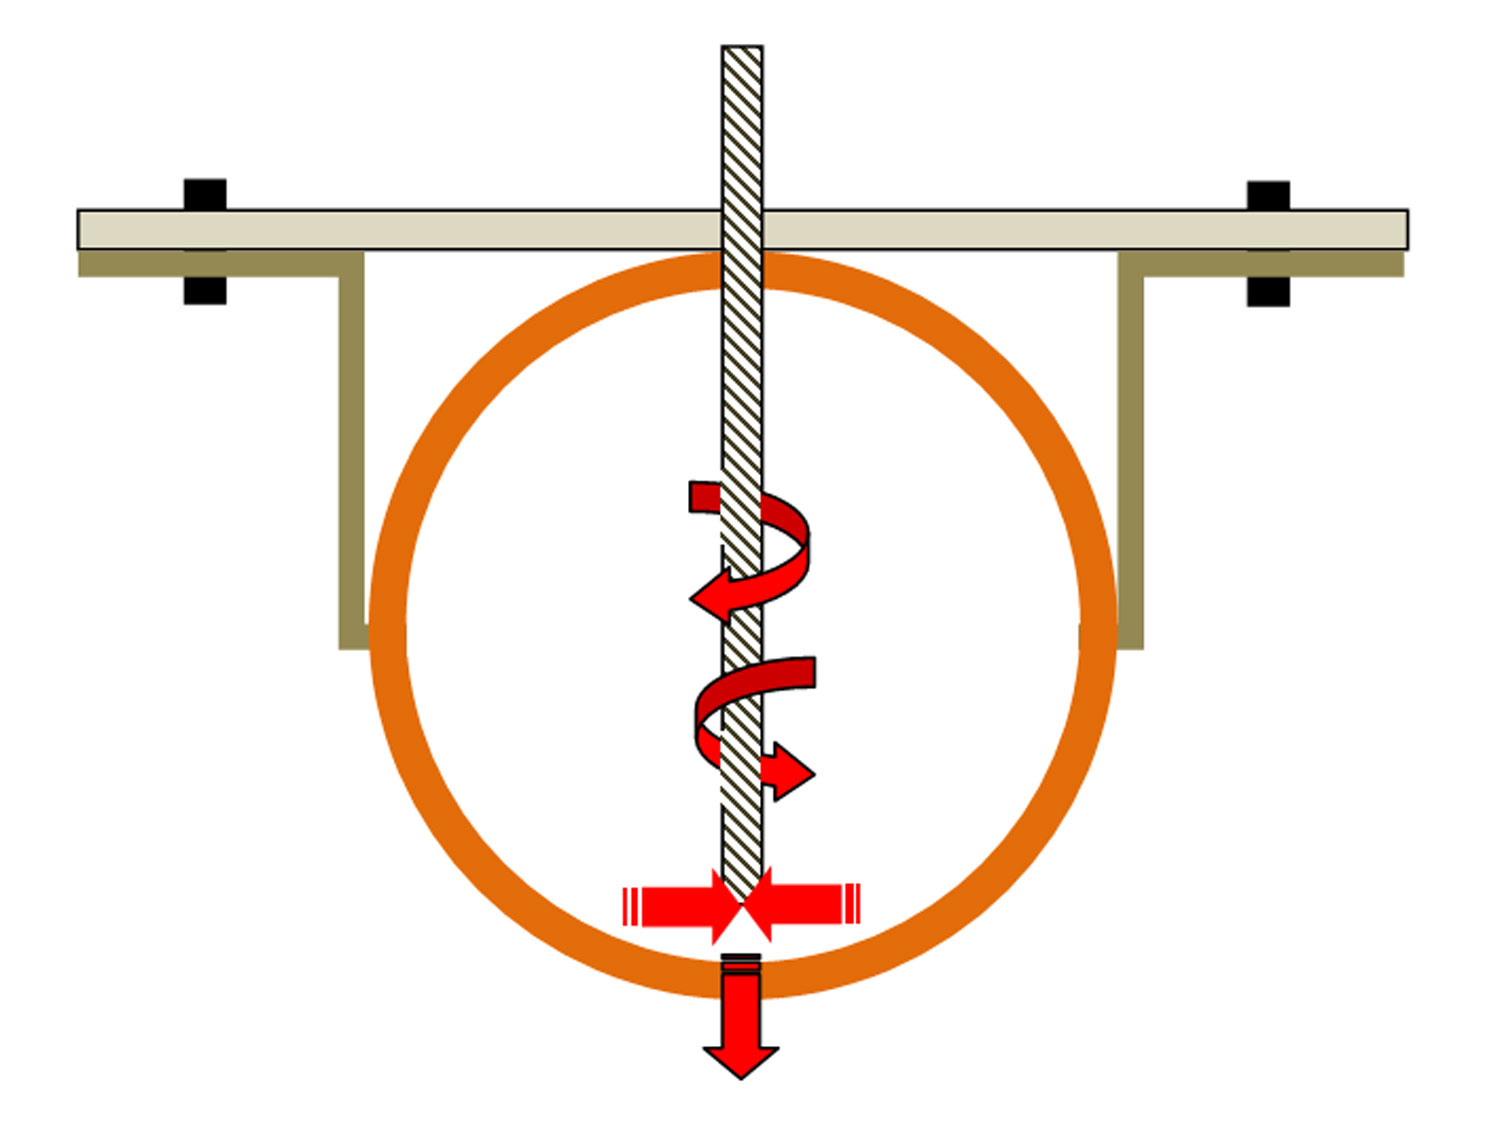
Drilling holes down the centreline of a length of timber can be quite time-consuming but this self-centring device will allow you to do that time and again, on timber of assorted dimensions. It will also help you make light work of drilling through metal tubing and pipes – because this device will keep the tip of the bit centred and stop it skittering all over the place.
Materials: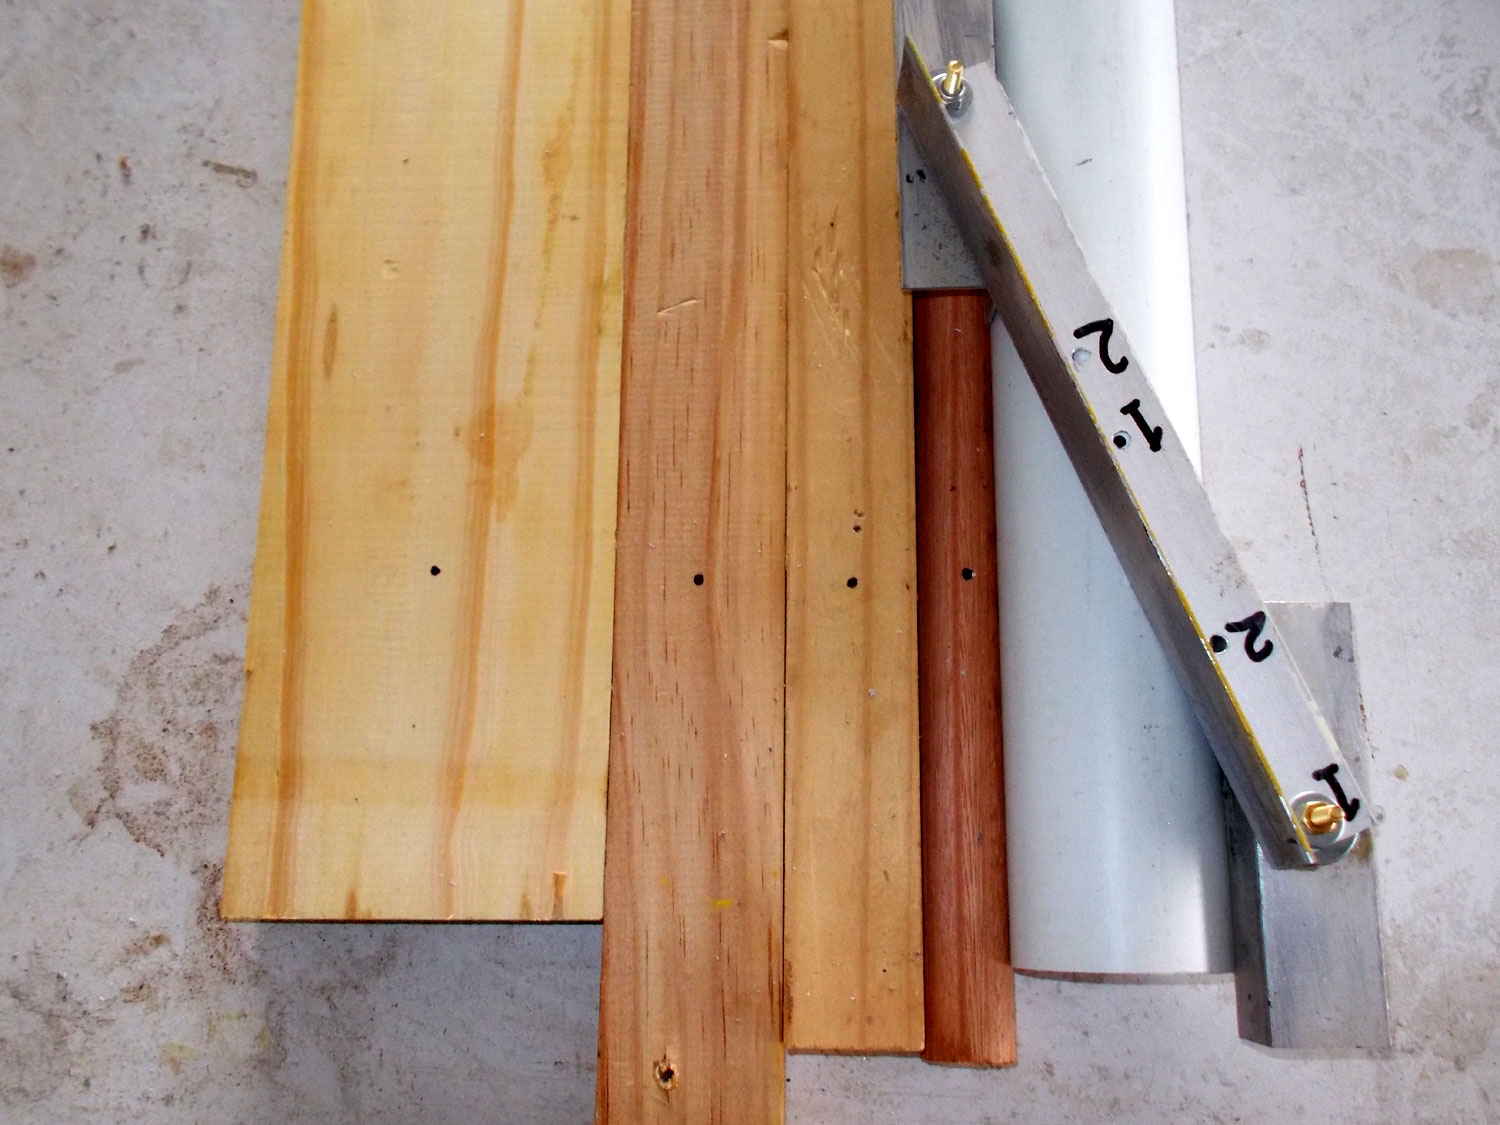
Aluminium – 400mm length of 25x25mm. Alternatively, you can use wood.
Two 4mmØ 20mm set screws and washers; one 4mm locking nut and one 4mm wing-nut or hex nut.
Method:

This is the first centring device I made out of 23x32mm meranti and two 6mmØ fender bolts, washers and wing-nuts. Here it has been clamped to the end of a length of 22×44 mm timber.
Then the 6mmØ hole is drilled into the timber using the centring device as a guide.
The result – dead centre and no measuring required.
I decided to make a second device out of some scrap aluminium I had handy. I measured off two side arms of 100mm each. They can be any length, but I’d suggest at least 100mm.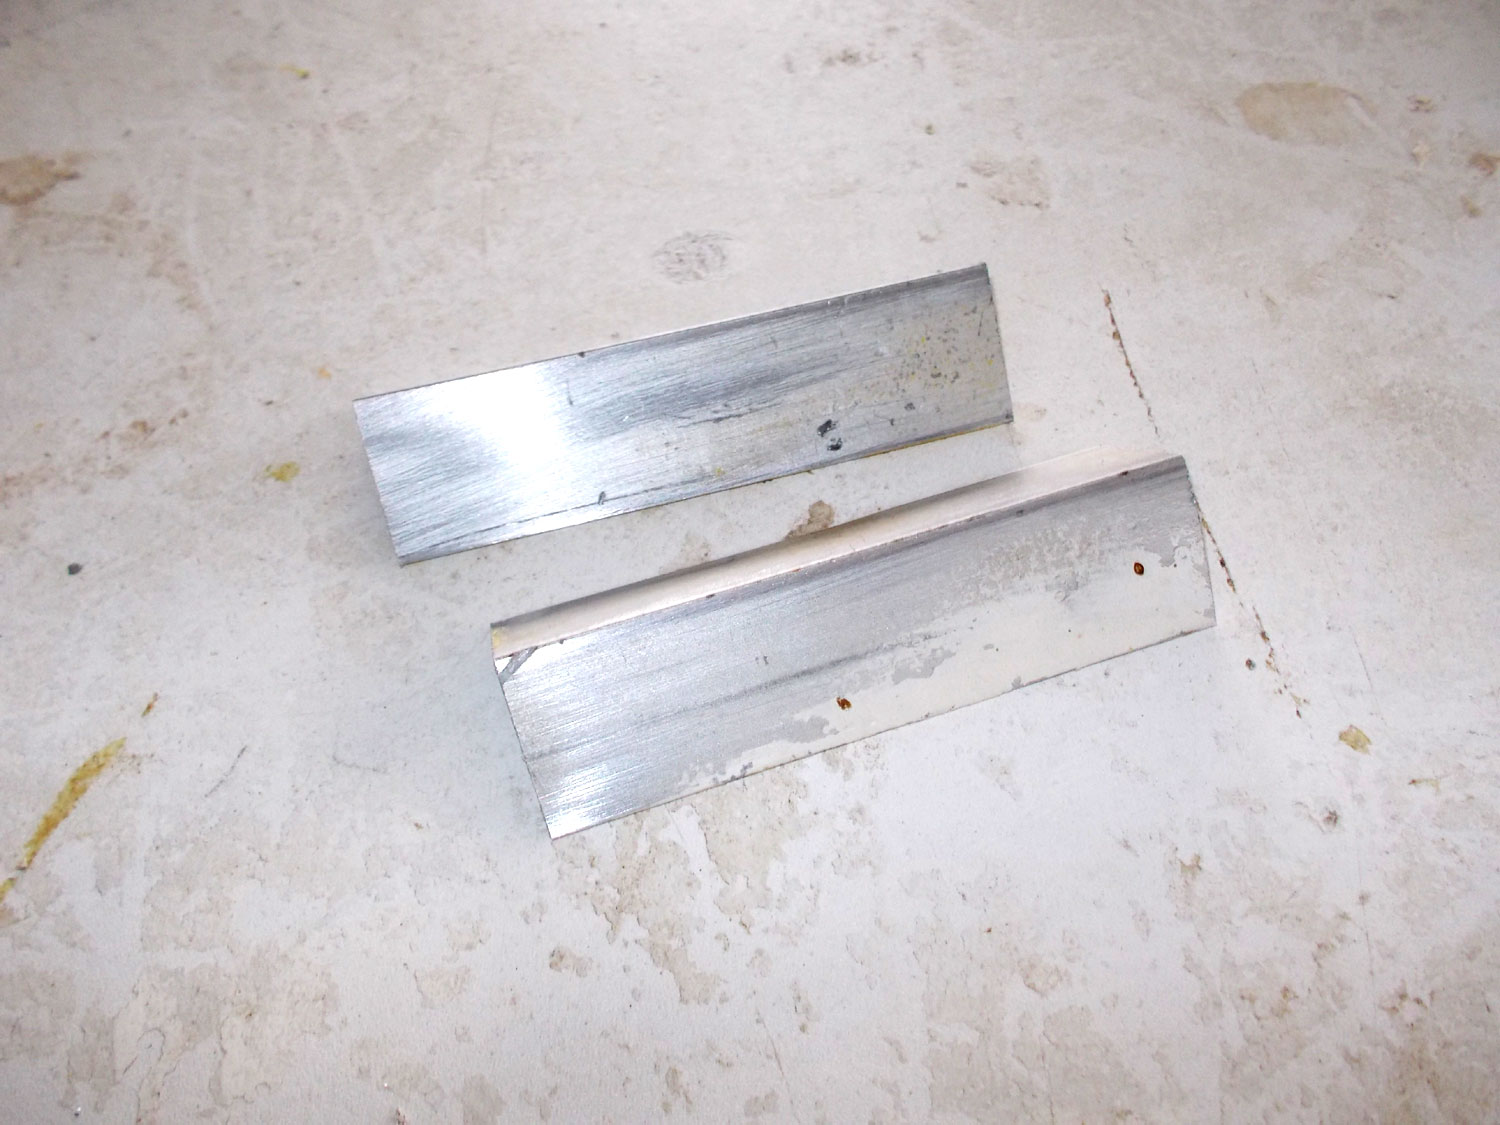
I cut them using a hacksaw in a mitre box.
I marked off the midpoint of each.
Then I marked the centrepoint of each on the midpoint line. It is very important that these positions be precise.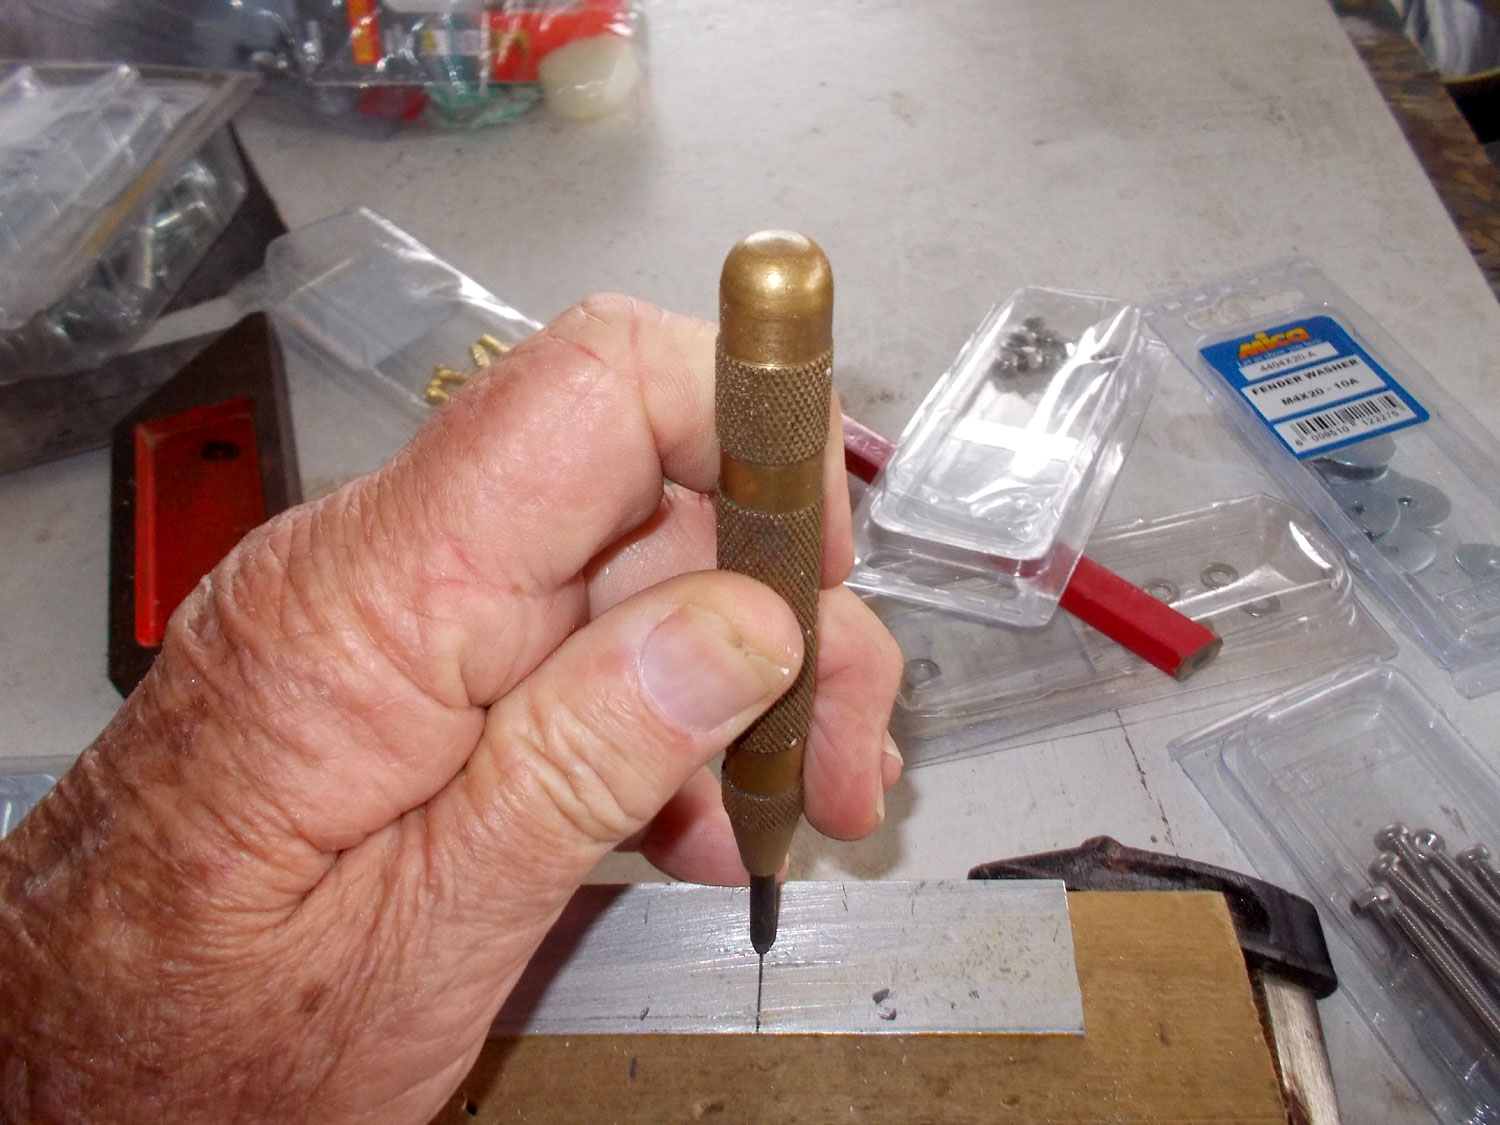
I used a centre-punch to indent the aluminium at the required points.
A bit of overkill, perhaps, but I confirmed each punch point was in the exact position I required.
Then I drilled the 4mmØ holes for the securing set screws.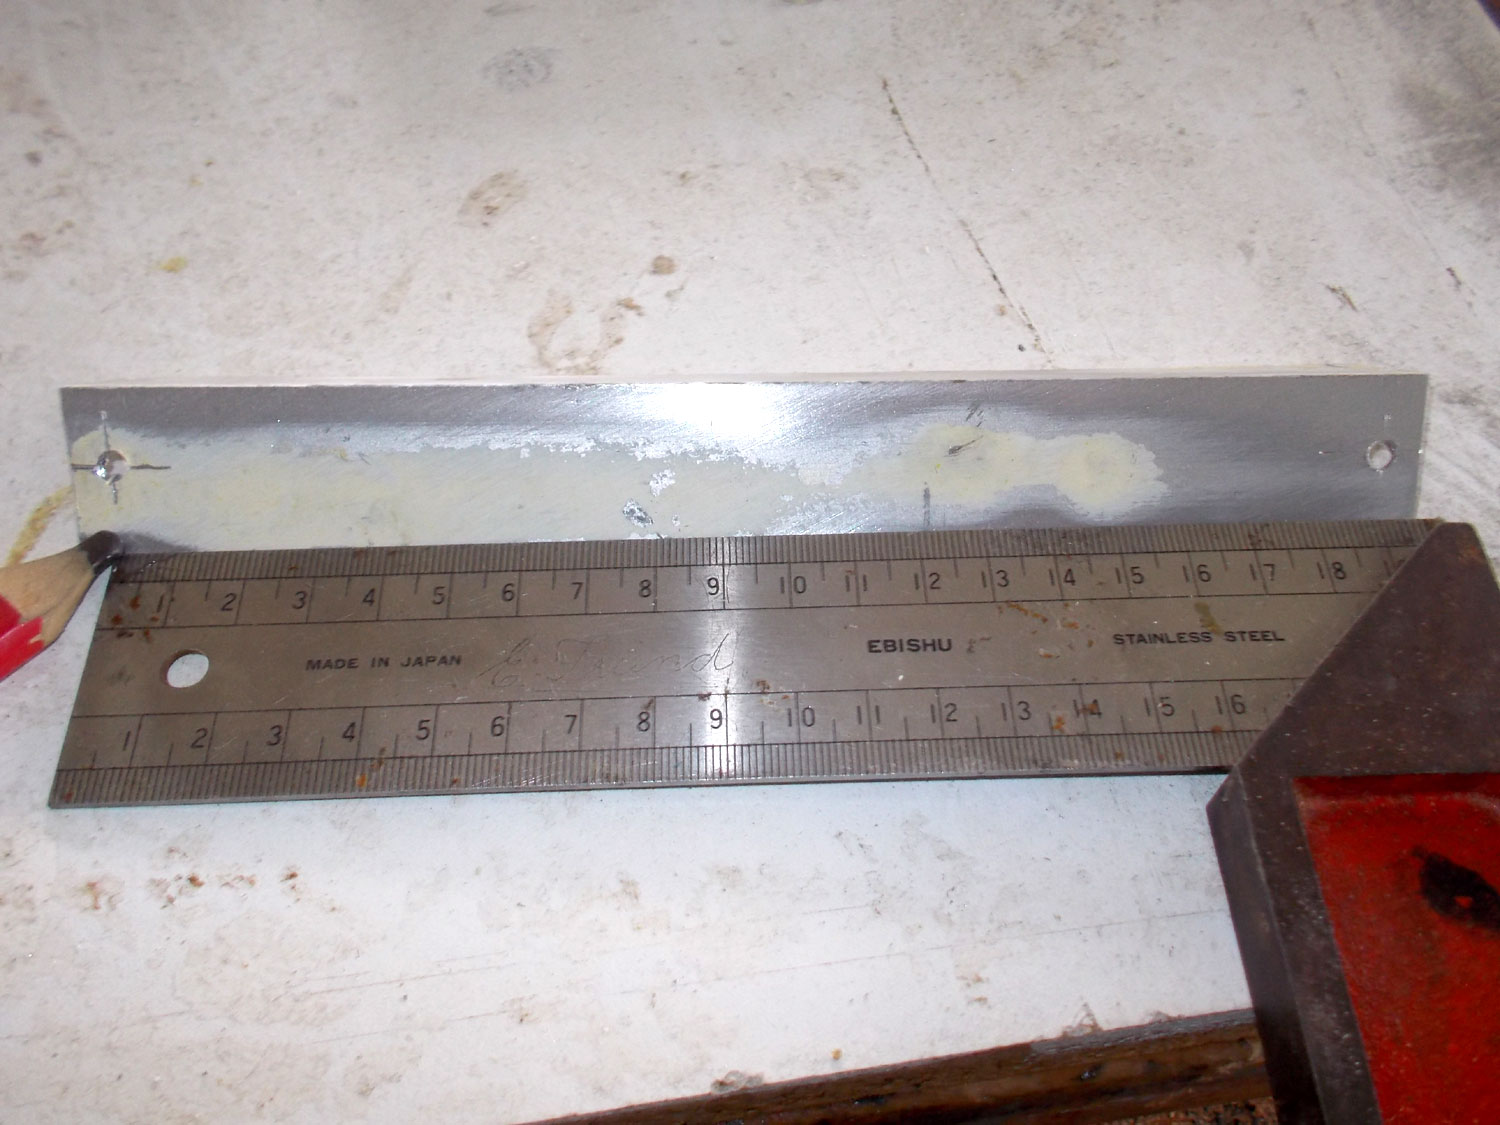
Now comes the second stage at which you must be extremely precise… I drilled two holes in what would become the link arm and marked the exact midpoint between the two and on the centreline of the arm – just as I did the holes I drilled for the two side arms. The distance between the two holes in the link arm can be what you wish, but the midpoint between the two must be exact and all three must be exactly on the centreline. I then drilled the 4mmØ centre hole at that midpoint.
The completed device. I also decided to make two more holes, the end being far closer, and the second hole at the midpoint between that and the hole at the other end. Hence 1-1 and 2-2. One side arm is secured with a locking nut is not shifted. The other – so that it can be easily switched from position 1 or 2, is secured with a wing-nut or simple hex nut. Here the device is shown with the movable side arm at position 1.
Here it is at position 2. You need to label the respective points so that you always use the correct midpoint hole for its corresponding end point. Having the device alterable like this means that you can set the side arms closer for narrower workpieces and wider for wider pieces, obviously.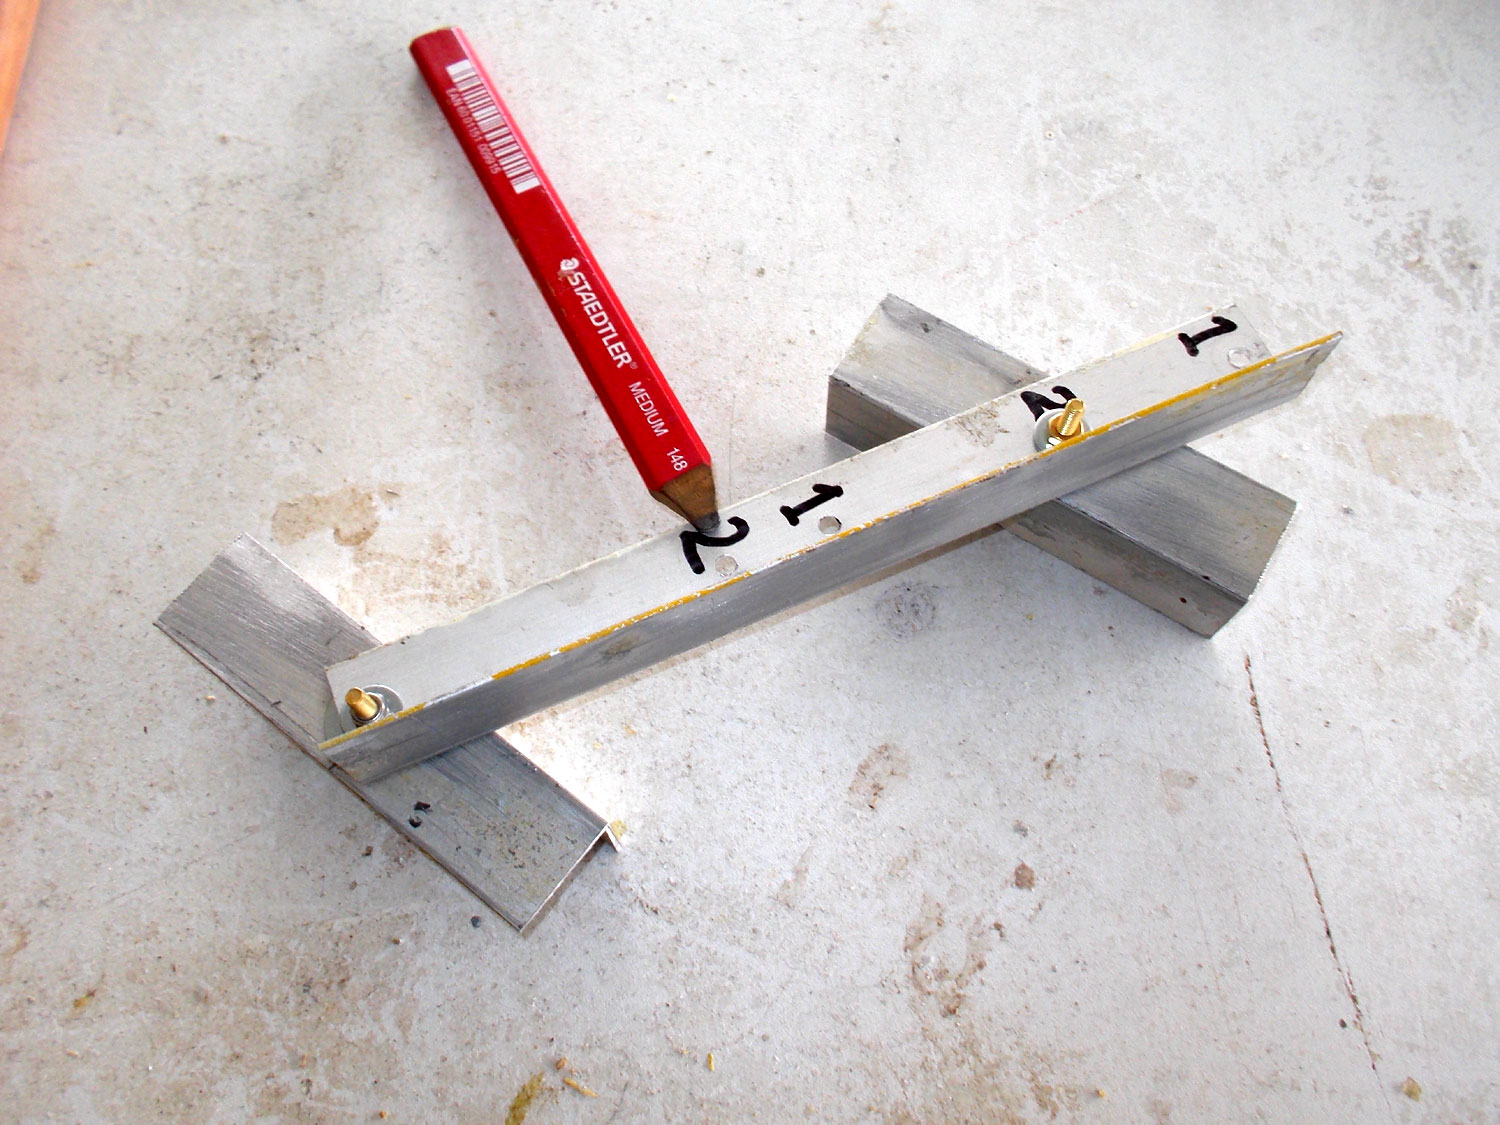
Here’s the result… it has been used on timber 96mm, 44mm, 32mm wide and on a dowel 16mmØ and a PVC drain pipe 50mmØ. Dead centre every time, Mr Venter!
Project guide
Skill level: 1
Estimated time: 30-60 minutes
Cost: R20
Assistant: No
Tools required:
Drill/driver, jigsaw or circular saw.
Panel:
These materials are available at Selected Mica Stores. To find your closest Mica and whether or not they stock the items required, please go to www.mica.co.za, find your store and call them. If your local Mica does not stock exactly what you need they will be able to order it for you or suggest an alternative product or a reputable source.