20 November 2014

Make a Mug Holder
Project Guide:
Difficulty: Beginner/Novice
Estimated time: 3 hours
Cost: R50
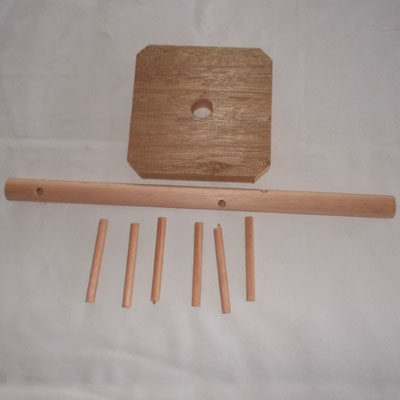
What you will need:
- Meranti:
- square of 22x144x144;
- one 22mm dowel – 380mm long;
- 8mm dowels – one length of 913mm (you’ll have a lot left over but that’s the shortest length you can buy);
- wood glue
- finish of your choice – I chose a gloss varnish.
*All materials are available at Selected Mica Stores. To find your nearest Mica and to enquire about availability, please go to www.mica.co.za, to use our store locator. If your local Mica does not stock exactly what you need they will be able to order or suggest an alternative product or a reputable source.
Method:
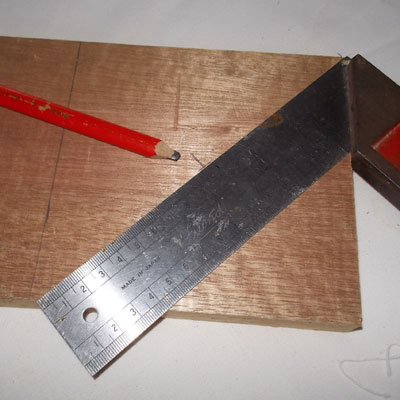
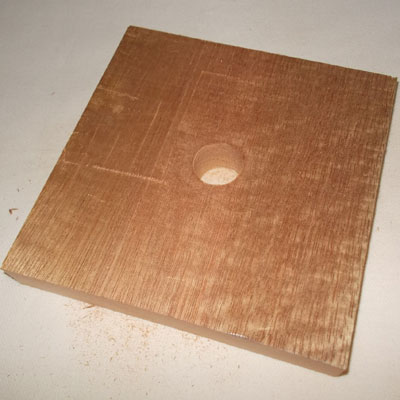
- Cut the base. I made it 144×144.
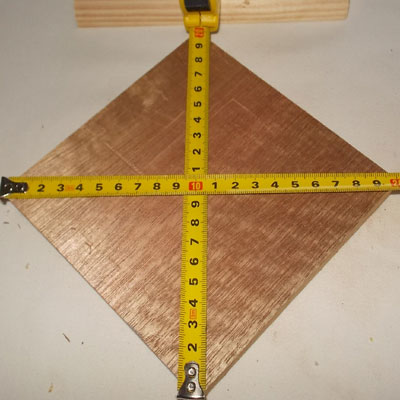
- A simple way to ensure a perfect square is to measure the diagonals and the tapes at the crossing point; the former should be the same, and the latter should be 90º.
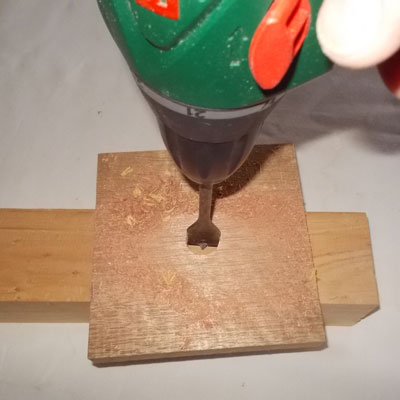
- With a rule placed corner to corner, mark off the centre point and drill through into a piece of scrap wood. The spade bit is of course, 22mm.
- The view from the top…
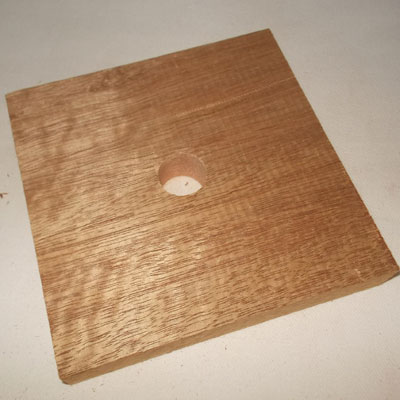
- And the bottom – drilling straight through into the scrap ensure there is no chipping or splintering of the hole.
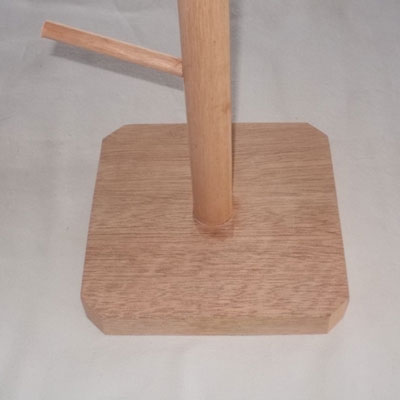
- Do a dry fit to ensure the main dowel sit snugly in its hole.
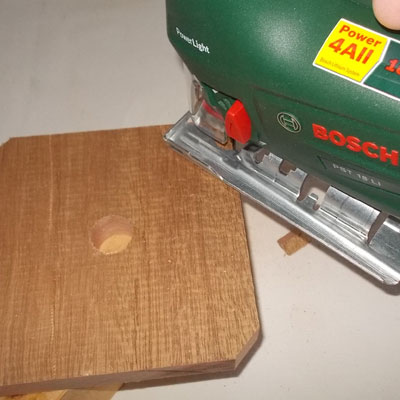
- Only then did I trim the corners of the base at 45º, just to make the base a little less angular.
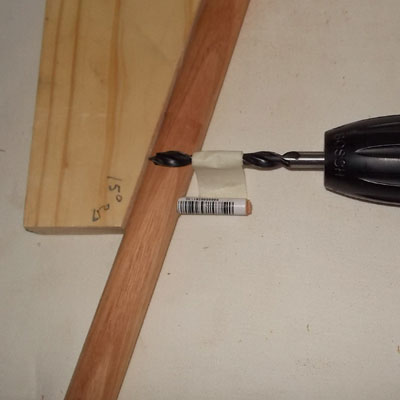
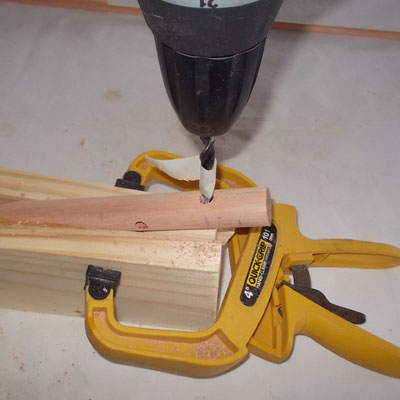
- Now for the only difficult part… I wanted to angle the mug supports at 15º, so I cut a scrap template at that angle.
- Clamp a couple of offcuts to the side of your template and drill 8mm holes about 18mm into the central dowel. The bottom one is positioned 120mm from the bottom of the dowel, then the dowel is rotated 90º and the next hole is drilled 40mm up from the first. Continue this and you end up with a progressive staircase of dowels progressing at 90º angles and 40mm intervals up the main dowel.
- The pieces of the mug holder ready for assembly.
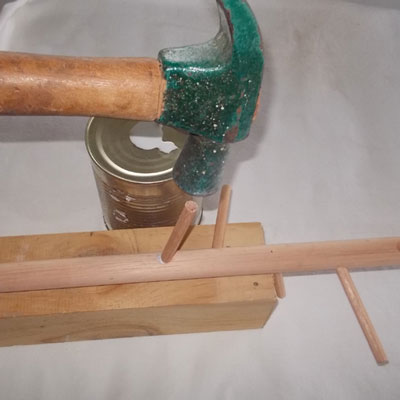
- Apply glue to then of each dowel and tap it into its hole; each dowel is 85mm long.
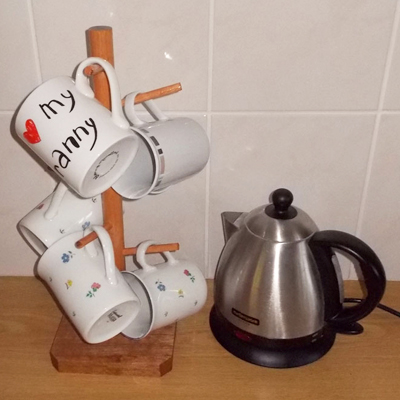
- The lowest dowel is about 105mm above the top surface of the base, so the lowest mug still hangs freely. Sand down all surfaces and apply the finish of your choice. Allow it to dry, sand lightly, and apply a second coat. And when that is dry, hang up your mugs…
- The completed mug holder.