27 September 2016

Something To Get You Ahead
Something To Get You Ahead
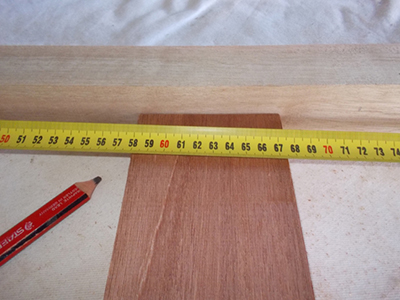
Double beds are available in a range of dimensions, from standard to queen size, and mattresses can vary in height. Bear this in mind when making your headboard. Measure the exact width of your bed, as well as the height from the floor to the top of the mattress, then adjust the headboard design accordingly.
The width of the bed we are using is exactly 140cm and the height from the floor is 63cm. In this case, we want the bed base to hold the headboard in place against the wall.
Tools:
- Jigsaw
- Sander
- Drill/Driver
Materials:
- Meranti:
- 22×222 – one 183cm length
- 22×96 – one 183cm length
- 22×69 – one 183cm length
- 44×44 – one 240cm length
Method:
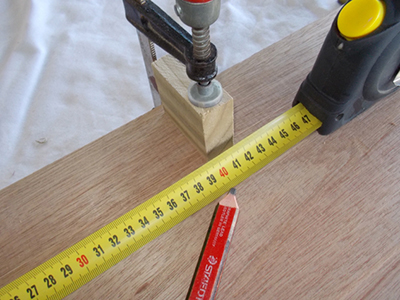
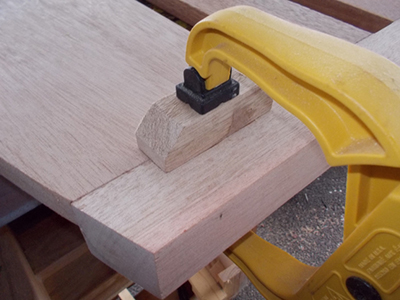
- As the total width of the headboard is 140cm, cut the three horizontal members (22×222; 22×96; 22×69) to 131cm. To create a curve to the main cross member (22×222), place a block at 40cm from one end.
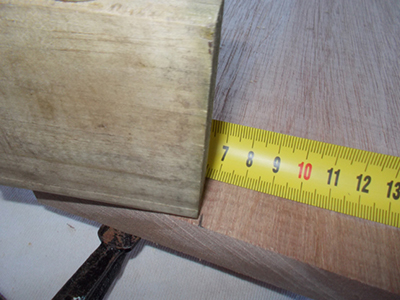
- The other end should be placed right at the end, but 7cm in from the corner as shown here.
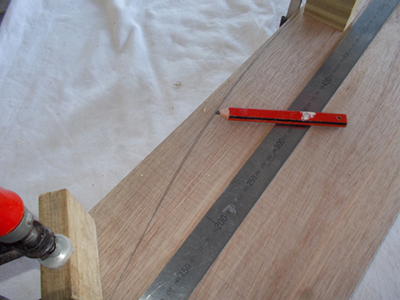
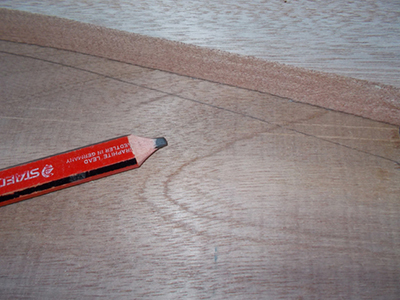
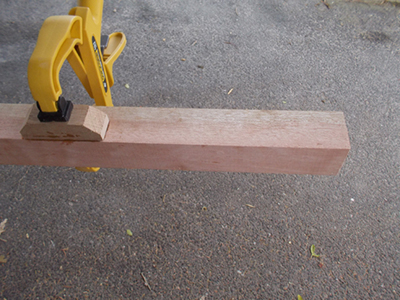
- Use a steel rule, positioned as shown, to create a gentle curve…
- … and scribe along the curve.
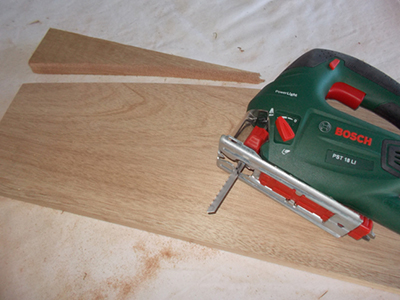
- Then use a jigsaw to cut along the curve.
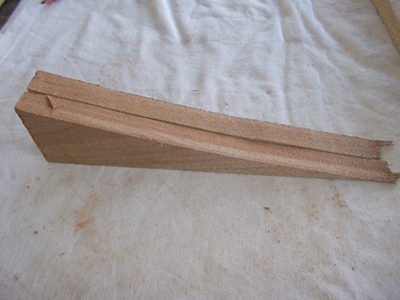
- Use the cut-off section to scribe the same curve on the other end of the cross member.
- Cut the second curve. Bear in mind that you need to cut ON THE LINE as the pencil point will be offset slightly. The result should be as shown here: The two cut-offs are virtually identical, which means that the curves on the cross member match.
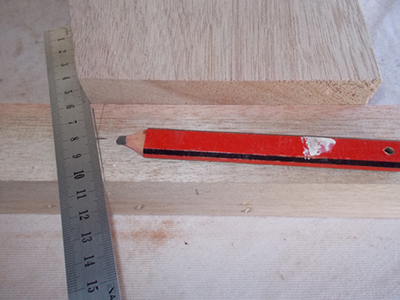
- Now for the legs. Mark the centre of the 44×44, but do not cut it yet.
- Place the centre mark against the end of the cross member and use the latter as a guide to mark the angle of the cut on the top of the leg.
- Now cut the leg timber. As you can see here, it matches.
- Now to add the cross members to the legs. As the mattress is 63cm high, position the lower (22×96) cross member at a height of 58cm.
- Position the centre cross member (22×69) between the lower cross member and the main cross member to give a gap between the three of 3cm. Then mark the centreline of the end of each cross member.
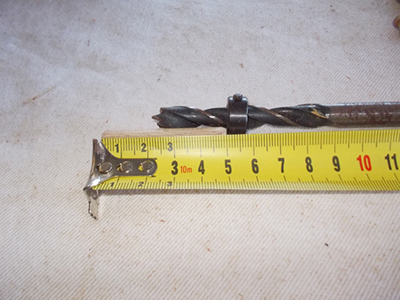
- Use a stop or a length of tape to set the drilling depth. It should be just over half of the total length of the dowel to ensure that it will sit properly in the holes you drill for it (too shallow and you won’t be able to join the wood correctly).
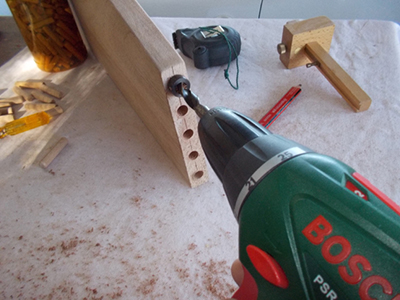
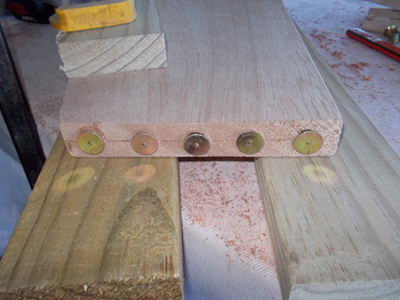
- Drill the holes for the dowel, spacing them as desired. Drill for five dowels in the top cross member, two for the centre cross member and three for the lower cross member to ensure secure joins.
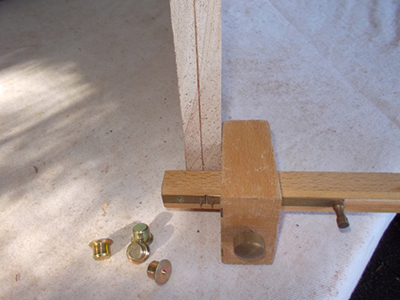
- Once the holes are drilled, you can use brass points.
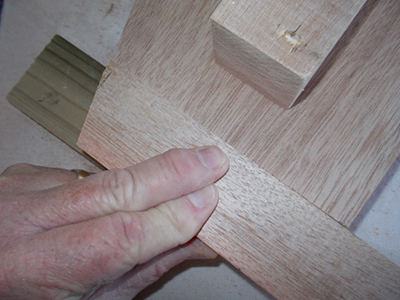
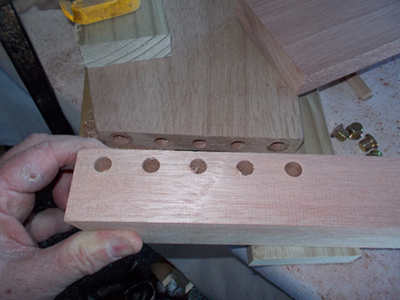
- Carefully position the leg against the cross member and press firmly to make the centre points for the dowels. Then drill the holes.
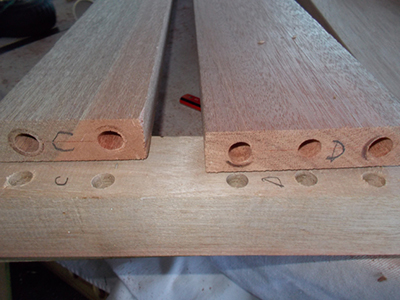
- All the holes drilled and ready for glue and dowels, mark each end A, B, C, etc. to ensure that you not only match up the cross member ends with their correct positions, but also ensure that they are the right way up. This will take care of any minor deviations you might make when drilling the dowels’ holes.
- Do a dry fit and then apply tape as shown (to the legs as well), so that any glue that oozes out of the joins will go onto the tape and not the surrounding surface.
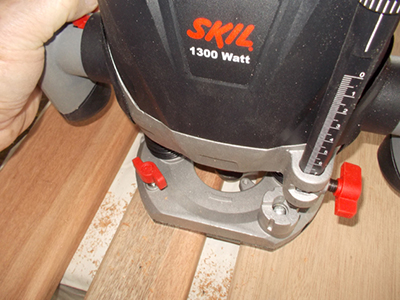
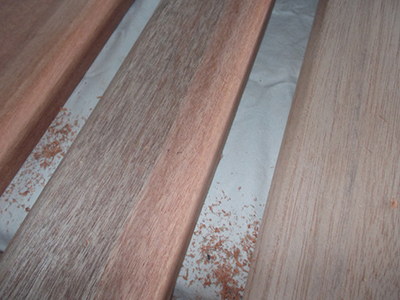
- Apply the glue and let it set. Then remove the clamps and rout along the lower edge of the main cross member, and both edges of the centre and lower cross members.
- This makes them a little more comfortable on the back of the head. The routing does not extend right to the legs, but stops about 50mm short. This ensures that there is a little more timber at each join.
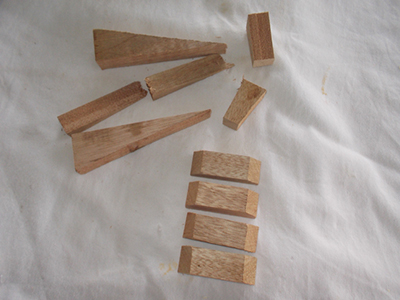
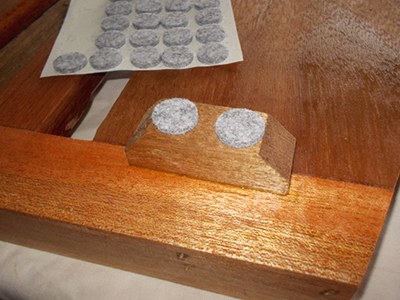
- From the of leftover curved pieces from profiling the top main cross member, cut four small spacer blocks.
- Glue these to the back of the headboard near the top…
- … and about 250mm up from the bottom of the leg. These blocks ensure that the legs clear the skirting board and that the headboard stands exactly parallel with the wall (without them, it would slope back against the wall).
- After sanding down all the surfaces and applying three coats of varnish, stick two felt cushions on each spacer block to cushion them against the wall and prevent any marking.


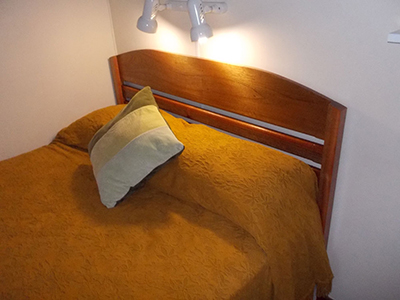
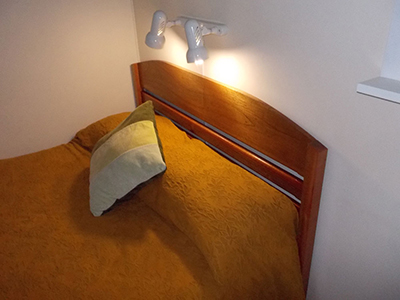
After all that work, you may be tempted for a bit of a lie-down.

Project guide
- Skill level: 4
- Estimated time: a weekend
- Cost: R600-R800, depending on the type of wood used and any embellishment
- Assistant: No