09 June 2016

How to Hang your Frames Perfectly
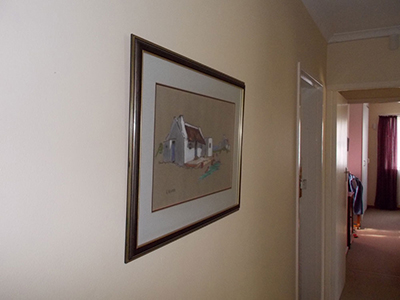
Hanging groups or pairs of pictures dead level along a straight line has usually been difficult to get exactly right. You get the cords as alike as possible, the tension as close as possible, and the nails or other attachments in the wall at the right level.
And still the pictures are out, sometimes by quite a bit – running the whole effect.
Your troubles are over. This simple aid to getting pictures on the level will cost you virtually nothing other than a little time and effort and save you hours of frustration and less-than-desired results when hanging pictures.
The beauty is that the cords on the back of the picture can be any length, so you do not have to hassle trying to get them exactly the same – or even near it. the position of the hook or nail on which the picture will hang will be at whatever height – but the pictures themselves will all be at exactly the same level.
If you wish to position your pictures at an incline – say up a stairway or even on a wall, you can use this simple device to achieve the desired result – without swearing or throwing any picture on the floor in frustration.
Project Guide:
TIME: 15 minutes
COST: a rand or two
Skill: 1
Assistant: No
Tools required:
- Jigsaw
- Cordless Screwdriver/Drill
Materials:
- About 300mm of SA pine or meranti cover strip – 44x9mm
- About 200mm of strong cord or string
- One 30mm chipboard screw
- Wood glue
- Four 16mm screws (optional)
**All materials are available at Selected Mica Stores. To find your nearest Mica and to enquire about availability, please go to www.mica.co.za, to use our store locator. If your local Mica does not stock exactly what you need they will be able to order or suggest an alternative product or a reputable source.
Method:
- Right, your first picture is up – now you want the second to be at exactly the same level. It’s easier than you think… all you have to do is…
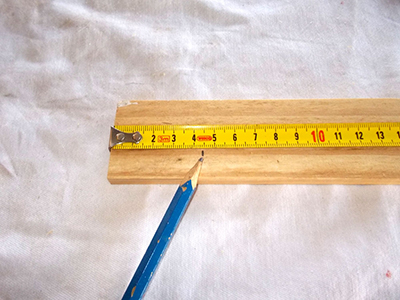
- Take a length of SA pine or meranti cover strip (6mm ply will also be fine), about 300mm long, and in the case of the cover strip, mark off a length of 44mm.
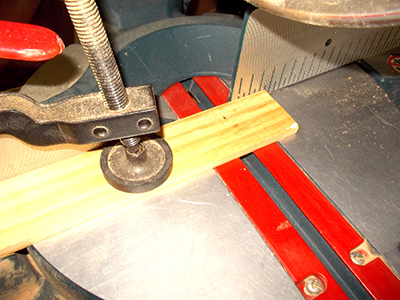
- Cut it to length…
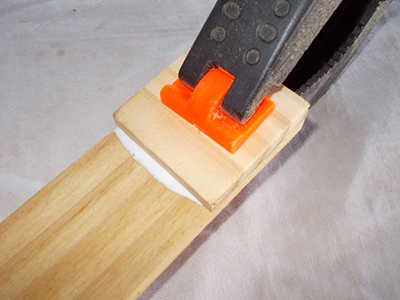
- … and glue it to the strip, but note that we have glued it across the grain. Why? Because if you are hanging a heavy picture there will be quite a weight on the hanging screw, which might otherwise be pulled downwards to an angle no longer 90°.
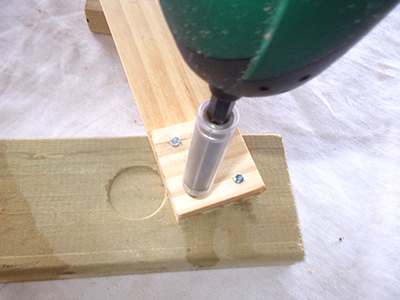
- Once the glue is dry, you can if you like, reinforce the join with four 60mm wood screws, but this is optional.
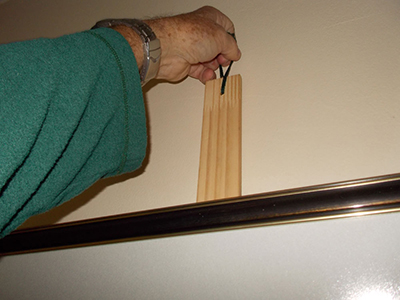
- At the top end of the strip, on the centreline, drill a hole large enough to take the supporting string or cord.
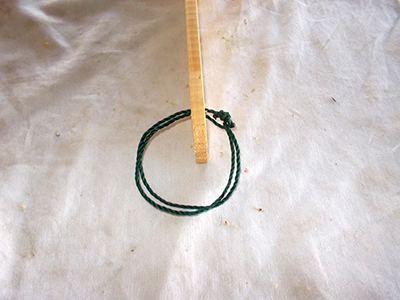
- The cord attached: We doubled it as it will not cut into the thumb as a single cord might.
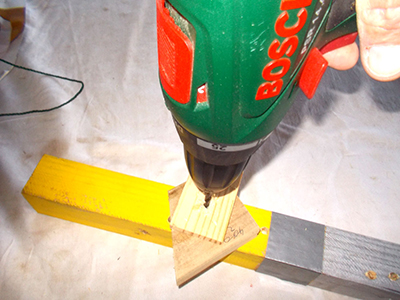
- Now drive home the 30mm screw also on the centreline. Ensure that the tip of the screw protrudes about 5mm or so, the same goes for the head, so that the picture cord will now slip off the latter.
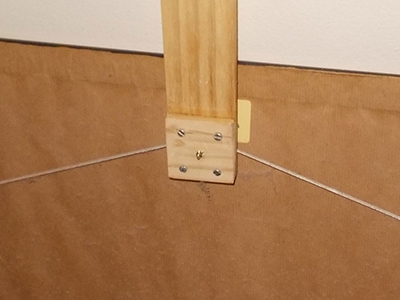
- How the picture hangs on the device. Note that the tip of the screw will be towards the wall.
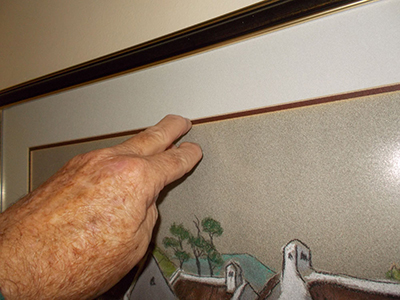
- Now with your thumb or finger thought the loop and the picture hanging off the hanging screw, raise the picture into position.
- Line up the picture with its companion and then apply some pressure – carefully – to where the hanging screw is. This will force the tip of the screw into the wall, even a millimetre or so is enough to mark the position.
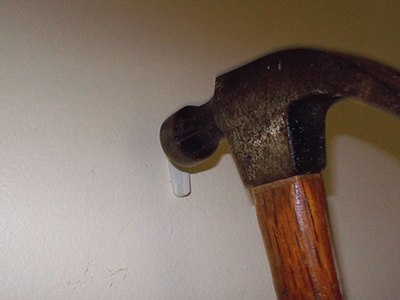
- Now hammer in the picture hanger. If it is a hook, as in this case, remember that the hook must be on the mark you made; the three or four little pins fixing the hook to the wall will be somewhat higher, got it?
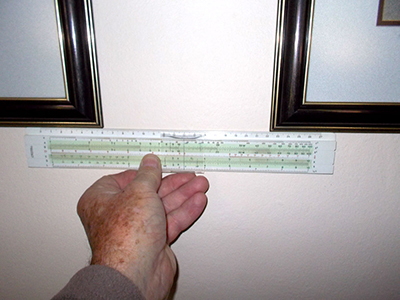
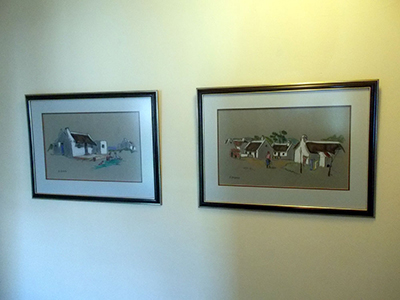
- How that’s for level!
- Picture perfect.